
Build around buffed Flame Breathing, damage and cooldown cards, repeated Horde picks, and elevated desert and grass positions to push past 500,000 score points.
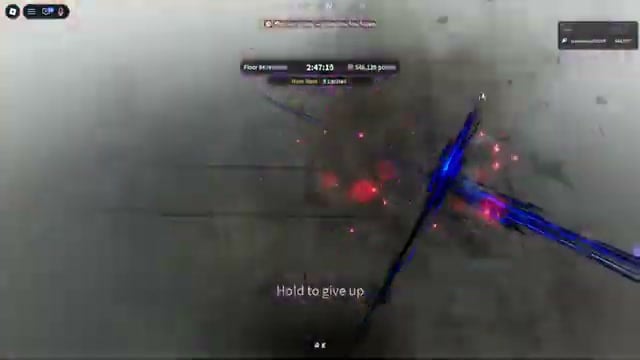
A single showcase run finished with 546,139 points after 2:47:15, with the result screen recording Floor 84 reached. It was a long climb.
- Prepare Flame Breathing and your card build
- Understand Horde and the point modifiers
- Follow the dungeon route from desert to grass
- How to build score points
- How it ends
- Manage cards and rerolls near Floor 70
- Handle map changes and the grass ledge
- Survive the late fights and collect the rewards
- Quick questions
- Frequently Asked Questions
Prepare Flame Breathing and your card build
The Ouwigahara Dungeon awards Dungeon Points. To use this build, unlock Flame Breathing at level 25 and train with Rengu. Its displayed buffs cut the Z windup by 20%, make held V 50% faster with a shorter pause before the second slash, and let Z dash down correctly toward slammed targets.
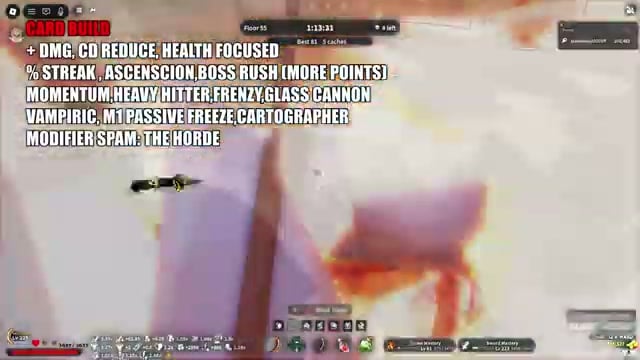
Prioritize Damage+, cooldown reduction, and health cards. Damage and shorter cooldowns support repeated Flame Breathing attacks, while Block Points add survivability in Dungeons. Take % Streak on each floor for more points and Ascension for score amplification. The passive picks in this build are Momentum, Heavy Hitter, Frenzy, Glass Cannon, and Vampiric.
Take Vampiric for health restoration when you kill an NPC.
An unnamed passive adds a freeze effect to M1; an unnamed flame card is another option. Keep Cartographer with Tectonic Shift available for map management. The +2 Rerolls card adds two tickets, and each ticket redraws the entire hand.
Understand Horde and the point modifiers
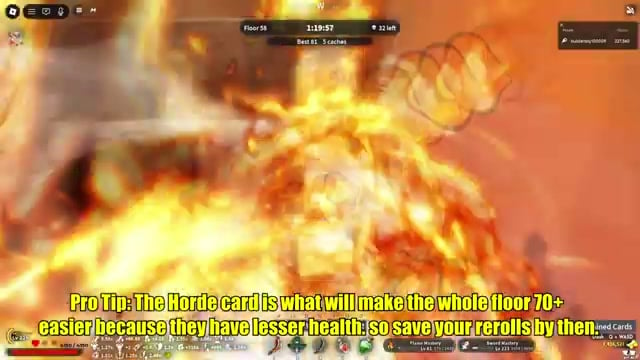
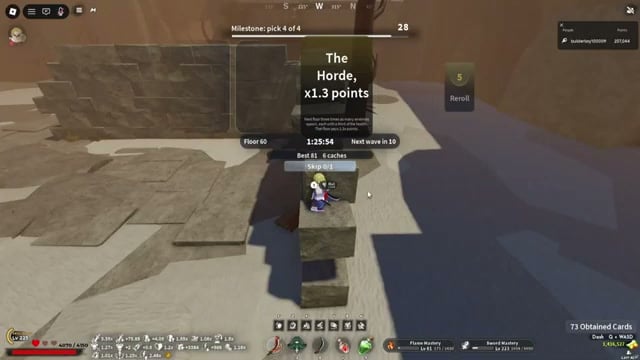
The Horde cuts mobs’ maximum health by 60% while putting more enemies in each wave. That combination gives Flame Breathing’s area attacks plenty of clustered targets, though clearing the extra enemies still takes time. The point values below are modifier multipliers, not a ranking of which card to take next.
Displayed score point multipliers
| Modifier | Point multiplier |
|---|---|
| The Horde | ×1.3 |
| Fair Fight | ×1.2 |
| Twin Bosses | ×1.5 |
| Cursed Coin | ×2 |
| Boss Hunt | ×1.25 |
| Bare Hands | ×2.2 |
| Double Time | ×1.3 |
| Glass Floor | ×1.5 |
Follow the dungeon route from desert to grass
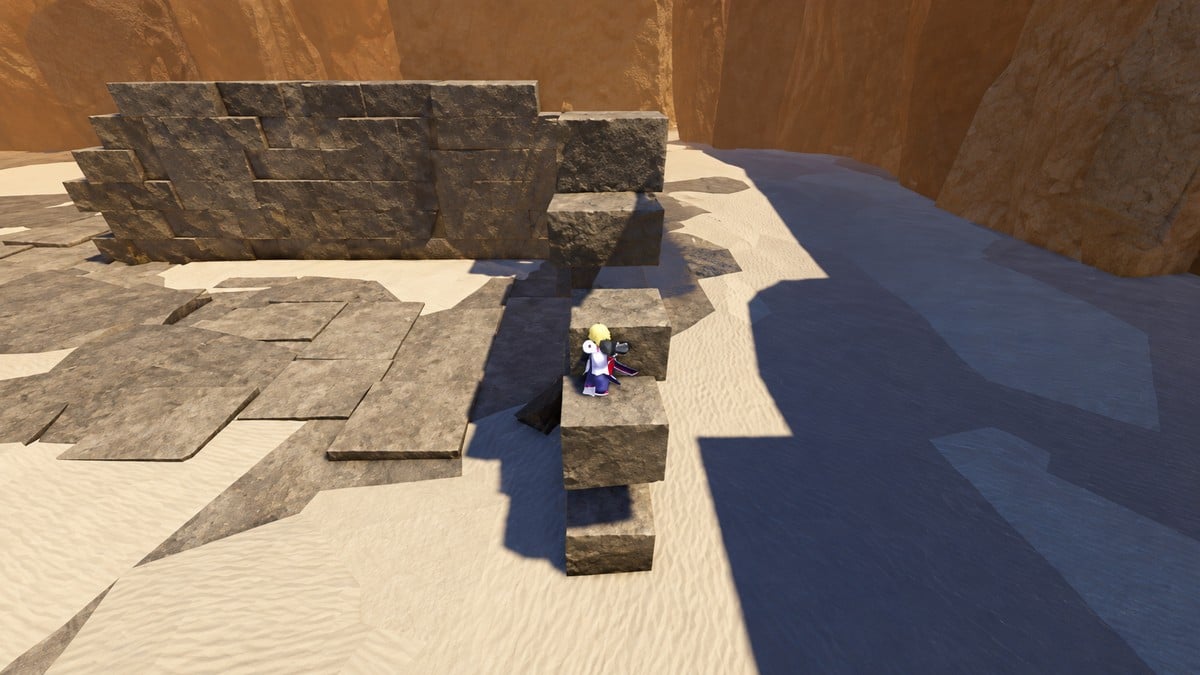
The ruined stone wall is the landmark for the desert fights: it gives Flame Breathing a downward angle into enemies gathering below. Downward area attacks can clear those clustered waves. The boss fights also bring you off that perch.
How to build score points
Follow the card choices and combat positions from the desert floors into the grass biome.
STEP 1/20
5%
Start the desert wall routine
On Floor 55, attack the enemies gathering below the raised stone wall with Flame Breathing; after the clear, take Supreme Trophy for 1,500 points.
STEP 2/20
10%
Clear Floor 56
Drop from the wall, combine sword strikes with flame attacks, and use repeated area attacks to finish the remaining enemies and boss.
STEP 3/20
15%
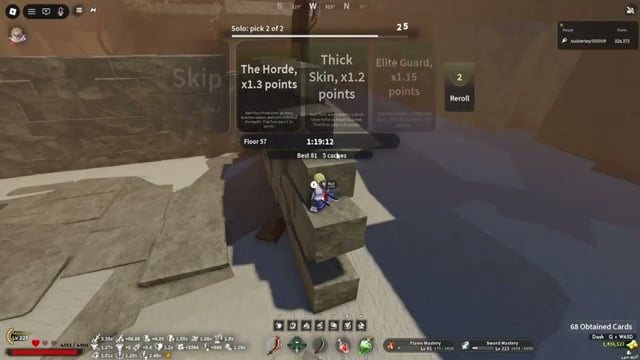
Seek Horde on Floor 57
Reroll the card hand for The Horde, then return to the wall pillar and cast fire into approaching waves before descending to finish the boss.
STEP 4/20
20%
Take a manageable alternative
On the Floor 58 selection, take +2 Rerolls, redraw the hand, and choose Fair Fight when Horde is absent.
STEP 5/20
25%
Block before casting
Hold block at the wall position, fire V into the enemies below, and repeat until the encounter is clear.
STEP 6/20
30%
Finish the Floor 59 boss
Leave the perch to defeat the large boss with sword attacks, then take Twin Bosses and Fair Fight at the following selections.
STEP 7/20
35%
Escape the Floor 60 surround
Start with flame attacks from the wall; if enemies reach you, dash clear of the surrounding demons and kite them across the desert with ranged flame attacks.
STEP 8/20
40%
Defeat the two bosses
Fight the Floor 60 bosses separately with sword attacks and flame bursts.
STEP 9/20
45%
Build from the Floor 60 cards
Choose Frenzy, Damage +5, Damage +4, and then The Horde in the demonstrated card sequence.
STEP 10/20
50%
Carry rerolls into Floor 62
After Flame Breathing brings down the Floor 61 boss, take +2 Rerolls, skip the event, and select Cursed Coin when Horde is absent.
STEP 11/20
55%
Return to the wall on Floor 62
Cast flame attacks into clustered mobs from above, drop for the boss, and finish it with large flame bursts; the next picks are +2 Rerolls and The Horde.
STEP 12/20
60%
Keep the flame rotation going
Clear Floor 63 mobs with flame waves and defeat its boss, then select The Horde and Boss Hunt.
STEP 13/20
65%
Clear Floor 64 and take the next cards
Use a Flame Breathing combo against the mobs and boss, then take Move Speed +10% and Twin Bosses when offered.
STEP 14/20
70%
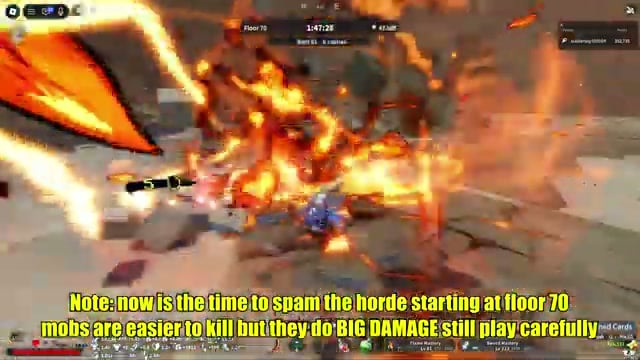
Spend rerolls from Floor 70
Use the tickets you saved to seek The Horde as encounters grow tougher, especially if Floor 60 enemies were already difficult to withstand.
STEP 15/20
75%
Hold Tectonic Shift for an unsuitable map
Keep the card in reserve while the desert position works; if snow leaves you without useful area-attack positioning, use it to cycle maps and seek desert or grass.
STEP 16/20
80%
Repeat the desert fights through Floor 80
Use the wall and Flame Breathing through Floors 71–80, keep taking Horde when it appears, and defeat the Floor 80 boss before leaving the desert.
STEP 17/20
85%
Head for the rear grass cliff
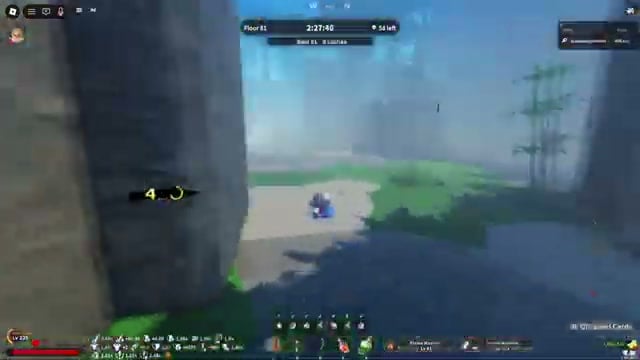
After the Floor 81 map change, cross toward the back, clear pursuing enemies at ground level, and climb the tall stone ledge overlooking the path.
STEP 18/20
90%
Attack the grass approach
Watch enemies coming up the ramp and repeatedly aim V and Z into their approach over the ledge.
STEP 19/20
95%
Reset when enemies climb up
Drop to the bottom so pursuing enemies circle around the demonstrated route before approaching the ledge again.
STEP 20/20
100%
Return to the ledge after ground combat
Use rapid flame attacks in the open grass when you come down, then climb back up to fight later waves from the stone platform.
How it ends
The video player’s Ranked Normal leaderboard showed a best score of 546,139, placing them at #57 in the Top 43%.
Manage cards and rerolls near Floor 70
Begin saving tickets before the harder stretch, even when an available hand offers a less attractive choice. Fair Fight and Twin Bosses were manageable earlier, but enemies still reached the perch and forced a retreat.
Around Floors 60–70, the Horde encounters in this attempt felt less damaging. Its stated card effect concerns maximum mob health, and the later Floors 70–80 stayed manageable as long as NPCs did not hit or spam the player. Repeated Horde waves take time to finish.
Handle map changes and the grass ledge
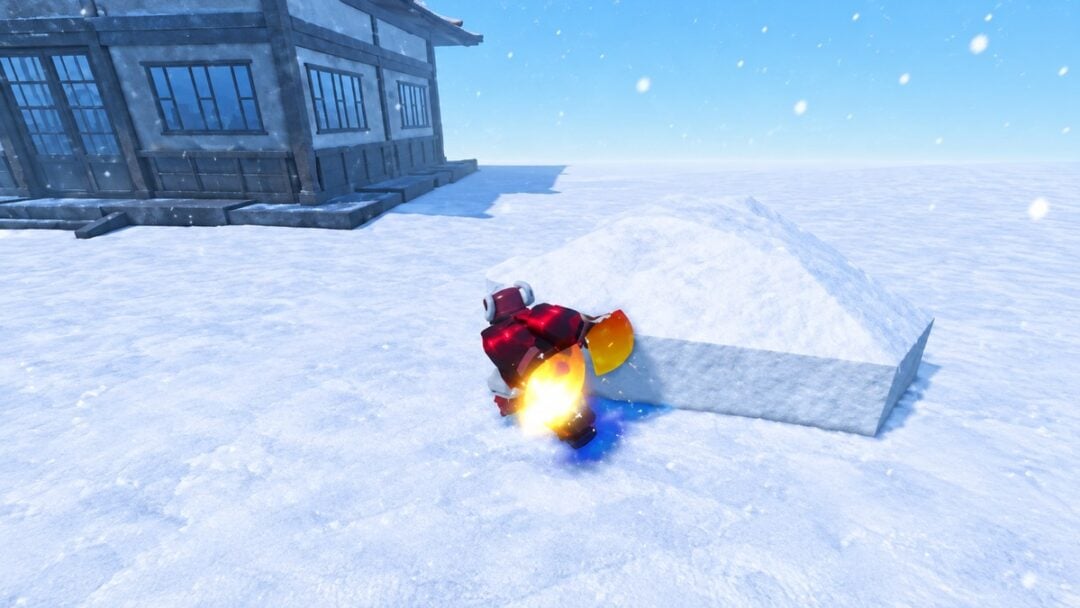
Biome changes occur every ten floors. This run stayed in the desert through the Floor 80 boss, then loaded into grass on Floor 81. Desert and grass both supplied elevated positions for the demonstrated Flame Breathing attacks; snow was the map to cycle away from when its available position did not suit the area attacks.
On the grass ledge, enemies approached along the ramp and repeatedly arrived where the Flame attacks were aimed. Dropping below made pursuers circle around again in this attempt, but the route did not keep every enemy away.
Survive the late fights and collect the rewards
In the narrated encounter on Floor 85, Nezuko withstood the incoming attack, made it onto the ledge, and unleashed a quick purple combo, ending the run despite roughly 5,000 health. Other enemies can chain dangerous attacks too. Maintain your distance from NPCs that deal high damage, including Nezuko on Floor 85+. This fatal encounter followed the progress shown on the result screen in the opener.
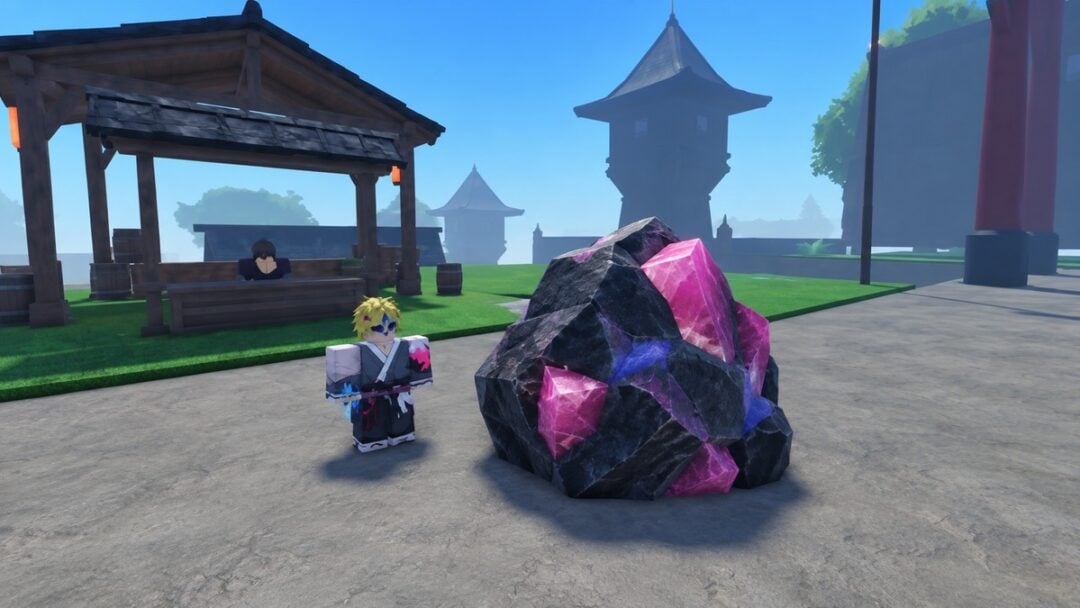
Following the defeat, the player went back to the reward lobby and opened all eight caches, collecting loot and coins. Among this run’s drops were Ore, a Coin Pouch, Twilight Star Ore, Black Monster Ore, and Silver Fang Mask. The leaderboard showed the same final score, initially ranking the result #52 and later displaying #57—two snapshots of a shifting rank. Flame Breathing had room to work from the ledge. Eventually, Nezuko declined the arrangement.
Related Slayers 2 guides
Quick questions
What is your displayed best score in Ranked Normal?
The video player’s displayed best score is 546,139.
What is your leaderboard position at the end?
The video player is #57 in the Top 43% on the Ranked Normal leaderboard.
Frequently Asked Questions
Can Dungeon Points help with mastery?
Yes. You can spend Dungeon Points on Training Boosters for mastery, giving the points a use beyond your dungeon score.
How many Dungeon Points does V2 weapon crafting require?
Crafting a V2 weapon requires 90,000 Dungeon Points.

Leave a Reply