
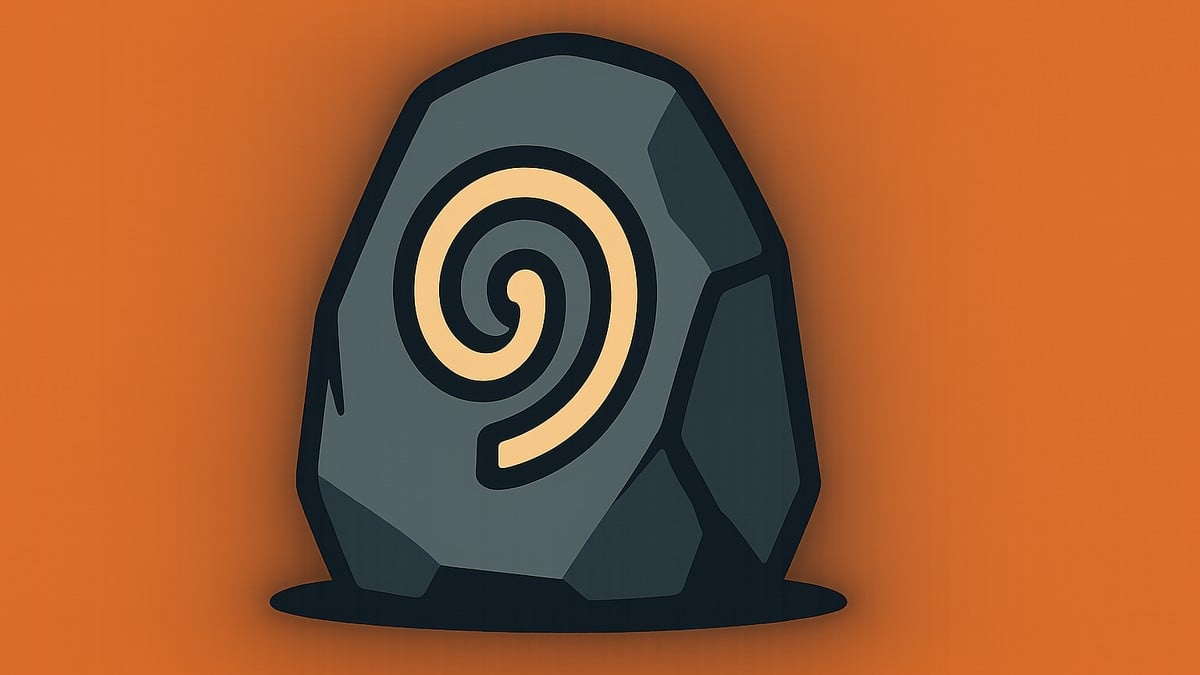
The Shuddering Stone is a Combat Tarstone found in a chest inside the Illusionist’s Cache dungeon in The Desolate Peak, and once equipped to a compatible sidearm it makes your projectiles create a knockback shockwave on impact.
The Shuddering Stone is one of the 75 Tarstones scattered across Mortal Shell 2, and it sits firmly in the ranged, crowd-control corner of the roster rather than the raw-damage one. You grab it once per save file from a single dungeon chest, socket it into the right sidearm, and every shot you land starts pushing enemies back. Everything below is current as of Balance Patch 1 (August 20, 2026).
What the Shuddering Stone is
| Detail | Value |
|---|---|
| Tarstone type | Combat |
| Slot | Sidearm |
| Region | The Desolate Peak |
| Dungeon | Illusionist’s Cache |
| Effect | Knockback shockwave on projectile impact |
| Acquisition | Chest, once per save file |
This is a Combat Tarstone, which means it lives in your Sidearm slot and reshapes what your projectiles do instead of buffing a melee combo. It cannot drop from enemies and it only exists once per save, so the whole task is really a location puzzle: reach the chest, open it, and it’s yours for good.
How to get the Shuddering Stone in Mortal Shell 2
Start at the Gloomshade Grove Beacon
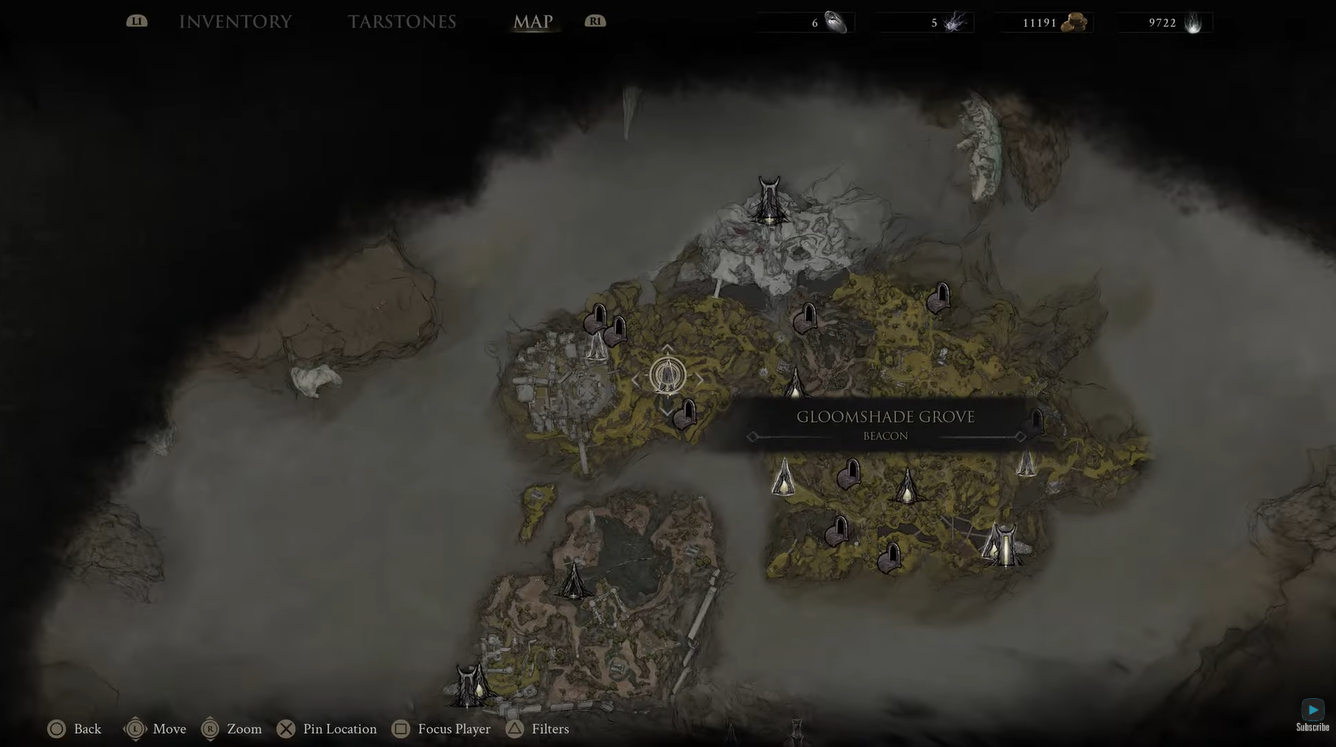 Start at the Gloomshade Grove Beacon | GosuNoob/YouTube
Fast-travel here first — it is the closest safe point to The Desolate Peak.
Follow the cliff path southwest to the Bone Gate
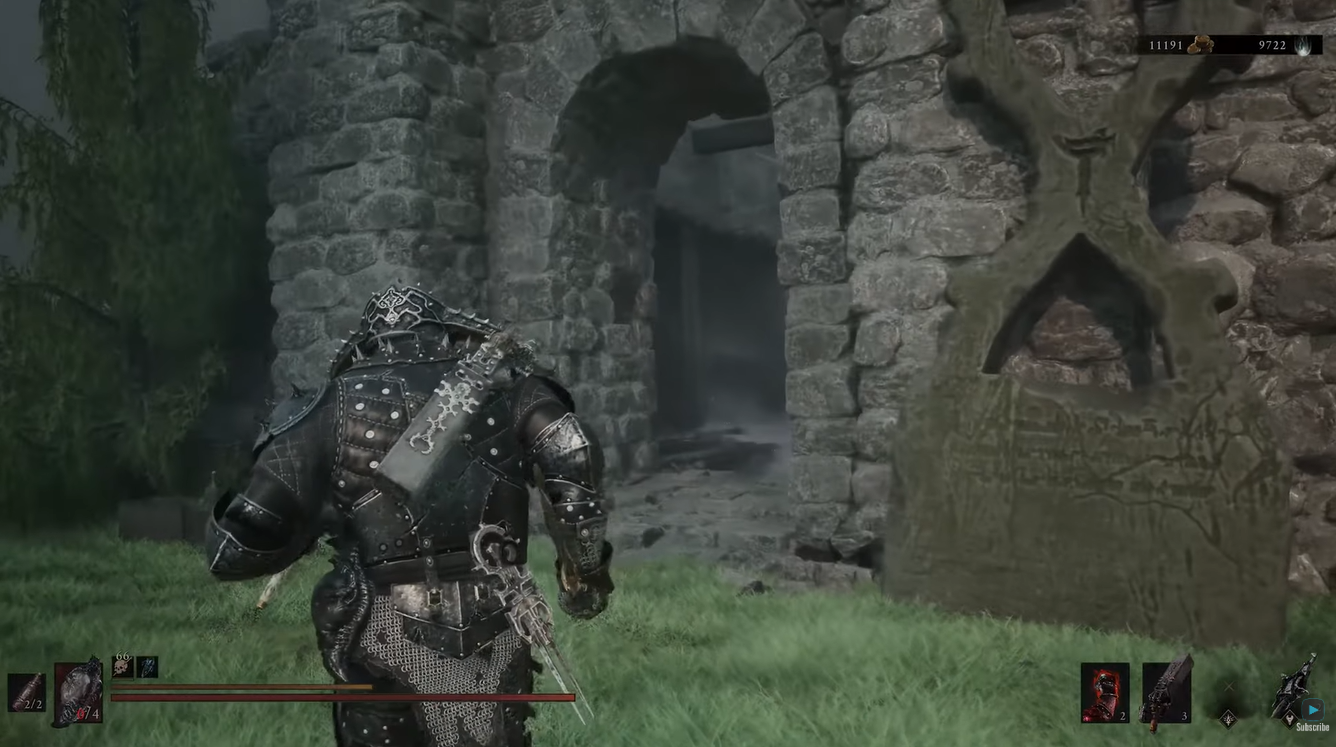 Follow the cliff path southwest to the Bone Gate | GosuNoob/YouTube
Hug the cliff heading southwest until you hit the Bone Gate, which is the entrance into The Desolate Peak.
Enter the building and take the elevator down
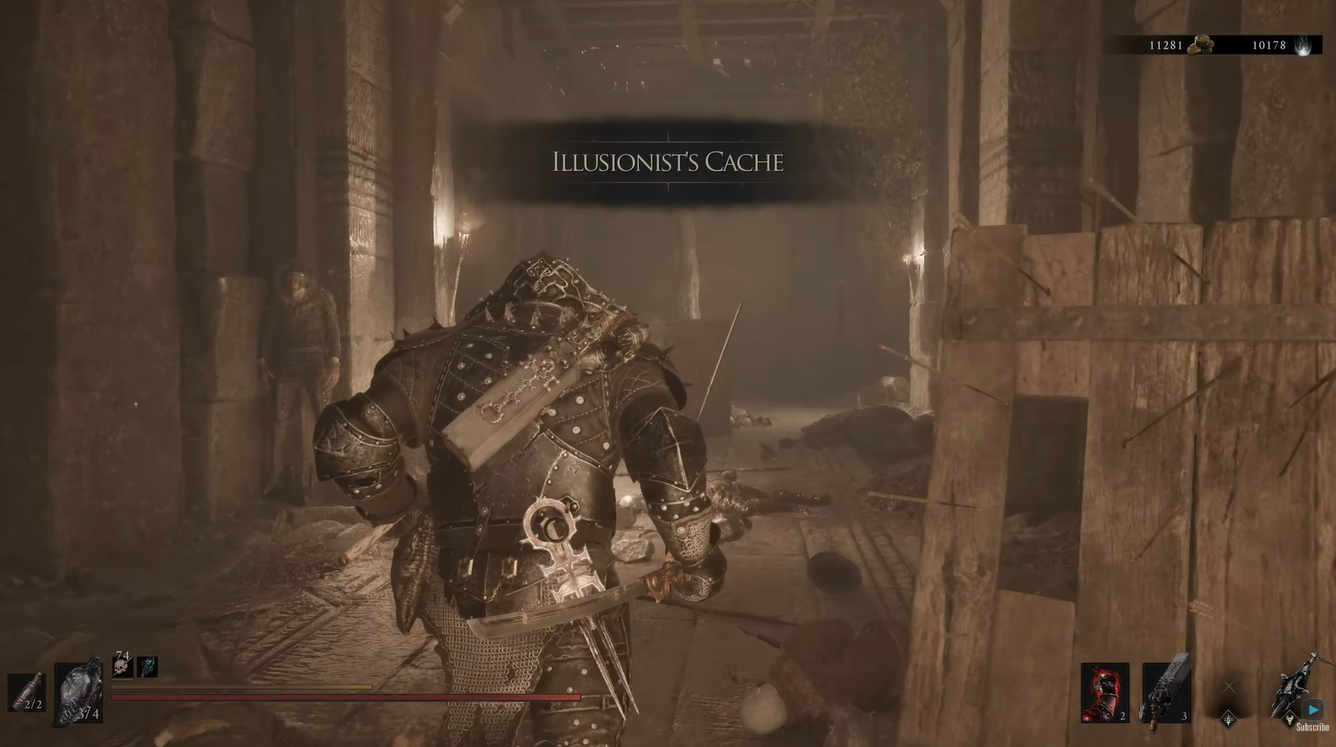 Enter the building and take the elevator down | GosuNoob/YouTube
The Illusionist’s Cache entrance sits inside the building here; ride the elevator down to the dungeon floor.
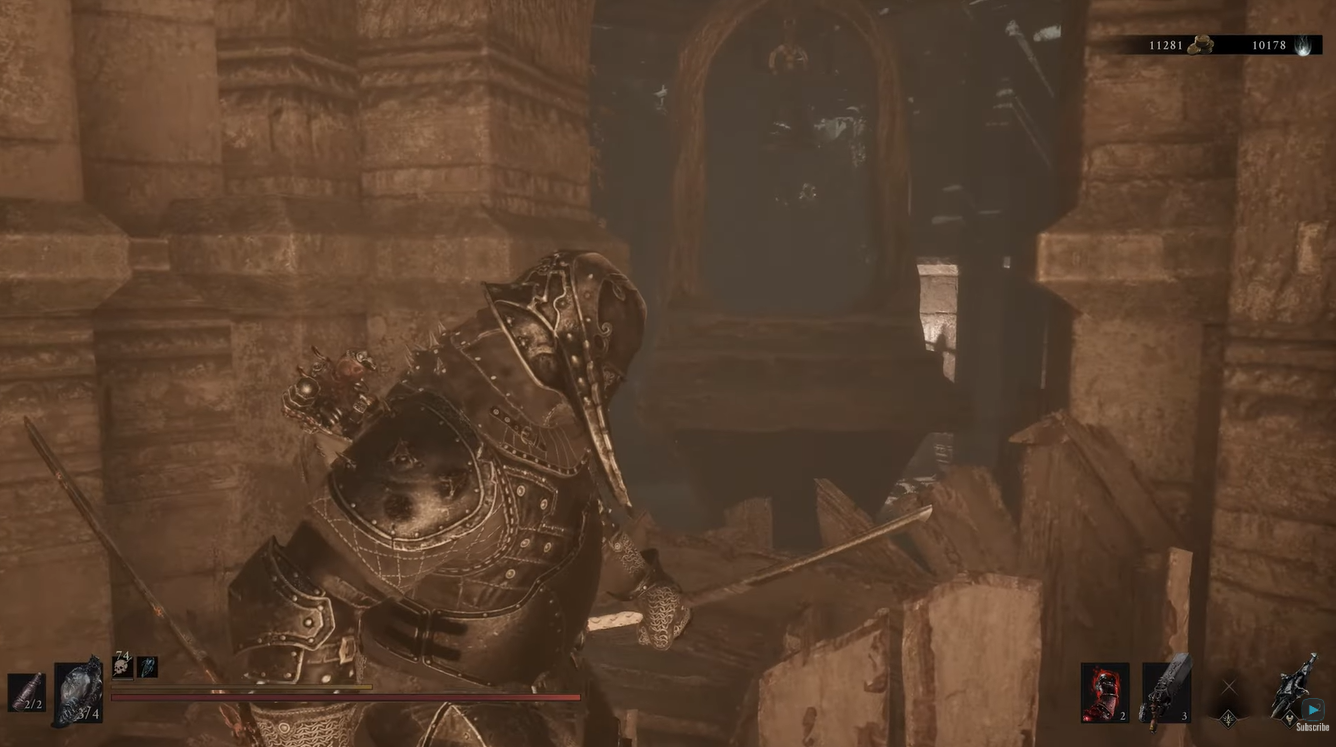 Toggle the hidden paths with the illusion arches | GosuNoob/YouTube
Pass through the illusion arches to change what is visible and open up the routes ahead.
Break the false walls marked with white symbols
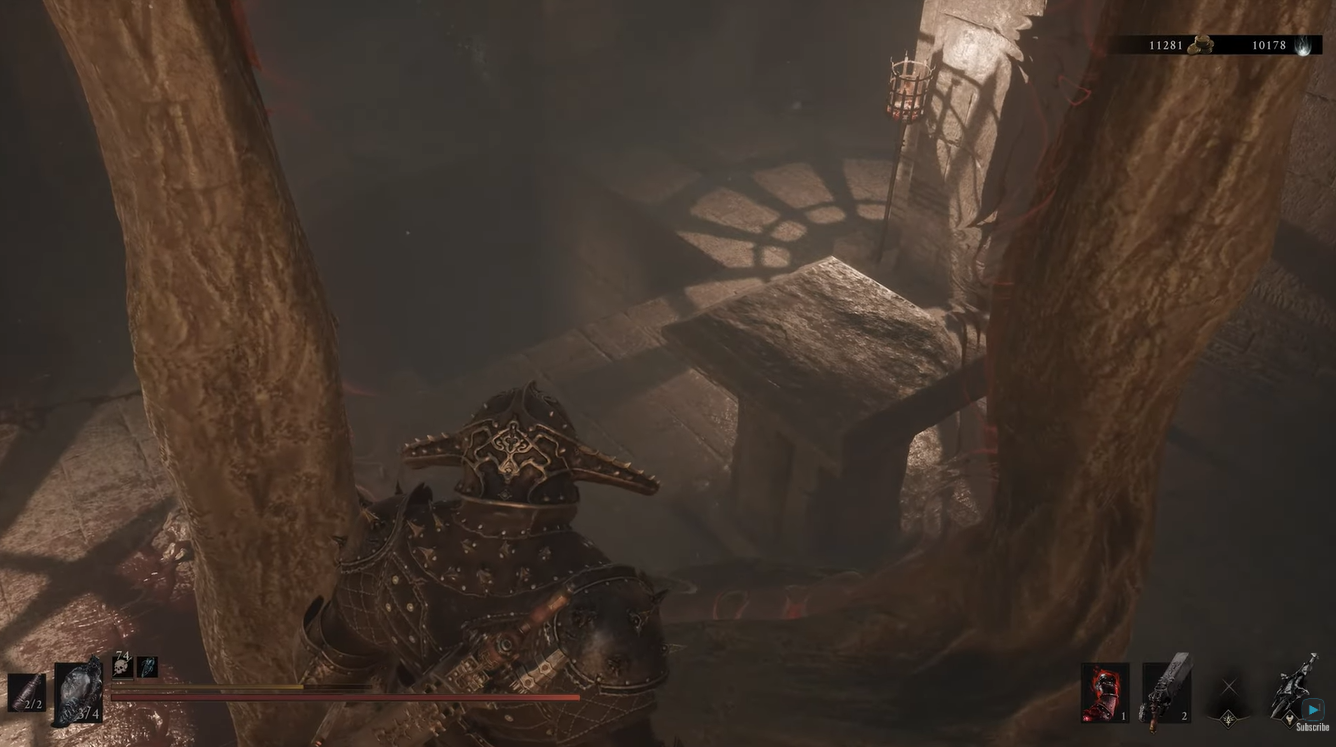 Break the false walls marked with white symbols | GosuNoob/YouTube
Strike the false walls carrying white symbols to expose the passages they hide.
Push the pillar onto the pressure plate
Shove the movable pillar onto the central pressure plate to unlock the sealed section of the room.
Loot the chest
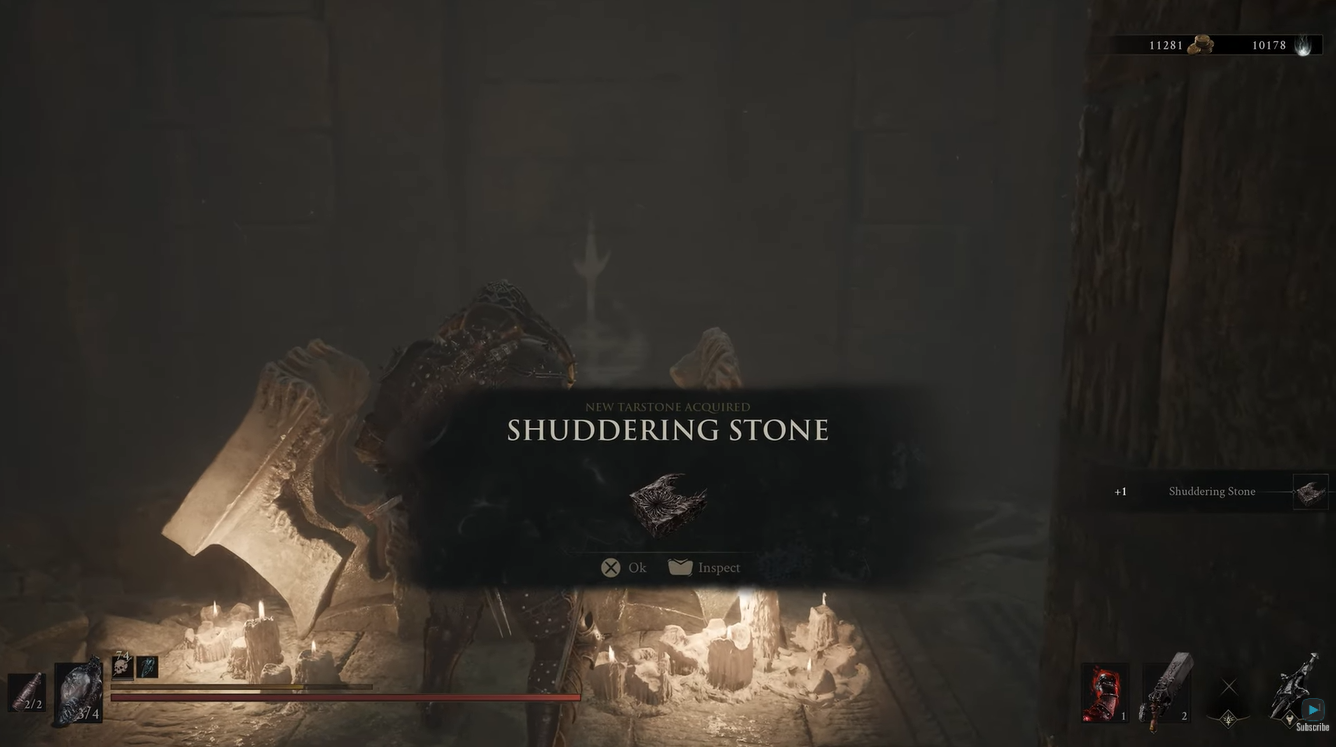 Loot the chest | GosuNoob/YouTube
The chest behind the opened wall holds the Shuddering Stone — open it to claim the Tarstone.
Knockback shockwave effect and compatible sidearms
| Level | Shockwave |
|---|---|
| Level 1 | Small |
| Level 2 | Medium |
| Level 3 | Large |
Key Equipped, the Shuddering Stone turns every projectile hit into a knockback shockwave, and that wave grows from Small to Medium to Large as you level the stone. The point of it is positioning, not damage — you use it to shove a pack back off a ledge, break up a group that is crowding you, or buy space to reload, not to spike a boss’s health bar. Treat it as a control tool and it earns its slot.
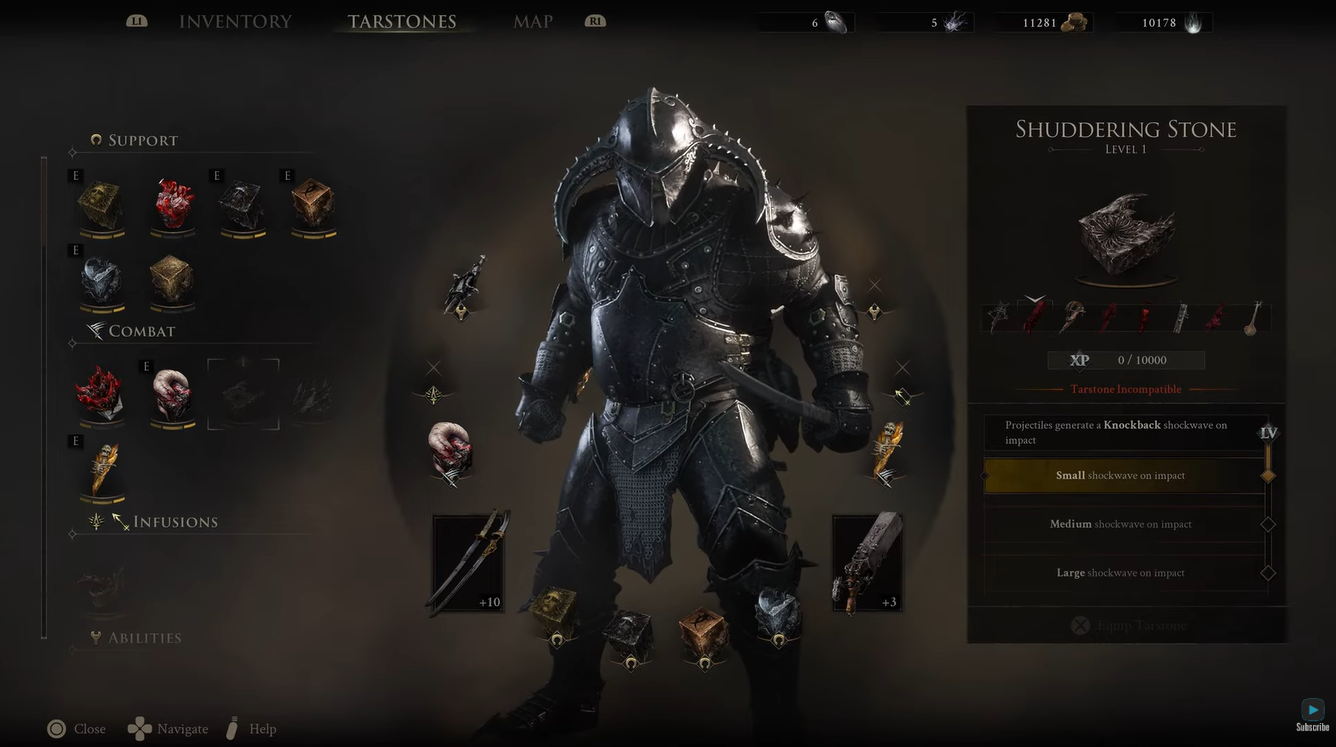
It only works in a Sidearm, and only in the ranged weapons that accept it — typically the Forgotten Crossbow, Salvaged Trebuchaxe, Ballistazooka, and Troubadour’s Lute. Socket it into a melee weapon or a sidearm outside that list and it does nothing, which is the most common way players waste it.
The Small → Medium → Large progression is consistent across accounts, but the total level count is unsettled: some write-ups cap it at three levels while others describe a fourth tier that opens with a plain knockback before the shockwave scaling begins, so the exact ceiling may be version-dependent.
Upgrading the Shuddering Stone at the Tarforge
Grab the Etching Needle before Magdalena
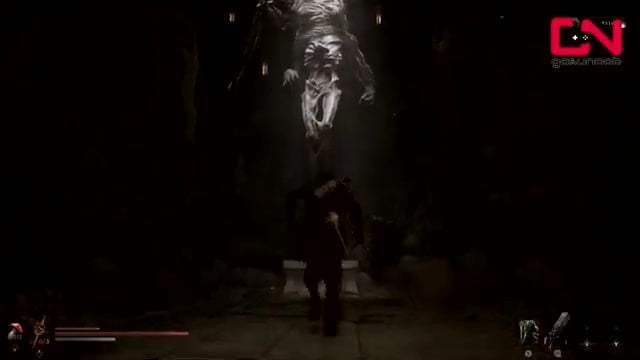
The Etching Needle sits in a chest just before the Magdalena, the Lady of the Woods boss fight — grab it on your way to her.
Hand the Etching Needle to Franz at Marrow Keep
Give the Needle to Franz at the Tarforge in Marrow Keep to expand his upgrade options.
Equip the Shuddering Stone and kill enemies
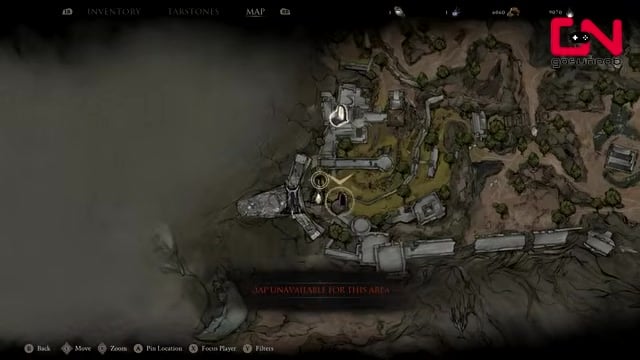
Slot the stone and fight normally — kills fill its XP bar toward the next level.
Return to Franz and pay Coin
Once the XP bar is full, head back to Franz and spend Coin to push the stone up a level.
Only slot the Shuddering Stone into a compatible sidearm — the Forgotten Crossbow, Salvaged Trebuchaxe, Ballistazooka, or Troubadour’s Lute — because in a melee weapon or any other sidearm it does absolutely nothing.
Related Mortal Shell 2 guides
Frequently Asked Questions
Is the Shuddering Stone missable?
No. It is a fixed chest reward that exists once per save file and cannot drop from enemies, so it never disappears. If you leave the Illusionist’s Cache without it, you simply travel back to the Gloomshade Grove Beacon and run the dungeon again to pick it up.
Do you need the Shuddering Stone for the Stoned trophy?
Not specifically. The Stoned trophy and achievement asks for 73 of the 75 Tarstones, which leaves you room to skip a couple, and it does not require upgrading any of them. You can grab the Shuddering Stone for the count if you want, but leaving it unleveled — or skipping it in favor of two other stones — still clears the requirement.
Video help






Leave a Reply