
The fastest shown route is to fast-travel to Castigator’s Keep, drop back down and loop around the outside, cross the wooden bridge, ride the jump gate at the far end, then drop off the edge to grab the Colossus Stone from the enemy platform below.
The Colossus Stone is an Ability Tarstone that slots into your primary weapon and lets you slam it into the ground for a shockwave that ripples through nearby foes for 80 Resolve. It is the go-to pickup for hammer players, and the quickest approach runs off the Castigator’s Keep beacon on the eastern side of the map. If you haven’t lit that beacon yet, you can still reach the stone on foot from Outskirts of Mammon — it just takes longer.
Colossus Stone quick location and effect
| Detail | Answer |
|---|---|
| Item type | Ability Tarstone (primary weapon) |
| Closest beacon | Castigator’s Keep |
| Route start | Outskirts of Mammon, or fast-travel to Castigator’s Keep |
| Pickup spot | Lower enemy platform past the far jump gate |
| Resolve cost | 80 |
| Effect | Ground-thrust shockwave through nearby foes |
Key Everything you need at a glance: the stone sits on a lower platform past the final jump gate, guarded by a small group of enemies, in a broken stone structure on the ground. Light the Castigator’s Keep beacon first if you can, since it turns a multi-minute run into a short one.
How to get Colossus Stone in Mortal Shell 2
If you don’t have the Castigator’s Keep beacon yet, this is the setup run that gets you to it.
STEP 1/5
Warp in at Outskirts of Mammon
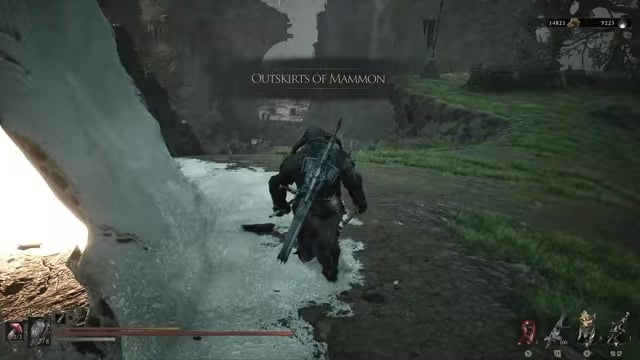
Emerge from the portal at the Outskirts of Mammon beacon to begin the run.
STEP 2/5
Head down the Road to Absolution
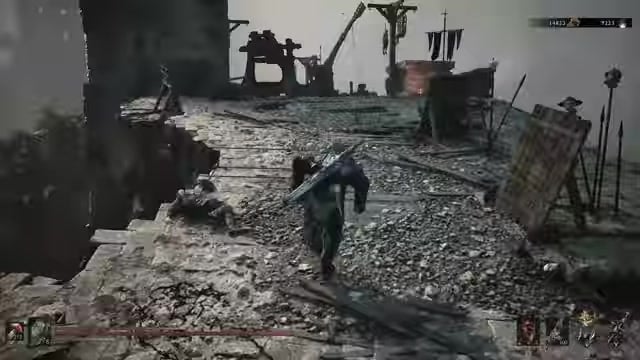
Push forward onto the Road to Absolution, bypassing the enemies rather than fighting through them.
STEP 3/5
Cross the first jump gate
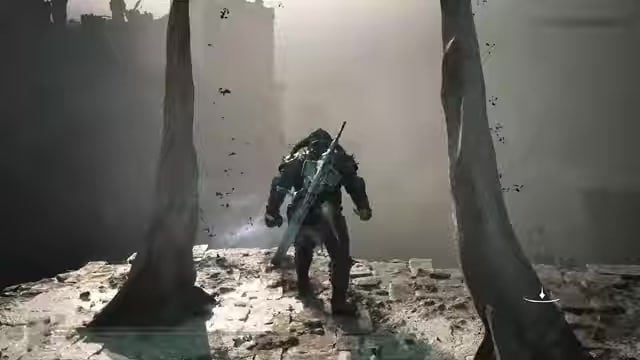
Take the jump gate between the bone pillars to launch across the gap, then keep moving.
STEP 4/5
Slip past the aggressive enemies
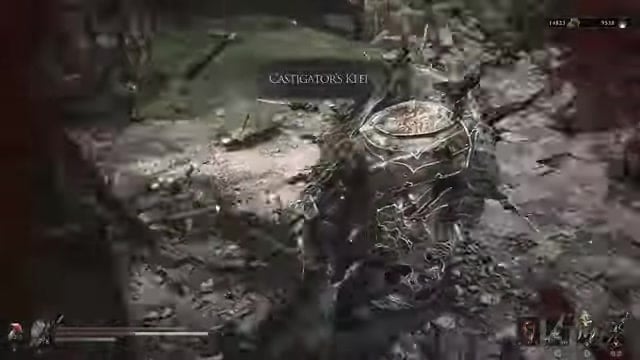
Watch for a couple of hard-hitting enemies along this stretch and avoid them where you can.
STEP 5/5
Reach the Castigator’s Keep Beacon
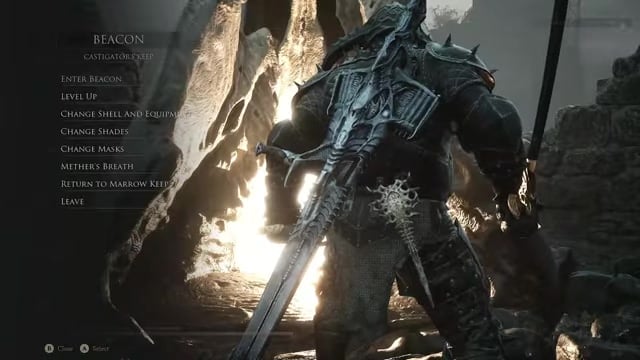
Climb the staircase and round to the end to light the Castigator’s Keep beacon.
If you already have the Castigator’s Keep beacon, fast-travel straight to it and skip the entire Outskirts of Mammon approach — the run below is all that’s left.
Main route from Castigator’s Keep to the Colossus Stone
From the Castigator’s Keep beacon, the stone is a short loop around the structure and one final drop away.
- Drop back down from the beacon — From the Castigator’s Keep beacon, head back down to where you first arrived.
- Circle the outside of the structure — Run along the outer wooden scaffolding around the exterior of the building.
- Turn left across the wooden bridge — When you see the opening on your left, cross the long wooden bridge to the next platform.
- Ride the jump gate at the far end — Follow the platform to its far edge and use the jump gate there to launch across.
- Drop off the edge — Land, then jump down off the ledge into the lower area where several enemies are gathered.
- Pick up the Colossus Stone — Grab the Colossus Stone from the broken stone structure on the ground to add the Tarstone to your inventory.
Video help
The 80 Resolve shockwave and who should use it
| Upgrade | Effect |
|---|---|
| Level 1 | Consume 80 Resolve to thrust your weapon into the ground and send shockwaves through nearby foes |
| Level 2 | Each shockwave deals 30 splash damage |
| Level 3 | Each shockwave covers a wider area |
| Level 4 | Each shockwave deals 80 splash damage |
Once equipped, the Colossus Stone lets you drive your weapon into the ground and send shockwaves rippling out through everything around you, spending 80 Resolve per cast. It scales as you level it, adding splash damage and then widening the area, which is why it hits so much harder on an upgraded stone than a fresh one.
This is a hammer pick, plain and simple. Slow heavy weapons like the Obsidian Hammer struggle to land clean hits, and the ground-slam turns that weakness into an area attack that catches groups. Players also say you can’t be staggered mid-animation, though that’s a community observation rather than a listed effect. The real limitation is Resolve: at 80 per cast you’ll want Resolve generation built into your loadout, or you’ll rarely get to use it.
Upgrading the Colossus Stone at the Tarforge
Tarstones level up at the Tarforge in Marrow Keep, but only after you give Franz the Etching Needle — a quest item looted from a chest right before the Magdalena, the Lady of the Woods boss fight, which unlocks the forge’s higher upgrade tiers. Once that’s done, the Balance Patch 1 changes from August 22 make upgrading noticeably cheaper, having cut Tarforge Gloom costs by 75%.
Related Mortal Shell 2 guides
Frequently Asked Questions
Can you get the Colossus Stone before unlocking Castigator’s Keep?
Yes. The Colossus Stone isn’t locked behind the beacon — lighting Castigator’s Keep only saves travel time. Without it you simply make the full run from Outskirts of Mammon down the Road to Absolution, using the setup route above, and finish with the same bridge-and-drop sequence.
Does the Colossus Stone work with every weapon?
No. It’s an Ability Tarstone that infuses into a single compatible primary weapon and shows as inactive on gear it doesn’t match. It’s tuned for the hammer, so check compatibility before you sink upgrade materials into it rather than equipping it to a weapon that can’t use the slam.
Why is the Colossus Stone location described differently in other guides?
Some write-ups anchor the same chest to a different nearby beacon, such as The Silent Steps, and describe it as a chest rather than the ground pickup you see on this run. Both descriptions point at the same eastern platform area past a bone gate — the beacon you fast-travel from is the main difference, and the Castigator’s Keep approach here is the quicker one.






Leave a Reply