

The Auspicious Stone Tarstone is inside the sealed offering chest in the center of Mushroom Village, which opens after you light the three candles around the village.
Mushroom Village hides one of the easiest early damage upgrades in the game, and the Auspicious Stone is the reason to make the detour. It’s a Support Tarstone that raises your melee Critical Chance, and the offering chest holding it stays sealed until you light three candles scattered around the village. Here’s exactly where the chest is, how to unlock it, and whether it’s worth a slot on your build.
Where to find the Auspicious Stone
| Detail | Answer |
|---|---|
| Item type | Support Tarstone |
| Location | Offering chest, center of Mushroom Village (Glutted Mire) |
| To open the chest | Light all three village candles |
| Main effect | Increases melee Critical Chance |
You’ll find the offering chest in the Glutted Mire region, right in the middle of Mushroom Village. Coming in by fast travel, it sits roughly west to southwest of the Mushroom Village Beacon, or southeast of the Widow’s Overlook Beacon if you approach from that side. Both routes drop you at the same sealed chest in the village center.
How to get the Auspicious Stone in Mortal Shell 2
Reach Mushroom Village

Fast travel to the Mushroom Village Beacon in the Glutted Mire and make your way to the sealed offering chest in the center of the village.
Find the central chest
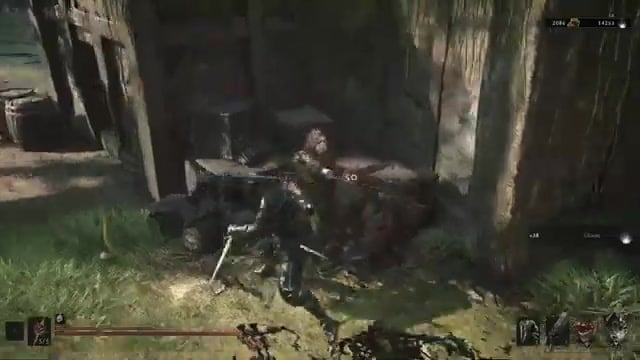
Key The chest sits on the stone offering platform in the middle of the village and stays locked until all three candles are burning, so mark it and fan out.
Light the stage-side candle
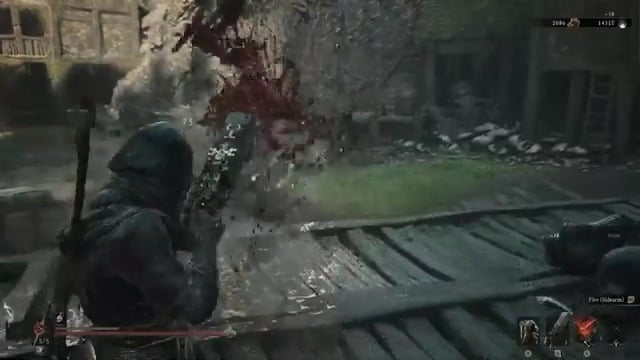
Look on or just behind the wooden stage near the central chest for the first candle on its stone pillar and interact with it.
Light the right-path candle
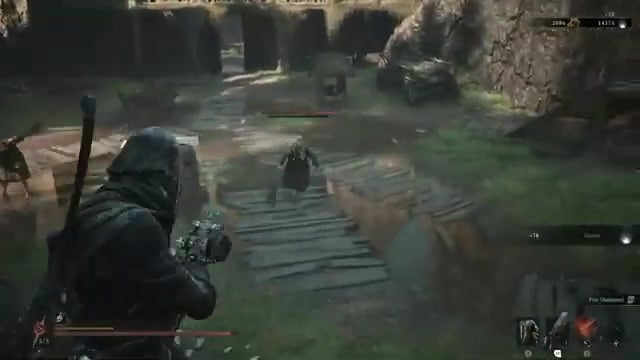
Follow the right-hand path from the chest toward the village exit and the first house on the rise; the second candle is beside that structure or gateway.
Light the left-path candle
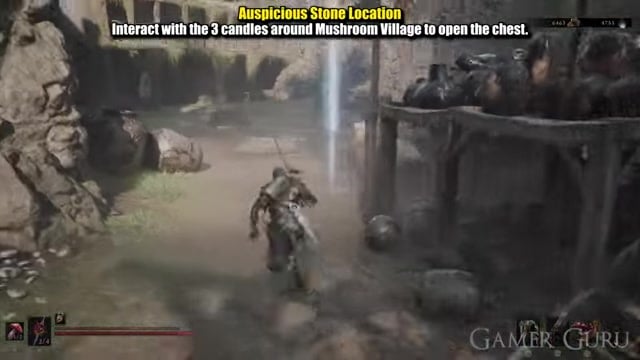
Take the left path to the pair of villagers dancing near the Weltcaps, where the last candle waits just behind them by a nearby house.
Clear the nearby enemies
A cluster of enemies patrols the area around the chest, so wipe them out before looting to avoid getting jumped mid-open.
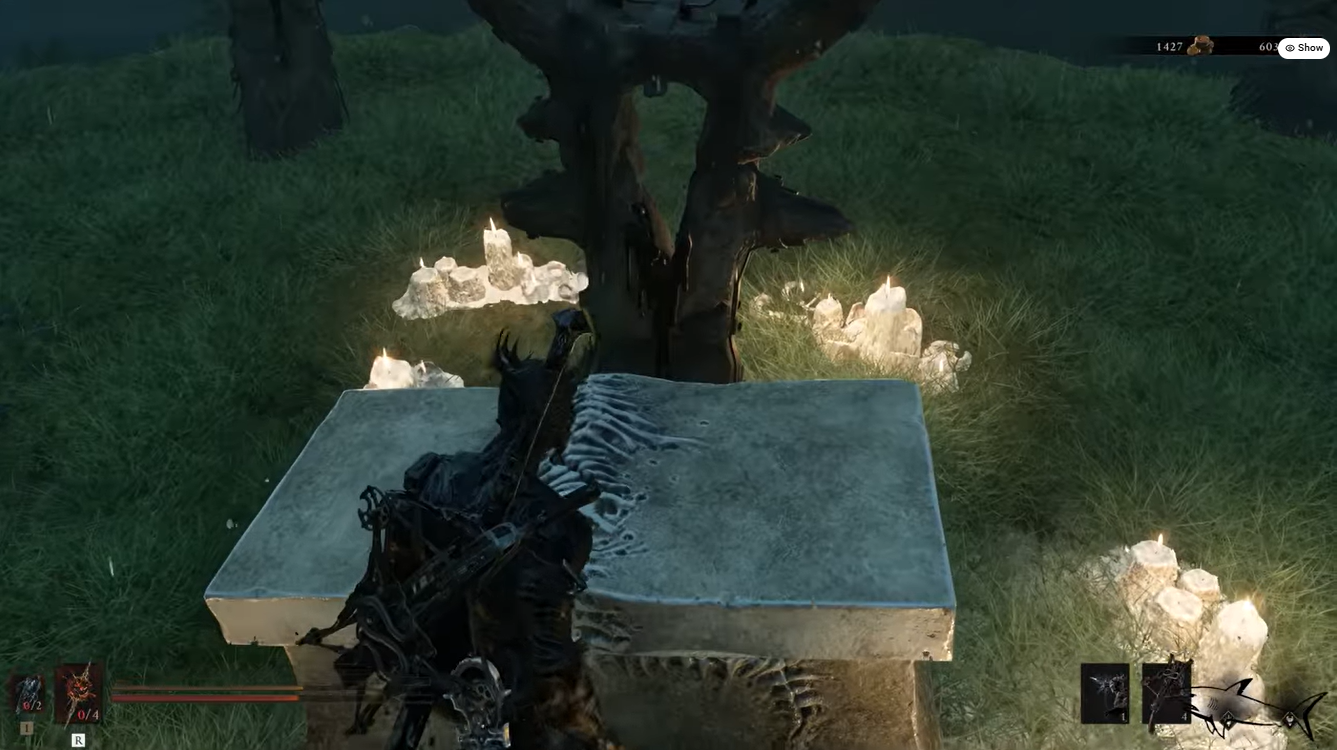
Open the offering chest
With all three candles lit the seal drops — return to the center and open the chest to claim the Auspicious Stone along with a Glimpse.
Melee crit chance at each level
| Level | Melee crit chance |
|---|---|
| Level 1 | +10% |
| Level 2 | +15% |
| Level 3 | +18% |
Key These values apply to your melee attacks only — nothing here touches ranged or sidearm crits. The +10%, +15%, and +18% jumps are consistent everywhere; the only wrinkle is whether a base unlock sits below them with no listed percentage, which can nudge the level numbers by one depending on the listing. The percentages themselves don’t change, so treat those as the fixed part.
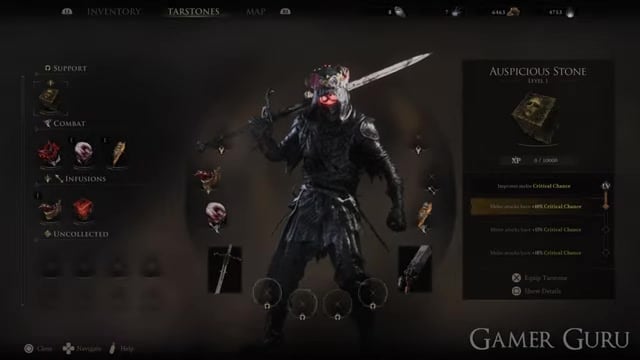
When to equip it and what to pair
Auspicious Stone is one of the strongest early picks precisely because it’s so cheap to grab and pays off the moment it’s on. Crit chance is effectively a multiplier on your melee output, so more crits landing means more of your hits spike into big-damage territory — that’s why it earns a Support slot on almost any melee-leaning build. It scales as well: the higher your crit chance climbs from other sources, the more often those bonus-damage hits trigger.
The natural partner is Headsman’s Stone, which raises melee Critical Damage. Run the two together and you cover both halves of the crit equation — Auspicious Stone makes crits happen more often, Headsman’s Stone makes each one hit harder — and that combo is the backbone of most crit-focused melee setups. The one caveat is build direction: if you’re leaning into a ranged or sidearm-heavy playstyle, Auspicious Stone does nothing for you, so the slot is better spent elsewhere.

Equip Auspicious Stone the moment you loot it if you have a free Support slot and swing melee — the crit-chance bump is an instant, no-cost damage upgrade this early in the run.
Related Mortal Shell 2 guides
Frequently Asked Questions
Does Auspicious Stone help ranged critical hits?
No — Auspicious Stone only affects melee attacks, so your sidearm and other ranged crits get nothing from it. If you want to raise ranged Critical Chance, Marksman’s Stone is the equivalent Support Tarstone to hunt down instead, which is a common point of confusion.
Is Auspicious Stone worth using early?
Yes. You can reach it early with only light combat around the village, and it improves your melee damage the instant it’s equipped — you don’t need to upgrade it first for it to be useful. Crits keep scaling as you progress, so it rarely leaves a melee loadout once it’s on.
Do the three Mushroom Village candles need to be lit in a specific order?
No. The order doesn’t matter — light all three candles anywhere around the village and the seal on the central chest drops regardless of which one you reach first.
Video help






Leave a Reply