
- What to know
- NTE Video Cemetery anomaly
- How the Illusion Town location sets up the anomaly
- How space projectors control progression
- How transparent orbs guide you through puzzles
- How to defeat bookshelf spider bosses efficiently
- How the final room wraps up the anomaly
- Rewards for completing the Video Cemetery anomaly
What to know
- You must interact with multiple space projectors to manipulate environments and progress.
- Transparent orbs act as subtle guides for the correct path and puzzle order.
- Combat encounters with bookshelf spider bosses gate progression.
- Completing the final investigation unlocks rewards and the hidden achievement.
The Video Cemetery anomaly commission in Neverness to Everness (NTE) is one of the more puzzle-heavy and atmospheric missions you’ll encounter. You’re not just fighting enemies—you’re actively reshaping the environment using projector mechanics. If you approach it methodically, the mission becomes far more manageable and even enjoyable.
NTE Video Cemetery anomaly
| Aspect | Details |
|---|---|
| Location | Illusion Town (Video Cemetery area) |
| Objective | Solve projector puzzles, defeat bosses, complete investigation |
| Key Mechanic | Space Projectors (rewind/restore environments) |
| Enemies | Bookshelf Spider Bosses |
| Hidden Element | Transparent orb clues |
| Final Reward | Achievement + multiple materials and currency |
How the Illusion Town location sets up the anomaly
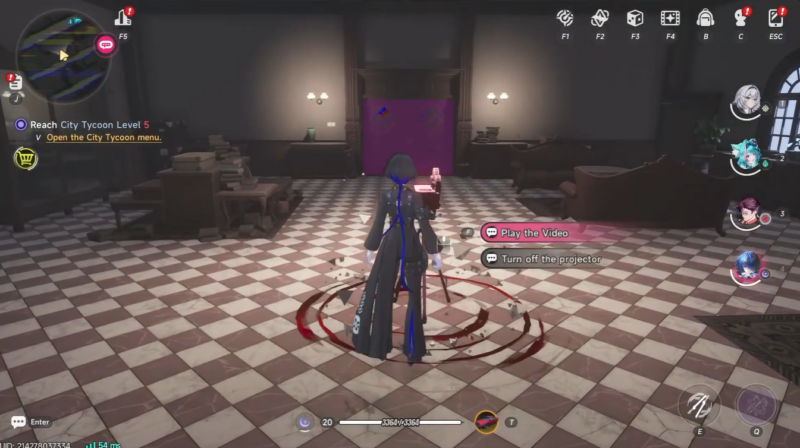
You begin by teleporting to Illusion Town and heading toward the Video Cemetery zone. From there, using a vehicle speeds up traversal to the anomaly building. Once inside, you’ll head upstairs where the first space projector is located. This initial interaction introduces you to the core mechanic: rewinding and manipulating recorded environments to rebuild paths forward.
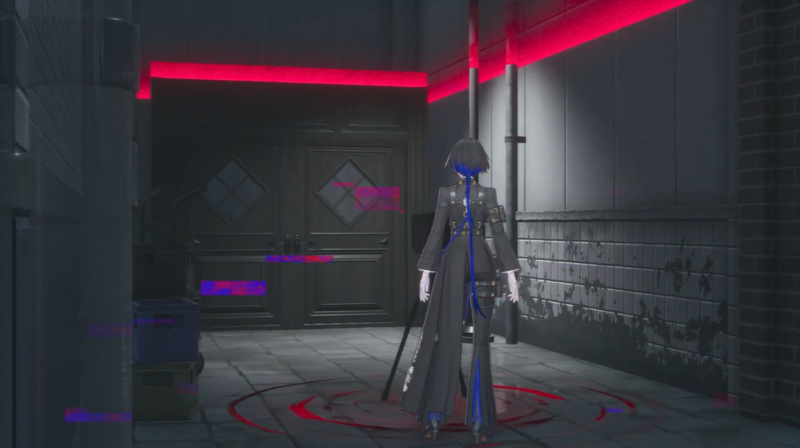
The setting itself is intentionally eerie, filled with distorted visuals and looping environments. This design isn’t just for atmosphere—it directly ties into the puzzle logic you’ll need to understand.
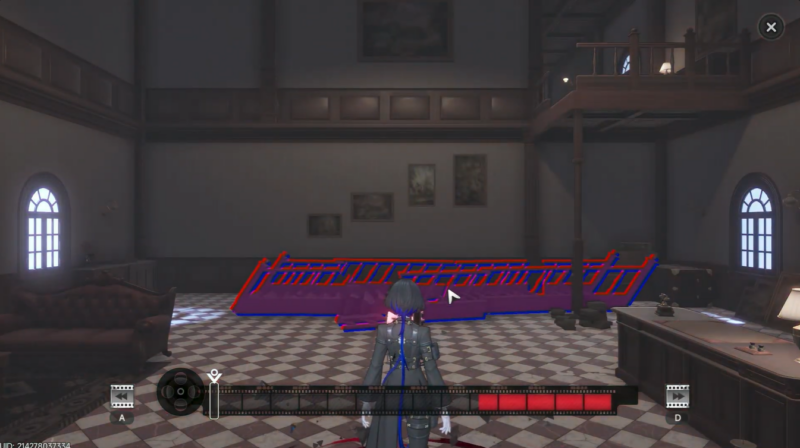
How space projectors control progression
The space projectors are the backbone of this entire anomaly. Each one allows you to rewind a recorded “state” of the environment. When you interact with sliders or playback controls, you’re essentially restoring broken pathways, stairs, or doors.
How to use projectors effectively
Step 1
Interact with the projector and observe the current broken environment carefully. You need to understand what’s missing before adjusting anything.
Step 2
Adjust the timeline slider to rewind the scene. This will gradually restore objects like staircases or platforms.
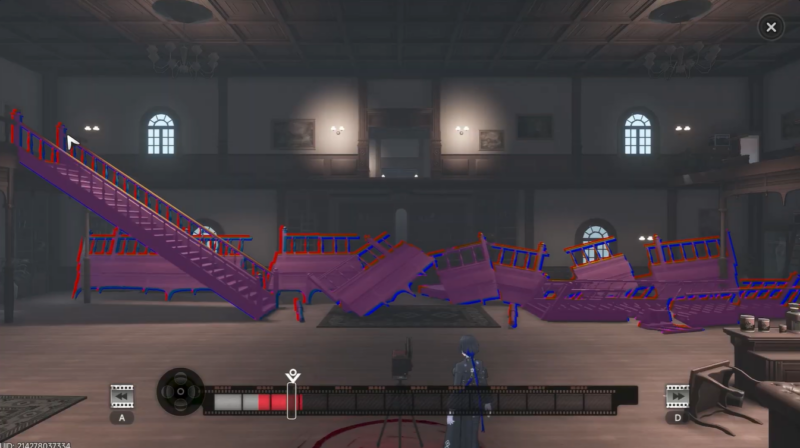
Step 3
Stop at the correct moment when the path becomes usable. Overshooting can remove necessary structures again.
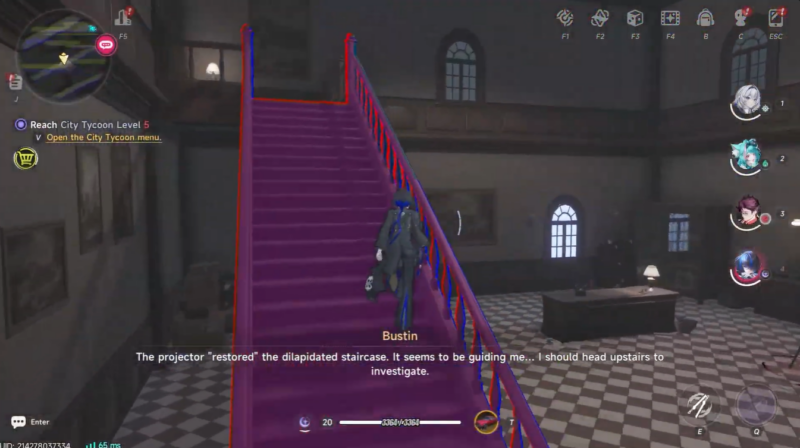
Step 4
Exit the projector and immediately test the environment. Progress forward before the logic becomes confusing again.
You’ll repeat this process across multiple rooms, each becoming slightly more complex. Some puzzles require precise timing, while others need you to notice environmental cues.
How transparent orbs guide you through puzzles
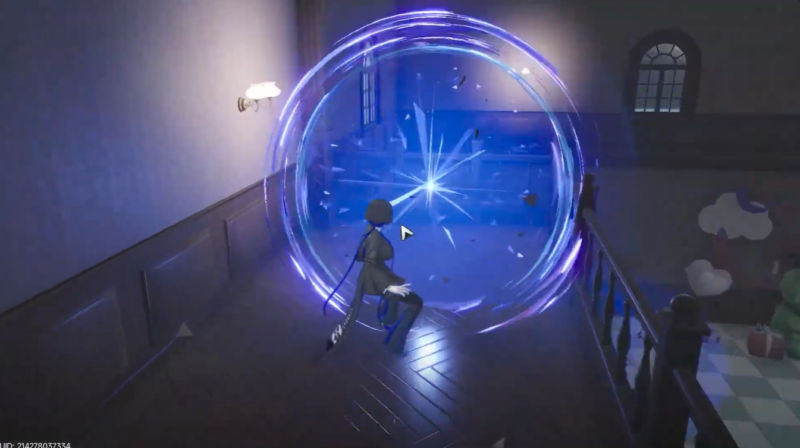
Throughout the anomaly, you’ll notice faint transparent orbs floating in certain areas. These are not collectibles but visual hints indicating the correct direction or interaction point.
Instead of guessing your next move, you should:
- Follow orb trails to locate the next projector or puzzle element
- Use them to confirm you’ve restored the environment correctly
- Avoid unnecessary backtracking by trusting their placement
Ignoring these orbs often leads to confusion, especially in later rooms where multiple paths overlap.
How to defeat bookshelf spider bosses efficiently
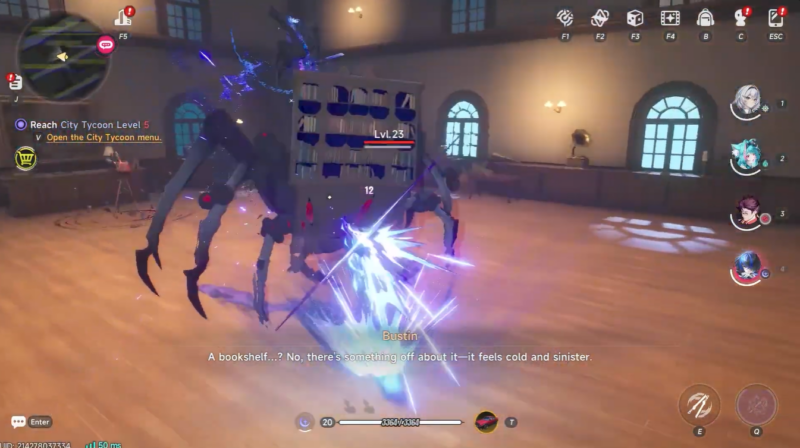
Combat encounters break up the puzzle flow, and the bookshelf spider bosses are your main challenge. These enemies typically appear after key puzzle milestones and must be defeated to unlock the next section.
Strategy to handle spider bosses
- Keep your distance initially and observe attack patterns. These bosses tend to lunge or trap you.
- Focus on mobility rather than raw damage early on. Dodging is more important than attacking.
- Strike during recovery windows after their attacks. This is when they’re most vulnerable.
- Use abilities or burst damage when their health drops below half. Ending the fight quickly reduces risk.
How the final room wraps up the anomaly
The final segment combines everything you’ve learned—projector manipulation, observation, and exploration. You’ll enter a room where a final investigation sequence takes place.
Step 1
Interact with the last projector and align the environment correctly.
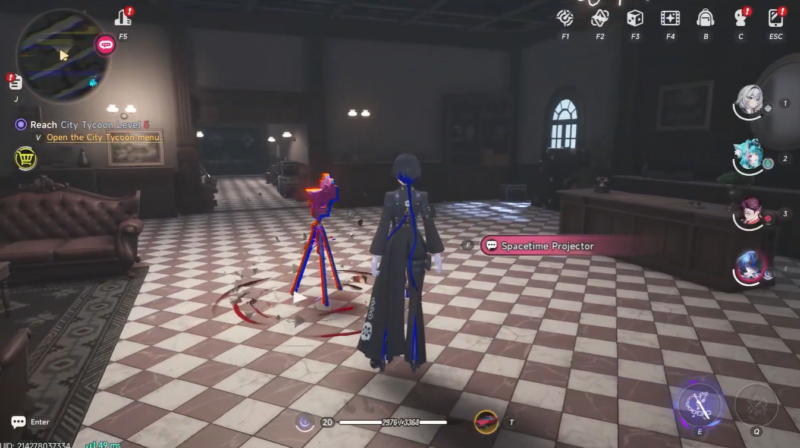
Step 2
Search the room for interaction prompts tied to the anomaly narrative.

Step 3
Trigger the final investigation event to conclude the mission.

Once completed, the anomaly resolves, and you’ll unlock the “In Book There Lies” achievement. This marks full completion of the Video Cemetery commission.
Rewards for completing the Video Cemetery anomaly
The Video Cemetery anomaly is unique because it blends environmental storytelling with gameplay mechanics. Unlike straightforward combat missions, you’re required to think, observe, and adapt constantly.
| Reward Item | Quantity |
|---|---|
| Annulith | x20 |
| Anomaly Material Selection Box | x3 |
| Bronze Carrota | x80 |
| U-00NE | x15 |
| Beetle Coin | x4,000 |
| Fons | x8,000 |
These rewards make the mission highly worthwhile, especially for progression materials and currency.
The projector system introduces a time-based puzzle mechanic that feels fresh and engaging. Combined with subtle guidance like transparent orbs and well-paced combat encounters, the mission maintains a strong balance between challenge and clarity.
Completing the Video Cemetery anomaly in Neverness to Everness is all about understanding how space projectors reshape the world around you. Once you grasp that core mechanic, everything else—from puzzles to boss fights—falls into place naturally. Stay observant, follow the orb cues, and approach each section methodically, and you’ll finish the commission smoothly while securing all rewards and the achievement.


Leave a Reply