

Grounded 2’s Into the Abyss update has 68 Milk Molar and Mega Milk Molar pickups to collect, spread across the park’s surface, caves, high climbs, labs, frozen areas, and underwater routes.
The Into the Abyss update reworked the pond, opened up the Abyss, and added diving gear and the amphibious Toe-biter buggy, which pushed the molar hunt into new underwater and high-climb spaces. It also corrected the yard’s total by removing one stray spawn, so the current park holds a fixed 68 pickups between the white Milk Molars (personal upgrades) and the golden Mega Milk Molars (party-wide upgrades). The full route below is grouped by biome in collection order, because chasing molars across the whole map in a straight line wastes far more time than clearing one region at a time.
- All 68 molar pickups in route order
- Gear and traversal gates to bring first
- Snackbar Front and Hatchery Anthill molars
- Park Entrance and Ceremony molars
- Picnic Table and Pine Hill molars
- Fire Pit, Croquet Court, and Ice Cream Cart molars
- Statue, Veggie Garden, Greenhouse, and Pumpkin Patch molars
- Gnarly Bark, pond, Pergola, and Bridge molars
- Still missing a molar? Where to look
- How to grab every Snack Bar molar in Grounded 2
All 68 molar pickups in route order
| Pickup | Where | Requirement |
|---|---|---|
| 1. Milk Molar | Snack bar machine entrance cave (Snackbar Front) | — |
| 2. Mega Milk Molar | Behind the snack bar front bump | Spider mount |
| 3. Milk Molar | Snackbar Front ant cave, right side | — |
| 4. Milk Molar | Inside the pipe under the snack bar | Spider mount |
| 5. Milk Molar | Under-table root cave | Soldier ant |
| 6. Milk Molar | On top of the table | Spider mount |
| 7. Mega Milk Molar | Top of the snack bar machine | Spider mount |
| 8. Mega Milk Molar | Under the news camera | Torch |
| 9. Mega Milk Molar | Hatchery Anthill South Entrance, side cave | Soldier ant, torch |
| 10. Milk Molar | Hatchery Anthill hidden room | Soldier ant |
| 11. Mega Milk Molar | Entrance cave behind a root barrier | Soldier ant |
| 12. Milk Molar | Mushrooms on the Entrance tree trunk | Spider or ant |
| 13. Milk Molar | Ground behind the acorns near the webs | — |
| 14. Mega Milk Molar | Top of the trash near the can | Gas Mask |
| 15. Milk Molar | Inside the fallen cup by the can | — |
| 16. Milk Molar | Cracked rock in the tree-root cave | Soldier ant, explosive |
| 17. Milk Molar | Under the Ceremony rock overhang (right) | — |
| 18. Milk Molar | Left of the same rock, under roots | — |
| 19. Mega Milk Molar | Under the Ceremony box, south side | — |
| 20. Mega Milk Molar | Cup on the Ceremony shelf | Spider mount |
| 21. Milk Molar | Picnic Table cave with Larva | Soldier ant |
| 22. Milk Molar | Under-table cave, left fork by bones | — |
| 23. Milk Molar | Cup on the ground, right of the table | — |
| 24. Milk Molar | Inside the locked suitcase | Lock codes |
| 25. Milk Molar | Snowy cooler beside the suitcase | Fuzzy armor |
| 26. Mega Milk Molar | Above the table, under the tablecloth | Spider mount |
| 27. Mega Milk Molar | Cracked-rock cave near the table | Explosive |
| 28. Milk Molar | Under the Pine Hill tree (pair, first) | — |
| 29. Milk Molar | Under the Pine Hill tree (pair, second) | — |
| 30. Milk Molar | Dark root cave, left side of Pine Hill | Torch |
| 31. Milk Molar | Spider Den Anthill South Entrance ledge | Soldier ant, torch |
| 32. Mega Milk Molar | Under the broken lantern, upper Pine Hill | — |
| 33. Milk Molar | By a boulder under a fallen log (Fire Pit) | — |
| 34. Milk Molar | Cardboard tunnel by the can | Torch |
| 35. Milk Molar | Inside the Fire Pit structure | Heat protection |
| 36. Mega Milk Molar | Behind the Cockroach Queen, Fire Pit top | Heat protection |
| 37. Mega Milk Molar | Cracked-rock cave under the Fire Pit | Torch, explosive |
| 38. Milk Molar | Flooded cave under the hammer | Explosive, Tier 3 Axe, access 3 |
| 39. Milk Molar | Between rocks in the Croquet Court water | — |
| 40. Milk Molar | Dirt alcove in the brick wall | — |
| 41. Mega Milk Molar | On the Croquet Court perimeter wall | Spider mount |
| 42. Milk Molar | Deep in the long Croquet cave | Soldier ant |
| 43. Mega Milk Molar | Lamppost cave, Ice Cream Cart | Torch |
| 44. Mega Milk Molar | Behind a pinecone under the tree | Spider mount |
| 45. Milk Molar | In the snow pocket by the lamp | — |
| 46. Milk Molar | Icy cave under the cart | Fuzzy armor |
| 47. Milk Molar | Larva-and-mint interior cave | Fuzzy armor |
| 48. Mega Milk Molar | Under the cart machinery (with 500 Raw Science) | Fuzzy armor |
| 49. Mega Milk Molar | On the bicycle wheel atop the cart | — |
| 50. Milk Molar | Root opening by the Statue tree | — |
| 51. Milk Molar | Under the light fixture behind the Statue | Spider mount |
| 52. Milk Molar | Inside the red ball, Statue center | — |
| 53. Milk Molar | Open flower bed near the Statue | — |
| 54. Mega Milk Molar | Behind a broken wall in the Statue lab | SCA.B access |
| 55. Milk Molar | Veggie Garden leaf platform | Spider mount |
| 56. Milk Molar | High potted plant across the webs | Spider mount |
| 57. Milk Molar | Inside the elevated planter bowl | Spider mount |
| 58. Milk Molar | Beside the Cockroach Queen in the root cave | Spider, torch |
| 59. Milk Molar | End of the shovel handle, Greenhouse | Spider mount |
| 60. Milk Molar | Corner behind the Greenhouse box | Spider mount |
| 61. Milk Molar | Upper Greenhouse gap, guarded by a wasp | Spider mount |
| 62. Milk Molar | On the Greenhouse roof beam | Spider mount |
| 63. Milk Molar | Inside the Greenhouse pumpkin | Spider, Tier 3 Axe |
| 64. Mega Milk Molar | On a jar cap, right side of Greenhouse | Spider mount |
| 65. Mega Milk Molar | Acid-water cave in the Greenhouse wall | Torch |
| 66. Milk Molar | Exterior lab alcove under the Greenhouse | Torch |
| 67. Milk Molar | Cave right of the Pumpkin Patch vines | Spider mount |
| 68. Mega Milk Molar | Inside the crate in the corner | Spider mount |
Key Scan this to track your run and see the gate on each one before you set out. It only names the landmark and the access requirement — the full directions for the tricky ones are in the biome sections underneath, so use this as a checklist, not a replacement for them. Every white molar needs the base Omni-Hammer; every golden Mega needs a Tier 2 hammer.
Gear and traversal gates to bring first
| Requirement | Used for |
|---|---|
| Orb Weaver (spider mount) | Webs, tabletops, high beams, roofs, and most Mega climbs |
| Red or Black Soldier Ant | Digging through anthill tunnels and root-blocked caves |
| Torch | Seeing inside dark caves, anthills, and labs |
| Gas Mask | Toxic haze on the can climb and the gassy Bridge rock |
| Fuzzy Hat and Fuzzy Parka | Chill in the snowy cooler, ice cream cart, and freezer pockets |
| Heat protection | Surviving inside the Fire Pit structure |
| Bratburst or Croakwurst explosive | Blowing cracked rocks on the surface and underwater |
| Tier 3 Axe | Chopping dead roots and cutting into pumpkins |
| Diving Suit with Koi or Diving Helmet | Pond, Abyss, and every underwater molar |
| SCA.B Scanner / access level 3 | Lab doors in the Statue and Fire Pit undergrounds |
Almost every failed molar run comes down to arriving without the one tool that pickup is gated behind, then backtracking for it. A white Milk Molar only needs the base Omni-Hammer to crack, but the golden Mega Milk Molars need a Tier 2 hammer, so build that before you start chasing the gold teeth. The rest of the kit is about reaching the spot at all: an Orb Weaver spider mount does most of the vertical work, a soldier ant digs the tunnels, and the diving gear from the Abyss unlocks the whole underwater half of the list.
Drop a map sign on any molar you can’t reach yet and come back once you’ve built a spider mount, explosives, a Tier 3 Axe, and the Diving Suit — a big chunk of the 68 are gated behind gear you won’t have on your first pass through a biome.
Snackbar Front and Hatchery Anthill molars
Snackbar Front
1 — Snack bar machine entrance: in the starting area, find the cave entrance beside the snack bar machine, head straight in, and the first Milk Molar is on your right.
2 — Behind the front bump: ride a spider up the back of the machine — spiders nest here — and smash the Mega Milk Molar on the right-hand ledge.
3 — Front ant cave: the cave in Snackbar Front holds a Red Soldier Ant and normal ants; clear a path and the Milk Molar sits on the right side of the chamber.
4 — Under-snackbar pipe: get under the snack bar on a spider, climb onto the metal tube, and follow it to the Milk Molar tucked inside the pipe opening.
5 — Under-table cave: take a Red or Black Soldier Ant into the root system beneath the table to break the dead roots, then grab the Milk Molar inside.
6 — Above the table: climb onto the tabletop and walk to the edge, where a Milk Molar sits out in the open.
7 — Top of the machine: a spider makes the web climb up the side of the machine easy; the Mega Milk Molar is waiting on top.
8 — Under the camera: drop under the news camera into the small cave with a torch lit and break the Mega Milk Molar there.
Hatchery Anthill
These two share the South Entrance and it is genuinely easy to get turned around inside, so move slowly and count your turns.
9 — South-entrance side cave: ride a soldier ant in, take the ladder area and turn right, break the dead roots, then follow the left path into a small side cave for the Mega Milk Molar.
10 — Hidden room: from the same entrance, pass the ladder and turn left, follow past the red lights and the table, and open the hidden door on the left — this is the trickiest one in the anthill — to reach the last Milk Molar.
Park Entrance and Ceremony molars
Entrance
11 — Entrance cave Mega: take a soldier ant into the lit cave, break the barrier blocking the path, and collect the Mega Milk Molar inside.
12 — Tree mushrooms: at the big tree near the gate, climb the mushrooms up the trunk on a spider or an ant to reach the Milk Molar on the ledge.
13 — Acorn ground: near the spider webs, look behind the large acorns on the ground for a Milk Molar sitting in the open.
14 — Above the can: equip a Gas Mask for the toxic haze, climb the fallen log by the can to the top, and the Mega Milk Molar is tucked behind the trash.
15 — Inside the cup: the overturned white cup on the ground near the can has a Milk Molar inside — just walk in.
16 — Cracked-rock cave: the root-blocked cave on the left side needs a soldier ant to enter; turn right inside and throw a Bratburst at the cracked rock, then back away before it opens onto the Milk Molar.
Ceremony
17 — Rock overhang, right: under the big rock overhang, the first Milk Molar sits in the dirt.
18 — Rock overhang, left: step left past the can and check under the nearby tree roots for the second one.
19 — Under the box: on the south side, crawl under the wooden box and through the grass and branches to the Mega Milk Molar on the ground.
20 — Shelf cup: climb the webs onto the wooden shelves with a spider, cross the books and papers, and the Mega Milk Molar is inside an overturned cup.
Picnic Table and Pine Hill molars
Picnic Table
21 — Picnic Table cave: follow the cave tunnel straight past the Larva to a Milk Molar in a small alcove.
22 — Under-table cave: enter the cave beneath the table, take the left fork, and head down to the Milk Molar next to some bones.
23 — Ground cup: on the right side of the table, a Milk Molar sits in an overturned cup you can just run up to.
24 — Locked suitcase: above the table is a briefcase with two combo locks — the left is 137 and the right is 514 (the code is written on the table nearby). Open it and take the Milk Molar inside.
25 — Snowy cooler: right of the suitcase, put on Fuzzy gear for the freezing interior and grab the Milk Molar in the corner.
26 — Under the tablecloth: ride a spider under the tablecloth above the table for a Mega Milk Molar.
27 — Cracked-rock cave: find the cracked-rock entrance under nearby mushrooms, blow it with an explosive, and run in for the Mega Milk Molar.
Pine Hill
28 and 29 — Under the tree: a tree-root overhang holds two Milk Molars side by side, but three Orb Weavers guard them, so clear the spiders before you grab both.
30 — Dark root cave: on the left side of Pine Hill, climb the soil bank into a dark root cave and find the Milk Molar hidden in the nook — bring a torch.
31 — Spider Den Anthill: the South Entrance needs a Red Soldier Ant to dig through; clear the root barriers, pass the crate, and the Milk Molar is on a ledge over a lower chamber.
32 — Broken lantern: in the upper area, walk to the broken lantern on the ground and go under it for the Mega Milk Molar.
Fire Pit, Croquet Court, and Ice Cream Cart molars
Fire Pit
33 — Open boulder: go under the fallen log in the open dirt and take the Milk Molar next to the boulder.
34 — Cardboard tunnel: beside the can, step into the cardboard tunnel with the coins and find the Milk Molar in a corner — a torch helps.
35 — Inside the Fire Pit: you need heat protection to enter the structure; the Milk Molar is near a melted toy figure.
36 — Cockroach Queen Mega: climb the wooden ramp to the top level, deal with the Cockroach Queen, and the Mega Milk Molar is right behind it.
37 — Cracked-rock cave: take an ant into the cave beneath the Fire Pit, bomb the cracked rock behind the cardboard box, and grab the Mega Milk Molar in the debris room.
38 — Hammer route: by the big red hammer, bomb the cracked rock under the head to open a flooded cave, chop the underwater dead root with a Tier 3 Axe, and take the Milk Molar; this door needs access level 3, and you exit through the lab tunnel.
Croquet Court
39 — Water pickup: a Milk Molar sits between rocks in the shallow pond with the lily pads.
40 — Brick wall: in the dirt alcove between the brick structures, a Milk Molar is against the wall.
41 — Wall Mega: this one is built for a spider — climb the leaves and the web up the perimeter brick wall to the Mega Milk Molar on the ledge.
42 — Long cave: ride an ant deep into the subterranean cave and the Milk Molar is against a dirt wall at the far end.
Ice Cream Cart
43 — Lamppost cave: under the lamp, take the left cave with a torch and push past a scorpion to the Mega Milk Molar at the end.
44 — Pinecone Mega: in the root cavern under the tree, a pinecone blocks a niche with a Mega Milk Molar behind it.
45 — Snowy ground: climb over the food packaging into a snow pocket by the lamp for a Milk Molar.
46 — Icy cave: in Fuzzy gear, enter the snowy cave opening under the cart for a Milk Molar.
47 — Larva-and-mint cave: another Fuzzy-gear cave, this one full of Larva (and mint if you want it), holds a Milk Molar.
48 — Under the machinery: climb the pipe inside the cart and break the ice under the gear mechanism to drop into a cavity with 500 Raw Science and a Mega Milk Molar.
49 — Bicycle wheel: from there, climb the beams and leaves to the top of the cart and take the second Mega Milk Molar off the bicycle wheel hub.
Statue, Veggie Garden, Greenhouse, and Pumpkin Patch molars
Statue
50 — Root opening: by the tree, slip into the small opening under the roots and take the Milk Molar on the root ledge.
51 — Rear light: climb the fallen branch onto the light fixture behind the Statue on a spider, and the Milk Molar is under the light.
52 — Red ball: in the center, enter the holey red ball for the Milk Molar inside (watch for a scorpion).
53 — Flower bed: a Milk Molar sits out in the open soil near the flowers.
54 — Lab Mega: drop into the vertical pipe with the ladder, ride the transit elevator down to the lab, scan the hatch door open, and the Mega Milk Molar is behind a broken wall section.
Veggie Garden
55 — Leaf platform: a spider is essential here; climb the leaves to the first Milk Molar on a platform.
56 — High potted plant: keep climbing across the webs over the shoe and flowerpot, cross the delicate leaf bridges, and the second Milk Molar is inside the elevated pot — this one is close to impossible without the spider.
57 — Planter bowl: climb up to the large stone planter bowl and grab the Milk Molar inside it.
58 — Cockroach Queen cave: the root cave on the right holds a Cockroach Queen; go to the back past the mushrooms and take the Milk Molar beside her.
Greenhouse
59 — Shovel ledge: climb the leaning shovel handle on a spider to the Milk Molar resting on the wooden ledge at the end.
60 — Box corner: on the wooden box structure, squeeze into the tight corner behind the purple container for a Milk Molar.
61 — Upper ledge: up on the upper frame, drop into the gap between brick and wood for a Milk Molar guarded by a wasp.
62 — Roof beam: climb the tree branches onto the roof beam and take the Milk Molar sitting next to an insect.
63 — Pumpkin interior: chop a weak spot in the ground pumpkin with a Tier 3 Axe and drop inside to the Milk Molar in the murky water.
64 — Jar-cap Mega: on the right side, climb the flora, webs, and pipe up to a metal jar cap holding a Mega Milk Molar.
65 — Acid cave Mega: enter the cave in the dirt wall below the Greenhouse with a torch, avoid the green acid water, and grab the Mega Milk Molar on the rock ledge.
66 — Exterior lab alcove: under the Greenhouse edge, a cave leads into a new lab facility added in the update; the Milk Molar is in a side alcove.
Pumpkin Patch
67 — Vine cave: ride a spider into the cave under the vines, turn right, and take the Milk Molar deep inside.
68 — Crate Mega: climb the vines over the wooden crate, dodge the Wasp Drones, drop inside the crate, and smash the Mega Milk Molar.
Gnarly Bark, pond, Pergola, and Bridge molars
Gnarly Bark
71 — Mushroom pickup: under the tree, run through the mushrooms and the Milk Molar is tucked behind a large one.
72 — Race-track cave: get above the toy race track, cross to the other side into the cave, and follow the track past a submerged car to the Milk Molar on the blue surface.
73 — Underwater pipe: in the shallow water here, put on diving gear, submerge into the pipe, and break the Milk Molar inside — it’s not a deep dive.
Pond
74 — Table crevice: with a Koi Helmet or Diving Helmet, swim under the submerged table and into the narrow rock gap for a Milk Molar in the crevice.
75 — Boat cracked rock: swim under the sunken boat, drop a bomb and throw a Croakwurst at the underwater cracked rock, and the blast opens a cave with a Mega Milk Molar.
Pergola
76 — High beam Mega: climb the big tree trunk on a spider and work across the webs and branches to the high beam under the roof, where the first Mega Milk Molar waits.
77 — Dark beam nook: ride the high beams to a dark nook between the beams and the bark for a second Milk Molar.
78 — Larva cave: the cave under the wooden structure is full of Larva; the Milk Molar is in a narrow tunnel.
79 — Bicycle route: climb the rusty bicycle frame on a spider, jump onto the high table, cross the planks and stone blocks, and look under a board in the corner nook for the Milk Molar.
Bridge and deep water
80 — Birdhouse Mega: climb the tree trunk to the hanging birdhouse, jump onto its roof, and enter for a Mega Milk Molar inside.
81 — Tackle-box Mega: climb onto the open tackle box on the dock and drop into the bottom corner compartment for a Mega Milk Molar.
82 — Underwater pipe cave: with a Diving Helmet, swim into the algae-filled pipe under the Bridge and find the Milk Molar in a corner.
83 — Underwater cracked-rock tunnel: wear a Diving Helmet and Gas Mask, throw a Croakwurst at the cracked rock under the bridge support, and swim the opened tunnel to the Milk Molar.
84 — Sunken birdhouse: swim through the narrow rock gap by the sunken birdhouse into a dark underwater cavity for a Milk Molar.
85 — Tricky deep cave: this one demands a Diving Helmet and Tier 3 kit and is easy to miss among the resources — jump into the right spot above the water and search hard, as it’s one of the most stubborn on the map.
86 — Koi-fish pickup: out in the deep water, the Milk Molar sits in the middle right by the koi fish.
87 — Road-sign pickup: to the right, under the mountain next to the road signs, is the final Milk Molar.
Still missing a molar? Where to look
The SCA.B ping tells you a molar is close, but not whether it’s above you, below you, in a cave, or underwater — so the moment the audio pings and you can’t see a tooth, stop circling on the surface and check high ledges, root openings, and the water directly under you. A lot of “I’m one short” runs end with the molar being straight overhead on a beam or sitting in a pond wall.
Some molars are root-bound underwater and look like plain scenery; they come pre-cracked because you can only swing a dagger or spear while submerged, so cut the roots and break them in place rather than hunting for an intact tooth. If a count still won’t line up, ignore any older park maps — earlier builds listed different totals and even carried one extra spawn that was later removed, so a pre-update checklist will send you looking for a molar that no longer exists.
For the gated ones, the fix is almost always gear: a Mega you can’t crack needs a Tier 2 hammer, a rock that won’t move needs an explosive, and a marker sitting in open deep water needs the full Diving Suit. Drop a map sign on anything you can’t finish and loop back once you’ve built the right tool instead of grinding at it early.
How to grab every Snack Bar molar in Grounded 2
Snack bar machine entrance
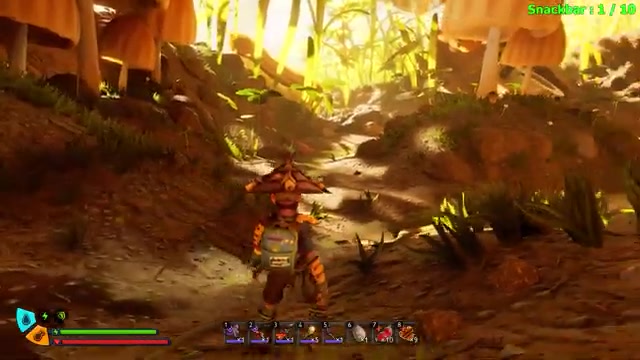
Head through the entrance beside the machine, go straight, and take the Milk Molar on your right.
Behind the front bump
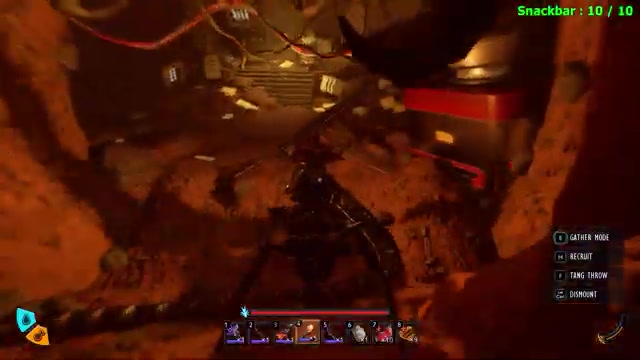
Ride a spider up the back of the machine and smash the Mega on the right ledge, watching for the spiders that nest there.
Front ant cave
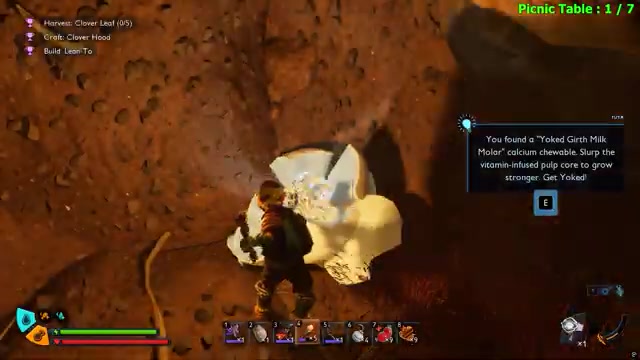
Enter the Snackbar Front cave, slip past the Red Soldier Ant, and grab the Milk Molar on the right of the chamber.
Tube under the snack bar
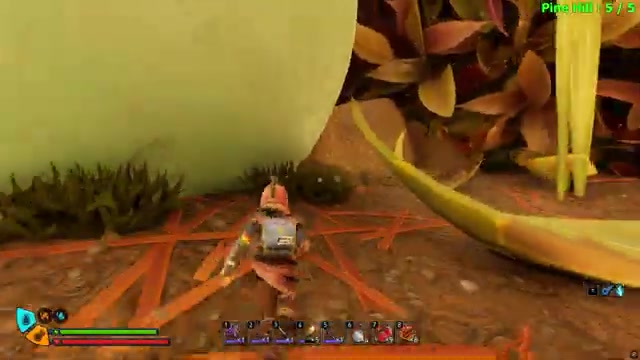
On a spider, climb the metal pipe underneath and follow it to the Milk Molar inside the opening.
Table climb with an ant
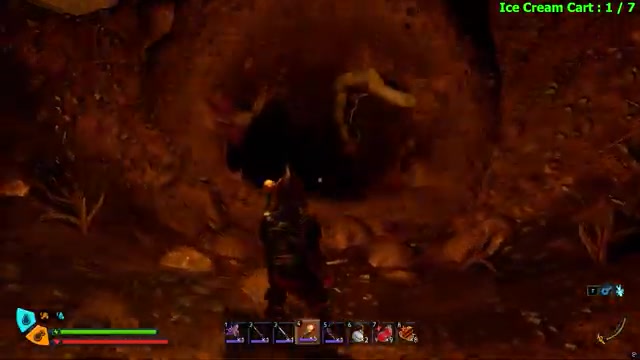
Take a soldier ant to break the roots into the under-table cave, then get the Milk Molar inside.
Above the table
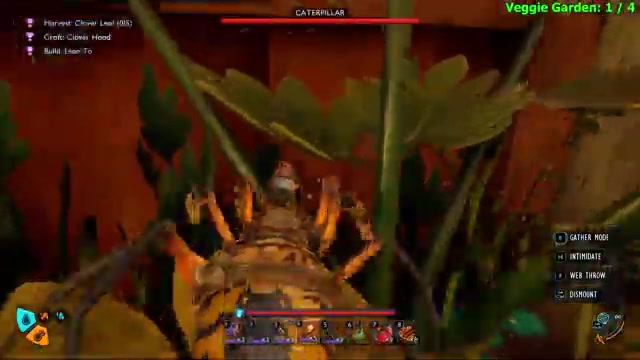
Climb onto the tabletop and take the Milk Molar sitting in the open near the edge.
Top of the machine
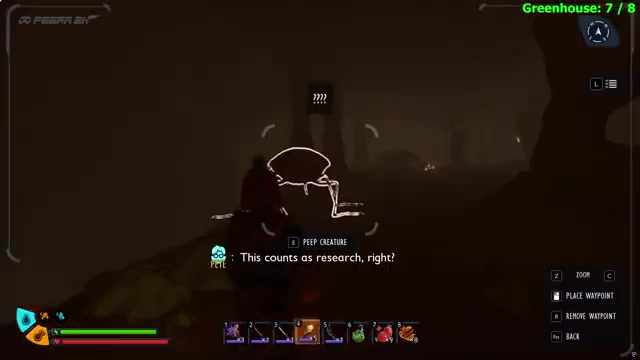
Climb the webs up the side of the machine on a spider to the Mega Milk Molar on top.
Under the camera
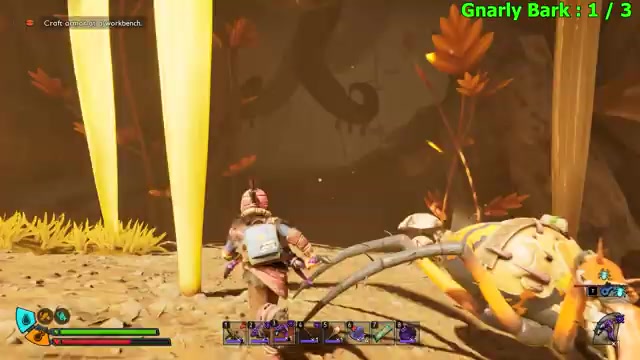
Slip under the news camera into the small cave with a torch and break the Mega Milk Molar.
Hatchery south side cave
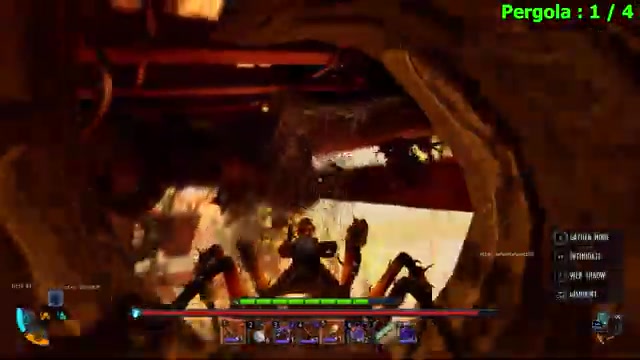
Take the Hatchery Anthill South Entrance on an ant, turn right at the ladder, break the roots, and follow left to the Mega.
Hatchery hidden room
From the same entrance, pass the red lights and the table, then open the hidden door on the left for the last Milk Molar.
Video help
Related Grounded 2 guides






Leave a Reply