- What to know
- Continue searching for clues quest details
- Reach the end of the space
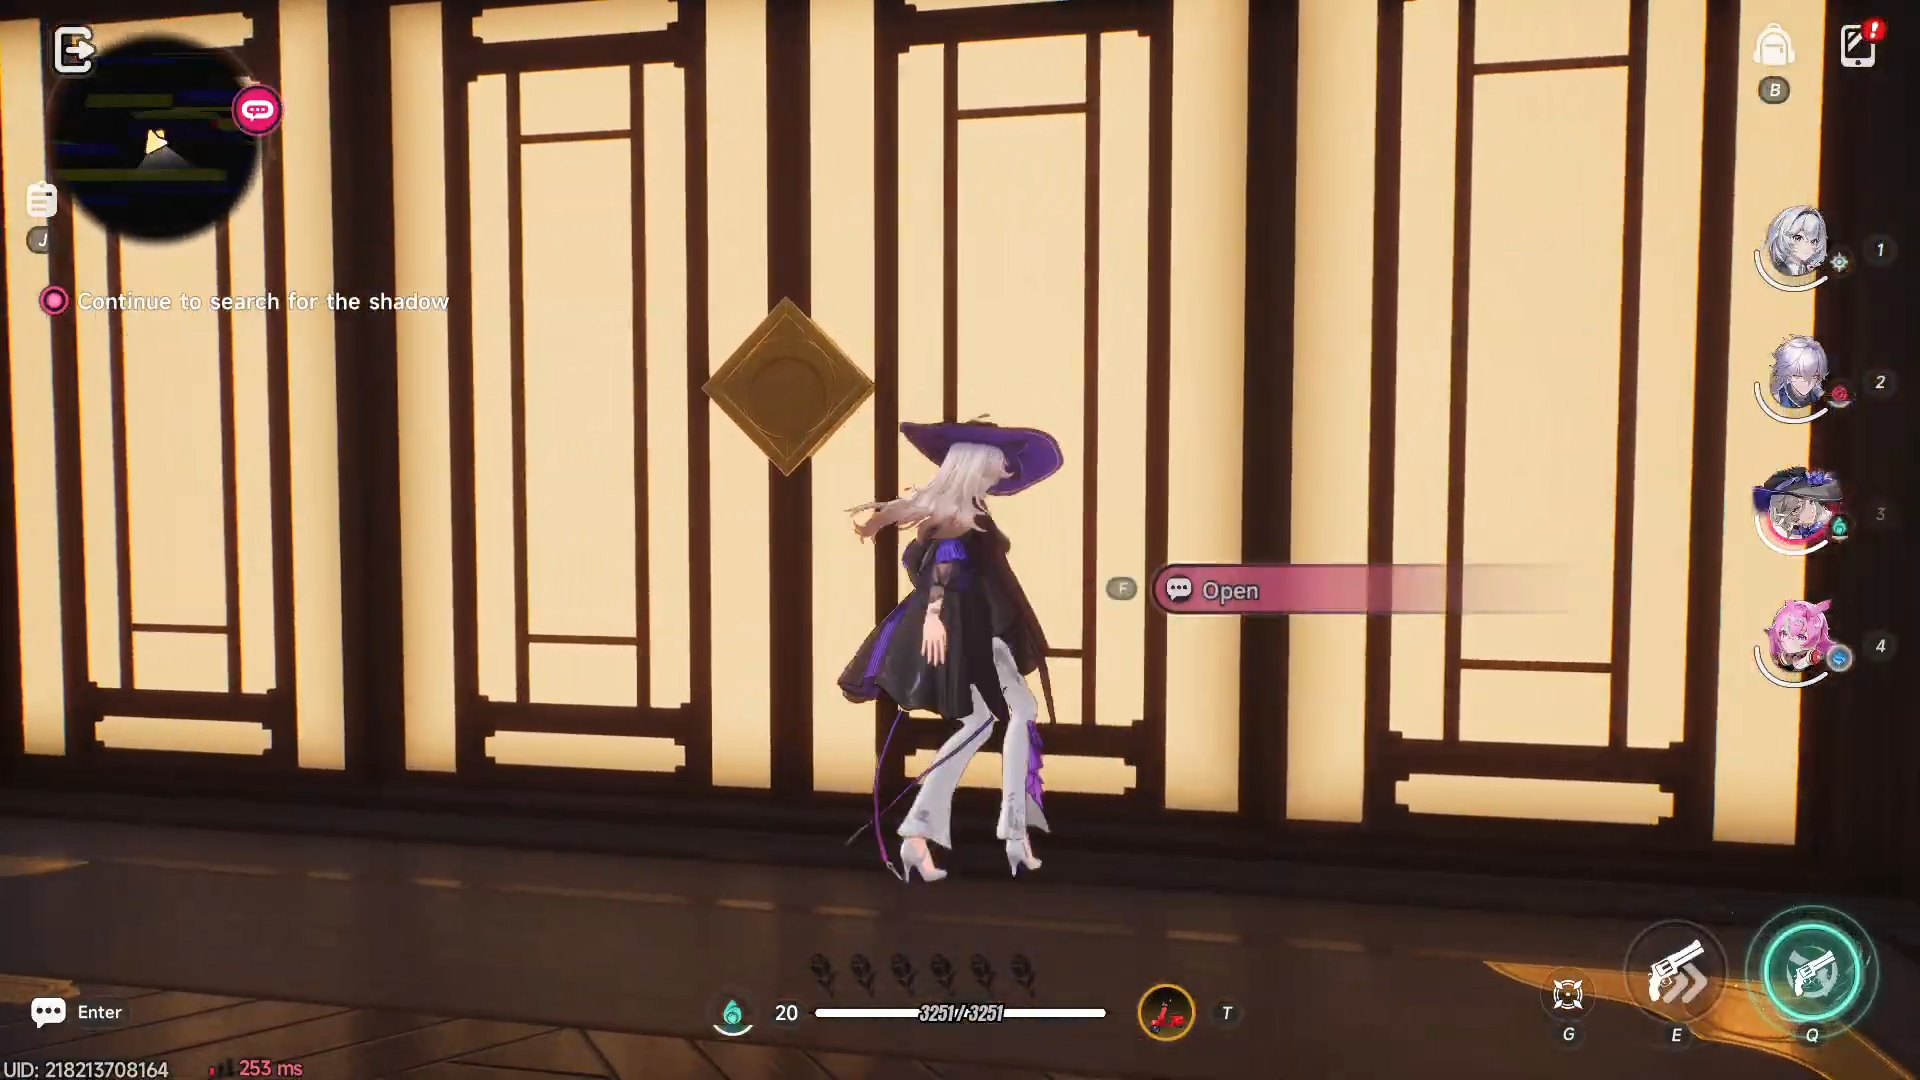
- How to light up the lamps
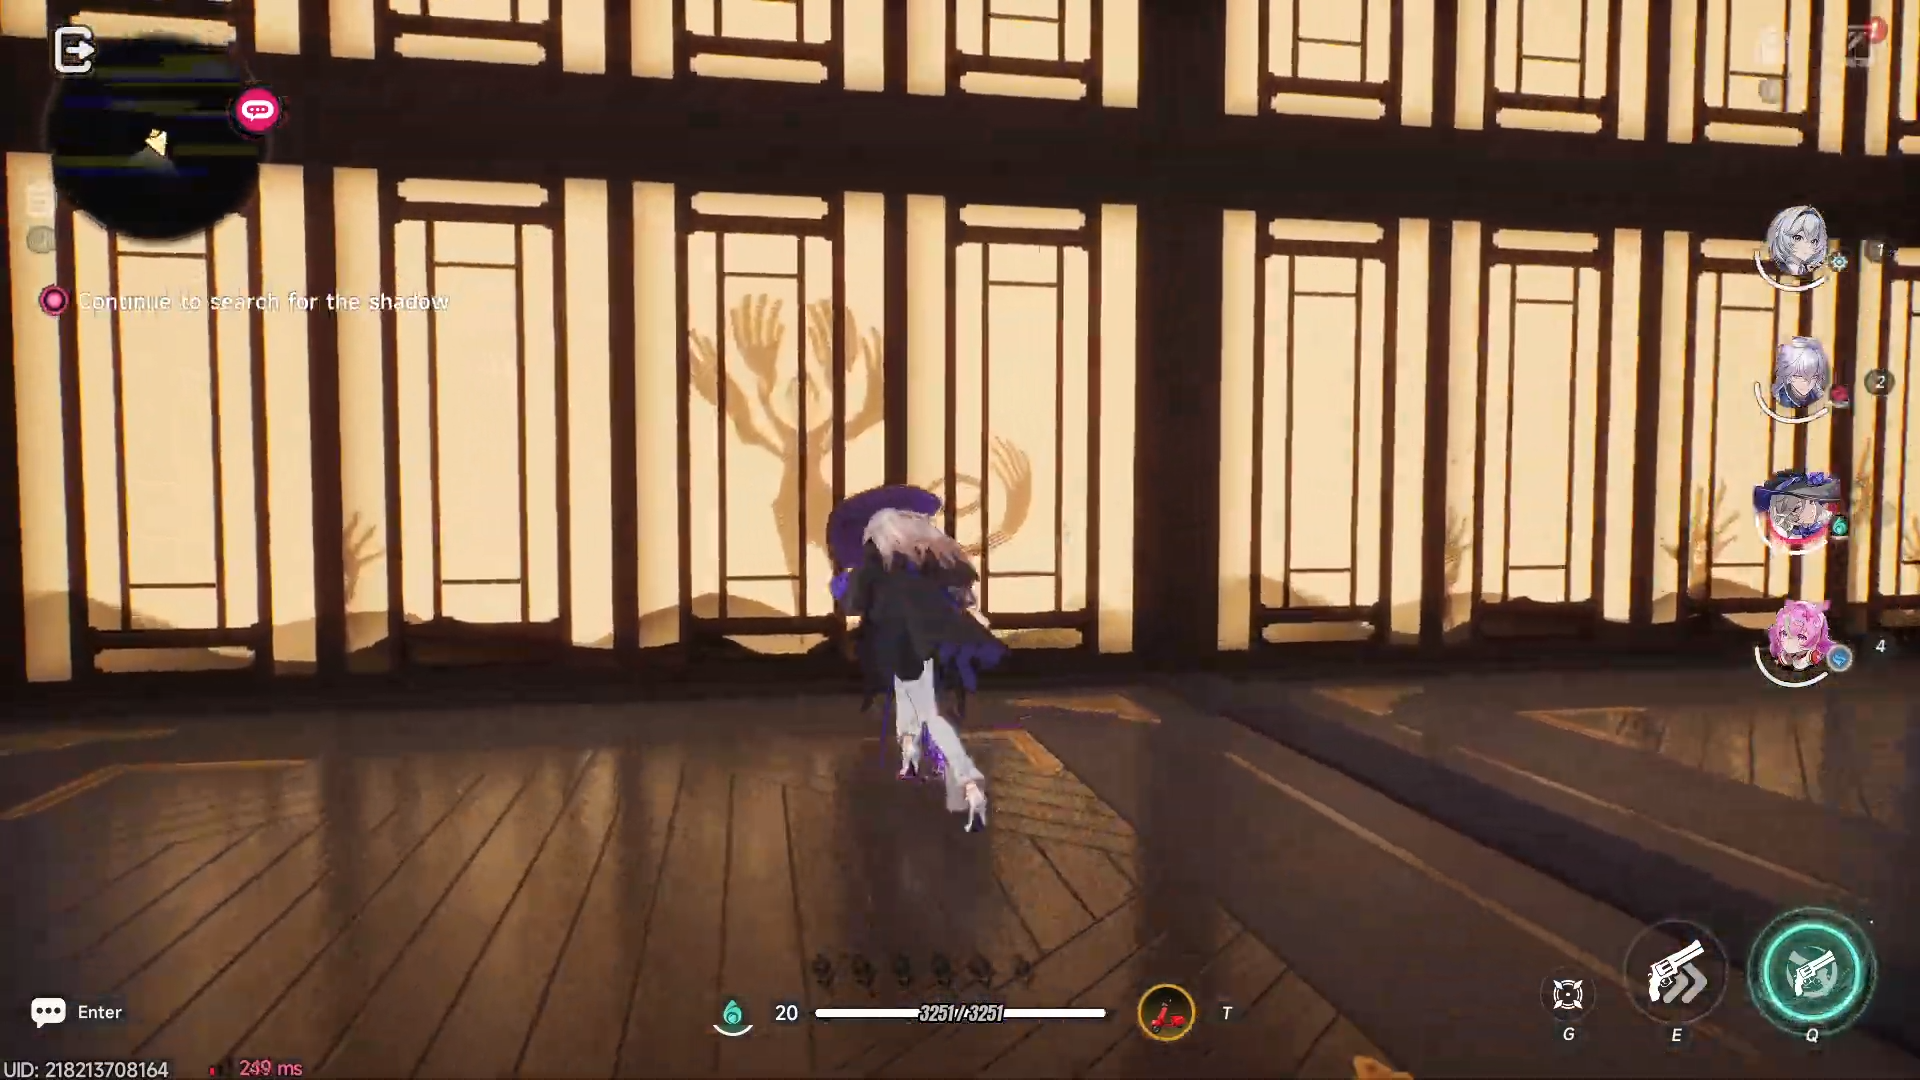
- How to chase the shadow
- How to continue chasing the shadow
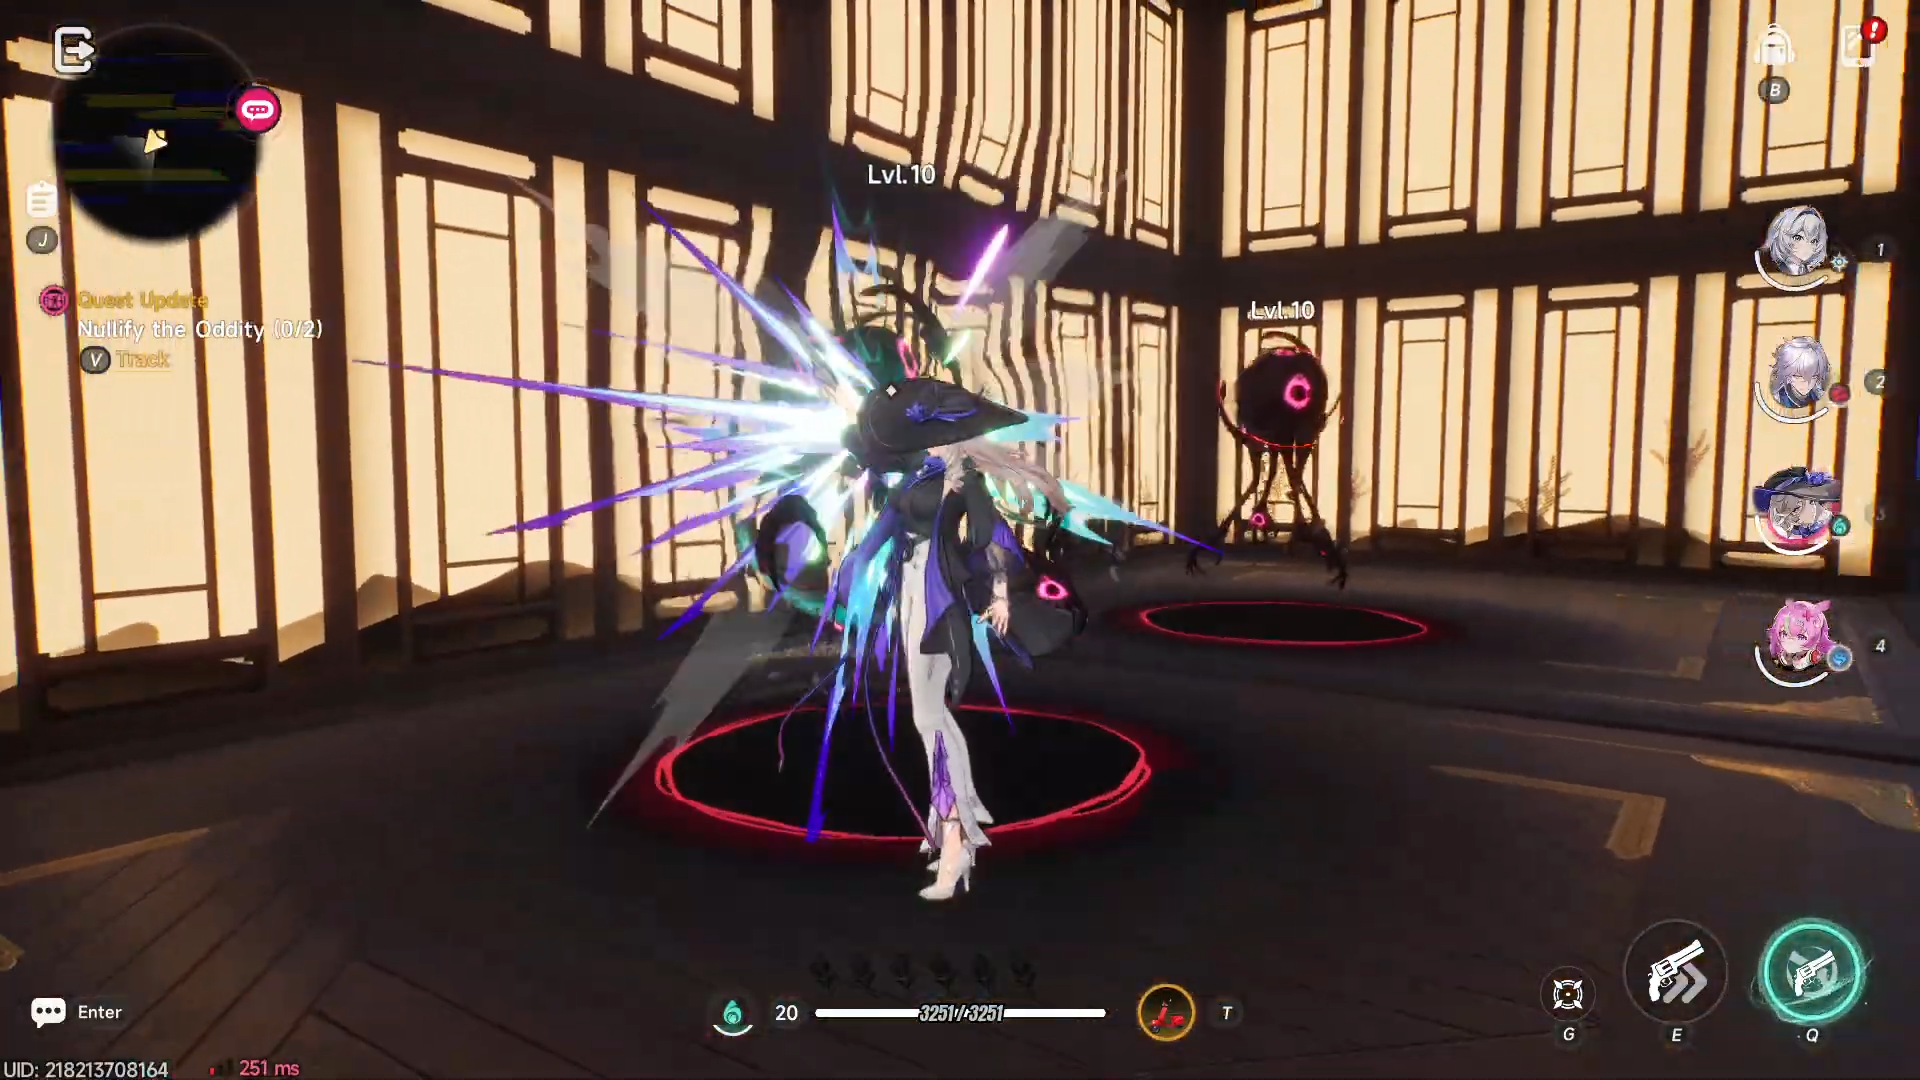
- How to nullify the oddity (first encounter)
- How to continue to search for the shadow
- How to nullify the oddity (second encounter)
- How to open the storage room
- How to search for the others
- How to discover clues left behind by Edgar and Taygedo
- How to continue exploring for clues
- How to continue searching for clues
- What to expect next
What to know
-
The quest is split into several short sub‑sections: reach the end of the space, light lamps, chase the shadow, nullify oddities, and then repeatedly search for clues until you find Edgar and Taygedo.
-
You must interact with lamps, chase a moving shadow marker, and fight small anomaly groups between each chase phase.
-
The key locations are an indoor anomaly chamber, a lamp‑lined corridor, and a locked storage room deep inside the area.
-
Rewards include story progression, minor character‑bond triggers, and materials tied to the chapter’s completion.
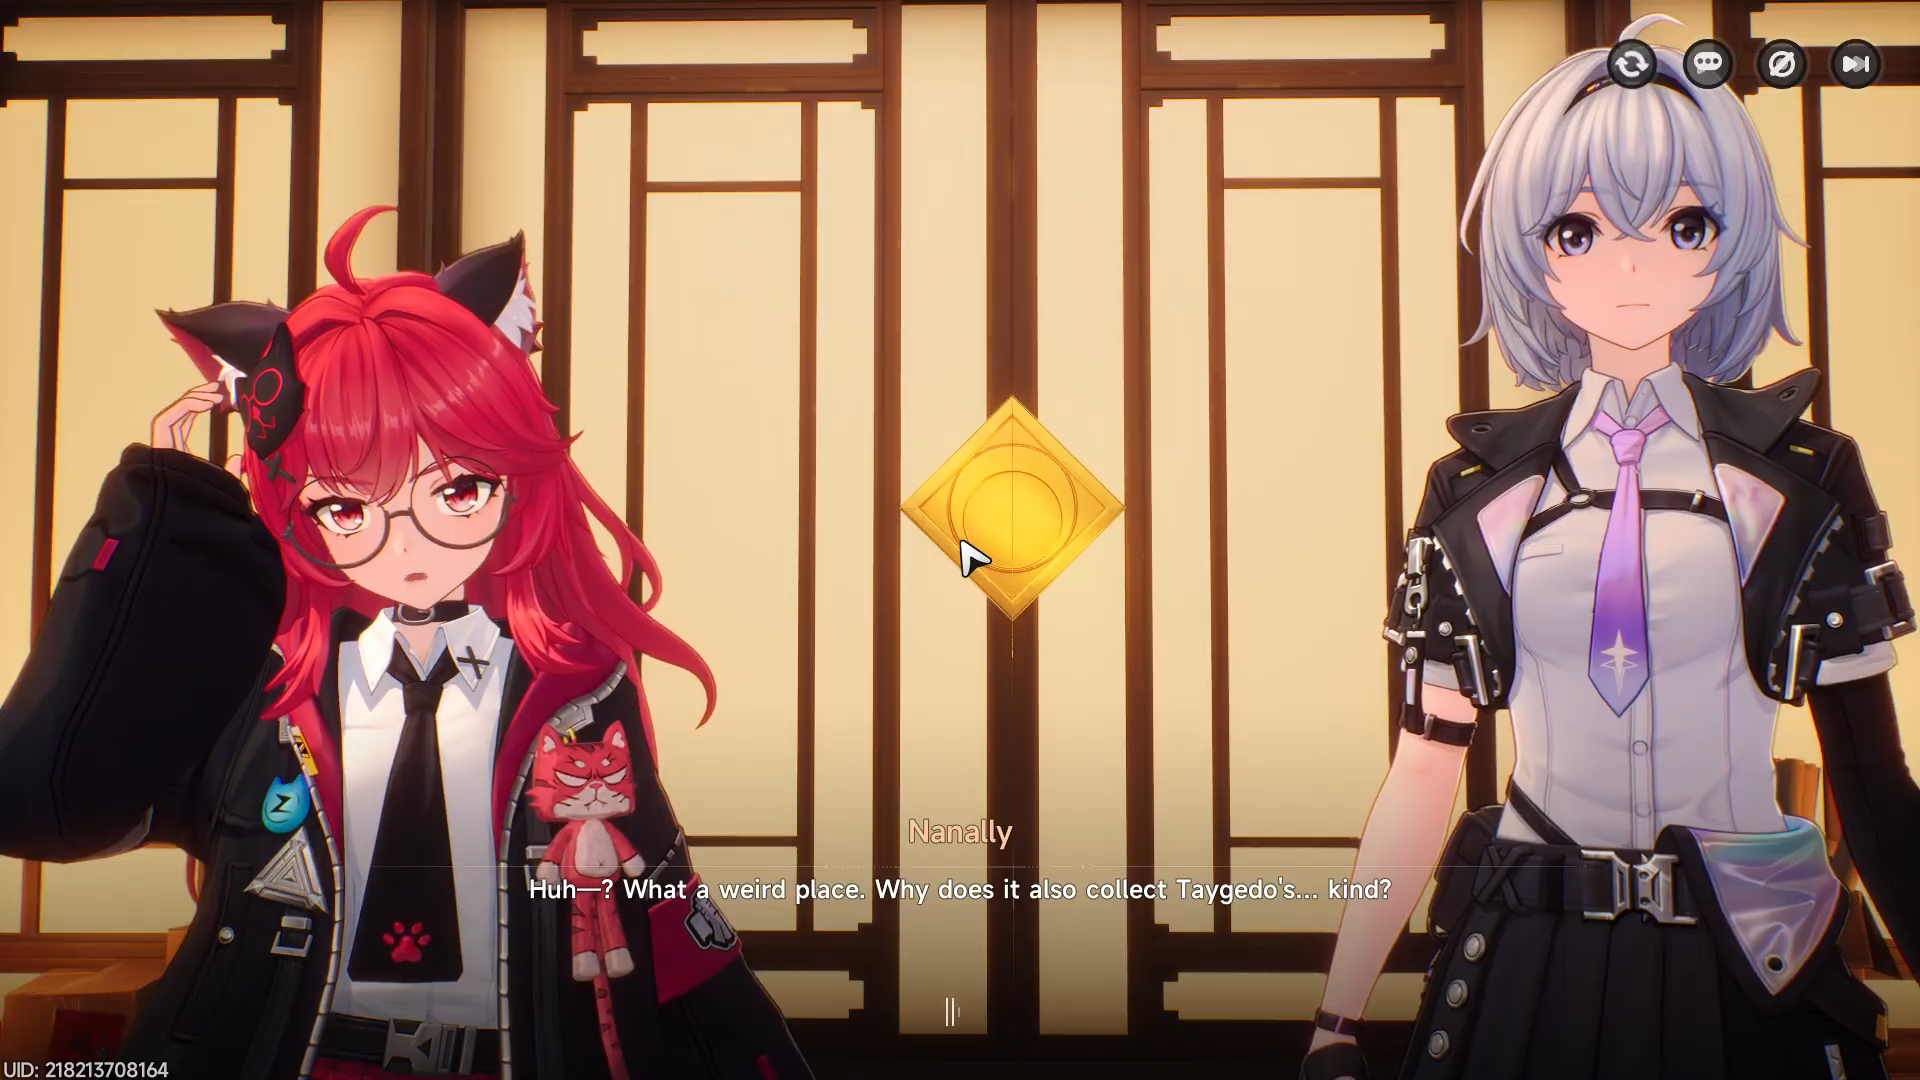
In Neverness to Everness, there’s a long quest that revolves tracking down a mysterious presence inside a shifting anomaly‑like zone, lighting key spots, and interrogating clues left behind by Edgar and Taygedo. The goal is to follow the “shadow” and keep progressing through sub‑sections until you reach the final storage‑room area and uncover their whereabouts.
Continue searching for clues quest details
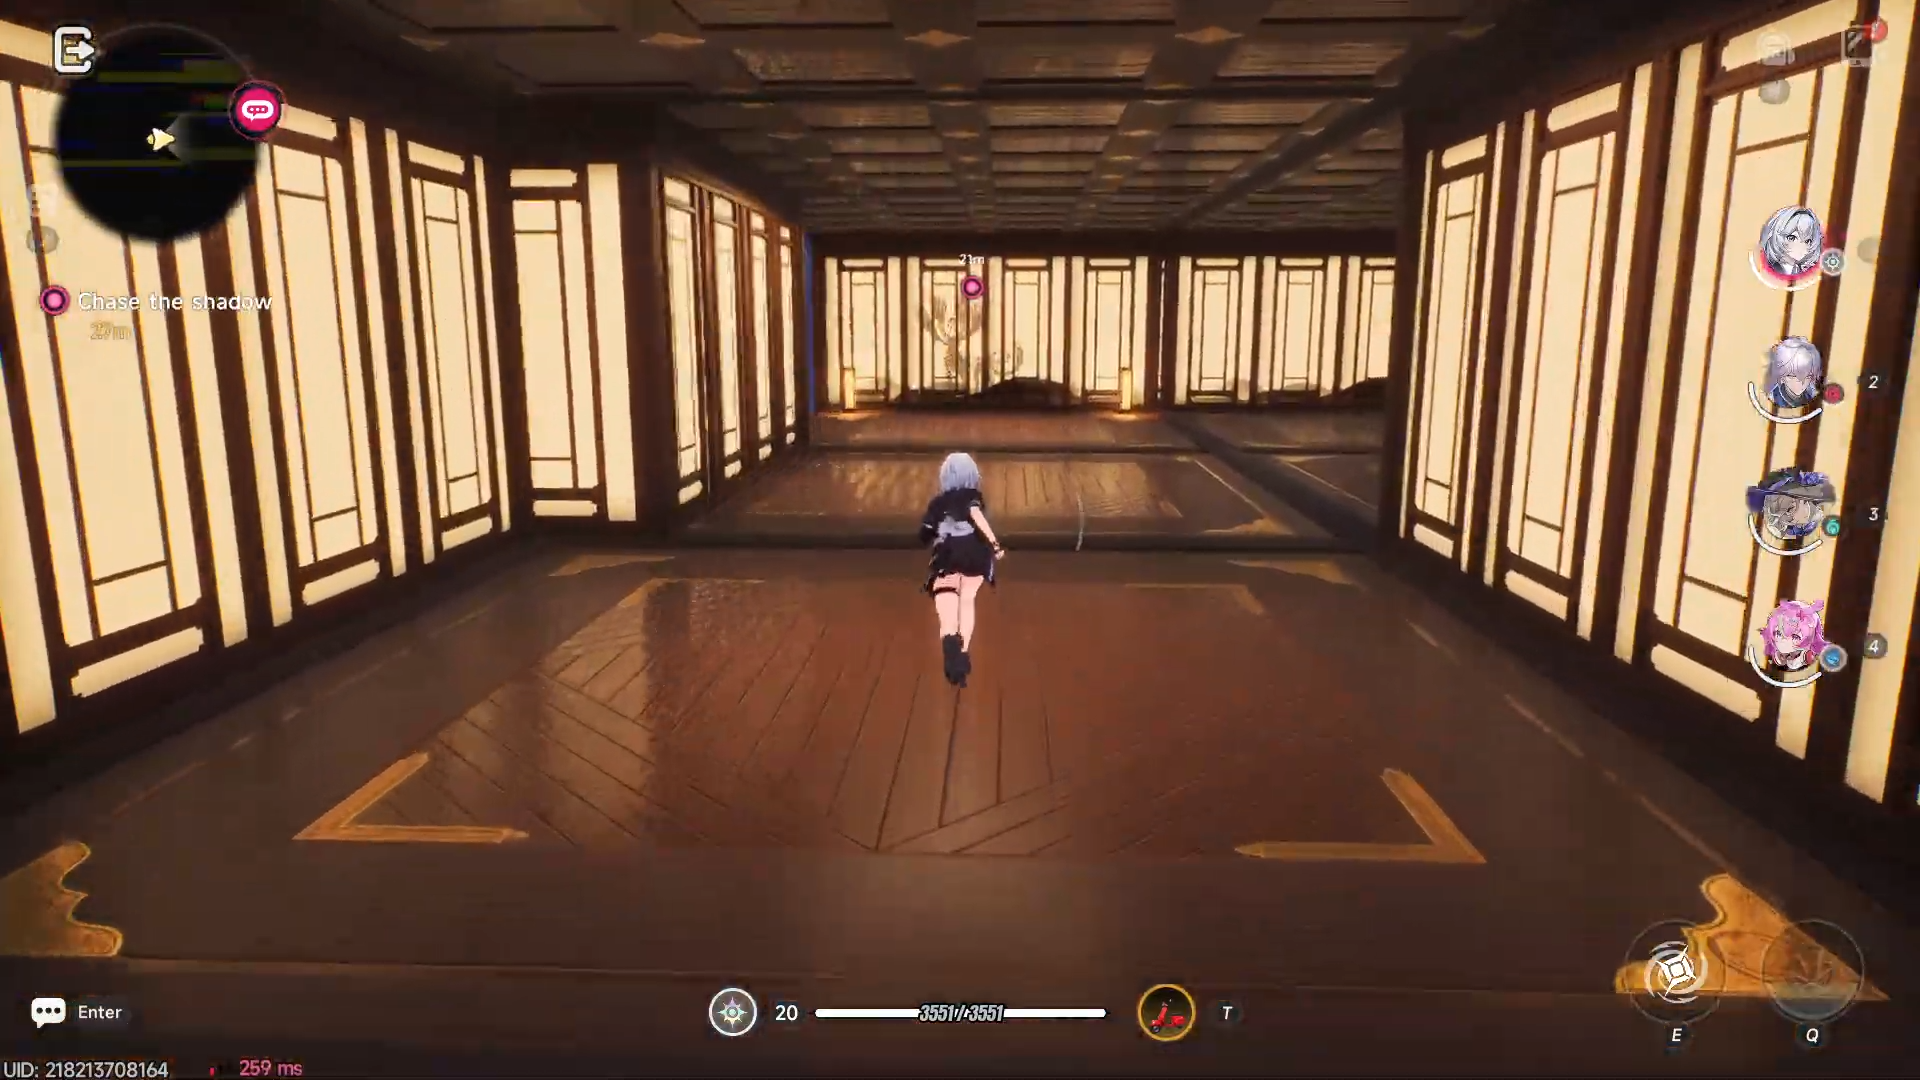
Reach the end of the space
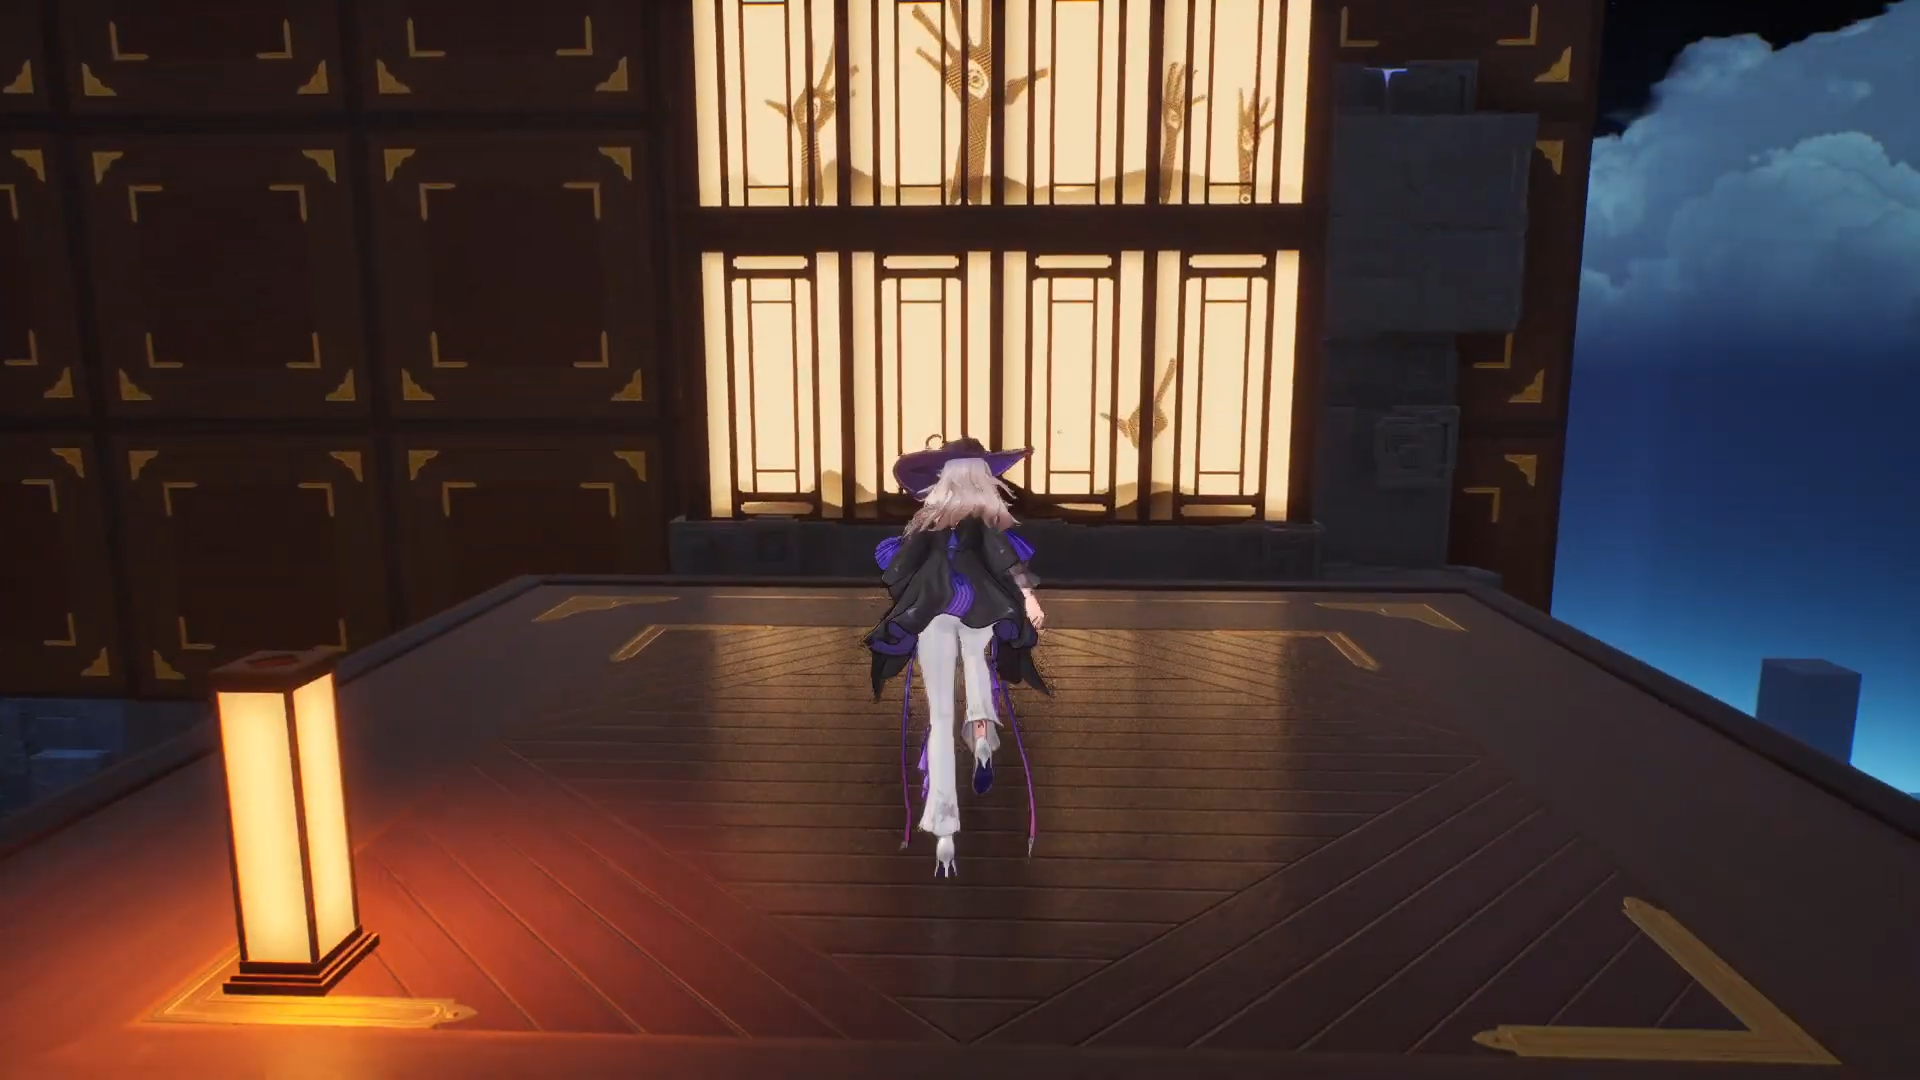
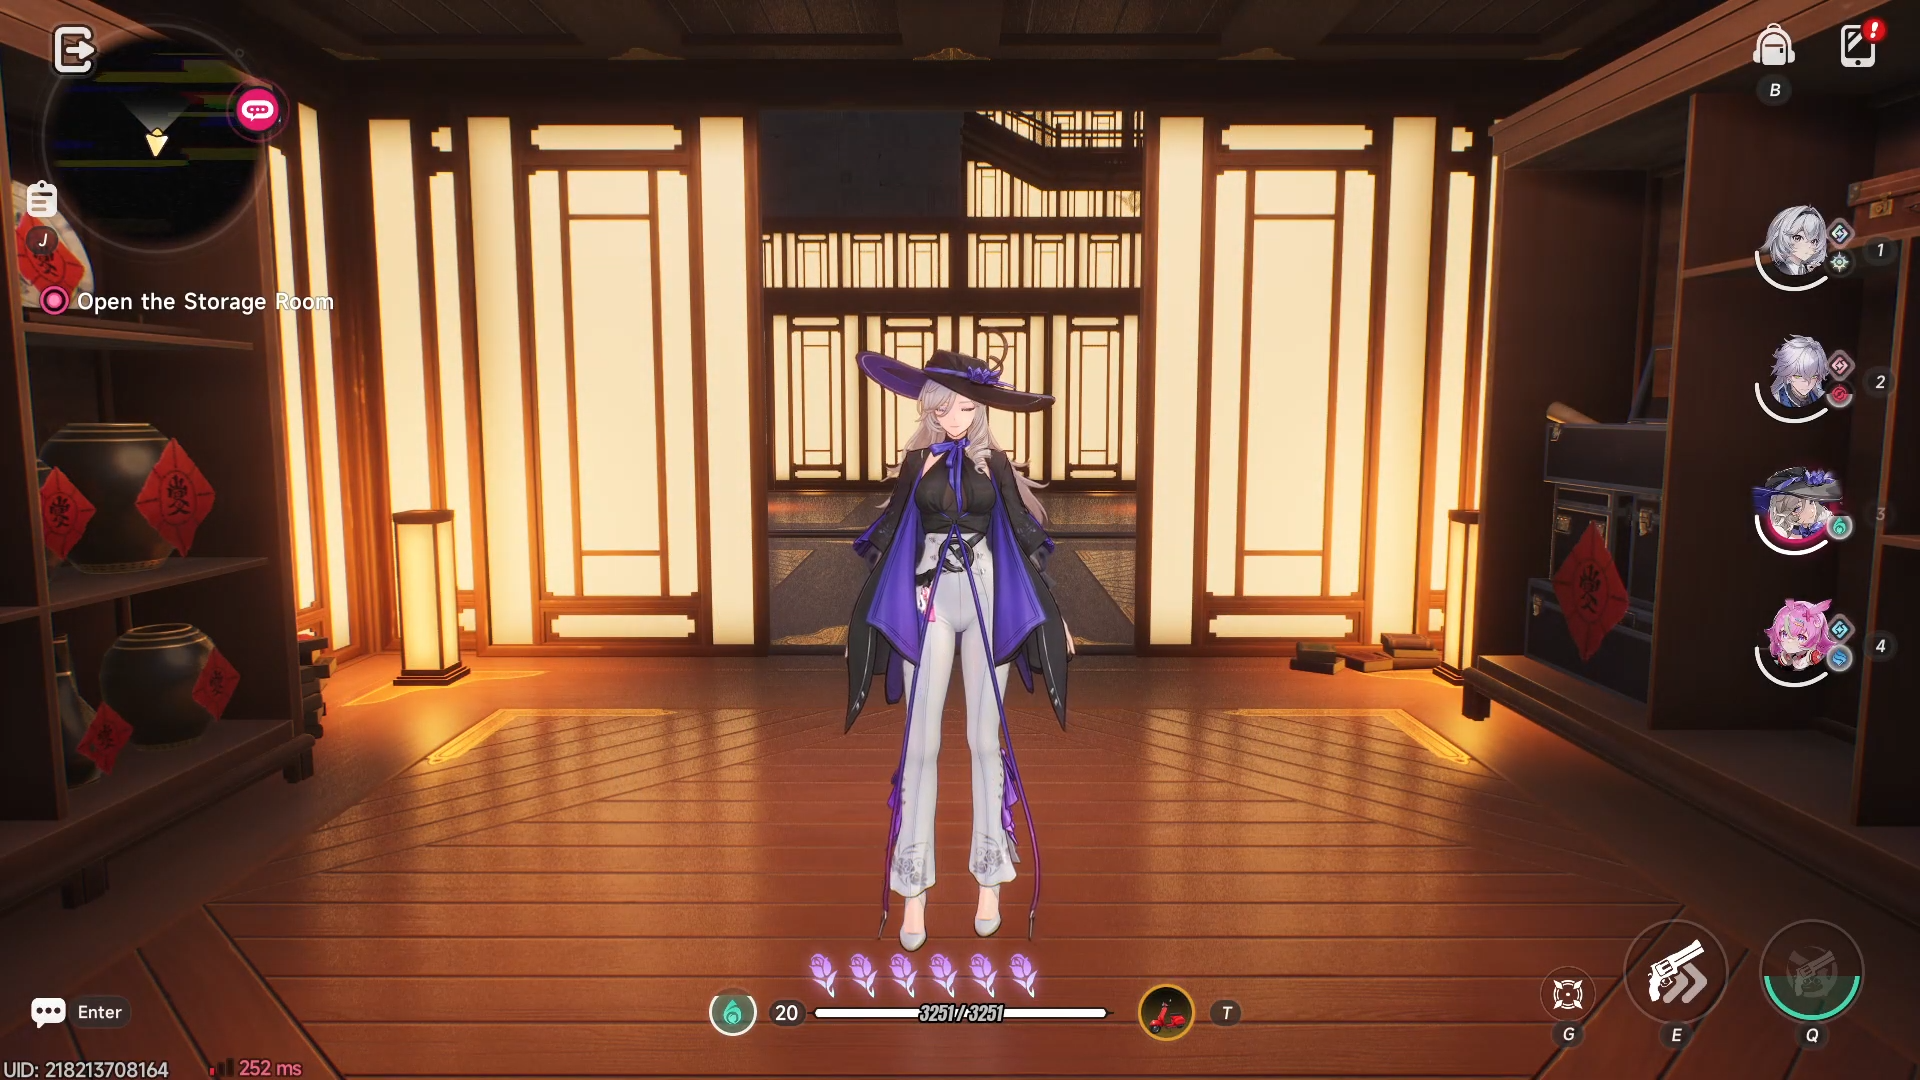
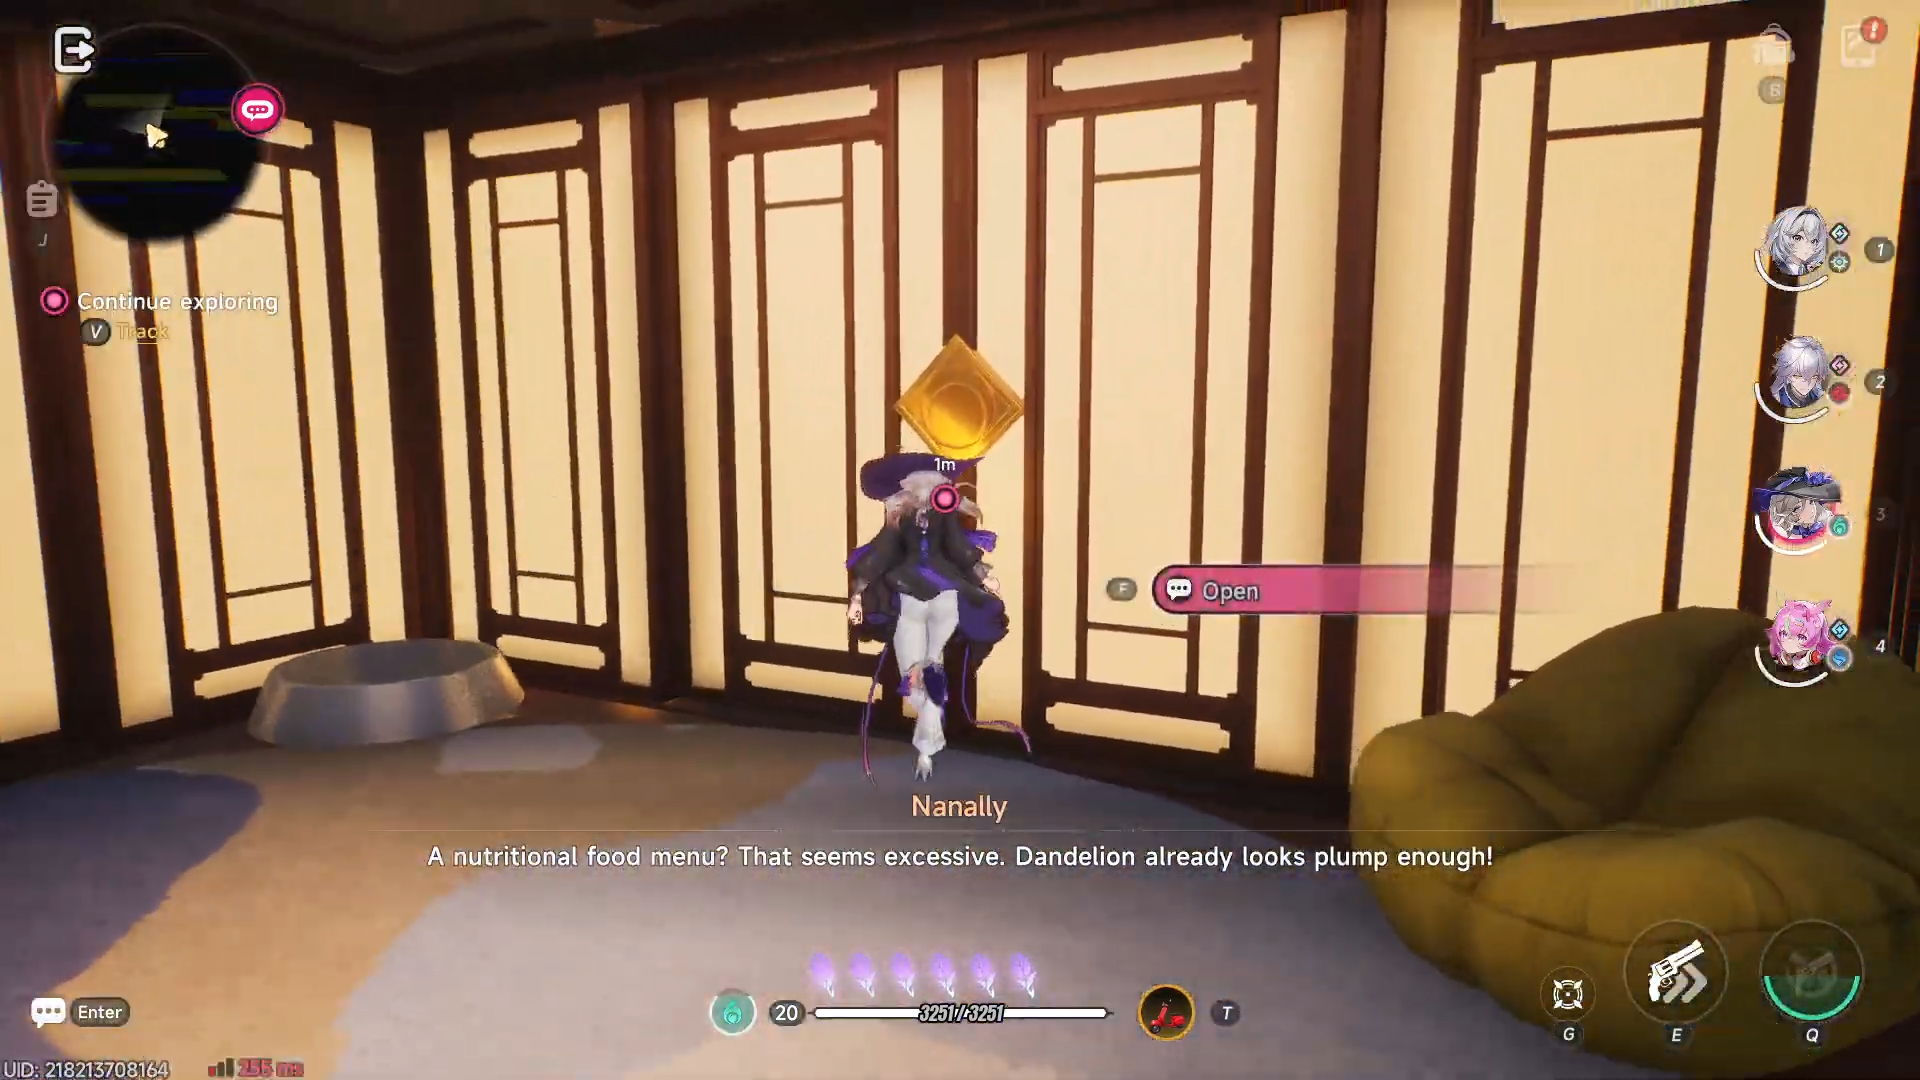
After the quest starts, you are placed in a narrow, dimly lit corridor that behaves like a scaled‑down anomaly space.

-
Use the camera to orient your direction; the path is mostly linear with only a few side alcoves.
-
Follow the quest marker toward the far wall; there are no enemies yet in this first stretch.
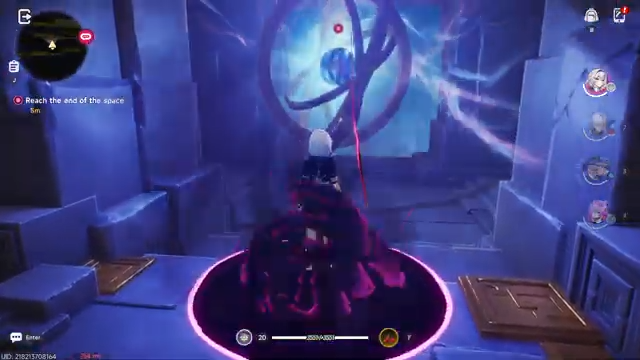
When you reach the far end, a short dialogue triggers, and the next sub‑section—“Light up the lamps”—unlocks automatically.
How to light up the lamps
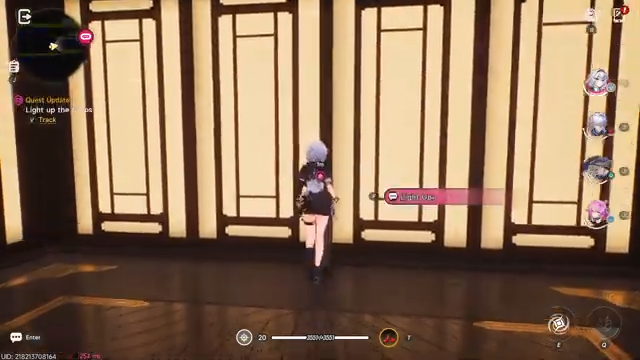
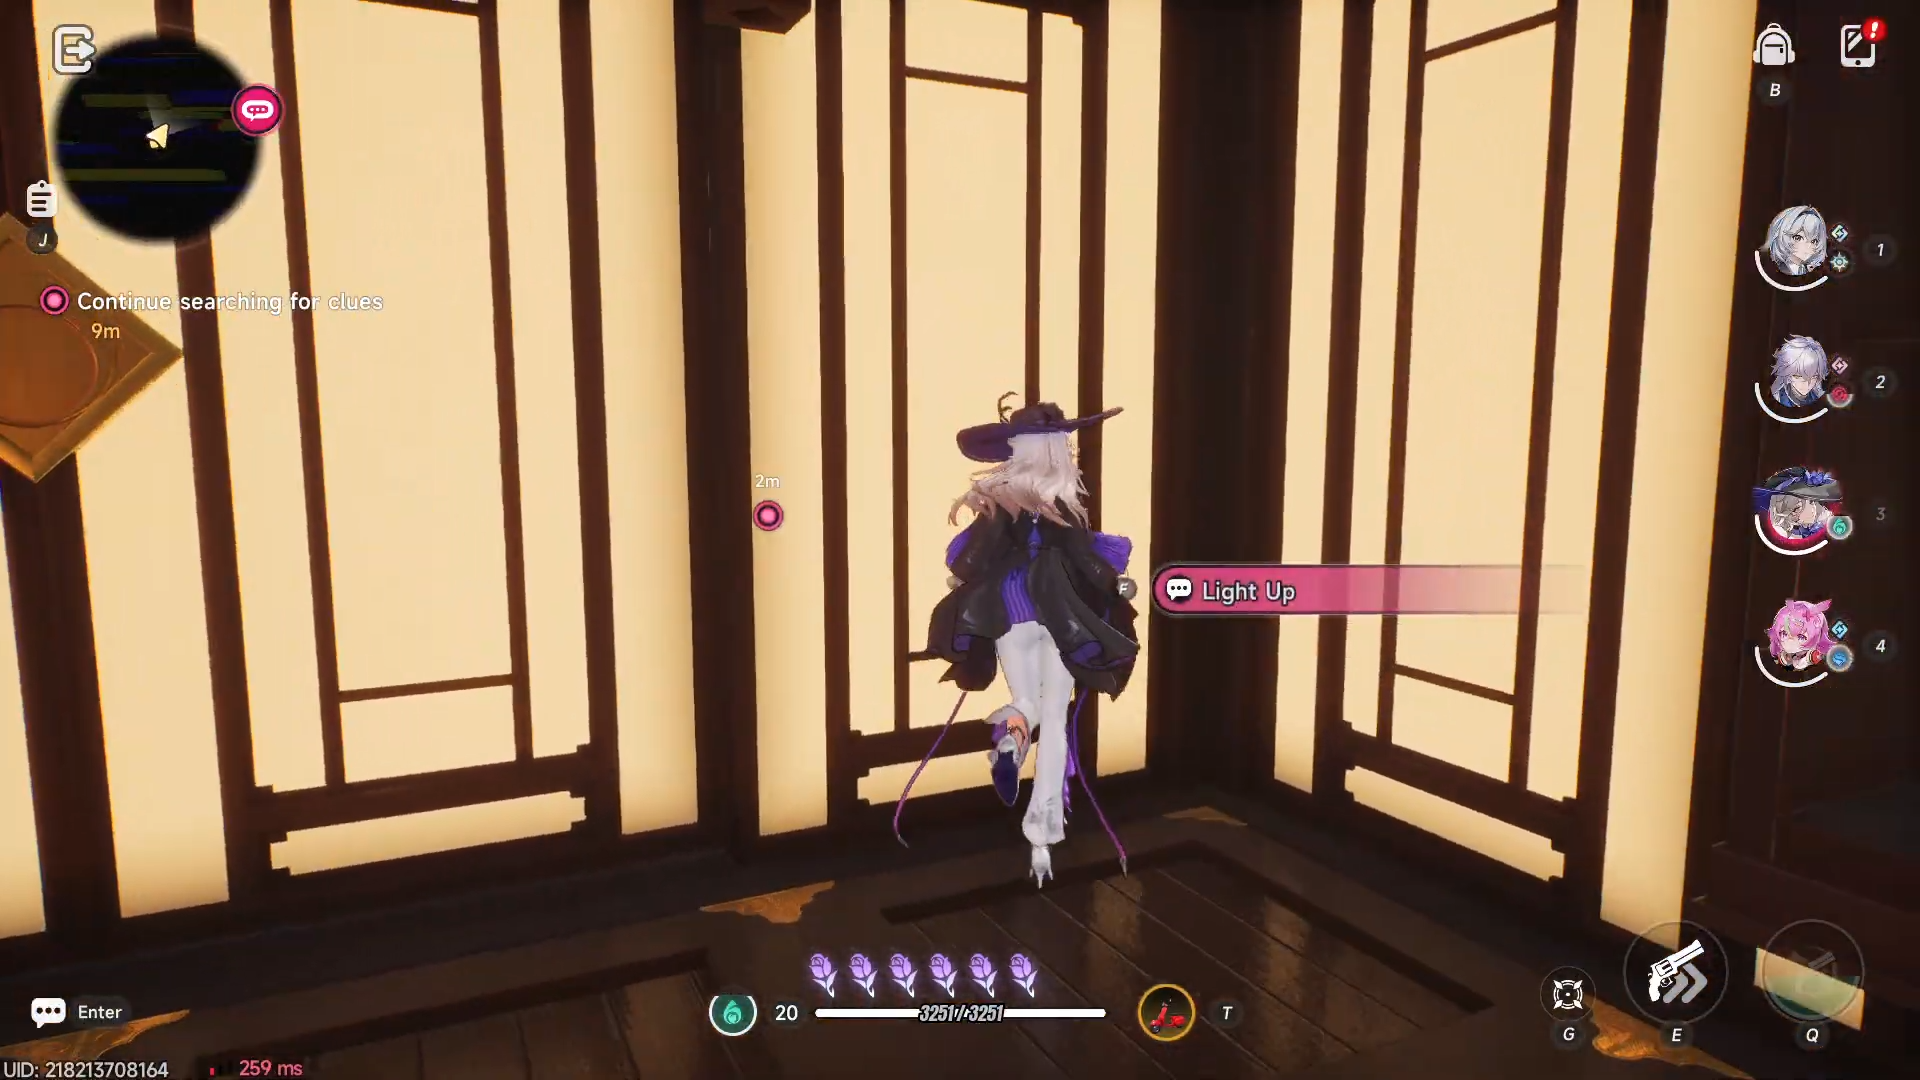
On the opposite wall, you will see a series of floor‑mounted lamps embedded along the corridor.
-
Approach each lamp one by one and press the interaction button.
-
Each lamp lights up with a faint glow and slightly brightens the environment.
-
Keep moving along the corridor until you activate the last lamp at the far end.
Once all lamps are lit, the game will prompt you to pursue the shadow that appears down the newly illuminated hallway.
How to chase the shadow
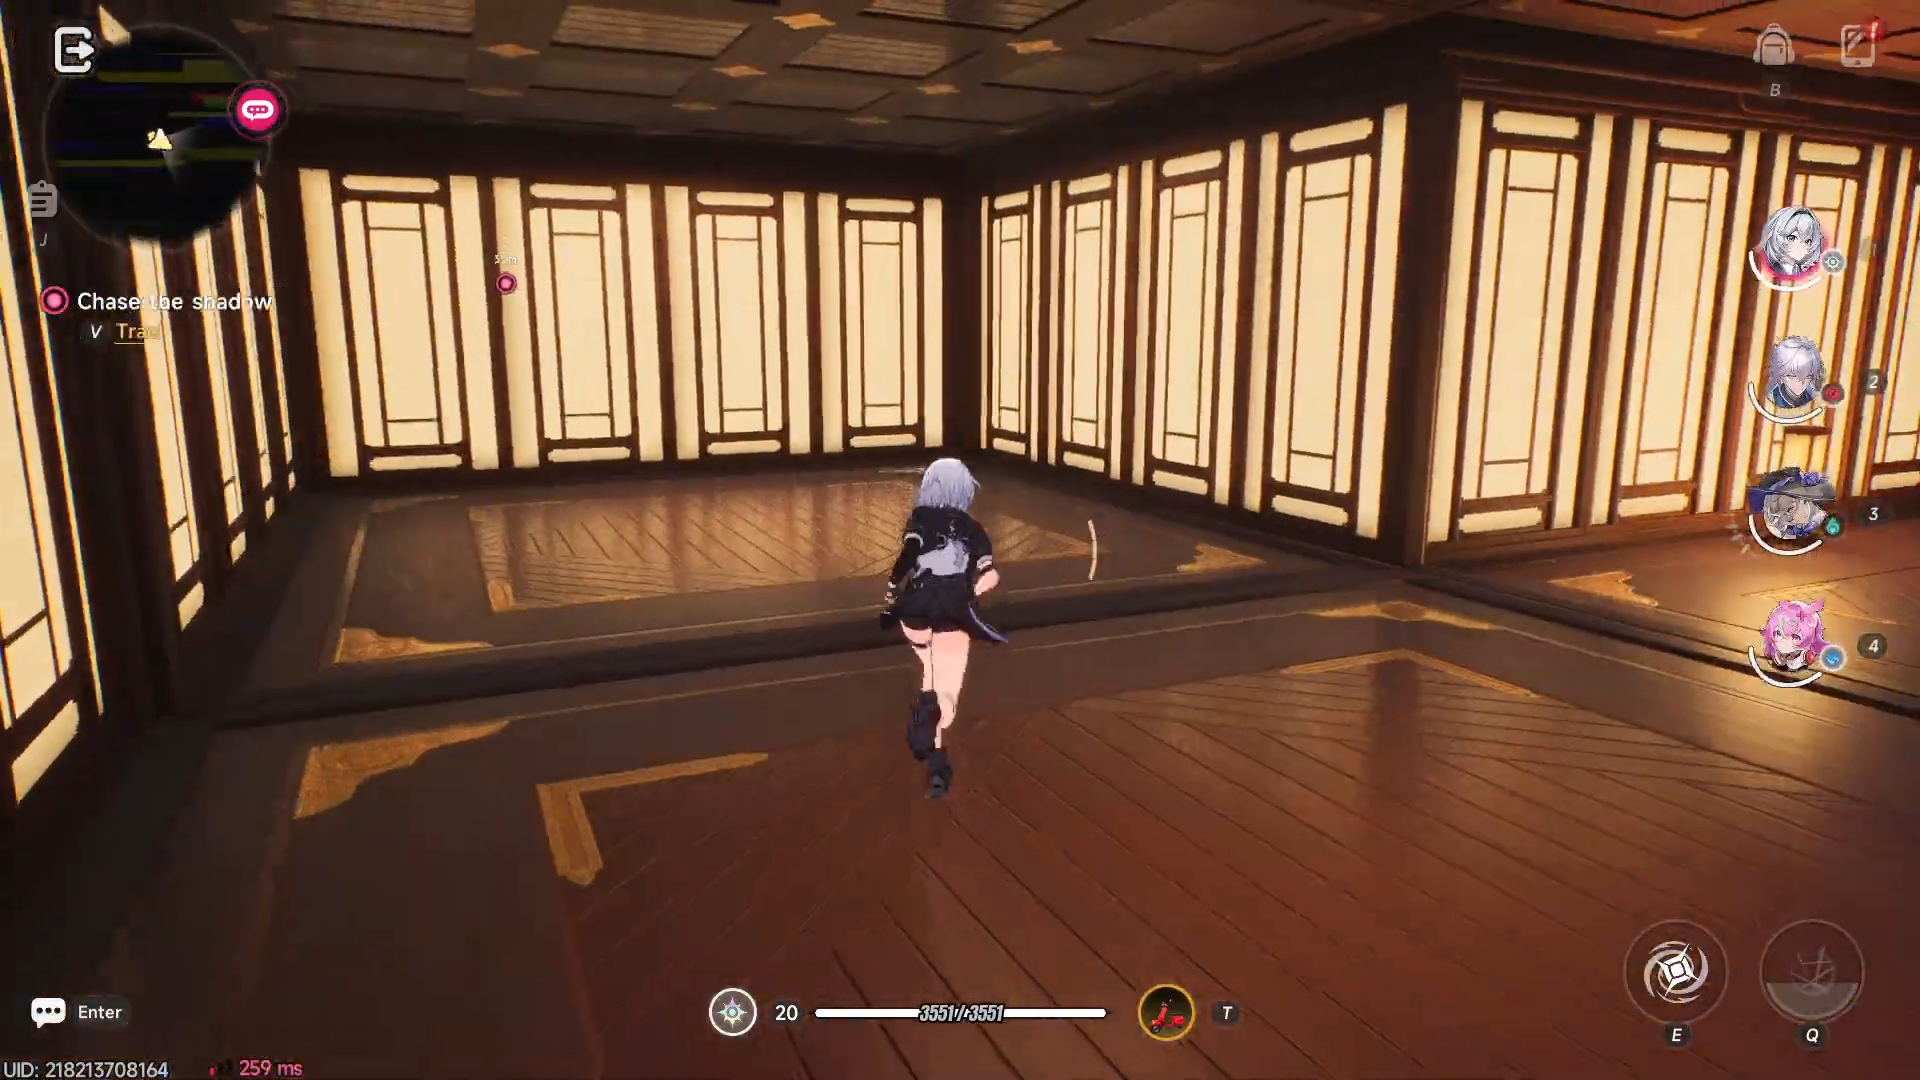
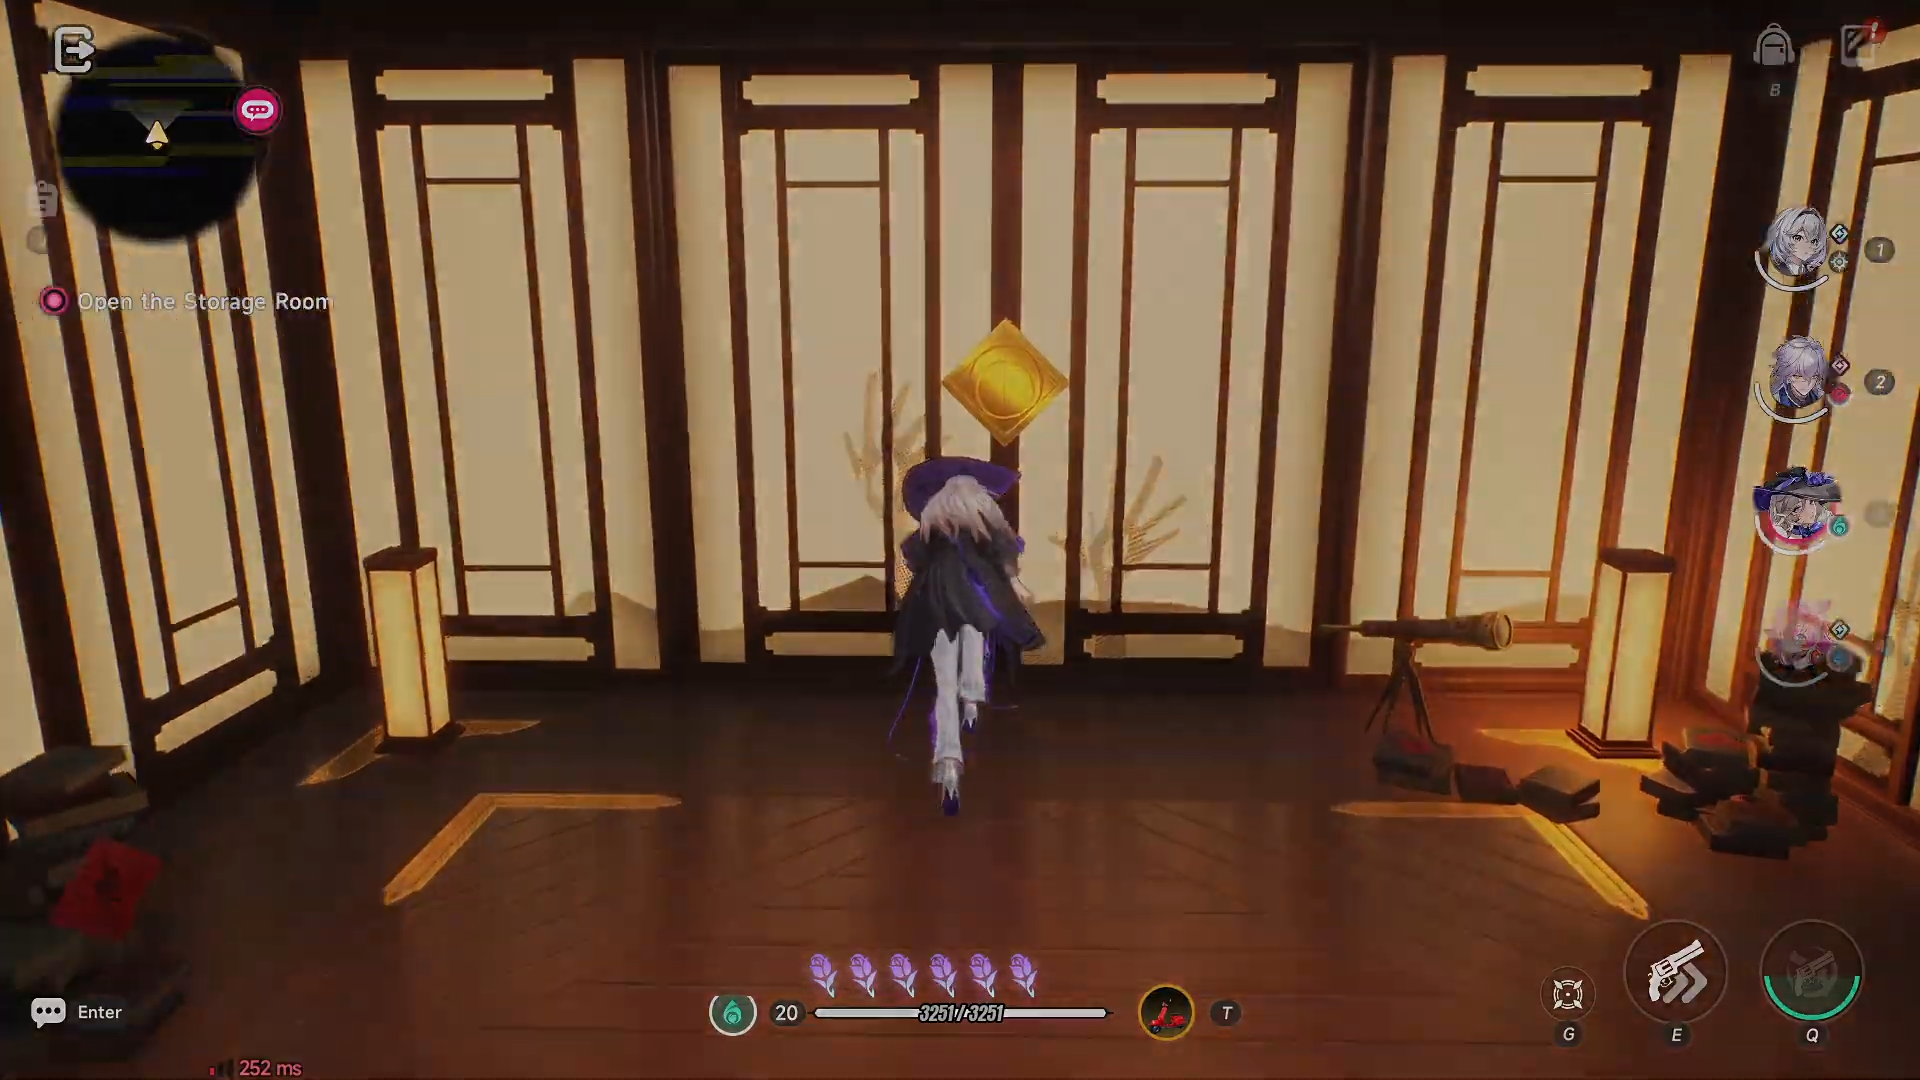
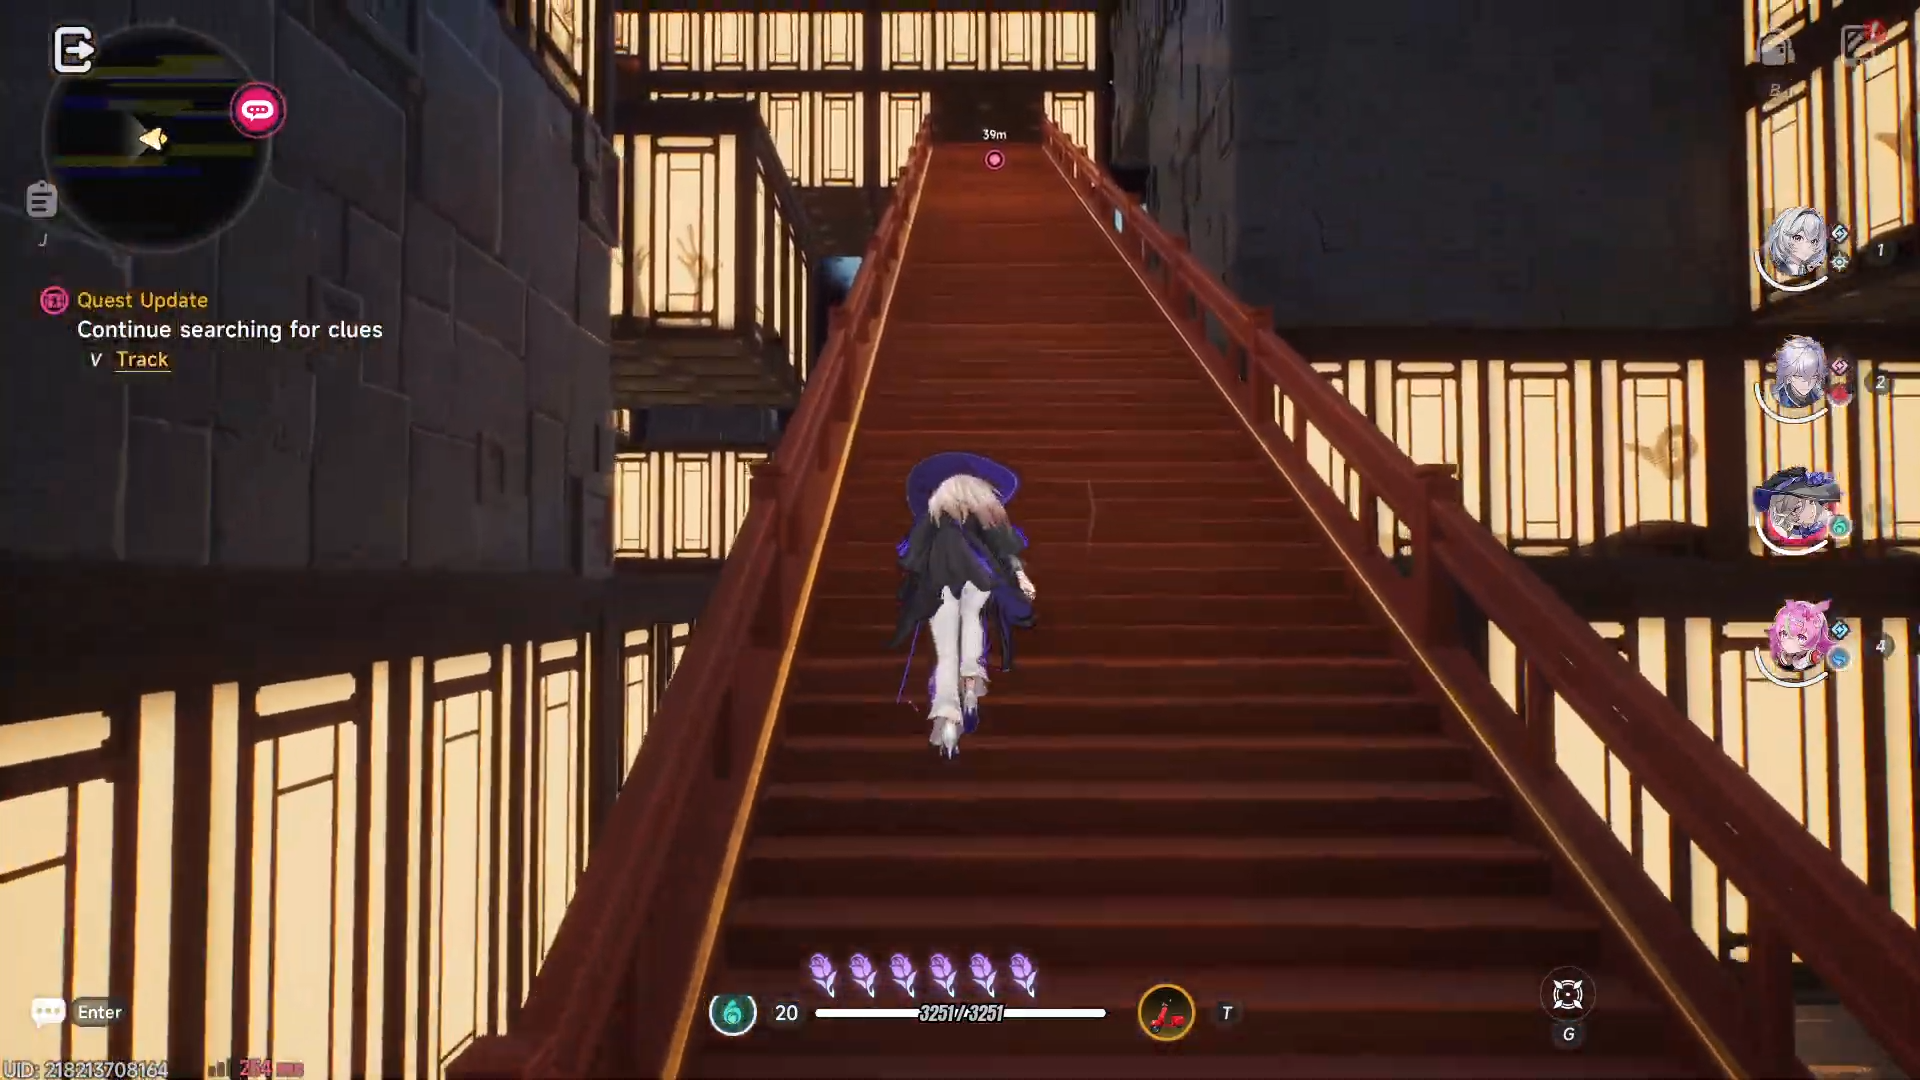
A pale, fast‑moving shadow marker appears in the distance and starts moving away from you.
-
Keep your camera focused on the shimmering outline and move straight ahead, following it at a steady pace.
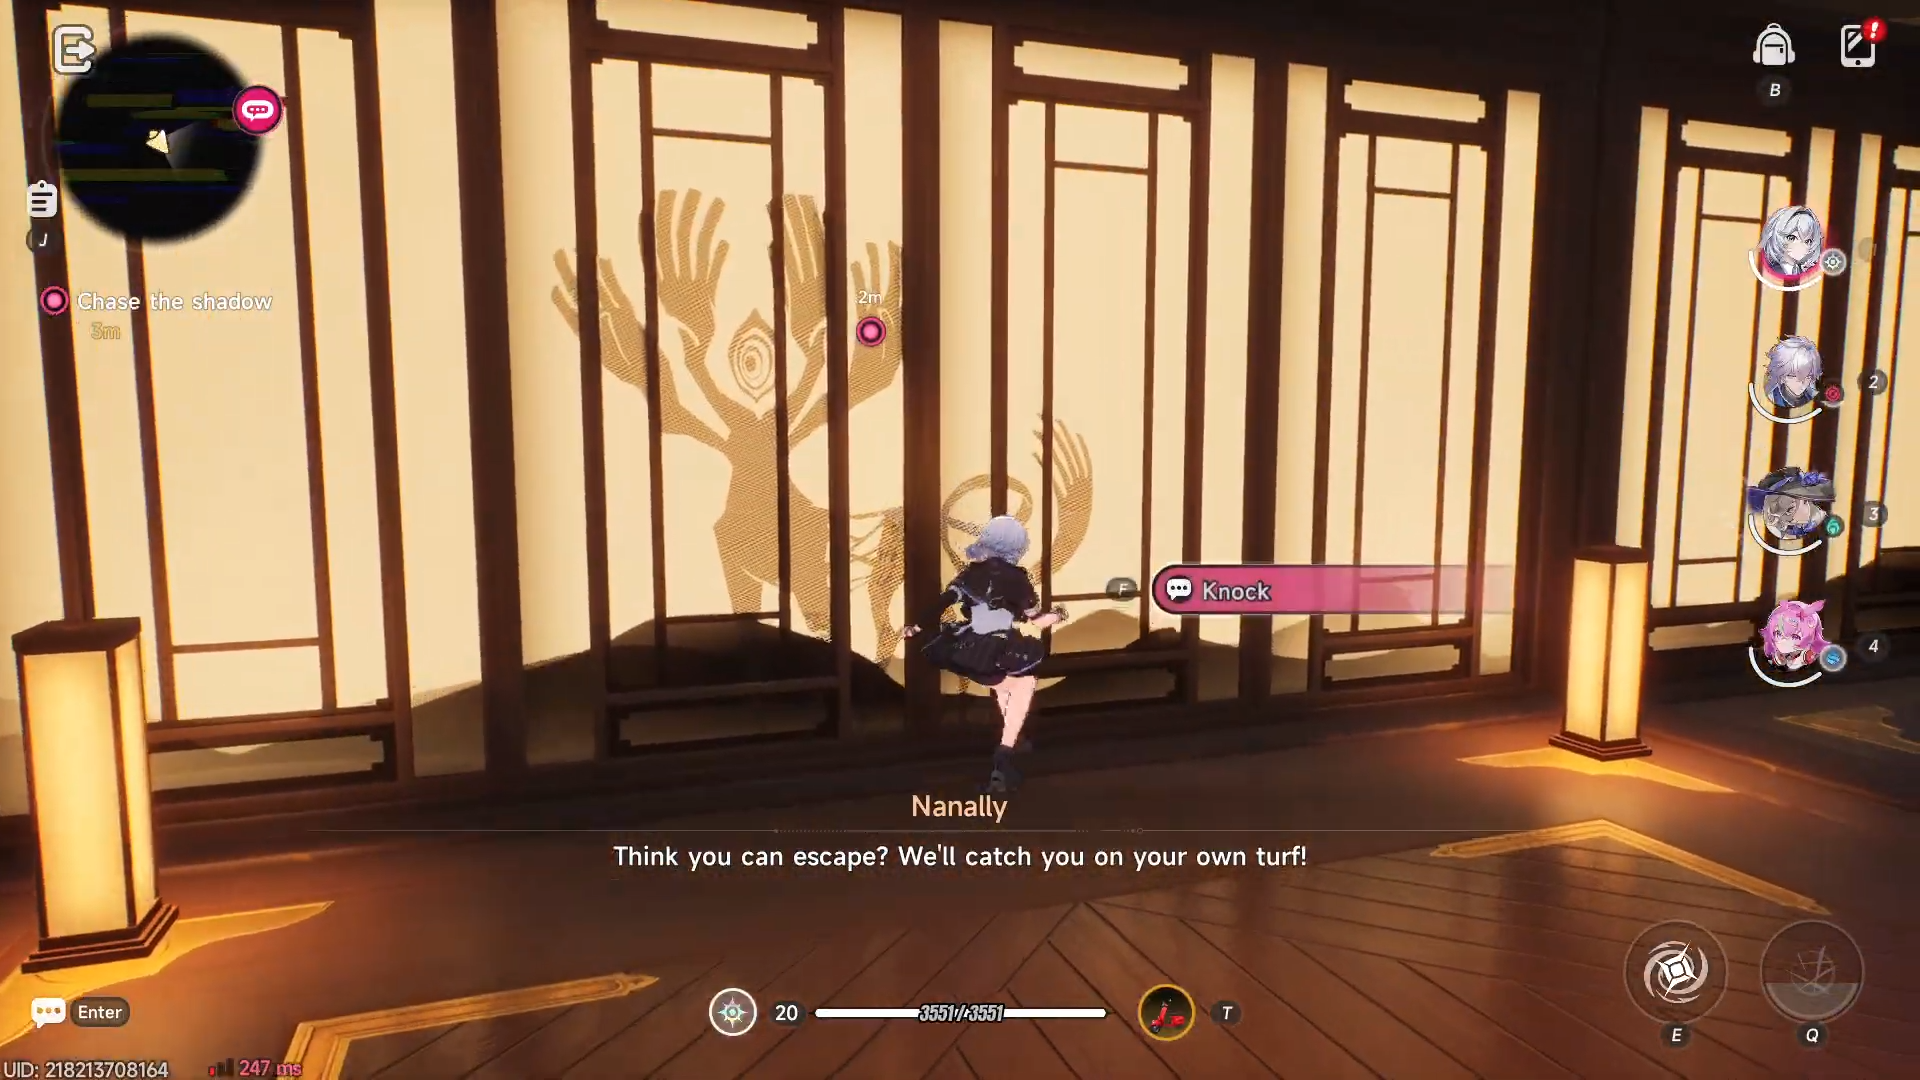
-
Do not stop for long; if you lag too far behind, the shadow may vanish and the objective will reset.
-
Avoid veering into side paths; the correct route is the direct corridor ahead of the marker.
When you bring your character close enough to the shadow from behind, it will vanish and the game will trigger the next chase segment.
How to continue chasing the shadow
After the first chase ends, the camera cuts to a new corridor with a similar layout but a slightly different decor.

-
The shadow re‑appears farther down this second corridor and begins moving at the same speed.
-
Again, follow directly behind it without stopping.
-
Mind the slight turns in the corridor; stay on the central path and ignore any branching side rooms.
Once you nearly catch up to it, the shadow disappears and the first “Nullify the oddity” prompt appears.
How to nullify the oddity (first encounter)
After the second chase, a small group of oddities spawns ahead of you.
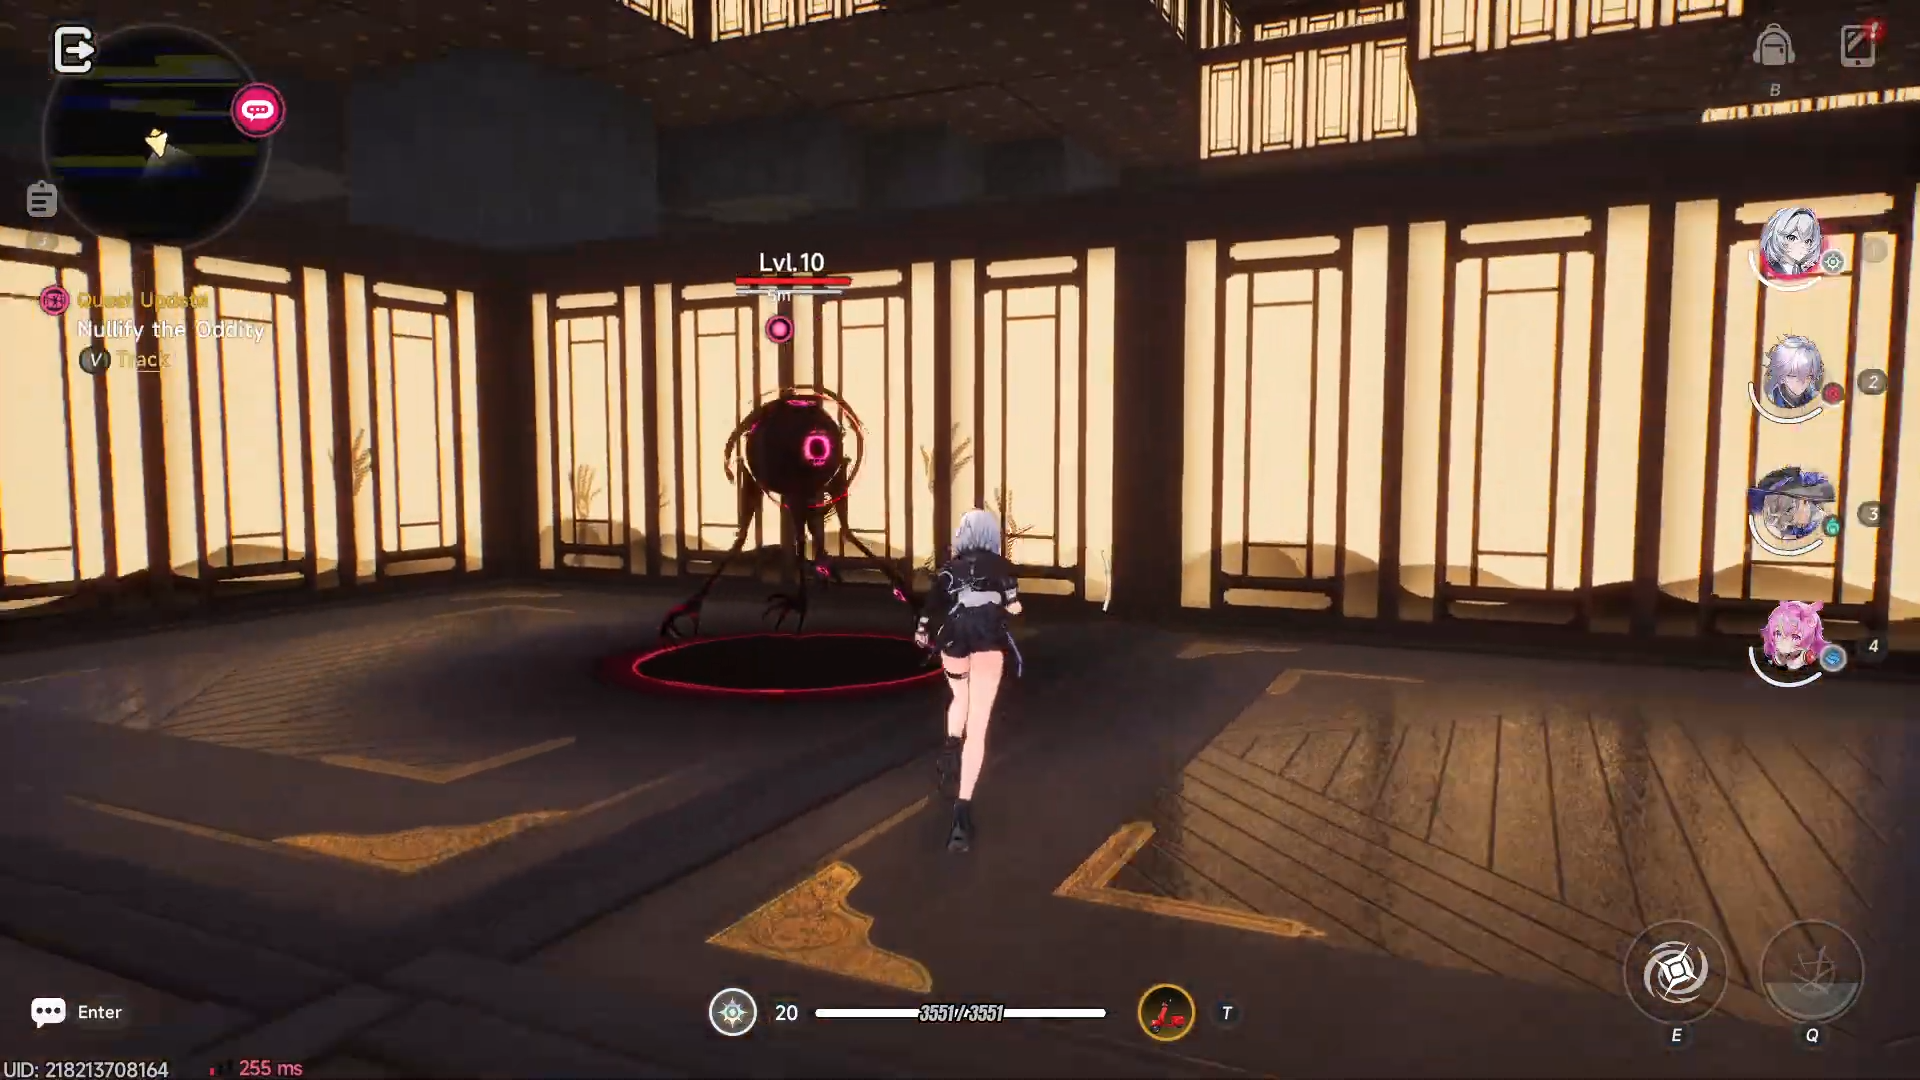
-
Engage them quickly with normal attacks and abilities so they do not interrupt your path to the next marker.
-
Use any crowd‑control or burst‑damage skills to clear the group in one or two rounds.
-
Make sure every enemy is defeated before the quest marks the objective as complete.
Once the oddities are nullified, the game will prompt you to “continue to search for the shadow.”
How to continue to search for the shadow
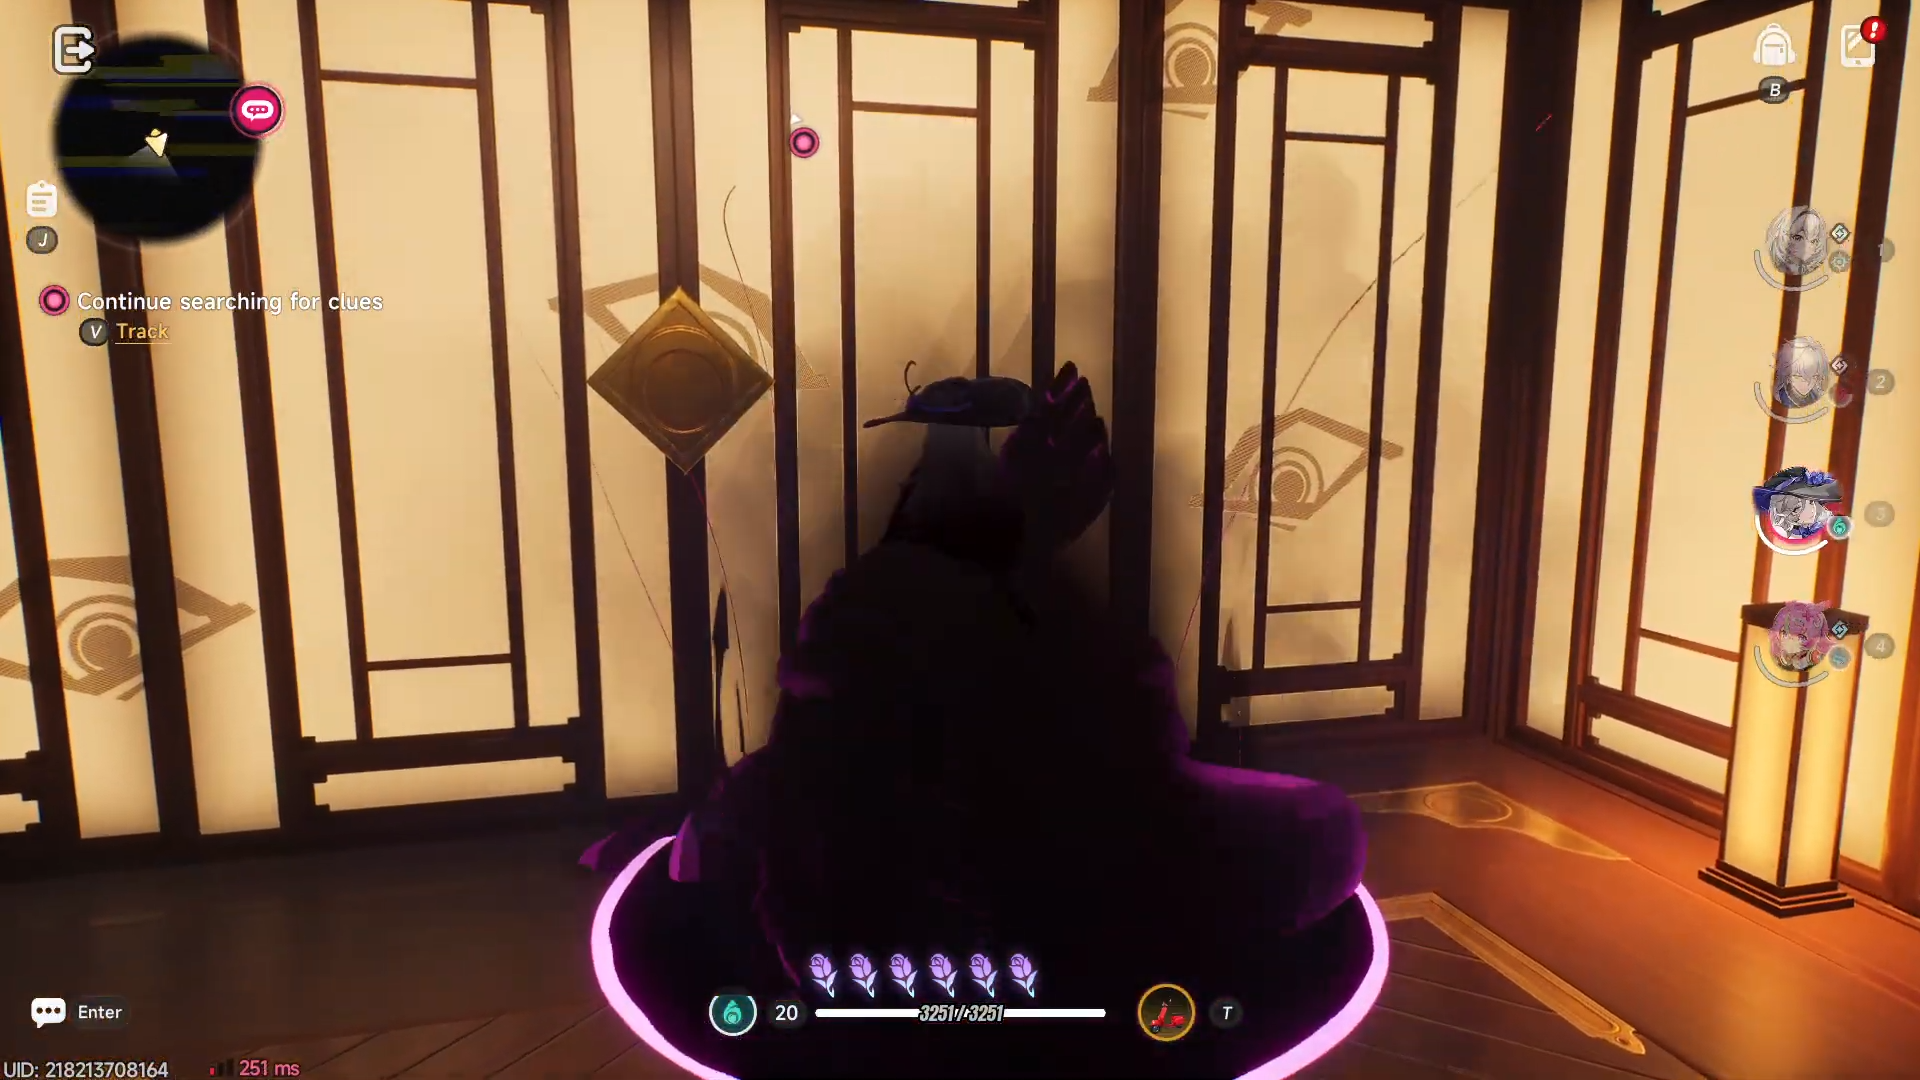
The next corridor is darker and slightly more maze‑like, with a few side passages and pillars.
-
Head straight down the central hall until the shadow marker re‑appears in the distance.
-
The shadow will move slightly faster here, so keep your movement speed up and avoid double‑checking side rooms unless the marker clearly turns into one.
-
When you approach the shadow from behind, it vanishes again and the second “Nullify the oddity” prompt appears.
How to nullify the oddity (second encounter)
A second group of oddities spawns near the point where the shadow disappeared.
-
Position your active character safely away from the group’s main attack range before engaging.
-
Use your Esper’s basic attacks and abilities to chip down their health, then switch to your strongest damage skill once they cluster.
-
Do not proceed past this area until all enemies are defeated; the quest will not progress otherwise.
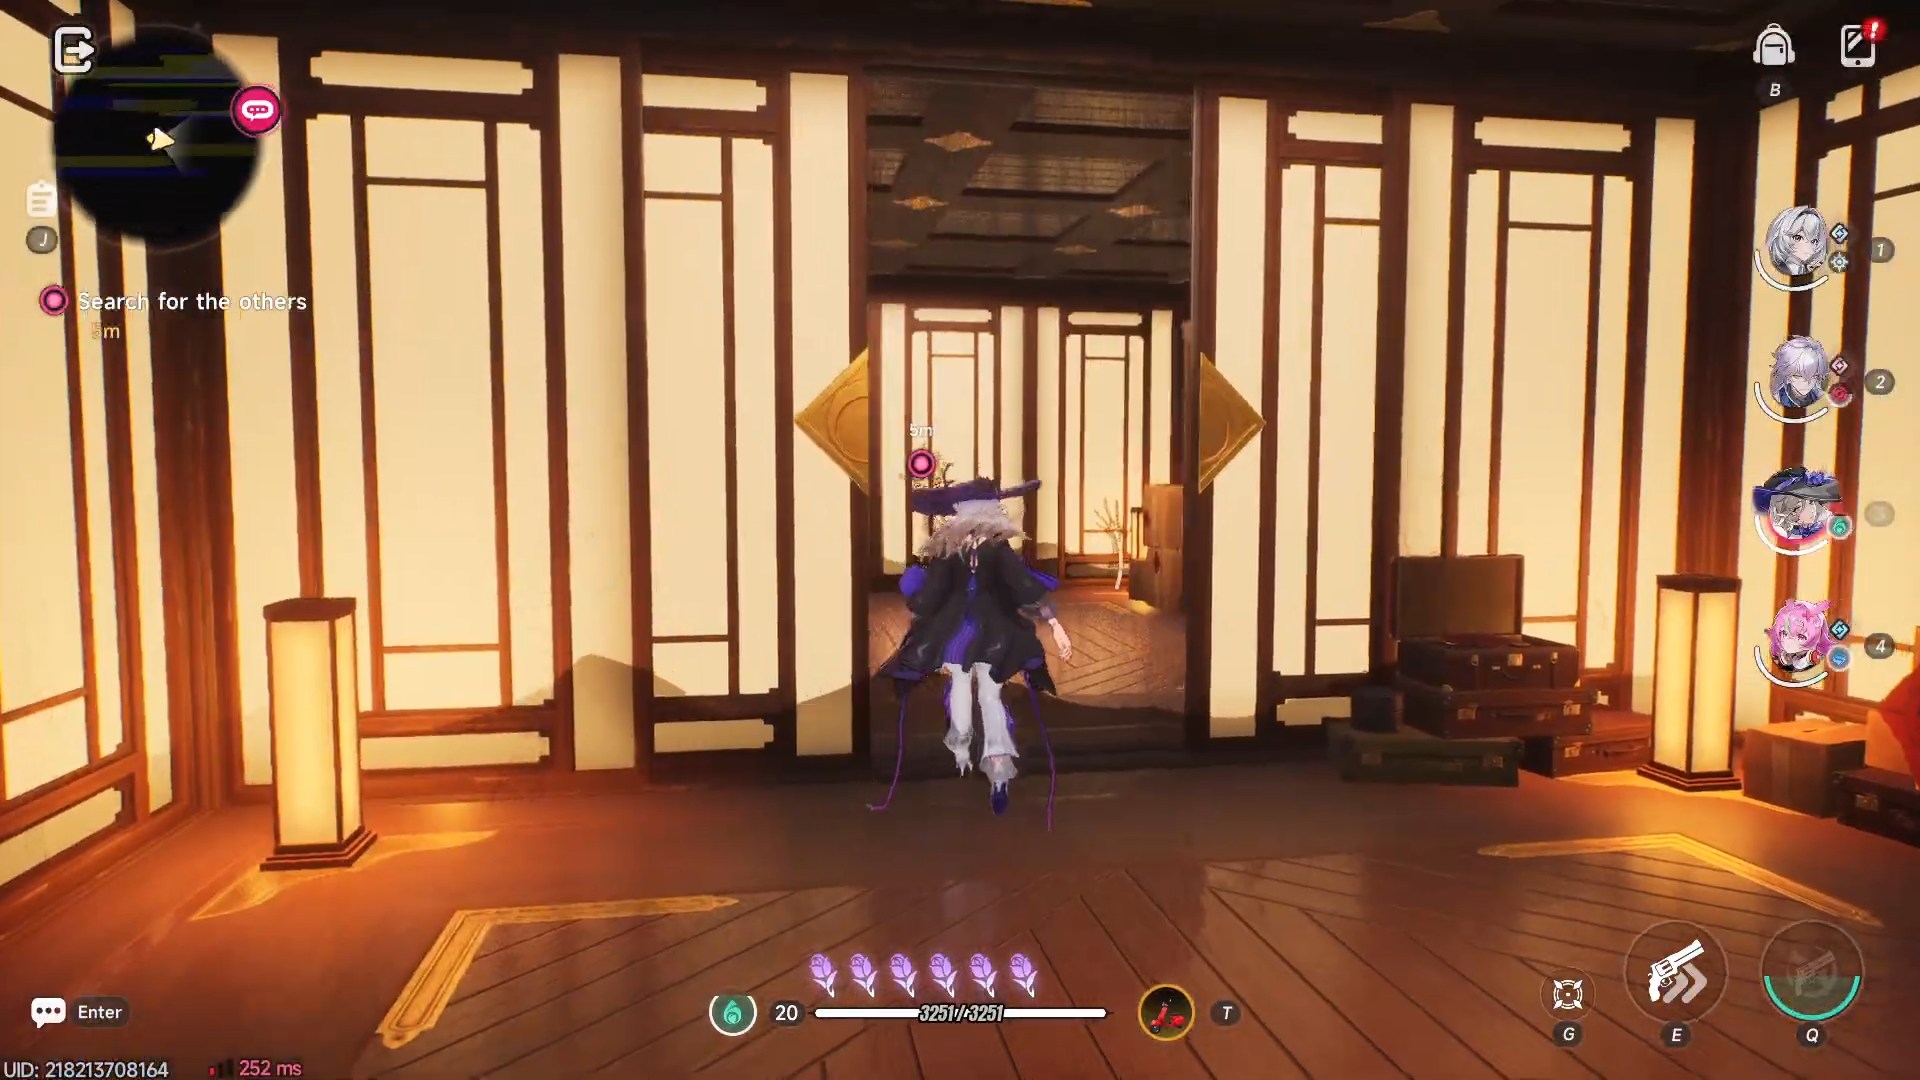
After clearing them, the path to the storage room opens and the objective changes to “Open the storage room.”
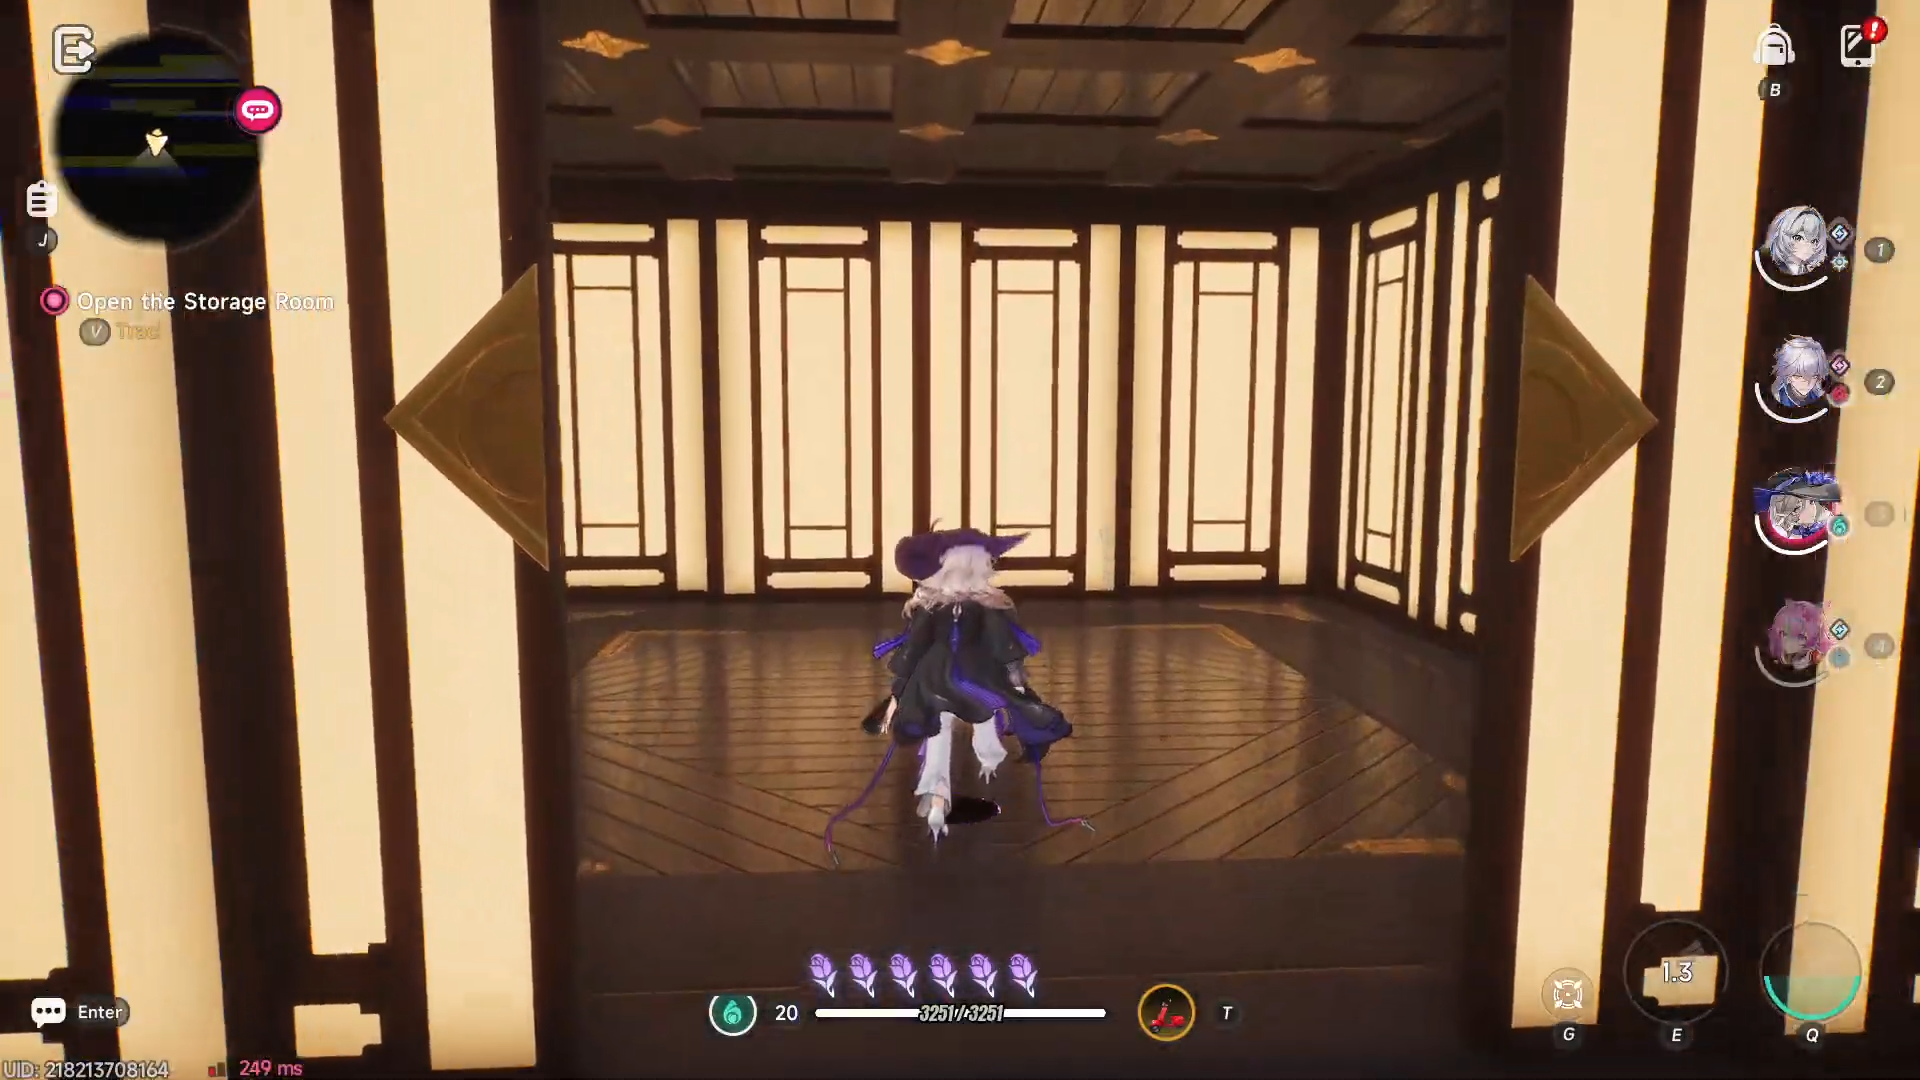
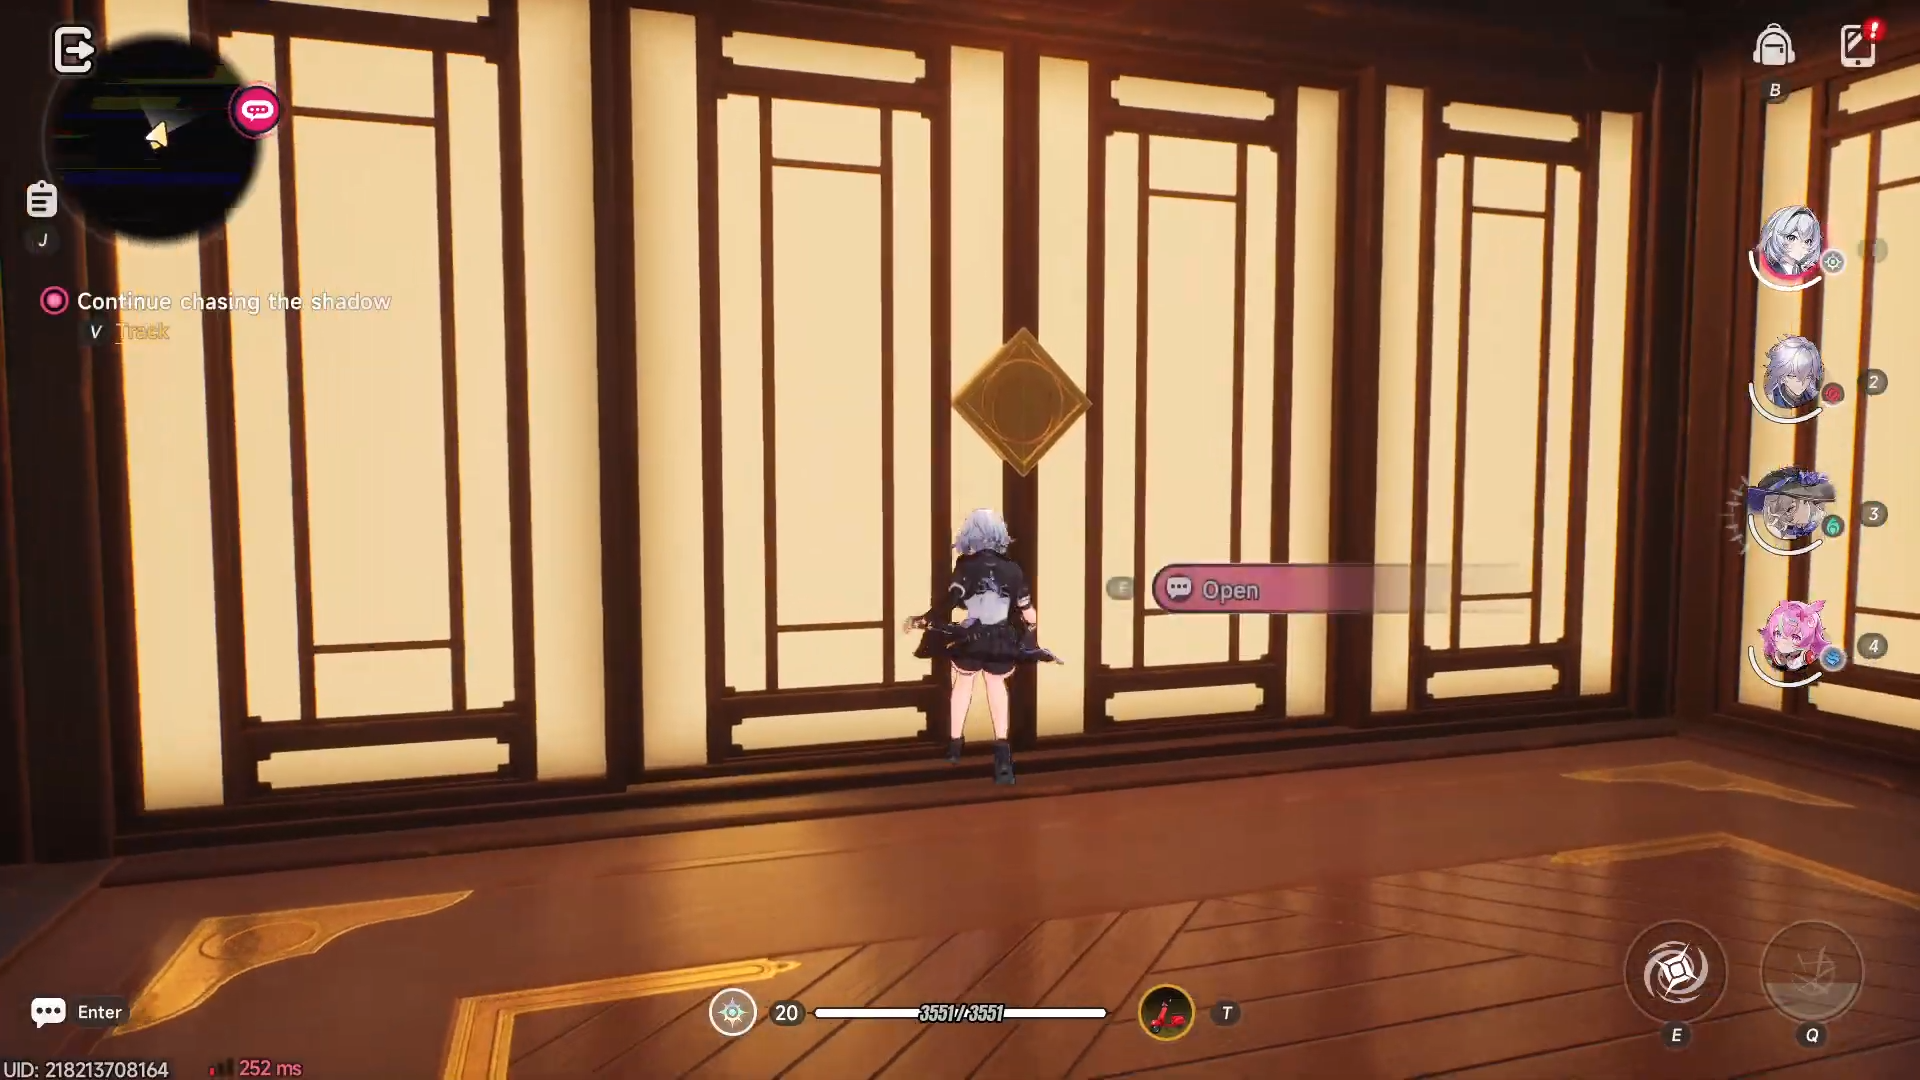
How to open the storage room
Ahead of the second oddity group, you will see a sealed door or panel with a faint glow.
-
Walk up to the door and press the interaction button to unlock it.
-
If the door is still locked, double‑check that you have completed the previous “Nullify the oddity” segment; the game will not let you proceed until it is done.
-
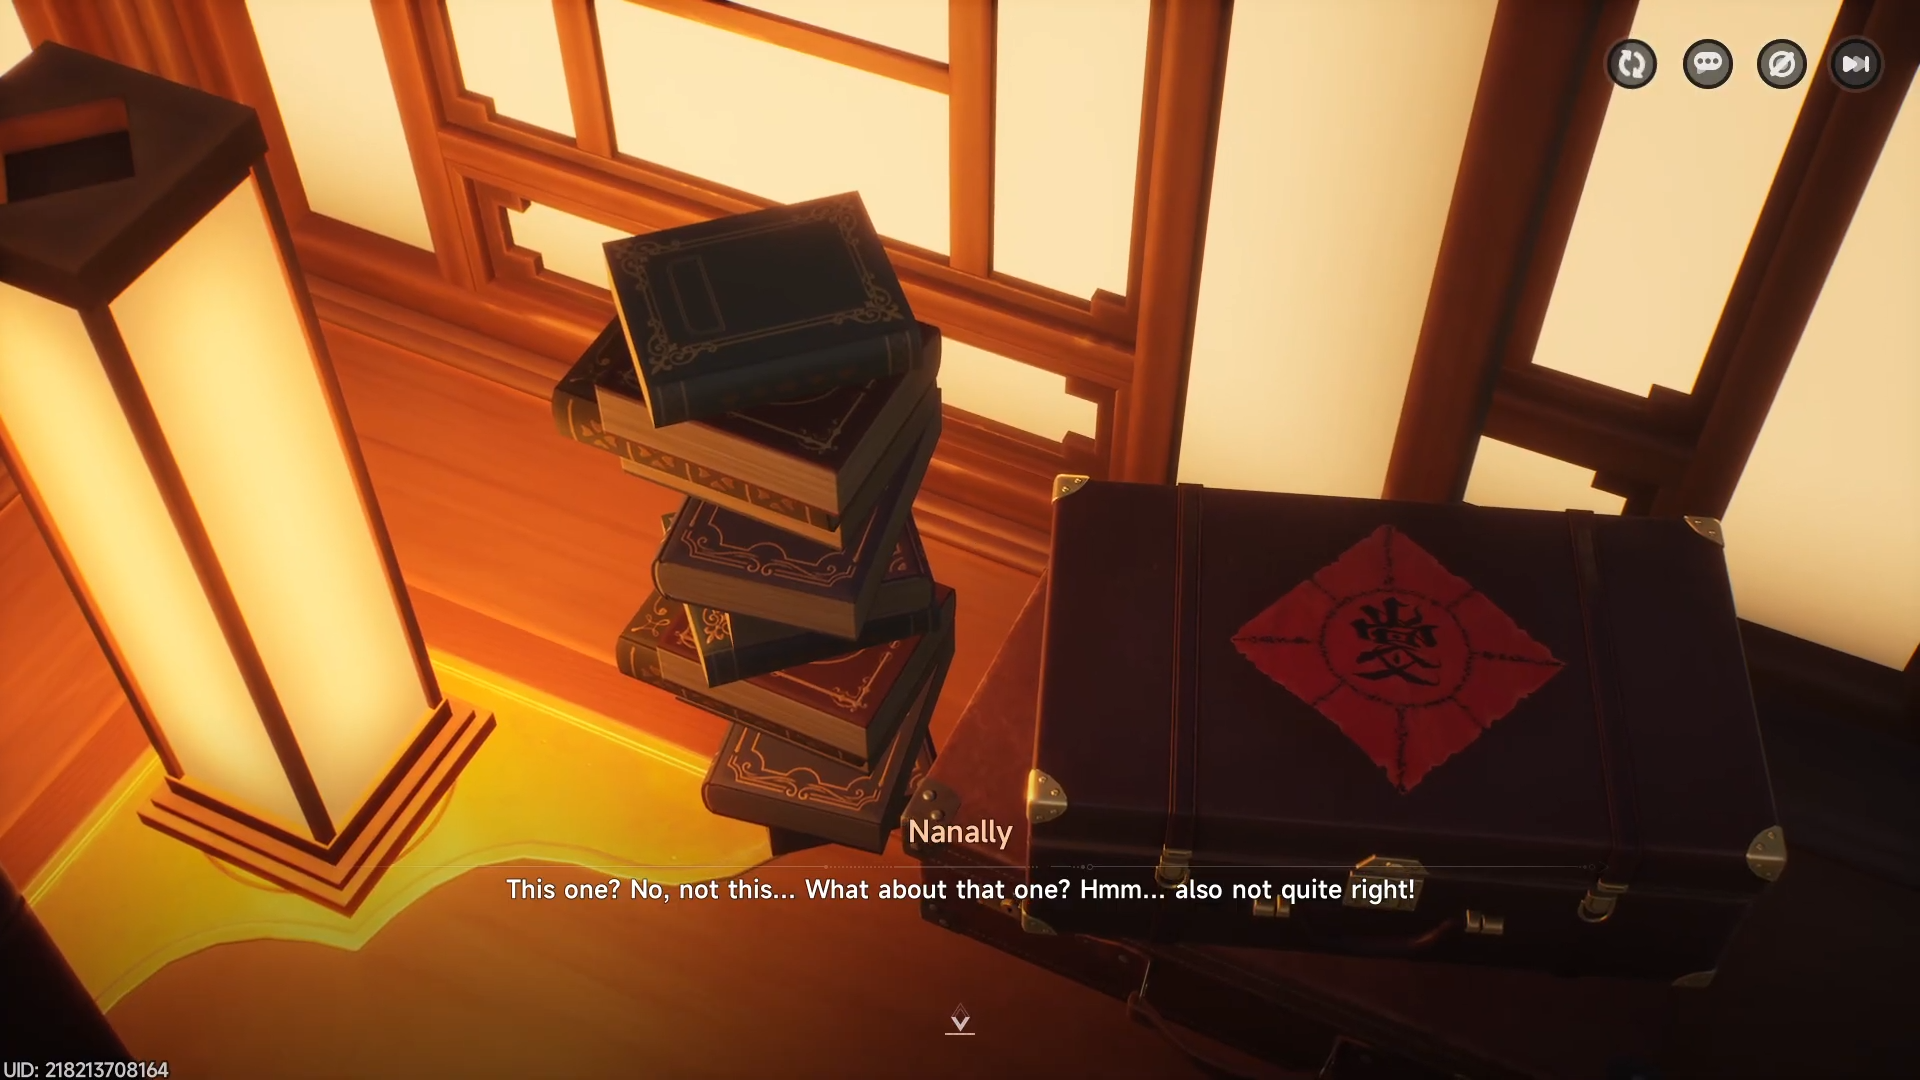
Once unlocked, the door slides open, revealing a back‑room storage area with shelves, crates, and scattered documents.
Step inside; the game will now mark the room as accessible and update the quest log.
How to search for the others
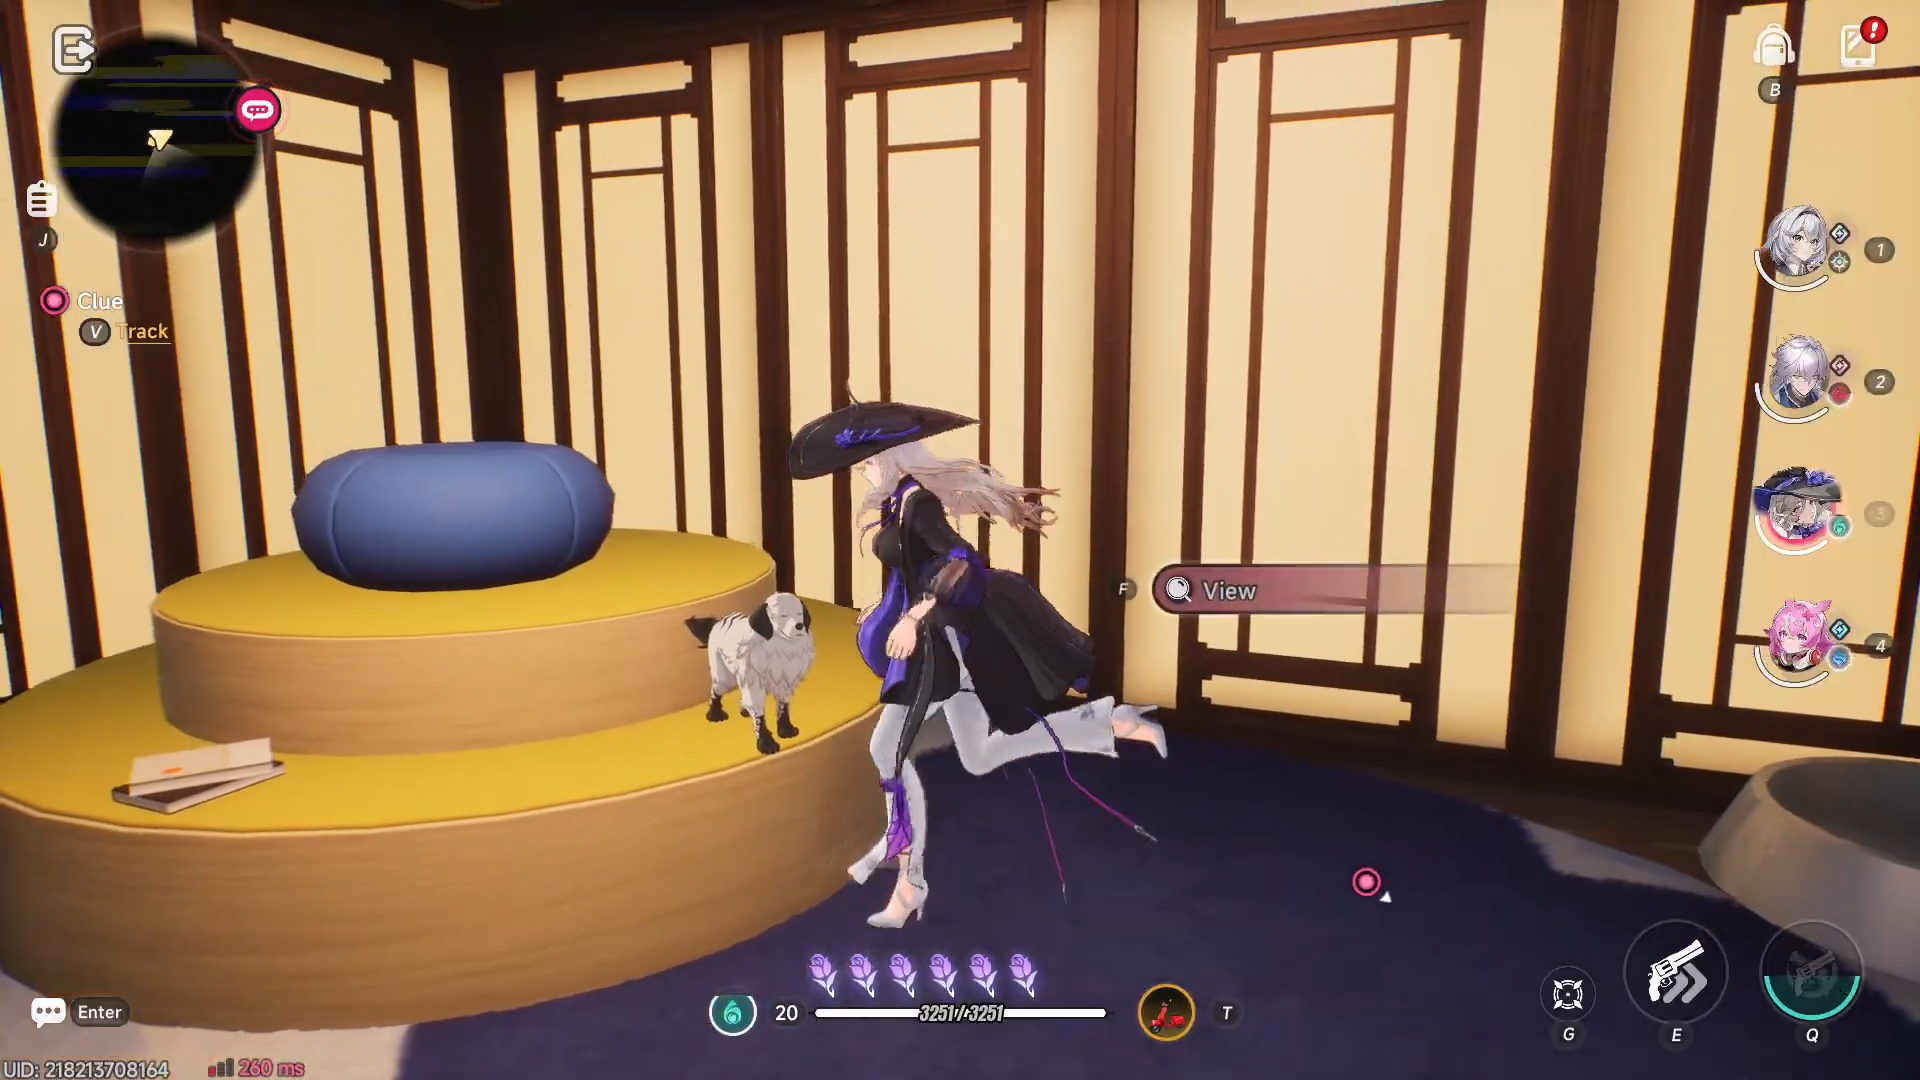
Inside the storage room, several interactive spots glow faintly.
-
Check the central table first; there is a folded note with Edgar’s handwriting and a small map fragment.
-
Examine the nearby shelves for a small box labeled “Taygedo’s Spare Tools,” which contains a key‑like item and a short log entry.
-
Interact with at least three of the highlighted spots to trigger the “search for the others” description.
After you inspect these, the queue will update to “discover clues left behind by Edgar and Taygedo.”
How to discover clues left behind by Edgar and Taygedo
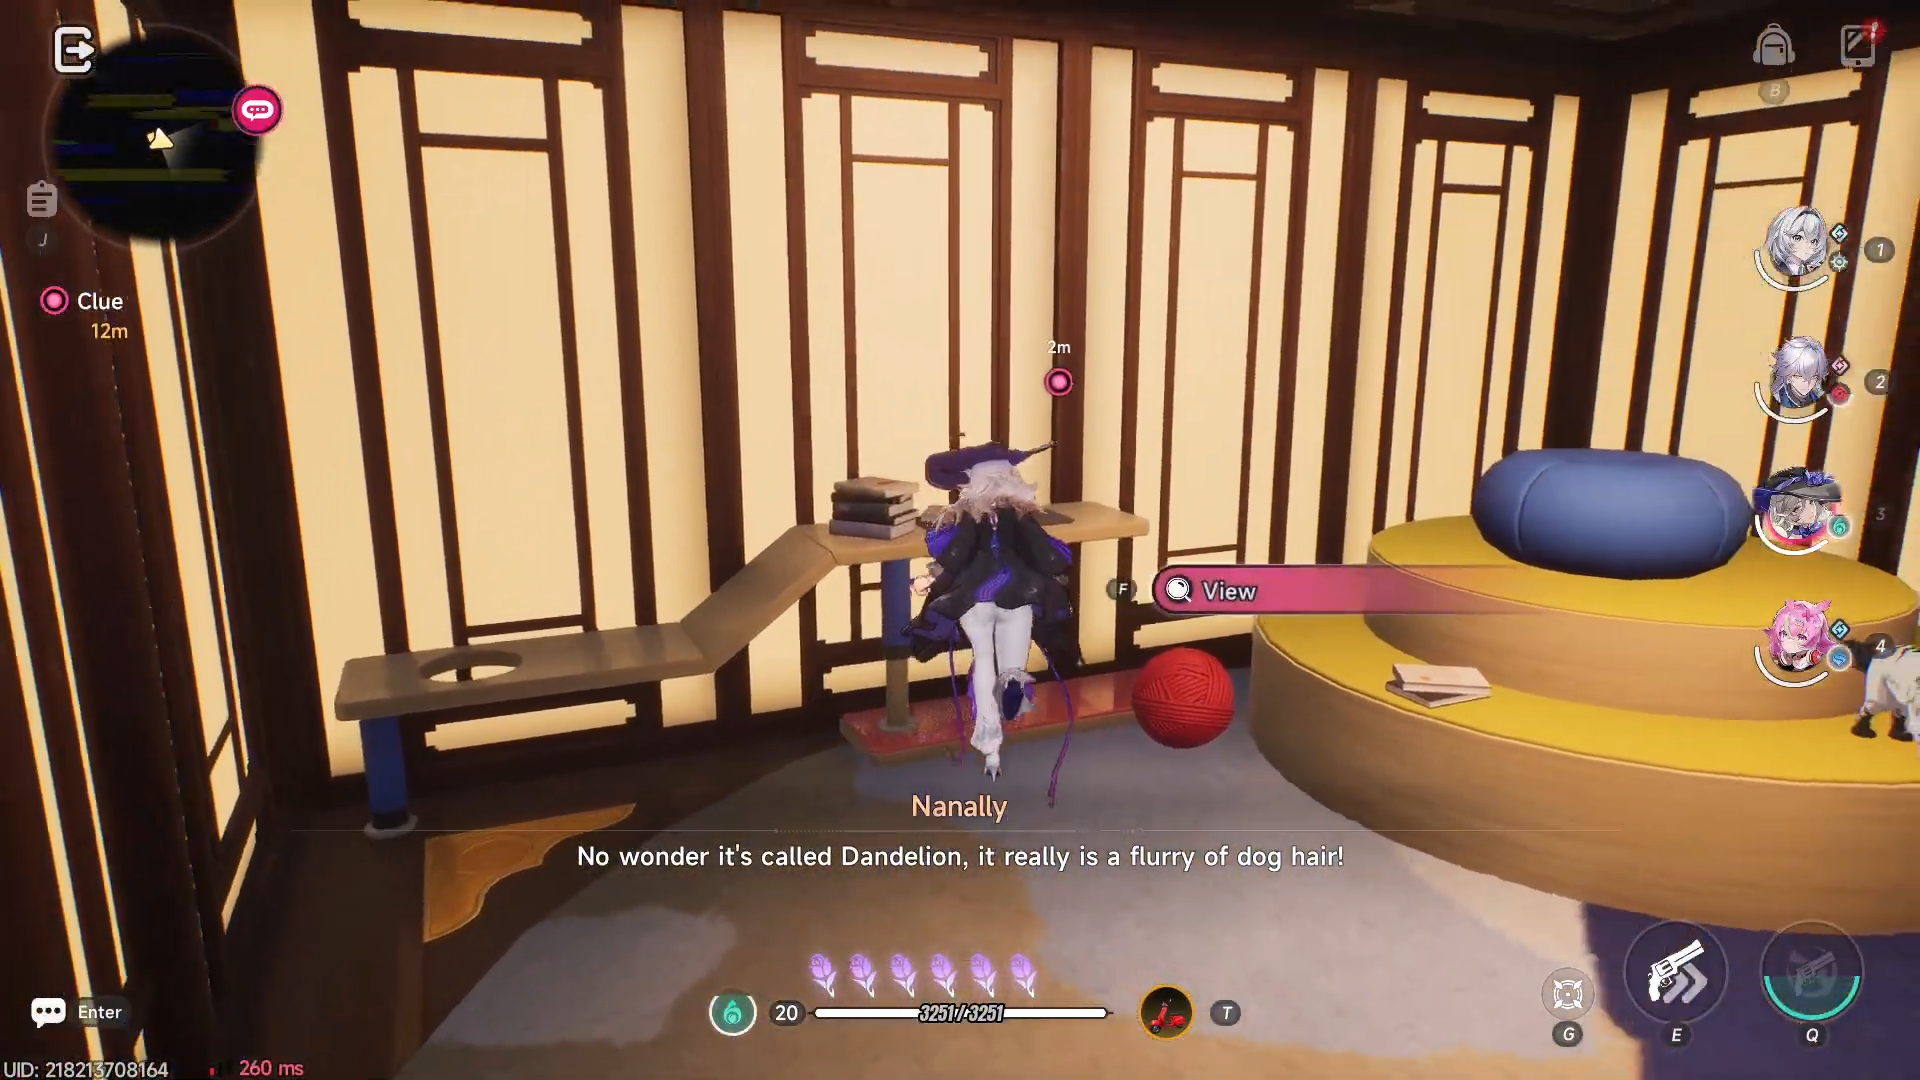
There are three main clue clusters in the room:
-
A pinned note on the wall with Edgar’s diagram of the anomaly’s layout and a circled “safe exit” symbol.
-
A floor‑marked trail of footprints leading toward a side cabinet; approach the cabinet and inspect the bottom drawer to read Taygedo’s worry note.
-
A small light‑emitting device on a shelf, which shows a brief projected message about their last known path.
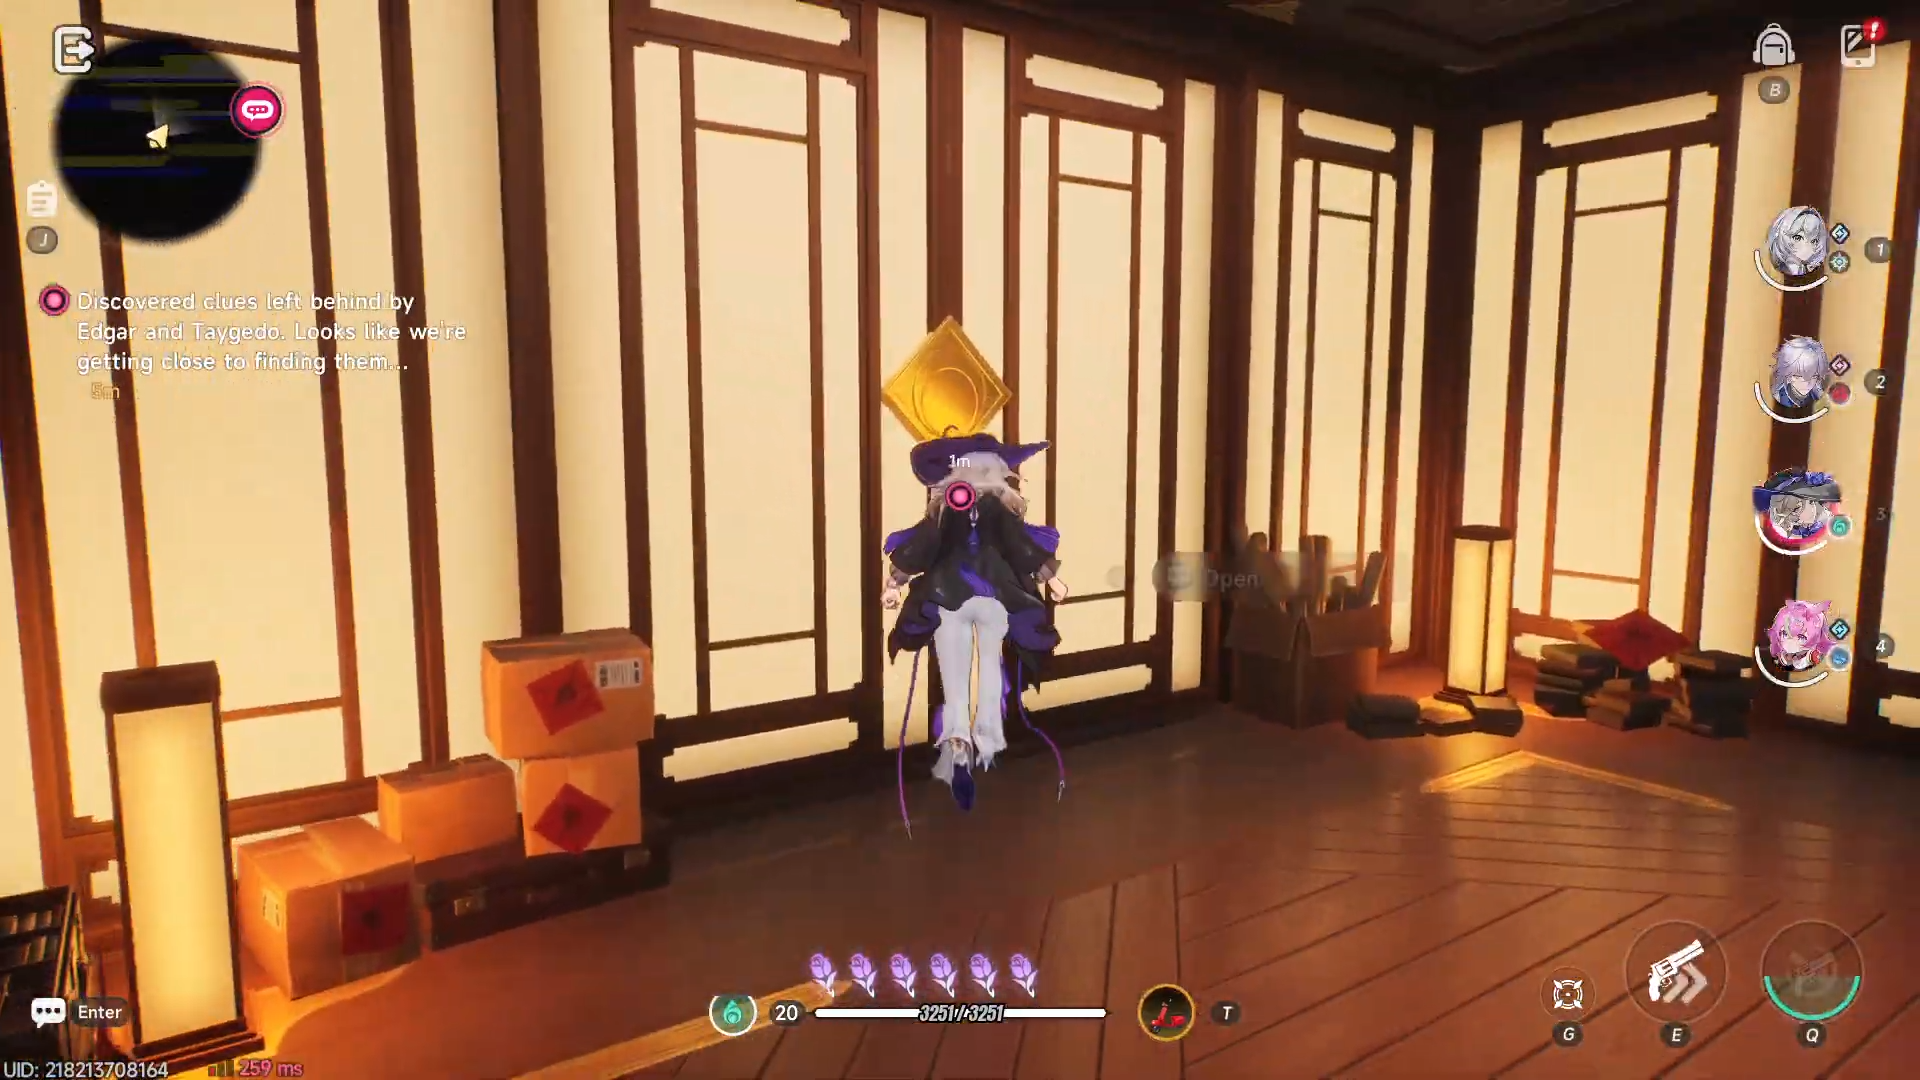
Once you have interacted with all three of these, the dialogue will play that you are “getting close to finding them,” and the quest log updates to “continue exploring for clues.”
How to continue exploring for clues
Before leaving the storage room, sweep the peripheral walls and corners for any faintly glowing spots.
-
Check the back wall near the cabinet for a small wall‑mounted switch or panel; interacting with it reveals a hidden memo slot.
-
Look under the central table for a small crate that can be opened for a short audio log clip.

-
If the room has a side door slightly off‑center, open it and check the short passage beyond for one final glowing document.
Completing all hidden interactions advances the quest to the final “continue searching for clues” phase.
How to continue searching for clues
Exit the storage room and return to the lamp‑lined corridor.
-
The quest marker will now sit at the far end of the main hall, where the first shadow appeared.
-
Walk back to that original spot and interact with the floor near the final lamp; the marker should highlight a floor‑patch or a small wall plaque.
-
Interact with that last spot to trigger the final dialogue, which confirms that you have traced Edgar and Taygedo’s path and are now closing in on their exact location.
At this point the quest completes and the next story chapter or follow‑up objective becomes available.
What to expect next
By finishing this quest, you effectively map out a hidden anomaly route tied to Edgar and Taygedo’s investigation, and you unlock the next stage of their arc. The process trains you to read environmental hints, follow fast‑moving markers tightly, and clear small anomaly pockets efficiently before moving on. If you missed any of the optional glowing interactions in the storage room, replaying it later can still yield extra lore and minor rewards even after the main objective is done.


Leave a Reply