
The Solnir Shard is an Ability Tarstone you get by defeating the mini-boss Solnir, the Gloom Seeker in the Faded Citadel, just past the Citadel Annex Beacon; equipped to a Sidearm it spends Resolve to lob a heavy explosive round that bursts for splash damage.
The Solnir Shard turns an ordinary ranged Sidearm into something closer to a grenade launcher, which is exactly why it anchors so many Mammon-territory builds. It is one drop from one mini-boss, and the whole appeal is the arcing explosive shot it grants — so the real questions are where to grab it, what it actually does, and whether it’s worth the currency to level up.
What the Solnir Shard is and where it drops
The Solnir Shard is an Ability Tarstone — the category that bolts a special move onto your gear rather than just padding stats. It is a one-time, unique drop from Solnir, the Gloom Seeker, a mini-boss tucked into the Faded Citadel just past the Citadel Annex Beacon, deep in the southern Mammon regions.
Key It also counts toward your Tarstone collection — it’s one of the game’s 75 Tarstones, and you need 73 of 75 for the Stoned trophy, so it’s worth grabbing even if you never build around it.
How to get Solnir Shard in Mortal Shell 2
Rest at the Citadel Annex Beacon
Fast travel to the Citadel Annex Beacon in the Faded Citadel, in the southern Mammon territory that runs noticeably tougher than the northern regions.
Take the stairs on the right
From the beacon, go up the staircase on the right and follow the path upward, clearing the route-side enemies as you climb.
Climb the second set of stairs
Continue up an additional flight; the small boss chamber branches off to the right, just before the lift to the next section of the Citadel.
Destroy both blue torches first
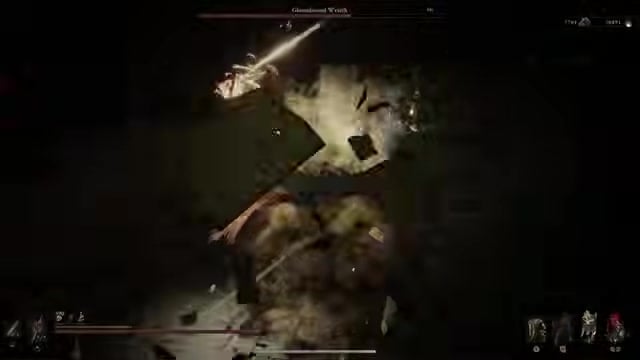
Inside the arena, break the two blue flames on either side before you commit — they are tied to the fight’s main mechanic and keep Solnir shielded while they burn.
Punish Solnir after his strings
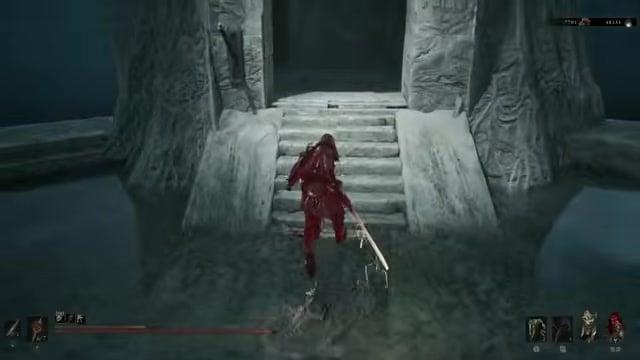
With the torches gone he becomes a fast, aggressive Gloom Seeker; stay mobile, avoid overcommitting, and hit the openings after his attack strings.
Beating him hands over the Solnir Shard along with a Glimpse and a large lump of Gloom — the exact Gloom payout is reported around x13,885, though the figure varies between playthroughs, so treat the number as a ballpark rather than a fixed reward.
What the Solnir Shard’s explosive shot does
Equipped to a Sidearm, the Solnir Shard consumes 25 Resolve at Level 1 to launch a heavy round in a parabolic arc that bursts on impact for splash damage. That arc is the whole point — you can lob it over cover or drop it into a cluster of enemies, and the explosion reliably clears one or more weaker foes in a single shot.
It only works with specific ranged Sidearms, not every one you own — the Forgotten Crossbow is the standout pairing, which is where the “explosive crossbow” build comes from. Because each shot costs a hefty 25 Resolve, the shard alone will leave you dry fast, so a way to refund Resolve is what makes it sustainable rather than an occasional panic button.
Slot a Resolve-regenerating Tarstone like the Devout Stone alongside the Solnir Shard so every Sidearm kill hands back Resolve — enough to keep firing explosive rounds through a whole pack instead of running dry after two shots.
How to upgrade the Solnir Shard at the Tarforge
| Level | Effect |
|---|---|
| Level 1 | Consumes 25 Resolve to launch a heavy round in a parabolic arc that bursts on impact for around 70 splash damage in a small radius |
| Level 2 | Explosion deals around 120 splash damage in a small radius |
| Level 3 | Splash damage climbs to around 120 in the same radius |
| Level 4 | Explosion radius widens for a larger blast while keeping its high splash damage |
Tarstone upgrades happen at the Tarforge with Franz in Marrow Keep, but that option is locked until you hand Franz the Etching Needle. You loot it from a bone chest on the road to the Magdalena, the Lady of the Woods fight: when you spot Ruk past the bridge, drop down through the opening and turn right before the tunnel to reach a small alcove with the chest.
Once that’s unlocked, Tarstones earn EXP while equipped whenever you kill enemies. Reaching Level 2 takes roughly 10,000 EXP plus 100 Gold, and the upgrade also nets you a Tarcore. Only after hitting Level 2 does the shard start banking EXP toward Level 3, which needs about 20,000 EXP along with 150 Coin and 6 Tarcore (and returns 3 Tarcores). Since a Level 3 upgrade eats more Tarcores than a single Level 2 grants, you effectively get one Level 3 Tarstone for every three you push to Level 2 — so pick which ones climb all the way carefully.
Whether the shard tops out at three or four levels, and the precise per-level splash figures above, differ between guide versions — so read the higher-level numbers as reported values rather than settled ones.
Related Mortal Shell 2 guides
Frequently Asked Questions
Do you have to beat Solnir to progress, or can you skip him?
You can skip him. Solnir sits in a chamber that branches off to the side, and you can ride the lift onward — and continue toward Sir Isaac, the Scholar-Prince — without ever fighting him. He’s an optional route-side mini-boss, which makes the Solnir Shard highly desirable for a Sidearm build but not required for the main path.
Can you get more than one Solnir Shard by re-running the fight?
No. The Solnir Shard is a single unique drop — the Tarstone checklist lists just one entry for it, so replaying the encounter won’t hand you duplicates. You only ever need the one copy, since you equip it and then pour EXP and currency into leveling that same shard.
Video help




Leave a Reply