
Lavender’s Robe is a free Mortal Clothing cosmetic sitting on the floor behind the altar chest inside the Illusionist’s Cache, a dungeon you can reach early by launching from the Gloomshade Grove beacon.
Most players never realise their bare mortal form can be reskinned at all, which is exactly why this one slips past so many runs. The Lavender’s Robe is the first piece of Mortal Clothing you can grab, it costs nothing, and it’s tucked at the back of an early dungeon behind a short chain of puzzles. Below is what it actually changes, the cleanest route to the Illusionist’s Cache, and every beat inside it up to the pickup.
Reaching the Illusionist’s Cache from Gloomshade Grove
Gloomshade Grove is the closest beacon to the dungeon, and it’s the best launch point. It sits on the left side of the map, out toward Widow’s Overlook — if you’ve already lit it, fast-travel straight there.
From the beacon, follow the path down the hill into a dark cave passage, then out onto a grassy cliff overlooking a stretch of stone ruins. Run the cliff path and cross the wooden bridge, then step through the bone-archway portal that teleports you across a foggy chasm onto an isolated ruin. Push into the stone building at the far edge and you’re at the Illusionist’s Cache.
Some players approach it instead through a locked church, guarded by a hooded, sack-headed figure, on a strip of land between the Citadel of Penance and Nochte — that’s the same dungeon, just a different way in. If you’re following this walkthrough, the Gloomshade Grove run above is the one demonstrated end to end.
How to get Lavender’s Robe in Mortal Shell 2
Inside the Cache you solve a short puzzle chain — a gate, a bell, and a mechanism — that reshapes the final room and exposes the robe.
STEP 1/7
Pass through the gate to spawn the room
Step through the stone archway gate — the first room only materialises once you cross it, and that reveal is the puzzle itself.
STEP 2/7
Break the illusory wall and clear enemies
Smash the wooden crates to expose an illusory wall, then cut down the enemies waiting behind it.
STEP 3/7
Drop past the elevator to the worm
Skip the inactive elevator and drop through the floor onto the platform below, killing the giant worm for its loot before riding back up.
STEP 4/7
Shoot the bell to raise the bridge
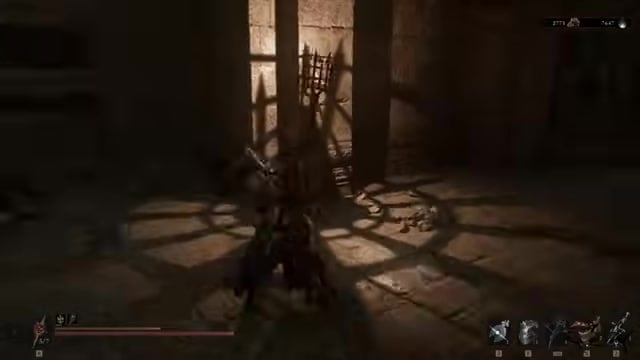
Equip your crossbow (or your sidearm) and shoot the bell hanging in the far archway — the stone bridge won’t extend until the bell is struck.
STEP 5/7
Cross the gate and strike the mechanism
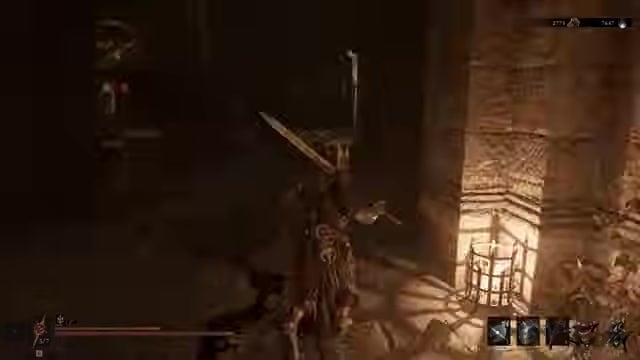
Cross the new bridge, pass through the next gate, and hit the pillar mechanism with your sword so it slides back into the wall.
STEP 6/7
Re-cross the gate to reshape the room
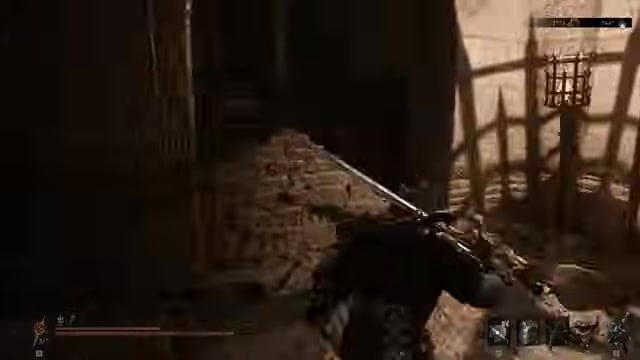
Head back to the stairs and step through the same gate a second time — this alters the adjacent room’s layout and opens the altar.
STEP 7/7
Take the robe from behind the chest
Open the altar chest, then don’t leave without the pale cloth lying on the floor directly behind it — that’s Lavender’s Robe.
Once the room reshapes, grab the robe off the floor behind the altar chest — plenty of players loot the chest and walk straight out without it.
Video help
How to wear clothing in Mortal Shell 2
Lavender’s Robe is a piece of Mortal Clothing — a cosmetic that changes how your bare mortal form looks, the pale figure you play as whenever you’re out of your Shell. It is not a Shell shade, so it never touches how your equipped Shell appears; it only dresses the mortal underneath. The robe itself is an off-white, near-obsidian cloth that darkens with mud and blood mid-fight and settles back to pale once you’re clear.
Key It costs nothing — no Gloom, no gold, no currency of any kind. You can claim it very early, long before the late-game regions, which makes it one of the first bits of personalisation the game quietly hands you.
Bonus loot: the Shuddering Stone and Crypt Key
| Item | Where / what it’s for |
|---|---|
| Lavender’s Robe | On the floor behind the altar chest — the Mortal Clothing reskin. |
| Shuddering Stone | Inside the altar chest — a tarstone picked up in the same room. |
| Crypt Key | On a table in the first room — opens a door in a separate dungeon elsewhere on the map. |
The robe isn’t the only thing you pocket on this run. The altar chest in that final room holds the Shuddering Stone, a tarstone worth grabbing while you’re there. On the way in, there’s also a Crypt Key resting on a table in the first room — pick it up, because it opens a locked door in a separate dungeon elsewhere on the map, so you’ll want it in the bag before you ever need it.
Don’t leave the altar room too quickly, either. There are a few illusory walls directly past the altar — break through them and a hidden alcove opens up with an extra item waiting on a pedestal, so clear those before you head back out.
Related Mortal Shell 2 guides
Frequently Asked Questions
Does Lavender’s Robe only change my mortal form, and how do I equip it?
Yes — it changes only your mortal form and leaves your equipped Shell’s look untouched, which is what separates it from Shell Shades. Equip it at any Beacon from the clothing/shade menu (the same menu that lists your Shell Shades, just a different slot). One catch: you’ll only actually see it once a hit breaks your Shell and drops you to mortal form, so it won’t show while you’re armored up.
Do I have to solve the whole dungeon, or can I grab just the robe?
You have to work the full puzzle chain — the bell that raises the bridge, then re-crossing the gate to reshape the room — because the altar and the robe simply don’t exist until that final layout appears. What you can skip is the illusory-wall alcove past the altar; if all you want is the robe, take it off the floor and leave, and come back for the hidden pedestal item later.



Leave a Reply