

Justiciar’s Stone is in the cave behind the Broodshell Swarm encounter southeast of the Feeding Grounds dungeon entrance in eastern Fainweald, and equipping it makes slain enemies drop more Coin.
If your Coin reserves keep draining faster than you can refill them, Justiciar’s Stone is the pickup that fixes it. It is a Support Tarstone tucked into a flooded cave in eastern Fainweald, guarded by a group boss called the Broodshell Swarm. Grab it early and you turn every kill into a bigger Coin payout, which makes it one of the first farming tools worth chasing once you clear the prologue.
| Detail | Answer |
|---|---|
| Item | Justiciar’s Stone |
| Type | Support Tarstone (Lustrous) |
| Effect | Slain enemies drop more Coin when equipped |
| Area | Eastern Fainweald |
| Landmark | Swampy field southeast of the Feeding Grounds dungeon entrance, near the Stones of Remembrance |
| Obstacle | Broodshell Swarm group boss |
| Pickup spot | Inside the cave behind the encounter |
How to Get Justiciar’s Stone in Mortal Shell 2
Head to eastern Fainweald

Fast-travel toward the eastern side of the region and make for the swampy field southeast of the Feeding Grounds dungeon entrance, near the Stones of Remembrance.
Find the Broodshell Swarm
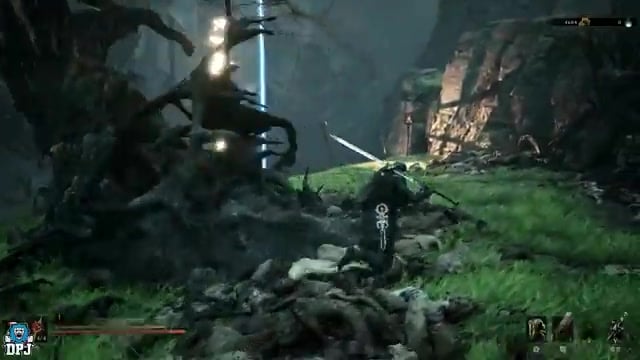
In the boggy field to the north you will run into the Broodshell Swarm, a multi-enemy group boss blocking the path.
Clear or slip past the encounter
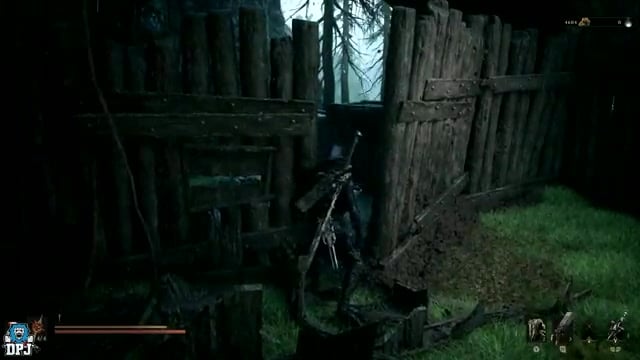
You can defeat the Broodshell Swarm outright, or run straight past it to the cave if you can survive the dash.
Enter the cave behind it
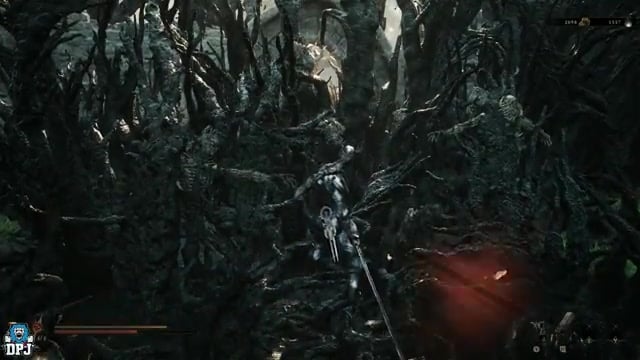
Step into the dark, water-filled cavern the swarm emerges from, ringed with white flowers at its flooded mouth.
Pick up the Tarstone
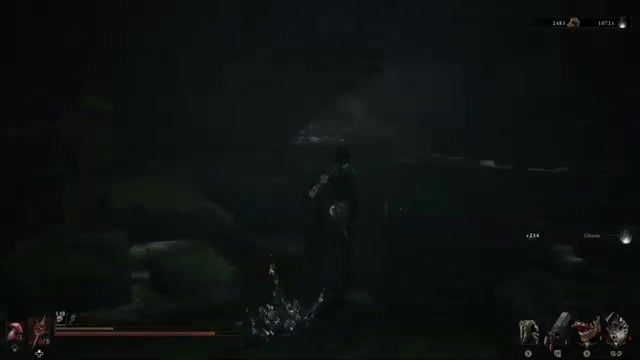
Follow the narrow passage to the glowing, cross-like stone at the back and interact with it to claim Justiciar’s Stone.
Making the Coin bonus actually work
Key Owning Justiciar’s Stone does nothing on its own. Like every Tarstone in the game, it has to be equipped to one of your weapon or sidearm slots before its effect kicks in, so slot it in the moment you pick it up. Once it is active, every enemy you kill pays out more Coin than it normally would.
Since the Week 1 Update the payout is a flat +30% Coin from slain foes rather than a ladder you climb at the Tarforge. It is a Fragile Tarstone now as well: its durability drains as you gain Coin, and the stone breaks once that runs out.

The moment you grab it, equip Justiciar’s Stone to a weapon or sidearm slot — an unequipped Tarstone gives you nothing.
Grab the Gloombound Stone on the same trip
Right nearby, over in the Stones of Remembrance, sits the Gloombound Stone, which does for Gloom what Justiciar’s Stone does for Coin. Since both are early pickups sitting in the same corner of eastern Fainweald, it is worth grabbing the pair in one run so you are boosting both resources as you farm through the opening areas.
Where players lose the stone
The most common miss is stopping at the Broodshell Swarm arena and assuming the fight itself is the reward — it is not. The actual Tarstone is inside the cave behind the encounter, so push past the arena into the tunnel to claim it.
The other trap is searching the wrong ground. This pickup is specifically in the eastern Fainweald swamp southeast of the Feeding Grounds entrance, so don’t burn time hunting the western side of the region or confusing this approach with unrelated Tarstone locations elsewhere on the map.
Video help
Related Mortal Shell 2 guides






Leave a Reply