

Equip the Grisha Remnant as a passive, stand beside the bell-and-spike pit near Abandoned Outpost, and keep swinging. Any summoned Grisha that falls to its death drops another Grisha Remnant.
Key Grisha Remnant is normally a rare, near one-off collectible in Mortal Shell 2 — the kind of item you only pick up a handful of times across a whole playthrough. This route bypasses that limited supply. Set up at the correct spot with the Remnant slotted as a passive and you can stack dozens in a single sitting, with every extra copy making the item hit harder.
What the Grisha Remnant exploit does
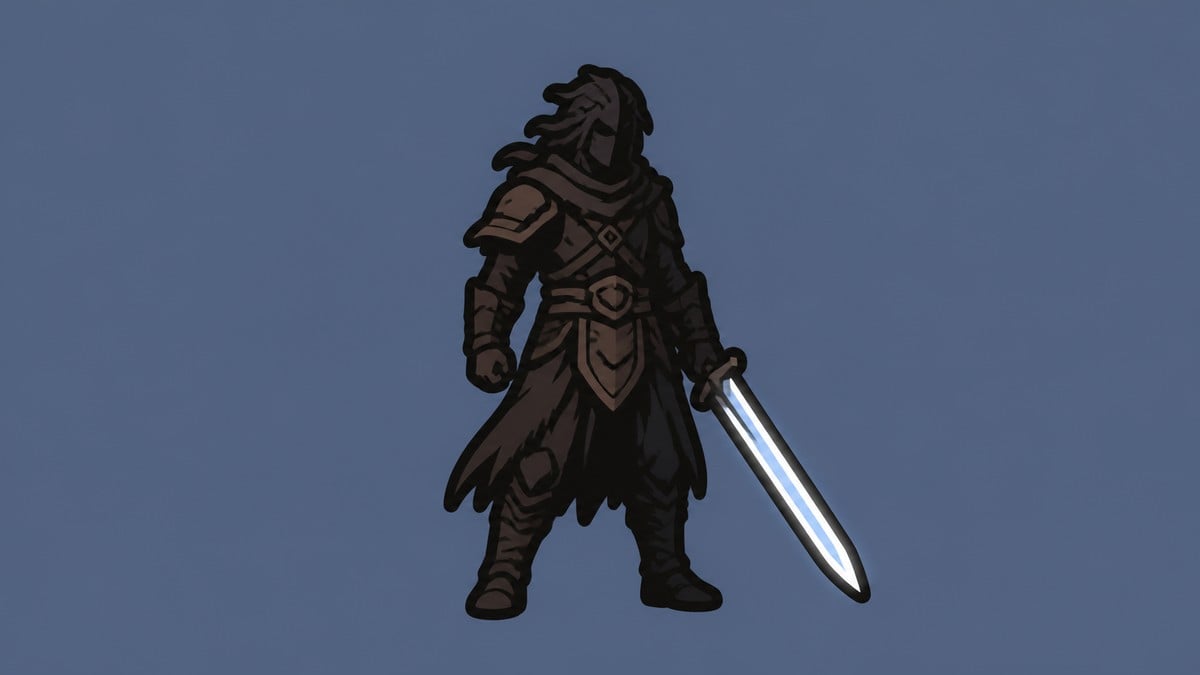
A Grisha Remnant drops each time you take down a Grisha, and it works in two slots. Slotted as active, it summons a Grisha on command — press Down on the D-pad and a spectral Grisha rushes in, hits whatever you’re fighting, and despawns. Slotted as passive, each melee swing has a small chance to summon one that fights alongside you, and you can have several on screen at once.
Both effects scale with how many Remnants you’ve collected. At higher familiarity, the summoned Grisha’s damage and the per-swing summon chance both climb with your total, so a fat stack turns a niche summon into a genuine damage source. Farming beyond the tiny fixed supply gives you stronger summons and more frequent passive procs.
The exploit uses one quirk: when a Remnant is set to passive and the Grisha it summons dies instantly — by falling off the map or landing on spikes — you receive another Remnant. Spawn one over a pit, let it drop, collect the Remnant, and repeat. This is unintended behaviour, and a balance update is rolling out around August 21, 2026, making this a do-it-now farm before the exploit is patched.
Farming starter Grisha Remnants in Mortal Shell 2
Farm five to ten Remnants before running the exploit. Marrow Keep has a respawning Grisha you can loop to build that starter stack.
STEP 1/8
Grab the Slayer Seal
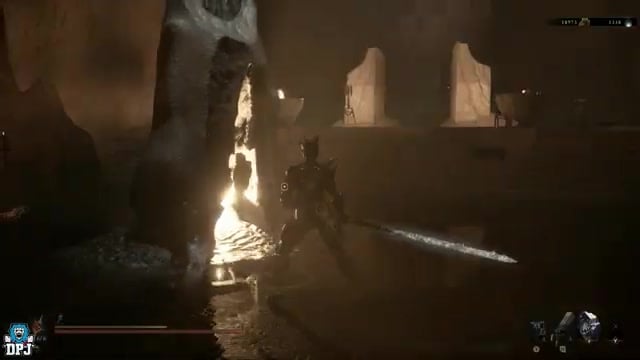
From the Marrow Keep beacon, face the large bird statue, turn left, and take the Slayer Seal from the throne directly ahead. Pick it up, but do not equip it.
STEP 2/8
Enter the training room

Return past the beacon and continue straight into the training room.
STEP 3/8
Break through the invisible wall
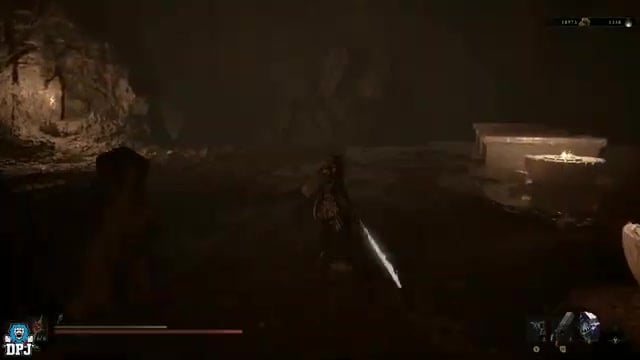
Walk through the invisible wall at the back of the room to enter the hidden chamber.
STEP 4/8
Break the chains and commune with chaos

Smash the four chains on the chalice with your weapon, then commune with chaos. The interaction only works while the Seal is in your inventory.
STEP 5/8
Trigger the lever
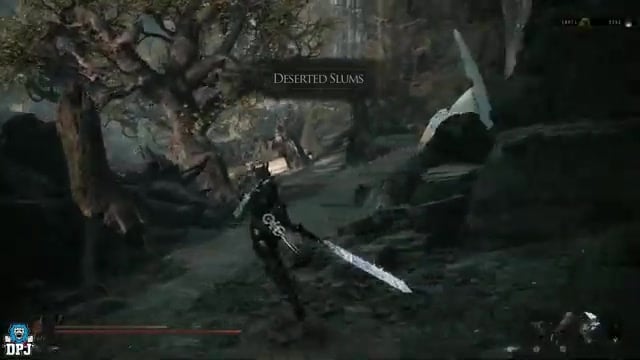
Pull the lever tucked above and behind you to open the route forward.
STEP 6/8
Run up the ramp
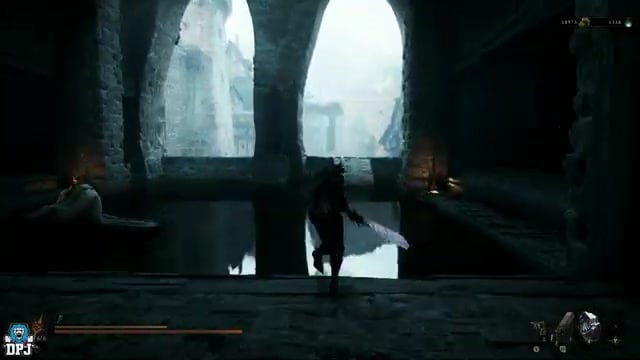
Double back, avoid the exploding barriers, and climb over the ramp.
STEP 7/8
Kill the respawning Grisha
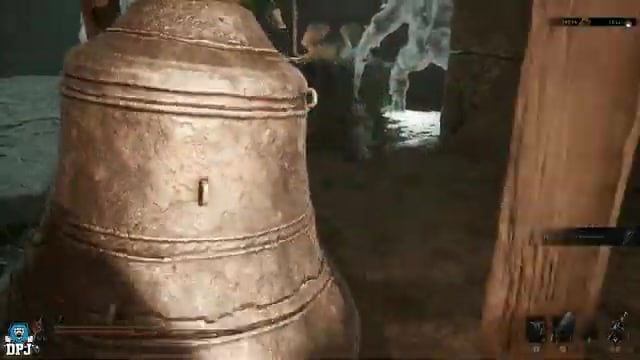
The Grisha ahead respawns every time you reset the beacon. Learn his moveset, kill him, and collect a guaranteed Remnant plus a stack of Gloom.
STEP 8/8
Exit to menu and reload
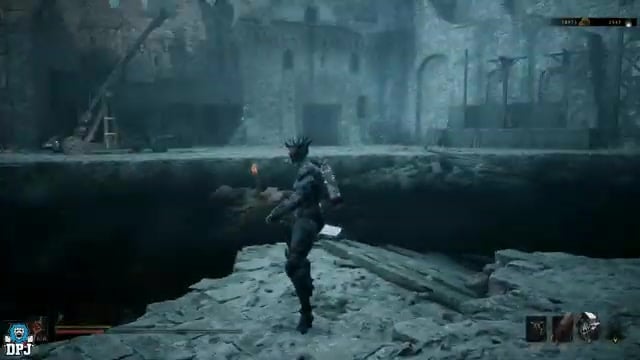
Skip the run back by quitting to the main menu and reloading. You respawn at Marrow Keep and can sprint straight to the Grisha again. Repeat the loop until you hold five to ten Remnants.
Routing to the Abandoned Outpost bell spot
The exploit spot is inside a dungeon reached from the Outskirts of Mammon. Follow this route to reach it quickly.
- Start at the Outskirts of Mammon beacon — Fast-travel to the first Outskirts of Mammon beacon you unlock in the area.
- Run down the hill — Head downhill, slipping past the enemies instead of stopping to fight them.
- Cross the bridges — Follow the path across the first bridge, then the next.
- Use the traversal point — Face the traversal point over the gap and use it to cross.
- Trigger the beacon at the base — Come down the last stretch of hill to the beacon at the bottom and light it — this becomes your farming respawn.
- Climb to the dungeon — Double back and head up the hill, dodging the enemy hurling bricks at you.
- Shoot the bell to raise the bridge — At the entrance, shoot the bell to spawn the bridge in front of you.
- Clear the enemies inside — Push through and wipe out every enemy in the room before you set up.
Running the one-swing Remnant farm
Once the room is clear and your starter Remnants are banked, stand in the correct position and keep swinging until passive Grishas spawn over the pit and die on impact.
- Equip the Remnant as a passive and ready a fast weapon — Slot the Grisha Remnant in your passive slot so melee hits can summon a Grisha, and switch to your fastest-swinging weapon for more attacks per second.
- Stand beside the bell and swing — Position next to the bell and swing on repeat — the bell is just a target to strike, the exact spot is what matters.
- Let spawns fall into the spike pit — On a successful swing, a Grisha spawns over the pit and drops onto the spikes for an instant death, giving you another Remnant.
- Stick to the safer bell side — Favor the bell side over the exposed rail — the rail spawns Grishas across the gap and makes you far likelier to fall off yourself.
- Keep swinging to stack Remnants — From the safe spot you can hold position and keep swinging as the Remnants pile up.
Bank five to ten Grisha Remnants in Marrow Keep before you touch the bell. The passive summon chance scales with how many you already hold, so more starters make the pit spawns trigger far more often.
Video help
Fixing failed spawns at the bell pit
| Problem | Fix |
|---|---|
| Procs are slow and rare | Farm five to ten starter Remnants in Marrow Keep first — the summon chance scales with your total. |
| Grishas spawn in front of you, not over the pit | Nothing to fix — the spawn is random; keep swinging and the pit spawns will come. |
| You keep falling off the edge | Move to the safer bell side instead of the exposed rail angle. |
| Spawns die but drop nothing reliably | Clear every enemy first and rely on the pit’s instant death, not combat kills. |
| Nothing summons at all | You’ve slotted the Remnant as active — move it to the passive slot so swings can summon. |
Failed runs come down to positioning or setup. If procs are painfully slow, return to Marrow Keep and build the five-to-ten starter stack. With only one or two Remnants, very few swings summon anything. Spawn placement is random: some Grishas appear over the pit and fall, while others land in front of you and fight. Hold the bell-side position and keep swinging until the pit spawns trigger.
Passive Grishas killed by enemies will not provide a reliable Remnant drop. Use an instant death from falling or spikes: clear the room first and let the pit handle every kill.
Where Grisha Remnants normally come from
| Source | Drop |
|---|---|
| Grisha Hunter trader (Mushroom Village, by the Hall of Illusions) | Buy for 2,000 Coins — missable once the Hunters leave |
| Flooded Village Grisha boss | Grisha Remnant ×1 |
| Grisha Hunting Grounds — Pale Grisha | Grisha Remnant ×1 |
| Rabid Grisha Pack (Holding Cells) | One or two (count varies) |
| Withered Shoals — Strange Grisha | Grisha Remnant ×1 |
Outside the exploit, Grisha Remnants come from a small, fixed pool: one merchant copy and several boss-type Grisha drops, most of which are available only once. The easiest one to miss comes from the Grisha Hunter near the Mushroom Village Beacon, who sells a Remnant for 2,000 Coins. Buy it before you free the Grisha Pup or kill the Hunters, because their departure removes the stock permanently. The boss Grishas — Flooded Village, the Pale Grisha at the end of the Grisha Hunting Grounds, and the Strange Grisha in Withered Shoals — do not respawn, so each provides a single drop.
The Rabid Grisha Pack in the Holding Cells drops one or two Remnants. That still leaves only a handful of copies across an entire run, which makes the bell pit farm a huge upgrade over the intended supply.
Related Mortal Shell 2 guides
Frequently Asked Questions
Does grabbing the Slayer Seal disable achievements?
Only if you equip it — equipping the Slayer Seal switches achievements off. You don’t need to equip it. Simply keep it in your inventory to commune with chaos and open the Marrow Keep loop, then leave it unequipped.
Can you do this at the start of the game?
Yes. The Marrow Keep Grisha respawns each time you reset the beacon and can be beaten with starting gear once you learn his moveset. Both the starter farm and the bell pit setup work early, with no late-game equipment required.
Is there a cap on how many Grisha Remnants you can hold?
No. You can stack Grisha Remnants well into the dozens, so keep farming until the extra damage and summon chance no longer feel worth the time.




Leave a Reply