
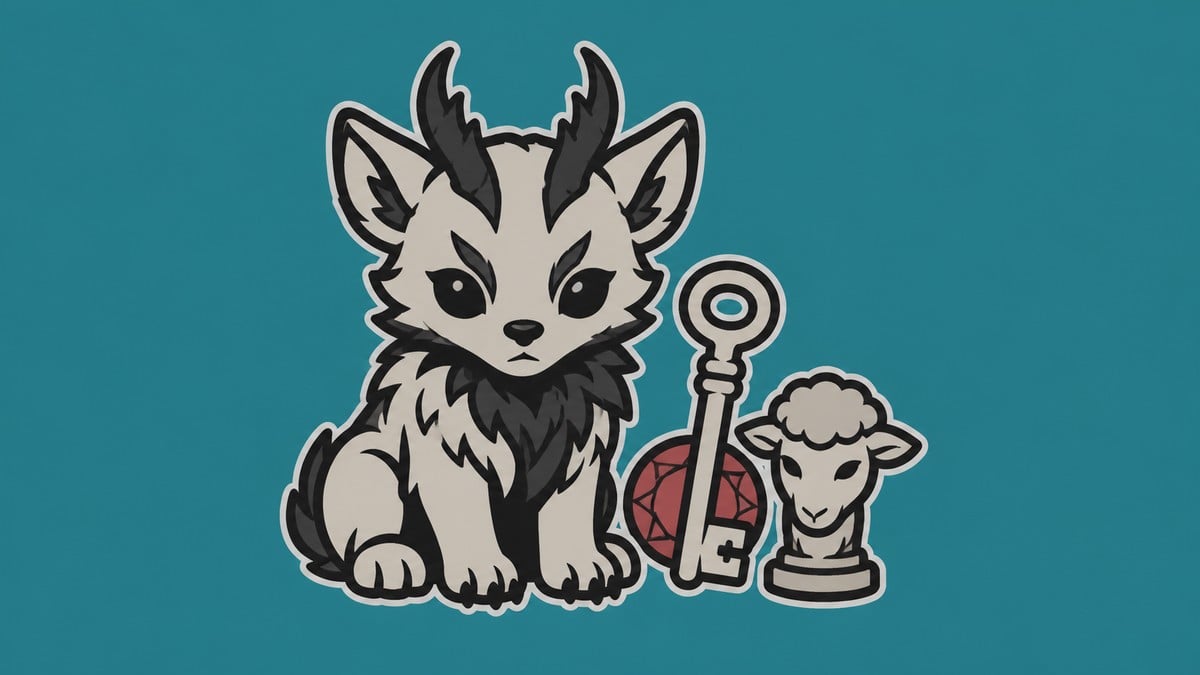
Buy the Grisha Remnant before touching the cage, then free the Grisha Pup for the Sheephead Totem and decide whether to leave the Grisha Matron alone or fight her for another Grisha Remnant.
The Grisha Hunter camp in Mushroom Village is one of the easiest events in Mortal Shell 2 to botch, because a single swing or an early cage release wipes the merchant for good. The whole thing hangs on order: clear out the shop first, then decide how you want the pup’s story to end. Get it right and you walk away with a permanent sheep transformation and a spare summon Remnant.
- Every choice and reward at a glance
- How to reach the Grisha Hunter camp and free the Grisha Pup in Mortal Shell 2
- What to buy before you change the camp
- Freeing the pup cleanly with the Cage Key
- Meeting the Grisha Matron for Glimpse
- Leaving, resting, or fighting the Matron
- Nearby ground loot and the Chapel Key door
- Frequently Asked Questions
Every choice and reward at a glance
| Choice | Reward or consequence |
|---|---|
| Buy the Cage Key (250 coins), then free the pup | Camp stays calm; the pup hands you the Sheephead Totem |
| Break the cage lock instead of buying the key | Saves 250 coins but turns the whole camp hostile |
| Attack the Grisha Hunters | Ends all trading; you can grab their drops but lose the shop |
| Leave or rest after the Matron appears | Matron and pup vanish; you forfeit the second Grisha Remnant |
| Fight and beat the Grisha Matron | Drops a Grisha Remnant plus a Wounding Stone and a large batch of Glimpse |
Key Everything below expands on these five branches. The one rule that never changes: spend your coins before you change the camp’s state, because there is no restock once things go loud.
How to reach the Grisha Hunter camp and free the Grisha Pup in Mortal Shell 2
This is the clean route the shop rewards you for — reach the camp early, buy the important wares, release the pup with the key, then loop back for the Matron.
STEP 1/9
Set out from Widow’s Overlook
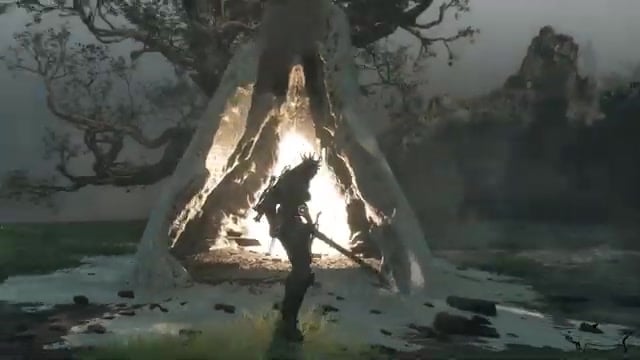
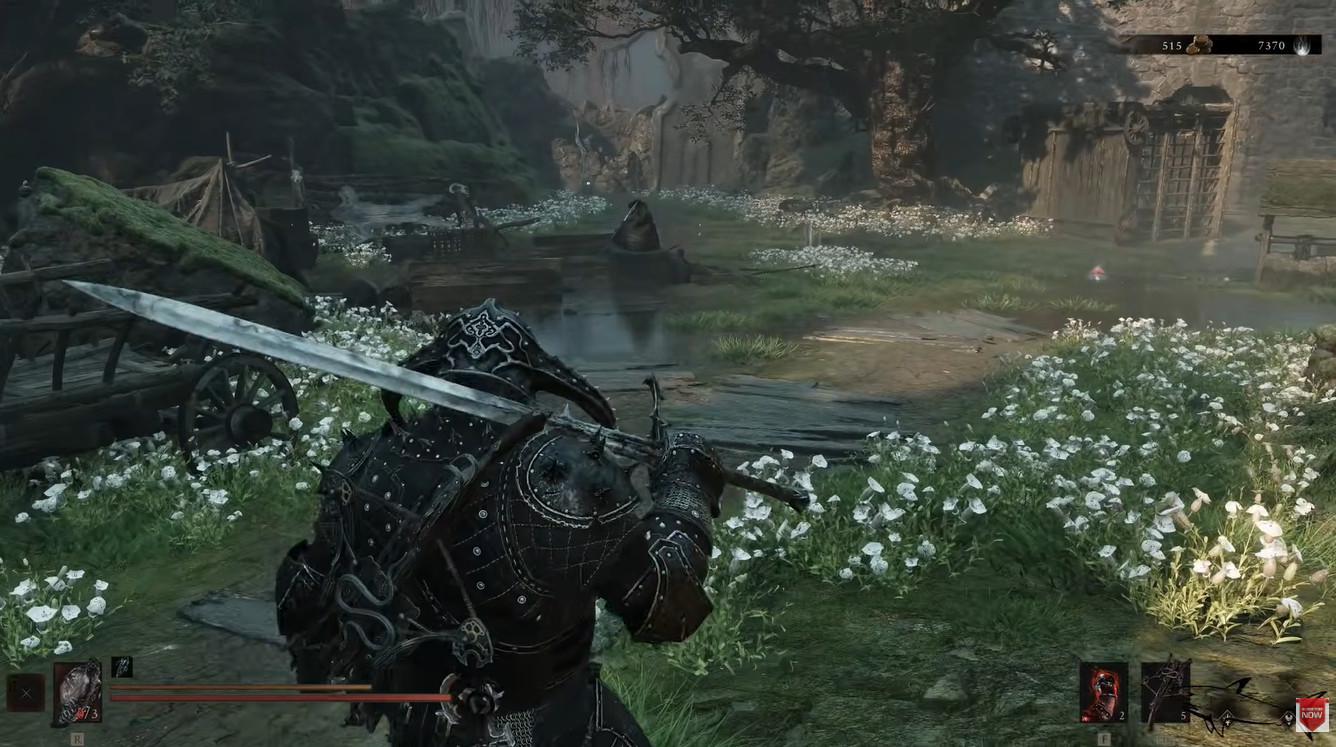
From the Widow’s Overlook beacon, follow the path through the swamp, slipping past the enemies in the misty water toward Mushroom Village.
STEP 2/9
Anchor at the Mushroom Village beacon
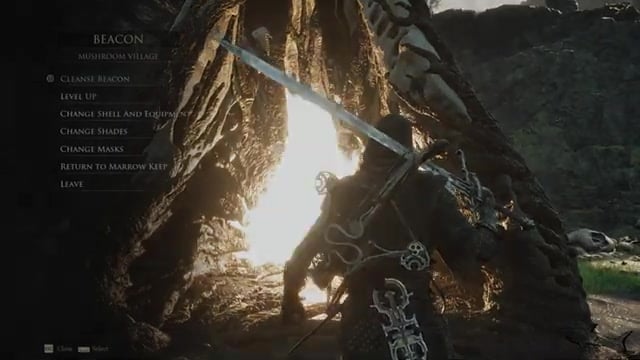
Rest and level up at the Mushroom Village beacon — you will return here at least twice, so treat it as your home base.
STEP 3/9
Open the Grisha Hunter’s shop
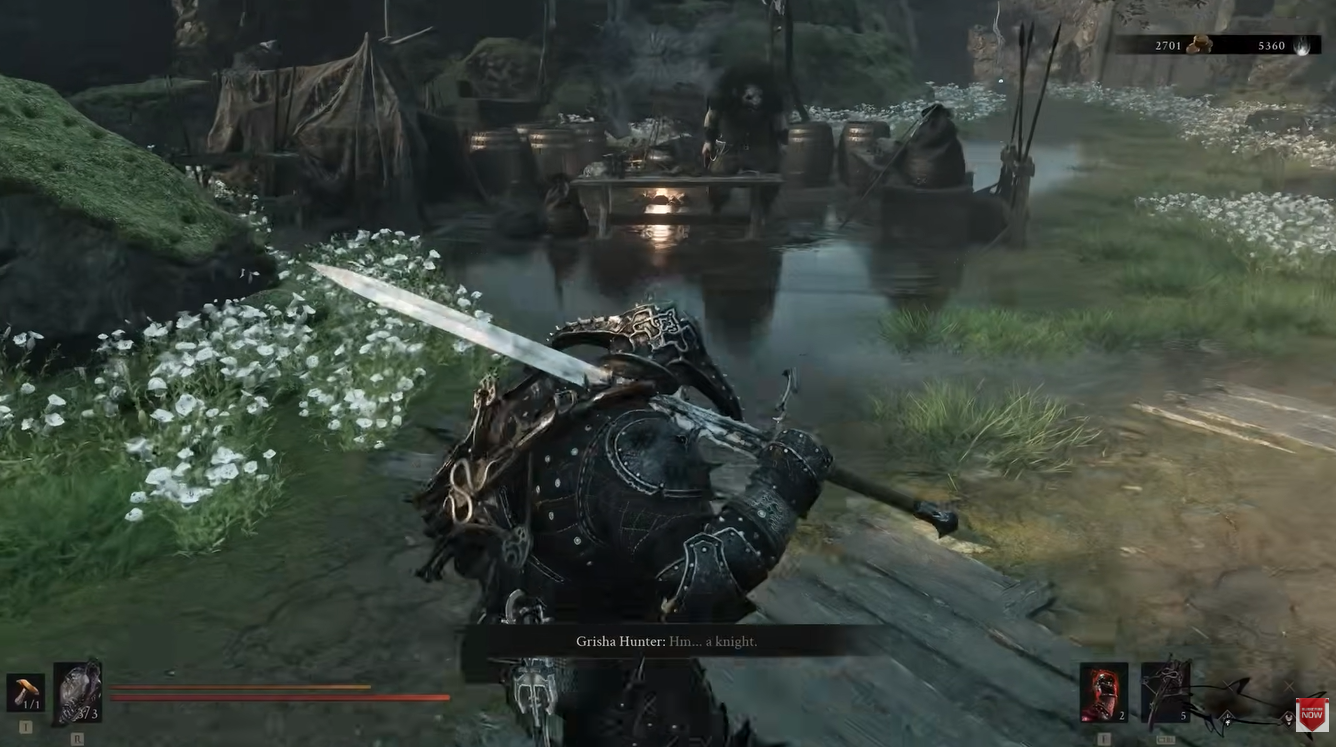
Head through the nearby archway to the Hunters’ Camp and interact with the Grisha Hunter to open his trade menu.
STEP 4/9
Buy the Grisha Remnant first
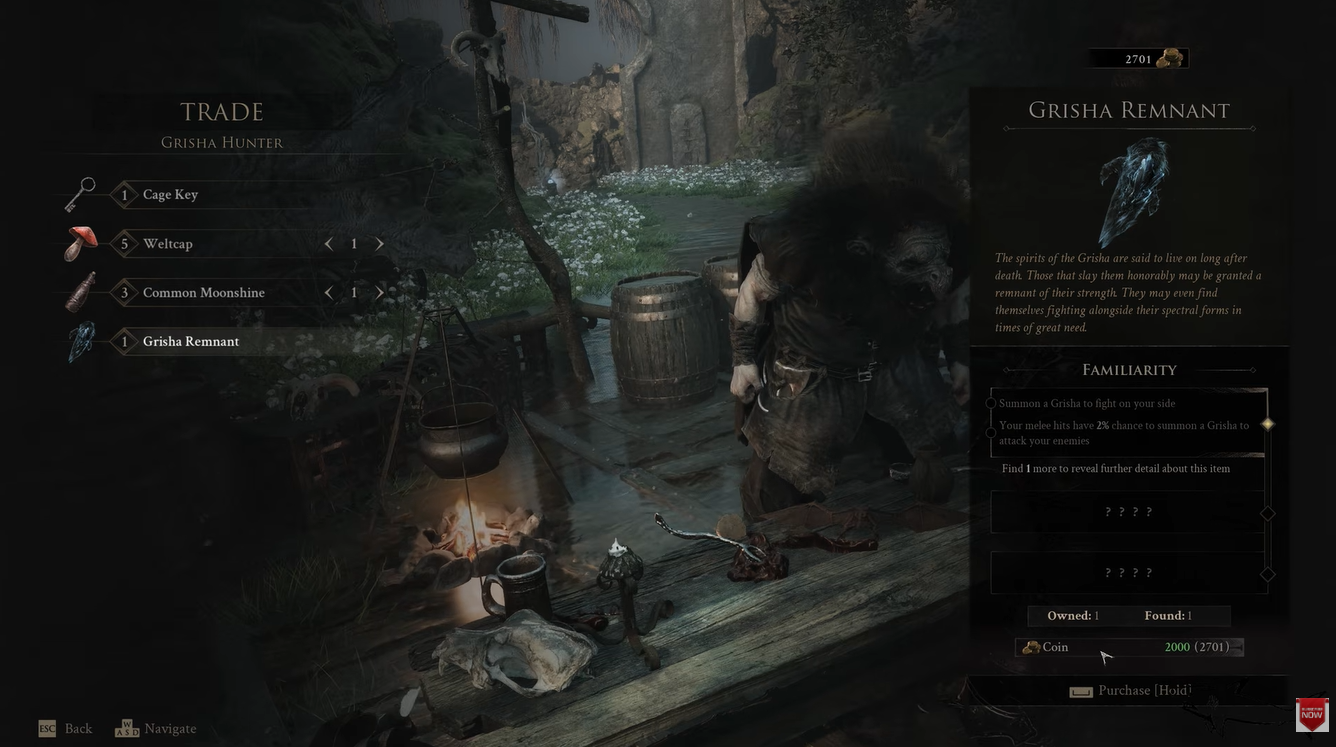
Purchase the Grisha Remnant for 2,000 coins before anything else — this equippable summon is missable and disappears the moment the camp turns hostile.
STEP 5/9
Buy the Cage Key
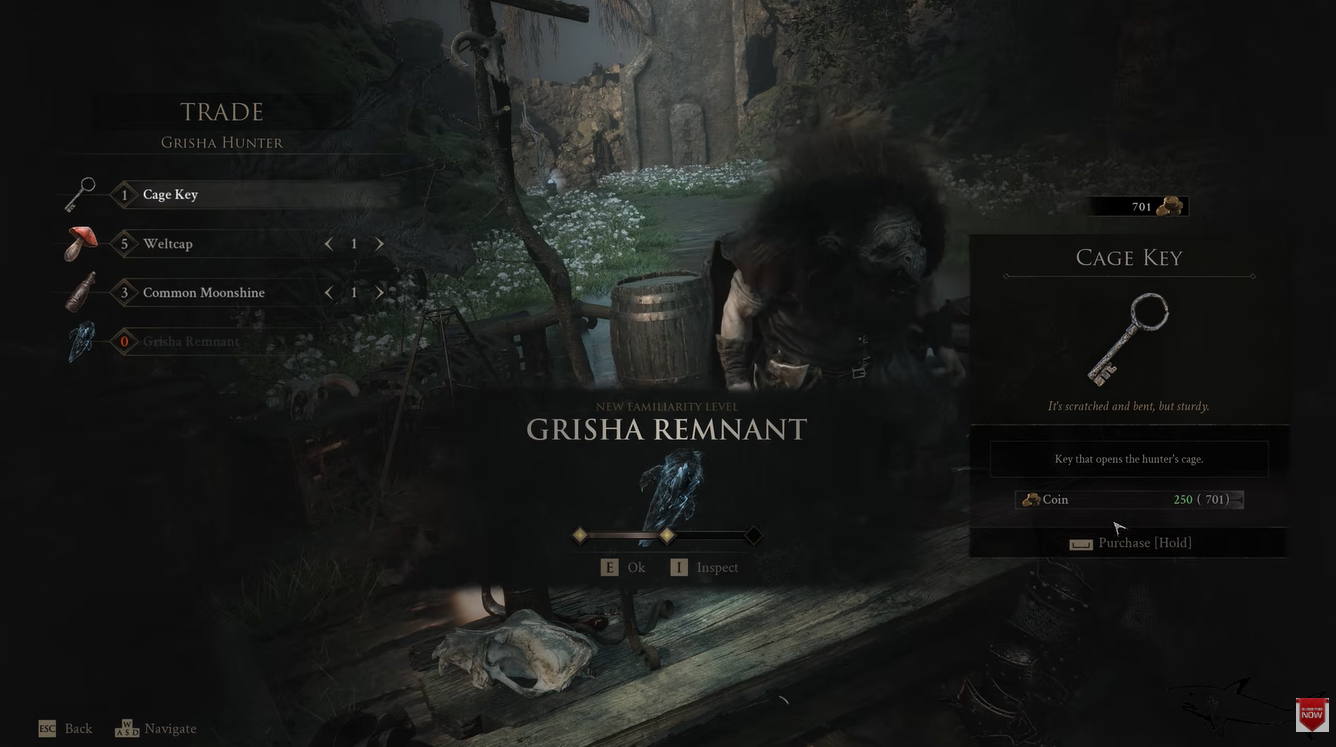
Add the Cage Key for 250 coins; using the key is the only way to open the cage without every hunter attacking you.
STEP 6/9
Free the pup for the Sheephead Totem
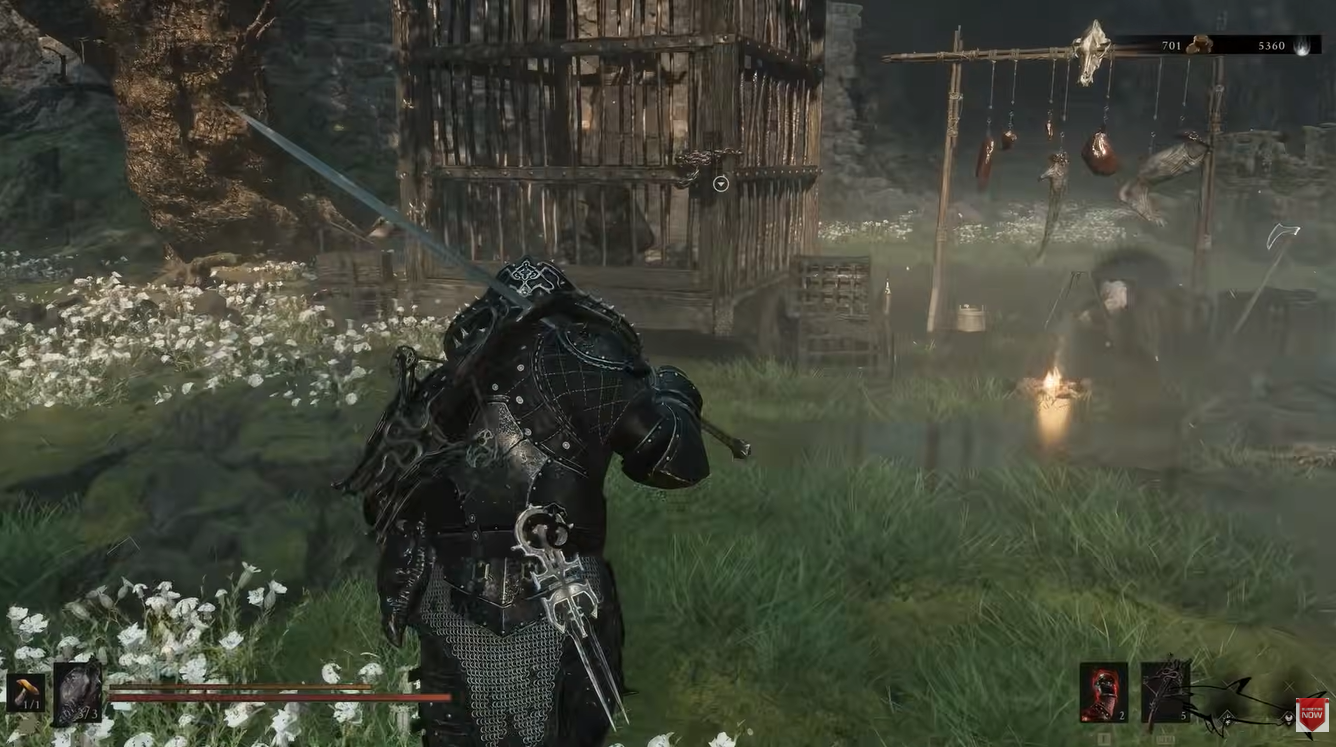
Use the key on the cage and speak to the freed Grisha Pup to receive the Sheephead Totem, which unlocks a permanent sheep transformation.
STEP 7/9
Rest, then return to find the Grisha Matron
Rest at the Mushroom Village beacon and walk back to the camp — the Grisha Matron is now standing beside the pup.
STEP 8/9
Speak to the pup for Glimpse
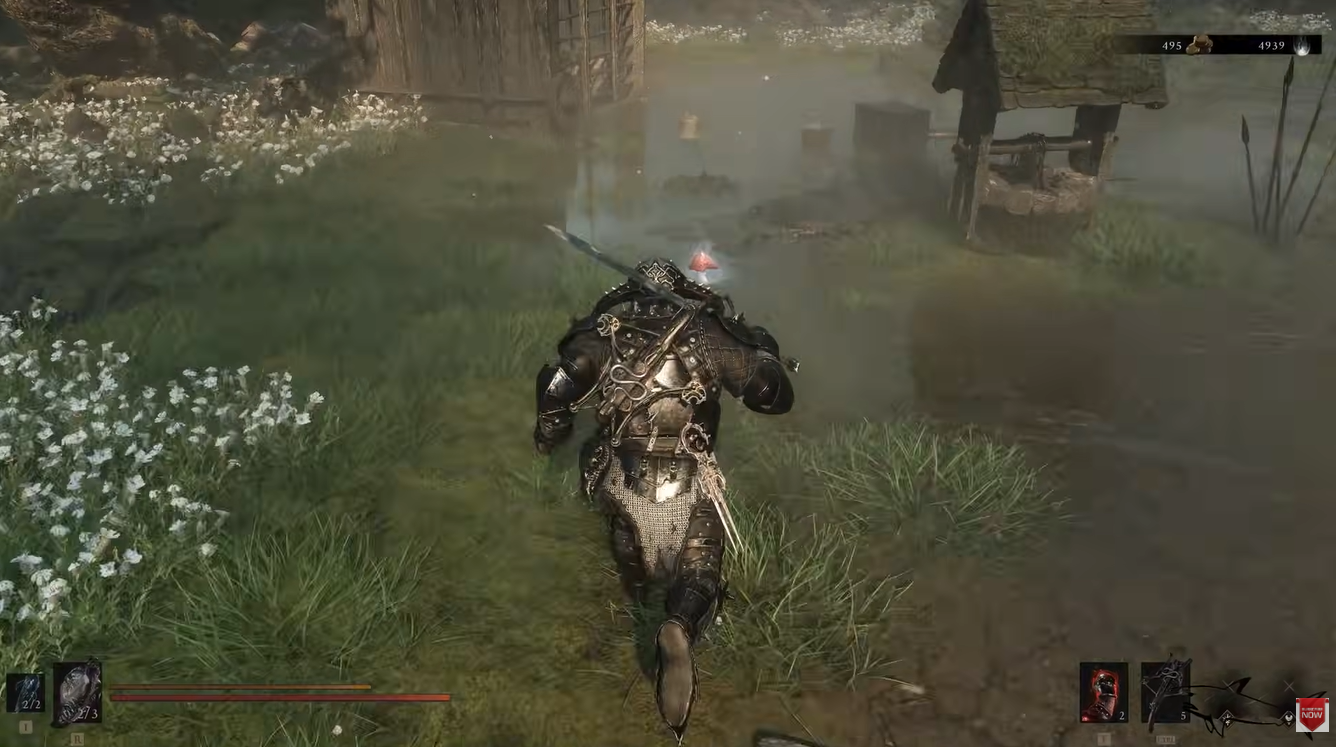
Talk to the pup before doing anything else to collect your Glimpse, then choose whether to leave or fight.
STEP 9/9
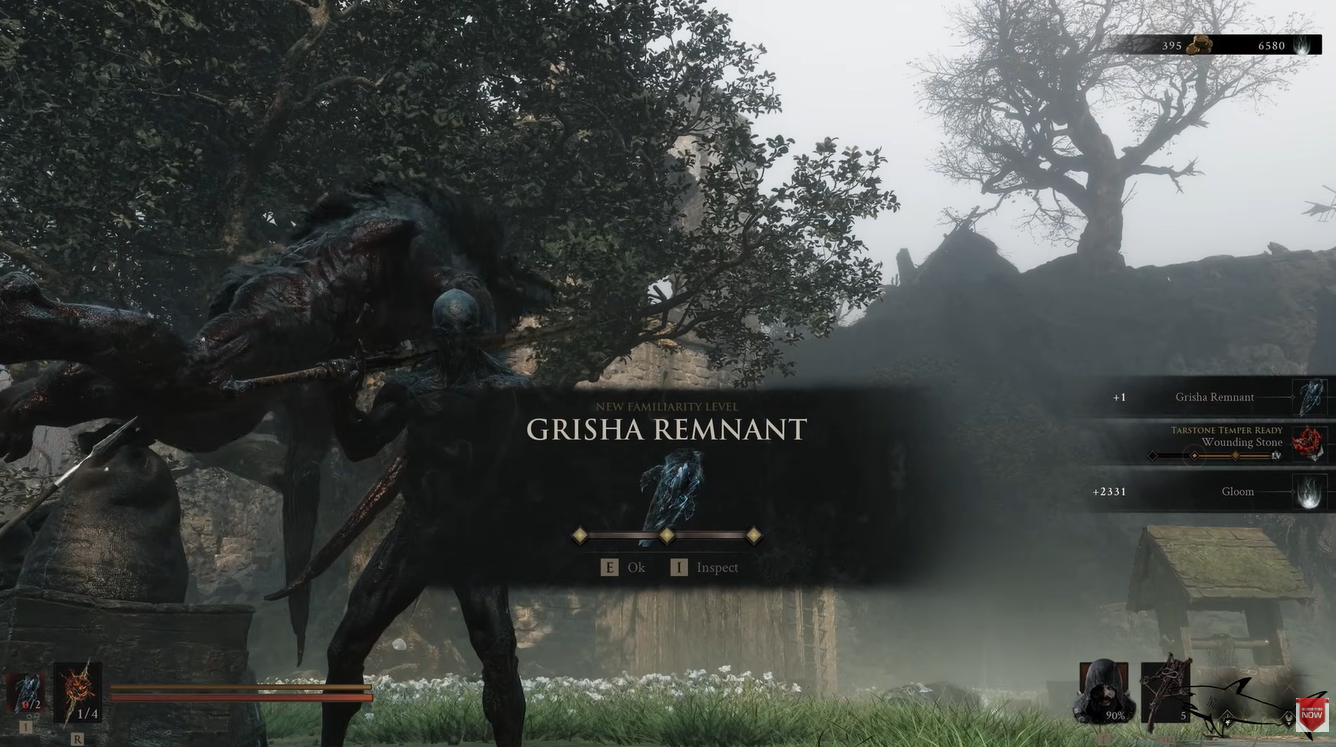
Defeat the Grisha Matron
Beat the aggressive Matron to claim a second Grisha Remnant, a Wounding Stone, and roughly 2,331 Glimpse.
Video help
What to buy before you change the camp
| Item | Use |
|---|---|
| Grisha Remnant — 2,000 coins | Equippable Grisha summon; missable here, so buy it first |
| Cage Key — 250 coins | Opens the pup’s cage without aggroing the camp |
| Weltcap ×5 | Cheap healing mushrooms, also handy for the Gorf questline |
| Common Moonshine ×3 — 200 coins | Offensive drink that boosts your damage at the cost of some health |
The Grisha Hunter starts out as a friendly trader with a small, one-time inventory. Two of his items are throwaway and two genuinely matter, so read the menu carefully before you commit to anything violent. The single non-negotiable purchase is the Grisha Remnant — it is an equippable item that summons a spectral Grisha to fight alongside you, and if you free the pup or start swinging before you buy it, that copy is gone.
The Remnant is expensive, but it is not your only chance at the summon — the same item drops from the Grisha boss over at the Flooded Village and can be gathered from several spots across the map, which is how you eventually max out the summon’s familiarity. Buying it here simply saves you a tough fight to get an early copy.
Buy the Grisha Remnant before you touch the cage or swing at a single hunter — releasing the pup or turning the camp hostile closes the shop permanently, and there is no way to restock it.
Freeing the pup cleanly with the Cage Key
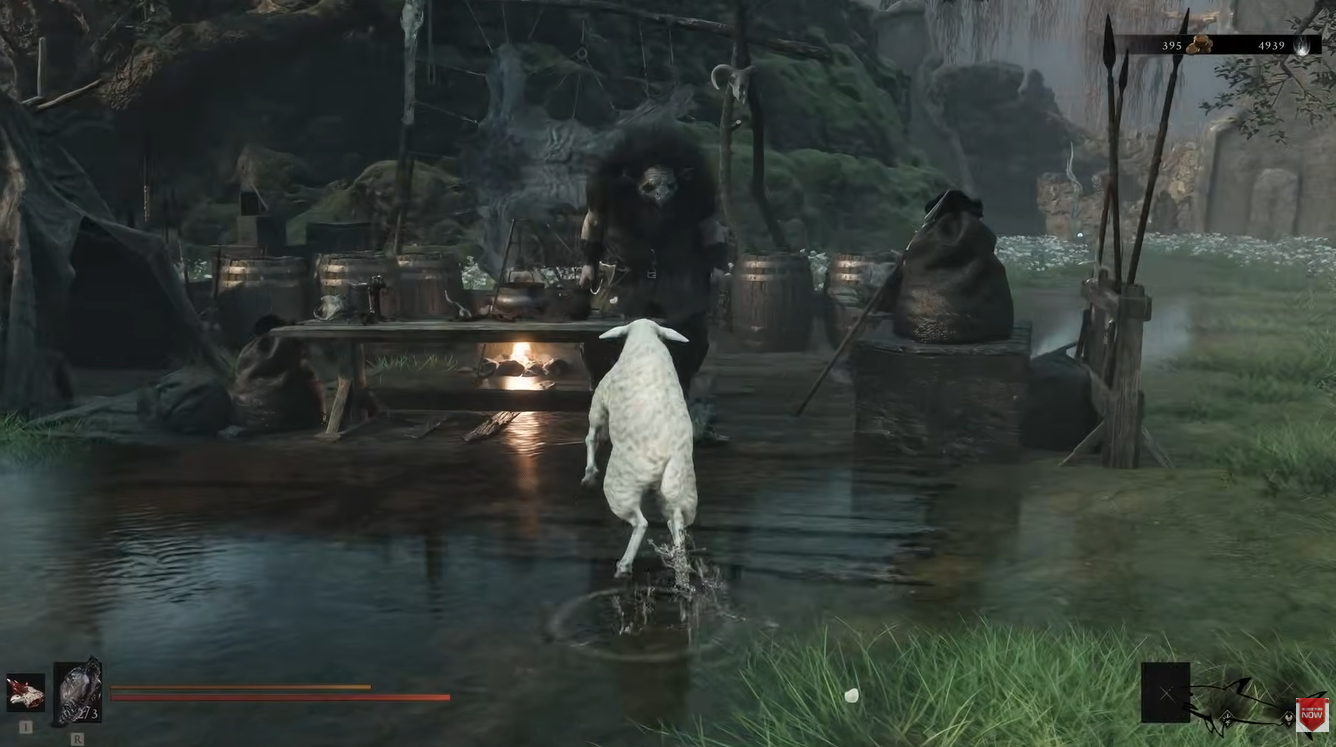
Once your shopping is done, the tidy path is the boring one: use the Cage Key on the padlock, open the cage, and talk to the Grisha Pup inside. He rewards you with the Sheephead Totem, and the hunters stay calm the entire time because you actually paid for his release.
The Totem is the real prize here. Equipping it lets you transform into a sheep form on demand — a strange, unique power that ties into a self-imposed challenge run — and the pup’s rescue is what makes the rest of this event possible. If you already picked up a Sheephead Totem elsewhere, the second one still stacks toward upgrading the form. With the pup freed and the camp untouched, you can wander off, transform to test it, and head back to the beacon whenever you are ready for the next beat.
Meeting the Grisha Matron for Glimpse
Freeing the pup sets up the event’s second half. Rest at the Mushroom Village beacon to reset the area, then walk back to the camp — a towering Grisha Matron has arrived and is standing over the pup, and she makes short work of any hunters still hanging around.
Before you react to her at all, go talk to the pup one more time. That conversation is what pays out your Glimpse for shell upgrades, and it is easy to skip in the panic of seeing a boss-sized creature appear. The pup keeps the Matron from attacking while you interact, so take the moment, bank the Glimpse, and only then decide your final move.
Leaving, resting, or fighting the Matron
| Outcome | Reward or loss |
|---|---|
| Talk to the pup, then leave or rest again | Matron and pup vanish; you keep the Glimpse but forfeit the Remnant |
| Talk to the pup, then fight and beat the Matron | Grisha Remnant, a Wounding Stone, and roughly 2,331 Glimpse |
| Die during the fight | Matron and pup both vanish; the encounter is gone unless you reload |
This is the decision the whole event builds toward, and it is a genuine fork. Walk away or rest at the beacon and the Matron and pup simply disappear from the camp — you keep the Glimpse you already collected, but the second Grisha Remnant is gone. Stand your ground and win, and she drops that Remnant along with the rest of her loot.
The Matron is very aggressive and hits hard, so treat this as a real boss fight — a spectral Grisha summon will spawn to help you chip her down. Two warnings matter most. First, if you die, she and the pup are lost for good, so you get one clean attempt unless you manually reload a backup save. Second, keep the fight away from the pup: it is easy to catch him with a stray attack mid-combat, and killing him means you lose him with nothing to show for it. If the Remnant isn’t worth the trouble to you, leaving her be is a perfectly valid ending — you just won’t get that copy.
Nearby ground loot and the Chapel Key door
Once the dust settles, sweep the camp before you leave. There is loose loot on the ground — a small pile of coins and a couple of Weltcap mushrooms — plus a body earlier in the event that carries around 100 coins. Watch your step near the cage, though: there is a bear trap tucked in that corner that will clip you if you sprint through.
You will also spot a chained door in the area that asks for the Chapel Key. You can’t open it yet, but note it now — it leads deeper into the surrounding secrets and is worth circling back to once you’ve tracked the key down.
Related Mortal Shell 2 guides
Frequently Asked Questions
Can you still buy from the Grisha Hunter after freeing the pup?
No. The merchant’s stock is a one-time deal, and freeing the pup ends your window — even on the clean key path, the hunters get wiped out by the Matron after you rest, so there is no coming back to restock. Whatever you don’t buy before you release the pup is lost, which is exactly why the Grisha Remnant has to be your first purchase.
Is the Grisha Remnant required if you don’t want to fight the Matron?
Not at all — the Remnant is an optional summon, not a progression item. Buying it at the shop is simply the convenient way to grab one without the hard fight, and if you’d rather skip the Matron entirely you can still find more Remnants at the Grisha boss in the Flooded Village and at several other spots across the map. You need a handful of them to fully upgrade the summon, so the shop copy is a head start rather than a must-have.
Do the Grisha Pup and Matron turn up somewhere else after disappearing?
If you leave or rest instead of fighting, the pair vanishes from the camp and hasn’t been found anywhere else in the game so far — for now, treat their disappearance as the end of their story. It’s possible a future update extends the questline, but at the moment there’s no known second location, so if you want the Matron’s Grisha Remnant, take the fight while she’s standing in front of you.






Leave a Reply