

This late-game exploit lets you repeatedly enter and exit the secret Beacon below Marrow Keep for roughly 3,400 to just under 4,000 Gloom per cycle, but only after opening the hidden area and running past the enemies on the route without killing them.
The farm sounds too good to be true, and in a way it is — this is a bug, not a designed loop. But it’s real, it’s trivial to repeat once it’s live, and it turns a few minutes of running past enemies into enough Gloom to push the Harbinger up several levels in one sitting. Here’s exactly what you need, how to open the area, and what to do when the payout dries up.
What the Marrow Keep Beacon glitch does
| Detail | What to know |
|---|---|
| Gloom per cycle | Just under 4,000 on Night Mode, about 3,400 with it off |
| Where | The hidden Beacon in the secret area below Marrow Keep |
| Requirement | Mid-to-late game, with around 168 Ova deposited in Marrow Keep first |
| Platforms | Works on Xbox, PlayStation and PC |
| Main risk | Reloading or quitting stops the payout until you re-run the route |
This is a straight-up exploit, not a normal farming loop — you’re abusing how a hidden Beacon below Marrow Keep hands out Gloom every time you open and close its menu. Each cycle drops just under 4,000 Gloom on Night Mode, or around 3,400 with it off, and because you don’t have to wait for the on-screen popup, it stacks into the hundreds of thousands inside a few minutes. It only works once you’re mid-to-late game, because the area it happens in doesn’t exist until you’ve cleared a decent chunk of Marrow Keep.
All that Gloom feeds straight into leveling the Harbinger at a Beacon, and every level raises your Health, Shell Health, Base Damage and Critical Chance while handing you Shell Points to spend on each shell’s passives — so a Gloom dump like this is really a Shell Point dump. It won’t literally rain thousands of Gloom every second the way some numbers make it sound, but the per-cycle payout is real and it repeats as fast as you can mash the Beacon.
Requirements before you start the farm
| Requirement | How to meet it |
|---|---|
| Reach Marrow Keep | Progress the story to the Marrow Keep hub, mid-to-late game |
| Around 168 Ova deposited | Clear the corrupted gates and deposit your Ova in the central chamber |
| Milos defeated | Speak to the corner disciple, then kill him when he turns hostile |
| Floor opened | The secret area unlocks on its own the moment Milos falls |
Key Before the Beacon will pay out, you need the secret area open, and that’s gated behind Marrow Keep progress. The big one is Ova: you deposit them in the central chamber, and it takes at least around 168 to arm the floor. Clearing all six corrupted gates gets you most of the way there on its own, and you’ll bank more Ova from the Beacons you cleanse along the way, so you rarely have to grind them out separately.
Once you’ve deposited enough, a cutscene plays and a disciple — Milos — is waiting in the corner of the chamber. Talk to him, he drops to his knees, turns hostile, and you put him down. The moment he dies the floor splits open beneath the egg pedestal, and that hole is your way into the secret area where the farm lives.
How to set up and repeat the Marrow Keep Gloom glitch in Mortal Shell 2
Open the secret area once, then it’s just a run past enemies and a Beacon you spam — here’s the full sequence from Marrow Keep down to the payout.
STEP 1/7
Clear the corrupted gates

Rest at the Beacons behind Marrow Keep’s corrupted gates until each reads Beacon Cleansed; working through all six gets you most of the Ova you need.
STEP 2/7
Deposit your Ova in Marrow Keep
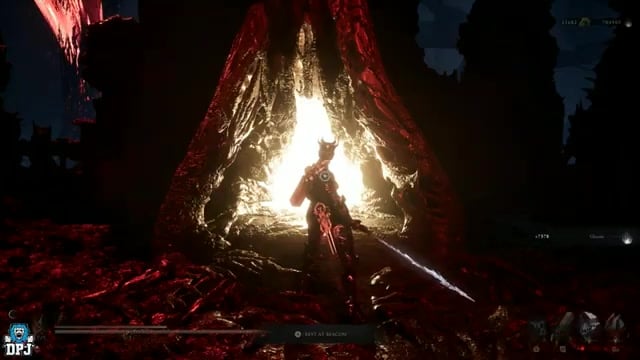
Take the Ova to the central chamber and deposit them — you need at least around 168 for the floor to arm.
STEP 3/7
Defeat Milos when he turns hostile
Speak to the disciple in the corner of the chamber; he kneels, turns on you, and you cut him down.
STEP 4/7
Drop through the opened floor
With Milos dead the floor splits beneath the egg pedestal, dropping you into the secret area below Marrow Keep.
STEP 5/7
Run the route without fighting
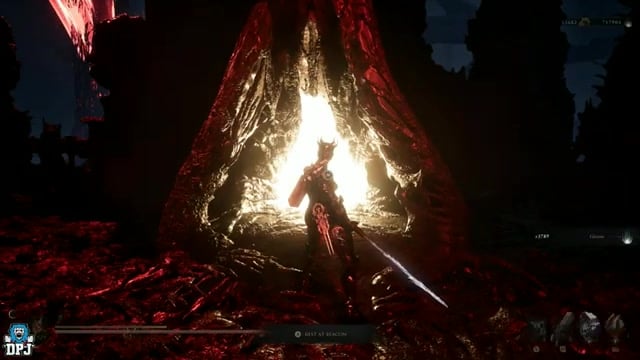
Follow the cavern across its jump pads and traversal points, dodging every spindly and crab-like enemy along the way — do not hit any of them.
STEP 6/7
Farm Gloom at the Beacon
Reach the Beacon in the far chamber and enter then exit its menu over and over; each cycle drops the Gloom and you don’t have to wait for the popup before going again.
STEP 7/7
Reset the farm if it stops paying
If a cycle gives nothing, head back to Marrow Keep and run the whole route again without killing anything so the trigger re-arms.
The whole exploit lives or dies on one rule — run the entire route without hitting a single enemy, so whichever one arms the payout falls off the map on its own instead of dying to your hand.
Video help
Backup Gloom farms if this gets patched
| Farm | Best use |
|---|---|
| Gloomshade Grove Beacon | Grisha Hunters beside the Beacon for about 1,094 Gloom every ~30 seconds |
| Sunken Village sheep pen | Nine sheep for up to roughly 900 Gloom a run after beating The Wandering Shepherd |
| Gate Beacon boss loop | A burn-infused shotgun drops the boss for around 2,000 Gloom, then reset at the Beacon |
| Gloombound Stone | Equip this Tarstone to lift Gloom per kill on any of the above |
Exploits like this rarely last — older Gloom cheeses, like the giant mantis near Mushroom Village, have already been patched out — so it’s worth knowing the legit routes too. The honest version of the same idea is a normal Beacon reset: clear a dense pocket of enemies, rest at the nearby Beacon to respawn them, and repeat. Slot the Gloombound Stone Tarstone to squeeze more Gloom out of every kill on whatever route you settle on.
Related Mortal Shell 2 guides
Frequently Asked Questions
Does the Gloom keep coming if you quit to the main menu?
No. A full quit — or even a plain reload at the Beacon — kills the payout, because it resets the enemy spawns on the route. You won’t lose any Gloom you’ve already banked; you just have to run the whole route from Marrow Keep again to switch it back on.
Do you need Night Mode for it to work?
No — Night Mode only changes how big each payout is, not whether the glitch fires. By this point in the game you can toggle Night Mode on and off freely, so flip it on before you start if you want the larger number per cycle.
Can you run this on Xbox, PlayStation and PC?
Yes, it isn’t tied to one platform or build. Because it rides on enemy pathing and Beacon behavior rather than a version-specific bug, it surfaced across all three within a day of being found.




Leave a Reply