

The best Mortal Shell 2 farming options are Proxima’s Collector specimen sales for Gold Coins, early beacon loops like Sunken Village and Gloomshade Grove for Gloom, and late-game exploits such as unlimited Grisha Remnants and the Brother’s Court Gloom reload glitch.
Everything in Mortal Shell 2 runs on two currencies — Gloom to level the Harbinger and Gold Coins to buy and smelt gear — and a third, Grisha Remnants, that quietly makes fights trivial. The farms below run from a zero-risk sheep pen you can reach right after the prologue all the way up to two glitches that break the economy open. They are ordered so you can grab the safe ones now and save the exploits for when you want them.
- Every farm and glitch at a glance
- Gold Coins from Proxima’s Collector specimens
- Sunken Village sheep loop for early Gloom
- Gloomshade Grove enemy loop for faster Gloom
- Abbey Entrance and Kingdom of Fools clear
- Gate of Mammon coffin loop for mid-game Gloom
- Unlimited Grisha Remnants from the Marrow Keep dungeon
- Brother’s Court reload loop for late-game Gloom
- Which farm fits your progression
- Frequently Asked Questions
Every farm and glitch at a glance
| Farm | Best use | Start point | Reset |
|---|---|---|---|
| Proxima’s Collector | Gold Coins from specimen sales | Marrow Keep (Merrick) | Sell after each kill loop |
| Sunken Village sheep | Safe early Gloom | Sunken Village beacon | Rest at the beacon |
| Gloomshade Grove | Faster early-to-mid Gloom | Gloomshade Grove beacon | Rest at the beacon |
| Abbey Entrance | Clustered weak enemies | Abbey Entrance beacon | Run back, orb, or reload |
| Gate of Mammon | Mid-game burst Gloom | Gate of Mammon beacon | Quit to menu and reload |
| Grisha Remnant exploit | Endless Grisha Remnants | Marrow Keep / Bellkeeper’s Corner | Reload or passive spawn |
| Brother’s Court | Late-game Gloom flood | Brother’s Court (Marrow Keep) | Open and close the beacon |
Key The first few rows are the ones to lean on while you are still building a character — they cost nothing but a short run back to a beacon. The bottom two are glitches, so they sit at the end of the list on purpose. Pick the row that matches where you are and jump to its section below.
Gold Coins from Proxima’s Collector specimens
| Item or passive | Use |
|---|---|
| Collector | Proxima’s passive that harvests Extracted Specimens from slain foes |
| Extracted Specimen | Drops from kills while Collector is active |
| Merrick, Marrow Keep | Trades 100 coins for each Extracted Specimen |
Coins come down to a single setup. Take Proxima, the Broodseeker, level her, and equip the Collector passive — one point is enough, though you can pour in up to three to raise the drop rate. With it slotted, enemies you kill drop Extracted Specimens, and each one sells to Merrick at Marrow Keep for 100 coins. A recent balance pass also bumped enemy gold drops, so straight kill loops pay better than they did at launch.
The reason this pairs so well with the sheep run below is risk: the Sunken Village sheep never fight back, so you can harvest a full pen of specimens with Collector active and never take a hit. You bank Gloom and Coins on the same loop.
Equip Proxima’s Collector before running the Sunken Village sheep pen so a single safe loop stacks Gold Coins and Gloom at the same time.
Sunken Village sheep loop for early Gloom
Start at the Widow’s Overlook beacon
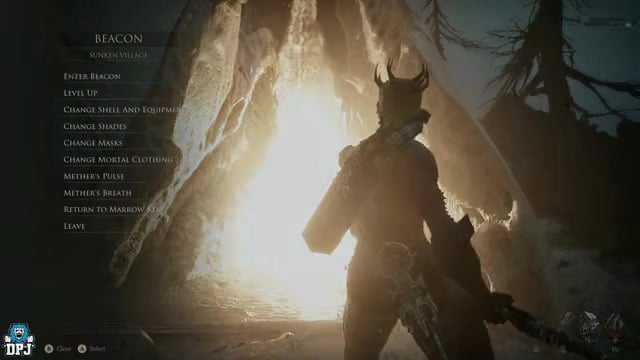
This is the first beacon you unlock after the prologue, so the whole route opens up immediately.
Head toward Mushroom Village
Turn back on yourself, run down the path past the enemies, and grab the Mushroom Village beacon as a safety respawn along the way.
Pass through the Cleansed Gate

Continue to the Mushroom Village Gate beacon and enter the Cleansed Gate, which you must cleanse once to open the path.
Hug the right wall to Sunken Village
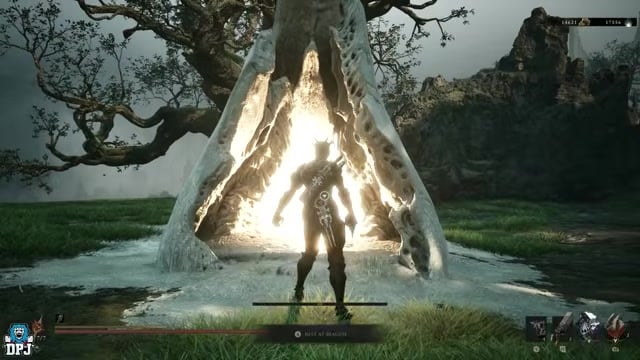
Dodge the tripwires, keep to the right-hand wall past the spider drop, cross the bridge, and light the Sunken Village beacon.
Clear the sheep pen
Run across the bridge and cut down the roughly nine sheep, which never retaliate, for around 50 Gloom each and up to about 900 on a full clear.
Reset at the beacon
Return to the Sunken Village beacon to respawn the pen and repeat; Night Mode pushes each clear higher.
Gloomshade Grove enemy loop for faster Gloom
Travel to the Gloomshade Grove beacon
From Widow’s Overlook, run up the hill, cross the wooden bridges, and drop into the clearing behind the beacon — also reachable right off the bat.
Turn and engage the enemy pack
Face the four hostile enemies beside the beacon; they hit back and hit hard, but each drops a solid chunk of Gloom.
Rest to reset
Rest at the beacon right next to the pack to respawn them, clearing roughly 1,000 Gloom per run.
Abbey Entrance and Kingdom of Fools clear
Reach Gate Entrance from Outskirts of Mammon

Take the lift down, run the path past the crossbow guards, and use the traversal pads up to the Abbey Entrance beacon.
Clear the Kingdom of Fools
Enter and cut down the 10 to 13 weak villagers packed around the huts and bonfire, each worth 100-plus Gloom.
Finish the coffin enemy
Bait out or rush the coffin enemy for roughly another 450 Gloom, adding 500 to 600 to the run.
Reset your way
Run back to the entrance, use the post-boss orb below if you have beaten the interior boss, or quit to the main menu to reload straight at the beacon.
Gate of Mammon coffin loop for mid-game Gloom
Reach the Gate of Mammon beacon
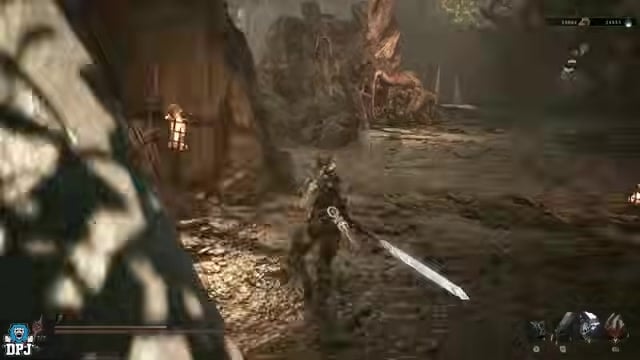
From Outskirts of Mammon, cross the bridges to the Abandoned Outpost, then work down past the traversal pads to the Gate of Mammon beacon.
Drop into the coffin courtyard

From the beacon, come over the wall and down the hill into the flooded village stacked with coffins.
Lure the coffins together
Pull five to ten coffin enemies into one group — their laser attacks even damage each other — and clear them for roughly 400 to 500 Gloom apiece.
Sweep the side alleys
Round the corners to trigger and finish the stragglers, taking the run well past 3,000 Gloom.
Quit to reload
Exit to the main menu and continue; reloading drops you back at the beacon far faster than the trek back on foot.
Unlimited Grisha Remnants from the Marrow Keep dungeon
Grab the Slayer Seal in Marrow Keep

From the central beacon head left down the cave to the outdoor throne, pick up the Slayer Seal, and keep it in your inventory — do not equip it.
Open the training room secret path
Go out the door past the beacon into the training room, lower down the ramps, and strike the invisible wall to reveal the hidden passage.
Commune with Chaos
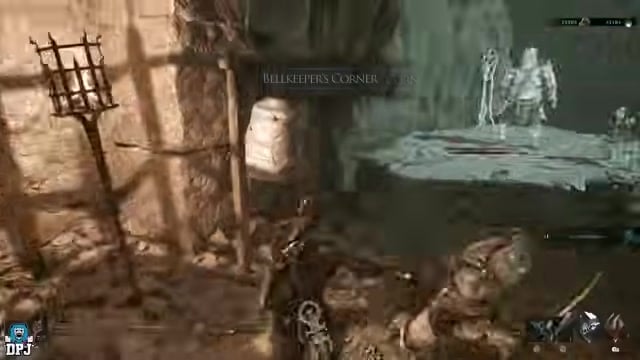
Break the four chains around the pedestal, then interact with Commune with Chaos to teleport into the Desolate Keep dungeon.
Kill the dungeon Grisha
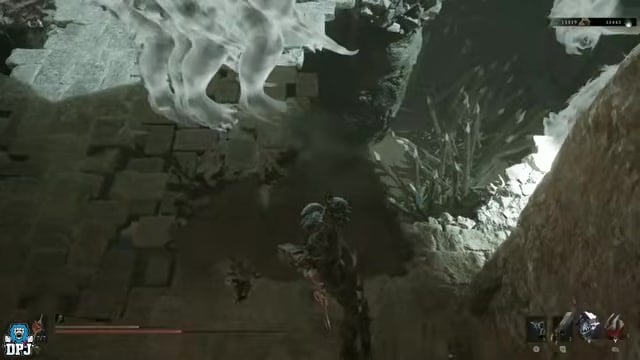
Pull the wall lever to raise the ramp, cross to the Grisha in the water pit, and defeat it for a guaranteed Grisha Remnant.
Reload and repeat to stock up
Quit to the main menu, reload at the Marrow Keep beacon, and run it back until you hold 5 to 10 Remnants.
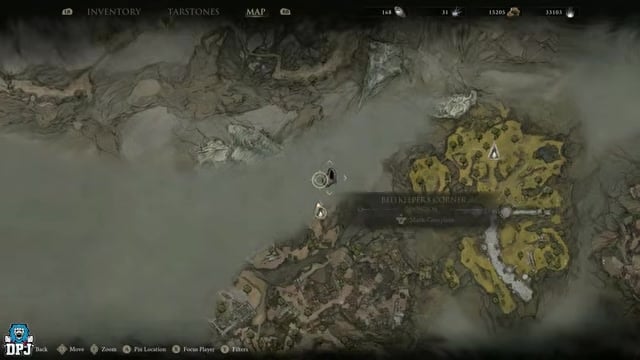
Set a Remnant to passive at Bellkeeper’s Corner
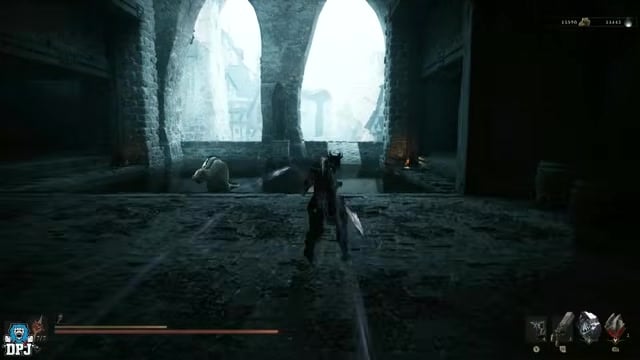
Head to the Abandoned Outpost beacon, shoot the bell to raise the bridge into Bellkeeper’s Corner, clear the dungeon, and equip a Grisha Remnant in a passive slot.
Swing beside the bell for endless Remnants
Stand tight against the bell frame and keep swinging — each hit spawns Grishas that fall into the pit and die instantly, and every death hands you another Remnant, faster the more you already hold.
Brother’s Court reload loop for late-game Gloom
Deposit 168 Ova in Marrow Keep
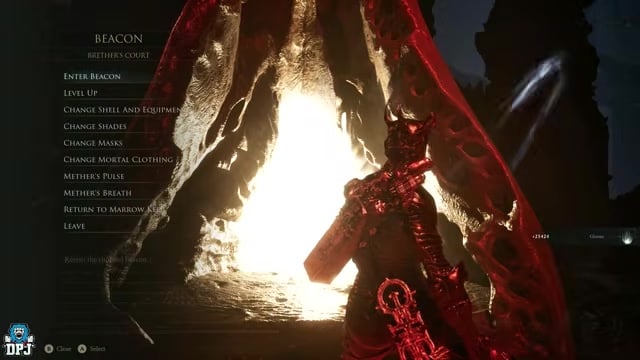
Collect Ova from beacons and corrupted gates, then siphon 168 of them in the Ova room to progress the hidden route.
Trigger the NPC event
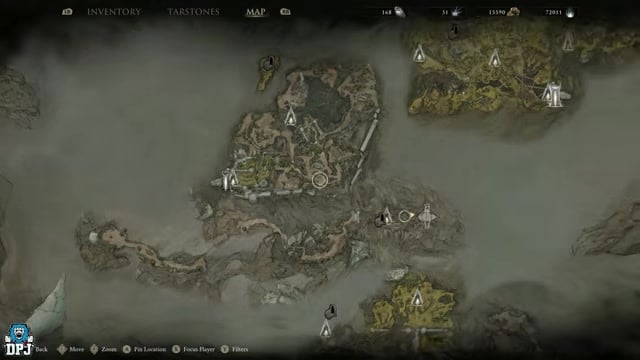
After the cutscene, the figure in the corner turns hostile — defeat him and the hatch in the floor opens.
Run the route on foot to Brother’s Court
Drop through the hatch and run the full path from Marrow Keep to the Brother’s Court beacon; do not fast-travel there or the trigger will not fire.
Cross the death trigger
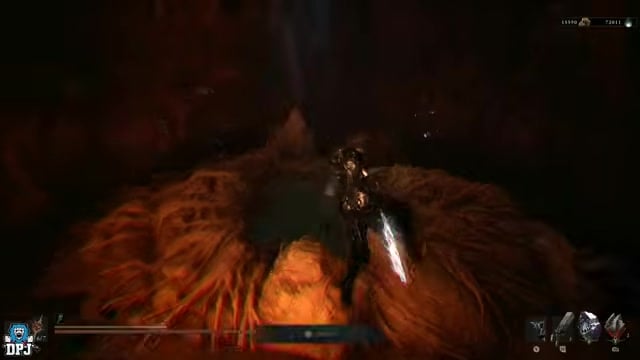
As you approach on foot an enemy dies and falls off, which arms the Gloom payout at the beacon.

Open and close the Brother’s Court beacon over and over — each cycle grants Gloom instantly, and it keeps accumulating without any waiting.
Which farm fits your progression
| Progression | Recommended farm |
|---|---|
| Very early / need coins | Sunken Village sheep with Proxima’s Collector |
| Early-to-mid leveling | Gloomshade Grove or Abbey Entrance |
| Stronger builds | Gate of Mammon coffin loop |
| Comfortable with exploits | Grisha Remnant farm, then Brother’s Court reload |
There is no single best farm — the right one depends on how strong your character is and whether you are willing to use exploits. Very early, the sheep pen with Collector gives you safe Gloom and Coins together. Once you can take a hit, the enemy loops out-earn the sheep, and by mid-game the coffin courtyard is the biggest legitimate haul. The last two rows are for players who are fine breaking the game open.
Related Mortal Shell 2 guides
Frequently Asked Questions
Is Night Mode worth turning on while farming?
Yes. Night Mode acts as a flat Gloom multiplier on every kill, so any loop earns more with it on — the only trade-off is that the screen goes dark and can be harder to read in tight areas. If you want to push totals further, the Gloombound Stone from the Stones of Remembrance stacks on top for extra Gloom per foe.
Can these glitches disable achievements or get patched?
The one thing that switches off achievements is equipping the Slayer Seal on your save, which is exactly why you leave it sitting in your inventory. The farming loops themselves do not touch achievements. The Grisha Remnant spawn trick and the Brother’s Court reload are unintended, though, so treat both as temporary and expect a balance update to close them.
What if the Brother’s Court Gloom glitch stops triggering after fast travel?
Fast-travelling straight to the beacon skips the on-foot approach that kills the enemy and arms the payout, so the loop pays nothing. Fix it by fast-travelling to a Marrow Keep beacon and running the full route through the hatch again — once you cross that death trigger on foot, the open-and-close beacon loop starts granting Gloom once more.
Video help




Leave a Reply