
The Curseblood Stone is the reward for defeating the Gloombound Wraith miniboss inside the Gate of Infinity beacon near the Faded Citadel — cleanse the beacon, grab the Grimorium Obscurum from atop the bookshelves in the Forbidden Archives, place it in the wall slot to open the boss arena, then beat the Wraith.
The Curseblood Stone is the Infusion Tarstone that lets a Primary Weapon apply the Curse status, and there is only one to chase down through the story. It sits at the end of the Gate of Infinity beacon, guarded by the Gloombound Wraith, so the bulk of the work is simply reaching the arena in one piece. Below is the full route through the Forbidden Archives, what the stone actually does, and how to push it to its permanent tier.
How to get Curseblood Stone in Mortal Shell 2
Fast-travel to the Outskirts of Mammon and work your way down to the Gate of Infinity, where cleansing the beacon opens the Forbidden Archives and the path to the Wraith.
STEP 1/9
Travel to the Outskirts of Mammon
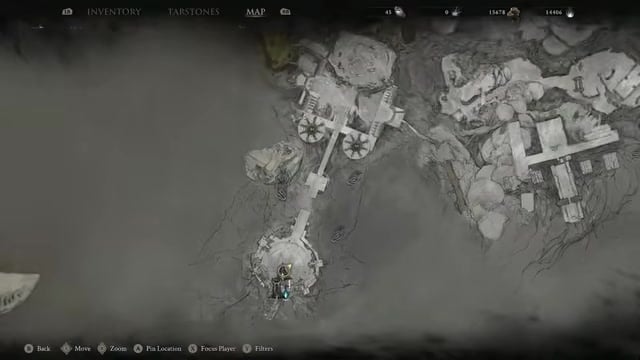
Fast-travel here and start pushing toward the beacon at the far end of the area.
STEP 2/9
Head to the Gate of Infinity beacon
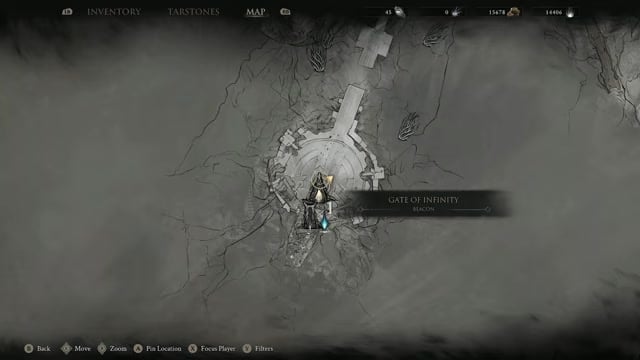
Keep proceeding down until the Gate of Infinity appears at the end of the path.
STEP 3/9
Cleanse the beacon
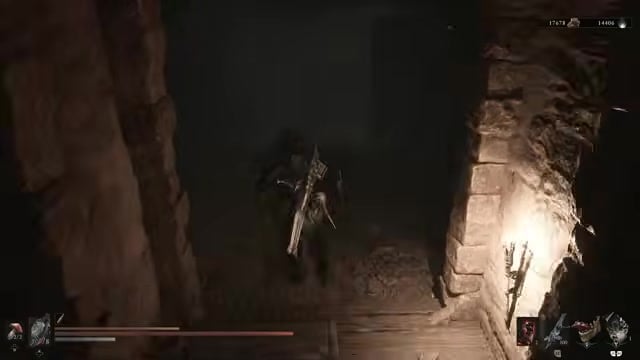
Interact with the beacon and select Cleanse Beacon to drop into the Forbidden Archives.
STEP 4/9
Open the bookcase passage
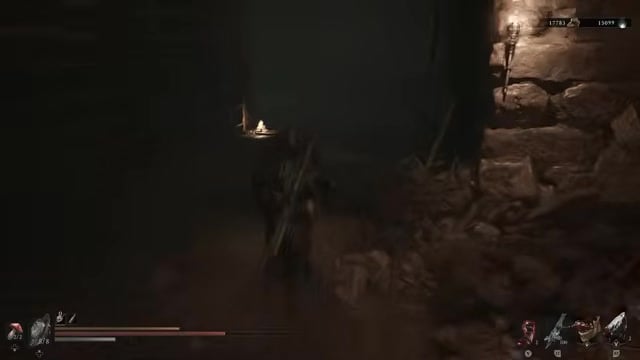
Fight through the enemies and open the hidden bookcase wall to continue deeper inside.
STEP 5/9
Take the first jump pad
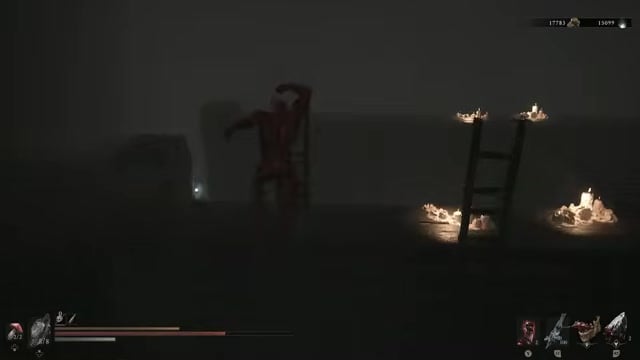
Step onto the air-draft pad to launch up onto the elevated wooden walkways.
STEP 6/9
Collect resources along the walkways
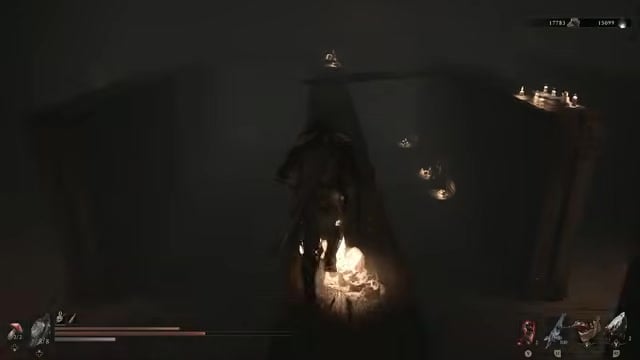
Cross the plank bridges grabbing pickups, including the Synaptic Vessel and a healing item.
STEP 7/9
Pick up the Grimorium Obscurum
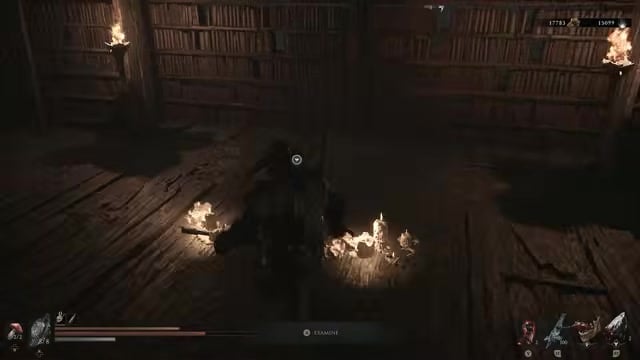
Follow the walkways to the candle-lit platform atop the bookshelves and grab the Grimorium Obscurum.
STEP 8/9
Place the Grimorium at the pedestal
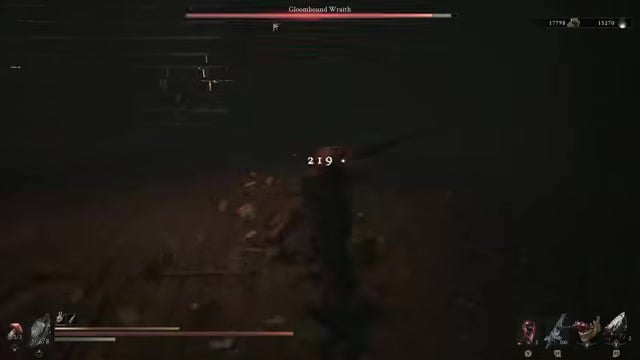
Drop back to the floor and place the book in the wall slot near the entrance to open the boss arena.
STEP 9/9
Defeat the Gloombound Wraith
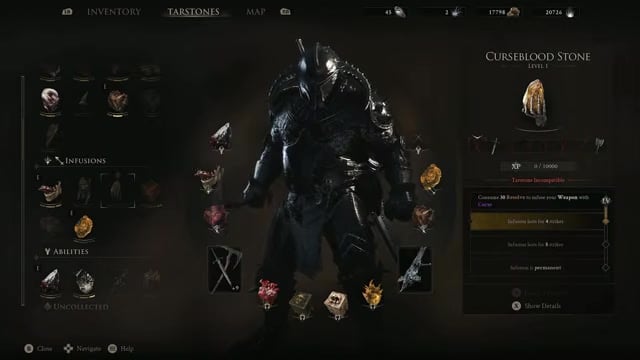
Take down the miniboss inside the chamber to be rewarded with the Curseblood Stone.
The route above was recorded on a mostly pre-cleared run, so expect more enemies dotted around the archives than a quick playthrough of the path suggests — the shelves and side rooms hold a fair number of them, and they will punish you if you sprint through blind.
The boss arena stays sealed until you place the Grimorium Obscurum in the wall slot near the entrance — grab it from atop the bookshelves first, or you’ll loop the archives with no way through.
Video help
What the Curseblood Stone does and its upgrade tiers
| Level | Effect |
|---|---|
| Lv. 1 | Consume 30 Resolve to infuse your Primary Weapon with Curse |
| Lv. 2 | Infusion lasts a set number of strikes before wearing off |
| Lv. 3 | Infusion lasts noticeably longer per activation |
| Lv. 4 | Infusion is permanent — the weapon stays Curse-infused |
The Curseblood Stone slots into a Primary Weapon only, and among your options it’s compatible with The Iconoclast and the Veteran’s Battle Axe. Activating it spends 30 Resolve to coat the weapon in Curse for a stretch of hits, and each upgrade level either extends that window or, at the top tier, removes the cost entirely by making the infusion stick.
The exact duration of the mid levels is the one loose number here: early figures for the first duration tier land anywhere from around 4 to 15 strikes, and the in-game description even phrases it as roughly 8 seconds rather than a strike count. Treat those middle numbers as ballpark — what every account agrees on is that the top level makes the infusion permanent, which is the milestone worth building toward.
Buying it from the One-Legged Wolf Tavern
The Gloombound Wraith drop is how you get the Curseblood Stone — despite what a few guides imply, the Barkeep at the One-Legged Wolf Tavern does not sell it. If you talk to them and choose Order Drink, the shop stocks other Tarstones, but the Curseblood Stone isn’t among them, and no source lists it in his inventory.
So don’t plan on buying this one over the counter for a pile of Coins — the Curseblood Stone comes from the Gate of Infinity boss fight, which is the route documented everywhere. If you’re after a Curse option you can purchase, that’s a different Tarstone; for the Curseblood Stone itself, the Gloombound Wraith is the guaranteed source.
Upgrading the stone at the Tarforge
Curseblood Stone levels come from use, not a shop. Keep it equipped and slay enemies while it’s slotted, and the Tarstone builds its own XP; once that bar fills you can rank it up.
The upgrade itself happens at the Tarforge in Marrow Keep, where Franz handles it in exchange for a Coin fee per level. You’ll also need an Etching Needle — that’s the gating item that unlocks upgrades, pulled from a chest earlier in the world. The per-level Coin costs aren’t fixed in stone, so bank a bit of spare currency before you make the trip.
How Curse works in combat and the Wraith’s barrier
Key Curse doesn’t fire off on the very first hit. It stacks on an enemy as you keep landing strikes, and only once a target is fully Cursed does the payoff trigger: their next melee swing is nullified and reflected back onto them. That’s the source of a lot of “nothing happened” confusion — players expecting a chunk of reflected damage on every hit see nothing, because the effect waits for enough stacks and only answers the target’s next melee attack.
The Gloombound Wraith fight has its own gimmick layered on top. When it throws up its barrier and shrugs off your damage, look for the red-glowing books scattered around the arena — destroy those to drop the barrier, and only then can you land the finishing blows to claim the stone.
Related Mortal Shell 2 guides
Frequently Asked Questions
Can the Curseblood Stone be equipped on a sidearm?
No — the Curseblood Stone is a Primary Weapon Infusion only, so it won’t slot into a sidearm at all. If you want a sidearm carrying the Curse status, that job goes to the Accursed Stone instead, which you pick up by cleansing the Abandoned Outpost Beacon and can run on Curse-friendly sidearms like the Cursed Child.



Leave a Reply