While you’re probably aware of Google Lens on Android and iOS devices, its PC counterpart has also, slowly but surely, started to cement its place in Google’s search engine infrastructure despite its very limited functionality compared to Google Lens on Android.
This article will help you understand the intricacies of Google Lens on PC and the various way you can use it to enhance your internet experience. So, let’s get started.
What is Google Lens?
Google Lens is a wonderful tool developed by Google that makes the use of AI and image-recognition technology to scout the internet for information relevant to a particular image. This information can be visual or text, objects, websites, in fact, it can be anything that you find yourself curious about.
Google Lens is most popular for its built-in infrastructure on Android devices. Since its introduction as a Google Pixel exclusive feature back in 2017, Google Lens has been integrated into the Google Photos app, Cameras of Android devices, and very recently with Google Chrome on PC.
How does Google Lens work?
Google Lens is a search engine for your surroundings that uses neural networks to do a visual analysis of images to produce matching visual results. This is then used to produce search results that match your image the closest.
Note: Neural networks are computing systems that use complicated algorithms to mimic the way the human brain processes things.
On PC, Google Lens is designed to act like a search engine that uses pictures instead of text. You can do a quick google search for almost anything you come across on a website without having to go to google’s website.
However, unlike phones, Google Lens on PC can only search using the images already available on the internet, at least natively. Consequently, live scanning your surroundings is not an option on PC.
Before getting into the uses of Google lens on PC, let’s see how we can make sure if Google Lens is enabled on Chrome.
Related: 10 Best Google Lens Image Search Tips and Tricks
How to enable Google Lens on Chrome
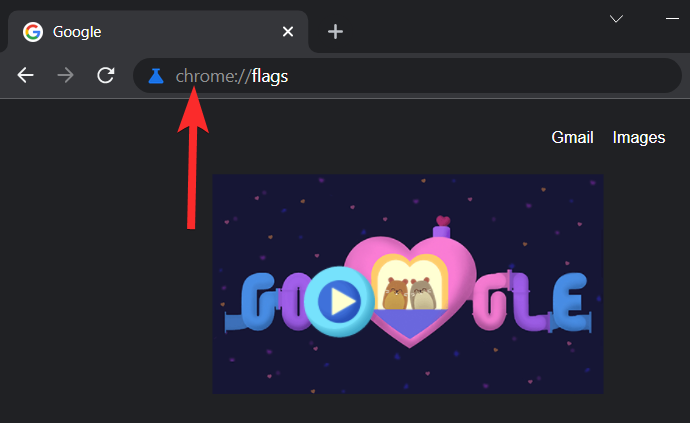
Open Google Chrome from your PC. Type chrome://flags in the search bar and press ENTER.
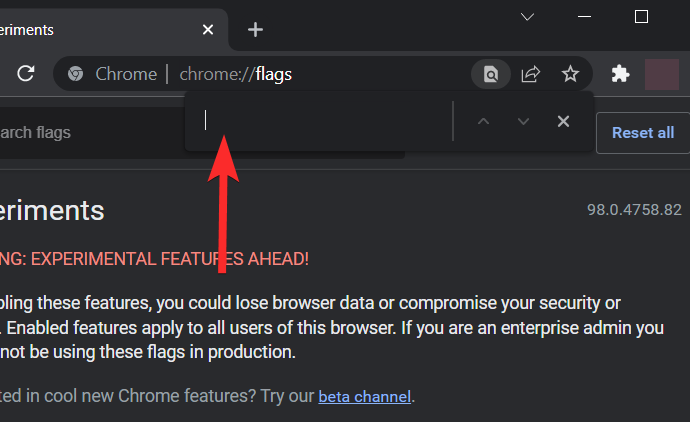
Press CTRL+F from your keyboard to see the word search bar.
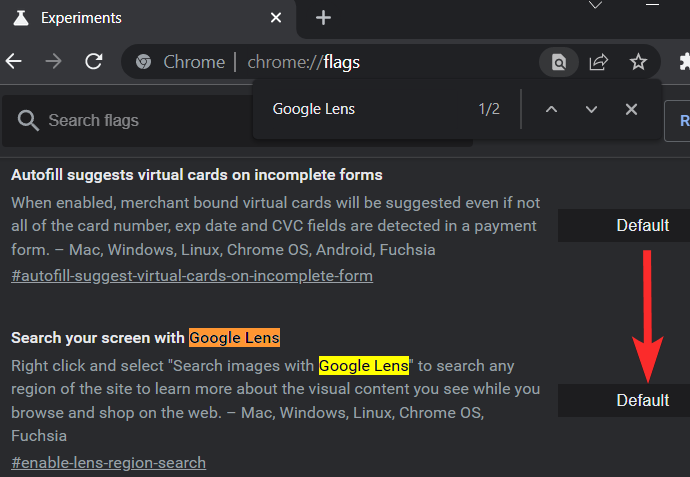
Type Google Lens in the word search bar and locate the “Search your screen with Google Lens” flag.

Click on the drop-down menu next to the “Search your screen with Google Lens” flag.
Note: In the latest version of Google Chrome, the default setting is the same as the enabled setting.
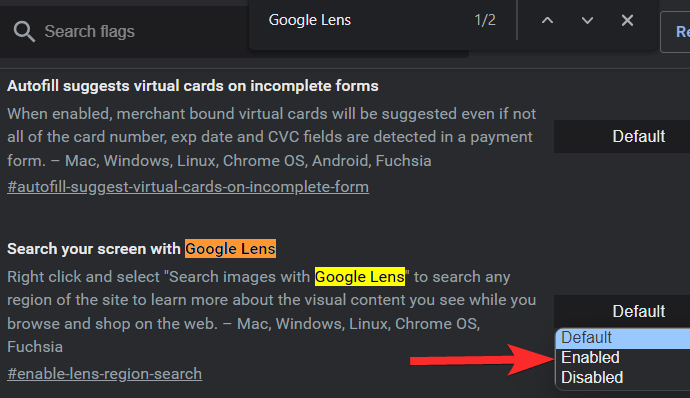
Click Enabled.
Related: How to Access and Use Google Lens Image Search
5 ways of using Google Lens on PC
The onset of Google Lens on PC has made Google a more AI-oriented search engine. This AI-based image recognition technology of Google Lens on PC can be used in a variety of ways. You can search for visual matches similar to the images from other websites or your PC. You can also use Google Lens on your PC to scan text from an image.
While, some of these utilities are straightforward, others require some workarounds that we will tackle in this guide. So, let’s get started.
Method #01: Use Google Lens on Google Images
Let’s see how you can use Google Lens to scout the internet for visual searches closely related to a specific image for Google Images.
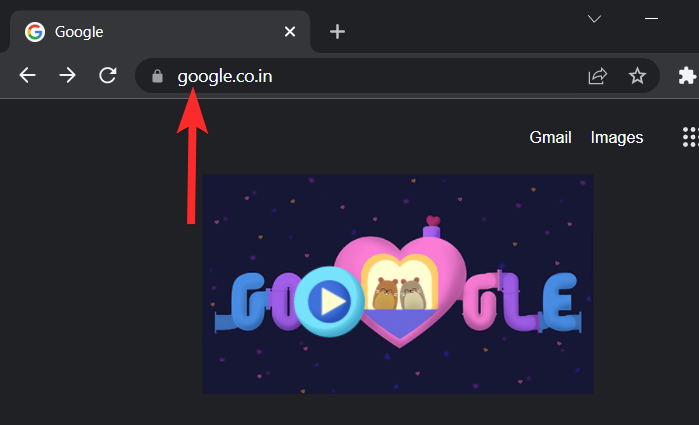
Open Google Chrome from your PC and visit www.google.com.
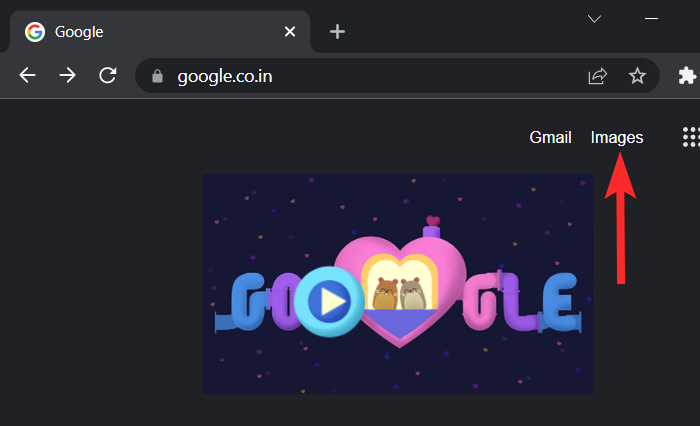
Click the Images option near the upper-right corner of your browser window.
Use the search bar to search for the image you want.

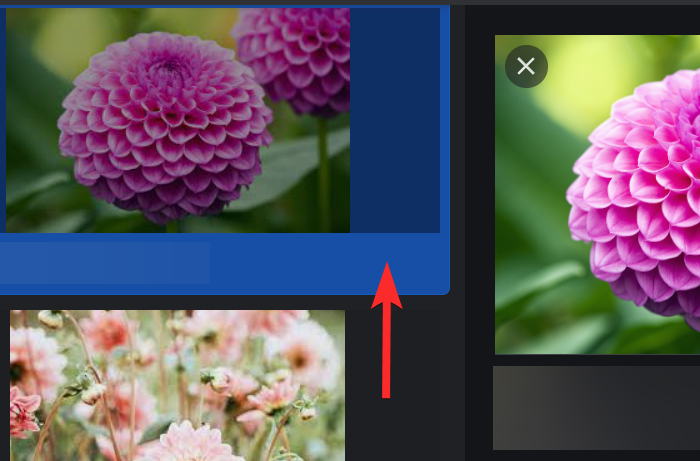
Select the image you want to use Google Lens on by clicking on it. The Image will be opened in the right plane of your browser window.
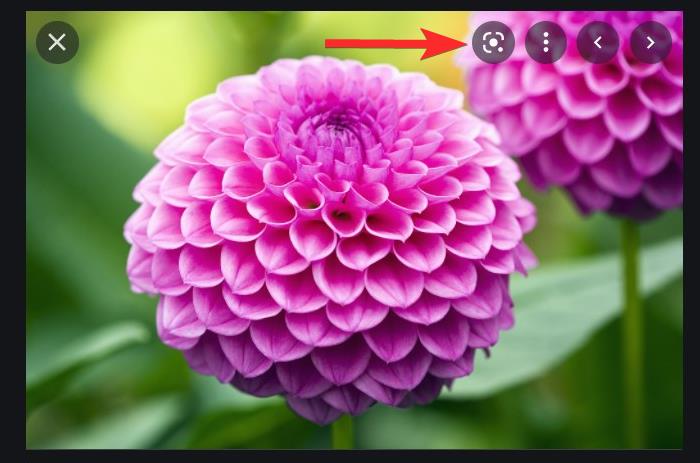
Click the Google Lens icon located in the right plane.
Google Lens will now highlight places or subjects of interest in the picture using a rectangle with white corners.
Note: Feel free to resize this rectangle to change the selection area.
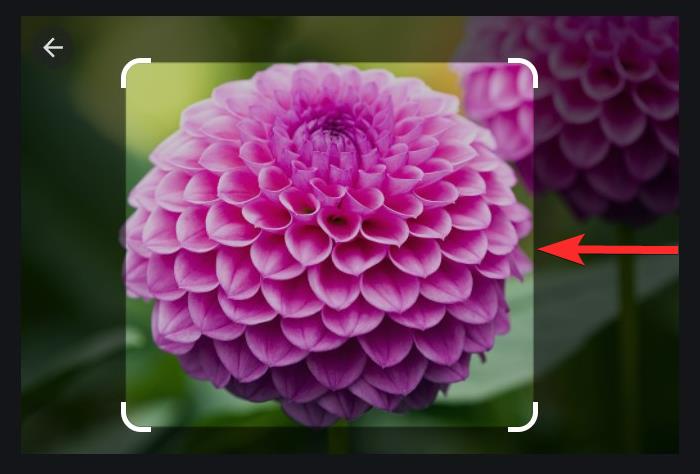
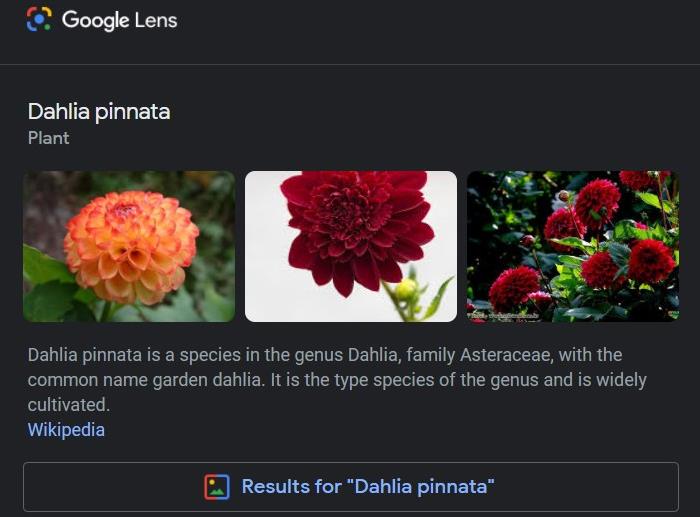
Below this image, you can see relevant information about the selected area.
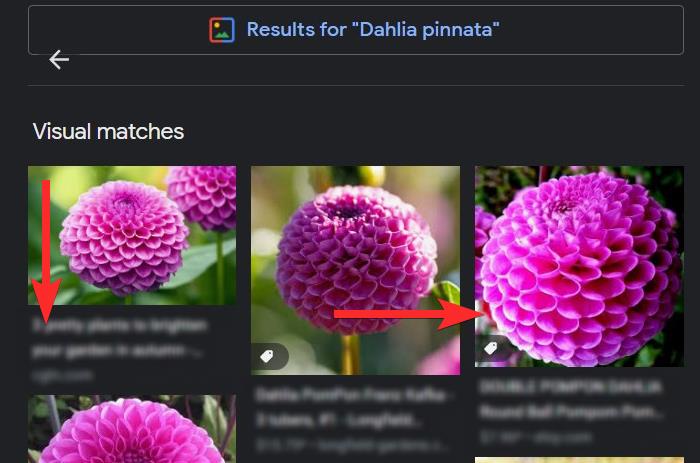
You can also scroll down more to find relevant Visual matches.
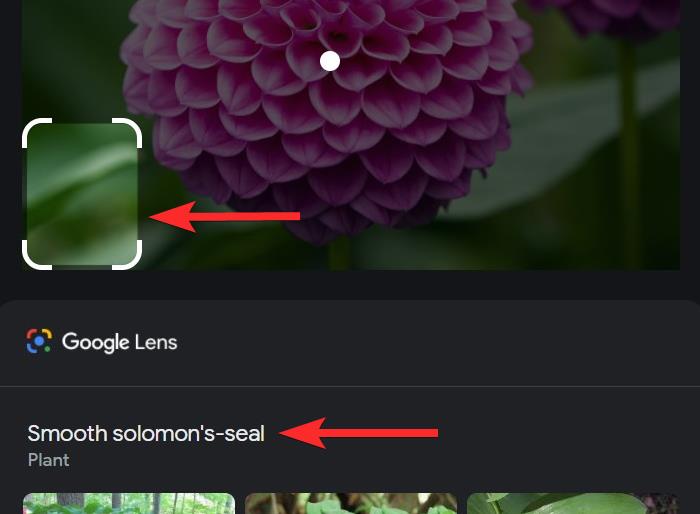
Remember that the selection area is of utmost importance and changing it can give you entirely (refer to the picture below) is out of focus and may lead to inaccurate results.
Method #02: Use Google Lens on an image from any website
Open Google Chrome from your PC and visit the relevant website you want to use Google Lens on.
Navigate to the website and subsequently to the image you want to use Google Lens on.
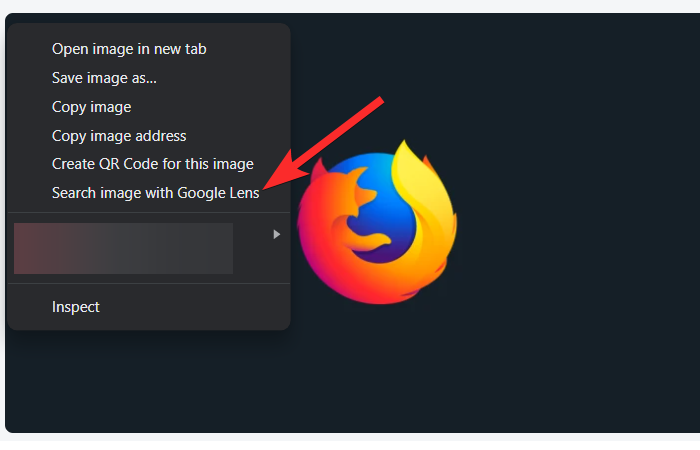
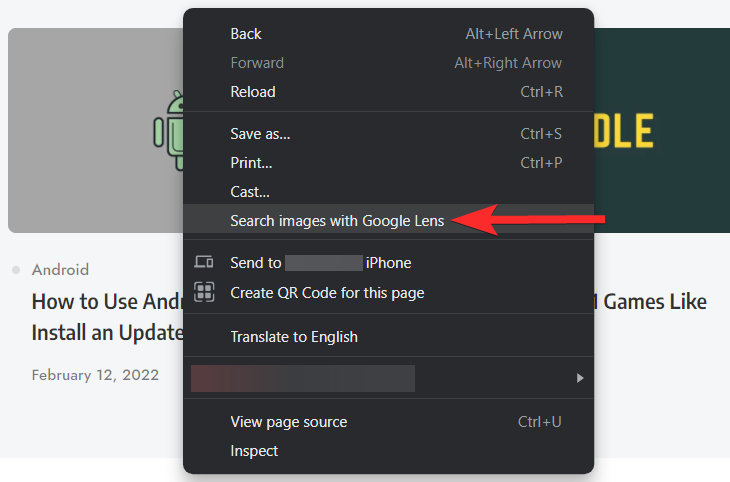
Right-click on the image and select the “Search image with Google Lens” option.
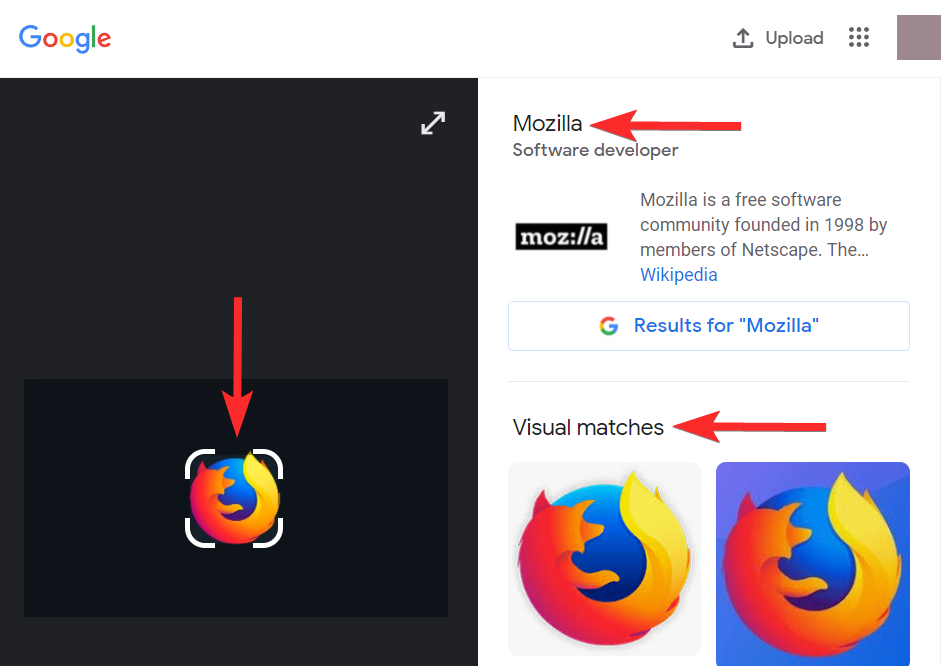
You will see the Google Lens interface. This page will tell about the selected area on the picture, relevant visual matches, and a quick summary of the selected area in the picture.
Note: You can also change the selection area from the left panel.
Method #03: Use Google Lens on a custom selected area
Google Lens can also be used on an area of a webpage rather than a picture. In fact, this feature is integrated into the Chrome web browser and is just a right-click away. Let’s see how you can do it.
Open Google Chrome from your PC and visit the relevant website you want to use Google Lens on.

Navigate to the place in the web pages where you want to use Google Lens.

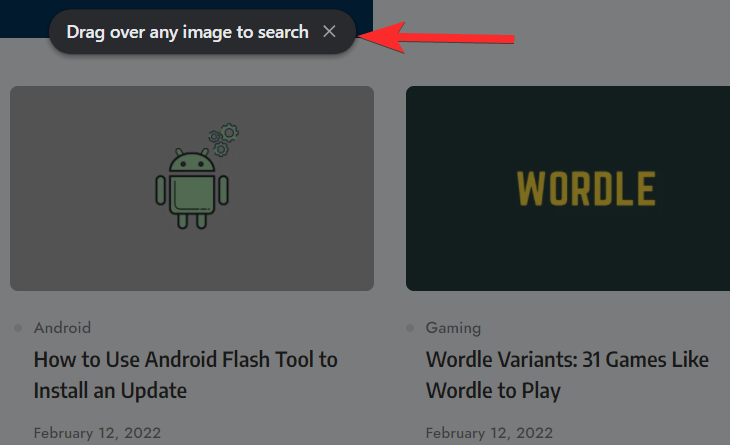
Right-click anywhere on the webpage and select the “Search images with Google Lens” option.
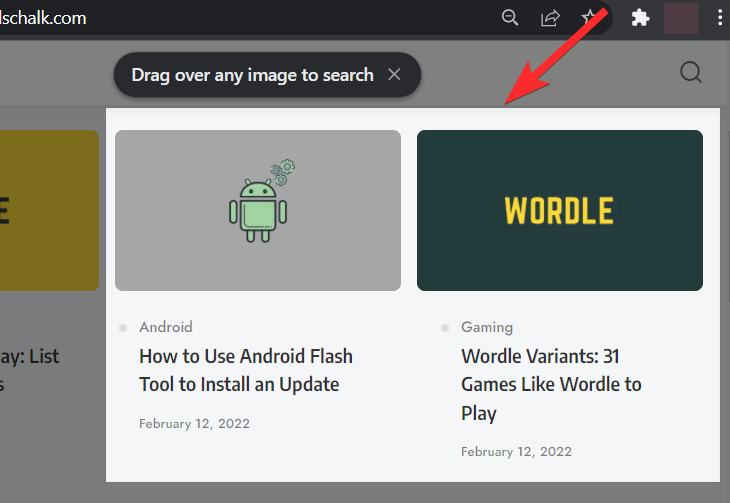
Drag and cover the portion of the webpage that you want to use Google Lens on.
Now, release the left-click you held up while marking this area. Your selected area will appear brighter than the rest of the webpage.
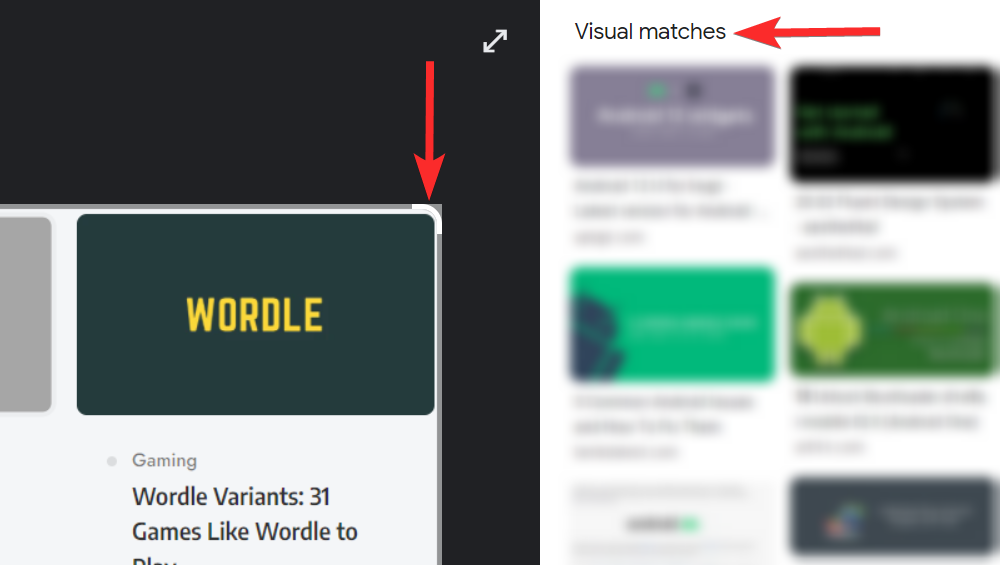
This will open a new Google Lens tab. Here you can use the left panel to alter the selection area and observe the corresponding visual matches in the right panel.
Method #04: Use Google Lens on an image from PC
While using Google Lens to search images from other websites is relatively easy, most of the practical applications of Google Lens include visual matches on images you already have stored on your PC.
The good news is that it is possible to use your own images in a Google Lens search. This can be done by uploading the image in question to Google Photos, followed by a procedure similar to the earlier guide in this article. So, let’s see how you can do it.
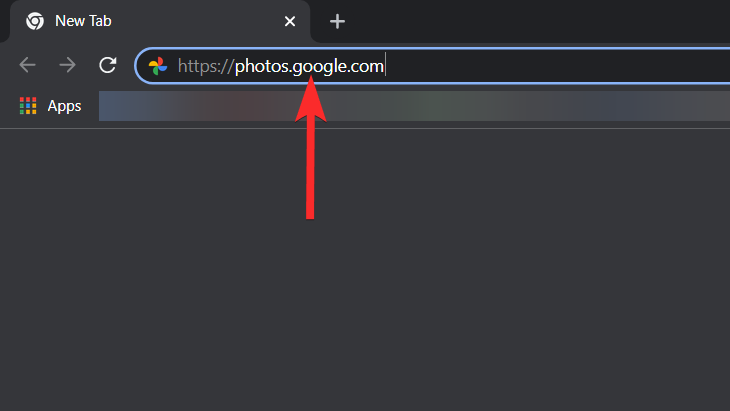
Open Google Chrome from your PC and visit Google Photos at: https://photos.google.com/.
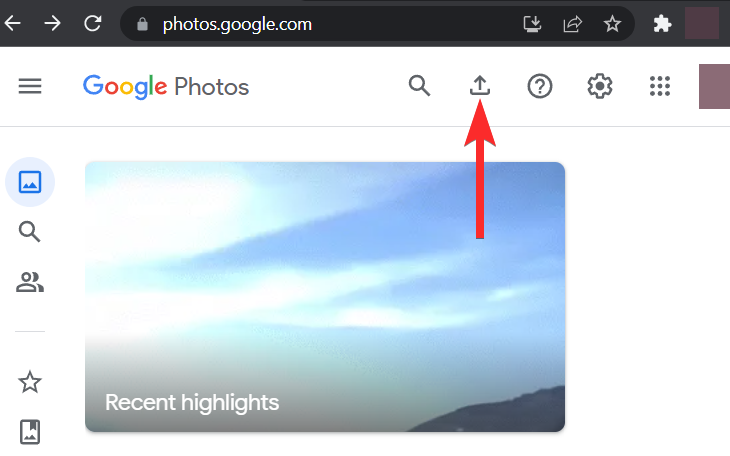
Click the Upload icon.
Note: If you already have the image uploaded on Google Photos, you can simply select that picture instead of uploading it again.
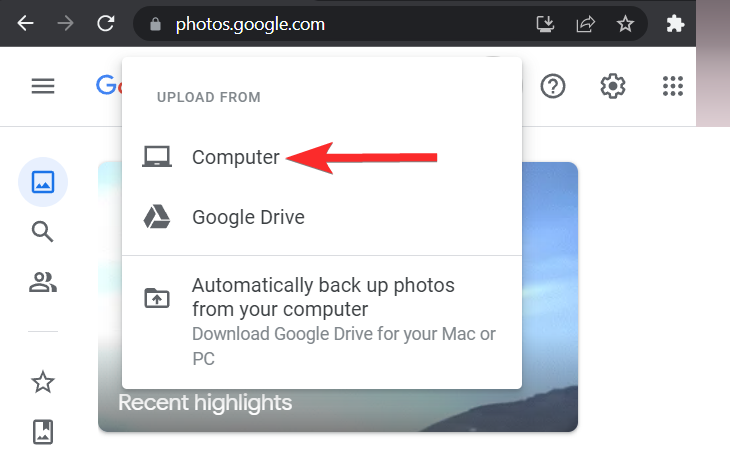
Click on Computer.
Note: You can also upload from Google Drive.
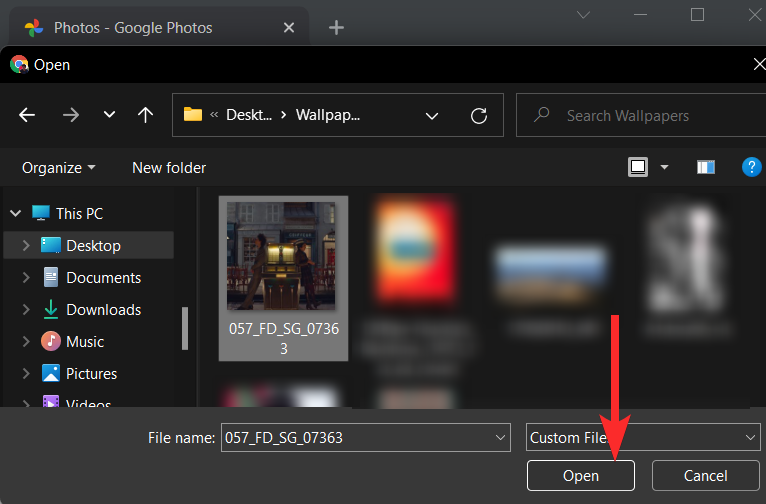
Locate the picture from your computer and select this picture by clicking on it. Click Open to upload.
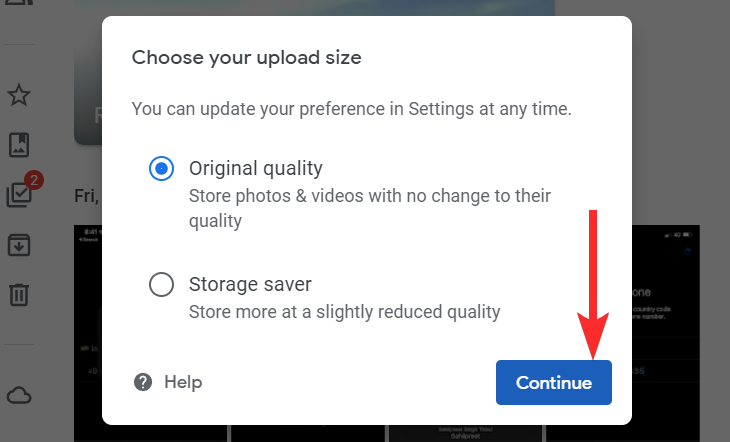
Click Continue.
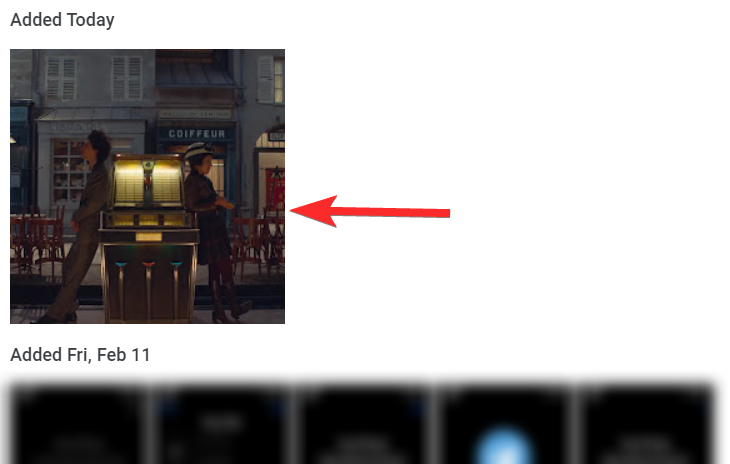
Click on the newly uploaded picture.
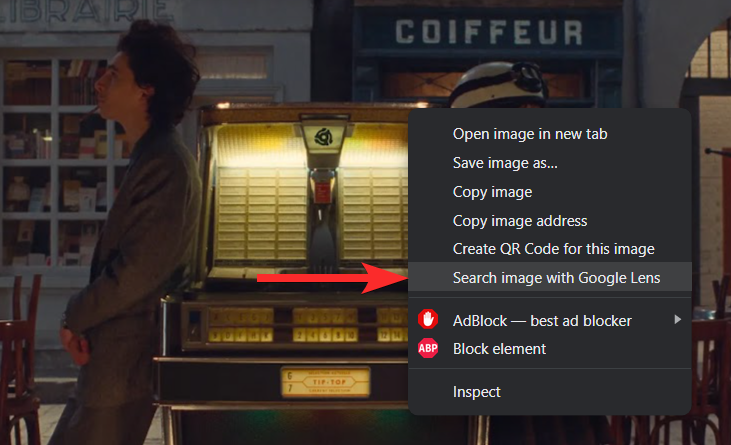
Right-click on the picture and select the “Search image with Google Lens” option.
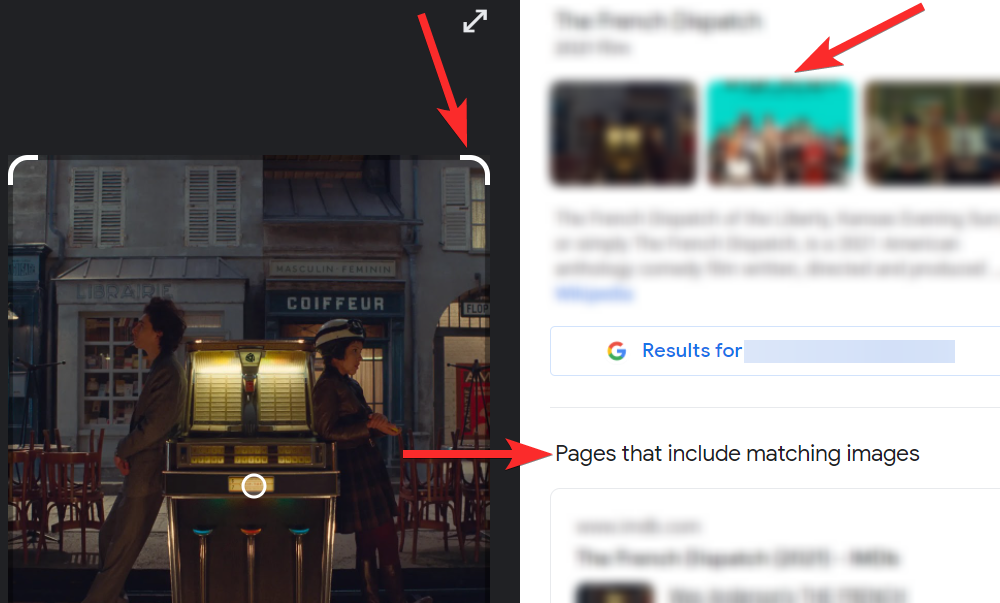
This will open a new Google Lens tab. Here you can use the left panel to alter the selection area and observe the corresponding matches in the right panel.
Method #05: Select text using Google Lens on PC
Open Google Chrome from your PC and visit Google Photos at: https://photos.google.com/.
Click on the image you want to select text from.
Note: If you don’t already have the image uploaded on Google Photos, you can upload it from your PC and then select it.

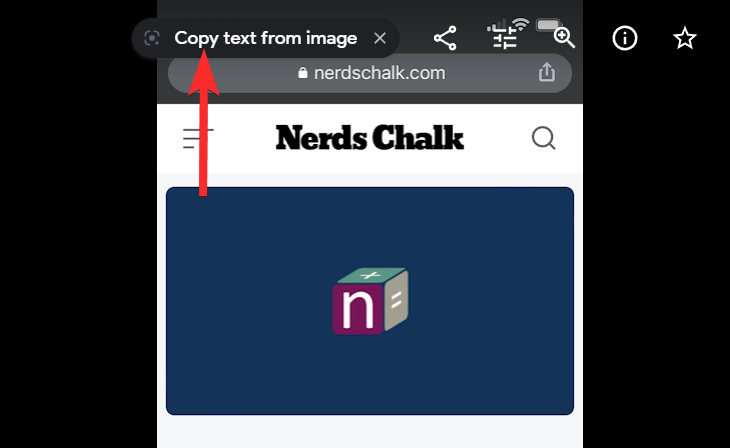
Click the “Copy text from Image” option near the top of your browser window.
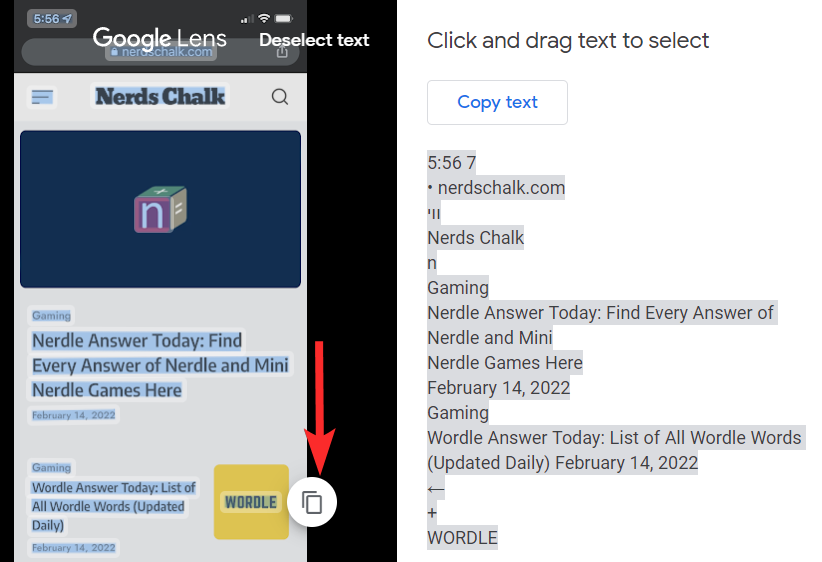
All the text from your picture has now been selected and displayed in the right panel. You also use the left panel to select text according to your preference and then copy it using the copy option located in the lower-right corner of the left panel.
That’s it. You now know all the ways of using Google Lens on PC. However, it’s completely up to you to find creative ways of combining these ways and maximizing the capabilities of Google Lens on PC.
FAQs
Can I use Google Lens on other web browsers?
No, Google Lens is only integrated with Google Chrome and cannot be used on other web browsers like Mozilla Firefox, Safari, Opera, etc.
Can I use Google Lens on phones?
Yes. Google Lens can be used on both Android and iOS devices. In fact, Google Lens offers way more functions on phones that you cannot do on your PC like logging into a WIFI network automatically, scanning business cards, scanning your surrounding, etc.
Are Google Lens and Google image search the same?
No, Google Lens and Google image search are not the same. While Google Image Search can only find pictures that are similar to a picture you want, Google Lens is capable of detecting things in a picture like text and interesting elements of interest, math equations, and whatnot.
Is Google Lens on Chrome enabled by default?
Yes, Google Lens is enabled by default on the most recent version of Google Chrome and you don’t need to enable it separately from Chrome’s settings.
However, if you still want to check this setting, make sure you check out our guide regarding the same in the beginning of this article.
Can I use Google Lens to translate text on PC?
No, Google Lens on PC does not have a native feature that allows you to translate the scanned text from an image. However, you can always copy the scanned text and translate it from Google Translate.
We hope this article helped you understand Google Lens on PC and the various ways of using it. If you have any more questions, feel free to reach out to us using the comments section below.
Related:
3 responses to “How To Use Google Lens on PC [5 Ways Explained]”
Google Lens is completely useless on a PC, it never finds any image, the result is always “Nothing found” although when you try with the old Google image search there are lots of results – it’s rubbish!
Thank you for this post.
Does ‘Lens’ work on other browsers or it’s limited to Google Chrome?
Never mind, I just read it can’t be used with other browsers.
Unfortunately, I was unable to delete my comment.