
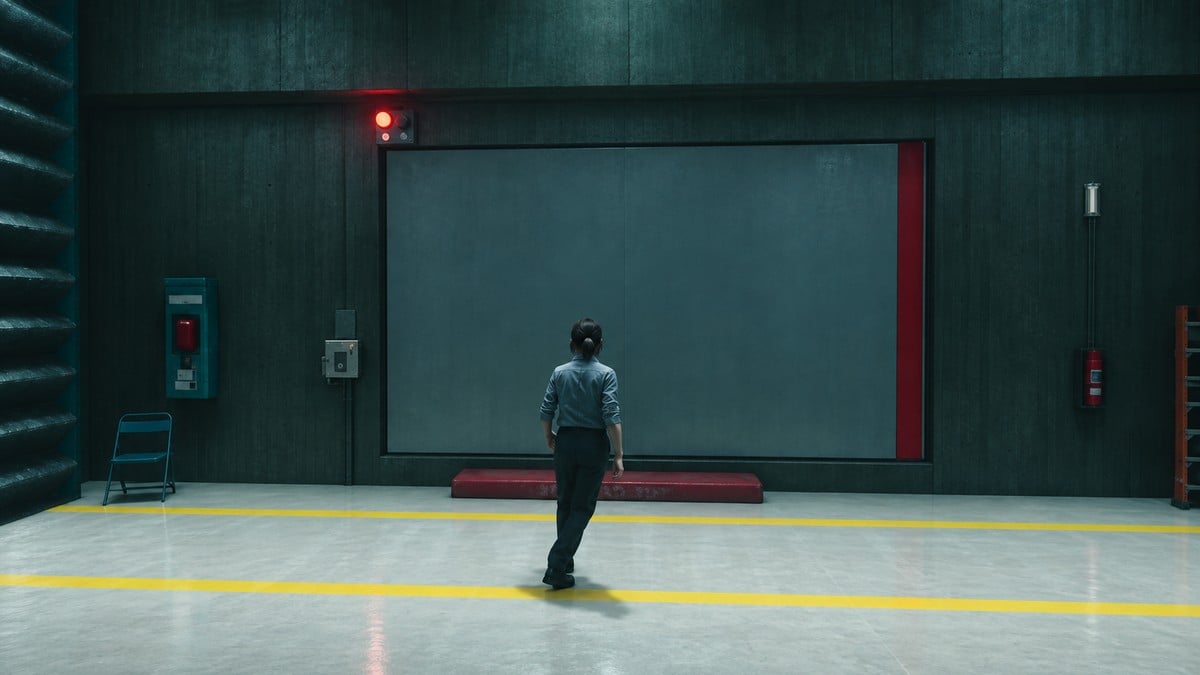
Follow Zoe through Classrooms, finish the electrokinesis test, cross the High Risk Chamber, clear the atrium, and interact with the TV in Main Test Chamber V-E2.
In The House in Distress, the active objective is Reach the Oldest House Fault. The route takes Dylan through the testing wing and back to a sealed chamber, where Zoe can open the final doors.
STEP 1/14
7%
Enter the classroom wing
Go down the concrete stairs, try the locked Classrooms door, and speak to Zoe near the Main Test Chamber doors. Return when she opens Classrooms with her clearance.
STEP 2/14
14%
Reach the testing area
Follow the Interactions Lab corridor, vault the low planter, climb the short stairs, and enter the office with emergency power units.
STEP 3/14
21%
Power the test-room entrance
Use the power panel and head upstairs to the remote door.
STEP 4/14
29%
Start the electrokinesis test
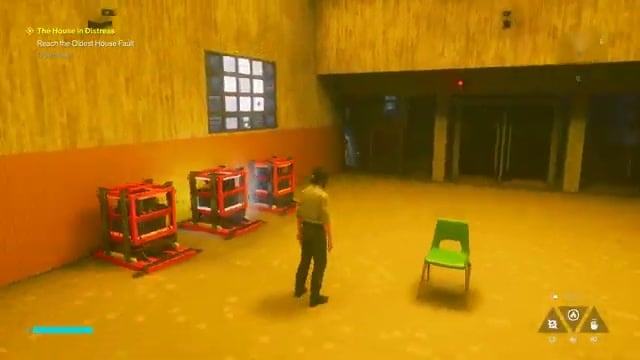
Cross the room to study its orange wall units and floor switches, then activate the floor pressure pad.
STEP 5/14
36%
Work across the wall
Jump to the raised orange platform, drop back to the grid, and strike a wall mechanism. Cross the room to read the lights before striking the side-wall mechanism.
STEP 6/14
43%
Reach the remaining units
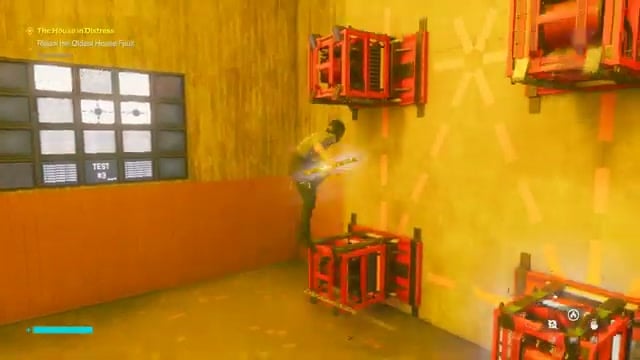
Move around the central chair, strike the lower mechanisms, jump to hit the elevated blocks, and strike the final apparatus. Match each active monitor pattern to advance the test.
STEP 7/14
50%
Leave the testing room
When the lights turn green and the announcement says “Test number 82: Success!”, use the opened double sliding doors.
STEP 8/14
57%
Continue through the upper rooms
Interact with the side-storage power apparatus, return to its control panel after revisiting the test room, and pass through the observation room toward Zoe upstairs.
STEP 9/14
64%
Take the corridor toward the High Risk Chamber
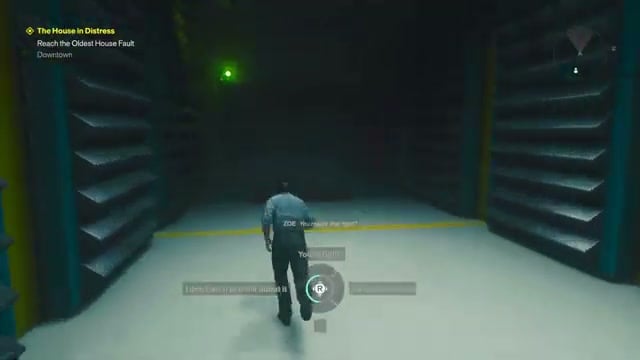
Vault the upper-terrace planter, pass through the slatted corridor and yellow office, and enter beneath the High Risk Chamber sign.
STEP 10/14
71%
Leave the containment area
Rejoin Zoe by the doorway, then follow her out when the doors open.
STEP 11/14
79%
Clear the atrium
Descend into the circular lobby and defeat the floating, elevated, and distorted enemies, including those near the Federal Bureau of Control seal.
STEP 12/14
86%
Return to the main entrance
Cross the atrium toward the upper stairs, look over the balcony, and drop down to the main entrance, then approach the Main Test Chamber entrance.
STEP 13/14
93%
Enter Main Test Chamber V-E2
Meet Zoe at the access panel and go through the doors she opens.
STEP 14/14
100%
Start the ritual
Walk through the mannequins and yellow flowers to the CRT television at the center, then interact with it.
Get through Classrooms and reach the electrokinesis test
The first security door is marked Clearance Level 18. Zoe opens the way through Classrooms with her clearance.
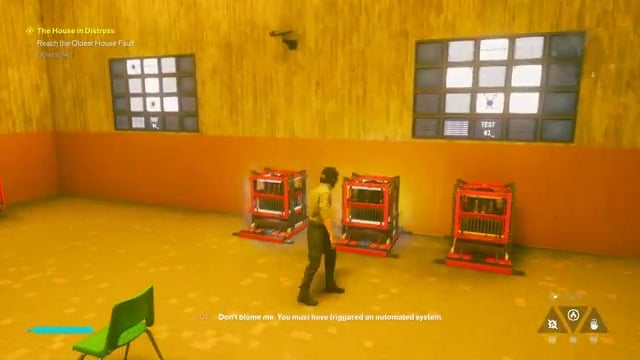
From the office area, the testing room is recognizable by its orange wall units and switches on the floor. Once Dylan is inside, the doors close. Completing the test opens the exit.
Complete the electrokinesis test and open the exit
The wall holds a three-by-three grid of Power Cores. Televisions above the active cores display the target arrangement. Strike the wall nodes to leave only the required cores powered; a correct arrangement changes the screens to the next test.
For each test, strike the wall nodes to match the configuration shown on the active monitors. When the screens change, adjust the powered nodes to match the next displayed configuration.
The final display calls for a cross: power every node in the middle row and middle column. The wall mounts can extend into platforms when struck, letting you climb from lower mounts toward higher nodes. Green screens, the success announcement, and the opening exit doors mark the end of the test.
Change the active nodes between patterns instead of clearing the whole grid each time. For the square, keep the top corners on, switch off bottom middle, and add the bottom corners.
Follow Zoe through the High Risk Chamber
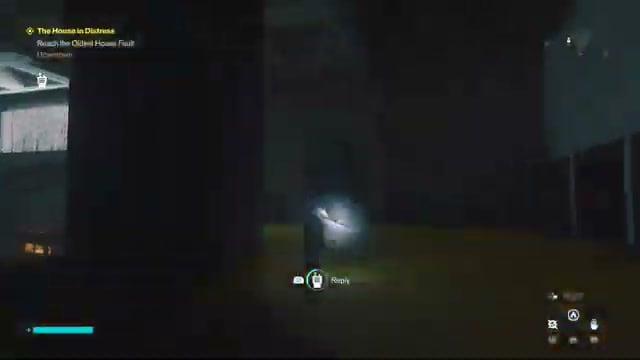
After the test, the route doubles back through the side storage area before reaching an observation room with overturned chairs and a screen showing Dr. Darling. Rejoin Zoe at the upper monitoring station. Vault the planter on the upper terrace. In the doorway conversation, “You’re right!” is the response selected along this route.
Beyond the yellow office, the High Risk Chamber leads toward the P6 Mobile Containment area. A glass containment cube stands in the middle. Red emergency lighting comes on as Dylan rejoins Zoe; the doors open for the pair to leave.
Clear the Downtown 2 atrium and return to the entrance
In the circular atrium, Hiss enemies attack from the floor and above. The encounter includes telekinetic throws, ranged attacks, melee strikes, and close-range psychic blasts. Evade the red laser fire while clearing the floating targets, then finish the distorted enemies near the Federal Bureau of Control seal.
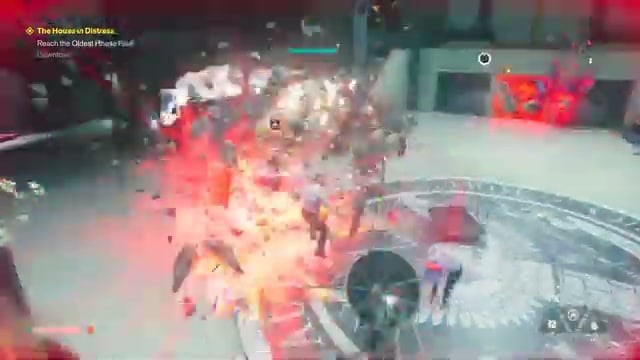
As the fight ends, the location notification reads DOWNTOWN 2, and +16 Source appears. The subsequent visit to a side room with an armchair brings up Talent Point +1. From there, the route returns across the atrium toward the stairs and balcony overlooking the main entrance.
Enter Main Test Chamber V-E2 and reach the ritual
Look for MAIN TEST CHAMBER V-E2 on the wall outside the final chamber and above its blast door. Bypassing this sector’s high-risk doors requires Clearance Level 18, also marked on the terminal at this entrance. Zoe waits beside the access panel, which she uses to open the large chamber doors during a cutscene.
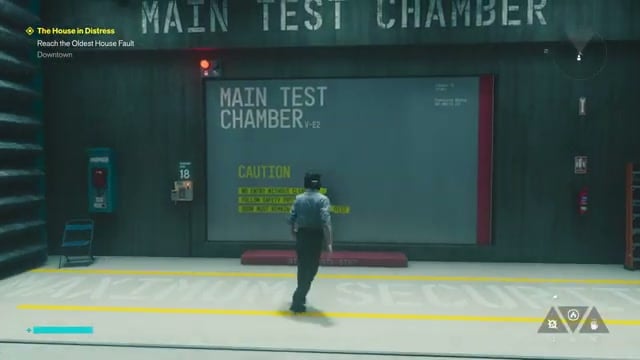
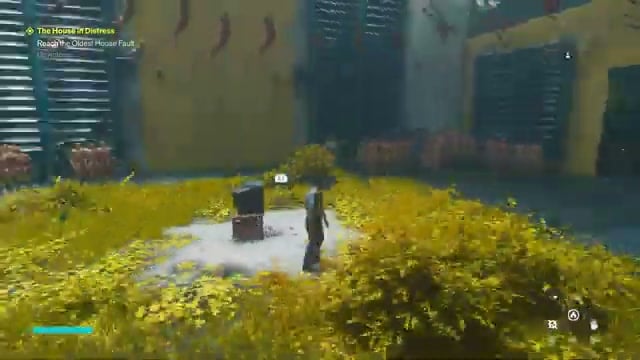
Enter Main Test Chamber, filled with mannequins and overgrown with yellow flowers, and approach the CRT television at the floral clearing’s center. This is the chamber’s central Object of Power. Interact with it to start the ritual: your Quest Log objective changes to Complete the Ritual.
Related Control Resonant guides




Leave a Reply