
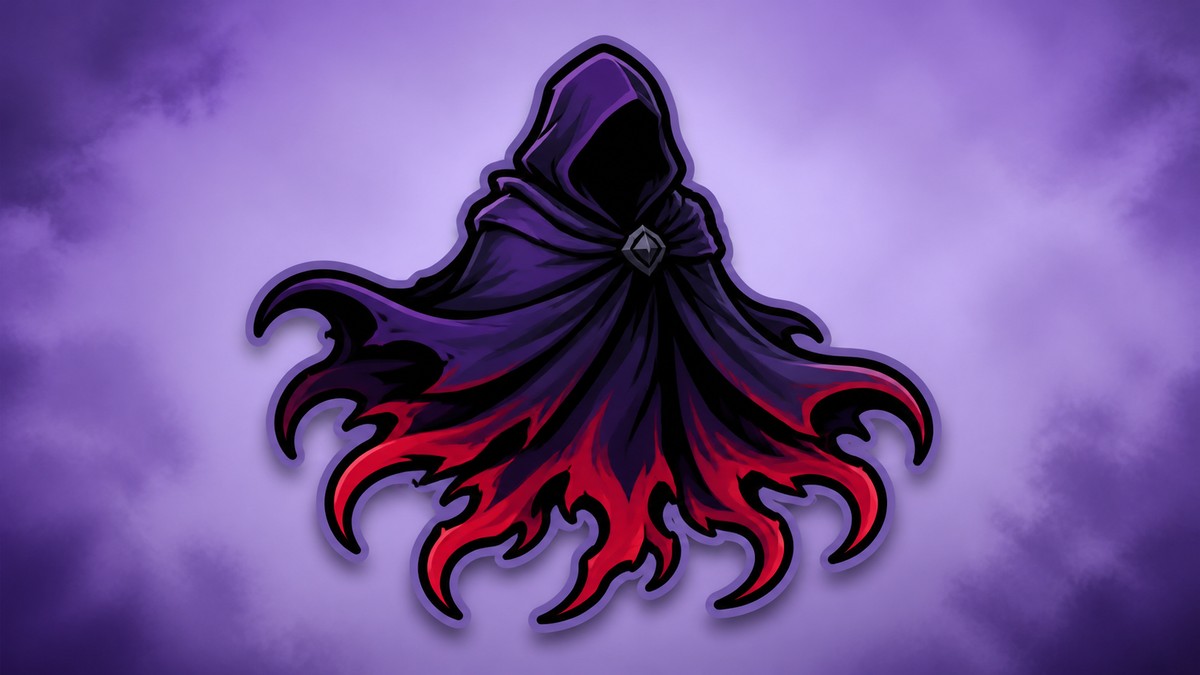
The Hood plays best as a close-range Vanguard bruiser: build Demonic Energy safely, fight around Abyss Veil and Mantle of Oblivion, then use rifle form and Team-Ups to burst Strategists or punish divers.
The Hood joined Marvel Rivals with the Season 9.5 update on August 7, 2026, and he is officially a Vanguard — but his guns fall off hard past 8m, so he plays far more like a brawling tank than a frontline shield. The whole hero revolves around one resource, Demonic Energy, which powers up his pistols, his shield, and eventually a rifle form that hits like a hitscan DPS. Get in close, build that meter safely, and pick your moment to dive.
- Playing The Hood as a close-range Vanguard
- Ability cheat sheet for the full kit
- Building Demonic Energy and using rifle form
- Abyss Veil placement and Mantle of Oblivion timing
- Scarlet Witch versus Moon Knight Team-Ups
- When to pop the ultimate and how to survive it
- Mistakes that get The Hood killed
- Frequently Asked Questions
Playing The Hood as a close-range Vanguard
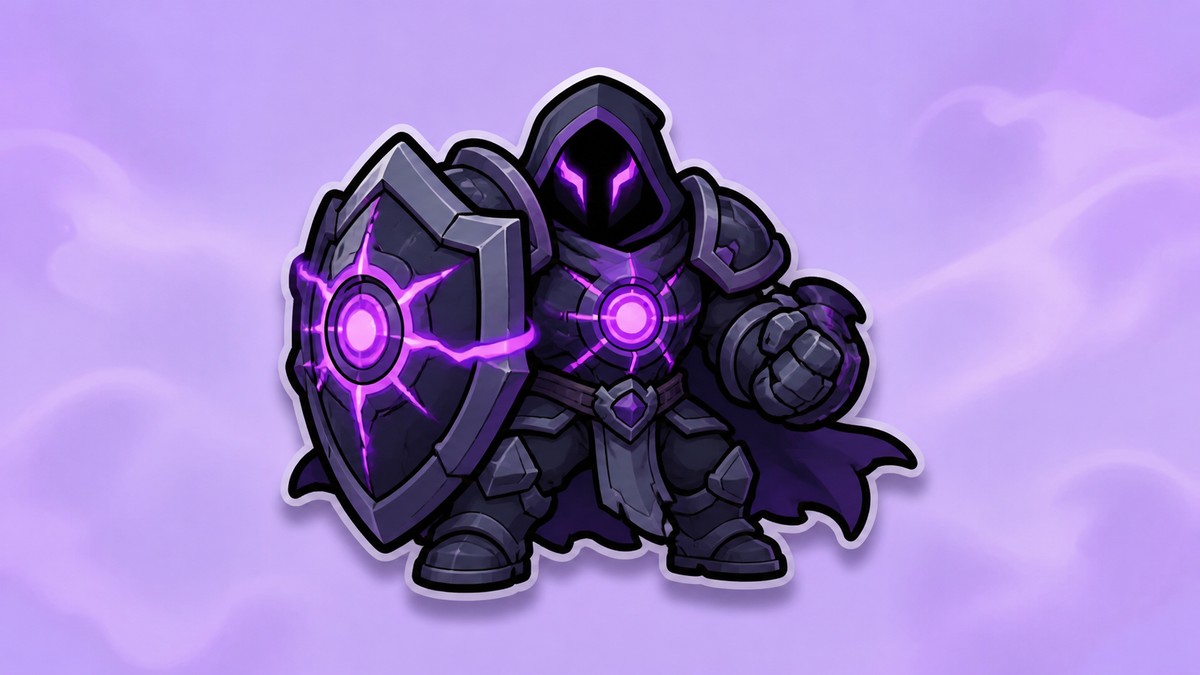
Because his weapons have such steep damage falloff, The Hood does his best work inside roughly 8 to 15m — close enough that his rounds land at or near full value, but not so deep that you’re isolated. Think of him as a tank-sized bruiser who wants to be in the scrum rather than a shooter poking from the back line.
His weakest versions are the two extremes: the player who treats him like a long-range hitscan hero and sits far outside his falloff, and the player who trusts his health bar and dives solo into the enemy team. Sit on or just ahead of the objective line, stay near your supports and your own cover, and let your Demonic Energy build before you look for a fight-ending play.
Ability cheat sheet for the full kit
| Ability | Best use | Key details |
|---|---|---|
| Cursed Pistols | Close-range primary | 26 damage per round, +2 Demonic Energy per shot; falloff starts at 8m. Past 50% energy your fire rate rises and damage drops to 21 per round for roughly 140 DPS. |
| Demonic Energy / rifle form | Ranged burst at 100 energy | Hands become rifles: ~4 damage per shot at 20 rounds/sec, up to 320 DPS on headshots, and only sagging to 80% damage at 20m — but the spread is wild. |
| Void Walk | Escape and energy | 15-second cooldown, a 1.2s dash with a decaying speed buff, a 4.5m blast for 40 damage, and 20 Demonic Energy on use. |
| Abyss Veil | Cover and energy engine | Cuts enemy damage 35% and healing 20% through it, deals 60 damage and blinds for 1s on pass-through; shooting through it gives 2.75 energy per shot and 20% lifesteal as bonus health. |
| Mantle of Oblivion | Block a burst | 10-second-cooldown shield that grows past 50% energy and disables once you hit 100% energy. |
| Ultimate | Team heal and reset | Heals allies in an 8m sphere from your damage (60% conversion), 90 damage +10% max HP building to 140 +15%, and restores you to full. |
Every tool in the kit feeds the same engine. Your basic fire builds Demonic Energy, and that meter is what upgrades your fire rate, grows your shield, and unlocks rifle form — so most of the kit is about staying alive long enough to charge up, then cashing that charge into burst.
The two abilities that define his ceiling are Abyss Veil and rifle form: the Veil accelerates your charge and buys survivability at the same time, and rifle form is the payoff you spend that charge on. Everything else — Void Walk, Mantle, the ult — is there to keep you upright long enough to reach it.
Grab starting energy
Use Void Walk on the way to point for 20 Demonic Energy, and again after fights when it’s safe.
Brawl in effective range

Fight near cover within about 8-15m so your Cursed Pistols keep their damage.
Drop Abyss Veil
Place it to shield yourself or your healers, then shoot through it to build energy at 2.75 per shot.
Block with Mantle
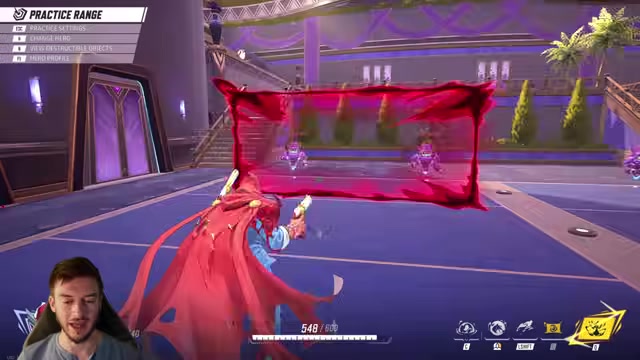
Pop Mantle of Oblivion to eat a burst or an incoming ultimate while your meter climbs.
Wait for the threshold
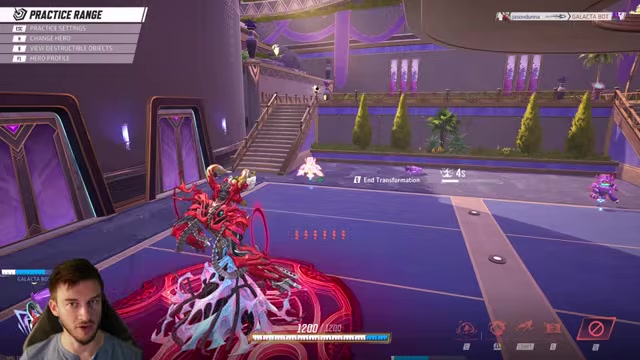
Hold until around 80-100 Demonic Energy before you commit to a real dive.
Dive the backline
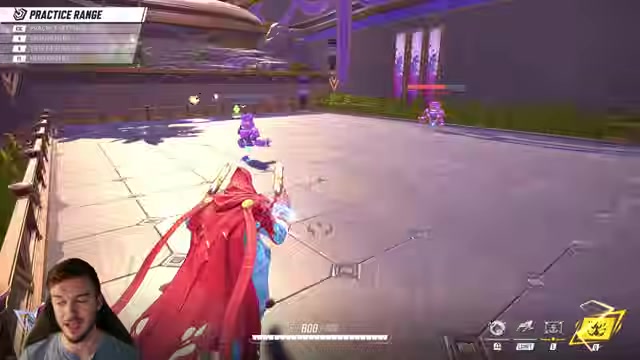
Hit a Strategist or exposed DPS with rifle form or the Scarlet Witch teleport.
Escape, don’t chase
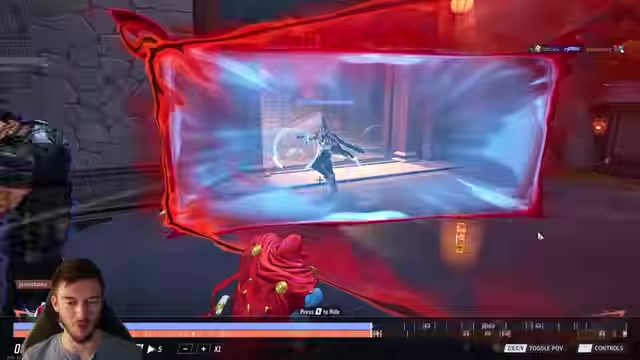
Break off with Void Walk instead of pushing too deep for one more kill.
Building Demonic Energy and using rifle form
Demonic Energy ramps in stages. Every shot adds a little, and shooting through your own Abyss Veil adds more. At 50% your fire rate jumps — individual bullets hit softer, but the faster cadence is a net damage gain and makes tracking easier. At 100% your hands become rifles.
Rifle form is what changes his threat range. Normal pistols sag to about 55% of their damage at 20m, so they’re near-useless at distance; the rifles hold 80% that far out, which is why this is the form you use to punish divers and reach a backline. The catch is accuracy — the rifles spray, so they reward held aim on a target that’s already in the open, not long-range flicks.
One habit pays off constantly: exit rifle form between fights to keep your energy. If a fight ends with the meter full, drop out of the form so you don’t bleed it away, and walk into the next skirmish already loaded.
Abyss Veil placement and Mantle of Oblivion timing
Abyss Veil is the most flexible thing in the kit because it does three jobs from one throw. Toss it in front of yourself as a plain damage blocker across its roughly 8m width, drop it on your own team so a diver — a Black Panther, say — eats the 60 damage and a blind walking through it, or place it behind an enemy tank to sit between them and their healer and choke the heals. And because you build energy and gain lifesteal shooting through it, the aggressive play is often to stand in your own Veil and fire.
Mantle of Oblivion is your panic button for a single big instance of damage — an enemy ultimate, a sniper, a burst combo. It grows once you’re past 50% energy, so it’s biggest right when you’re about to spike, but note that it switches off entirely at 100% energy: full rifle form trades away that defensive layer. On a 10-second cooldown it’s meant to be used often, not hoarded, so pop it to survive a hit and keep moving.
In Settings, under The Hood’s keyboard or controller bindings, turn off hold-to-activate for Mantle of Oblivion — one press then holds the shield up on its own, instead of forcing you to keep the button pinned down.
Scarlet Witch versus Moon Knight Team-Ups
| Team-Up | Pick it for | Main effect |
|---|---|---|
| Scarlet Witch | Aggression and mobility | A 40 damage/sec field in a 5m sphere thrown up to 20m, shaving 5% off enemy damage per hit up to 40%; with a Scarlet Witch actually on your team you teleport in for 60 damage and pull the target, on a 16-second cooldown. |
| Moon Knight | Defensive utility | A 200-HP shield that explodes for 30 damage and applies a 35% damage and healing reduction when destroyed; it also blocks heals and ricochets your shots (3 bounces, 3m each, −50% damage) for minor chip. |
His two Team-Ups pull him in different directions. Scarlet Witch is the aggressive, mobility-first pick and the stronger option for finishing a dive; Moon Knight is the defensive, protect-the-team pick. The quick comparison:
The teleport is what makes Scarlet Witch feel unfair when it lands: build your meter to around 80%, blink onto a distracted Strategist, and unload the last few shots to delete them before they react. Moon Knight’s ricochet chip is honestly small — you’re taking it for the shield explosion and that damage-and-heal cut, not for the bouncing bullets.
When to pop the ultimate and how to survive it
The ultimate is his only real team-utility button. While it’s active, your damage pours out as health to allies inside an 8m sphere, and it also tops you back to full — so it doubles as a survival tool when you’d otherwise die and lose the ult entirely.
The danger is that it turns you into the single biggest target on the map, and unlike Hela’s ult there’s no falling back to the ground if you die — get killed mid-ult and you’re simply dead. Keep one eye on who’s shooting you and cancel early if the focus fire is lethal; a cut-short ult that keeps you alive beats a full one that gets you deleted. Going high with Void Walk and ulting from the air can dodge that focus, but do it knowing your team is usually out of the 8m radius, so you’re trading their bonus health for your safety.
Mistakes that get The Hood killed
| Mistake | Better play |
|---|---|
| Diving too deep solo | Brawl and distract in range; dive only with an escape ready. |
| Fighting past falloff | Stay around 8-15m where your guns still hit. |
| Relying on lifesteal to sustain | Treat it as a bonus and disengage to actually heal. |
| Burning Void Walk early | Save it as your getaway, not an engage tool. |
| Running the wrong Team-Up | Match Scarlet Witch or Moon Knight to your comp. |
| Ulting into focus fire | Check who’s shooting you and cancel early if needed. |
Most bad Hood games come down to the same handful of habits. Quick corrections:
Related Marvel Rivals guides
Frequently Asked Questions
Is The Hood a tank or a damage hero in Marvel Rivals?
He’s slotted as a Vanguard, so he fills the tank spot in your composition — but his kit is built to deal damage. With clean rifle-form headshots his damage ceiling is one of the highest of any hero, though that best case assumes every shot connects and shouldn’t be read as an official ranking. Play him as a bruiser: a tank-sized health bar that fights like a DPS.
Should you use The Hood’s lifesteal to dive in alone?
No. Rifle form returns about 10% of your damage as healing, which sounds strong until you run the numbers — even at full output that’s only roughly 16 HP/sec on body shots and 32 on headshots, nowhere near enough to outheal a backline that has turned to focus you. Dive only when you have Void Walk or a Scarlet Witch teleport ready to leave, and treat lifesteal as a small bonus rather than a sustain plan.
Which The Hood Team-Up is better for solo queue?
Scarlet Witch. Its teleport and speed give you a self-contained way in and out that doesn’t depend on teammates following up, and it still works even without a Scarlet Witch on your roster — it just gets far stronger when there is one. Moon Knight’s shield is excellent protective utility, but it pays off most with coordinated allies to guard; in a random lobby, the mobility is what keeps you alive and independent.
Video help






Leave a Reply