Get the Quiver in Adventures of Elliot by unlocking Faye the Fairy, clearing her Mementos of a Lost Soldier quest, and returning to claim a permanent +15 arrow capacity upgrade.
To unlock the Quiver — which raises your maximum arrow count by 15 — head to the Age of Safekeeping, unlock Faye the Fairy, take her quest into the Mementos of a Lost Soldier dungeon, clear the marked objective inside, then return to her to claim the Quiver.
The Quiver is one of the first real arrow upgrades you’ll chase in The Adventures of Elliot: The Millennium Tales, and it’s worth the detour if you lean on your bow. The catch is the dungeon it sends you into — it’s deliberately confusing and never points you toward the objective, so the route is the part that actually saves you time. Here’s exactly what the Quiver does and the path to grab it.
What the Quiver does for your arrows

One guide reports your cap going from 30 to 45 after picking it up, though that exact starting number comes from a single source and isn’t fully confirmed. What’s consistent everywhere is the +15 itself. Importantly, this is a quest reward rather than something you buy — there’s no currency cost to claim it.
How to unlock Faye’s quest and claim the Quiver in The Adventures of Elliot
STEP 1/12
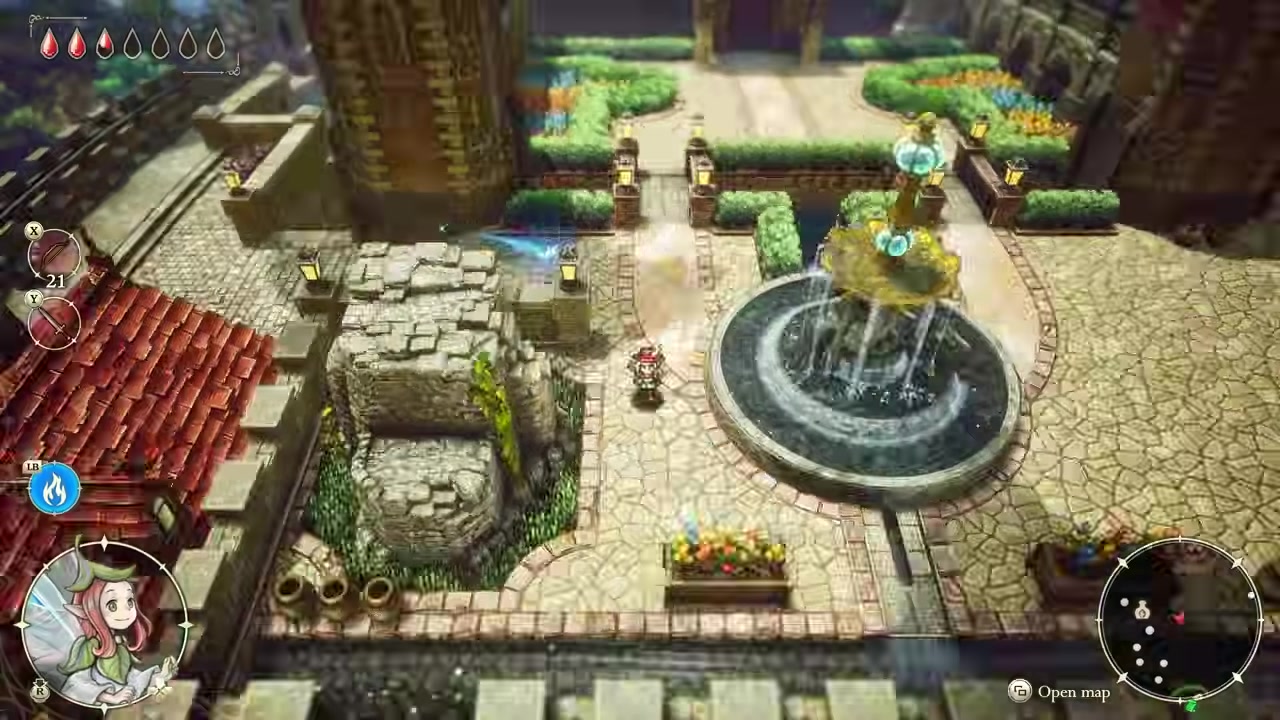
Head to the Age of Safekeeping
Travel to the Age of Safekeeping and unlock Faye the Fairy at this exact location.

STEP 2/12
Pick up the quest from the lady
Talk to the lady here to start the quest that sends you to the Mementos of a Lost Soldier.
STEP 3/12
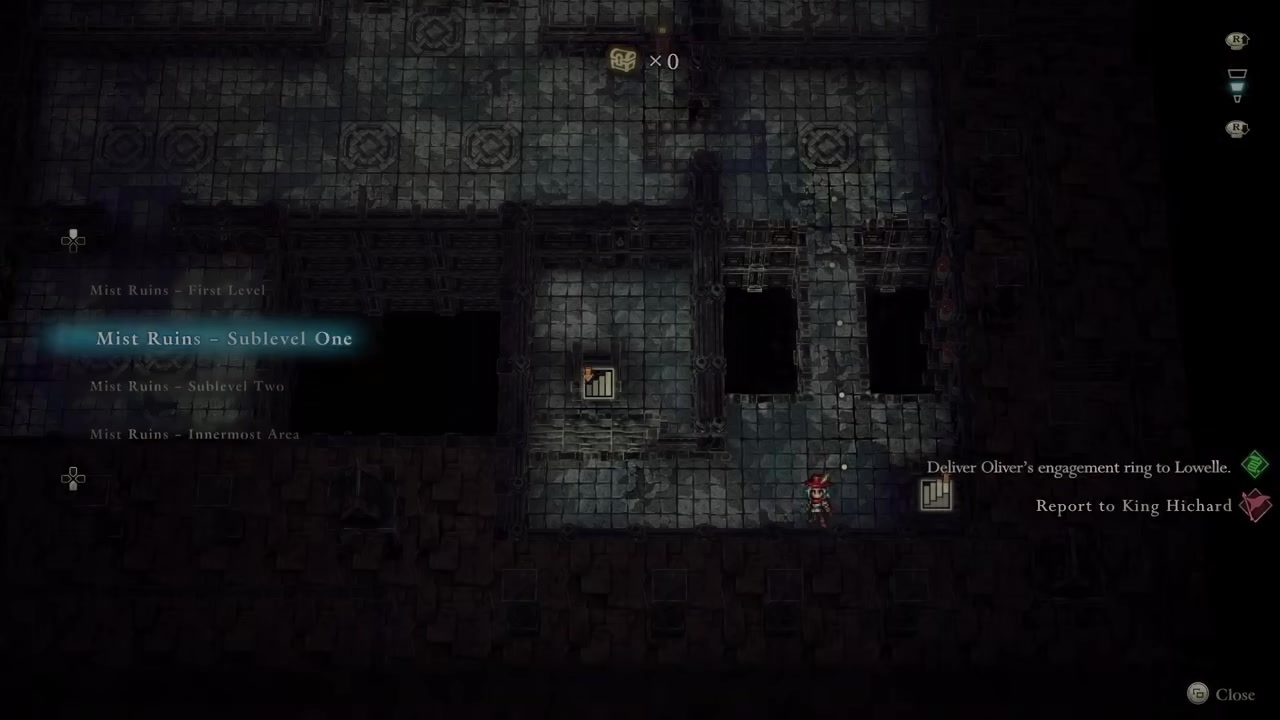
Enter the Mementos of a Lost Soldier
Make your way up to the dungeon and step inside — the path isn’t signposted, so follow the route exactly.
STEP 4/12
Take the right-hand room, then go left
Head into the right-hand room, go up, and then take a left.
STEP 5/12
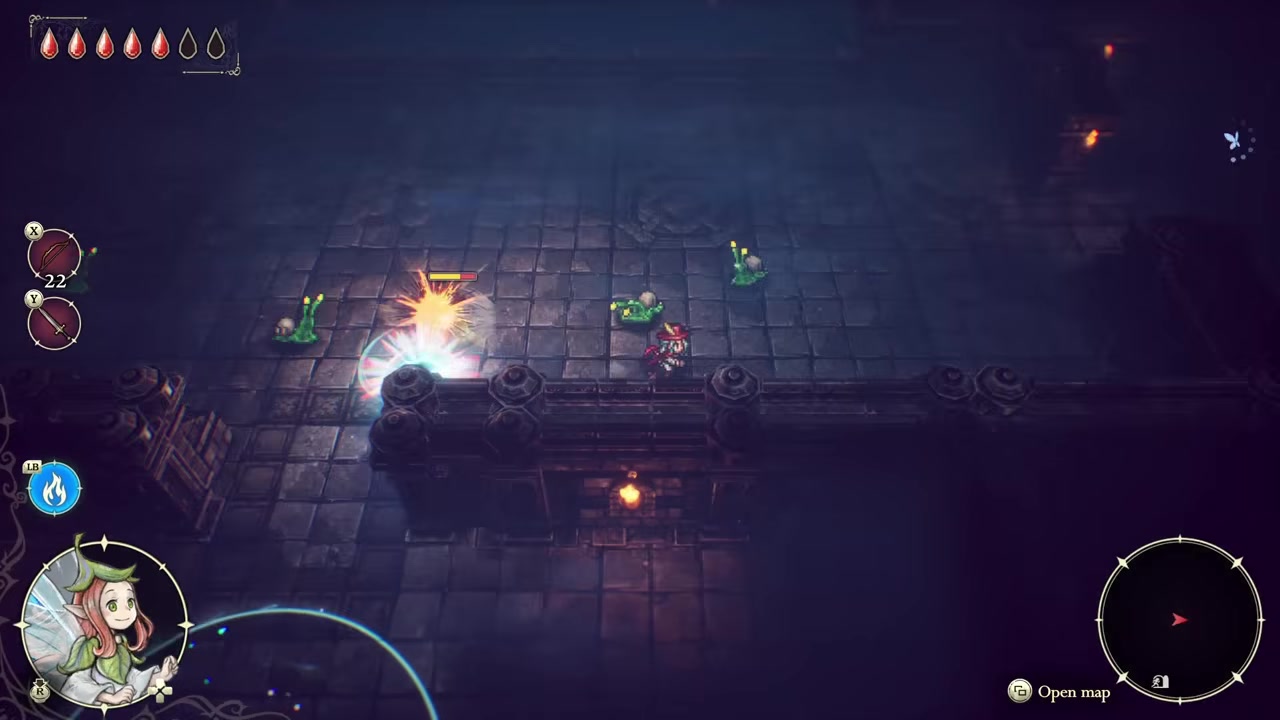
Run past the enemy pit
You’ll reach a big pit of enemies you fought before; just run straight past them, since you don’t have to fight your way through.
STEP 6/12
Drop down via the ladder and staircase
Continue into the next room, take the ladder, then go back down the staircase to reach the floor below.
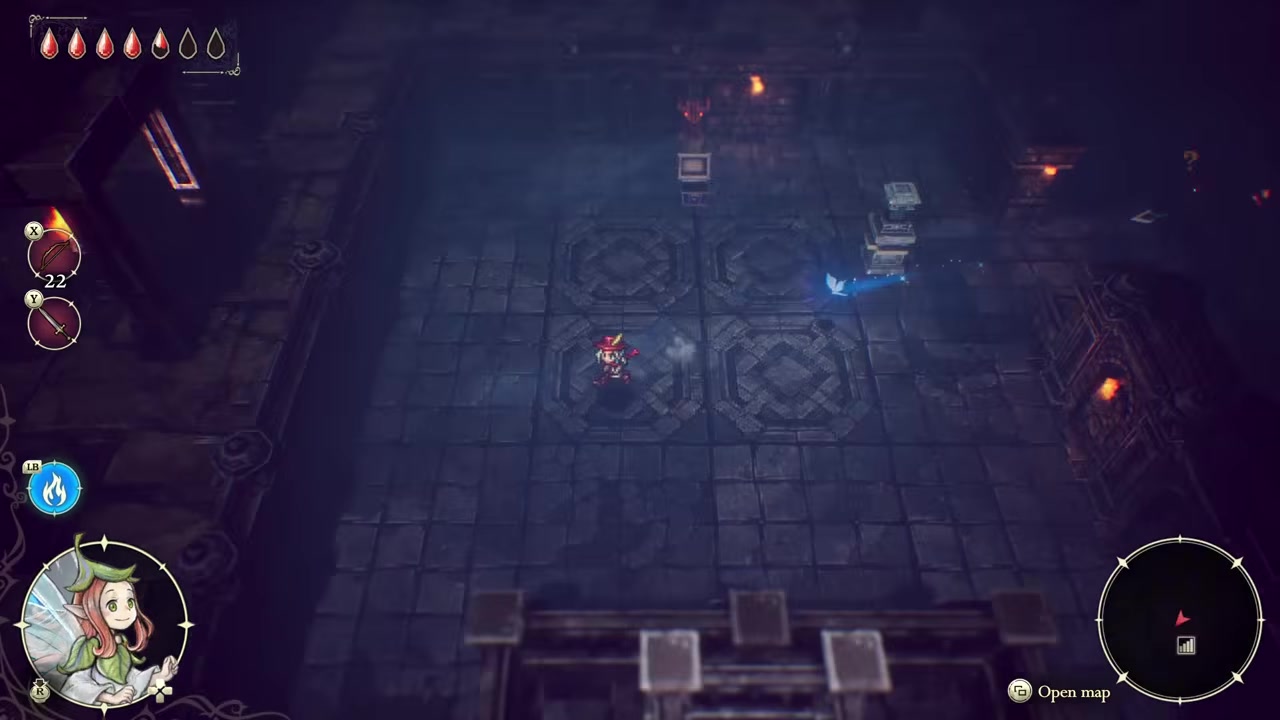
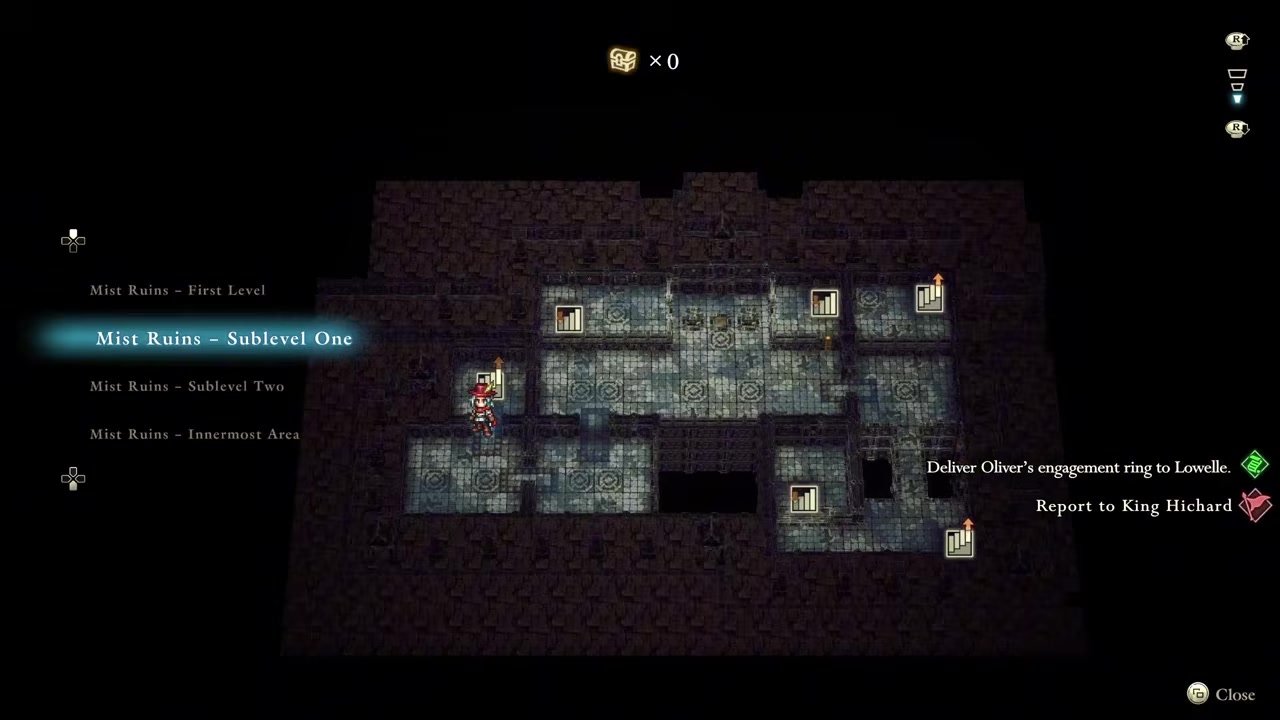
STEP 7/12
Move right across sub-level one
On sub-level one, head to the right-hand section and watch for the chickens and beast men as you run past the mobs.
STEP 8/12
Push into the far-right room
Go into the far-most right room and watch for incoming arrows — raise your shield or keep moving straight through.
STEP 9/12
Take the left, not the right
Don’t take the right here; go left instead and head down this staircase.
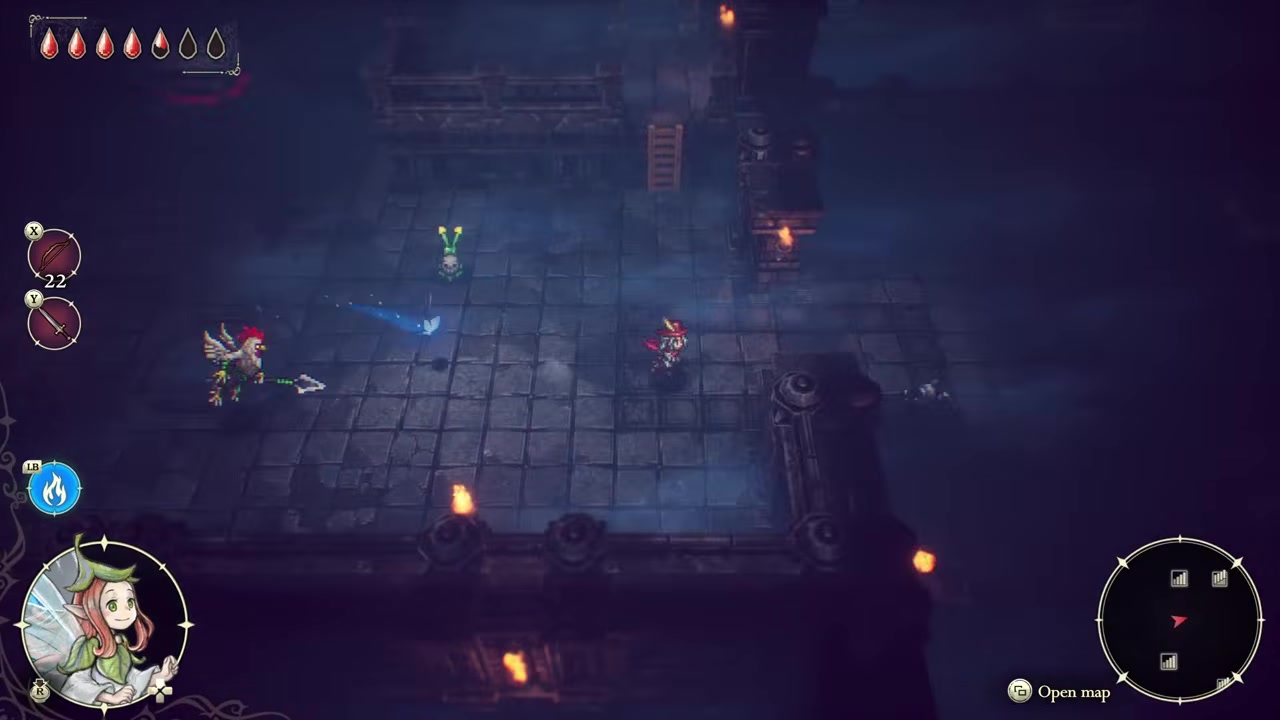
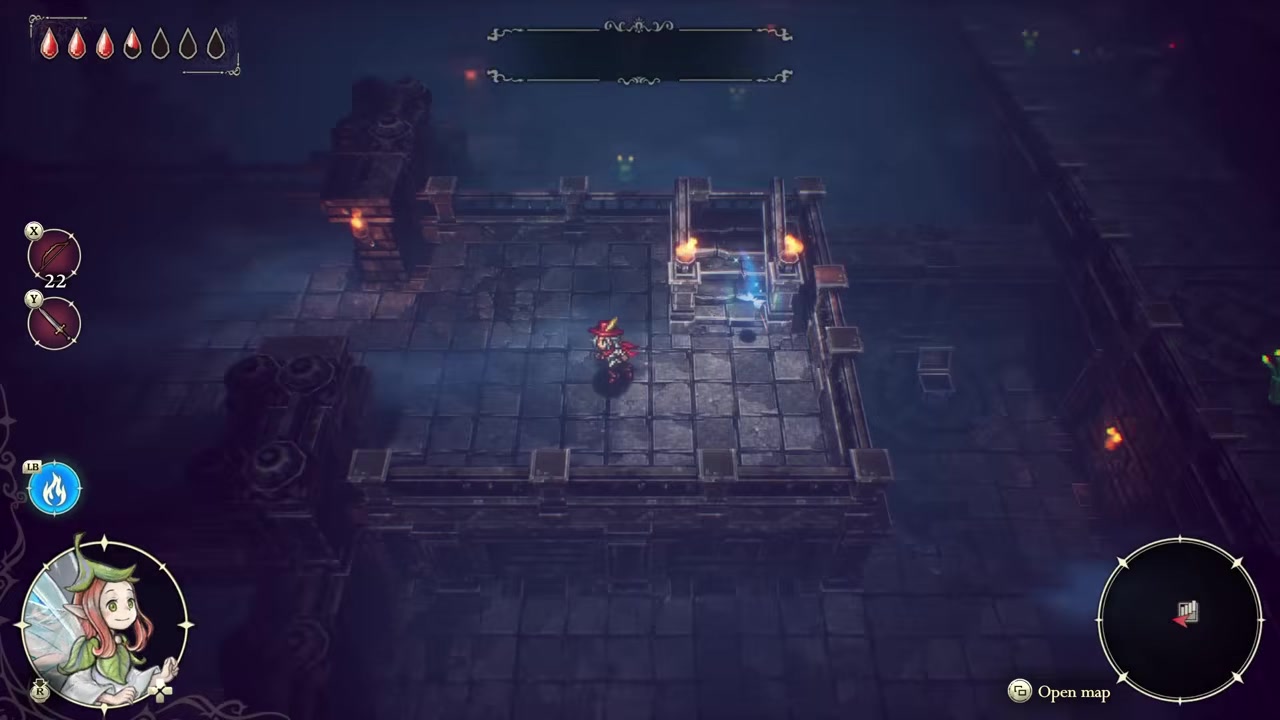
STEP 10/12
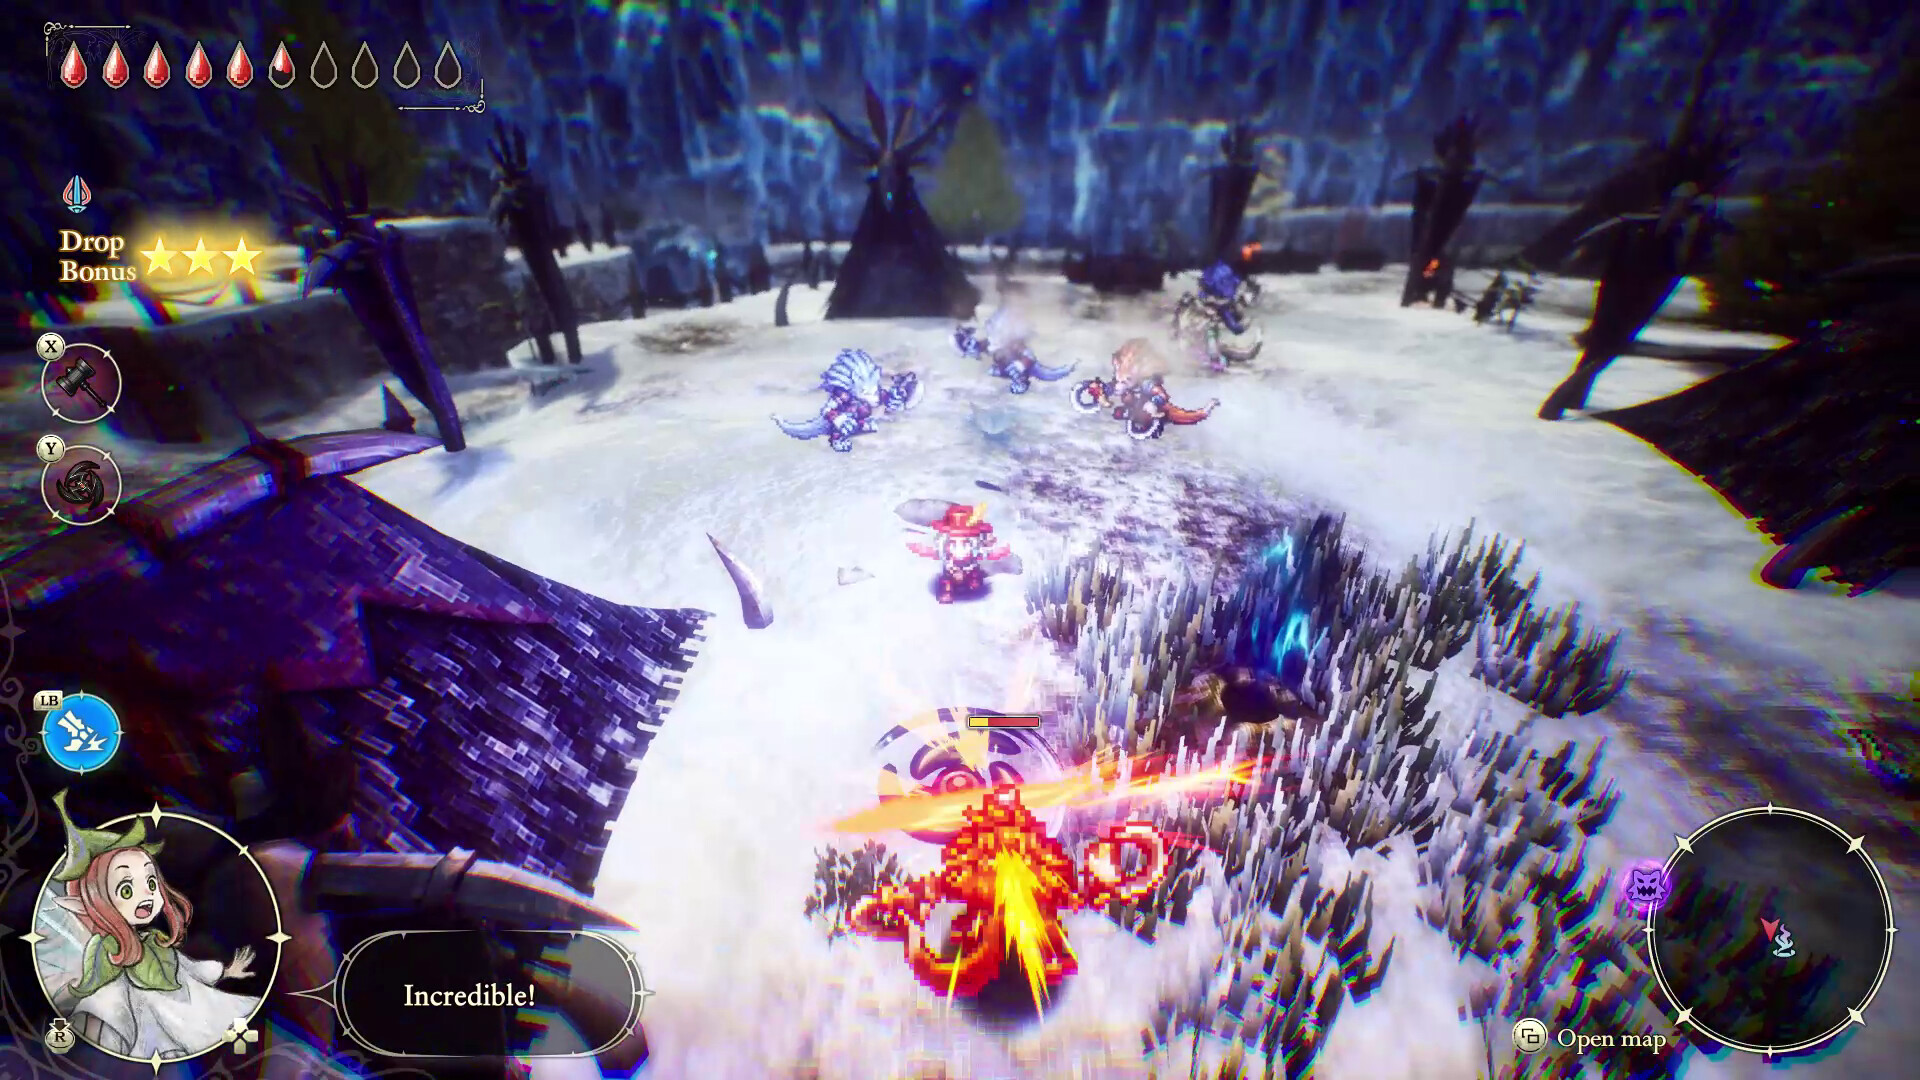
Clear the three-chicken room
Bear left into the room with three chickens (one is red) — you’ll have to deal with them because they’re guarding the sparkle spot in the middle, which is your objective.
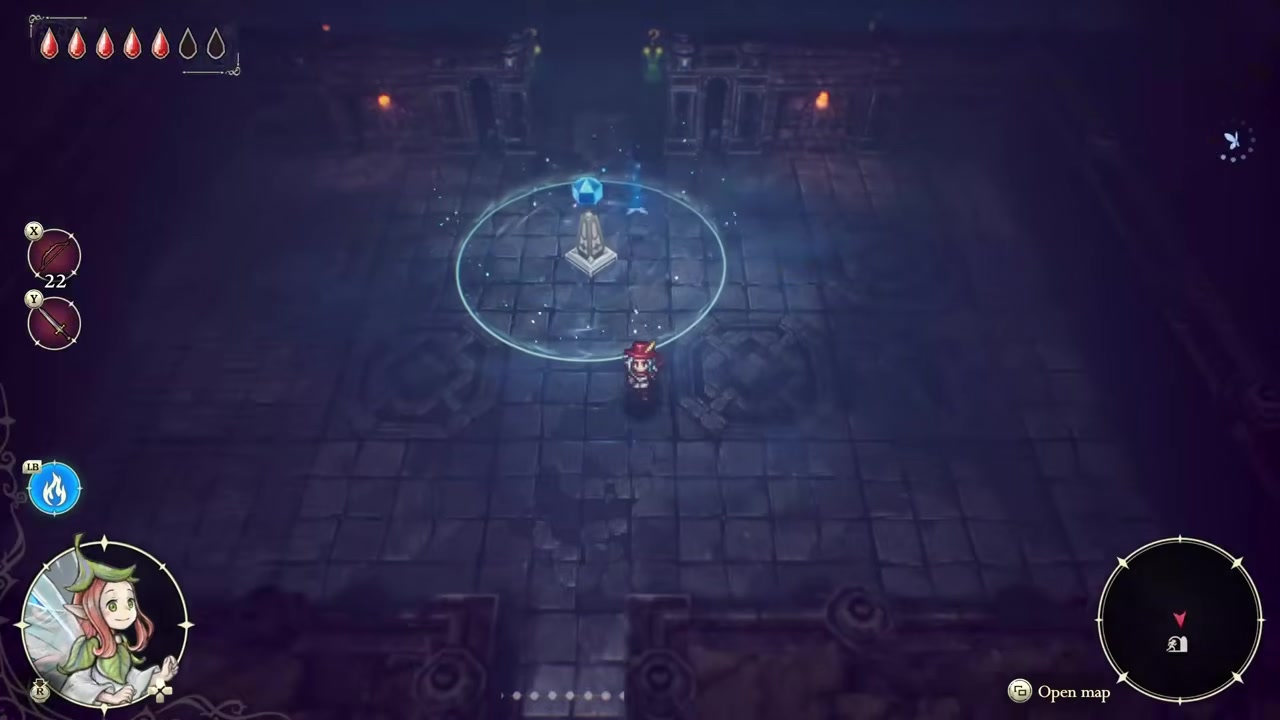
STEP 11/12
Teleport out using the warp spot
Once the objective is done, use the dungeon’s warp spot — press Up on the D-pad to change floors — to leave quickly.
STEP 12/12
Return to claim the Quiver
Work your way back to the Kingdom of Huther and talk to the lady again to receive the Quiver.
Don’t try to fight your way through the dungeon — run straight past almost every mob and only clear the three chickens guarding the sparkle spot, then use the warp point to teleport out instead of backtracking.
Video help
Quiver facts and restocking your arrows
| Detail | Value |
|---|---|
| Item | Quiver |
| Effect | +15 max arrows |
| Reported capacity | 30 → 45 (single source, unverified) |
| How obtained | Quest reward (no currency cost) |
| Restocking arrows | Buy from the Shop, reportedly ~2 Tul each up to your cap |
Here’s the picture at a glance, with the unverified figures flagged so you know which numbers to trust outright and which to treat as provisional.
Once your cap is bigger, you’ll want to keep it topped up. Players report you can buy arrows from the Shop for around 2 Tul each — Tul being the in-game currency — up to whatever your current maximum is, though that exact price comes from a single source. You’re not limited to the Shop, either: defeated monsters can drop arrows, and that happens regardless of which weapon you used to kill them, so you don’t have to land the finishing blow with your bow to refill.
Dungeon mistakes and a note on differing methods
Frequently Asked Questions
Does the Quiver give you arrows or just more room to carry them?
Just the carrying capacity. The Quiver raises your maximum by 15, but it doesn’t fill that space for you — you still have to buy or find the actual arrows.
Is the Quiver a boss drop or a quest reward?
The method that’s been shown in full is a quest reward from Faye the Fairy in the Age of Safekeeping. That said, some early guides describe it as a boss drop instead, so there’s genuine disagreement on the exact unlock — treat it as launch-window info that may vary by version.
How many arrows can you carry after getting the Quiver?
The upgrade adds +15 to your cap. One report puts the jump at 30 to 45 total, but that starting number comes from a single source and hasn’t been fully confirmed.
How do you restock arrows once you have the Quiver?
Buy them from the Shop — reportedly around 2 Tul each up to your current cap — or pick them up from defeated monsters, which can drop arrows no matter which weapon you used.