
Carrying your documents everywhere you go is difficult and scanning them is also a painful task on its own. But if you’re aware of the right means to scan, you can carry out your work with ease. Often times than not, you might have run into scenarios where you need to scan multiple pages of the same document but instead of saving them all into a single PDF file, you ended up with multiple PDF copies of each of the scanned pages.
Worry not! The following guide will help you scan multiple pages and save it in a single PDF file so that you don’t need to search across your storage when you’re in need of them.
‘Best OCR apps to copy text on a screen or an image’
While scanning documents and then saving them online with your Android phone is a very easy task, you can also save multiple scanned documents in one PDF file rather than saving them as individual image files. If you have multiple documents of the same type such as your travel documents or medical records, you can scan the documents and create a PDF of similar documents. This method is very helpful and saves a lot of time.
‘How to sync clipboard between your computer and Android device’
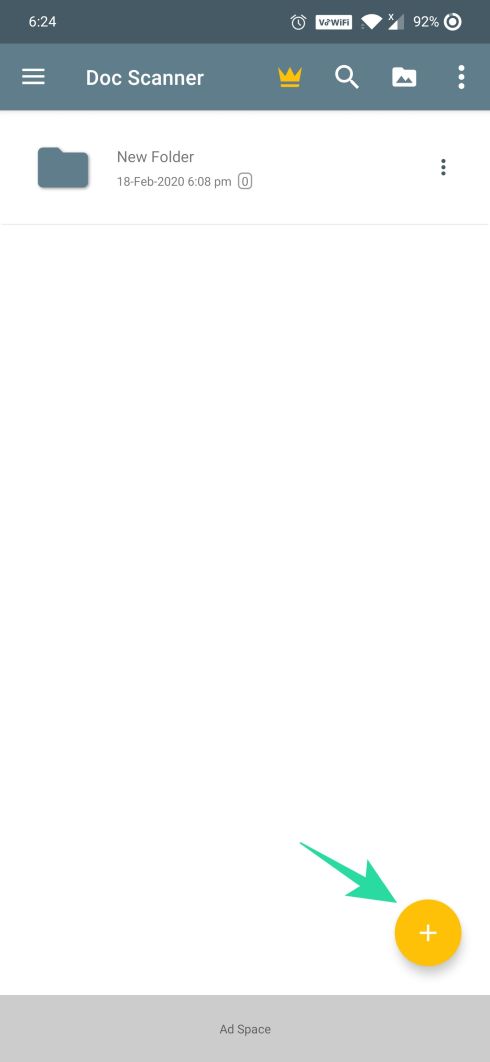
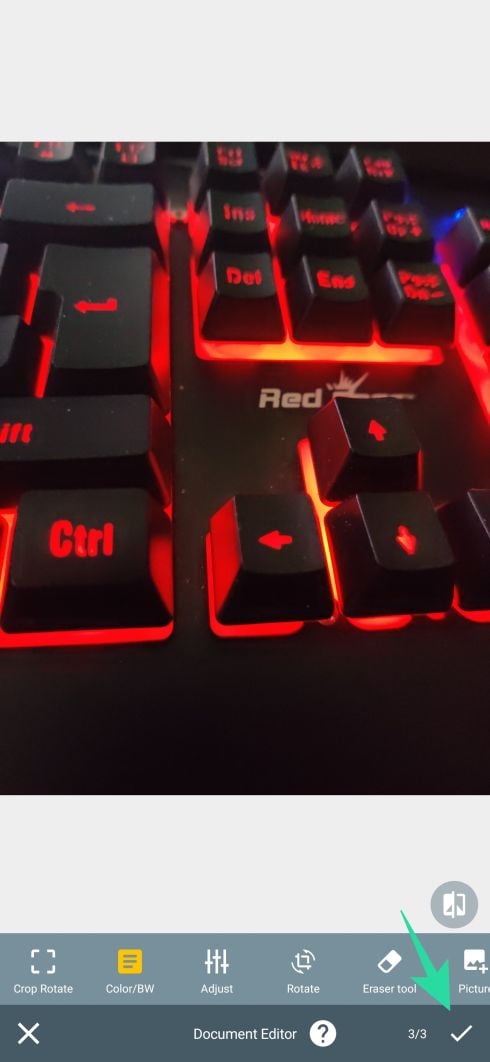
How to scan multiple scans into one PDF file using Document Scanner app


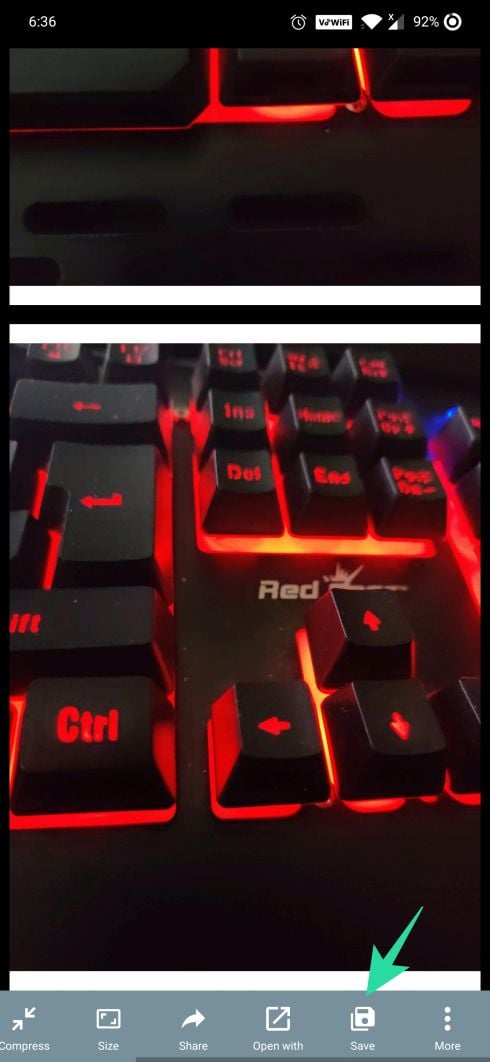
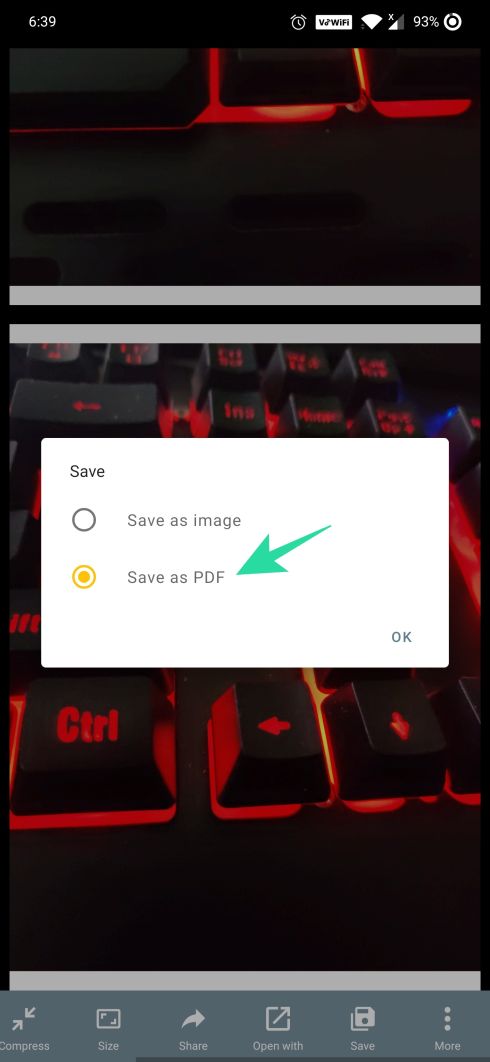
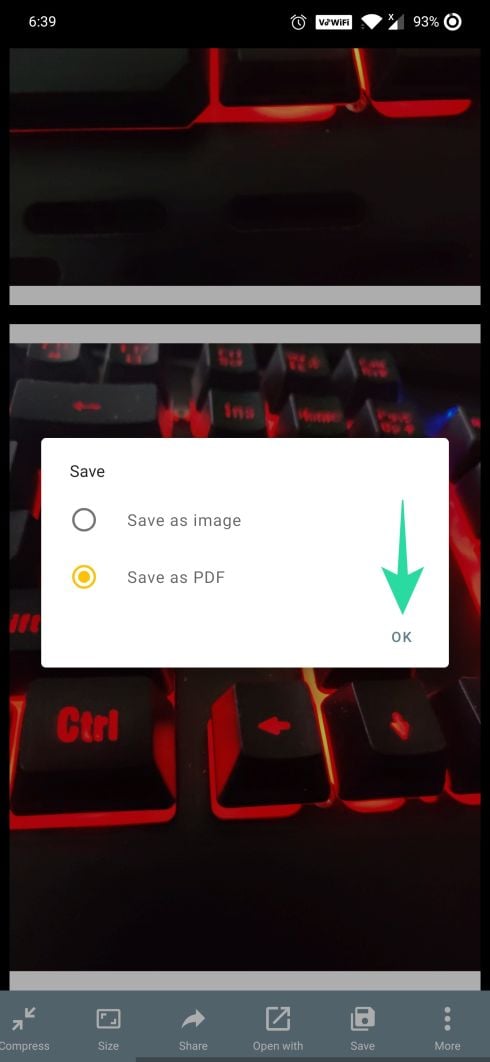

That’s it! The saved PDF will now be saved on your device storage. The PDF file will have multiple pages of the scanned document, thus letting you search and manage your documents with ease.
How to combine scanned documents into one PDF file using Microsoft Office Lens app
While many document scanning apps let you create a PDF for multiple scans, this tutorial focuses on the Microsoft Office Lens Android app. To save multiple scanned documents in one PDF file using Microsoft Office Lens Android app, follow the steps given below:
- Download Microsoft Office Lens Android app from the Google Play Store.
→ Download Microsoft Office Lens app - Open the app and point your phone towards the first document that you want to scan. Tap the red capture button at the bottom.
- If you want to scan and save only one document tap Save, however, if you want to save multiple scans in one PDF file, tap the camera icon with a plus sign present at the bottom.
- Repeat step 3 for all your files. BTW, in case you are not happy with any document, you can replace it; just tap the replace button at the bottom to replace that particular file.
- Once you are done scanning all your files, tap the Save button.
- Since we want to save multiple scans in one PDF file, you need to log in with your Microsoft account (if you haven’t done yet). Tap “PDF”, give a title to your PDF and hit the tick icon at the top.

The PDF file will be saved to the Downloads folder on your device and it will also be saved to your OneDrive account. If, however, you don’t want to save it as a PDF file, just select the gallery option in the save menu.
Check out: How to backup your Android Phone
That’s all you have to do to save multiple scans in one PDF file using Microsoft Office Lens Android app.
Do you often scan documents on your Android device? Let us know if this guide helped you scan them better by commenting below.