
To get a higher Global Tournament score in Anime Expeditions, build around wave survival: sharper unit placement, correct targeting priorities, prepared support units, enemy stacking, synced rewinds, and the right traits matter more than copying one fixed team.
Global Tournament runs in Anime Expeditions reward clean late-wave control more than pretty-looking coverage. If your setup leaks before your damage ceiling matters, the problem is usually not one missing secret unit; it is where your units hit, what they target, and when your support effects are ready.
- Global Tournament score is a wave-survival problem
- Global Tournament high-score checklist
- Placement for damage and control units
- Targeting priorities for Megumi, Mahoraka, and Inumaki
- How to stack enemies for Itachi damage
- Rewind and cooldown timing rules
- Trait and team-building priorities
- Mistakes that lower Global Tournament scores
- What to check before serious attempts
- Frequently Asked Questions
Global Tournament score is a wave-survival problem

Your score push should be built around reaching later waves without leaks. Raw damage helps, but only after your path coverage, slows, stuns, rewinds, and economy are stable enough to keep enemies inside your kill zone.
Older Global Tournament details describe wave progress as the main scoring metric, with bracket rules, maps, team locks, and rewards tied to the live Tournament card. Since Update 0.5 changed Global Tournament display details and community patch labels are inconsistent afterward, check the in-game card before spending serious attempts.
Global Tournament high-score checklist
| Focus | What |
|---|---|
| Placement | Put damage and control where they affect the valuable early path, not only the final bend. |
| Targeting | Use closest, first, or last based on what the unit actually needs to hold. |
| Support prep | Pre-charge Bamboo, Optics, Megumi, and Gowther setups before the pressure reaches that side. |
| Stacking | Control only part of a wave so enemies bunch together for AoE and passive damage. |
| Rewinds | Sync Gowther with Megumi instead of firing cooldowns whenever they light up. |
| Traits | Prioritize carry damage and support range over blindly copying one team. |
| Economy | Do not spread upgrades so widely that your main carry falls behind. |
KEY!
Use this as a pre-run scan. If one row is weak, that is usually where your score is bleeding out before your team reaches its real ceiling.
Placement for damage and control units
Judah should be placed for the part of the route where control still matters. A position that looks good because it reaches a late bend can waste hits after enemies have already eaten too many rewinds and slows; a right-side or earlier-path angle can give more useful damage before the wave becomes hard to recover.
Itachi needs path length, not just a neat-looking circle. On some maps, placing him so he starts on last lets him hit a longer stretch of the route, then switching to first as enemies advance keeps his damage working through the next segment. The goal is to keep his hits on packed enemies for as long as possible.
Slow units such as Kenpachi or Katachi-style control should usually start earlier than a damage-only instinct suggests. If the slow applies sooner, enemies move through the kill zone slower for longer, which gives Itachi and your other damage units more real uptime.
Inumaki is the most placement-sensitive support in this setup because his stagger can be wasted on the wrong path segment. If one placement starts hitting enemies you no longer want held, replace him into a better spot or reuse him for future enemies instead of leaving him locked in a stale angle.
Move Inumaki during the run when his current range starts controlling the wrong group, because his stagger does not reapply properly unless he is replaced.
Targeting priorities for Megumi, Mahoraka, and Inumaki
| Unit | Targeting |
|---|---|
| Megumi bird | Corner placement on closest. |
| Mahoraka | First to follow the lead enemy, or spawn camping for repeated stuns. |
| Inumaki | Last or first, depending on whether the back or front of the pack needs control. |
Megumi gets much more value when the bird is placed in a corner and set to closest. A wider-looking placement can be worse if the bird is not catching enemies as they turn through the corner.
Mahoraka is more flexible. Setting him to first keeps him following the lead enemy, while parking him near spawn can create repeated stun value as new enemies enter.
Inumaki changes by map and by what you are trying to hold. Last can catch the back of a pack, while first can hold the front when you need the leading enemies delayed.
How to stack enemies for Itachi damage
Use partial Gowther rewinds
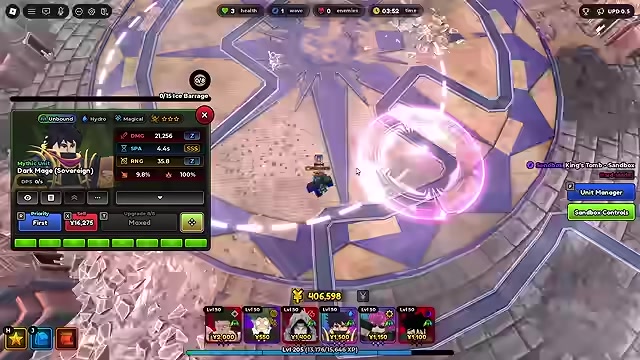
Rewind only some enemies in a group so the untouched enemies catch up and compress the wave.
Stagger with Inumaki

Hold the front or back of the pack long enough for separated enemies to merge.
Use Megumi control selectively
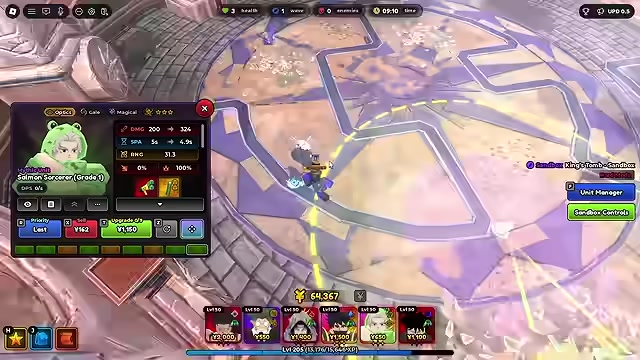
Let one part of the wave move while another part is delayed, then damage the bunched pack.
Aim the stack through Itachi

Build the clump where Itachi can keep hitting it across a long path segment.
Avoid breaking the stack too early
Random stuns or badly timed actives can split the group before the damage window pays off.
Rewind and cooldown timing rules
| Setup | Timing |
|---|---|
| No Bamboo | Activate Gowther when Megumi reaches 45. |
| Maxed 10% Bamboo | Activate Gowther when Megumi reaches 42. |
| Gowther limit | 10 rewinds on the same enemy. |
| Megumi limit | 2 effects on the same enemy. |
Gowther and Megumi are strongest when their timings line up instead of overlapping loosely. Treat the timing number as the trigger point, then let the synced control carry the wave through your damage zone.
Preparation matters here. If Bamboo has not finished stacking before the second support unit starts working, the cooldown timing shifts and your planned sync can come out late.
Trait and team-building priorities
There is no single mandatory team to copy for every Global Tournament run. The stronger approach is to understand what each slot is doing: one or more carries, reliable slows and stuns, rewind control, economy, and enough range or placement flexibility to prepare both sides of the map.
For Itachi, Unbound is not the best damage trait. Forsaken or Primordial gives better carry value, while one Unbound unit can still make sense for placement or range reasons when your setup needs it.
Optics is especially valuable on Megumi and Gowther because it supports prepped control on both sides. That preparation lets you handle enemies before they reach the panic point instead of building the support chain after the wave is already leaking.
Mistakes that lower Global Tournament scores
| Mistake | Fix |
|---|---|
| Using placements that only look good visually | Judge placements by useful path coverage and control timing. |
| Leaving Inumaki in one stale position | Replace him when you need stagger applied to a new group. |
| Putting Megumi bird outside a corner | Place the bird on a corner and use closest. |
| Starting supports too late | Prepare Bamboo, Optics, Megumi, and Gowther before pressure arrives. |
| Spreading upgrades across too many units | Scale the primary carry before over-investing in secondary pieces. |
| Spamming actives on cooldown | Save control and damage windows for packed enemies, elites, and bosses. |
| Ignoring bracket restrictions | Read the Tournament card for banned units, traits, or equipment. |
Most failed high-score attempts do not collapse because the idea is terrible. They fall apart because one support starts late, one target mode is wrong, or the carry is upgraded too slowly to keep up with the wave curve.
What to check before serious attempts
Before committing your best run, open the live Global Tournament card and check the current restrictions, map, reward table, and scoring rules. Also account for post-Update 0.5 balance changes, especially if your strategy depends on a specific trait, support cooldown, or limited unit.
Once those conditions are clear, build the run around your map instead of forcing a copied layout. The same principles hold: hit the valuable path early, keep enemies stacked, sync control cooldowns, and make every support placement serve the carry.
Related Anime Expeditions guides
Frequently Asked Questions
Do I need to copy an exact team for a high Global Tournament score?
No. A high-score team needs the right jobs covered: carry damage, slows, stuns, rewinds, support prep, and economy. The exact units can change with your bracket restrictions and map.
Is Unbound the best trait for Itachi?
No. Forsaken or Primordial is better for Itachi damage. Unbound can still belong on one team slot when the extra placement or range value helps the layout.
Why replace Inumaki instead of leaving him in one spot?
Inumaki needs replacement because his stagger does not keep reapplying cleanly from one static position. Moving him lets you apply the control where the next enemy group actually needs to be held.
Video help





Leave a Reply