Snapchat is a great app to keep in touch with your friends and family. The ease of use and quick UI add on to the feature-laden app. But have you noticed that you sometimes have to tap a chat to have it load?
This can be annoying since you usually just want to tap the snap to view it, not wait for it to load. In this article, we will cover possible fixes for the tap to load problem on Snapchat.
Related: How to do a poll on Snapchat
What causes the ‘tap to load’ problem?

By default, Snapchat auto-downloads snaps when they are received, so that all you have to do is click on them to view them. However, a number of users are complaining that their snaps are not auto downloading; meaning that they have to manually download them, and then view them.
There are a few issues that could cause this; network connectivity being at the forefront. However, if the issue continues, then it’s probably something other than your network. Check out the possible fixes below to learn more.
Related: How to save Snapchat messages for 24 hours
Fixes for the ‘tap to load’ problem on Snapchat
Here are some possible fixes for the ‘tap to load’ problem that users are having on Snapchat. Try all of them, if one doesn’t seem to do the trick.
Disable Data Saver on Snapchat
Snapchat has its own inbuilt data saver function called ‘Travel mode’. This function reduces the apps data usage to help you save on precious data. You can decide how long to keep the data saver mode on (3 days, 1 week, or Until Turned Off). If you used the ‘Until Turned Off’ option, Snapchat will keep Travel mode on, until you turn it off.
Try turning off Snapchat’s Travel mode, by launching the app and going to Settings. Scroll down and tap on ‘Data Saver’. Tap ‘Data Saver’ on the next page to turn the setting off. (The tick mark next to the setting will disappear.)


Turn off Optimization on Snapchat
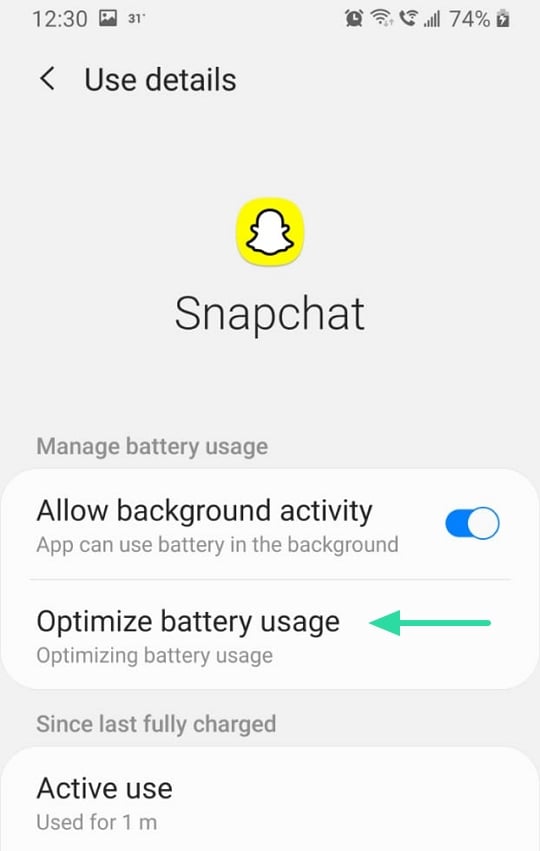
Android devices have the option to optimize the apps on the system. This basically puts the apps to sleep to free up memory of the OS to run smoothly. But you know the old saying, a sleeping app does not access data (that’s not really a saying.) So, in order to allow Snapchat to auto-download your snaps in the background, try turning off optimization for the app.
To turn off optimization for Snapchat go to Settings > Apps > Snapchat > Battery > Optimize battery usage.

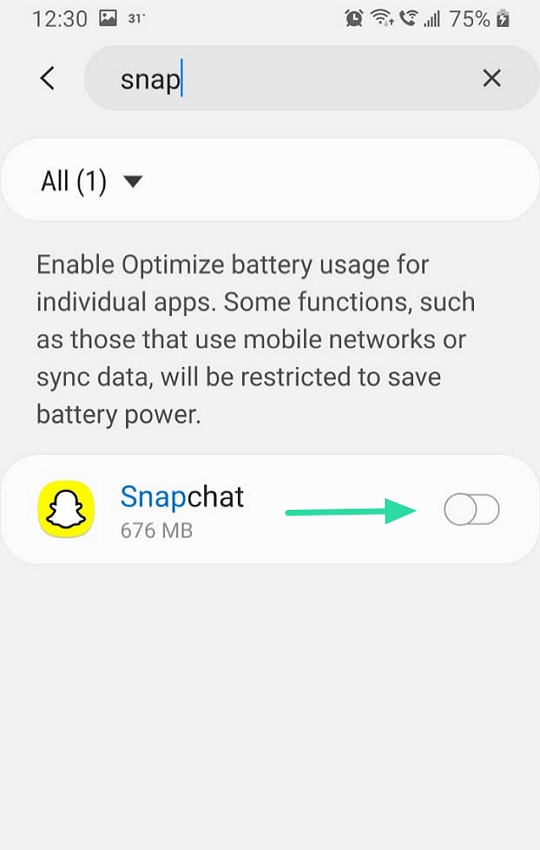
Here select ‘All’ from the dropdown menu, then locate the Snapchat app.
Toggle the slider off, to stop Android from optimizing the app.

Related: How to stop apps from running in the background on Android
Disable Battery saver mode
Many of us use our phones constantly in ‘Battery saver mode’, to help lengthen the battery life of our devices. Most Battery saver modes restrict background data usage; this means that apps that are not open cannot use data. Additionally, Battery saver mode restricts the number of background apps that are allowed to run.
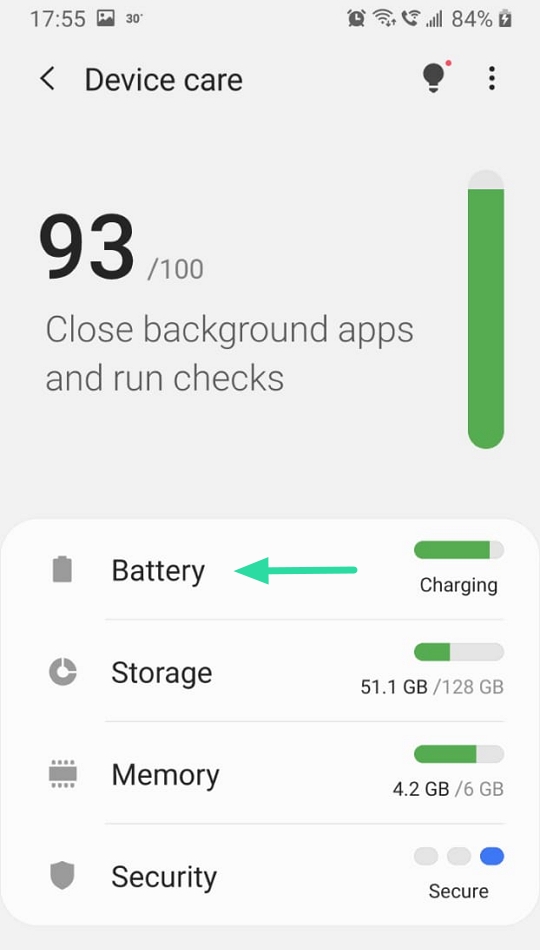
Try disabling Battery saver mode on your device to allow Snapchat to auto-download your snaps in the background. Search for the option in your device settings under Device Care > Battery > Power mode.
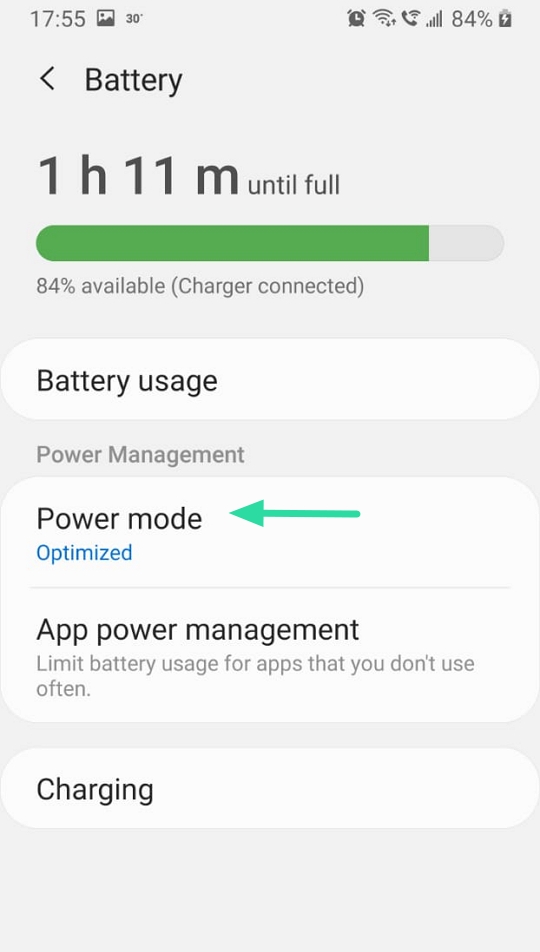
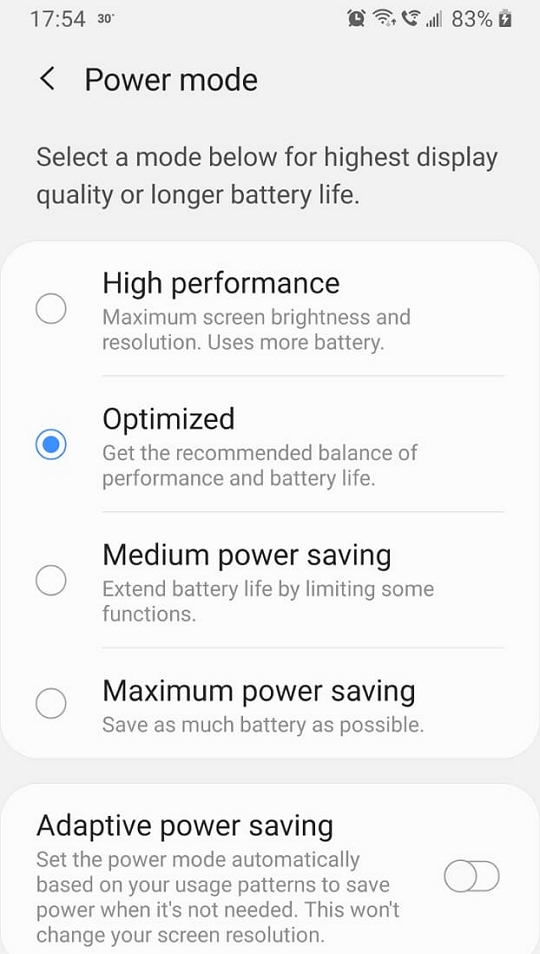
Note: Battery saver mode may go by different names like ‘Power mode’, ‘Optimization’, etc., depending on the device you use.
Related: How to pin on Snapchat and what does it mean
Disable Data saver
If you have enabled a data saver function on your device, this could cause your background apps to have limited or restricted data access. Similar to the above scenario, this could result in Snapchat not being able to auto-download your snaps in the background.
Disable the data saver function on your device, by going to your device settings > Connections > Data usage > Data saver.
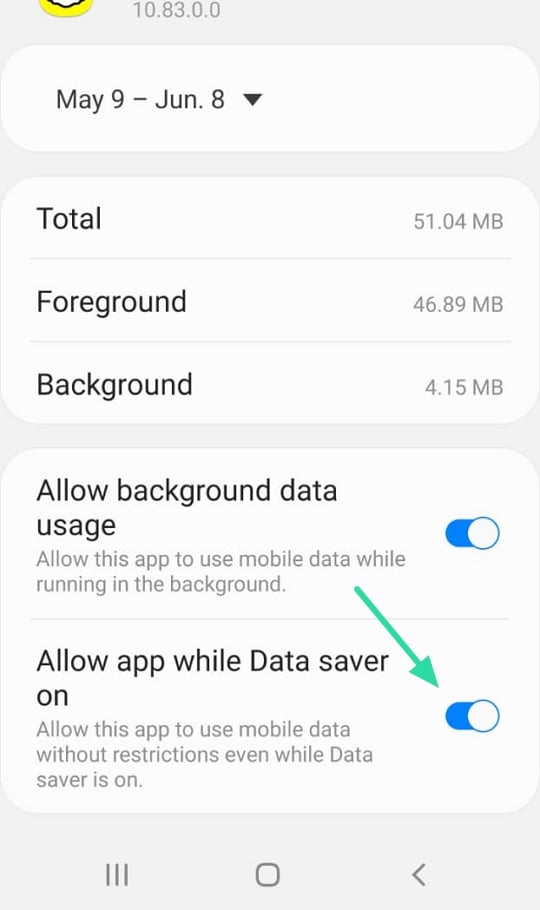
Note: Android 10 has an option to allow a background app to access data even in data saver mode. To enable this setting, go to your device Settings > Apps > Snapchat > Mobile data > Allow app with Data saver on.

We hope these solutions helped you fix the ‘tap to load’ problem on Snapchat. Don’t forget to restart the app after applying the fix to make sure the settings are applied. Which solution worked for you? Let us know in the comments below.
RELATED:


One response to “How to fix tap to load problem on Snapchat”
for me it worked for a day and after that i have the same bug, everything is still like in the article idk what’s going on