
To beat the Pick and Roll Combo drill, get open off the screen, throw the pass the on-screen prompt calls for — bounce, regular, or alley-oop — then step fully inside the shooting circle and score.
The Pick and Roll Combo drill lives in the Playmaking practice sessions you unlock once you reach the NBA in MyCAREER, and it trips up more players than it should. The play itself is simple — get open off a screen, feed your teammate, then knock down a jumper — but two small details decide whether the rep actually counts. Get those right and the drill is quick; miss them and you’ll wonder why perfectly good passes and made shots aren’t scoring.
How to complete the Pick and Roll Combo drill in NBA 2K27
You start in a side pick and roll, so the whole rep hinges on reading the pass prompt and finishing inside the circle.
STEP 1/5
Open the Pick and Roll Combo drill
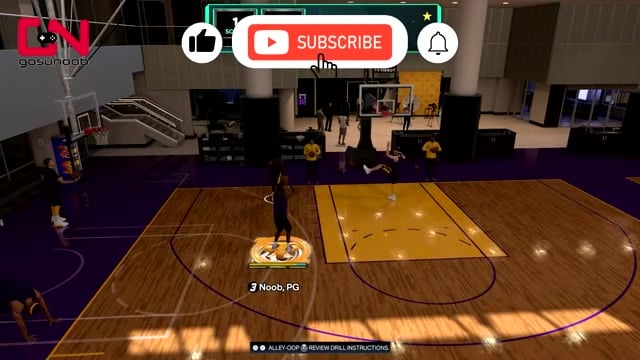
Go to the Playmaking category in the MyCAREER practice menu and select the Pick and Roll Combo drill.
STEP 2/5
Get open off the screen
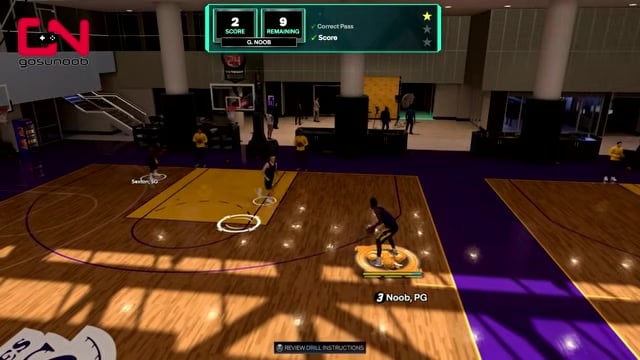
Wait for Jock Landale to set the side screen, then rise off it and get open on the perimeter.
STEP 3/5
Throw the pass the prompt calls for
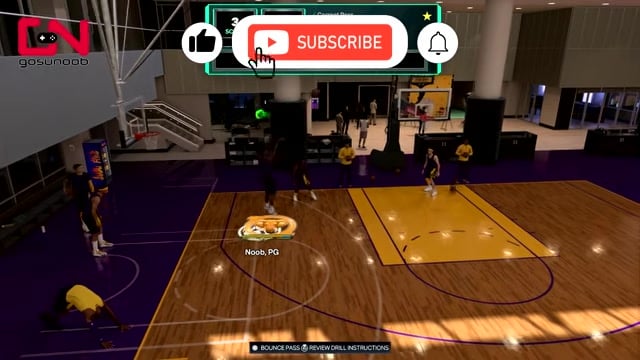
Read the pass prompt at the very bottom of the screen and throw that type — bounce pass, regular pass, or alley-oop, randomized every rep so it’s never the same twice.
STEP 4/5
Step fully inside the shooting circle
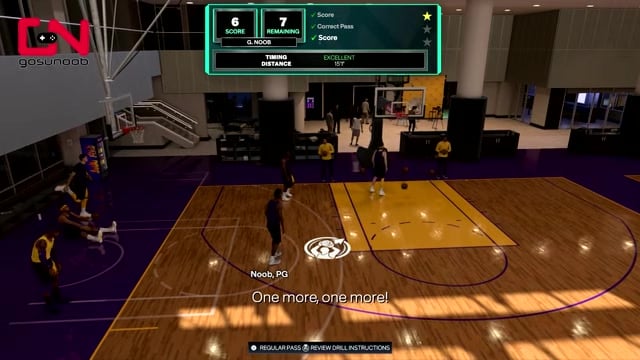
Run into the orange circle and stand inside it until it fills — being near it does nothing, and if the circle doesn’t fill the shot won’t count.
STEP 5/5
Take the jump shot to score
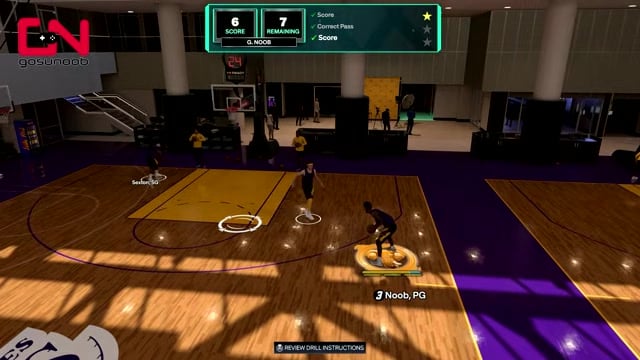
Once the circle fills you can move to your shooting position, then shoot to close out the possession.
Key The scoring here is deliberately blunt: a correct pass is +1 and a made shot is +1, so every rep is worth two points if you nail both halves. The pass prompt is the part people overlook because it sits at the very bottom center of the screen rather than up near the action, and the circle catches people because they release the shot while still drifting toward it instead of standing in it.
Glance down at the very bottom of the screen before you pass — the required pass type is randomized every rep and lives there, not up near the play, so it’s the single easiest thing to miss.
Video help
The Pick & Roll: 2-on-2 drill and its scoring
| Action | Points |
|---|---|
| Combo drill — correct pass | +1 |
| Combo drill — made shot | +1 |
| 2-on-2 — assist | +50 |
| 2-on-2 — 2-point score | +50 |
| 2-on-2 — 3-pointer | +75 |
| 2-on-2 — turnover or miss | -25 |
Sitting in the same practice menu is a second option, the Pick & Roll: 2-on-2 drill, and it’s easy to confuse the two. This one is the plain-vanilla version: there are no randomized pass prompts to read at the bottom of the screen. You just run a standard pick and roll — go through the screen and shoot, or dump it to your teammate if both defenders commit to you — and finish the possession.
What sets it apart is a much richer scoring sheet. Instead of the Combo drill’s flat +1s, the 2-on-2 drill rewards you differently depending on how the possession ends, which makes creating an assist or a good three worth chasing.
Running the pick-and-roll in real games
| Action | PlayStation | Xbox |
|---|---|---|
| Quick screen | Hold O | Hold B |
| Set screen | Tap O | Tap B |
| Call screen / control roll or fade | Hold L1 | Hold LB |
| Toggle roll vs fade | Tap R1 | Tap RB |
| Call for the ball | X | A |
The drill exists to build a habit you’ll lean on constantly once you’re in real matchups. The pick-and-roll got upgraded this year with better pocket passing, smarter alley-oop decisions and more aggressive mismatch hunting, so elite ball handlers can keep calling screens to attack whichever defender is weakest. The rhythm is the same every time: call the screen, decide whether your big rolls to the rim or fades/pops to the perimeter, then read the coverage — hit the roller if the big helps, kick to the corner if both defenders collapse, or keep it and attack if they go under.
The inputs below carry over from recent 2K entries and are not yet confirmed for the NBA 2K27 launch build, so treat them as a starting point and confirm the exact mappings in the in-game Controller Settings screen before you rely on them.
A few mistakes will sink the play no matter how clean your inputs are. Dribbling straight into the screener means the screen never actually hits the defender, so nothing opens up. Predetermining a pass or shot before you see whether the defender goes over, under, or switches leaves you throwing into coverage. And never mixing your roll and fade makes you predictable — vary it, change speeds into the screen, and read which defender blinks rather than deciding beforehand.
Related NBA 2K27 guides






Leave a Reply