

To defeat Astralym and Zenara, stay mobile with triple-jump boots and a flying Pal, use the Mechanical Bow for steady critical damage, swap to the Plasma Rifle for burst windows, and bring Lovander to recover health through lifesteal when the fight gets dangerous.
Astralym and Zenara is the World Tree final boss encounter, and it plays as both a survival check and a DPS check. Expect heavy telegraphed AoE, beam follow-ups, rotating pressure, wing and orb damage prompts, and a late phase where staying grounded becomes much riskier.
The clean route is to keep moving, stay airborne through the worst patterns, and save your burst damage for exposed weak points. If you protect your shield and health before the half-health pressure spike, the fight becomes much easier to control.
- Astralym and Zenara fight pressure
- Recommended build for Astralym and Zenara
- Best Pals for Astralym and Zenara
- How to beat Astralym and Zenara in Palworld
- Astralym and Zenara attack tells and counters
- Mistakes that fail Astralym and Zenara attempts
- How to adjust with a weaker build
- Frequently Asked Questions
Astralym and Zenara fight pressure

This encounter punishes players who try to stand still and race the boss. You need steady ranged damage, but the bigger problem is surviving glowing floor markers, beams that follow the first hit, large explosions, and ring patterns that force you to reposition.
The most dangerous shift comes near half health. That is when flying movement matters most, because the pink circle attack and later ground beams can quickly end a strong attempt if you stay on foot too long.
Recommended build for Astralym and Zenara
| Slot | Recommendation |
|---|---|
| Main weapon | Mechanical Bow for consistent critical damage |
| Burst weapon | Plasma Rifle for wing, orb, and finishing windows |
| Movement gear | Triple-jump boots and Gravity Belt |
| Armor | Strongest endgame armor available |
| Flying Pal | Jetragon or another fast flying Pal |
| Healing Pal | Lovander for emergency lifesteal |
| Pal upgrades | Pal Soul boosts to HP, Attack, and Defense for core fighters |
The most reliable setup is a ranged mobility build: Mechanical Bow for safe, repeatable crits, Plasma Rifle for short burst windows, and movement gear that lets you jump or fly away from overlapping attacks. The Mechanical Bow is the weapon you lean on most because it keeps damage flowing while you reposition.
The Plasma Rifle still matters. Use it when wings or glowing orbs are exposed, or when the boss gives you a short gap where you can stand and fire without eating a beam. The Terra Prism can be used, but the biggest difference makers here are the Mechanical Bow and Plasma Rifle.
Triple-jump boots and a Gravity Belt give you the air time needed to avoid floor beams and glowing ground damage. Level 80, stronger armor, and upgraded Pals make the fight cleaner, but the important point is not a perfectly maxed build; it is enough defense to survive mistakes and enough movement to avoid repeated hits.
If you are undergeared, fix survivability first. More armor and Pal stat upgrades help, but they do not replace movement; this boss punishes players who try to out-DPS patterns they should be dodging.
Best Pals for Astralym and Zenara
| Pal | Use |
|---|---|
| Jetragon | Fast flying mount for beam, explosion, ring, and pink circle dodges |
| Fast flying Pal | Backup option if you do not have Jetragon |
| Lovander | 5% lifesteal while active for emergency healing |
| High-stat combat Pals | Raw damage and survivability for longer uptime |
Jetragon is the cleanest Pal to build around because its job is not just damage. It lets you escape the shield-breaking beam, the large explosion, the rotating ring pressure, and the pink half-health charge without trying to dodge everything from the floor.
Lovander has a different job: emergency recovery. Its lifesteal is excellent when your health dips, but Lovander can melt fast in this fight, so bring it out to heal and then protect it instead of treating it like your main tank. Having one or two Lovanders gives you more room to recover from a bad sequence.
For the remaining party slots, favor your strongest combat Pals and upgraded stats over a narrow elemental plan. The fight rewards reliable uptime, survivability, and partner skills that help you keep shooting.
How to beat Astralym and Zenara in Palworld
This fight is won by staying airborne through the worst patterns while keeping steady ranged damage on the boss and its wing prompts.
STEP 1/14
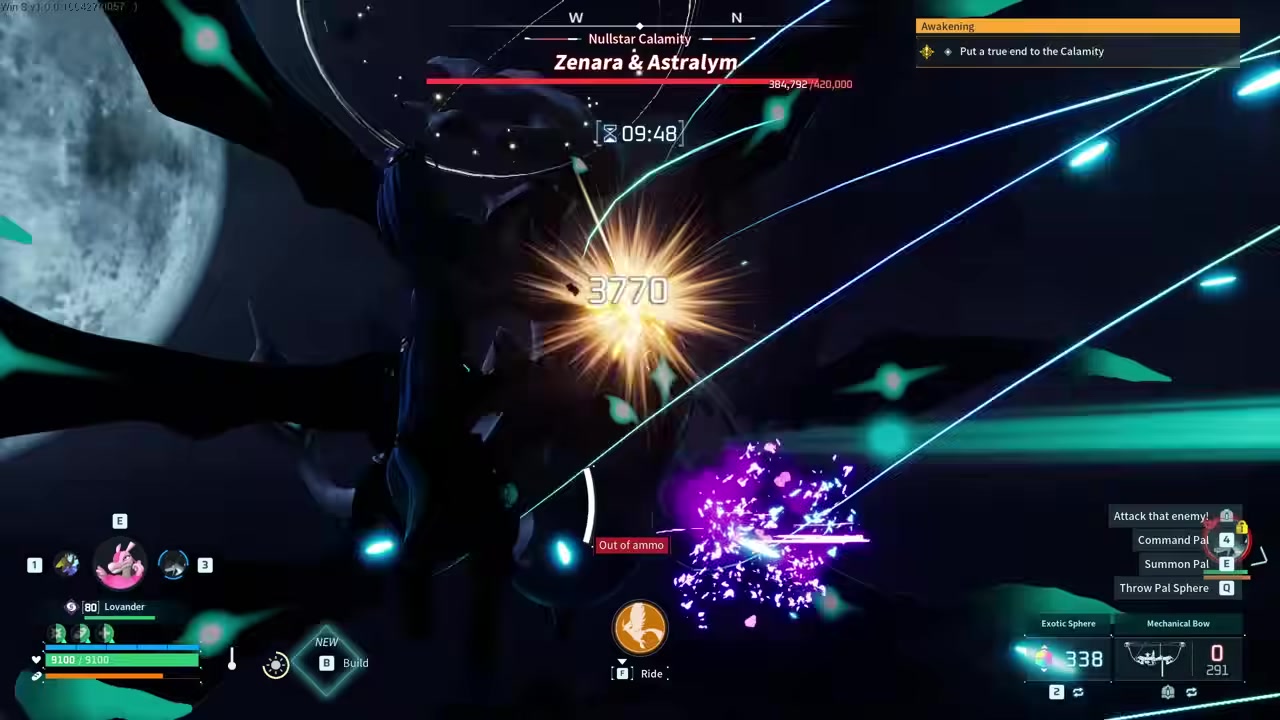
Open with the Mechanical Bow
Start on foot with the Mechanical Bow, keep distance, and use triple-jump boots to bounce through early damage checks.
STEP 2/14
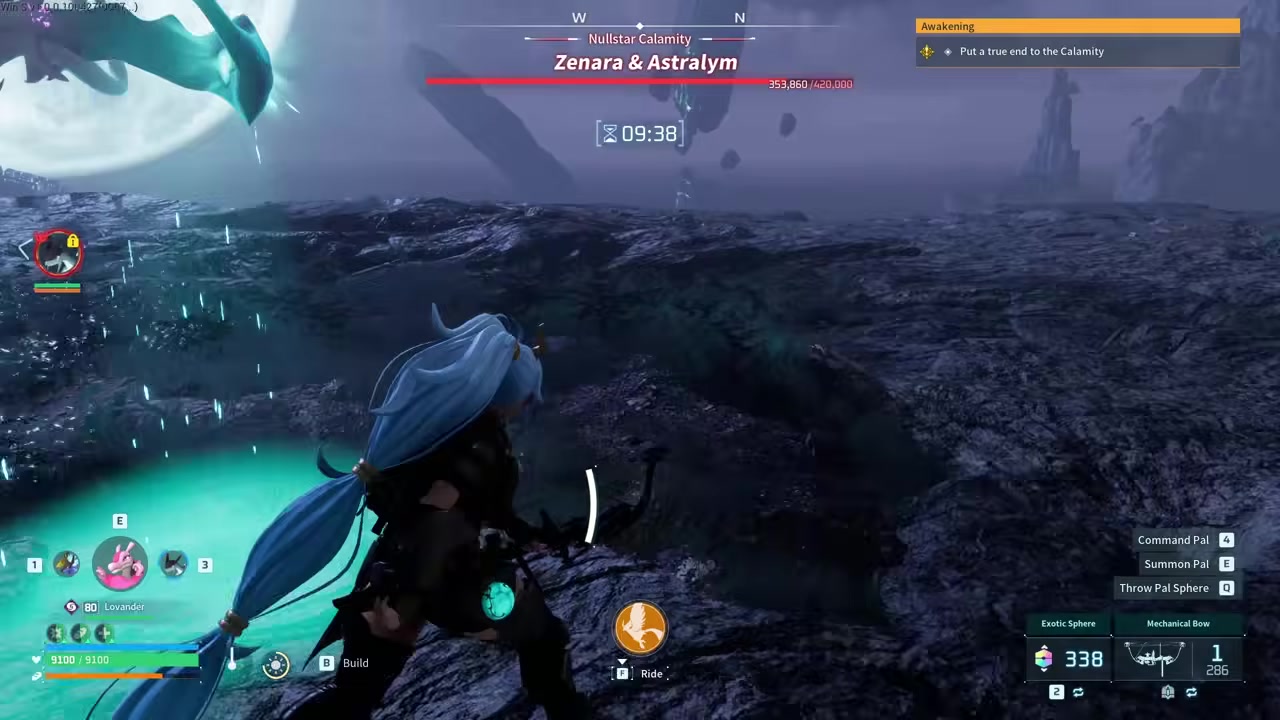
Strafe out of glowing ground
When the floor lights up, run sideways first, then keep jumping because beam follow-ups come right after it.
STEP 3/14
Keep bow crits on the boss
Use the Mechanical Bow for consistent critical hits, especially when the boss starts targeting you for dealing heavy damage.
STEP 4/14
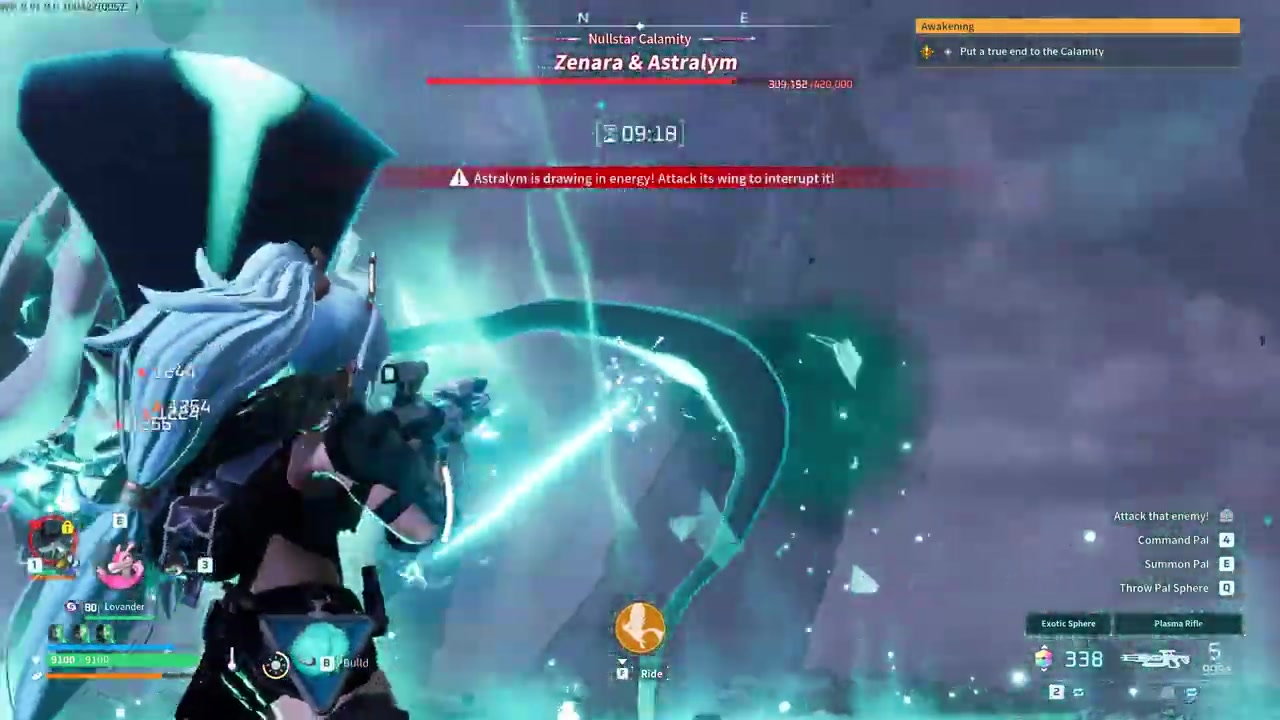
Shoot the wing and orb prompts
When the red prompt appears and the wings expose glowing orbs, put shots into those targets immediately.
STEP 5/14
Swap to the Plasma Rifle for burst
Pull out the Plasma Rifle during the wing/orb window or other short openings where raw burst matters more than precision.

STEP 6/14
Respect the shield-breaking beam
If the glowing beam deletes your shield or traps your movement, stop trading shots and prepare to get airborne.

STEP 7/14
Mount Jetragon to escape pressure
Jump onto Jetragon, or another fast flying Pal, once beam pressure spikes, especially as the boss approaches half health.

STEP 8/14
Fly away from the large explosion
Stay mounted through the large explosion pattern, attack from the air, and recall the mount only when the arena is safe.

STEP 9/14
Clear the rotating ring
Keep your flight path wide and avoid the rotating ring instead of trying to shoot through it.

STEP 10/14
Leave before the pink beam fires
As soon as the pink circle starts charging, mount your flying Pal and move out before the attack resolves.

STEP 11/14
Double-jump over late ground beams
When the boss starts beaming the ground at low health, keep chaining jumps so the damage instances pass underneath you.

STEP 12/14
Fire into the red wing prompt
When the center-screen prompt returns, stop shooting the body and hit the wings or glowing orbs to keep the damage window moving.

STEP 13/14
Use Lovander only to recover health
If your health gets low, bring out Lovander briefly for its 5% lifesteal, then avoid letting it soak repeated hits.

STEP 14/14
Finish with bow shots and rifle bursts
Return to the Mechanical Bow for safe critical damage and use the Plasma Rifle when a burst window opens.

Mount your flying Pal as soon as the pink circle starts charging; that half-health attack is the pattern most likely to end an otherwise clean attempt.
Video help
Astralym and Zenara attack tells and counters
| Attack tell | Response |
|---|---|
| Glowing ground markers | Sparkit sideways immediately, then jump because beam follow-ups often arrive after the marker. |
| Beam follow-ups | Keep triple-jumping and avoid stopping to aim until the beam path is clear. |
| Wing or glowing orb prompt | Swap to focused damage and shoot the exposed wings or orbs. |
| Shield-breaking glowing beam | Stop trading damage and mount Jetragon or another fast flying Pal to create distance. |
| Large explosion | Stay mounted or get airborne before it finishes charging. |
| Rotating ring | Fly wide around the ring; do not tunnel on weapon fire while it passes. |
| Pink circle and pink beam charge | Mount your flying Pal as soon as the circle forms, especially around half health. |
| Late ground beams | Chain jumps and stay off the floor while firing only when your landing is safe. |
KEY!Most of these attacks are clearly telegraphed, but they punish late reactions. Treat every glowing floor effect or charging circle as a movement check first and a damage window second.
The only time to get greedy is when the boss gives a clear wing or orb prompt. That is when your Plasma Rifle burst has the most value.
Mistakes that fail Astralym and Zenara attempts
The most common failure is standing still to force damage. Bow crits are useful because they fit around movement; if you stop for too long, glowing ground markers and beam follow-ups will strip your shield before the late phase even starts.
Another bad habit is staying grounded once the fight becomes laser-heavy. Saving Jetragon too long can be worse than using it early, especially around the half-health pink circle attack where flight cleanly avoids the danger.
Do not ignore the wing and orb prompts. Those are your clean burst targets, and missing them stretches the fight into more dangerous patterns. At the same time, do not rely only on the Plasma Rifle; it is strong, but the Mechanical Bow gives safer, more consistent critical damage between burst windows.
Lovander also gets misused. Bring it out when you need lifesteal, recover health, and then manage the fight again. If you leave Lovander exposed as a tank, it can go down quickly and remove your recovery option, and underprepared armor or neglected Pal stats make that harder to survive.
How to adjust with a weaker build
If your damage or defense is lower, make the attempt more conservative. Upgrade your best armor, improve Pal HP, Attack, and Defense, bring extra lifesteal support if your party allows it, and improve ranged weapon quality and ammo before retrying.
Use the fastest flying Pal you have, even if it is not Jetragon, and prioritize dodging over greedy shots. If you are losing to the same late pattern, stop trying to race it and practice mounting early around the half-health charge and late ground beams.
Frequently Asked Questions
What is the best weapon for Astralym and Zenara?
The Mechanical Bow is the best all-purpose weapon because it gives steady critical damage while you keep moving. Use the Plasma Rifle as your burst weapon during wing/orb prompts, short openings, and the finish.
Do you need Jetragon to beat Astralym and Zenara?
No. Jetragon is highly useful because it handles beam pressure and large AoE patterns well, but any fast flying Pal that can carry you safely out of the pink circle, explosion, and ground beams can fill that role.
Why bring Lovander to this boss fight?
Lovander gives 5% lifesteal while active, which lets you recover when your health drops. Use it as a short healing tool, not as your main damage sponge, because it can be knocked down quickly.
When should you use the Plasma Rifle instead of the Mechanical Bow?
Use the Plasma Rifle when the boss exposes wings or glowing orbs, when you have a brief window between attacks, or when you are closing out the fight. Use the Mechanical Bow whenever movement and precision matter more than burst.
Can Astralym be captured after the fight?
No. Astralym is a boss-exclusive encounter and is not a capturable Pal after the fight.






Leave a Reply