If there is one key theme that Android 12 Developer Previews have revolved around so far, it is greater Accessibility. The focus was clear right from the start, with one-handed funcationality, bigger menu options and bubbles, and design choices geared towards improving access and interaction. It is only natural then that the Accessibility options within the Settings page also get an important update.
Although the Accessibility page is one that most people hardly use, it contains some important options and features that could simplify your Android experience. Developer Preview 3 now brings these to the fore with Accessibility shortcuts. Here are all the accessibility shortcut options and how to enable them.
Related: How To Search Widgets on Android 12
Enable Accessibility shortcuts
In DP2, the Accessibility page was reorganized and given a cleaner look. With the ground cleared, most accessibility options have now received a shortcut toggle button that would bring up floating buttons for quick access. Here’s how you can access them:
Open the Settings app and tap on Accessibility.
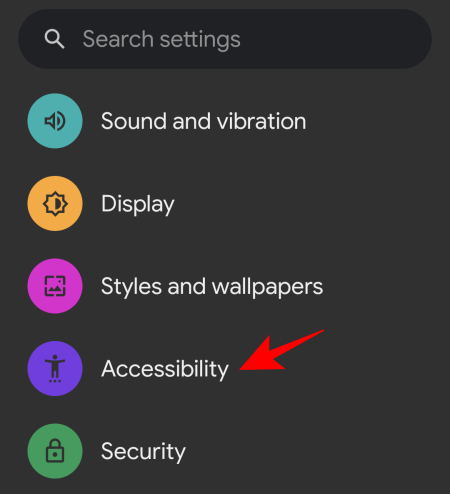
Here, you will find a bunch of accessibility options to choose from, but not all of them have (or can have) a floating shortcut option. The following are the ones that give you quick access through shortcuts.
Magnification
Housed within “Display”, the Magnification option lets you zoom in on a part of the screen. This option can come in handy if you want to read the fine details on a page or just get a better view of someone’s profile photo.
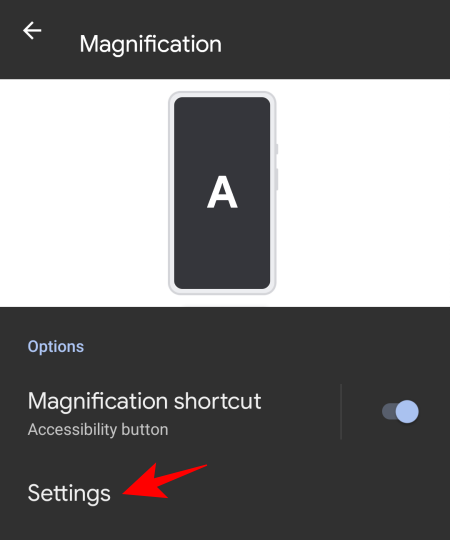
To enable it, tap on Magnification.
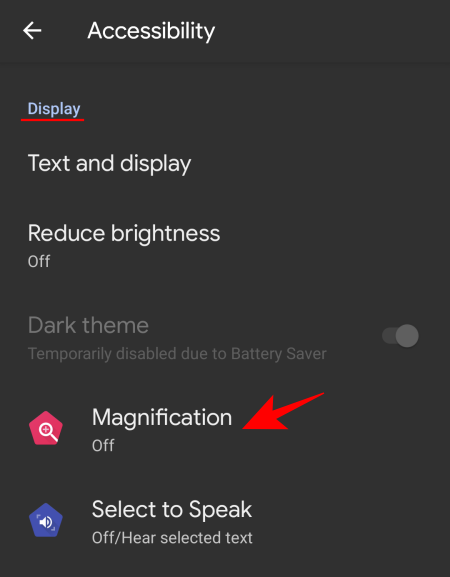
Then toggle on Magnifiocation shortcut. This will bring up the floating magnification button.
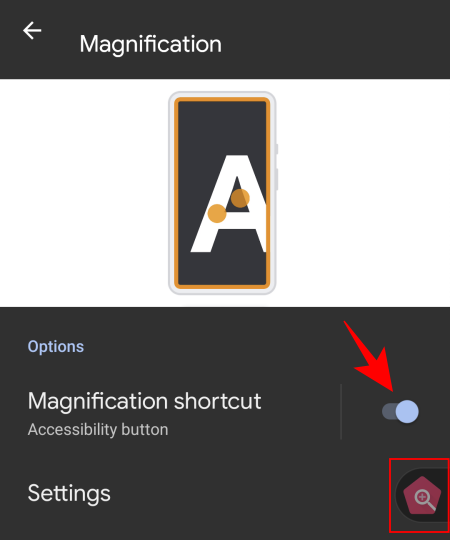
Tapping on the button will bring up the orange magnification window. Move it around to magnify what you see on your screen.
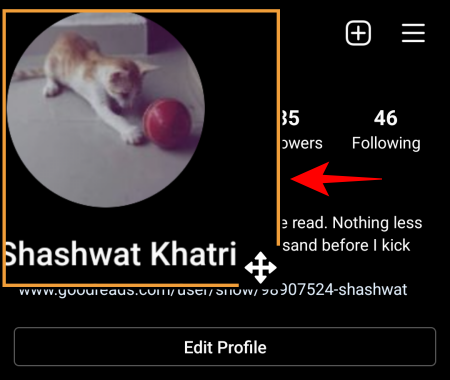
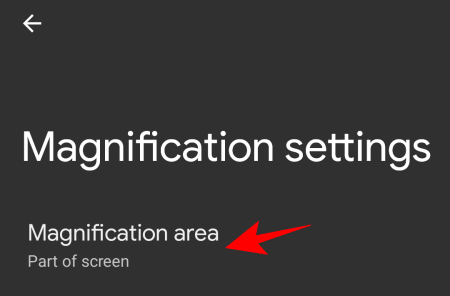
Tap on the shortcut again to close the magnifcation window. You can also change what the magnification function does from Settings.
Then Magnification area.
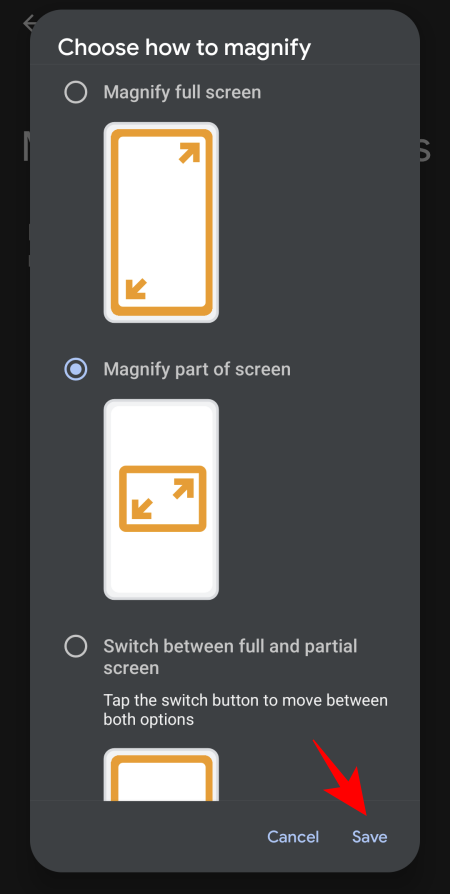
Then choose from the three available options – Magnify full screen, Magnify part of screen, and Switch between full and partial screen – and tap on Save.
Select to Speak
This is another “Display” accessibility option, and one that helps you read on-screen items. When this feature is on, you can select on-screen text to hear it read out to you.
To enable this feature, tap on Select to Speak from the “Accessibility” page.
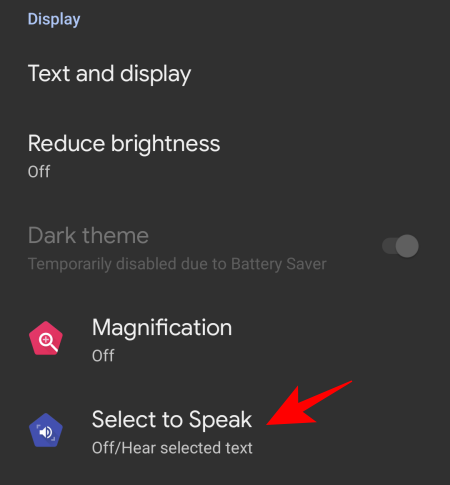
Now toggle on Select to Speak shortcut. This will make the function available to you as a floaty.
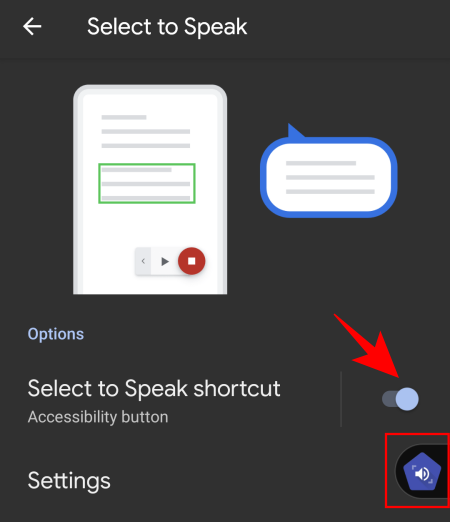
To use this shortcut, tap to turn it on. This will bring up media controls.
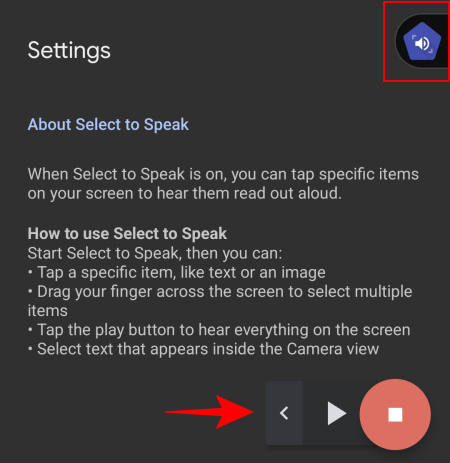
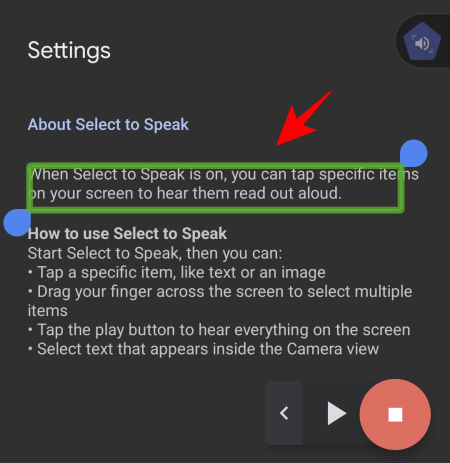
Then tap on an item or draw a box to select multiple items to be read out. When you’re done, tap on the Stop button.
You can tweak the function by going to Settings.
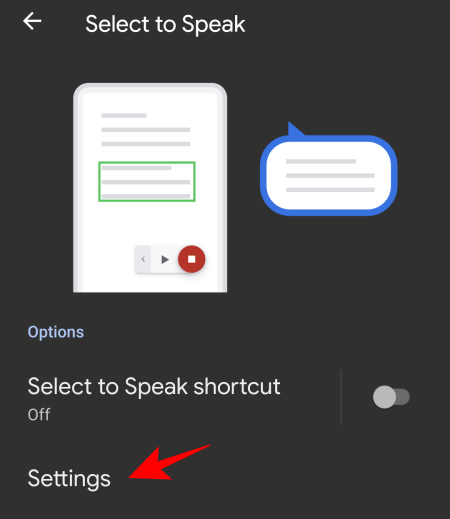
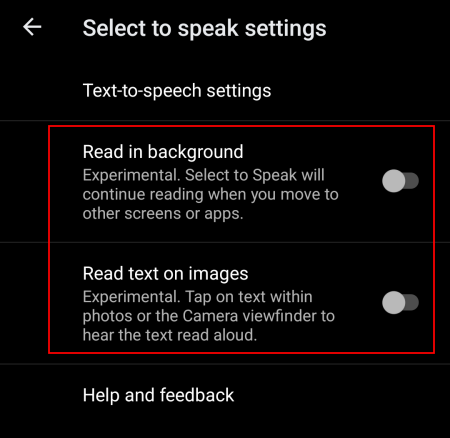
Here, you can toggle on the “Read in background” and “Read the text on images” if you prefer. But these are experimental (its description says so itself) and may not always work.
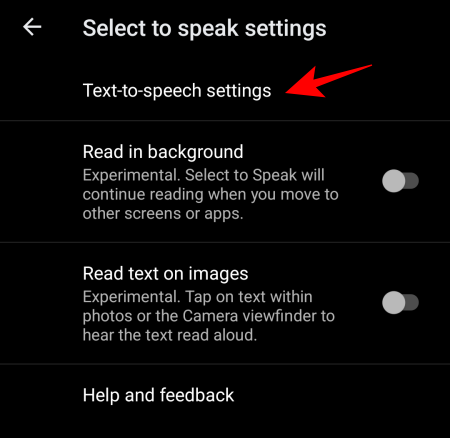
To tweak text-to-speech output, tap on Text-to-speech settings.
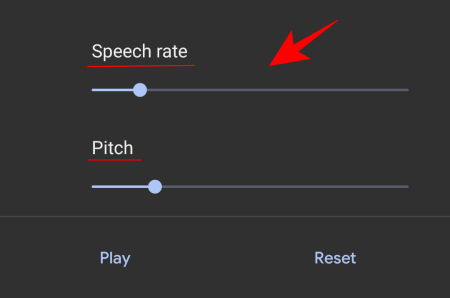
And adjust the speech rate and pitch if you prefer.
Accessibility Menu
The Accessibility Menu is a large on-screen menu that lets you interact with and control your device. To enable this shortcut, go to Accessibility Menu.
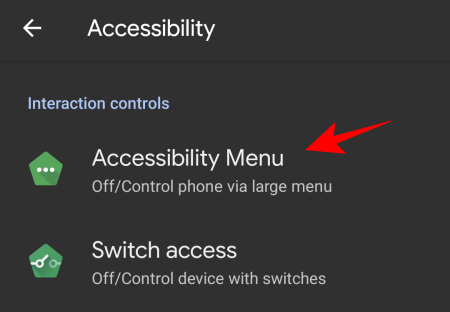
And toggle on Accessibility Menu shortcut.
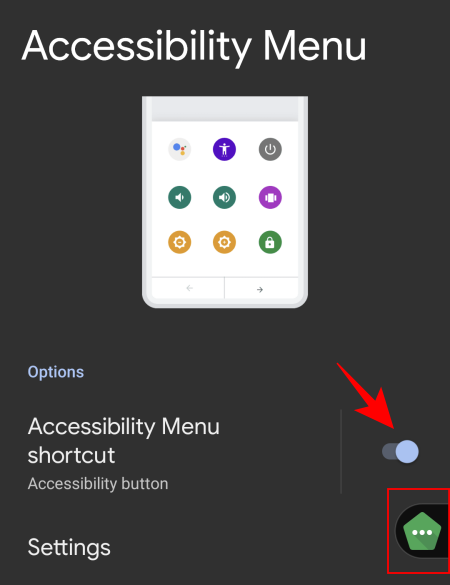
Tap on the floating shortcut to access this large menu.
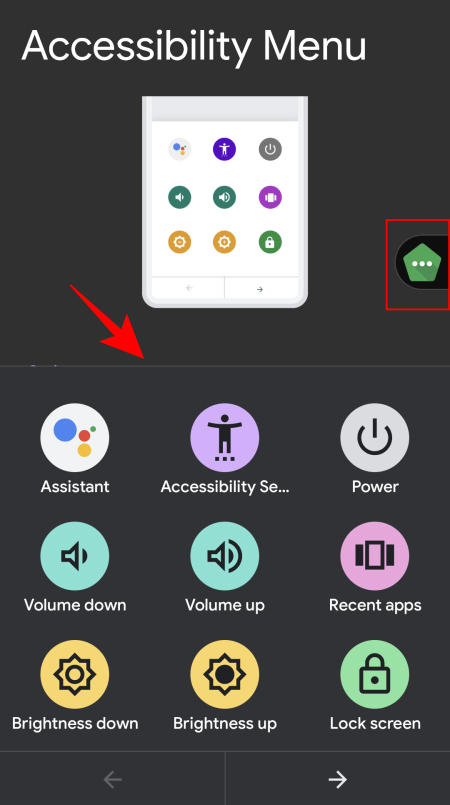
The menu hosts a bunch of commonly used options such as Volume control, Recent apps, screenshot, lockscreen, and more.
Switch access
Switch access is useful for people who can’t directly interact with their device. When turned on, users just have to press a switch when the item that they want to select is highlighted.
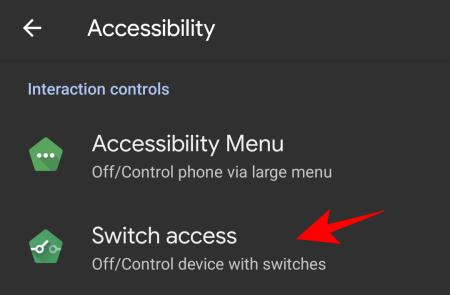
To enable its floating shortcut button, tap on Switch access.
Then toggle on Switch access shortcut.
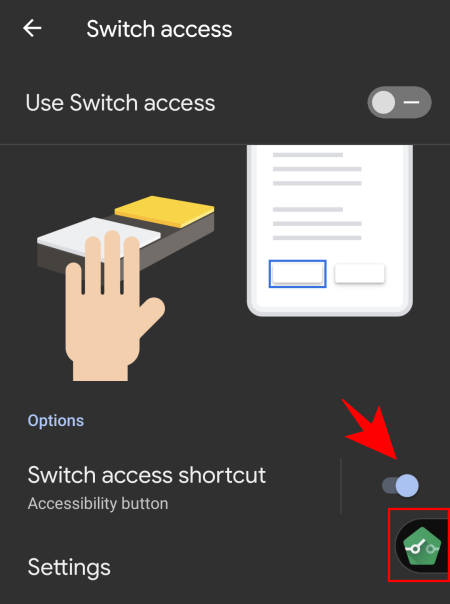
Do note that you will have to connect/pair a switch via USB or Bluetooth the first time you tap on and access the “Switch Access” feature.
Live Transcribe
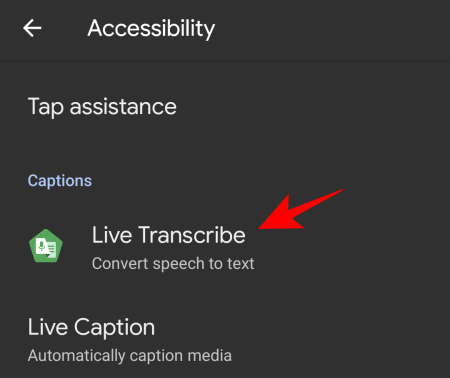
Finally, we have the Live Transcribe feature under “Captions”. This lets you transcribe speech to text that frees up your hands and lets you engage in conversations around you.
To enable this accessibility floating shortcut, tap on Live Transcribe.
And toggle on Live Transcribe shortcut.
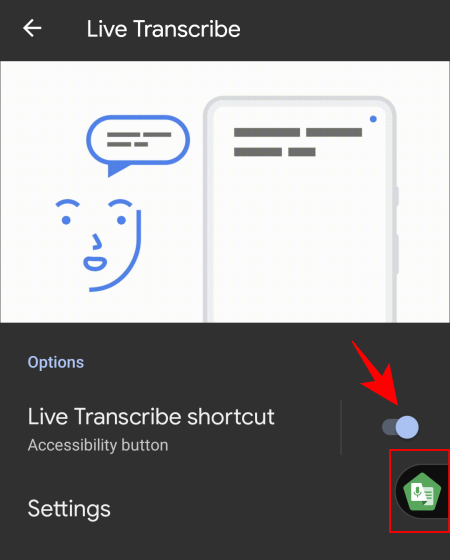
When you tap on the floating shortcut, you will be taken to the live transcription window.
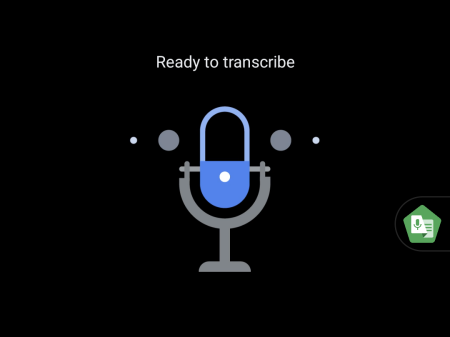
Anything you say will be picked up and transcribed as text. The feature does a decent job of keeping out background noise and will even show what genre of music is playing in the background.
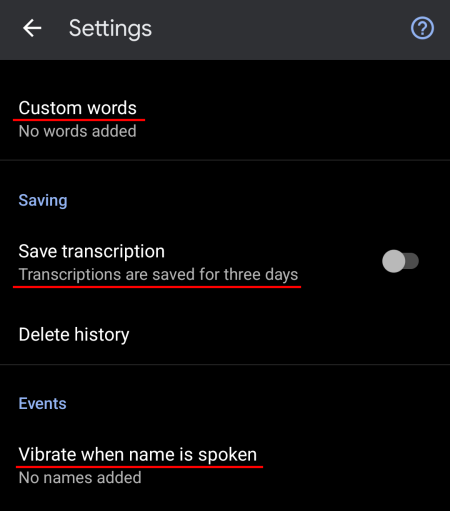
There are a bunch of settings that you can tweak by going into Settings.
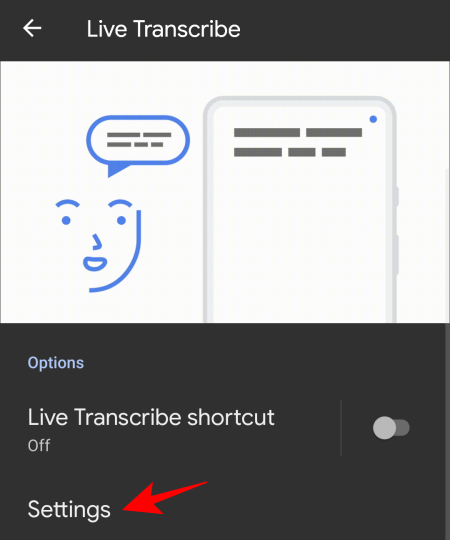
Here, you can turn on “save transcription”, add names to a list so that the phone vibrates when any of them is spoken, and a few other options.
Accessibility floating shortcut settings
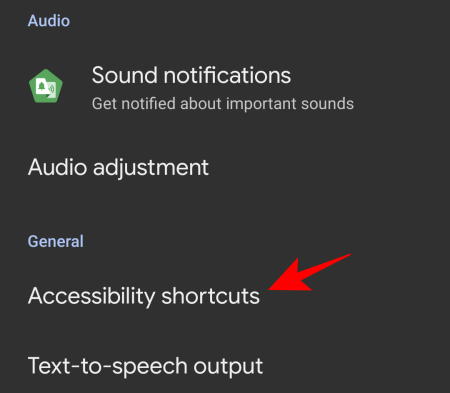
The shortcut button can be customized as well. To do so, go to the bottom of the “Accessibility” page and tap on Accessibility shortcuts.
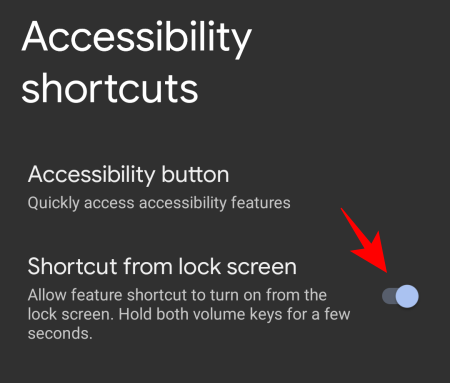
To allow access to these shortcuts even on the lock screen, toggle on Shortcut from lock screen.
For more options, tap on Accessibility button.
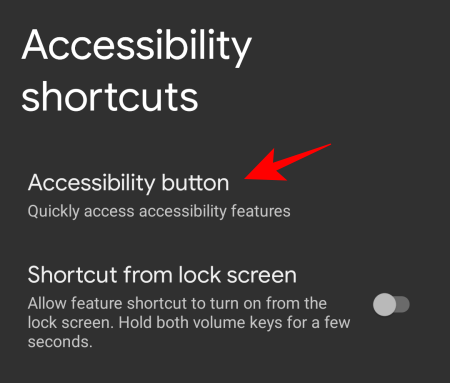
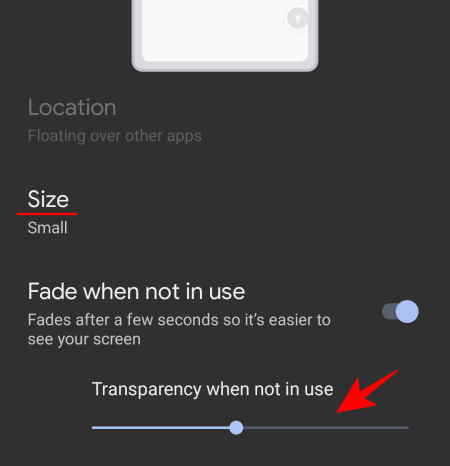
Here, you can select the size of the shortcut button, and adjust the level of shortcut transparency when it is not in use.
Enabling multiple shortcut buttons will dock them together in a single toolbar.
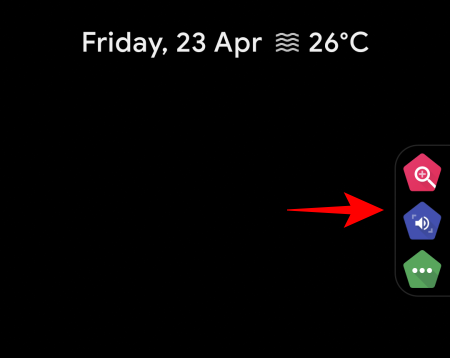
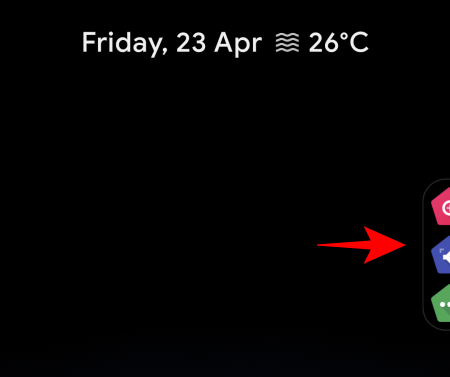
You can even drag these slightly out of the screen to avoid accidentally tapping on them.
These are all the important accessibility options that have received a floating shortcut button. Accessibility is greatly being improved in the latest Android interation and the titular settings options are a good example of that.
RELATED
- How To Add Widgets on Android 12
- What’s New in Android 12 PIP Mode?
- How to enable One-handed mode in Android 12
- How To Snooze Notifications on Android 12
- What are Conversation Widgets in Android 12?
- Android 12: How To Edit Any Image With Markup Editor
- How To Hide Selfie Camera on Android 12 on Pixel 4a and 5
- Android 12 Privacy Indicators Explained: Meaning, Where To Find, and More






Discussion