What to know
- In the PowerToys app, enable Mouse Highlighter under PowerToys > Mouse Utilities > Enable Mouse Highlighter. To use Mouse Highlighter, simply press the hotkey Windows logo key + Shift + H (or the custom one you set).
- Install the Mouse Pointer Highlight from the Microsoft Store and open it whenever you want to locate mouse pointer and mouse clicks.
Highlighting mouse clicks can come in handy when you’re recording your screen or sharing your screen with others. But Windows doesn’t provide a straightforward way of highlighting clicks. Fortunately, there are a couple of ways that can help you out. Let’s see how to enable Mouse clicks and highlights on your Windows PC.
Related: How to Use Windows Copilot to Turn on Dark Mode, DND, Manage Bluetooth Devices, And More
How to highlight mouse clicks on Windows 11
Here are all the ways that you can highlight mouse clicks on Windows 11.
Method 1: Using Microsoft PowerToys
Here’s how you can highlight your mouse clicks on your PC. First, we need to install PowerToys and enable Mouse Highlighter.
Requirements:
- Windows 10 or 11
- PowerToys (installation guide is given below)
Step 1: Install PowerToys and enable Mouse Highlighter
Here’s how you can install PowerToys on your PC.
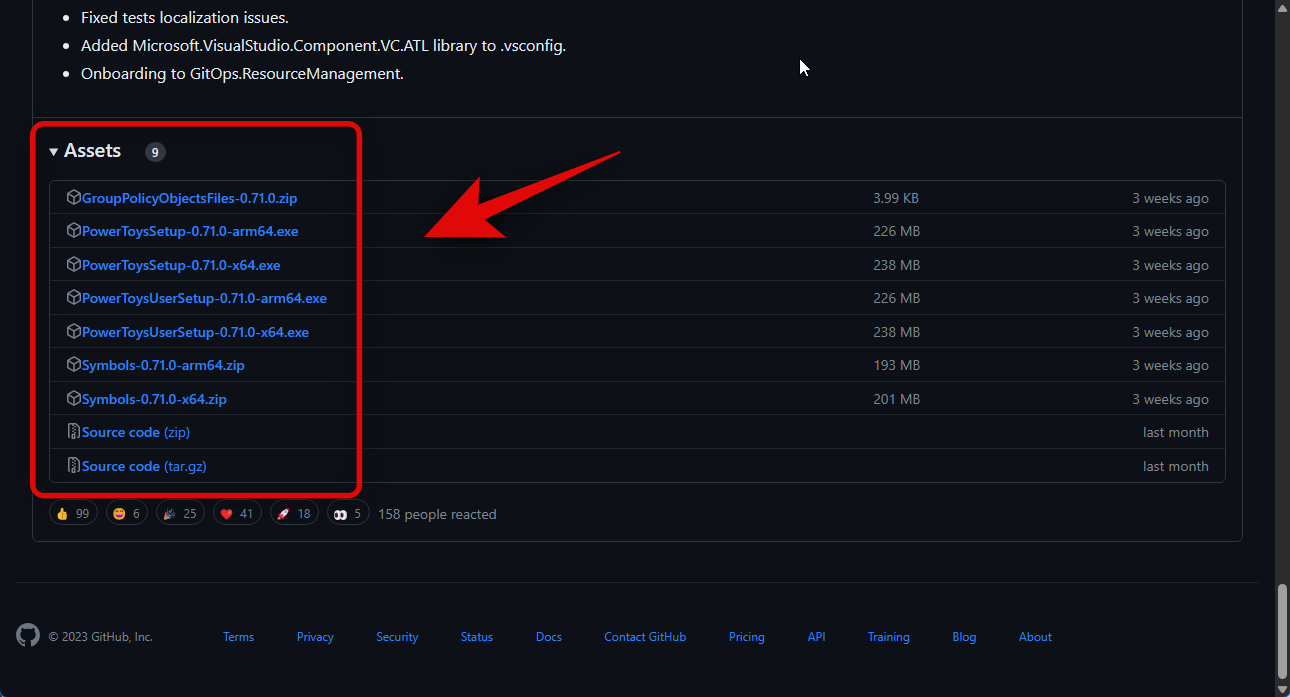
- Visit this link and download the relevant PowerToys version for your PC.
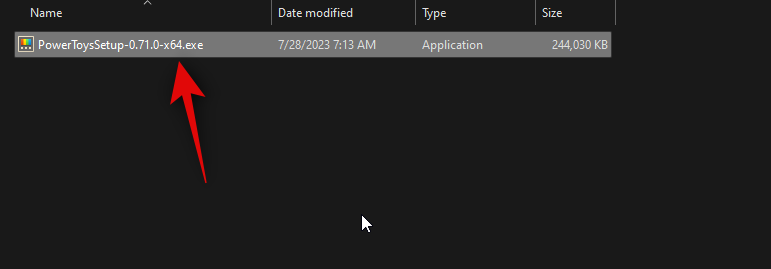
- Double-click and launch the setup once it has been downloaded.
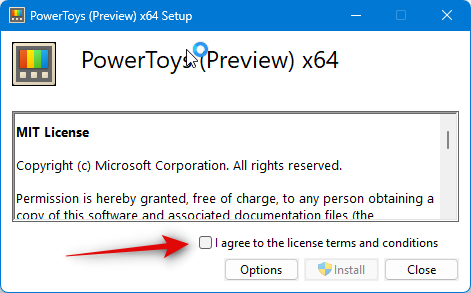
- Now check the box for I agree to the license terms and agreement at the bottom.
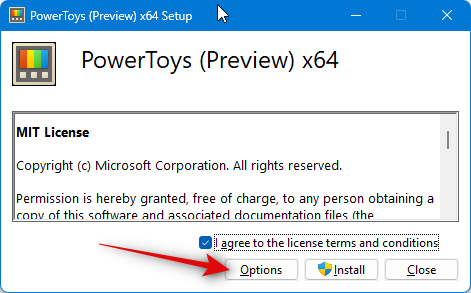
- Next, click Options to choose where Powertoys is installed on your PC.
- Click Browse to choose where PowerToys is installed.
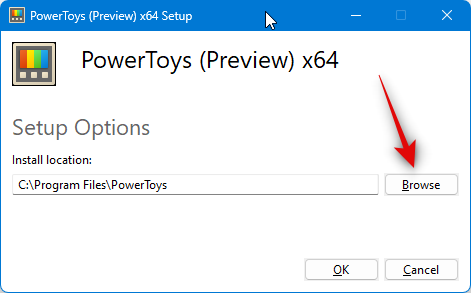
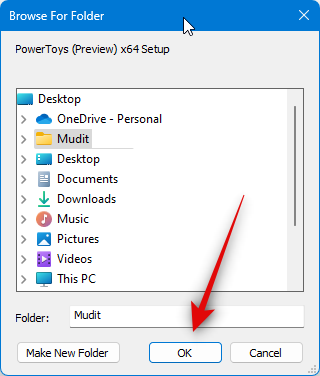
- Click OK once you’ve selected the location.
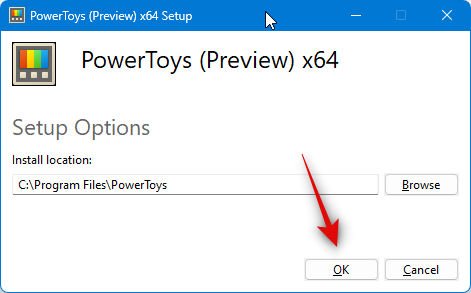
- Click OK again.
- Finally, click Install.
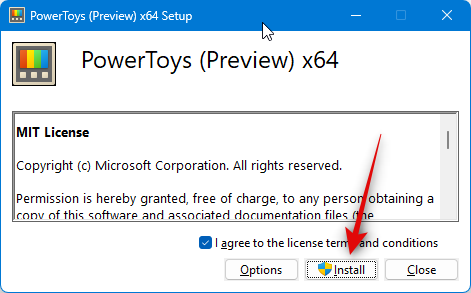
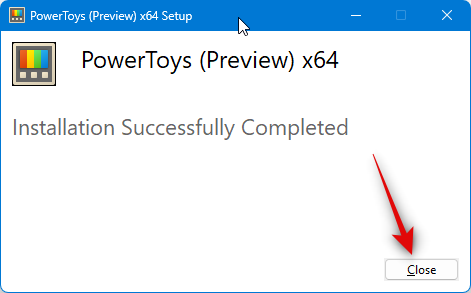
- Once the app has been installed, click Close.
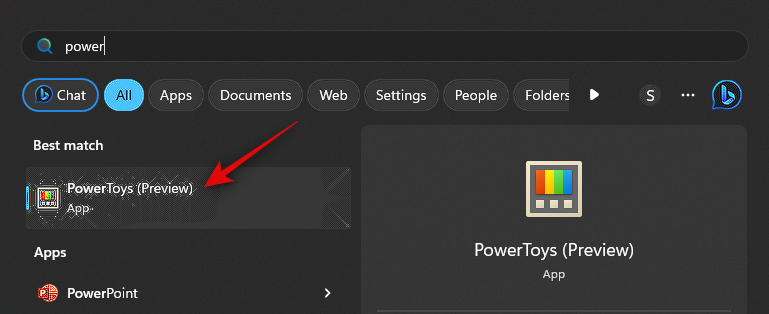
- Now launch the Start menu and search for PowerToys. Click and launch the app once it shows up in your search results.
- Now click Mouse Utilities in the left sidebar.

- Click and enable the toggle for Enable Mouse Highlighter if you wish to highlight your left mouse clicks.

And that’s it! You will now have installed PowerToys and enabled Mouse Highlighter. You can now use the next step to customize and use each tool according to your preferences.
Step 2: Customize and use Mouse Highlighter
Now that you’ve enabled Mouse Highlighter, we can customize and use the same on PC.
- Launch the Start menu and search for PowerToys. Click and launch the app once it shows up in your search results.

- Now click Mouse Utilities in the left sidebar.

- Start by clicking the Edit icon beside Activation shortcut to choose how Mouse Highlighter is activated on your PC.

- Now press the desired key combination you wish to use to activate Mouse Highlighter.

- Click Save to save the key combination.

- Click Reset to revert to the default key combination.

- Click Cancel if you wish to abort the process.

- Next, click Appearance & behavior.

- Click the drop-down for Primary highlight color.

- Now choose your preferred primary highlight color.

- Similarly, click the drop-down menu for Secondary button highlight color and choose your preferred color.

- Always highlight color allows you to choose a color that will always highlight your mouse pointer. Click the drop down menu for Always highlight color.

- Now choose your preferred color.

- Now enter your preferred Radius (px) value.

- Mouse Highlighter has a fade animation and you can customize the same. Enter your preferred Fade delay (ms) in the text box beside the same.

- Similarly, dial in your preferred duration for the animation beside Fade duration (ms).

- You will now have customized all the necessary settings for Mouse Highlighter. You can now press the key combination you set in the steps above to activate Mouse Highlighter. Here’s what it will look like on your PC.

Method 2: Using a third-party app (Mouse Pointer Highlight)
There are a few third-party apps that can help you highlight your mouse clicks. The one we recommend is Mouse Point Highlight. Here’s how to get and use it:
- Open the Microsoft Store, search for ‘Mouse pointer highlight’, and click on Get to install it.

- Click Open once installed.

- Under ‘Click Highlight’, make sure to there is a check next to ‘Enable’.
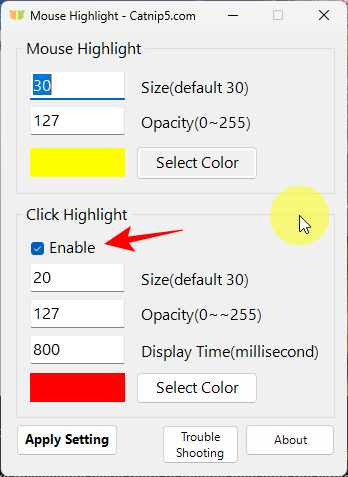
- By default, clicking will result in a red highlight.
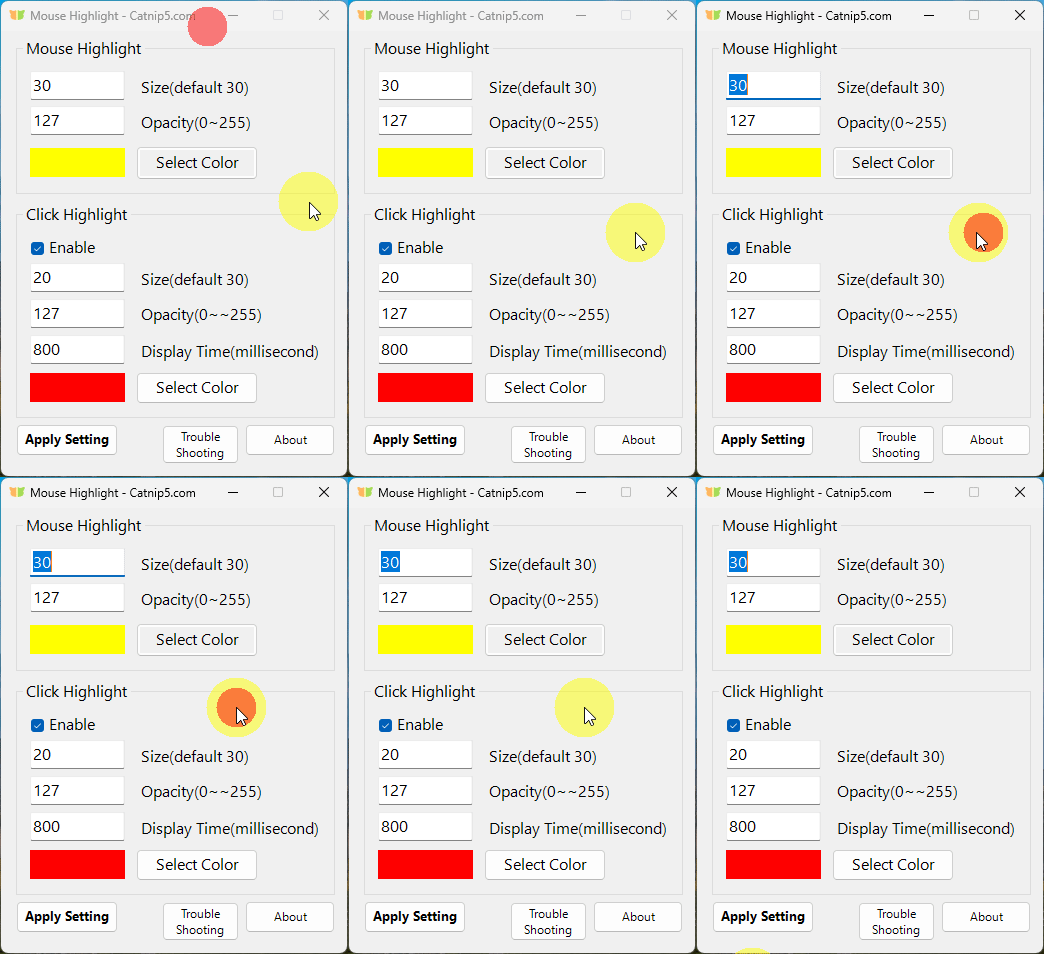
- Change the size, opacity, display time, and color if you like.
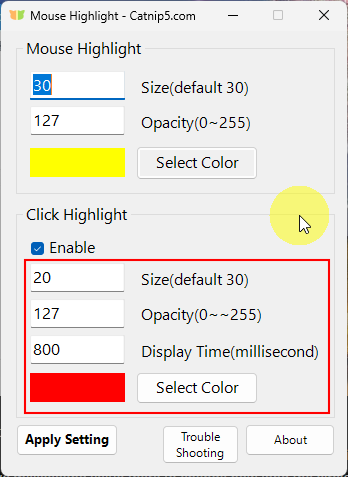
- Finally, click on ‘Apply setting’.
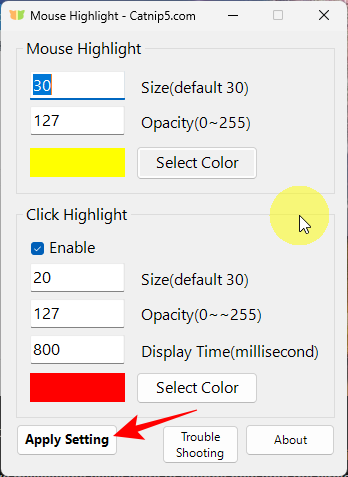
Note that the app doesn’t work in the background so you’ll need to open it every time you want to highlight your mouse clicks, or keep it minimized. You can open the app without using your mouse at all by pressing the Start menu, typing ‘mouse highlight’, and pressing Enter to open it.
And that’s how you can customize and use Mouse Highlighter to highlight your mouse clicks on your PC.
We hope you were able to easily highlight your mouse clicks using the post above. If you face any issues or have any more questions, feel free to reach out to us using the comments below.
RELATED
- How to Generate AI Images With Windows Copilot
- How to Transfer Files Using Microsoft Edge Drop [2023]
- How to Use Threads on PC Using WSA and BlueStacks
- How to Generate AI Images With Windows Copilot
- How to Extract Text From Images, PDF or Anything on Your Screen Using PowerToys From Microsoft
- How to Edit Registry Files With Registry Preview in Windows PowerToys


