What to know
- You can get and use the Android version of Threads on your PC. You can either use Windows Subsystem for Android or an Android emulator for PC like Bluestacks to run the app.
- You can download Windows Subsystem for Android from the Microsoft Store while there are tons of Android emulators to choose from and you can find them on their official websites.
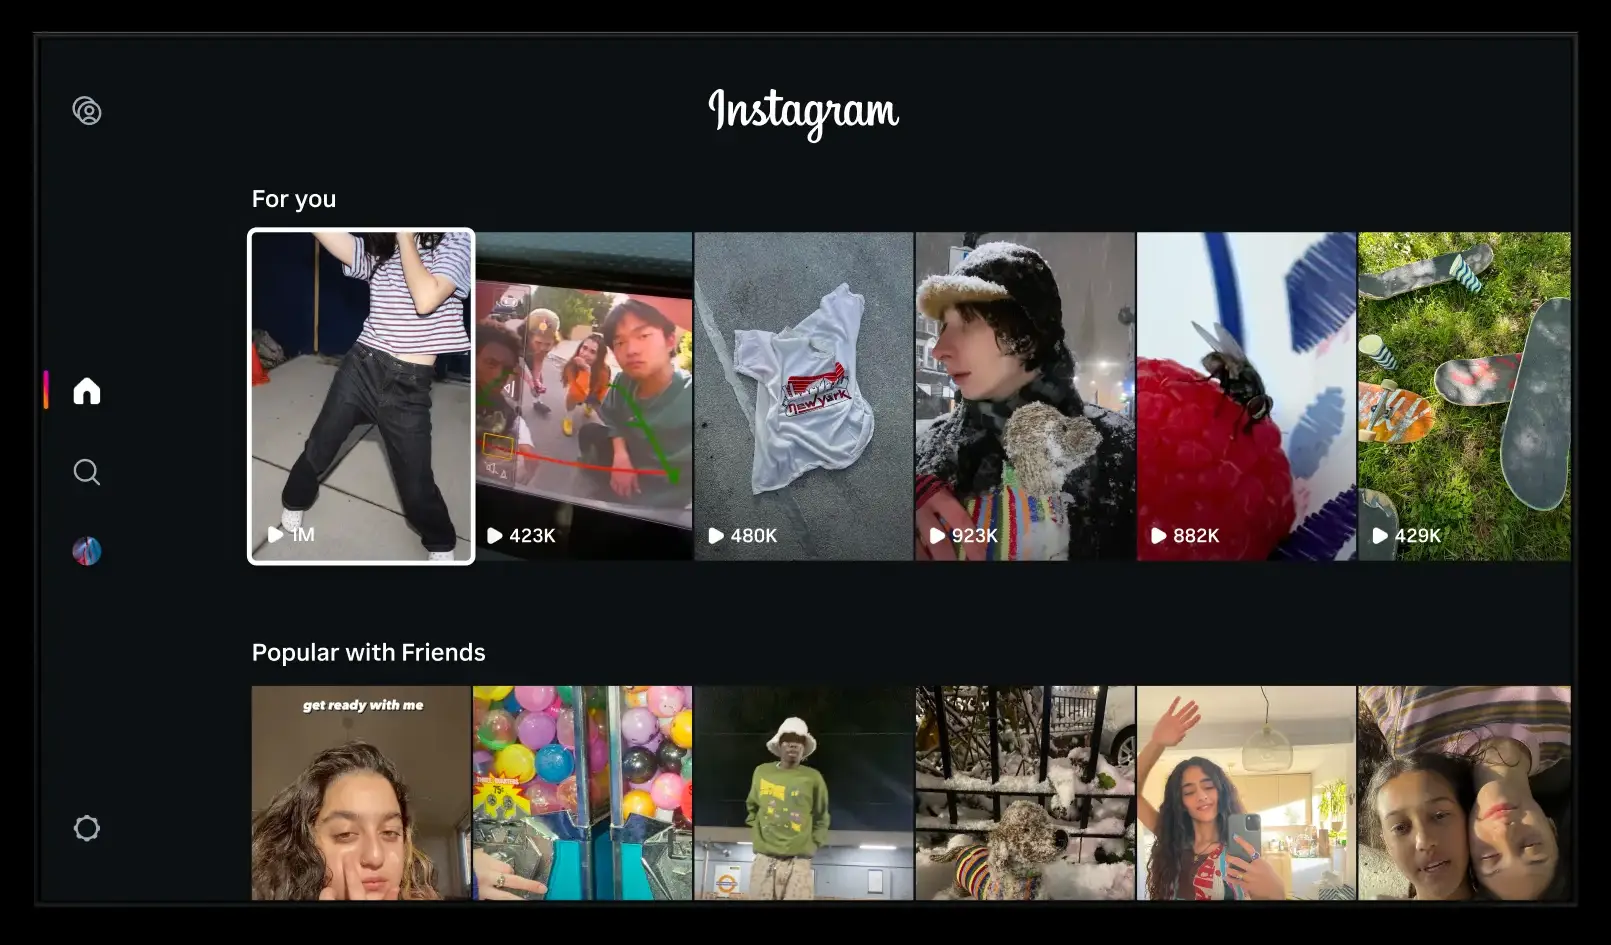
Threads is a brand-new social media platform that seems to be taking the world by storm. Developed by Meta, Threads is a microblogging platform integrated with Instagram to take advantage of its large user base which seems to be going quite well considering it has crossed 100M+ users.
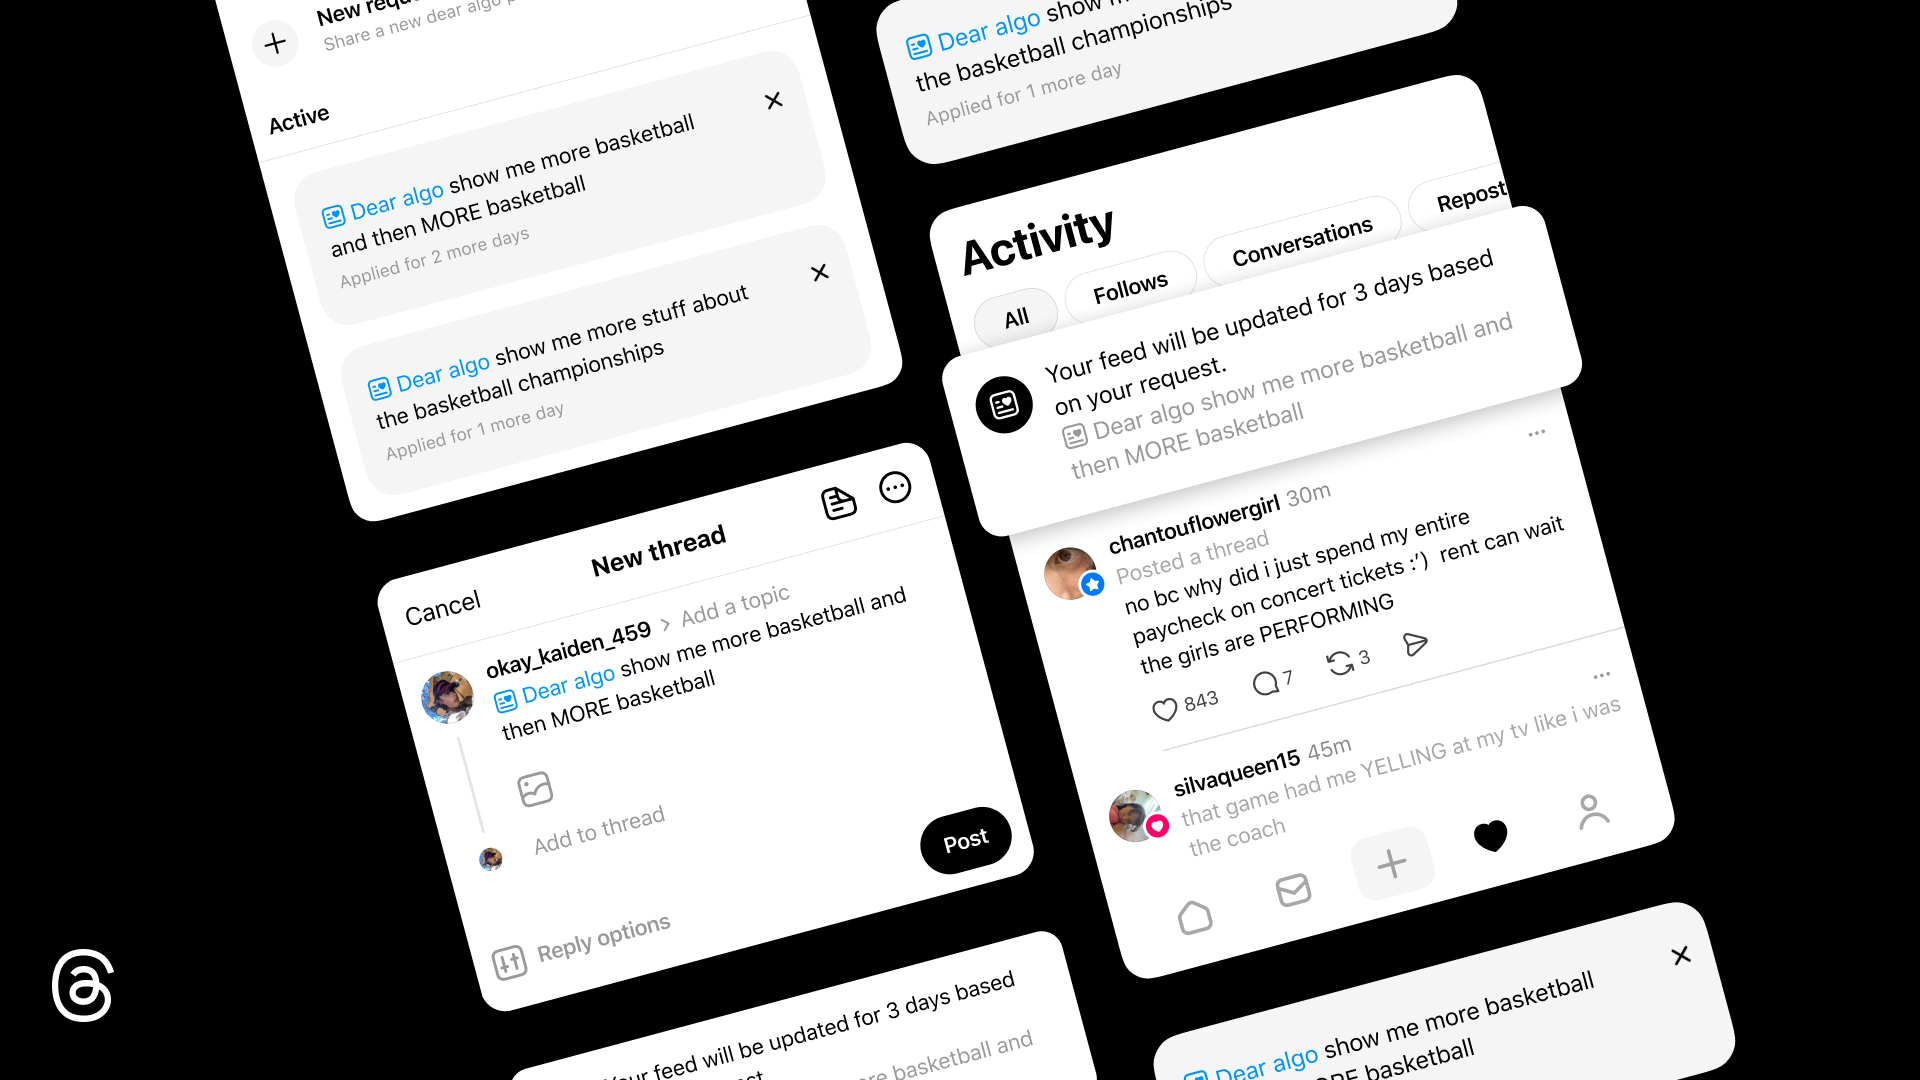
Threads allows you to join public conversations and post replies or your own threads. You can use this to connect with like-minded users and find people with similar interests. However, Threads is currently only available through mobile apps for Android and iOS. This has discouraged many around the world that would like to keep using the platform when using their PC. So if you’re in the same boat, then here are two workarounds to help you use Threads on your PC.
How to use Threads on a PC
To use Threads, you need to install the Android app on your PC. To do this, you can use Windows Subsystem for Android (WSA) or an Android emulator. We’ve covered both of these methods below. You can choose either to use Threads on your PC.
We recommend using WSA as it is natively available for Windows 11 and is quite efficient in terms of resource usage. However, the process can be a bit tedious. So if you’re looking for a relatively easy way where you get to use Threads with a few simple clicks, then we recommend you opt for using an Android emulator instead.
Method 1: Using Windows Subsystem for Android
Windows Subsystem for Android allows you to run Android apps natively on Windows 11. Use the steps below to install and use WSA to use Threads on your PC. Let’s get started.
Step 1: Install WSA
Here’s how you can install WSA on your PC.
Open Microsoft Store on your PC.
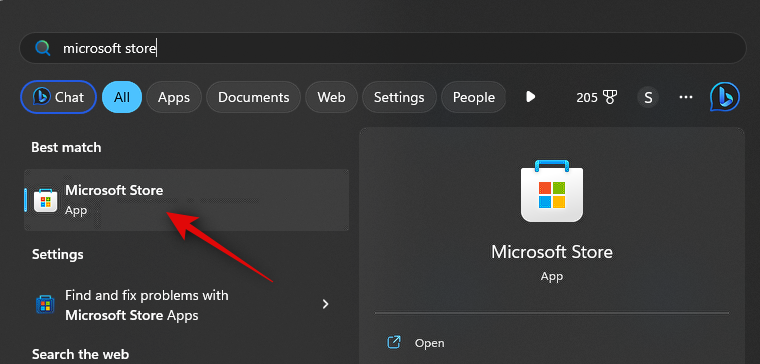
Now click the search bar at the top and search for Amazon Appstore.

Click and select the same from the search results.

Click Install.

You will now be informed that you need WSA to use the Appstore. Click Download in the bottom right corner to get started.

Windows Subsystem for Android will now be downloaded and installed on your PC.

Once done, you can use the next section to install and use Threads on your PC.
Step 2: Install and use Threads
Now that Windows Subsystem for Android has been installed on your PC, we can sideload and use Threads on your PC. Follow the steps below to help you along with the process.
Open the Start menu, search, and launch Windows Subsystem for Android.

Now click Advanced settings on your left.

Click and enable the toggle for Developer mode.

Click Manage developer settings. This will launch WSA and allow you to access developer settings.

Scroll developer settings and check the toggle for USB debugging under Debugging. Click and turn on the toggle if it is turned off.

Now close WSA and developer settings and re-launch WSA from the Start menu.
Click Advanced settings in the left sidebar again.

Now check the listing for Developer mode on your right. You should see 127.0.0.1:58526 as the address at which we can connect ADB.

Next, visit the link below to download Threads from APKMirror.
- Threads APK | Download Link

Scroll down and click the latest release under All versions.

Now click the download icon beside the APK for x86_64 architecture.

Next, click DOWNLOAD APK. A download will now be initiated for the APK. Save the file in a convenient location on your PC.

Once done, visit the link below to download Google’s SDK Platform Tools.
- SDK Platform Tools | Download Link
Scroll down and click the download link relevant to your PC, whether you’re using Windows, Mac, or Linux.

You will now be shown the terms and conditions for SDK platform tools. Scroll to the bottom and check the box for I have read and agree with the above terms and conditions.

Once you’re done, click Download Android SDK Platform-Tools for Windows. This option will vary if you’re using a Mac or a Linux machine.

SDK Platform Tools will now be downloaded on your PC. Save the archive to a convenient location. Once downloaded, extract the archive using your preferred tool. If you’re on Windows, you can do the same using Extract all in the right-click context menu or the ribbon menu at the top.

Click Browse… and choose where you wish to extract the archive.

Check the box for Show extracted files when completed if it is unchecked.

Click Extract.

Once the archive is extracted, navigate to the platform-tools folder and right-click on an empty area.

Now click Open in Terminal.

Type the following command and press Enter.
adb devices

Next, use the following command to connect to your PC.
adb connect 127.0.0.1:58526

You will now be asked to authenticate the connection in a new WSA window. Check the box for Always allow from this computer if you wish to grant indefinite access to your PC.

Click Allow to grant the necessary permission.

Now use this command again to check connected devices. Your PC should show up now if everything went as intended.
adb devices

Next, open the file explorer and navigate to the APK we had downloaded earlier. Select the APK and press F2 on your keyboard.

Rename the APK to Threads and press Enter on your keyboard.

Now copy or cut the APK and paste it into the platform-tools folder.

Switch back to Terminal and use the following command to install the APK.
adb install Threads.apk

Threads will now be installed on your PC. You should see Success as shown below if everything went well and the app was installed successfully.

Use the Start menu to search for Threads. Once the app shows up in the search results, click on it to launch it on your PC.

The app will now be installed. You can now click Log in with Instagram and log in using your credentials.

And that’s it! With the APK installed on your PC, you can now use Threads whenever you like.
Method 2: Using an Android emulator
There are tons of Android emulators out there that you can use to get and use Threads on your PC. We will be taking a look at Bluestacks for this example. However, you can choose to use any other Android emulator that you prefer.
Step 1: Get and install Bluestacks
Here’s how you can download and install Bluestacks on your PC. Follow the steps below to help you along with the process.
Open your browser and visit bluestacks.com/download.html. Once the tab is open, click Download Bluestacks 5.

A download will now be initiated. Save the setup on your PC and double click and launch the same once it has been downloaded.

Click Customize installation in the bottom right corner.

Click Change folder.

Now choose where you wish to install Bluestacks.

Once you’ve chosen the preferred folder, click OK.

Click Install now once you’re done.
Bluestacks will now be downloaded and installed on your PC. This can take a few minutes depending on your current network.

Once installed, you should be greeted by the home page.

And that’s it! Bluestacks will now be installed on your PC and you can now use the next step to download and use Threads on your PC.
Step 2: Install and use Threads
Now that Bluestacks has been downloaded and installed on your PC, you can now install and use Threads. While Bluestacks has its own app store, we will be downloading and installing an APK instead. This is because using the App Center in Bluestacks requires you to log in with your Google account. This can be a bit sketchy and we thus recommend avoiding the same. Follow the steps below to help you along with the process.
Visit the link below to download the APK for Threads.
- Threads APK | Download Link
Now click on the latest Threads release under All versions.
Next, scroll down and click on the download icon beside the APK developed for x86_64.
Click DOWNLOAD APK at the top.
A download will now be initiated. Save the APK to a convenient location on your PC. Once downloaded, open the Start menu, search for Bluestacks, and launch the same from the search results.

With Bluestacks open on your screen, press Ctrl + Shift + B.
Now navigate your local storage and select the APK we downloaded in the steps above.

Click Open once selected.

The app will now be installed. You can track its progress at the bottom.

Once installed, the app will show up on your home screen. Click on it to launch Threads.

Threads will now be launched on your PC. You can now click Log in with Instagram and use your credentials to log into Threads.

And that’s how you can use Bluestacks to use Threads on your PC.
We hope this post helped you easily get and use Threads on your PC. If you face any issues or have any more questions, feel free to reach out to us using the comments below.