

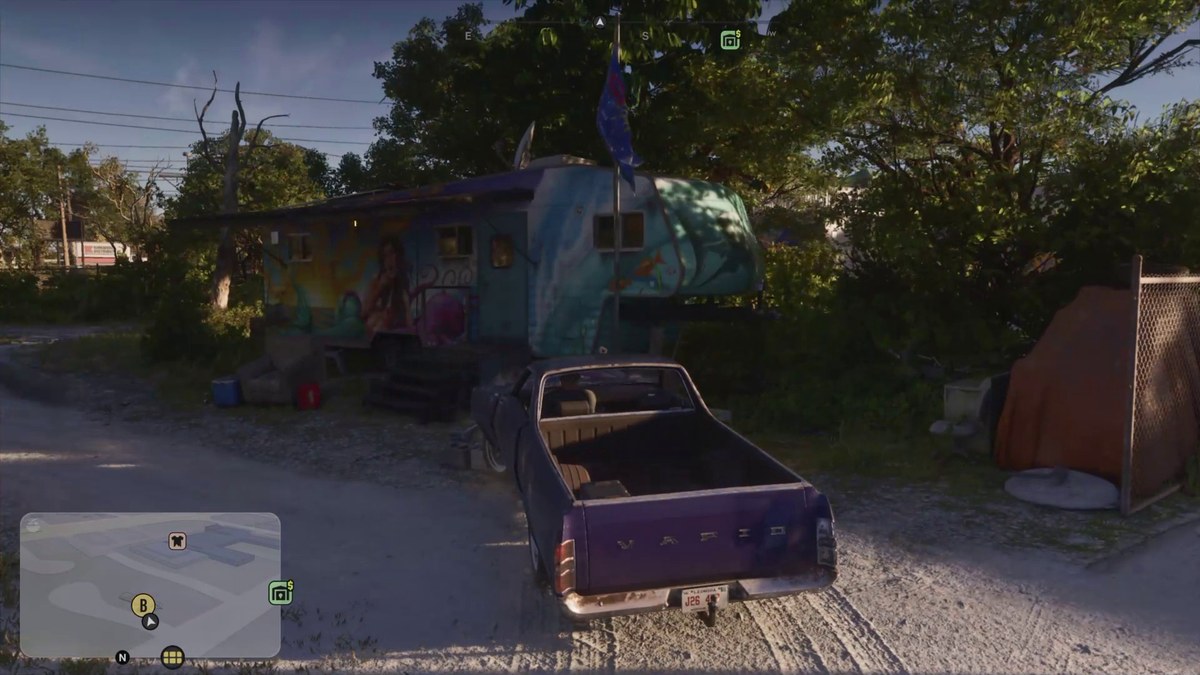
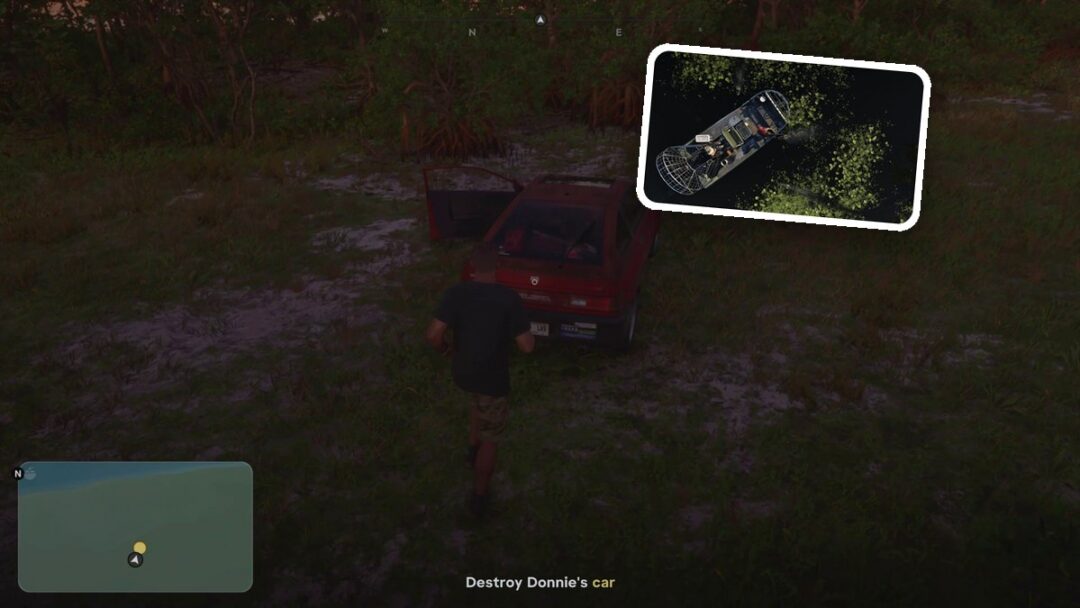
In Don Gone, remove evidence linking Donnie to Brian, take Donnie’s Blista out of Key Lento, and destroy the car somewhere discreet.
Don Gone is a story mission in Grand Theft Auto VI that takes you from packing belongings to disposing of a vehicle. The opening cleanup involves several item interactions before you can leave the trailer. This guide covers that cleanup, the disposal drive, and the return-ride booking, stopping when you board the RydeMe SUV.
The game’s listed platforms are PlayStation 5 and Xbox Series X|S. Its Indian PlayStation Store listing carries an 18+ age rating.
- How to carry out Don Gone’s objectives in Grand Theft Auto VI
- Part 1 – Arrive at Donnie’s trailer and recover the goods
- Part 2 – Enter the trailer and pack Donnie’s belongings
- Part 3 – Deal with Aviator and prepare Donnie’s car
- Part 4 – Leave Key Lento and destroy the car
- Part 5 – Report to Brian and arrange a ride back
How to carry out Don Gone’s objectives in Grand Theft Auto VI
Recover the goods, pack the trailer belongings, prepare Donnie’s car, dispose of it, and arrange your ride back.
Part 1 – Arrive at Donnie’s trailer and recover the goods
Start with the storage crate behind the trailer.
Enter Donnie’s trailer lot
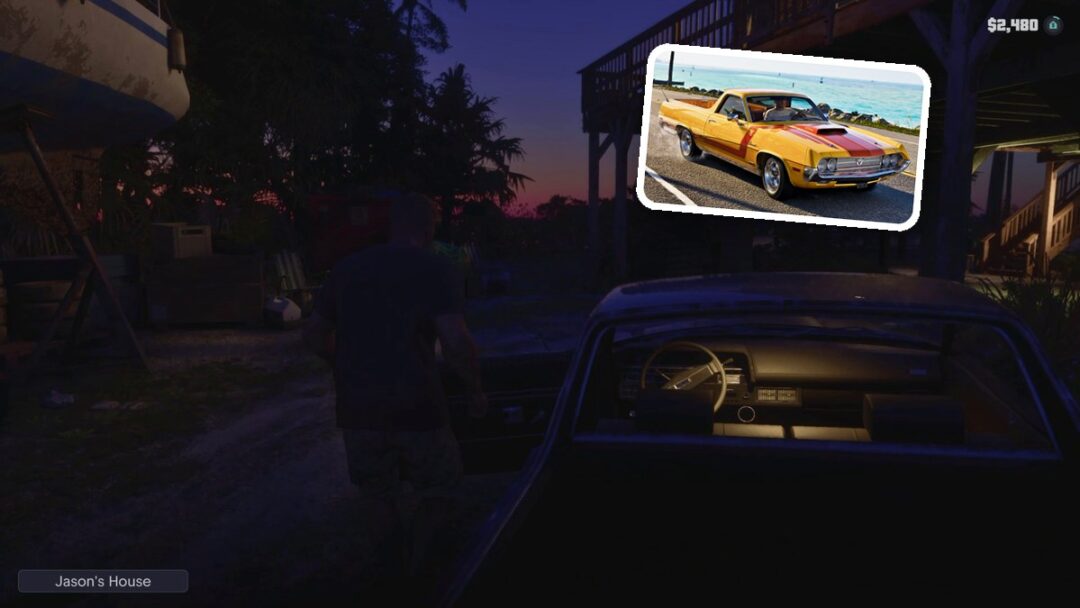
Drive the pickup into Donnie’s driveway, park close to the trailer, and get out.
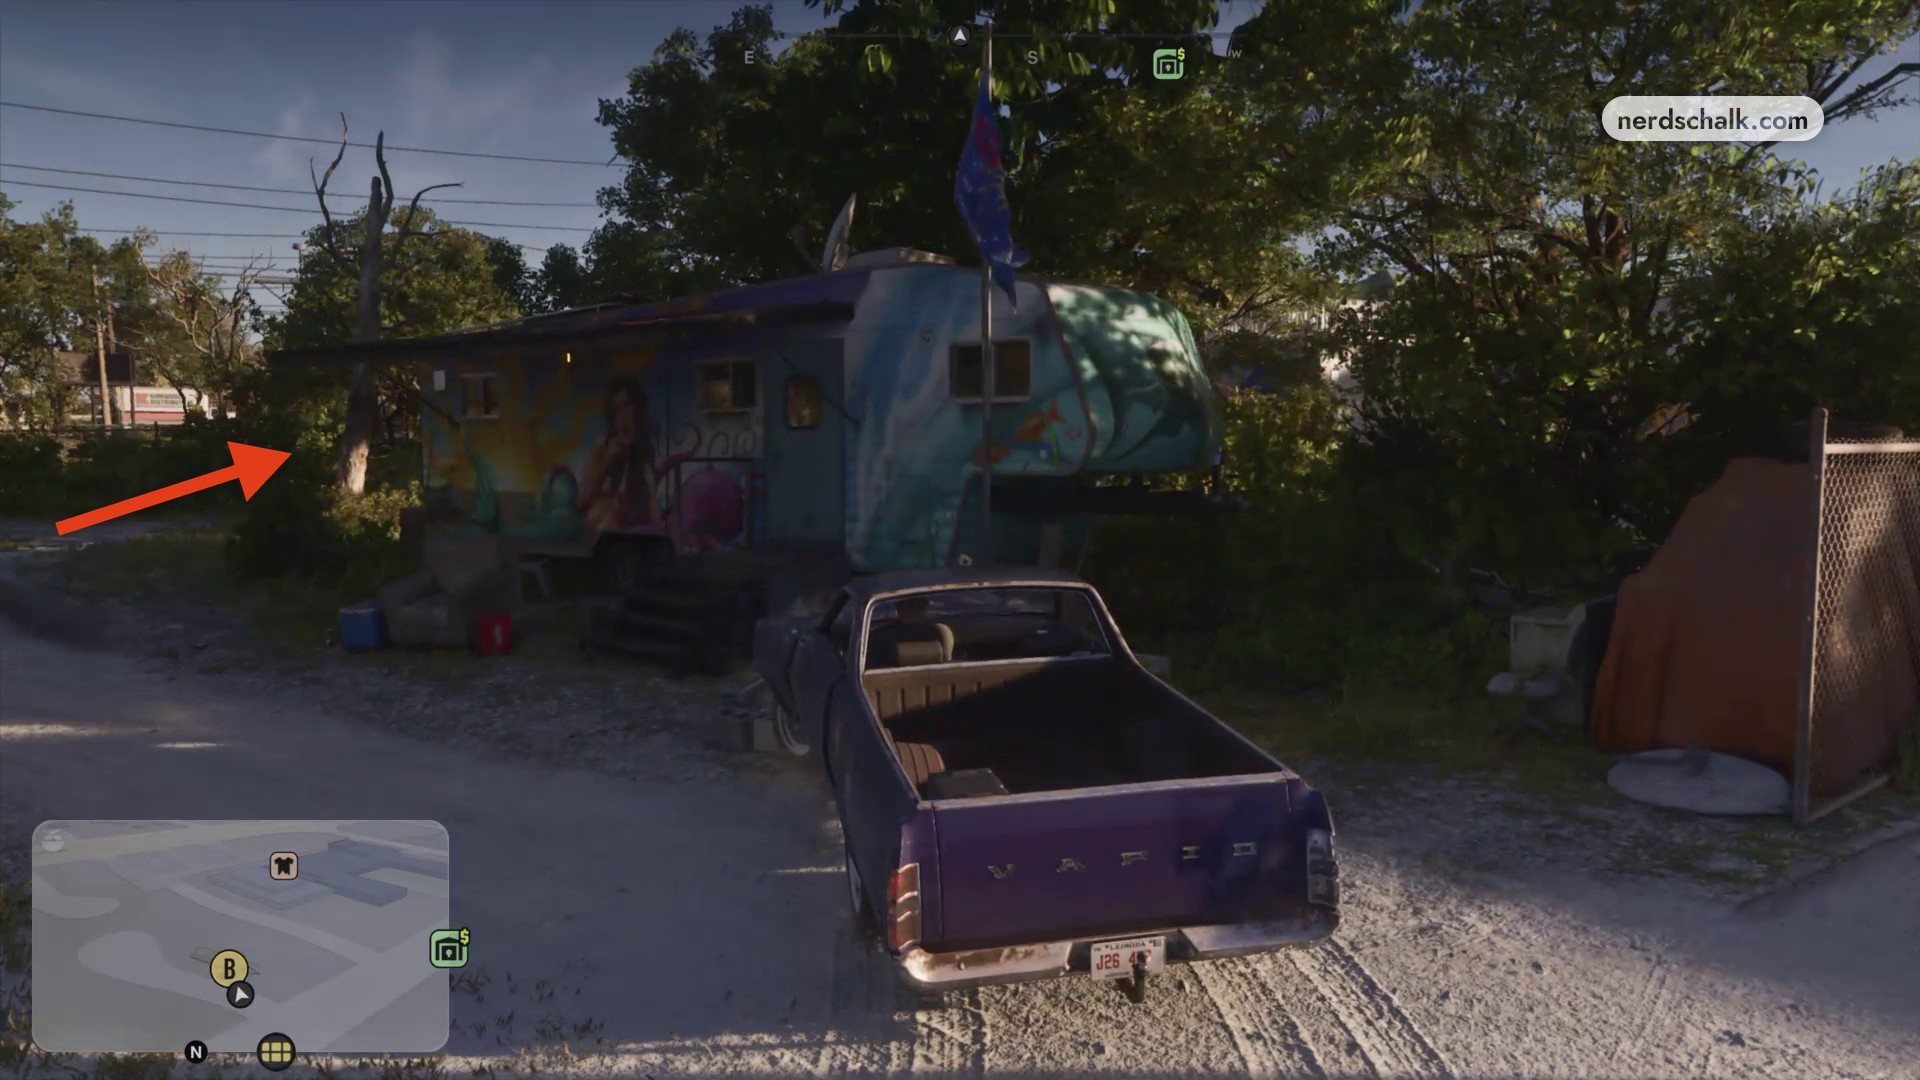
Recover the goods from storage
Go behind the trailer and use RECOVER GOODS on the large storage crate.
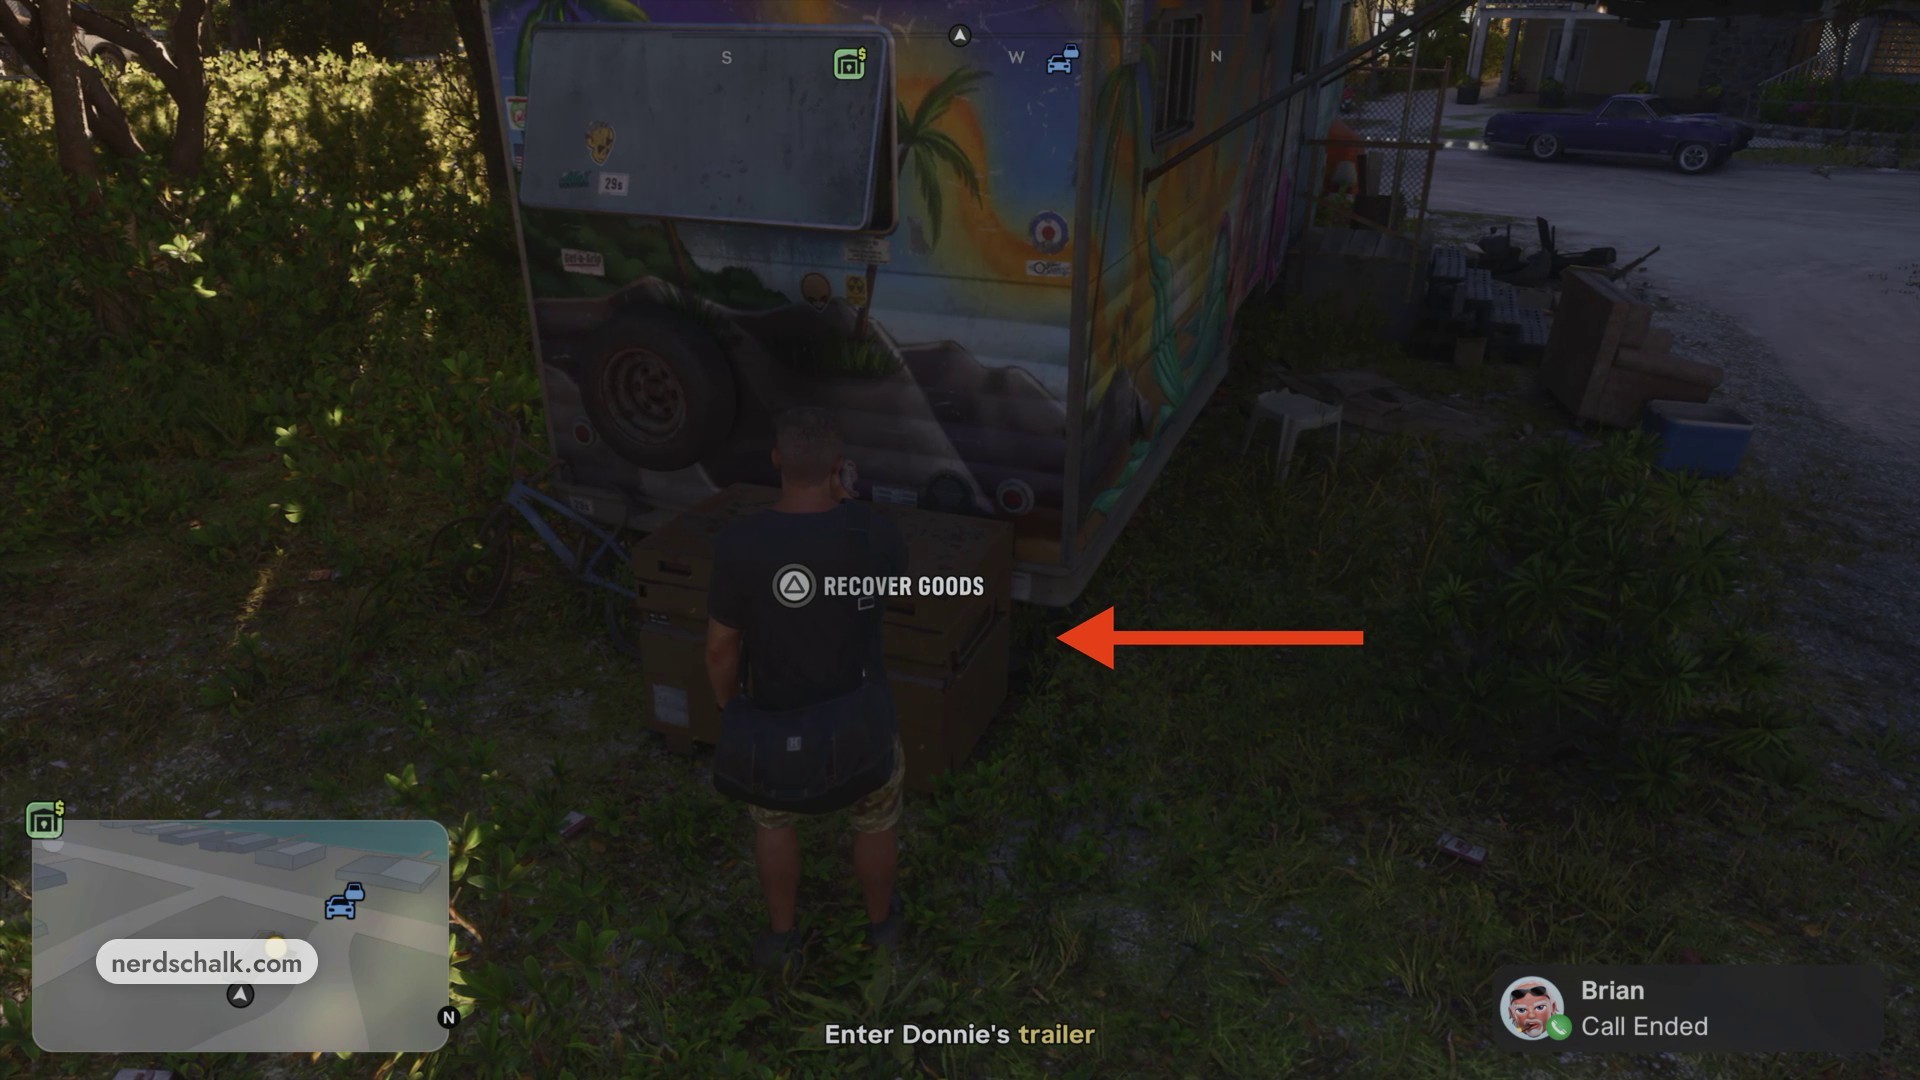
Stow the stash bags in the pickup
Return to the pickup’s rear and open the tailgate. In STOW STASH BAGS, select the STOW STASH BAG ($1,200) entries to load the bags into the bed, then use BACK to leave the menu. The $1,200 is the displayed value of a stash-bag entry. The pickup has a storage capacity of 4 and a maximum stash value of $2,880.
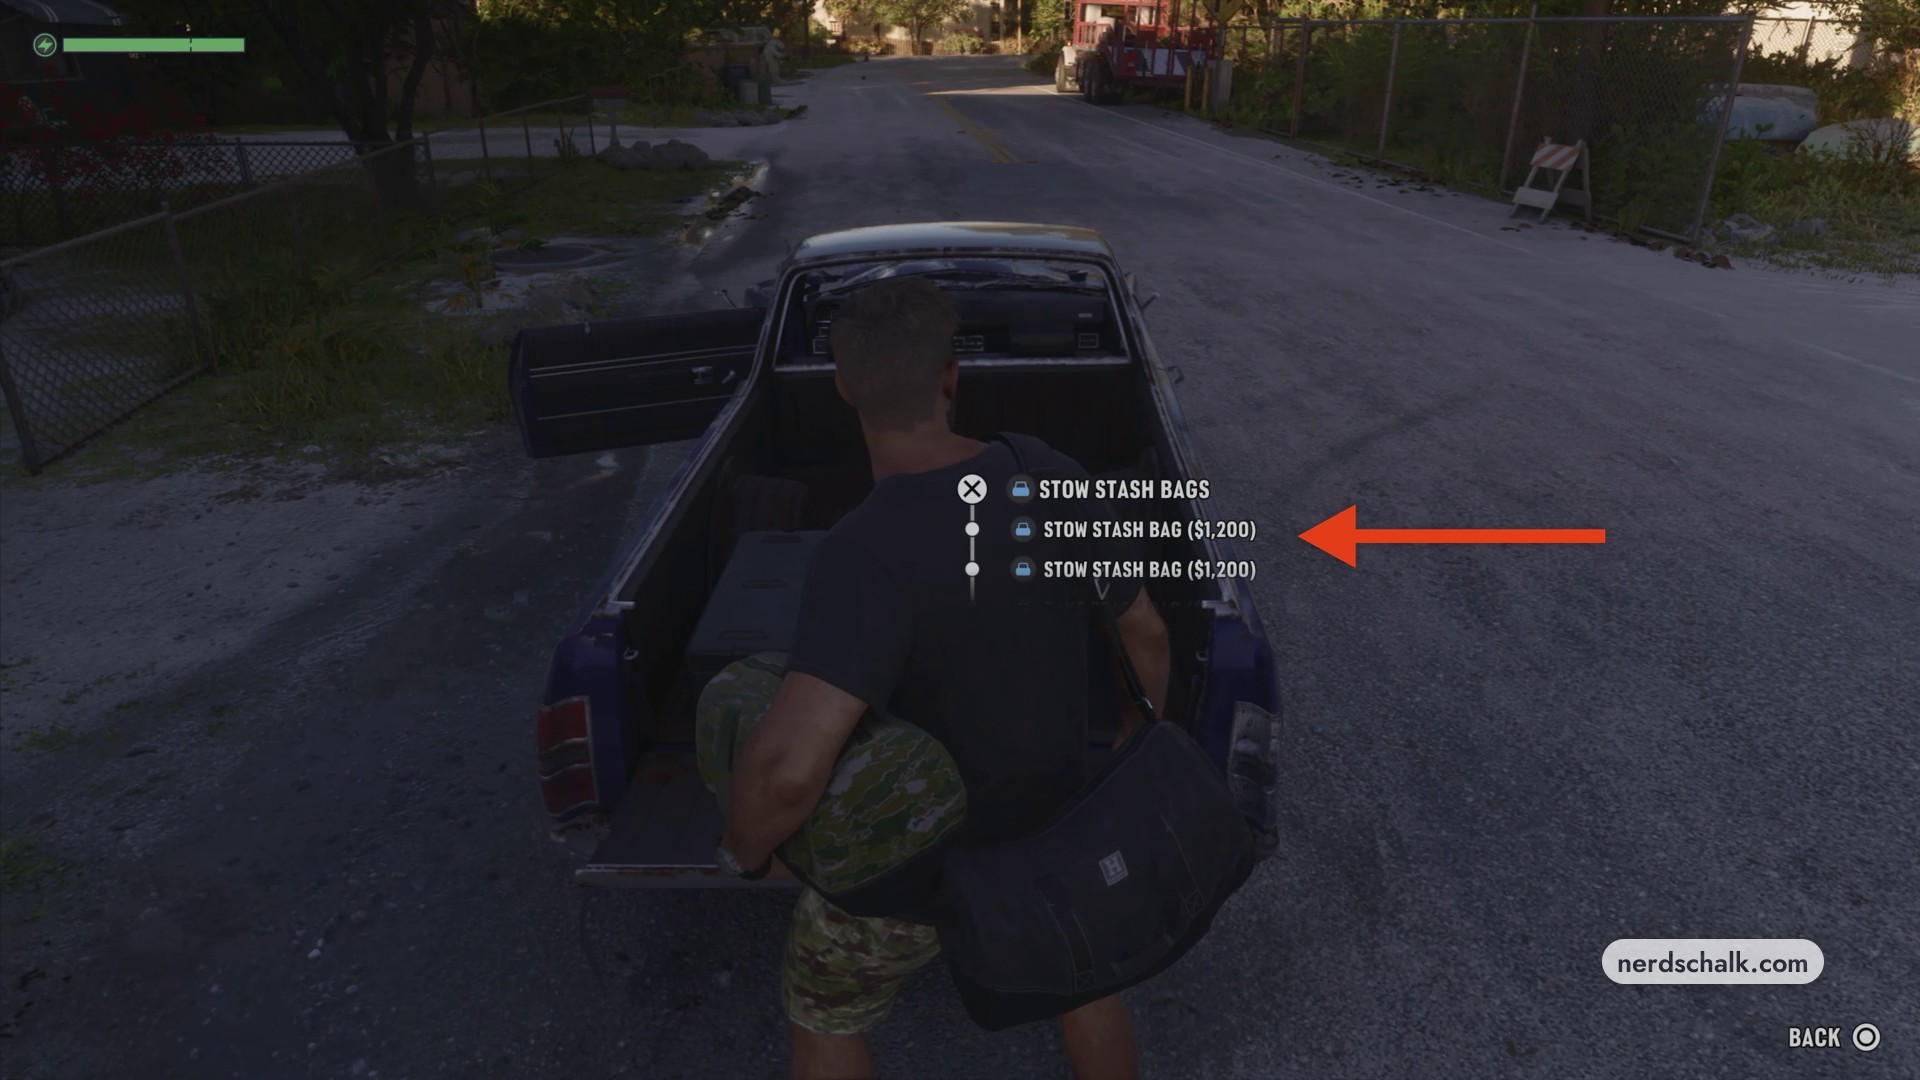
Part 2 – Enter the trailer and pack Donnie’s belongings
The map’s BRIEF panel identifies the cleanup task.
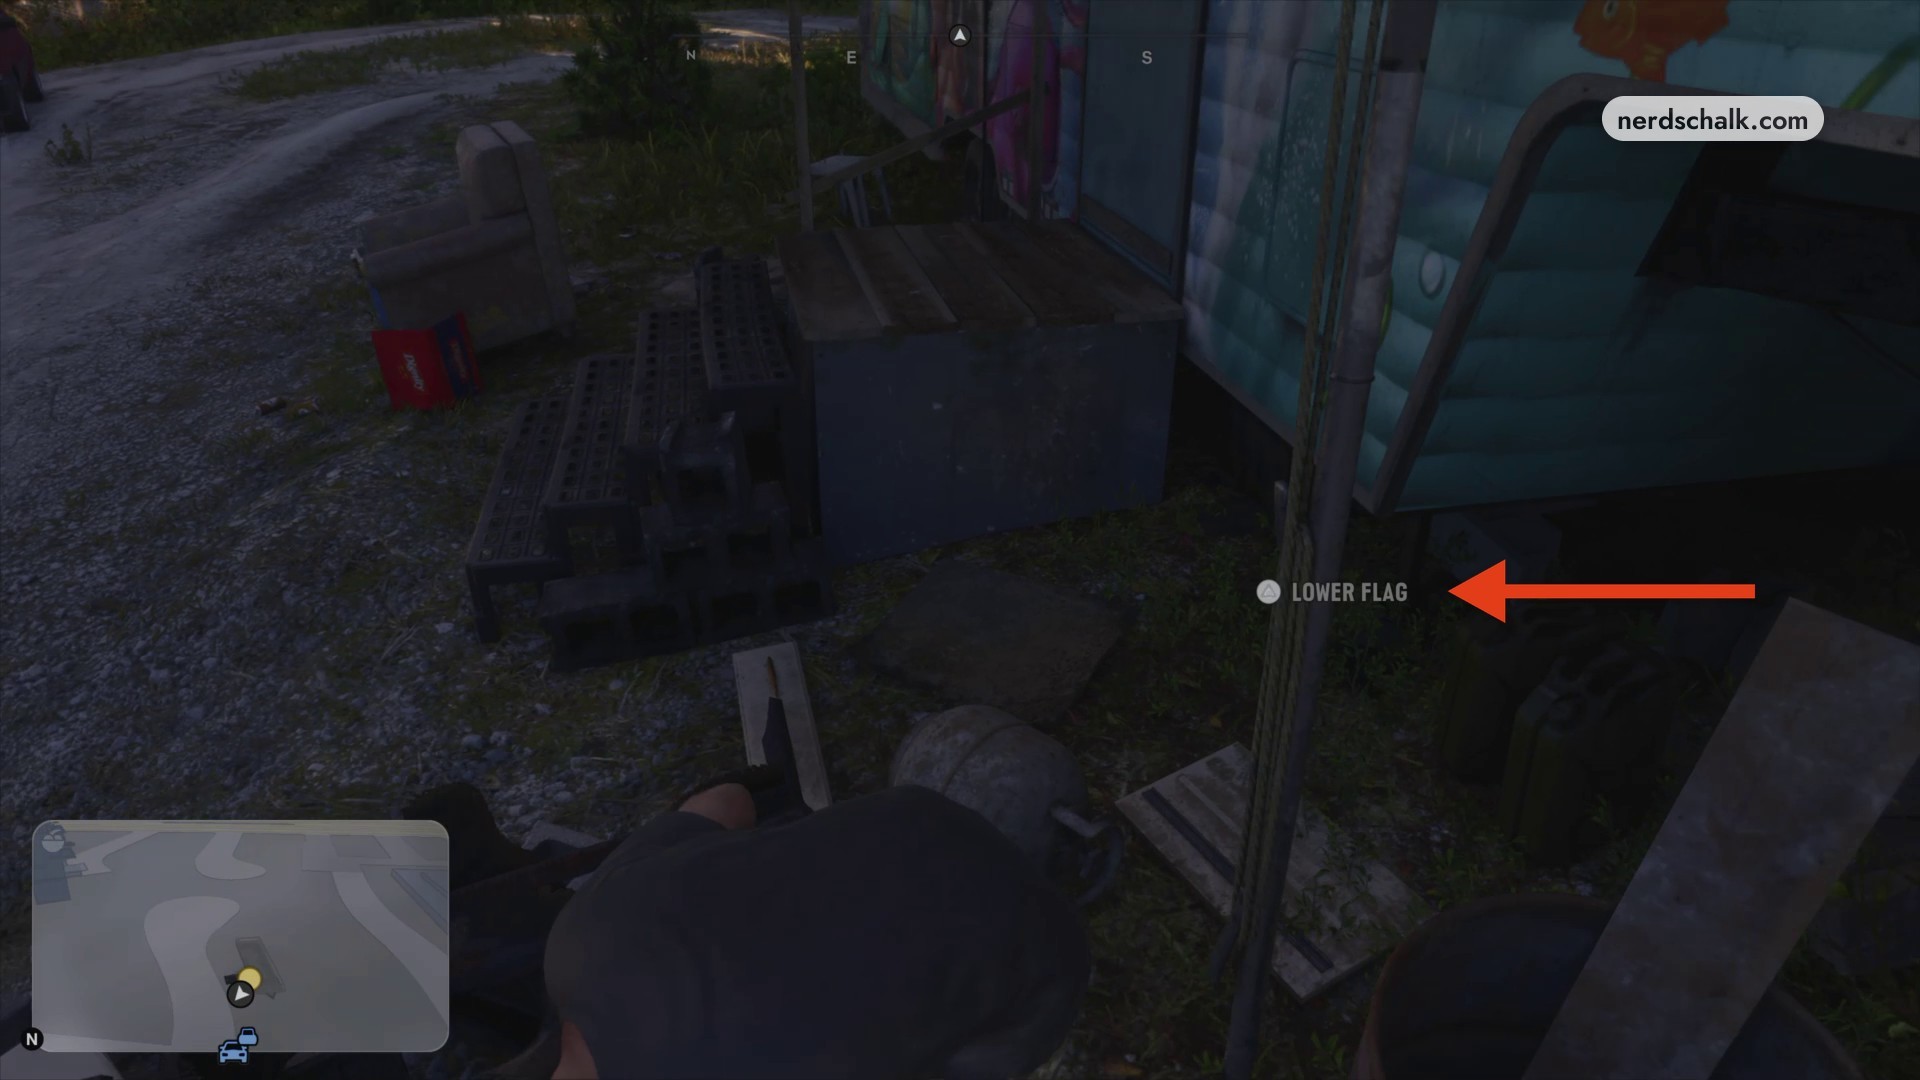
Lower Donnie’s flag
Approach the flagpole beside the wooden trailer steps and use LOWER FLAG.
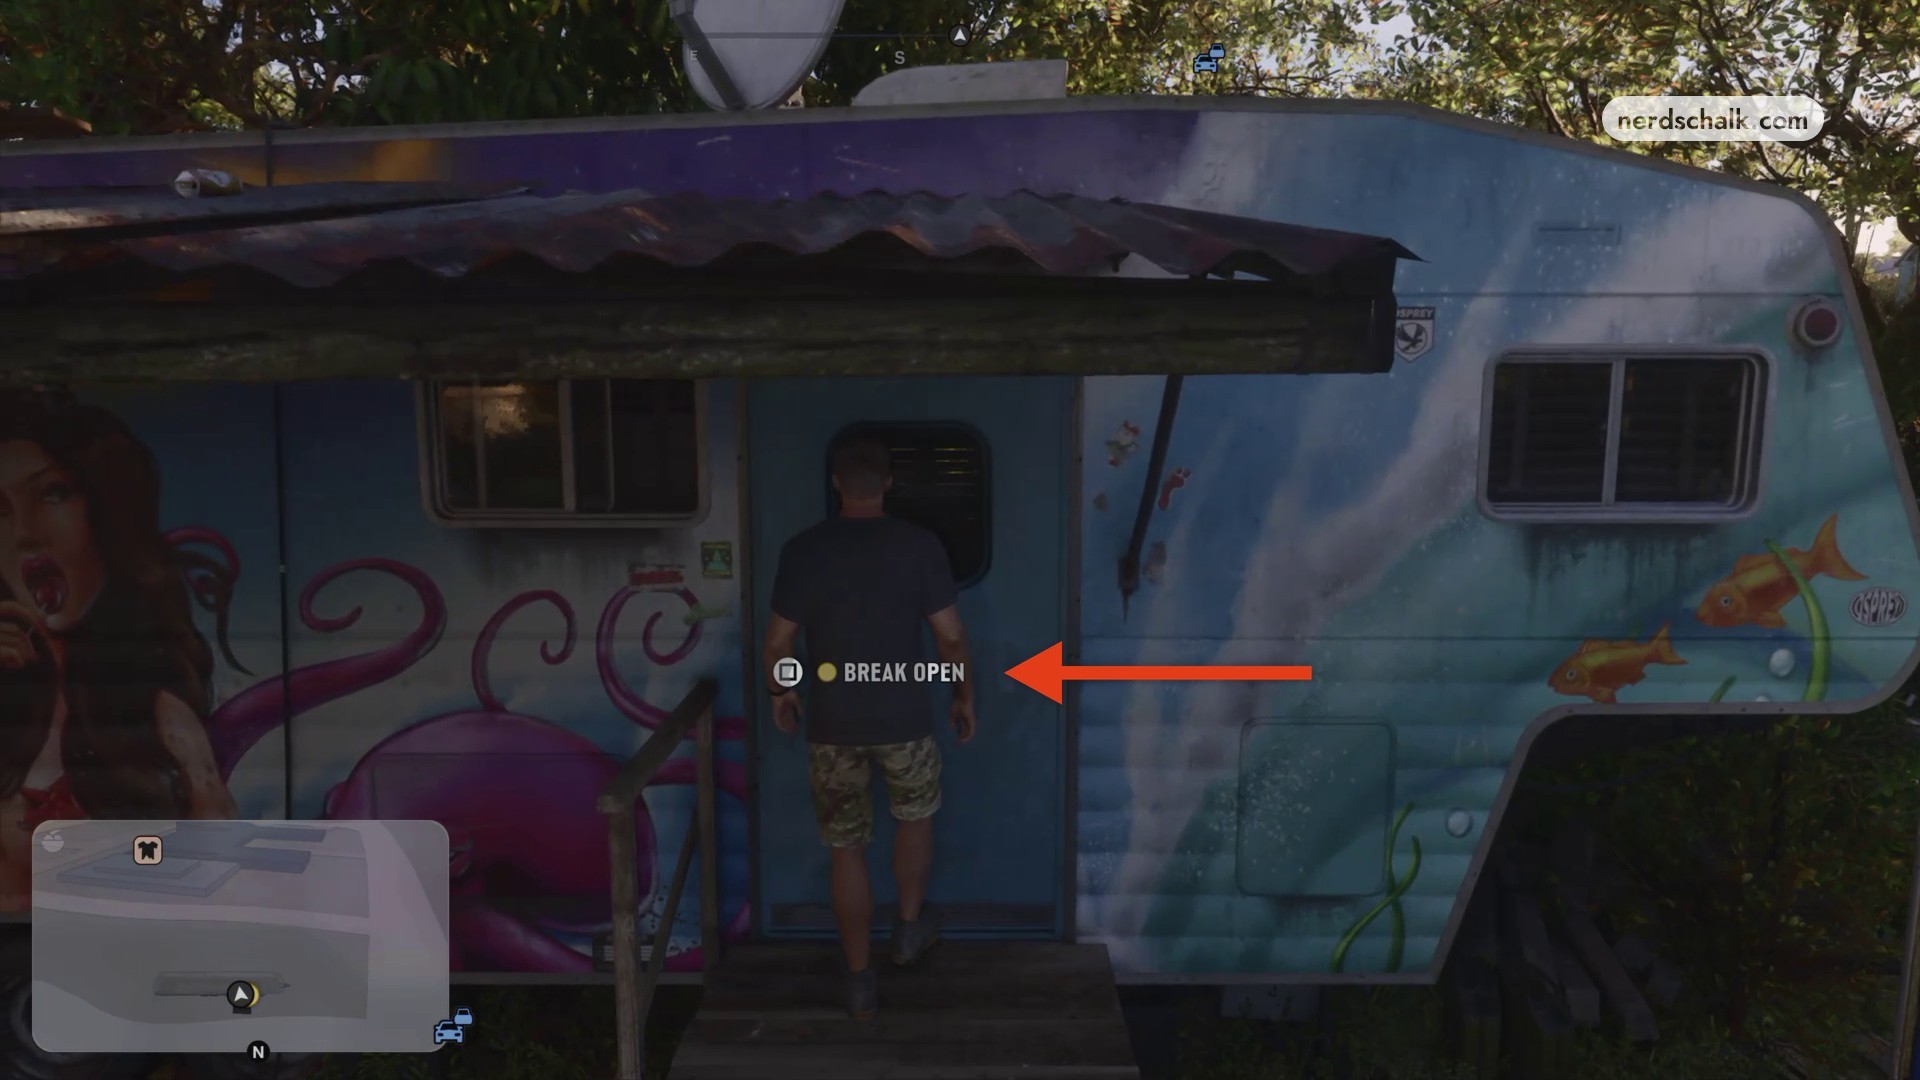
Break open the trailer door
Climb the wooden steps and use BREAK OPEN at the door to enter.
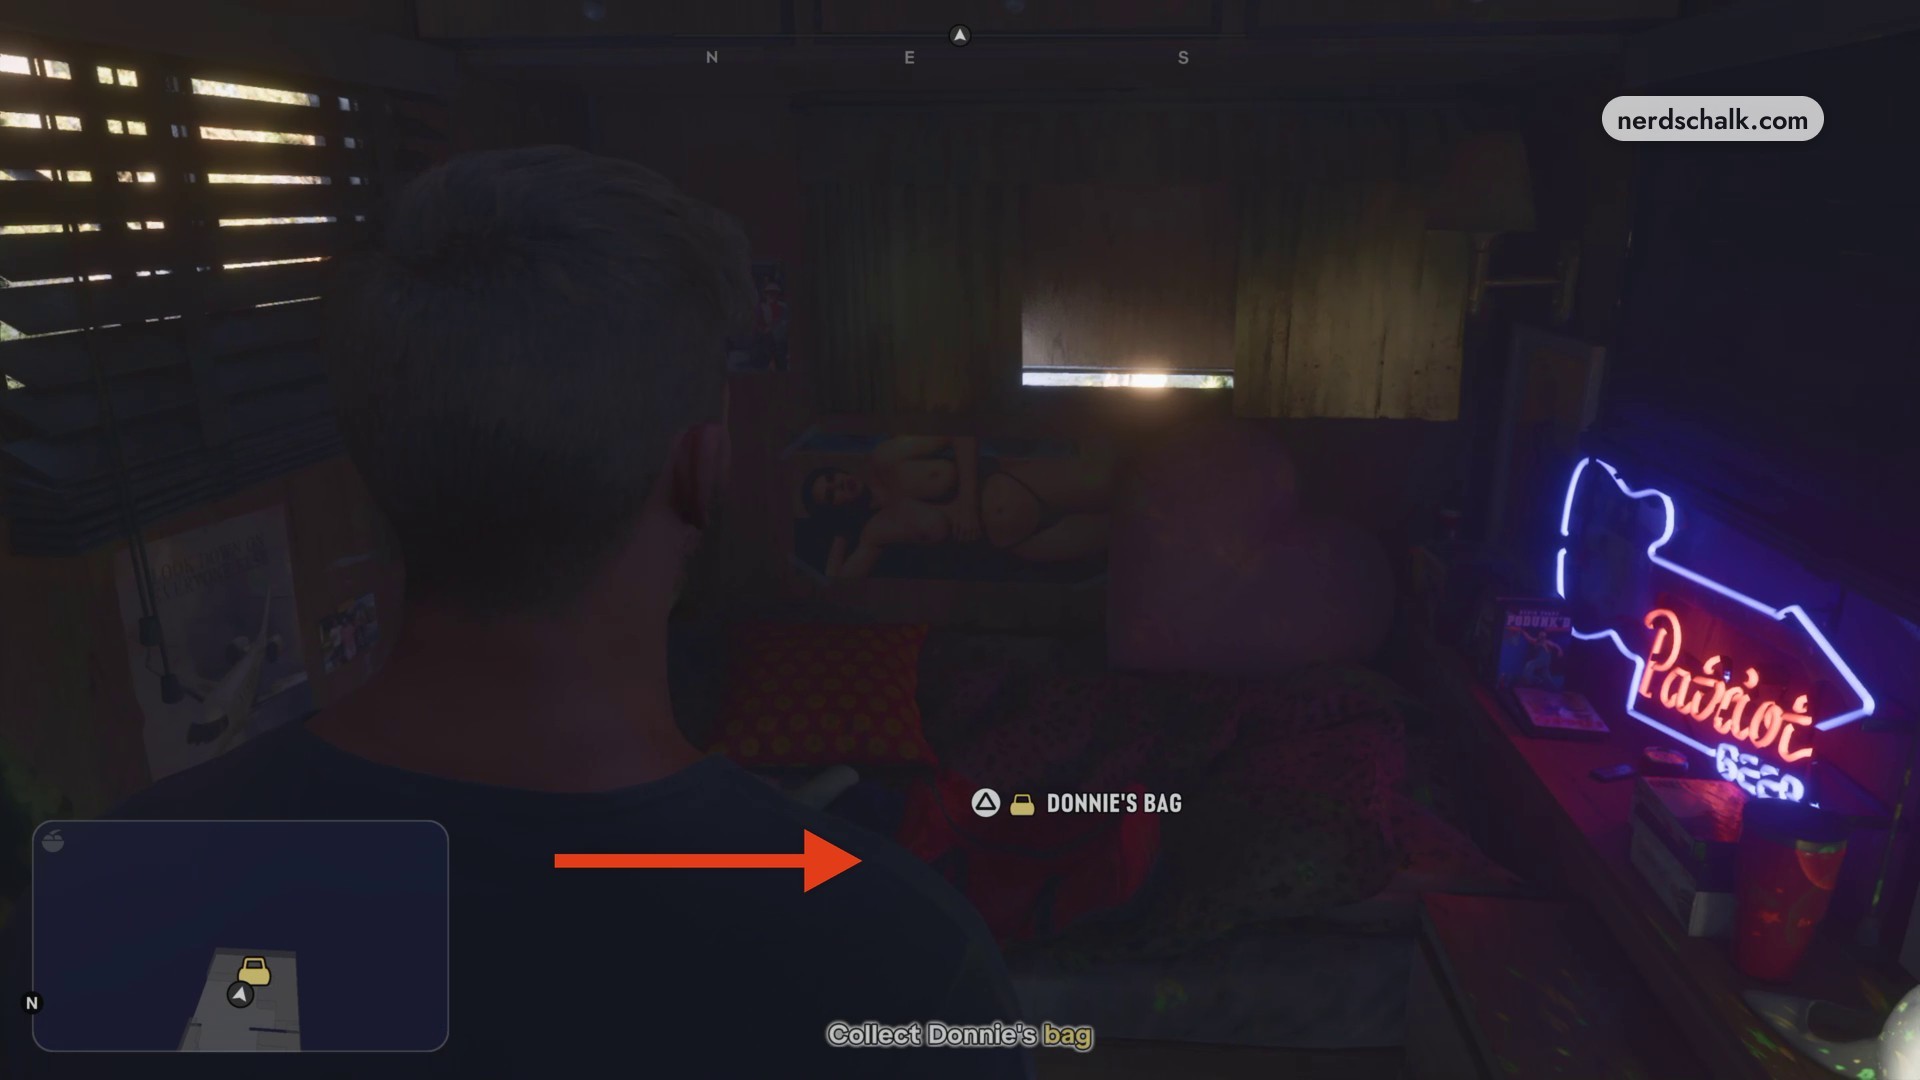
Collect Donnie’s duffel bag
Enter the bedroom and take the red duffel from the bed using DONNIE’S BAG.
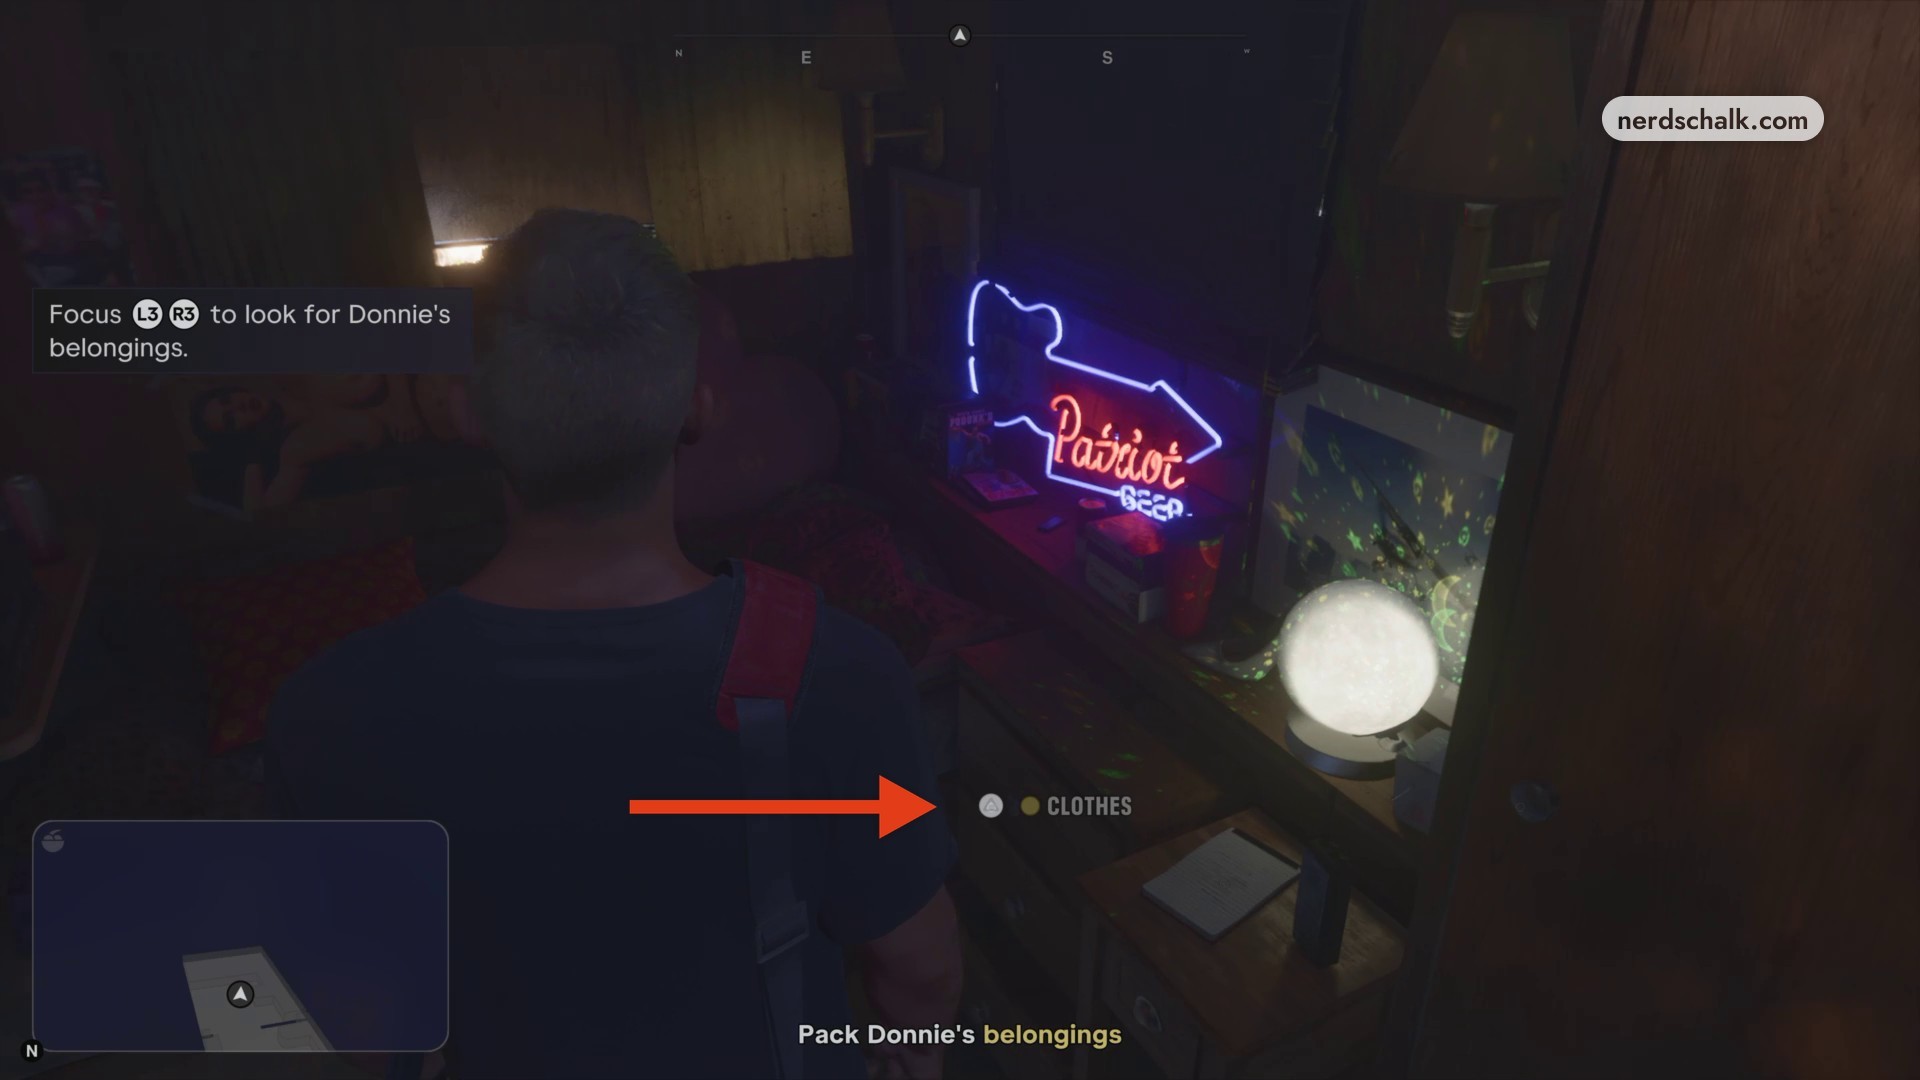
Pack Donnie’s clothes
Use CLOTHES at the shelf beside the bed to pack the clothing. The displayed PlayStation Focus control, L3 + R3, helps you look for Donnie’s belongings.
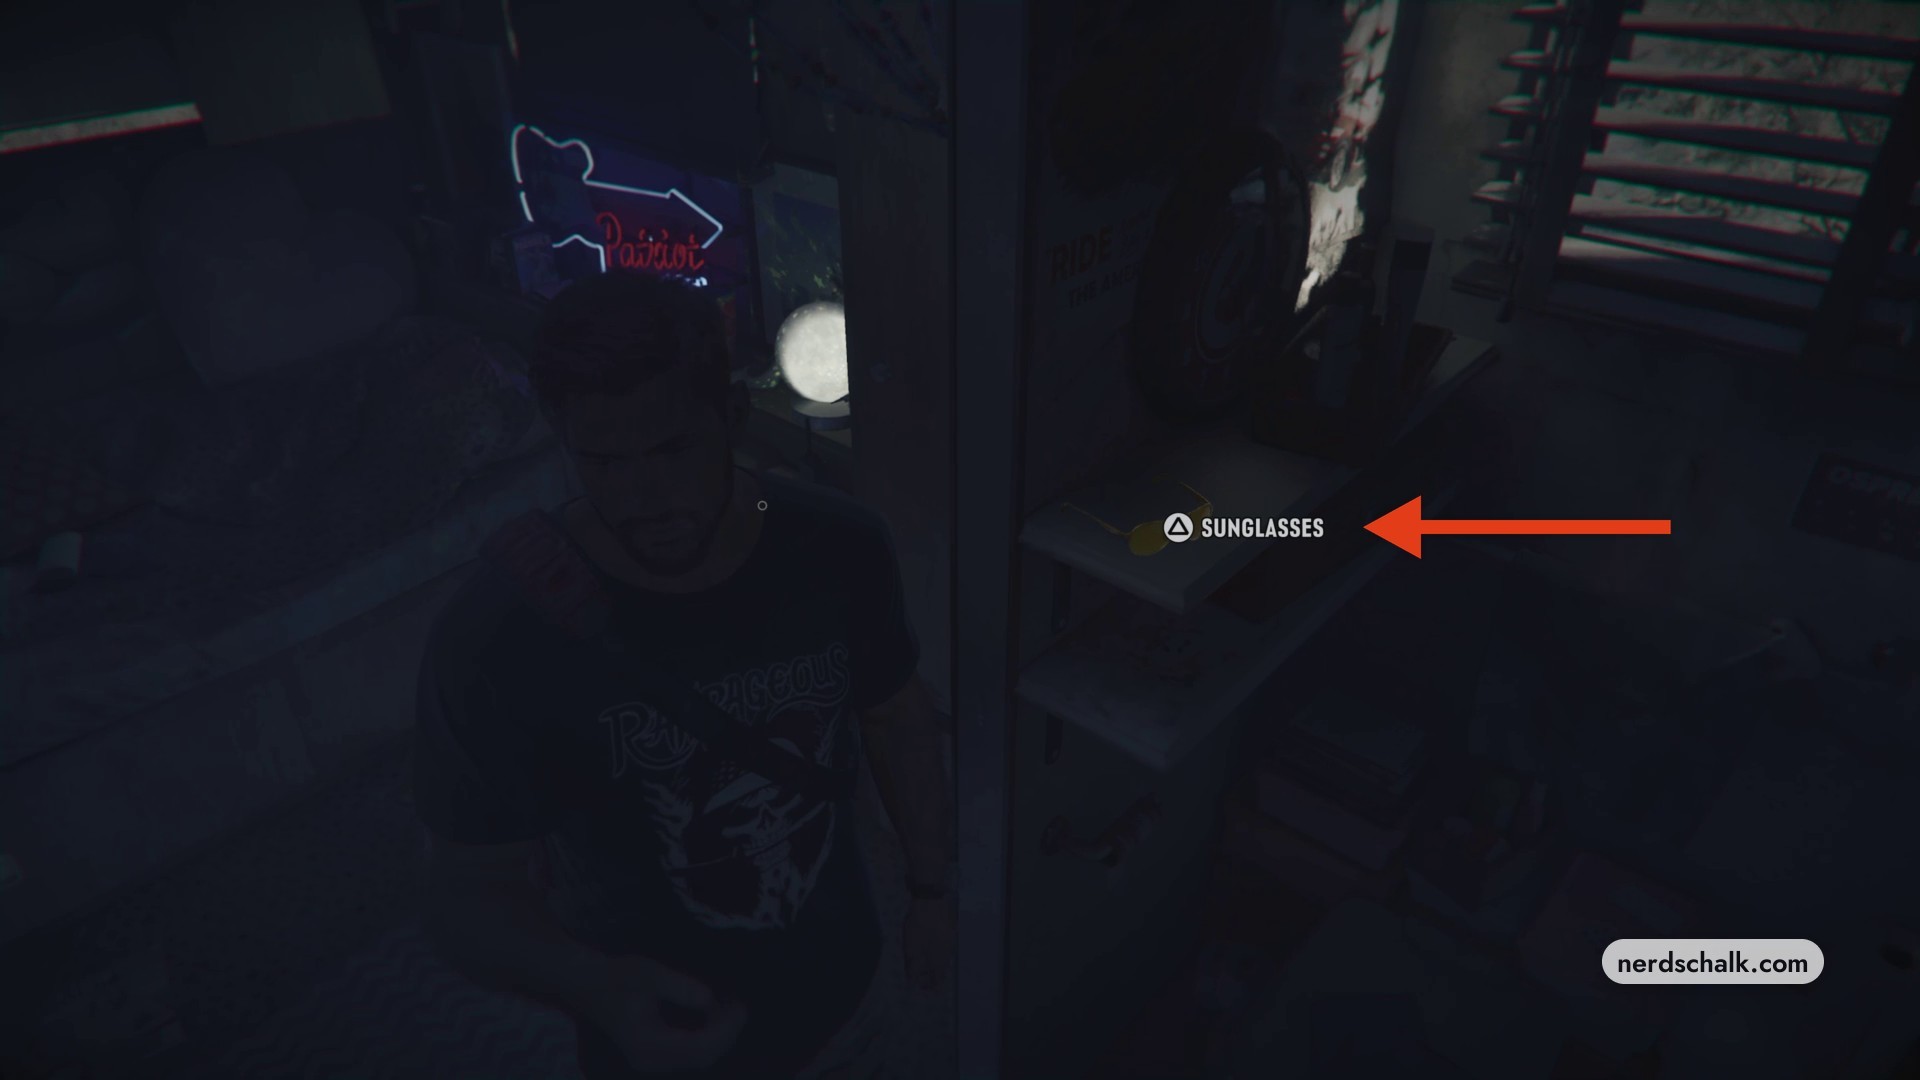
Pack Donnie’s sunglasses
Turn toward the shelf at the hallway corner and take the yellow sunglasses using SUNGLASSES.
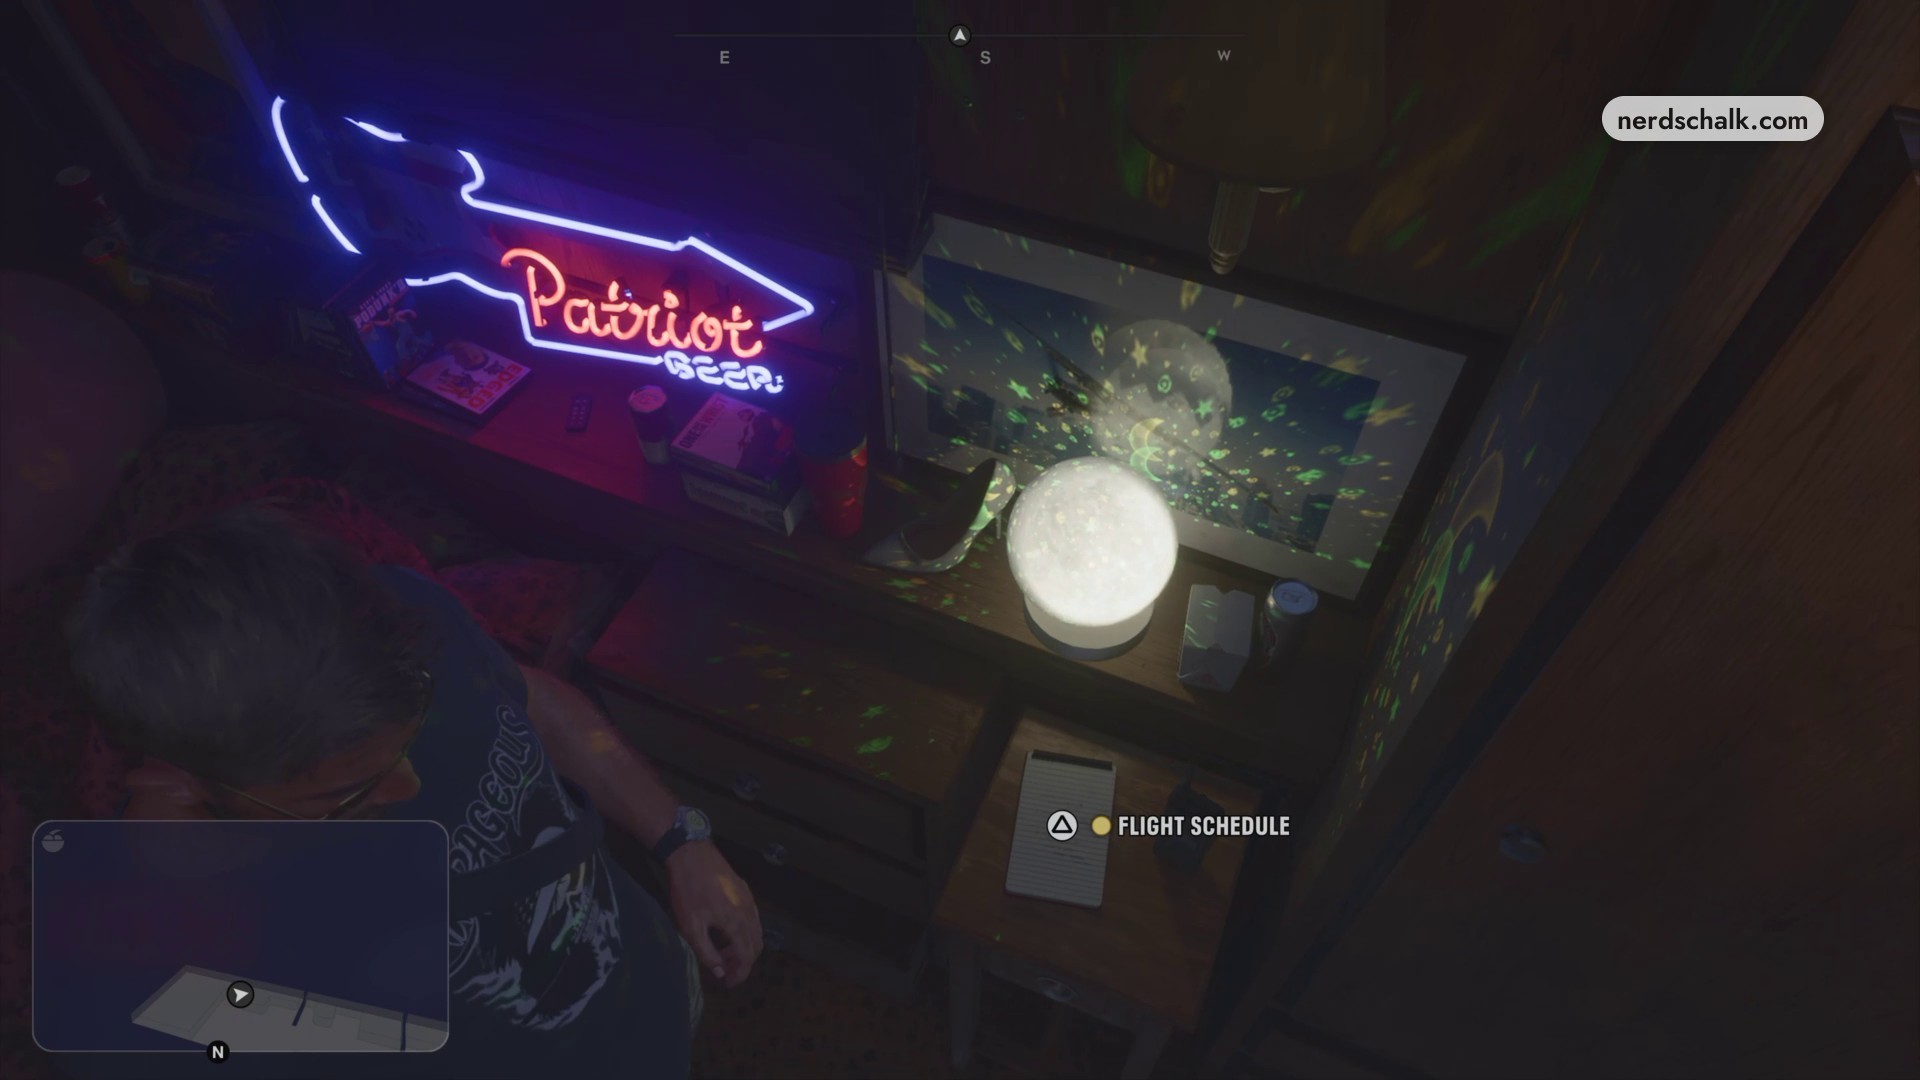
Collect Donnie’s flight schedule
Select FLIGHT SCHEDULE on the bedside nightstand to inspect the notepad. Its inspection view offers HIDE TEXT and FLIP.
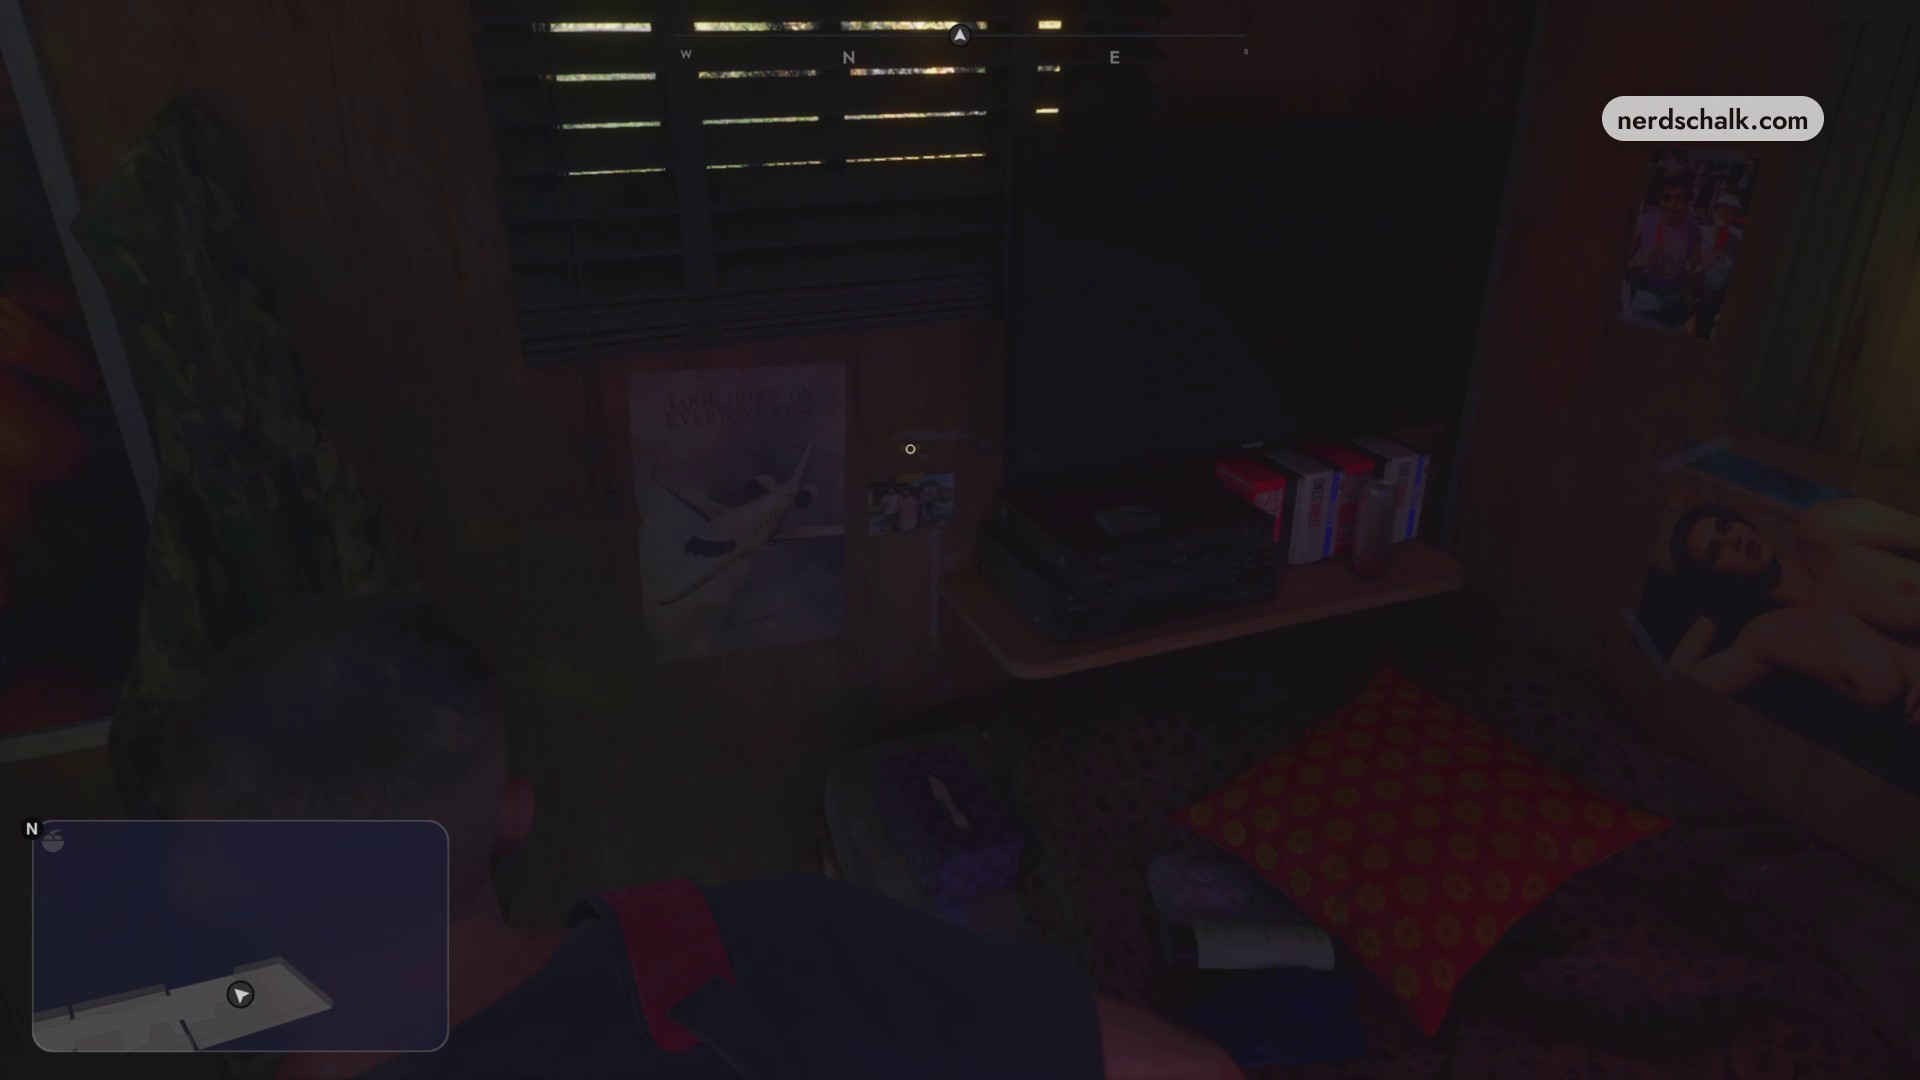
Collect the group photograph
Find the photograph near the television and beneath the window. Identified as The Gang, it has a FLIP control in its inspection view.
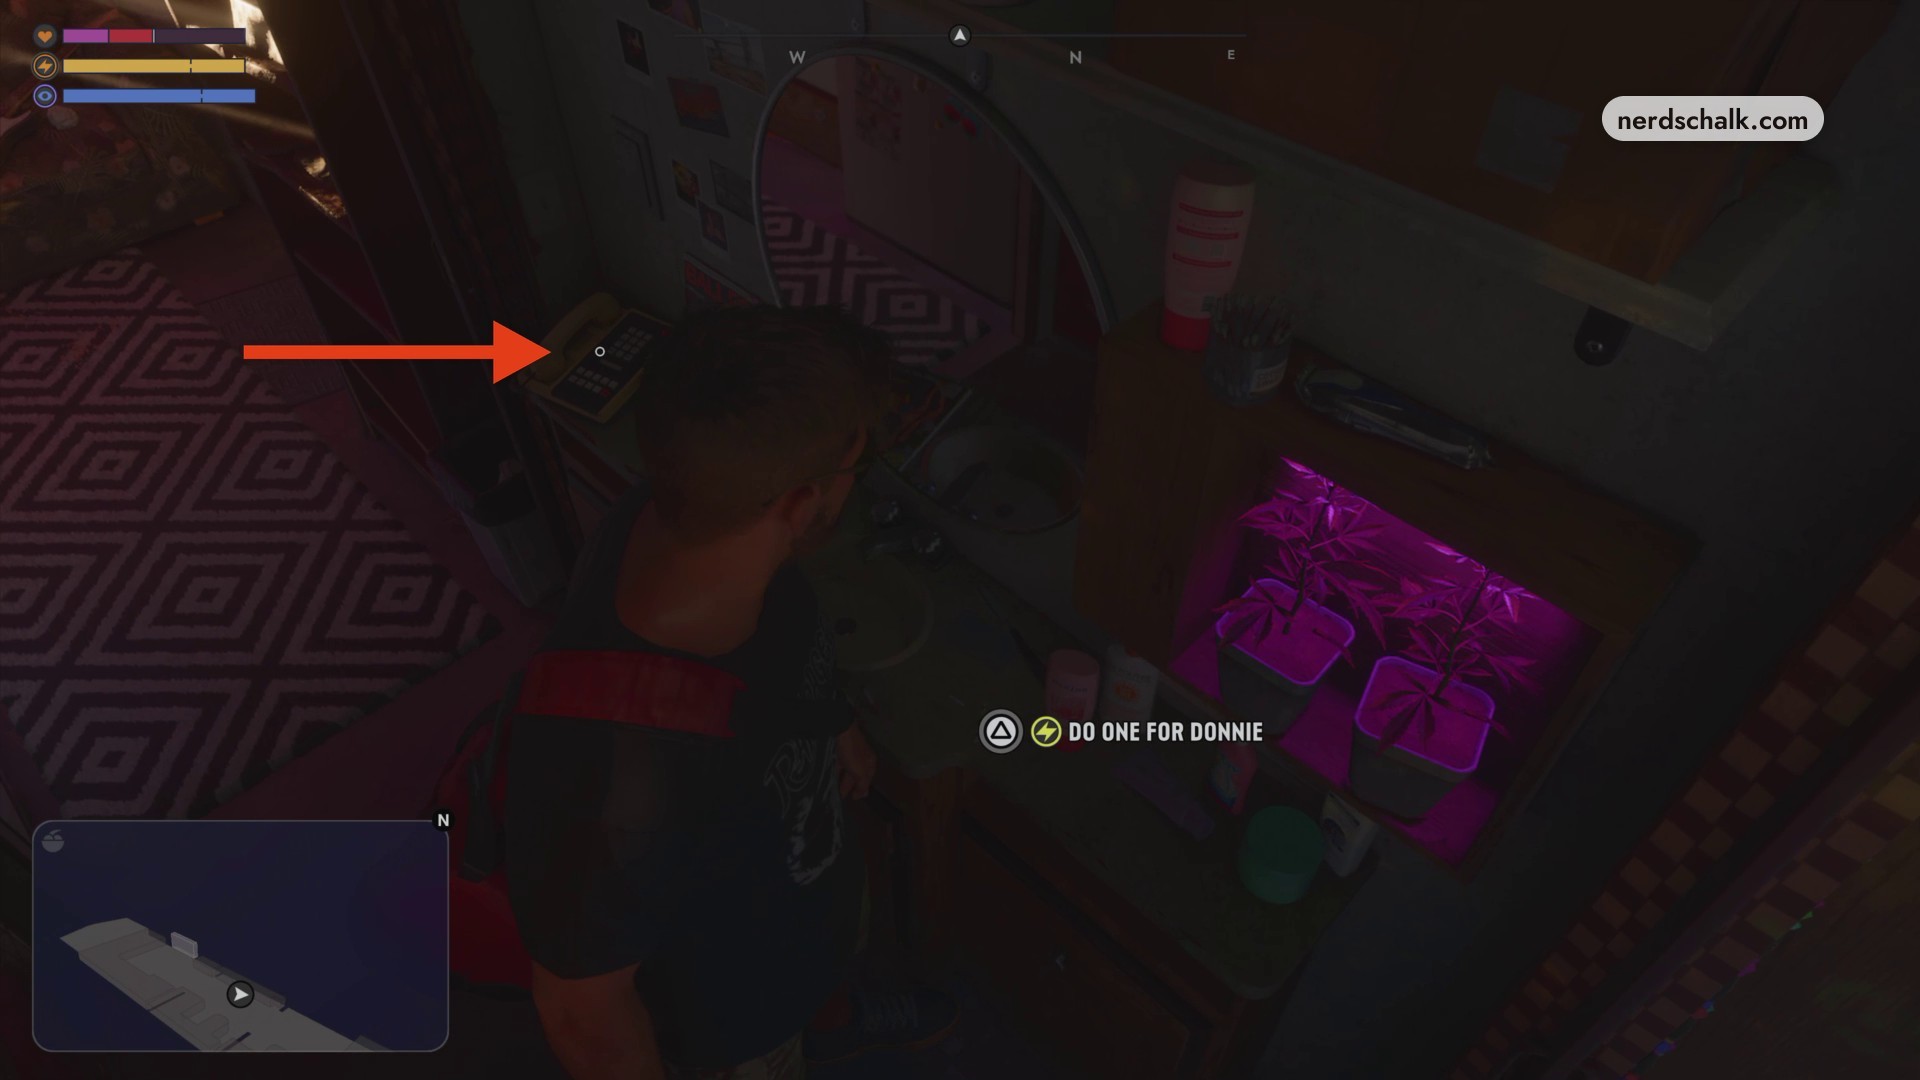
Listen to the answering machine
Use Play Messages on the answering machine at the counter/vanity area.
Collect the marked tourist map
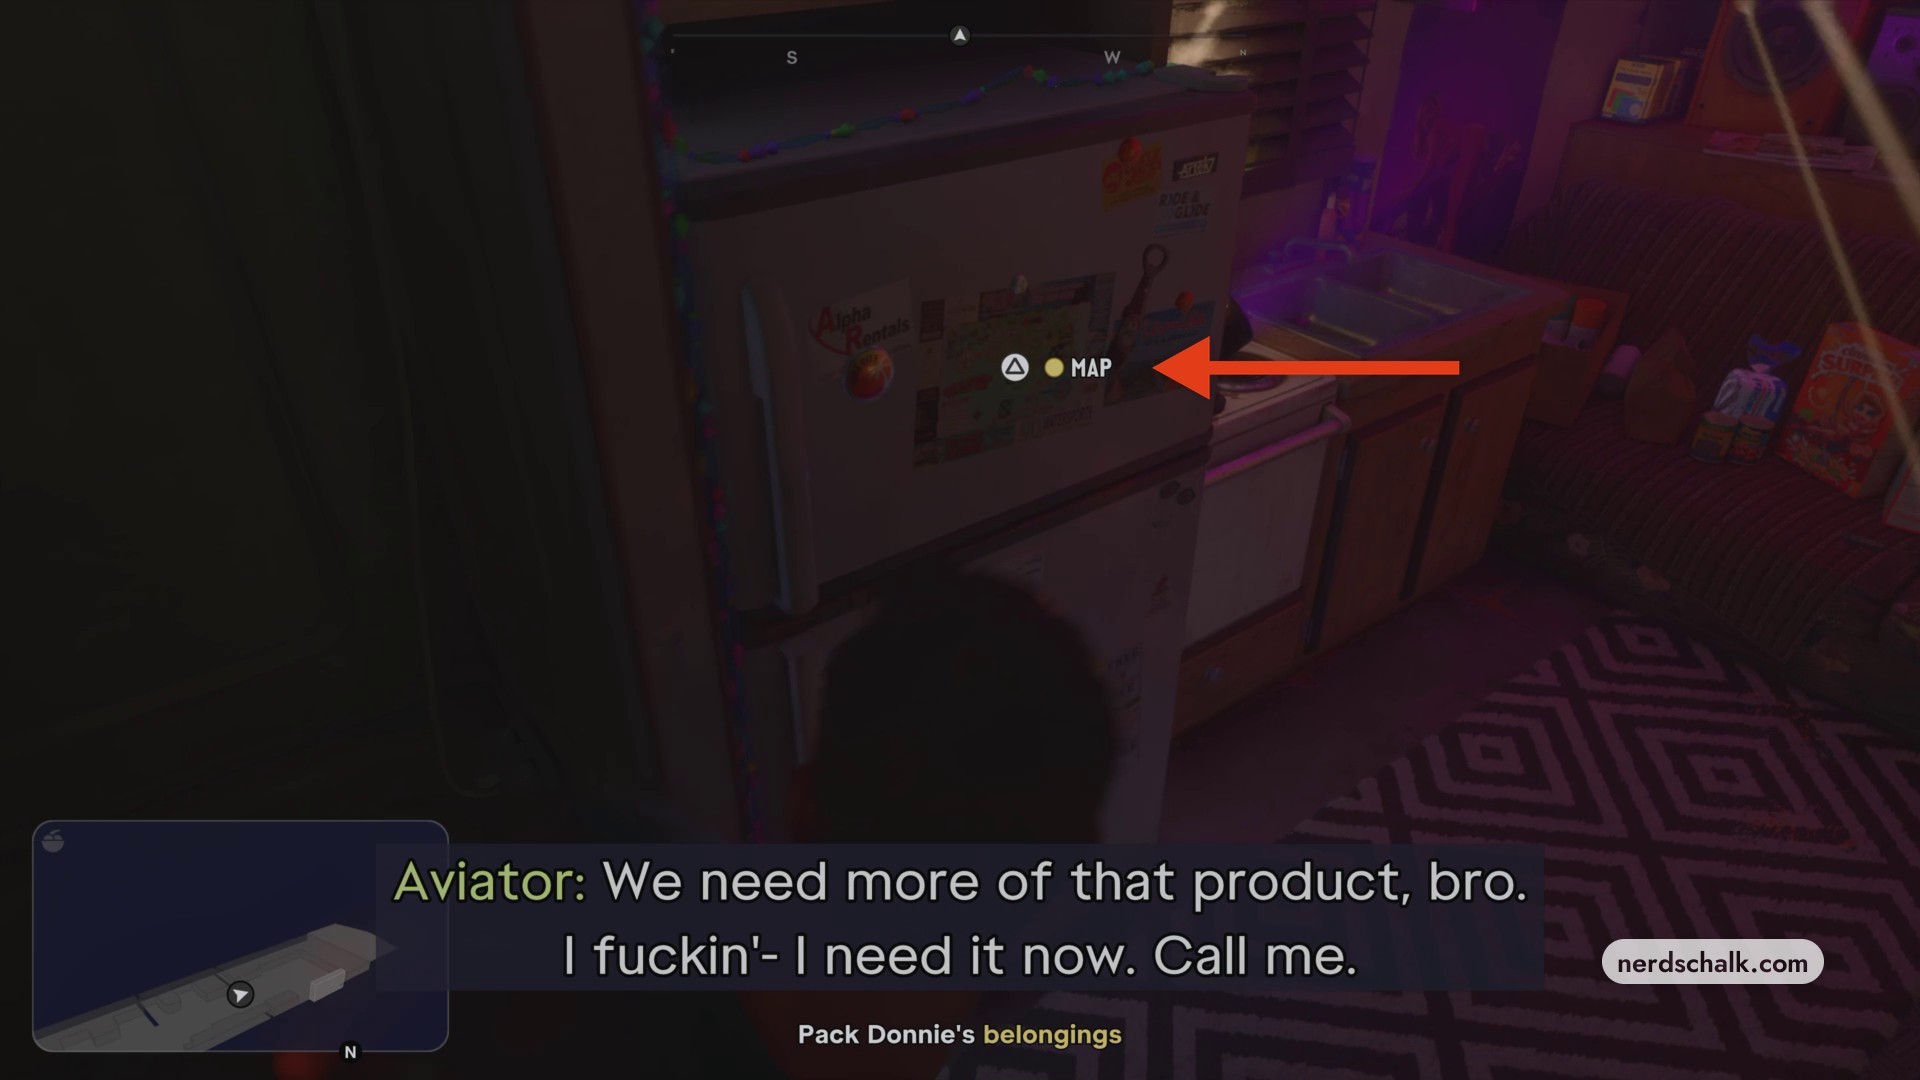
Use MAP on the refrigerator to inspect the South Leonida tourist map. It contains marked drop-off locations, and FLIP lets you examine its reverse.
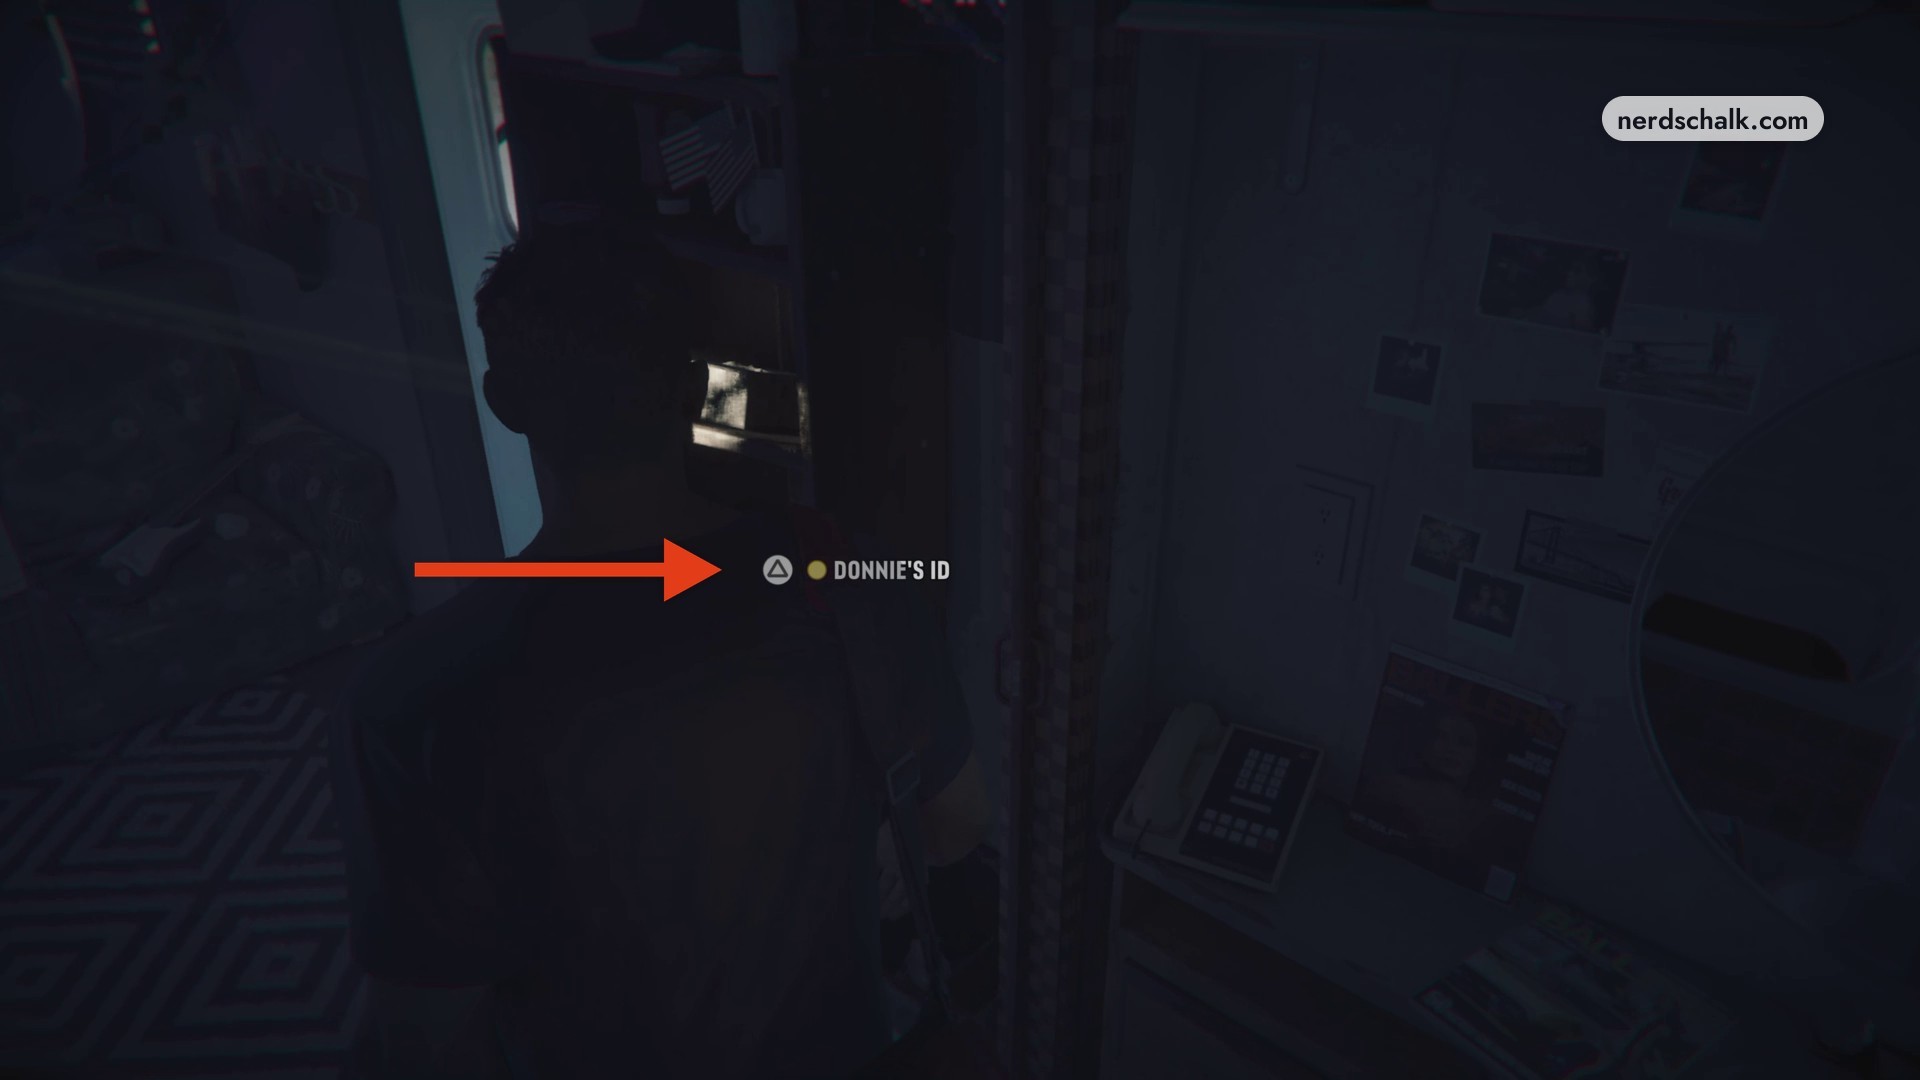
Collect Donnie’s driver license
Take DONNIE’S ID from the shelf near the doorway. The license identifies him as CARTER DONALD.
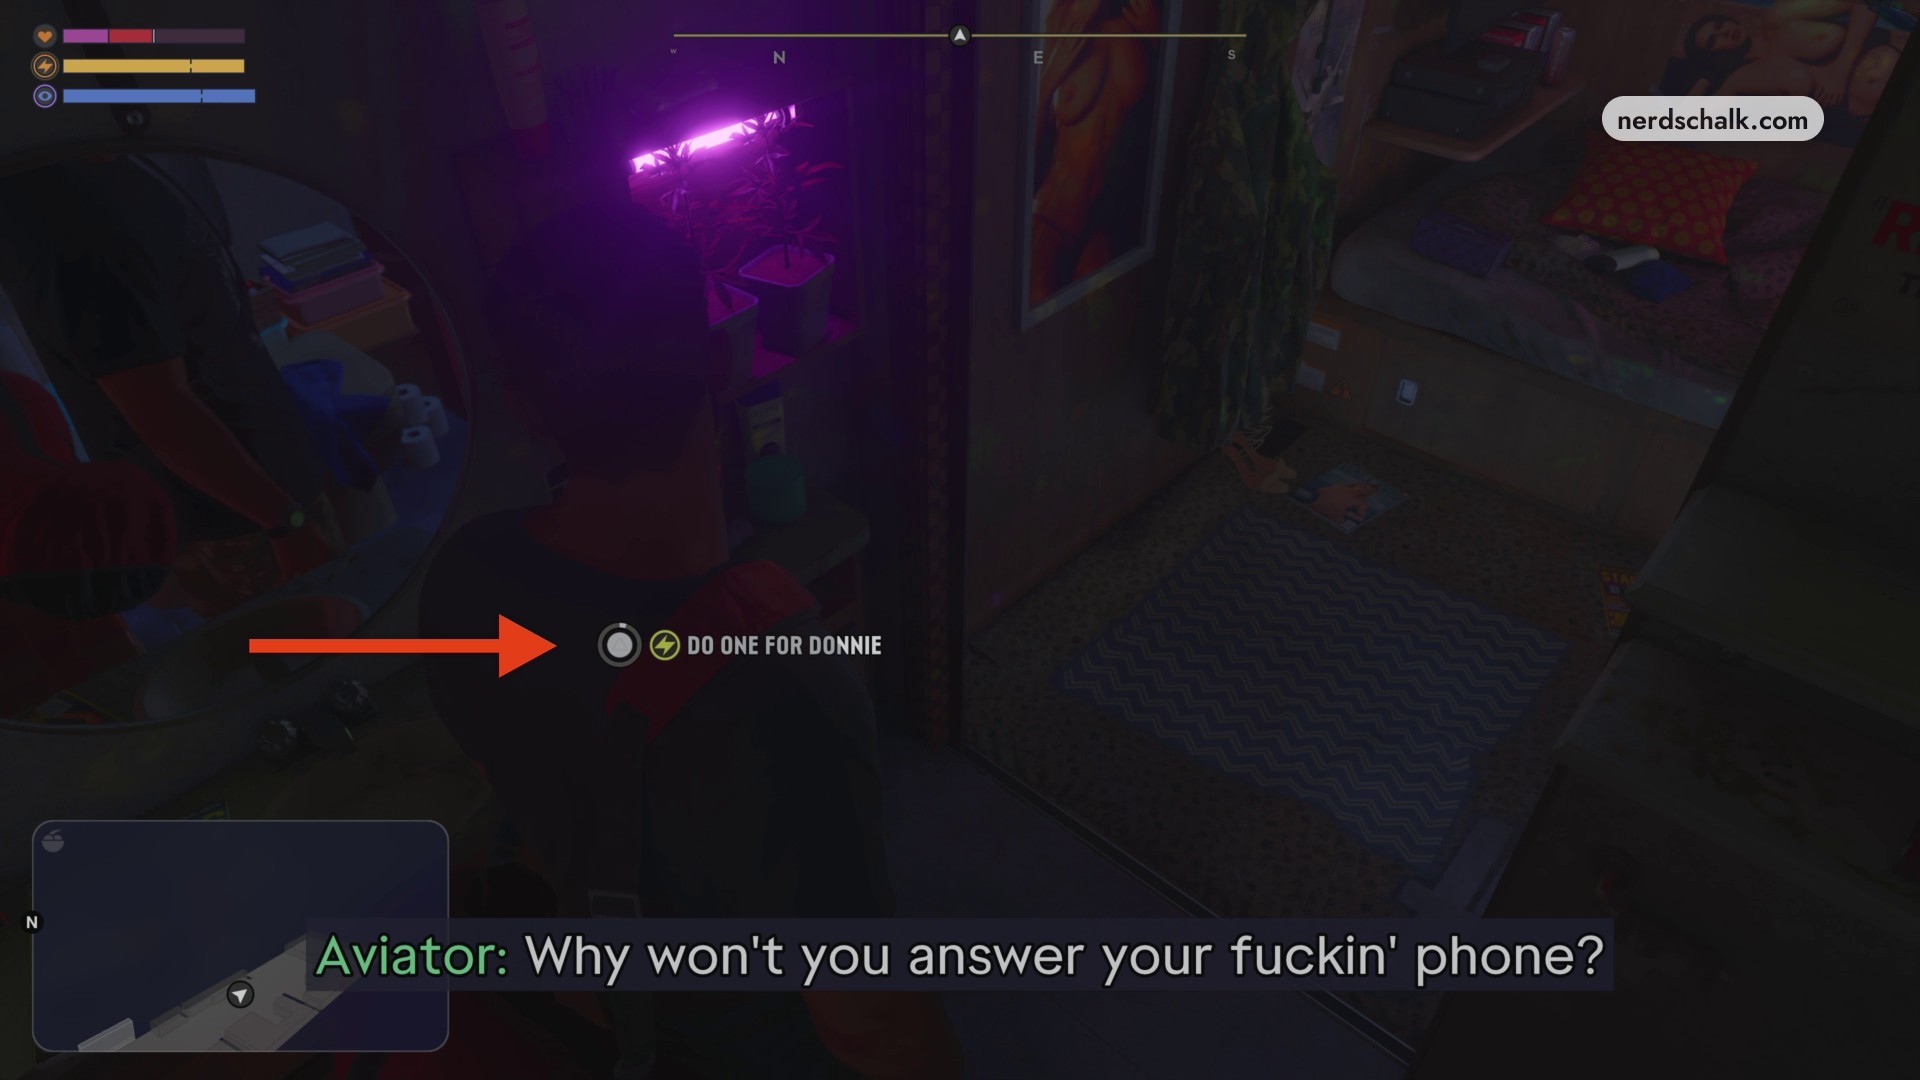
Do a line for Donnie
Use DO ONE FOR DONNIE at the counter to consume the powder there.
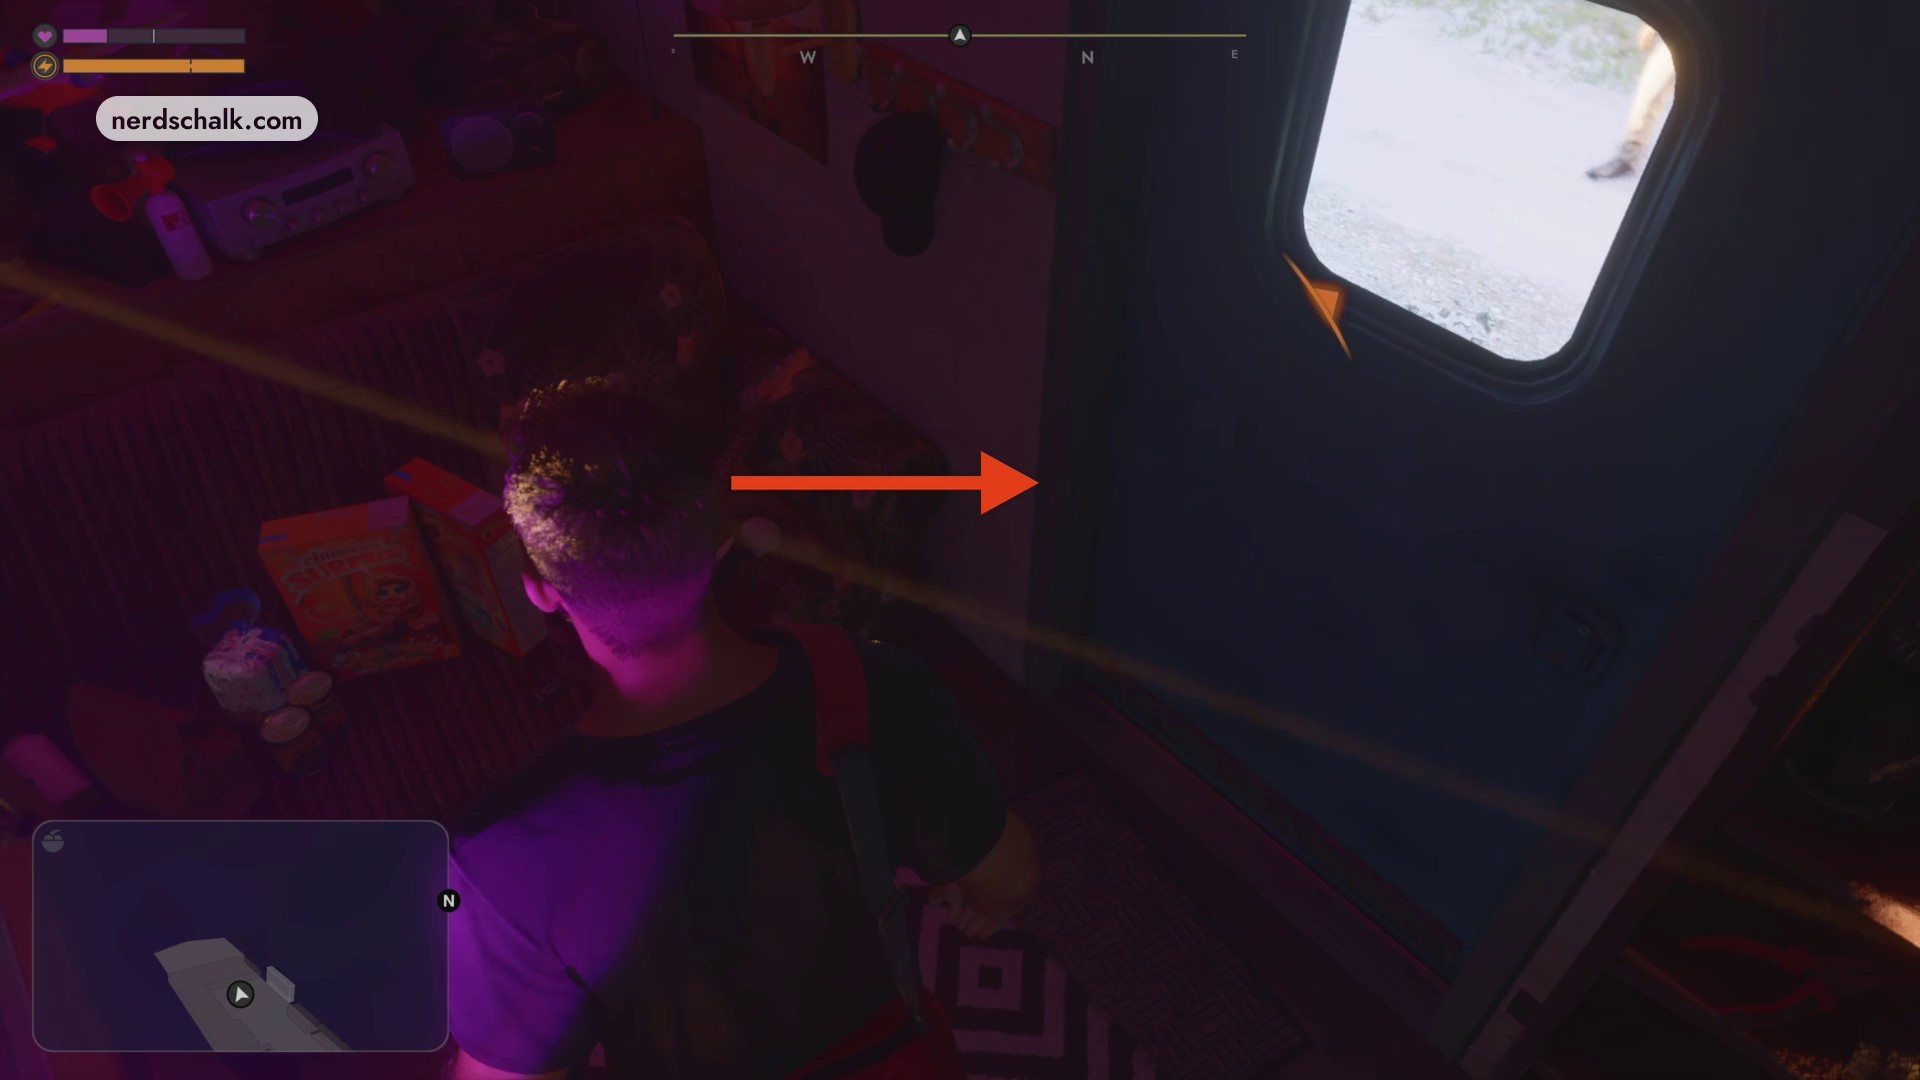
Leave Donnie’s trailer
Walk to the front exit and go outside.
Part 3 – Deal with Aviator and prepare Donnie’s car
Finish the driveway encounter before loading the car.
Fight Aviator and his associates
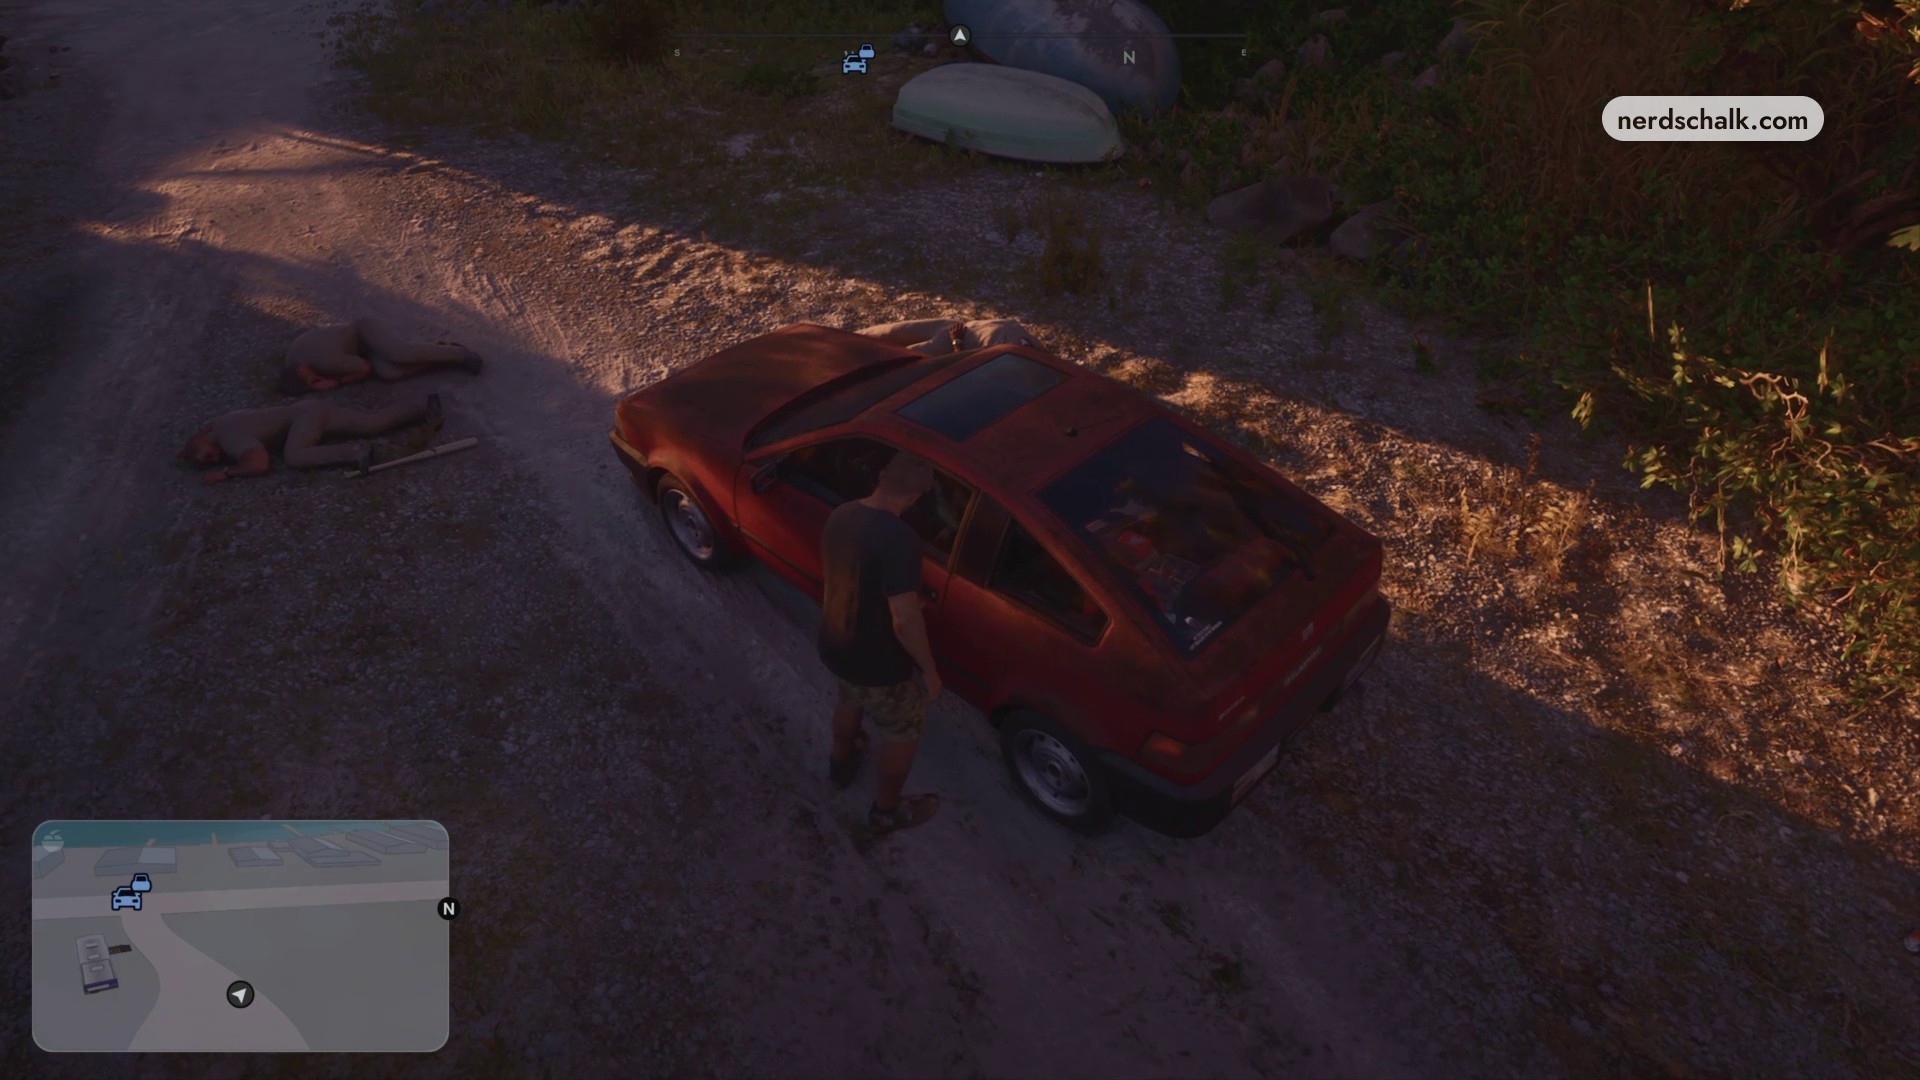
Aviator and his crew confront Jason outside the trailer. Outside in the driveway, fight Aviator and his two associates in hand-to-hand combat. The three men wear khaki uniforms.
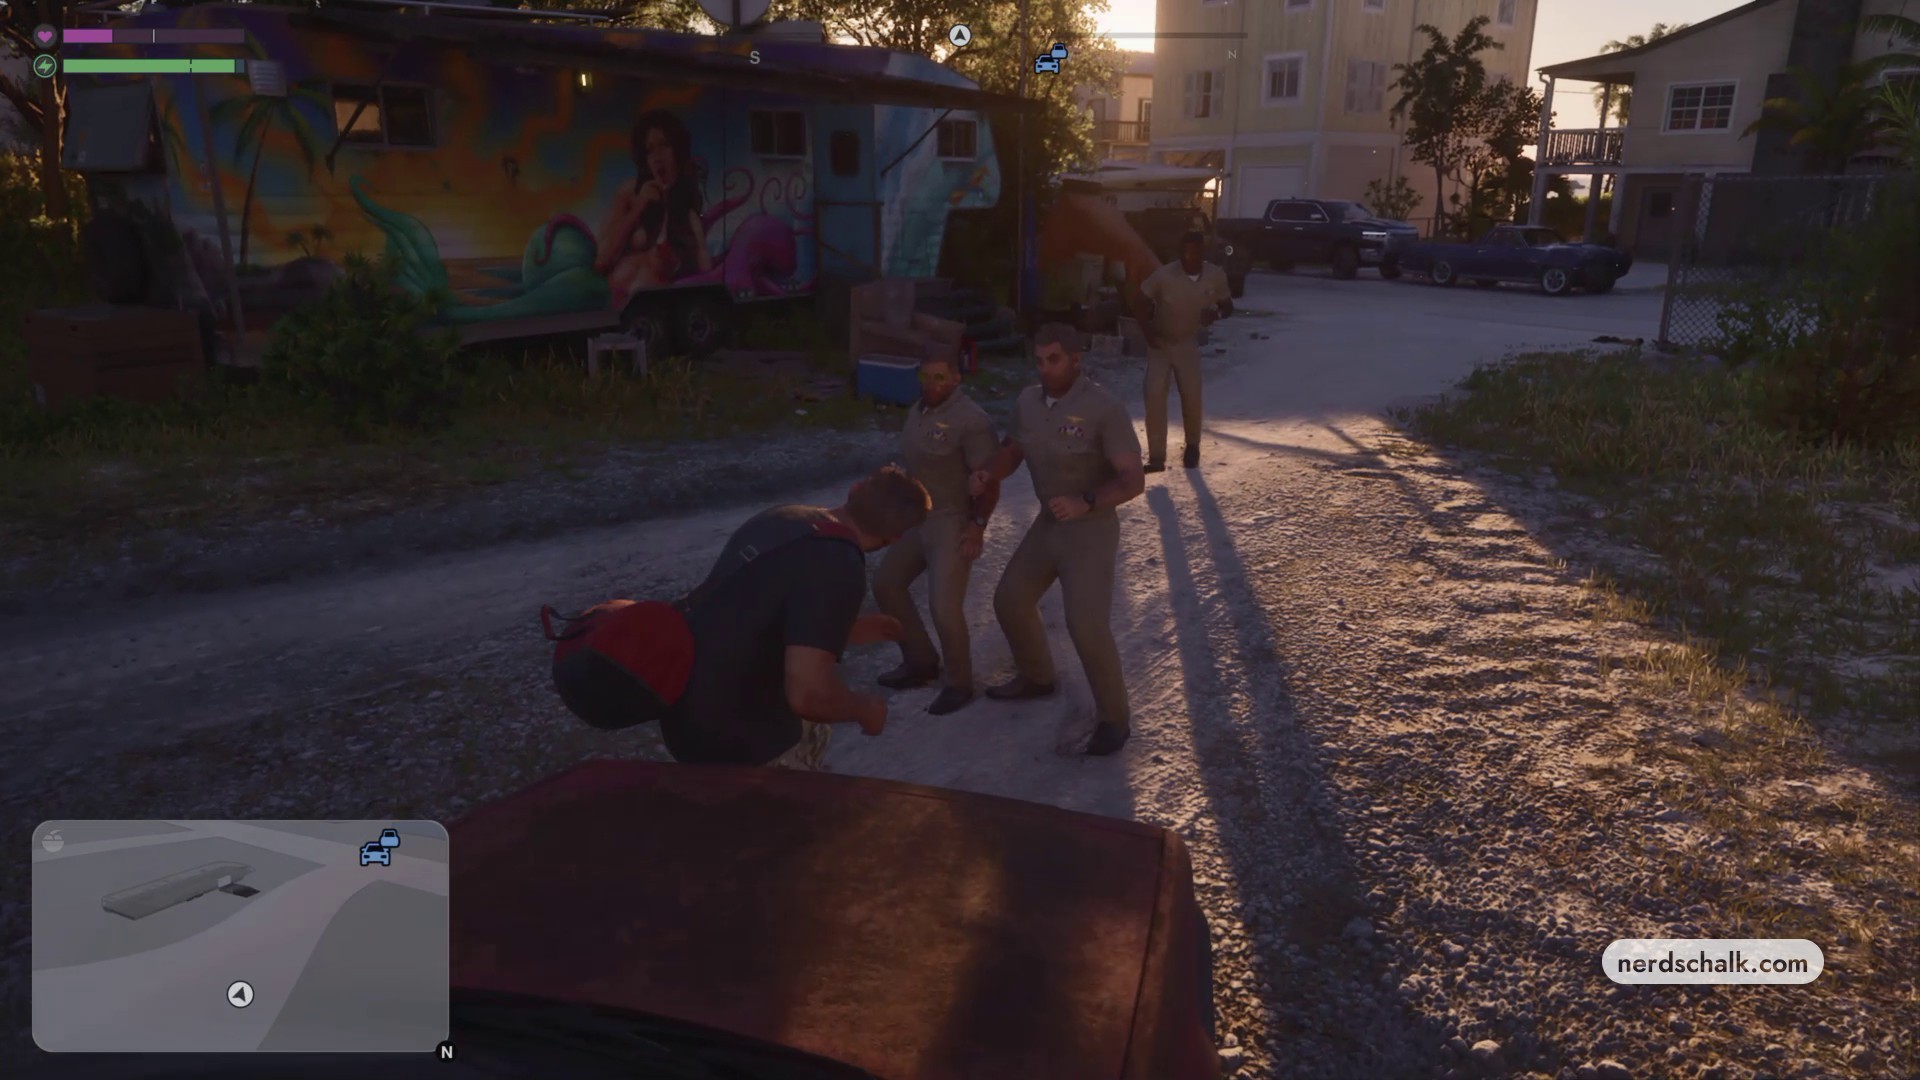
Open Donnie’s rear hatch
Walk behind Donnie’s red hatchback and open its rear hatch to access the trunk.
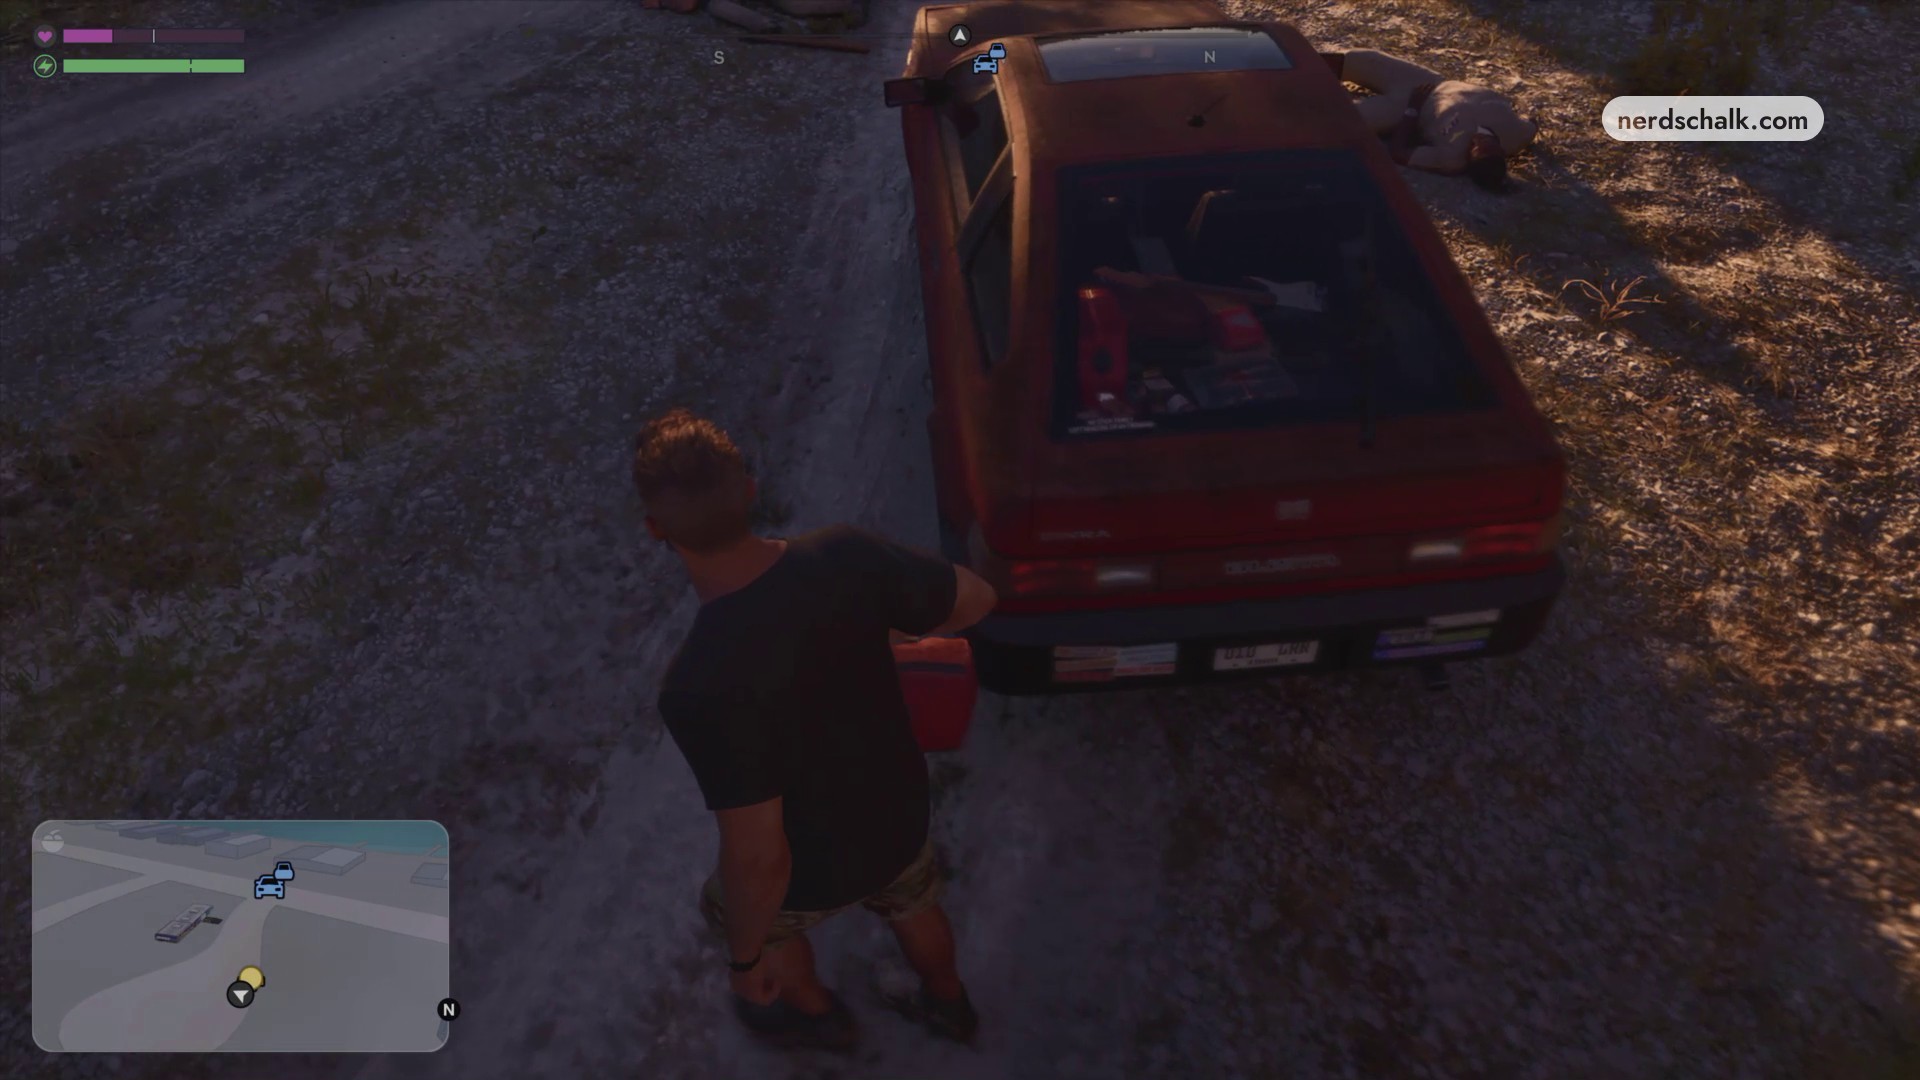
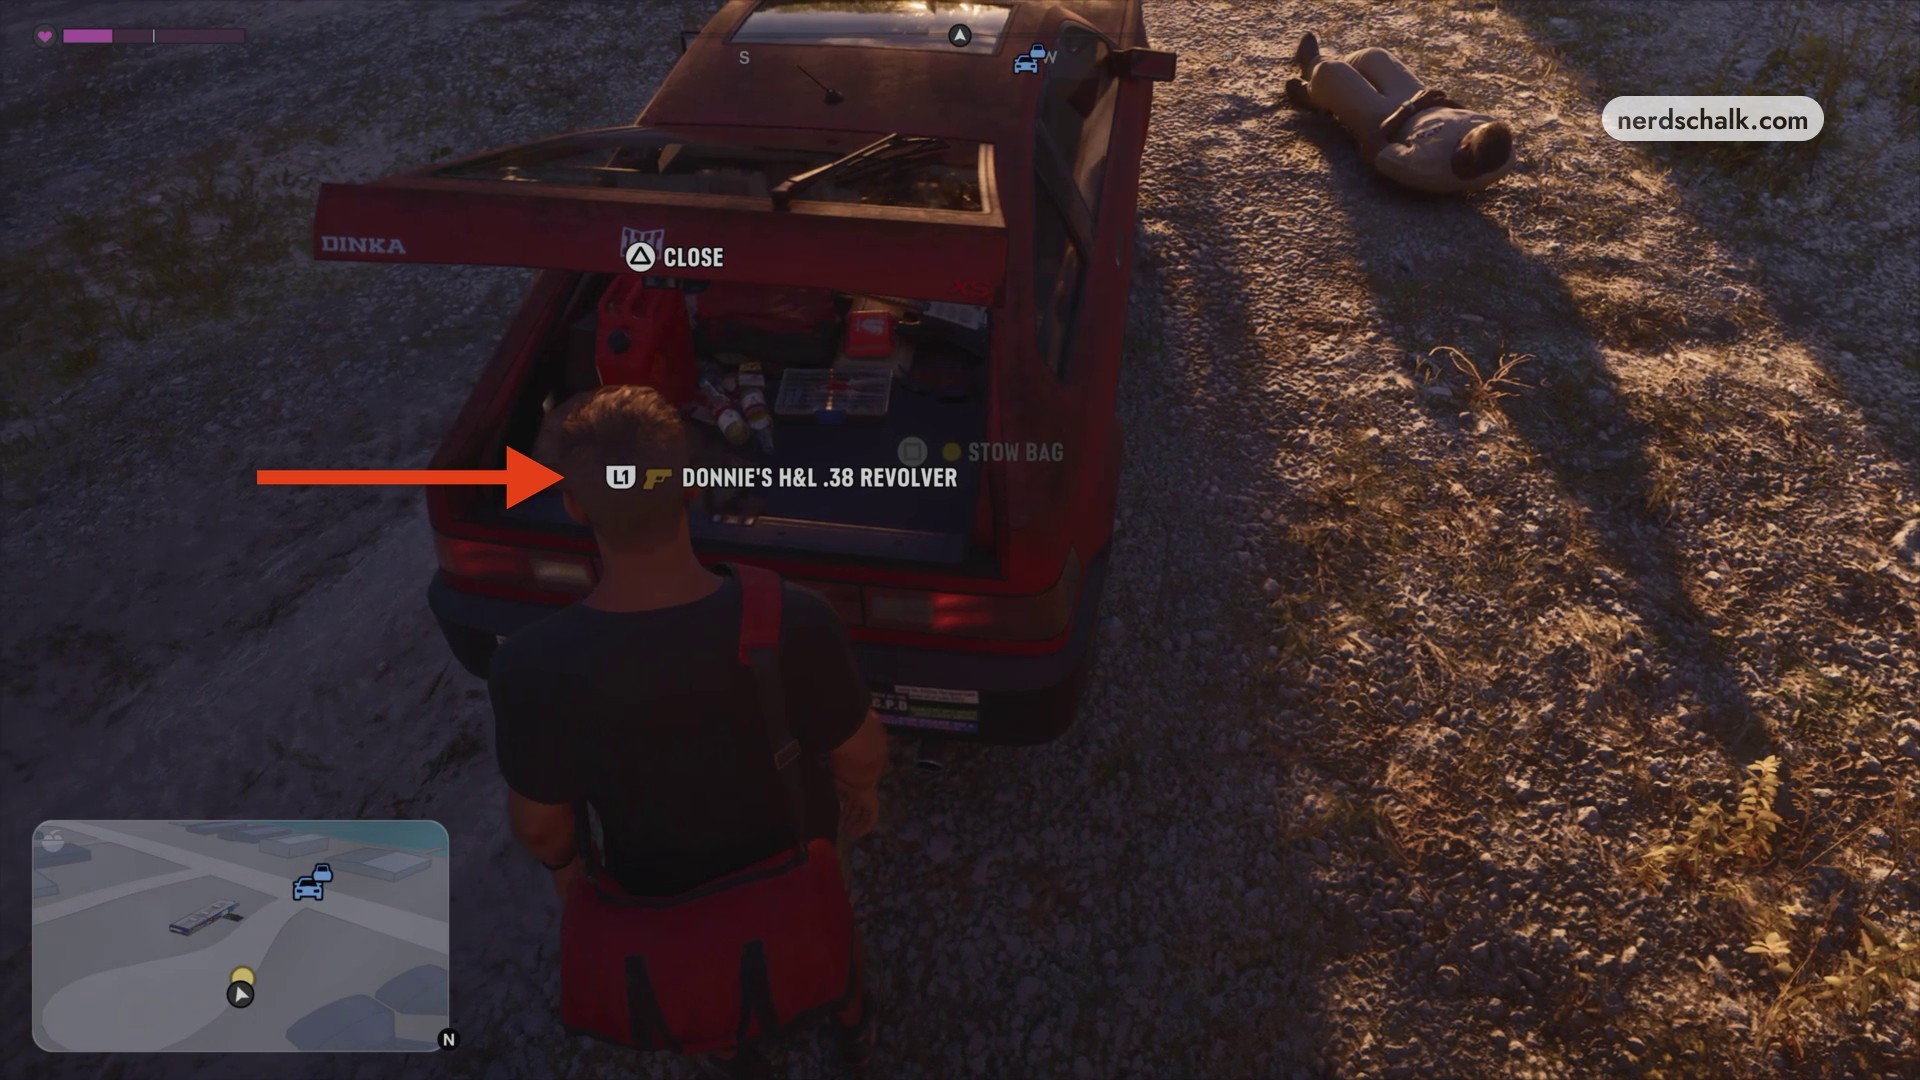
Collect Donnie’s revolver
The open trunk offers DONNIE'S H&L.38 REVOLVER and STOW BAG. Collect the weapon and stow the duffel before departure.
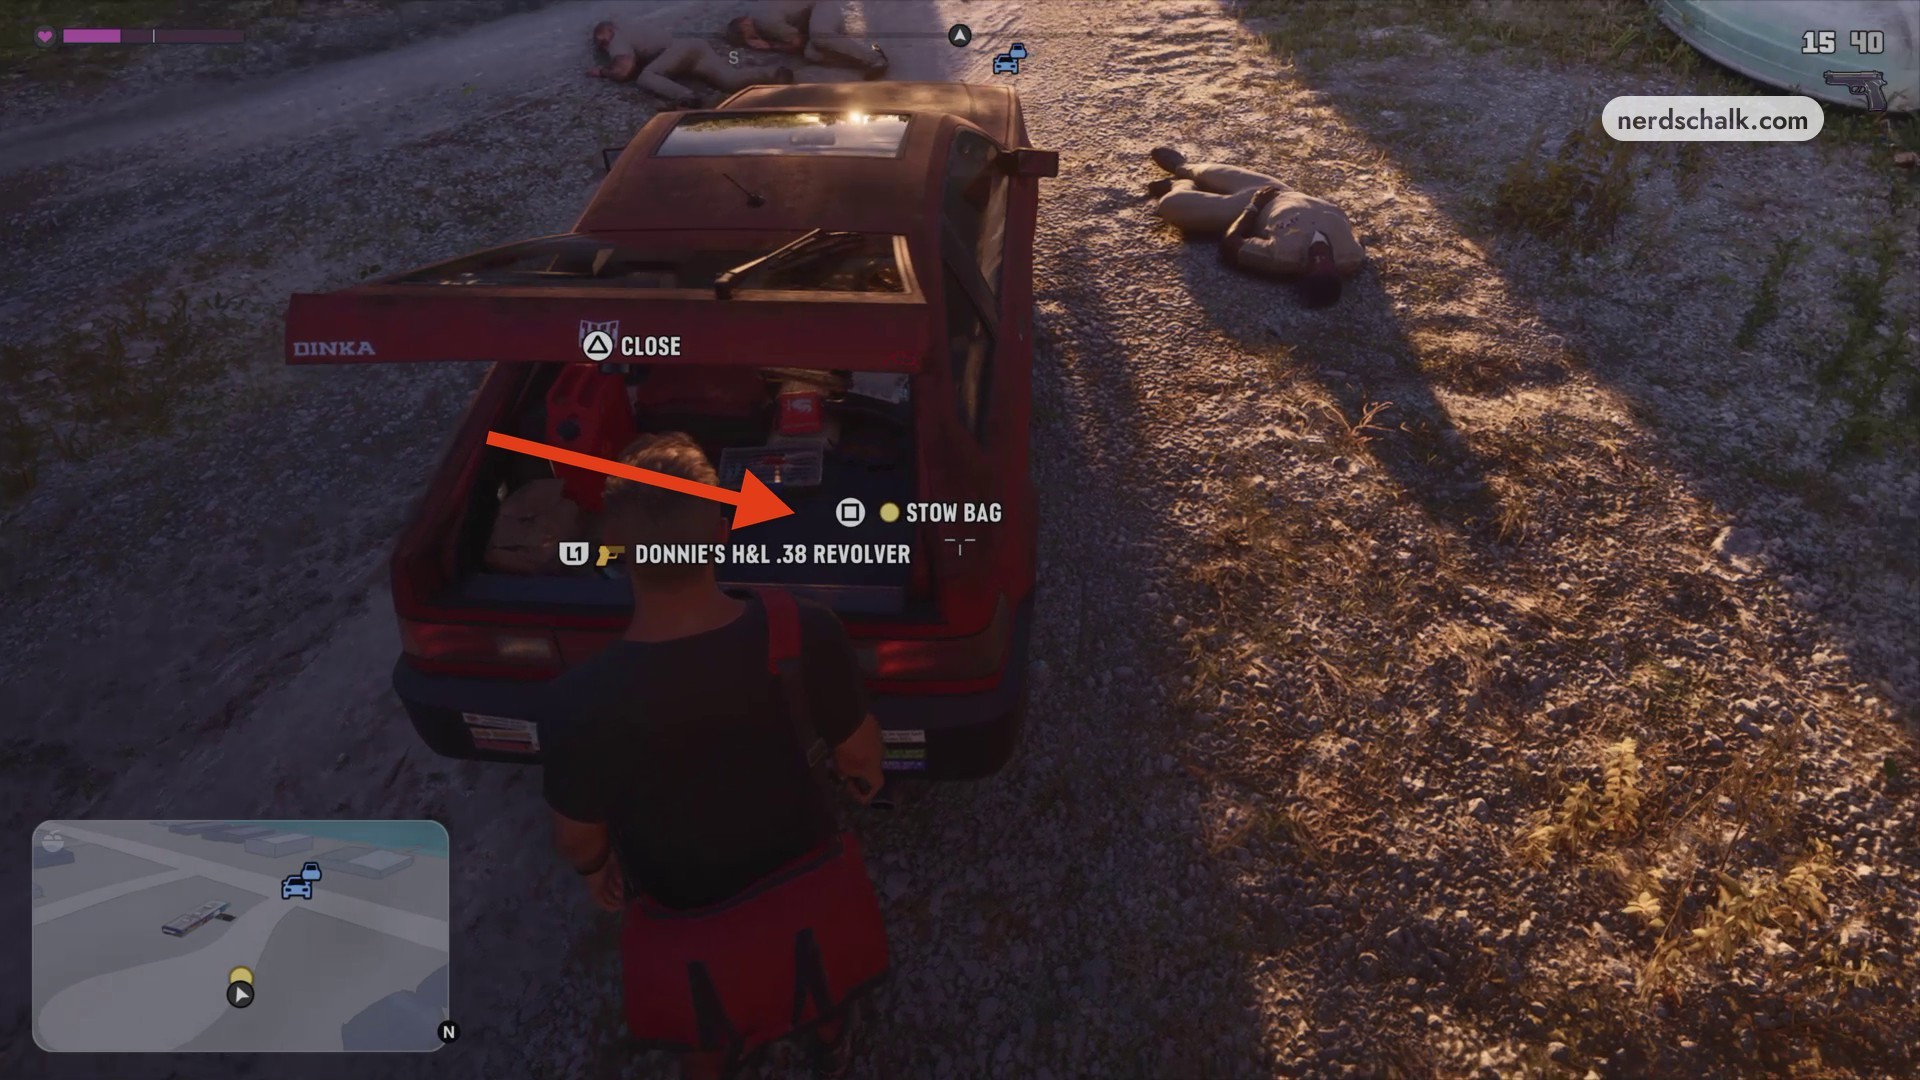
Stow Donnie’s bag
Use STOW BAG to place the duffel in the trunk if you haven’t done so already.
Enter Donnie’s car
Use CLOSE to shut the hatch, then walk to the driver-side door and get in. Start the car and pull out of the lot onto the road.
Part 4 – Leave Key Lento and destroy the car
Find somewhere discreet off Sunbelt Highway.
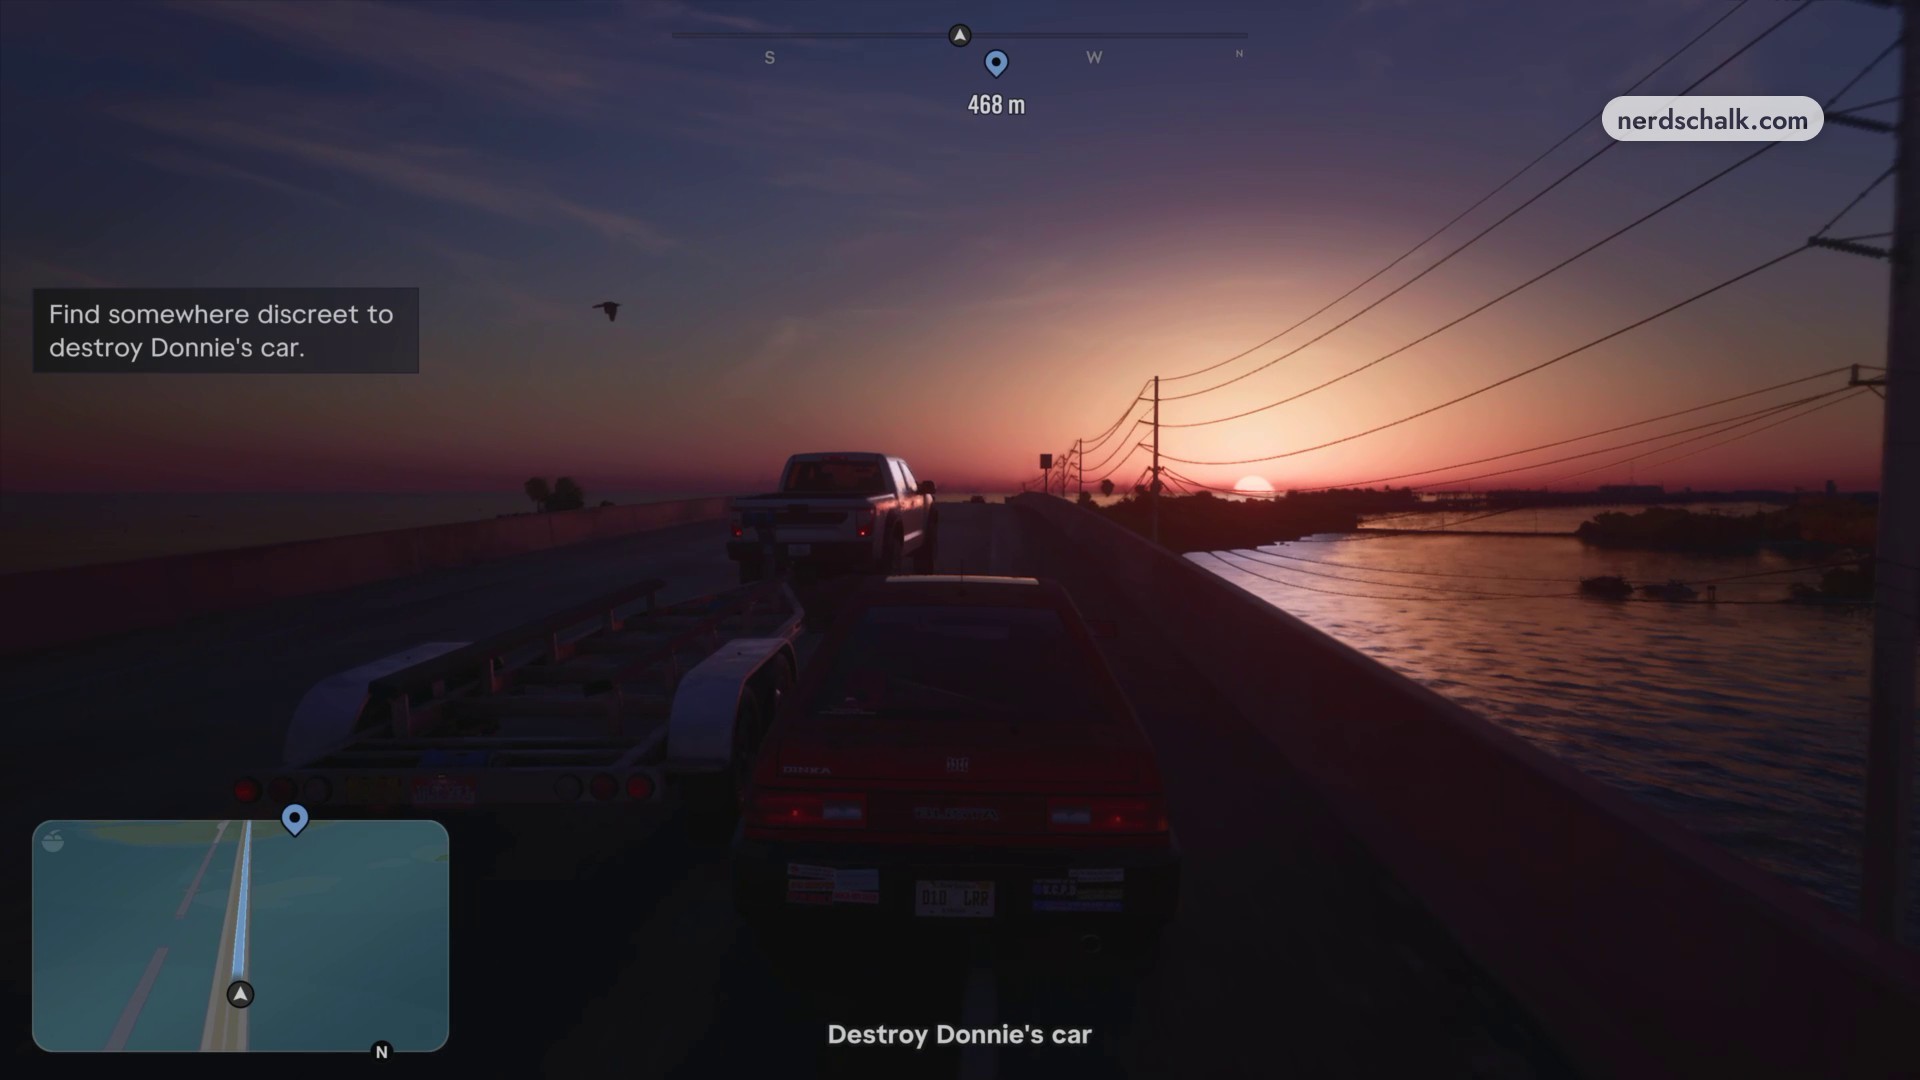
Drive out of Key Lento
Open the map and use SET DESTINATION to mark the secluded grassy clearing off Sunbelt Highway. The route map includes Key Lento. Follow the highway across the causeway out of Key Lento toward the southern key.
Park in the secluded clearing
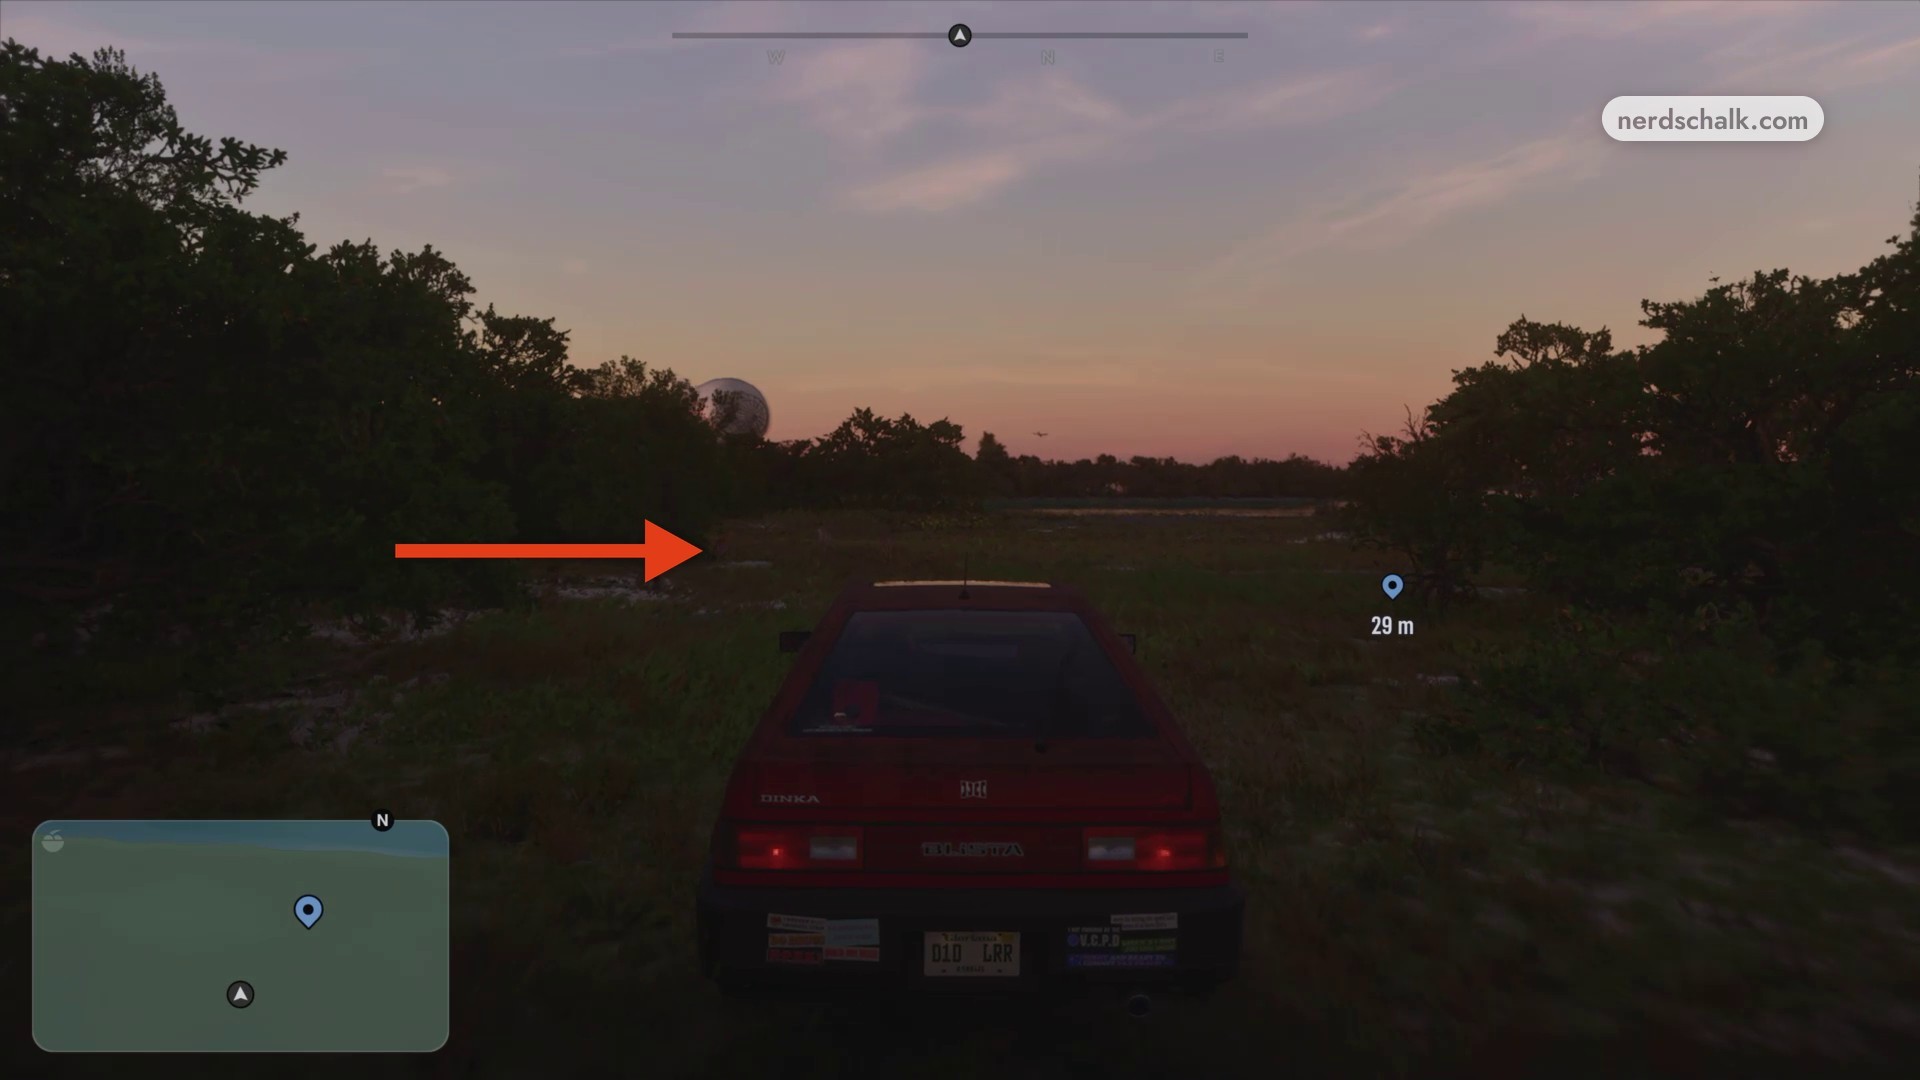
Leave the highway for the marked grassy clearing and park there to carry out the discreet car-disposal objective.
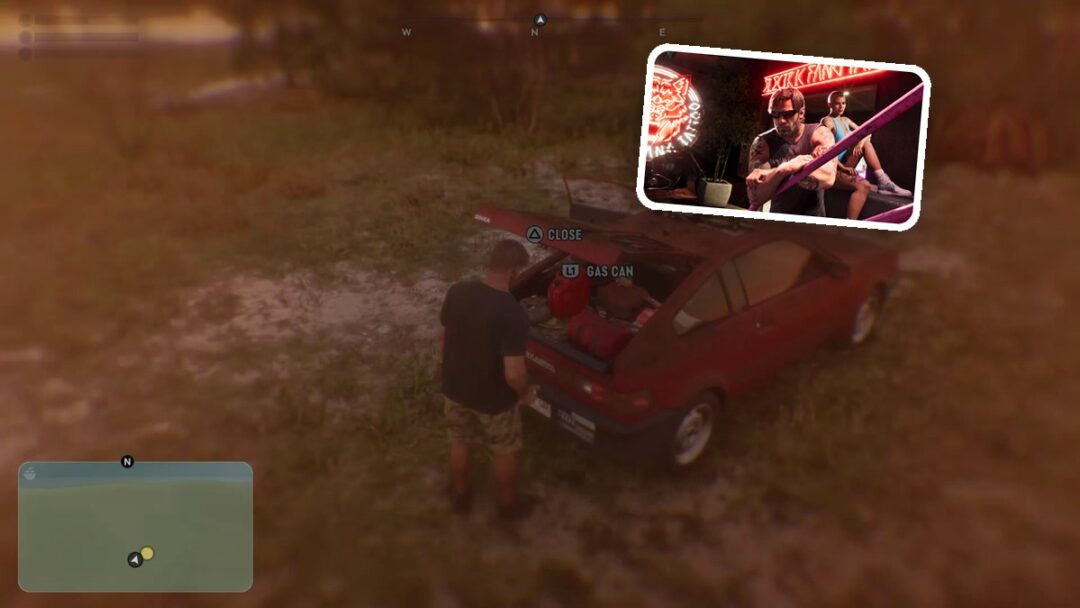
Retrieve the gas can
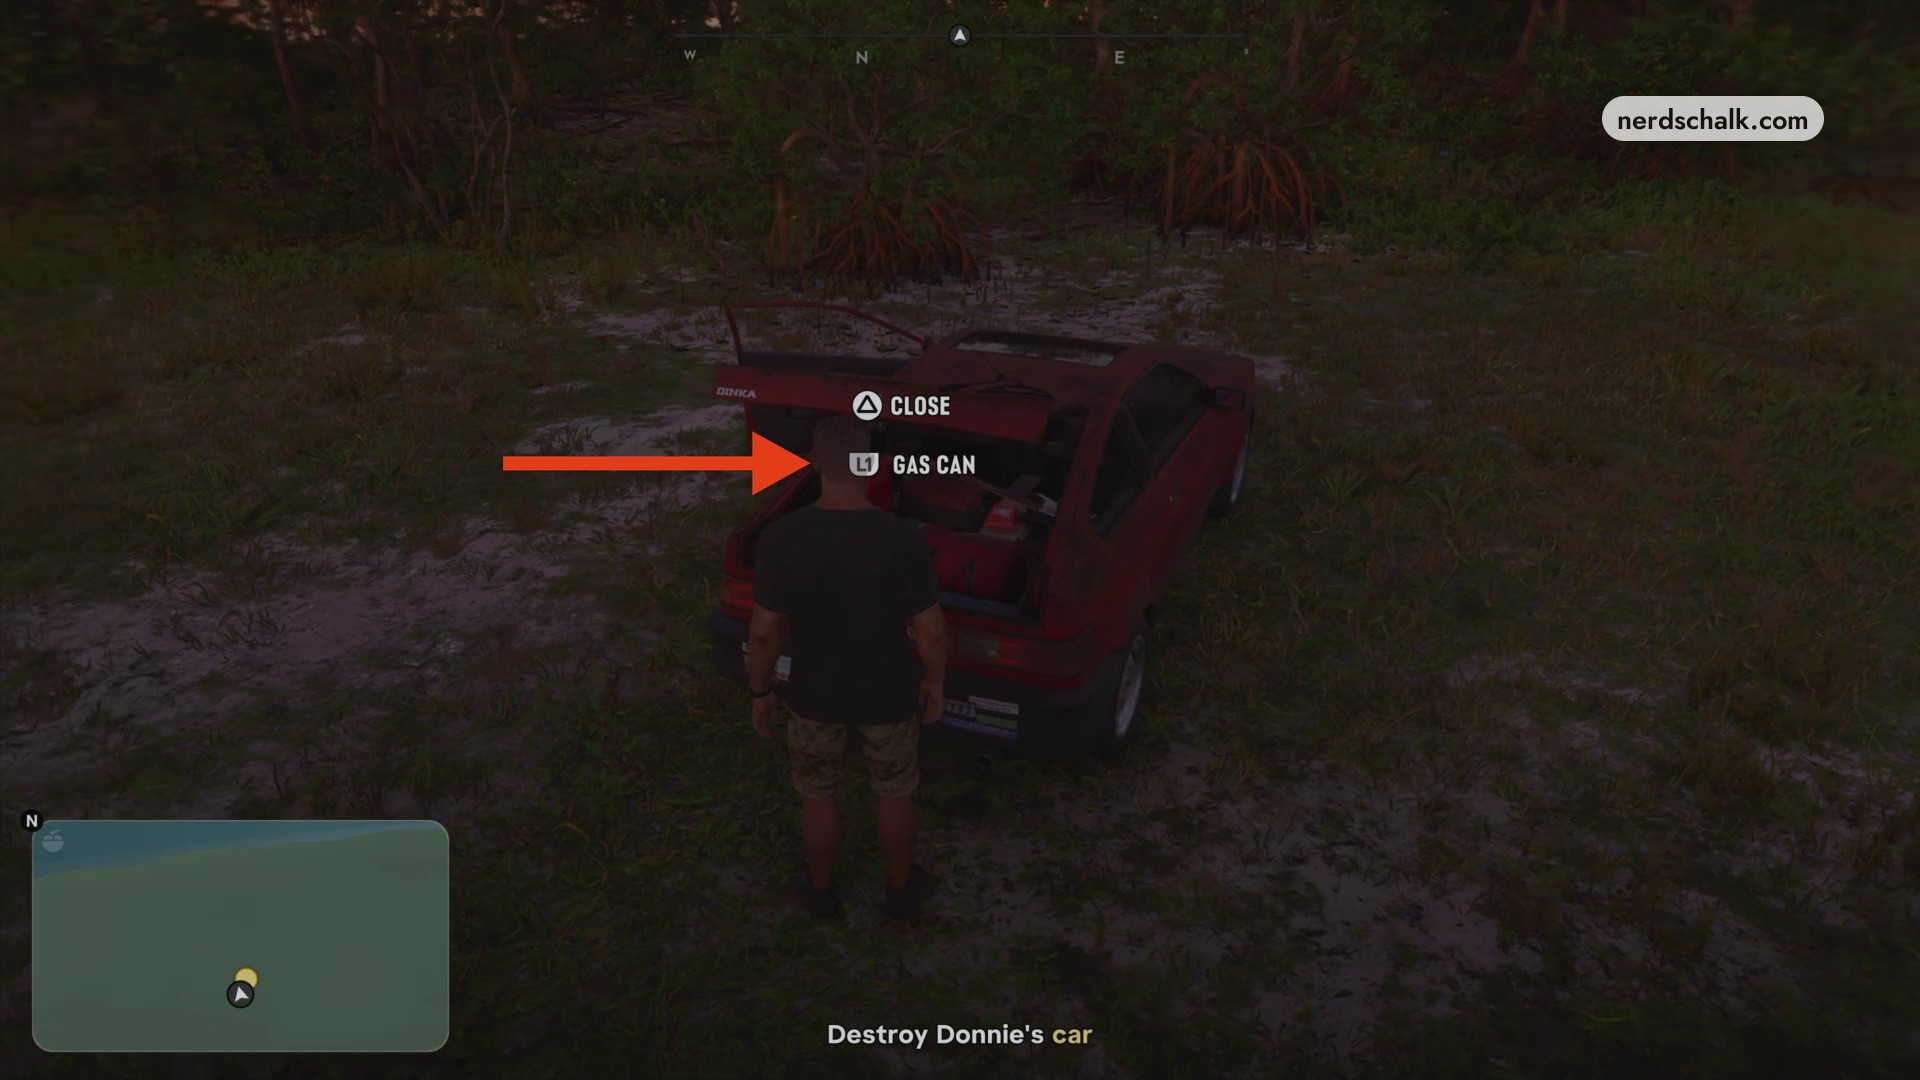
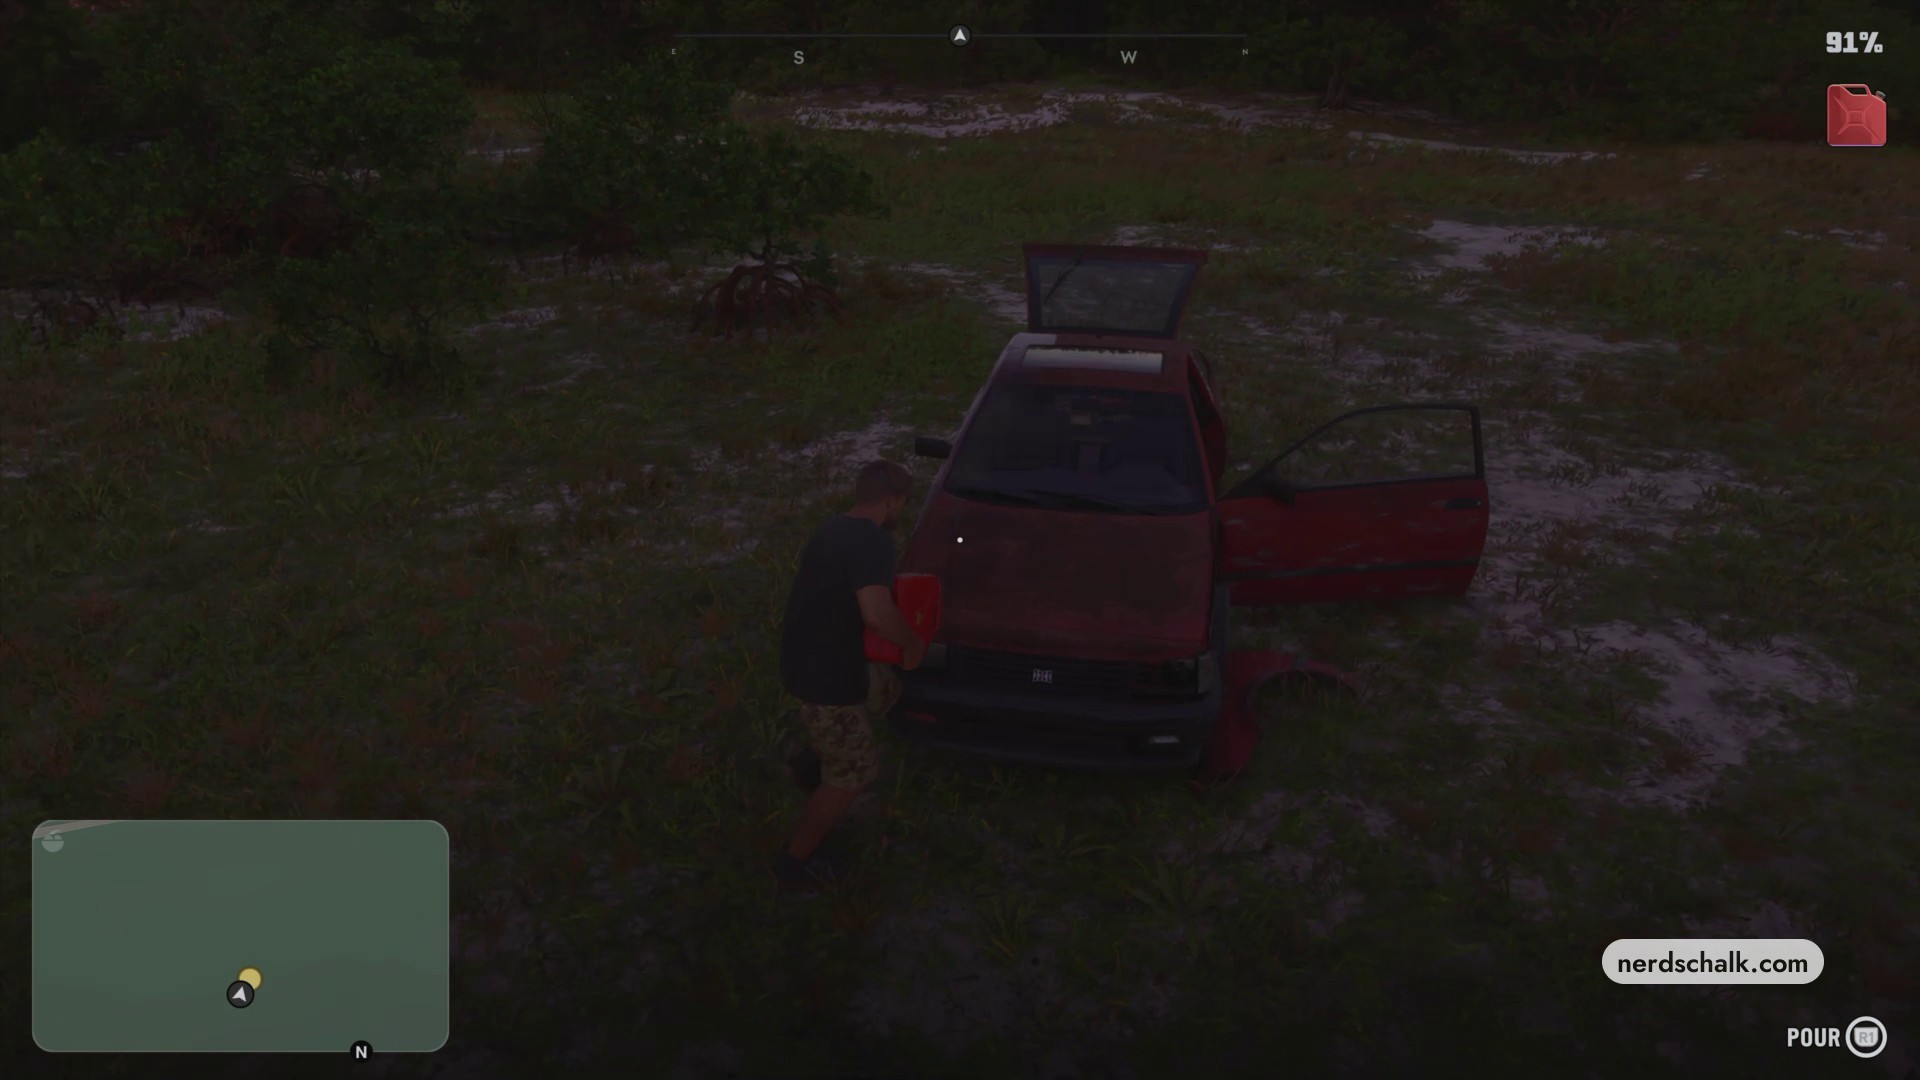
Get out, open the rear hatch, and take the red can using GAS CAN.
Pour gasoline over Donnie’s car
Gas cans start fires. An on-screen banner supplies the pouring instructions. The interface also offers R2 to THROW; use pouring for this method.
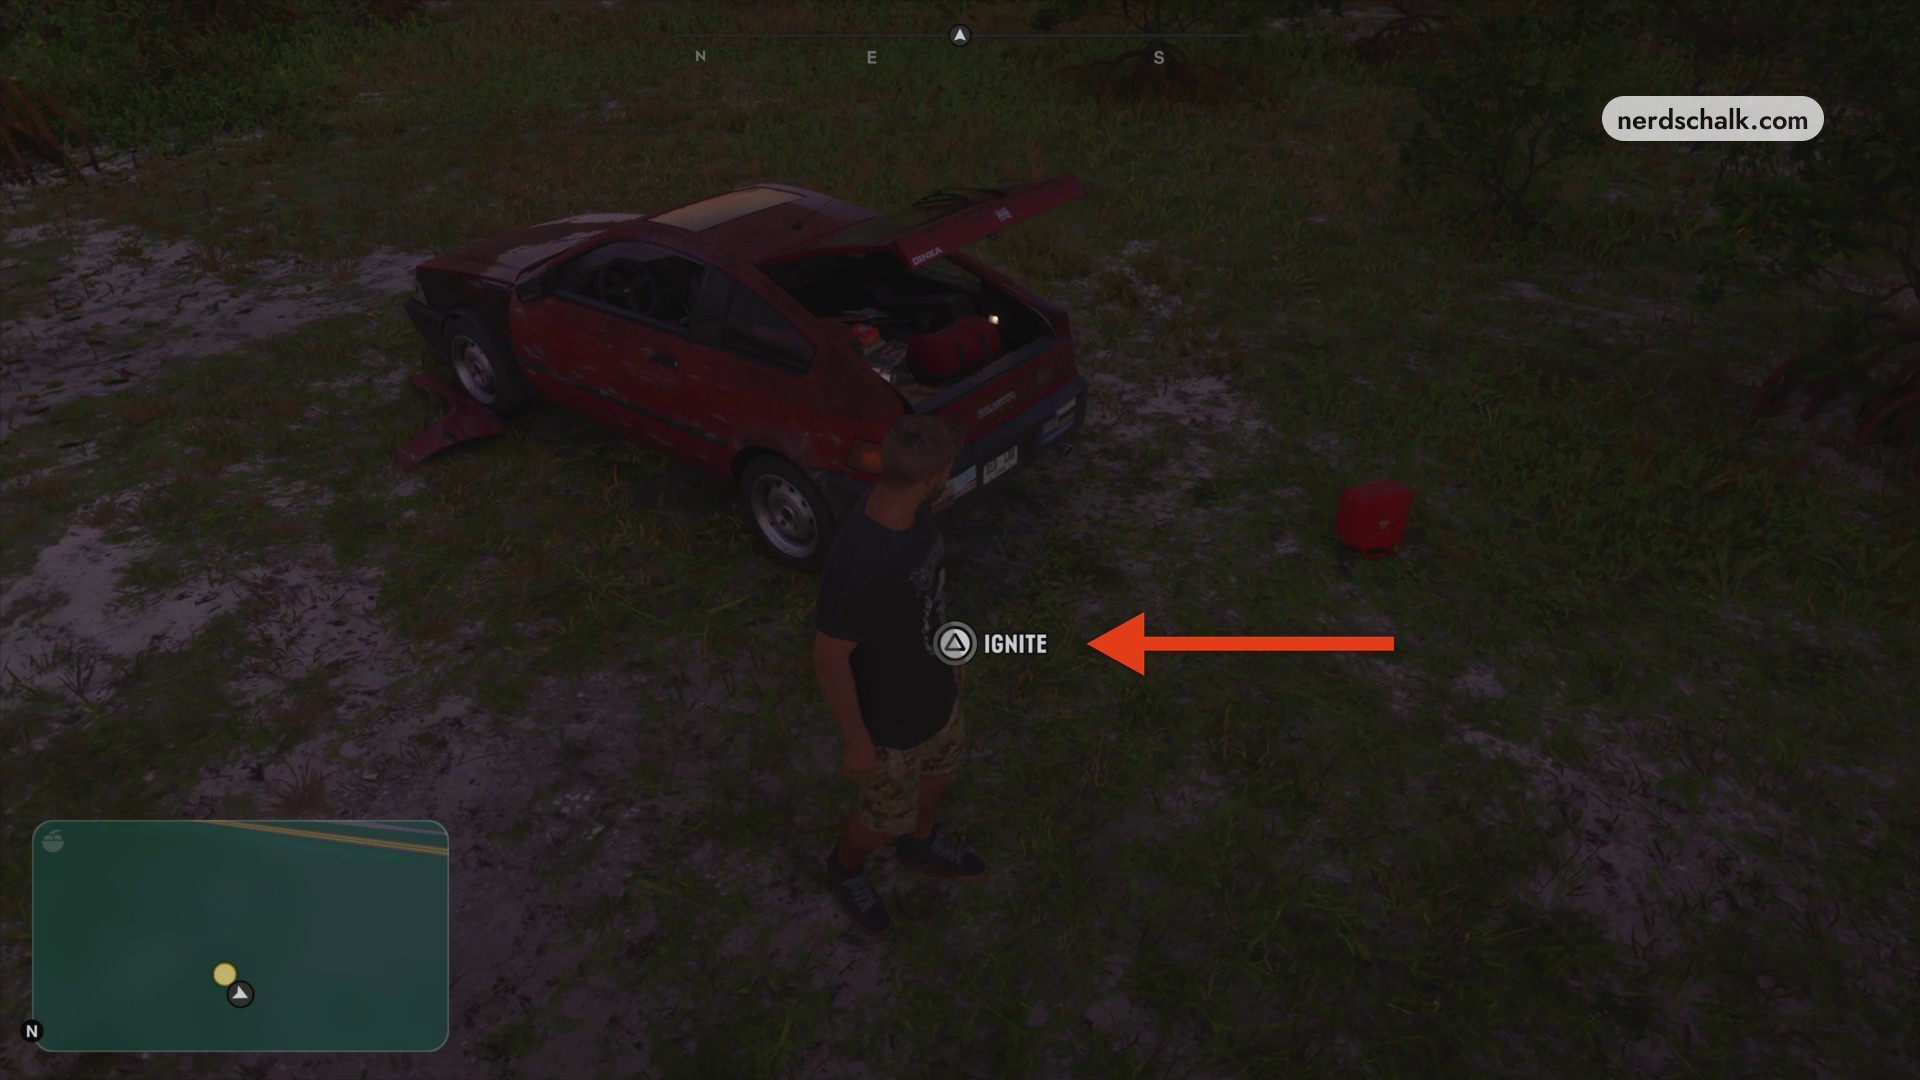
Ignite the fuel trail
Move to the end of the fuel trail and use IGNITE to set it alight.
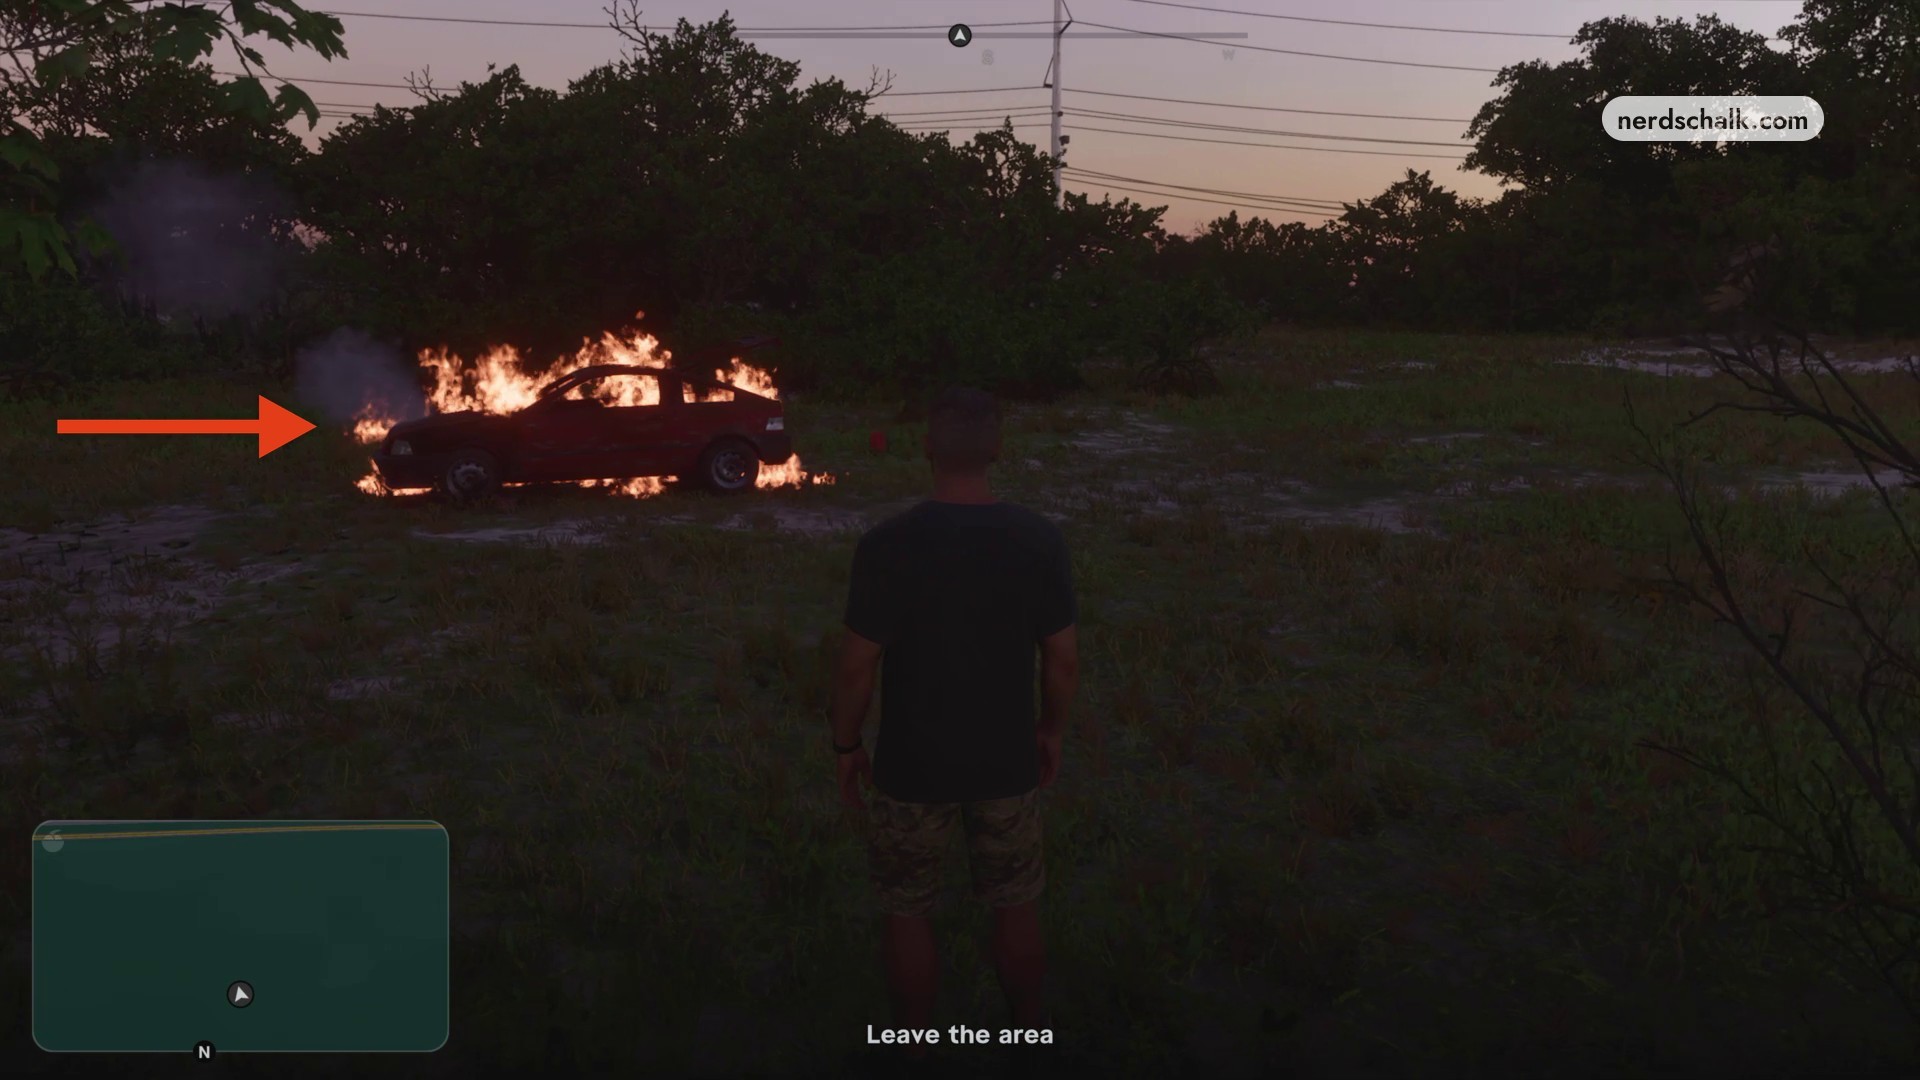
Leave the area
Sprint clear as the car catches fire and explodes, then cross the field toward the main highway.
Part 5 – Report to Brian and arrange a ride back
Arrange return transport from the highway shoulder.
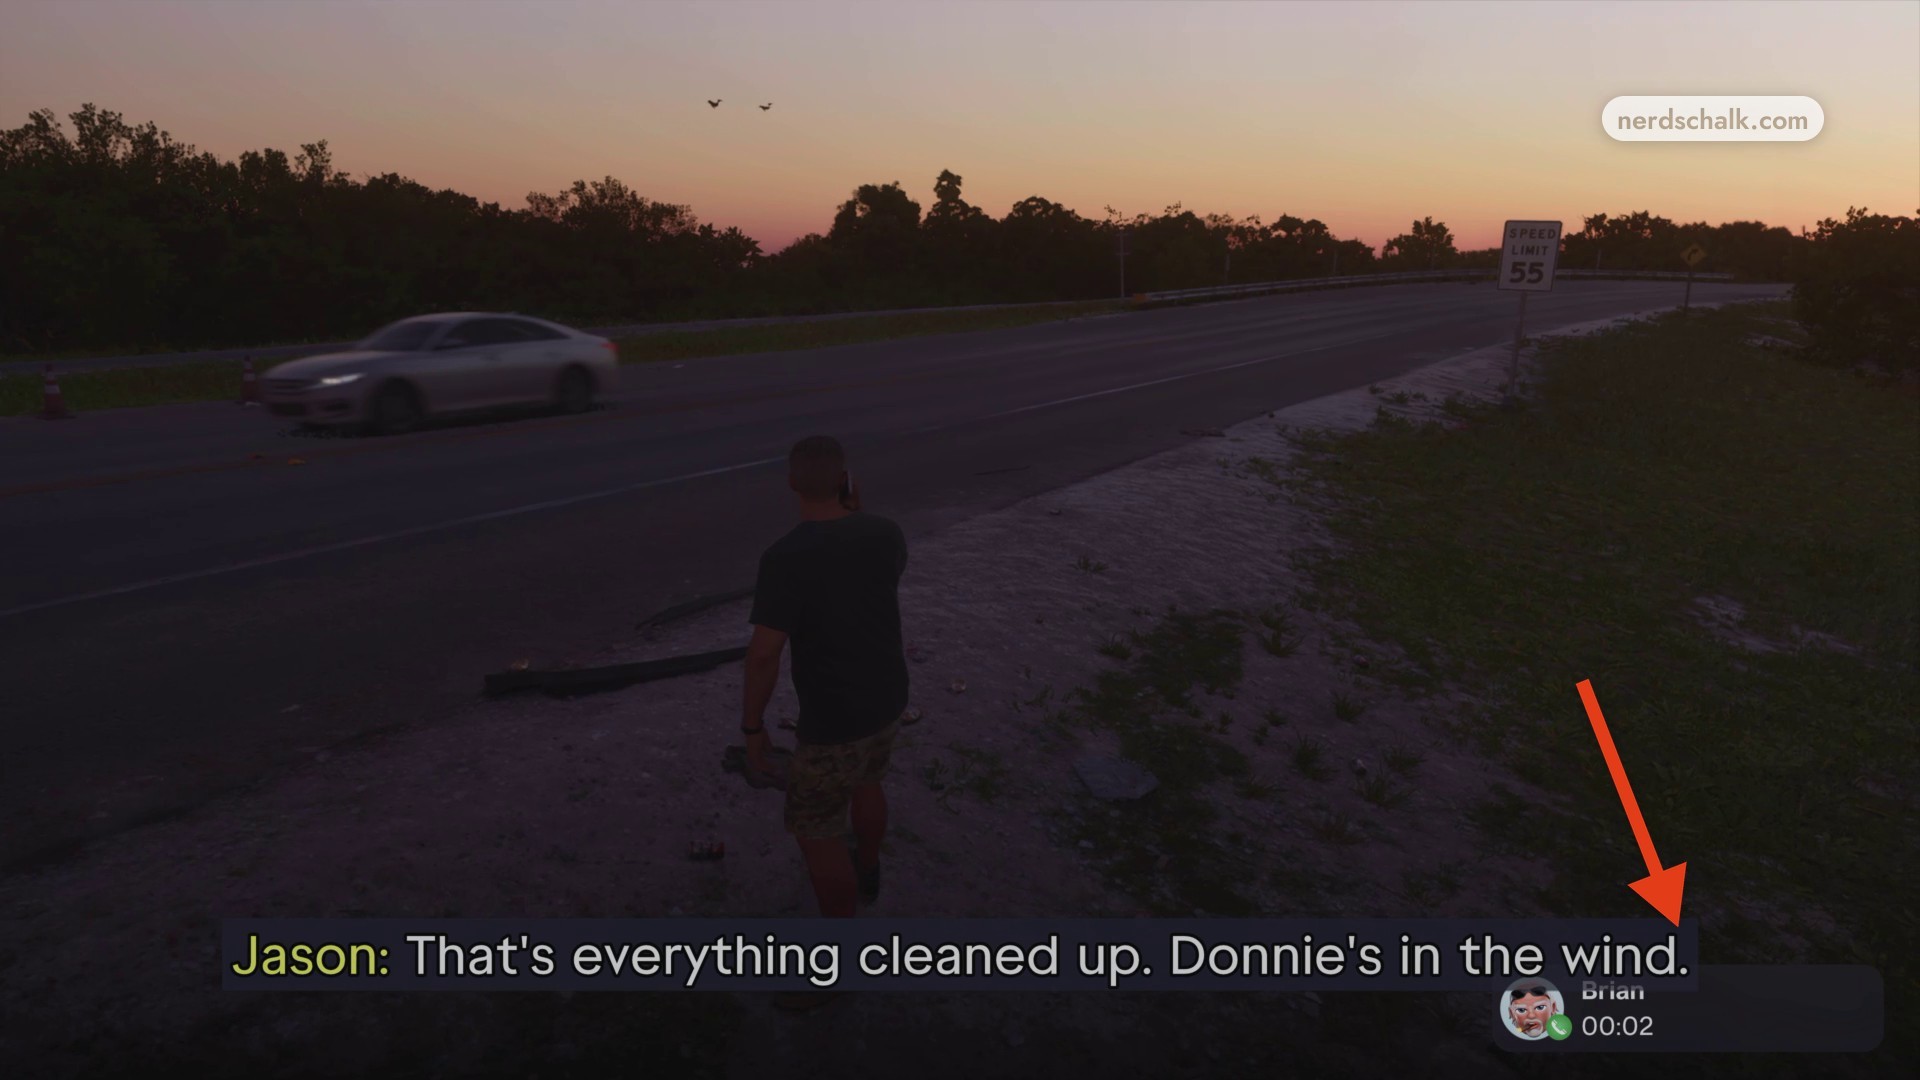
Report the cleanup to Brian
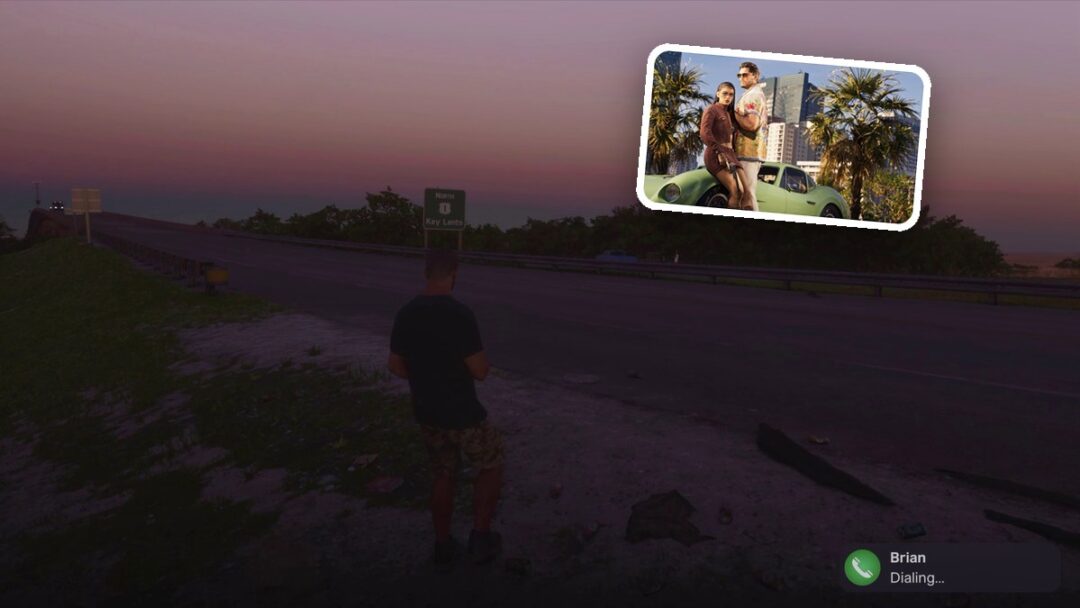
Wait for Jason’s mobile call to Brian and report that the trailer and car cleanup is finished.
Open RydeMe
On the highway shoulder, open Jason’s smartphone and select RydeMe.
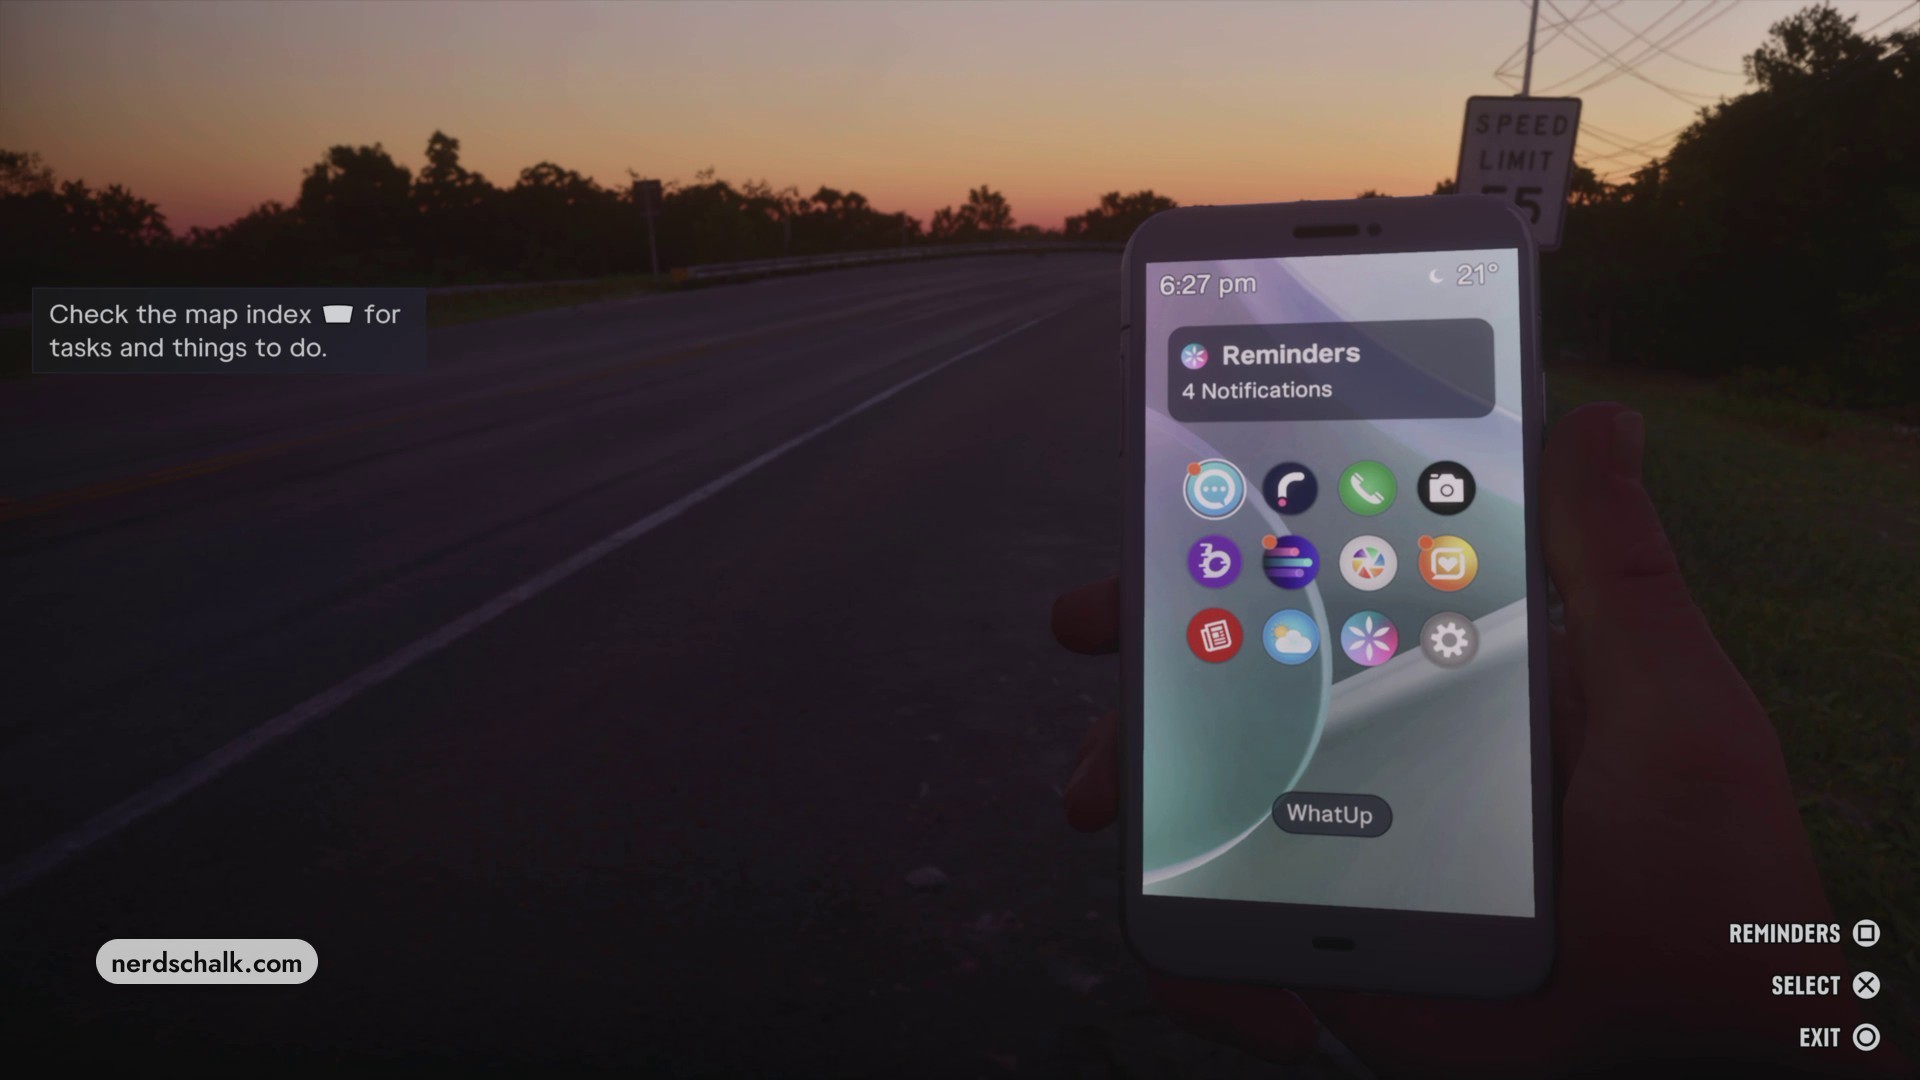
Book a ride to your vehicle
In Trip Details, select My Vehicle in Key Lento, choose Standard Ryde, and use Book Ryde to confirm the $62 booking. The trip details display a distance of 1.88 km.
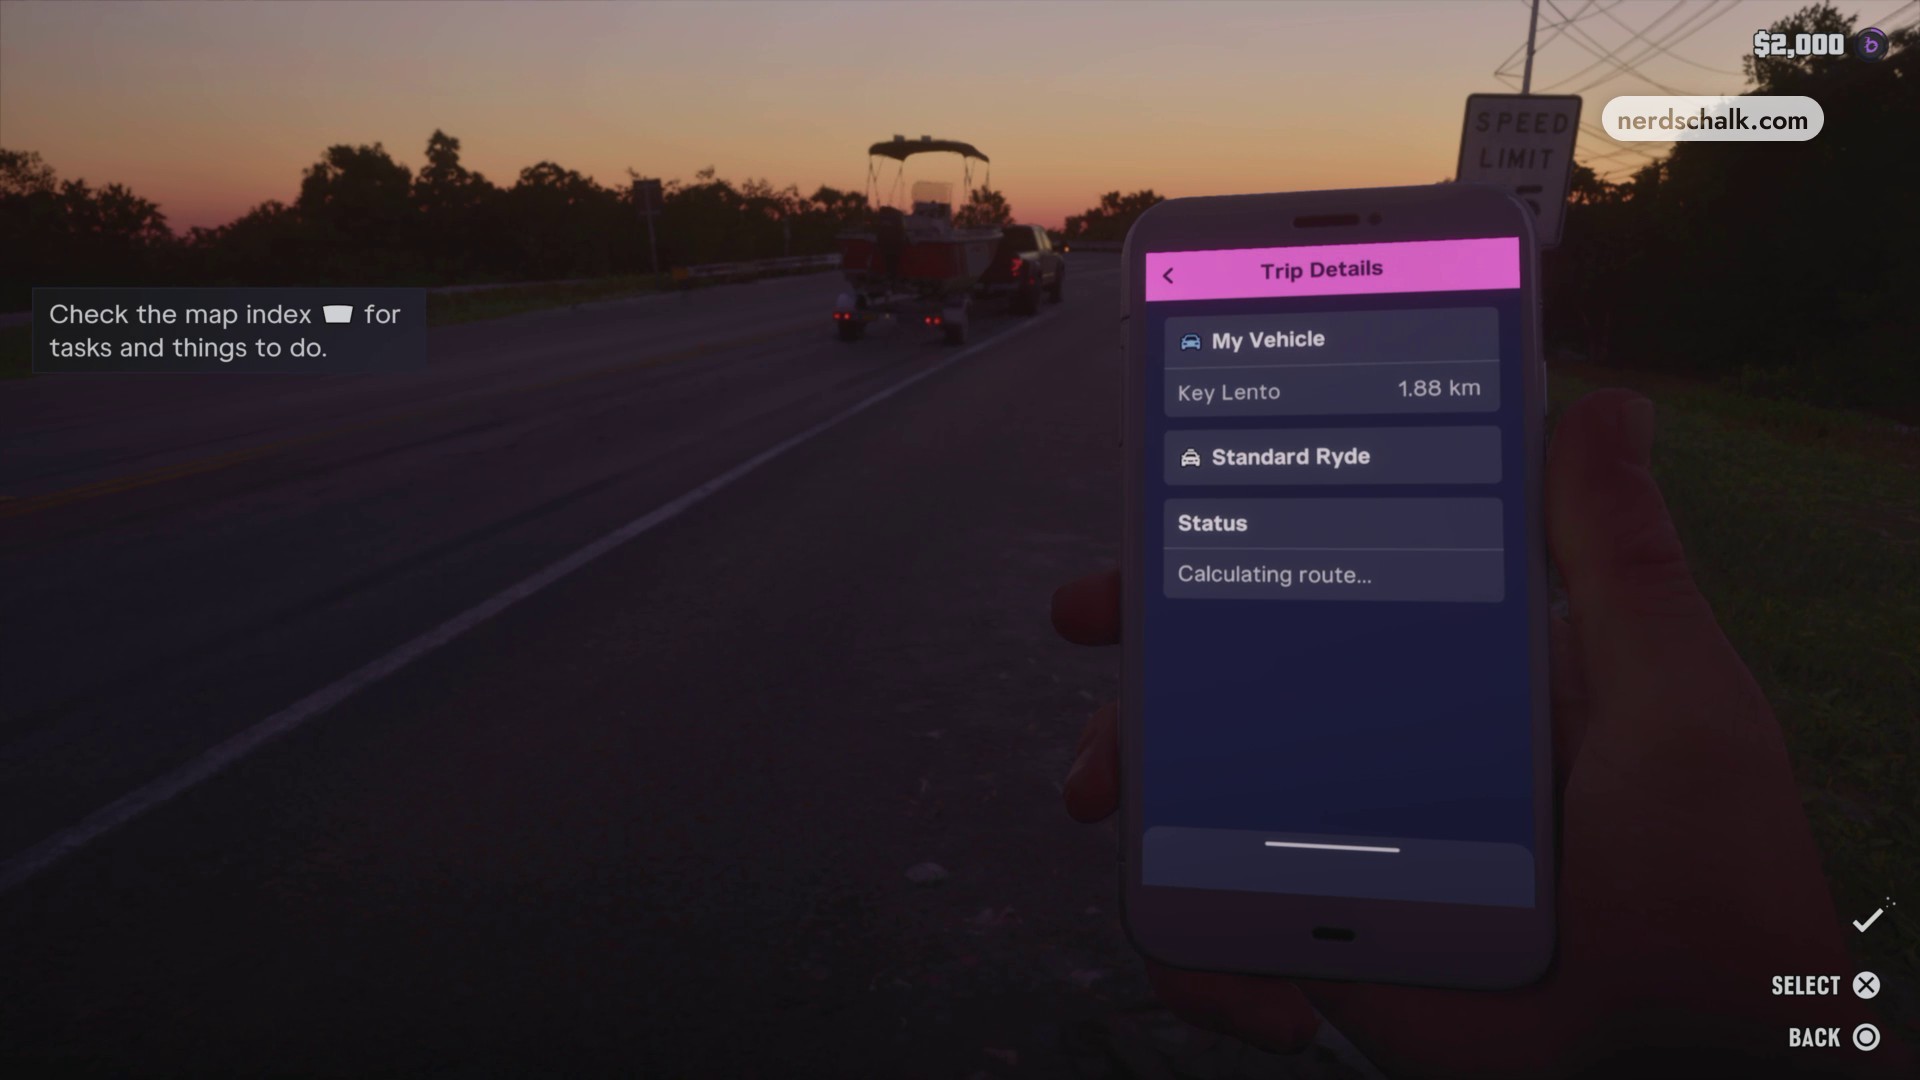
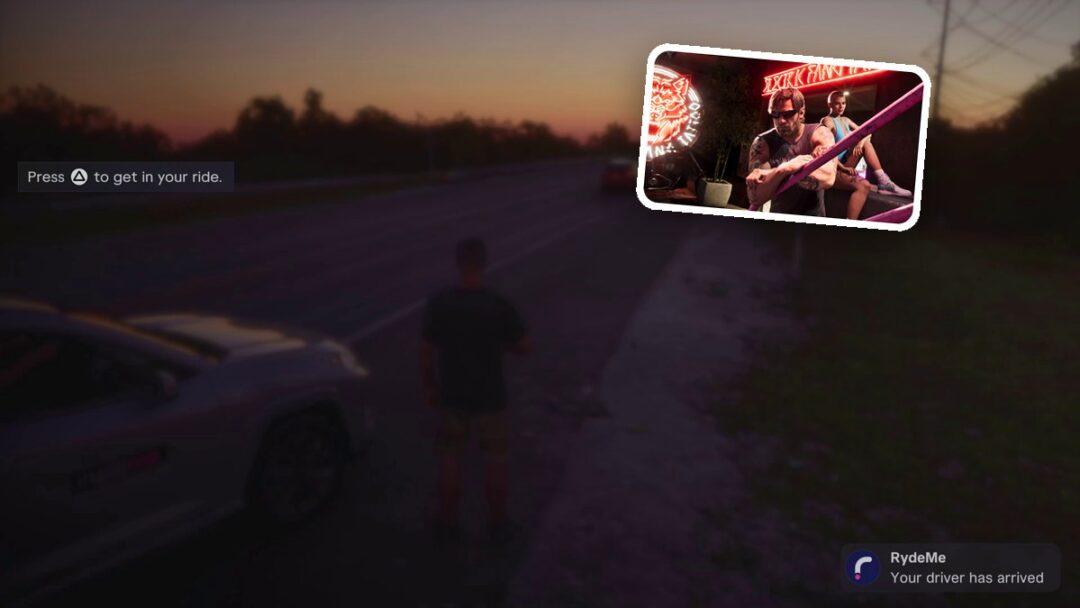
Enter the RydeMe SUV
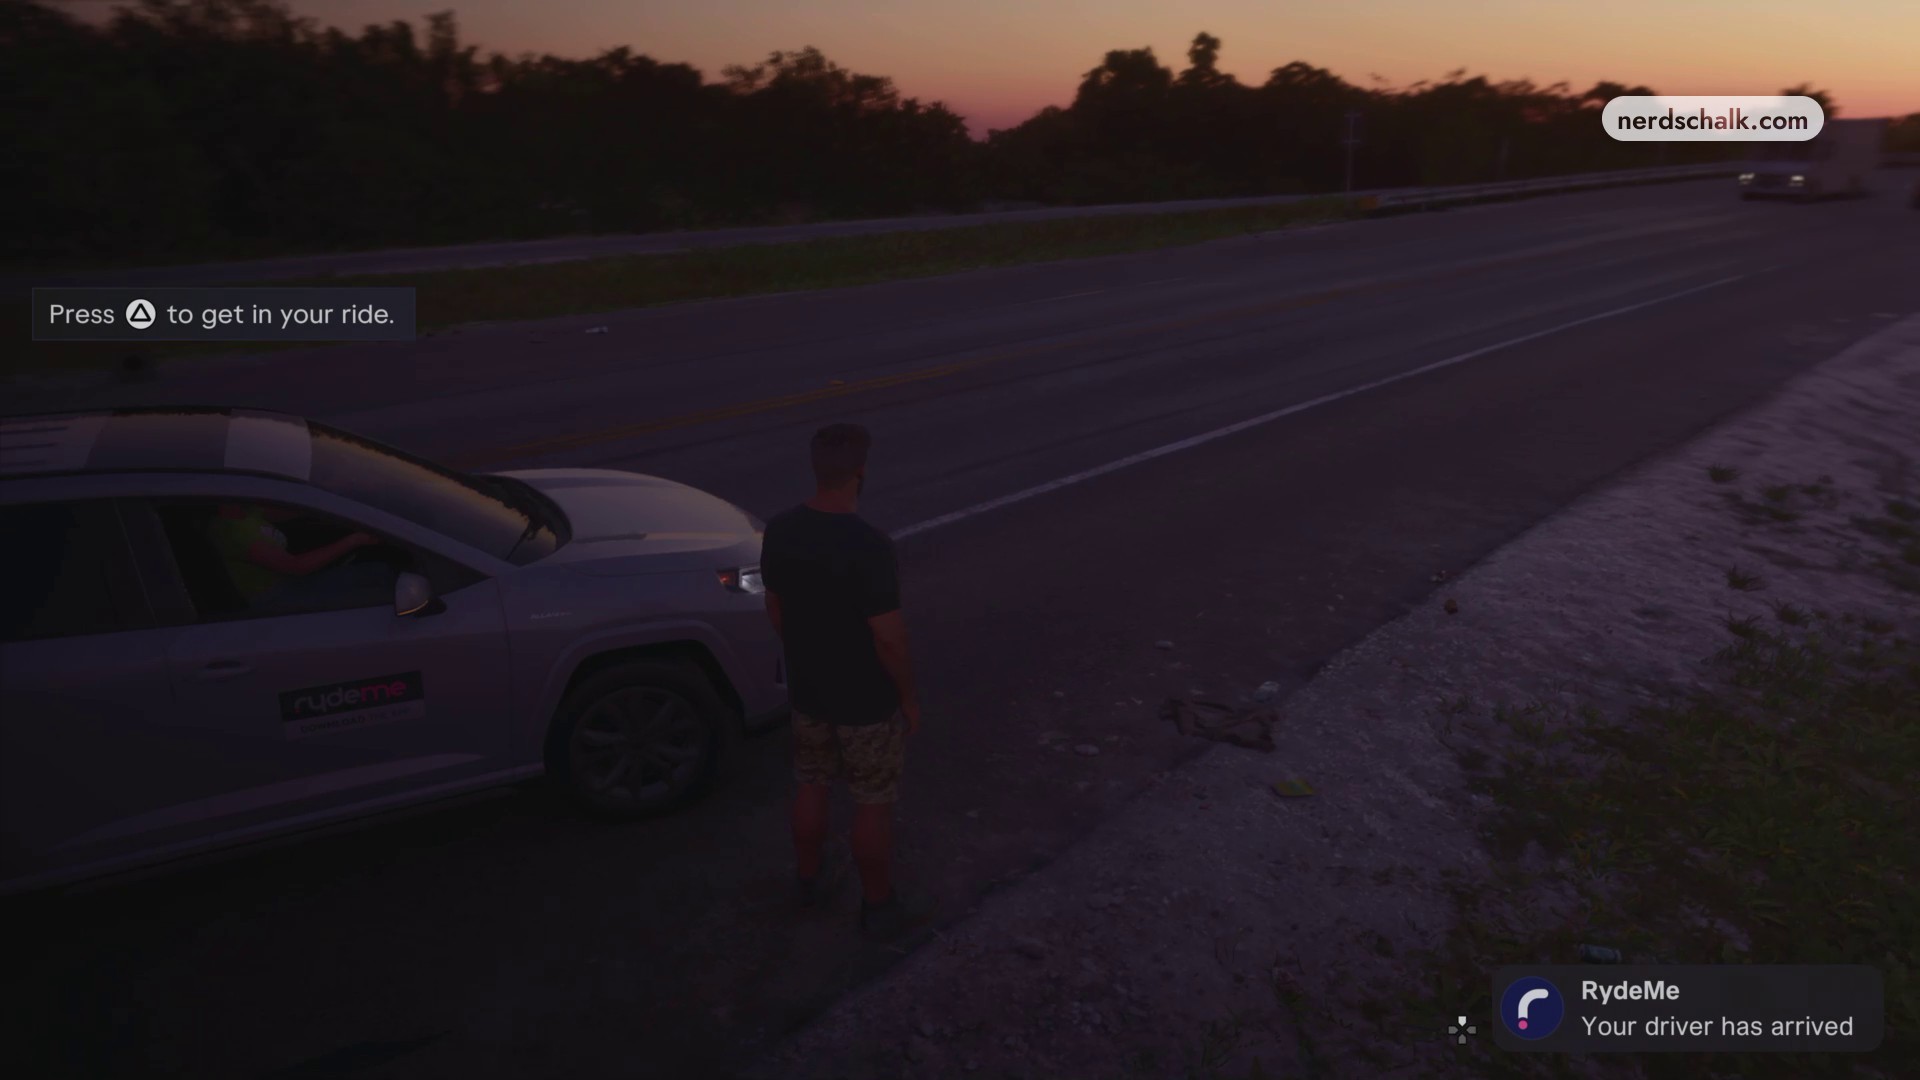
Wait for Your driver is on the way, followed by Your driver has arrived. Approach the SUV’s passenger door and press the displayed PlayStation △ prompt to board. Brian’s phone transfer supplies $200, displayed as a +$200 notification. Jason’s cash total after the payment is $2,200.
The PERSONAL map menu includes a Jason’s Vehicle entry.
› story detailsSpoilers for the story. Open to read.
Don Gone story details
Aviator’s answering-machine message demands more product.
Outside the trailer, Aviator and his crew demand to know where Donnie is.
Related Grand Theft Auto VI guides
Leave a Reply