- What to know
- Crimson Desert Queen Bismuth details
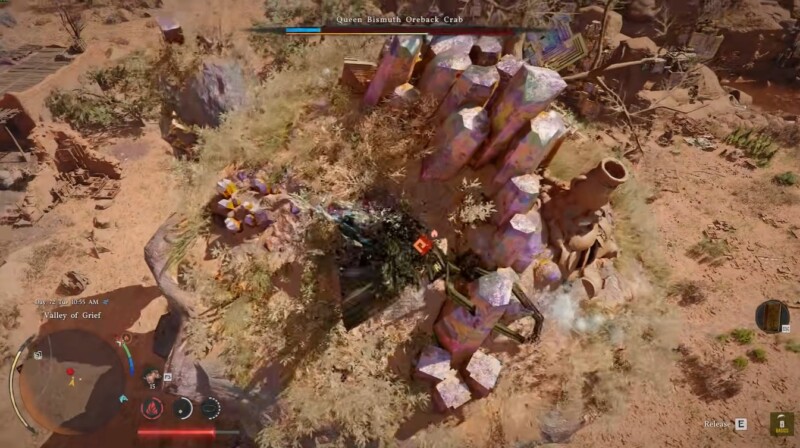
- Queen Bismuth Oreback Crab location
- How to defeat Queen Bismuth in Crimson Desert
- Common mistakes during the boss fight
- Useful combat tips for Queen Bismuth in Crimson Desert
- Rewards and post-fight resources
- Defeating the Queen Bismuth Oreback Crab efficiently
What to know
- The Queen Bismuth Oreback Crab is fought during the Radiant Crystal questline.
- Focused bow shots on the crab’s underbelly can quickly trigger a stun phase.
- Most of your damage comes from climbing the shell and destroying ore weak points.
- Holding the cling input while climbing helps prevent being thrown off the boss.
The Queen Bismuth Oreback Crab is one of the larger monster encounters in Crimson Desert and introduces players to the game’s climbing-based weak-point combat mechanics. While the boss itself is not especially difficult, the fight can feel frustrating because of the game’s movement and camera handling during climbing sections. Once you understand how the stun phases and shell mechanics work, however, the encounter becomes much more manageable.
Crimson Desert Queen Bismuth details
| Feature | Details |
|---|---|
| Boss Name | Queen Bismuth Oreback Crab |
| Quest | Radiant Crystal |
| Region | Between Crimson Desert and Paleune |
| Main Weakness | Soft underbelly |
| Best Strategy | Stun with arrows and attack shell weak points |
| Important Tool | Bow and arrows |
| Key Damage Mechanic | Pierce attacks after destroying ore nodes |
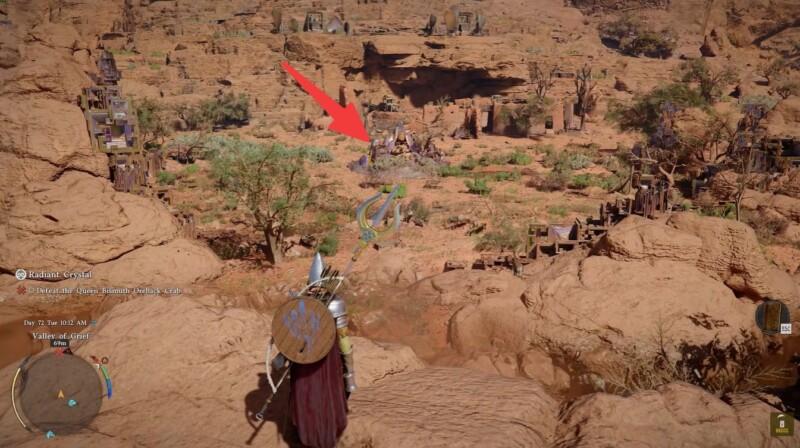
Queen Bismuth Oreback Crab location
The Queen Bismuth Oreback Crab appears during the Radiant Crystal quest. The encounter takes place between the Crimson Desert region and Pailune, in a large open area suited for ranged combat and climbing mechanics.
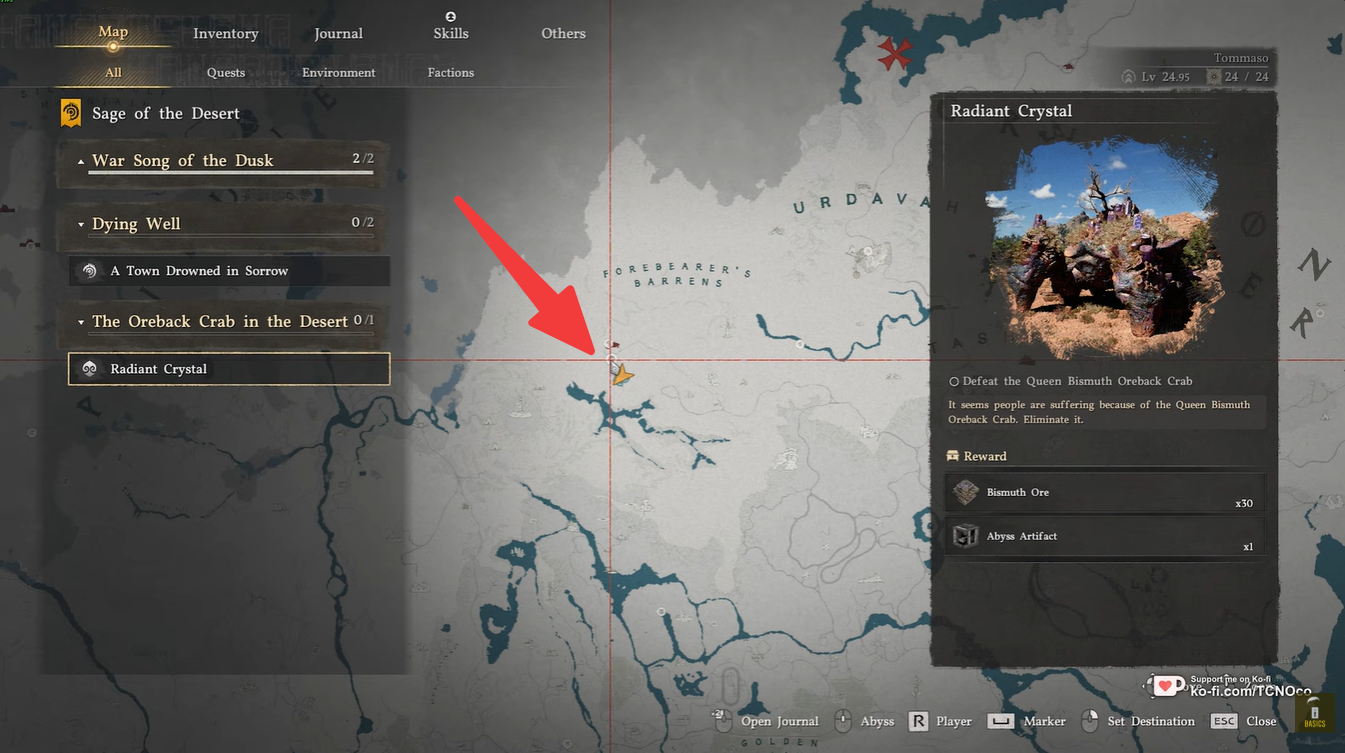
The arena gives you enough room to reposition during the boss’s charge attacks, though uneven terrain can sometimes make climbing awkward if the crab collapses near rocks or slopes.
How to defeat Queen Bismuth in Crimson Desert
The encounter revolves around exposing the crab’s vulnerable phases instead of attacking its armored shell directly. Standard melee damage against protected sections is highly ineffective, so the fight is designed around stunning the boss and climbing onto its back.
Understanding this loop is the key to defeating the boss efficiently.
Step 1
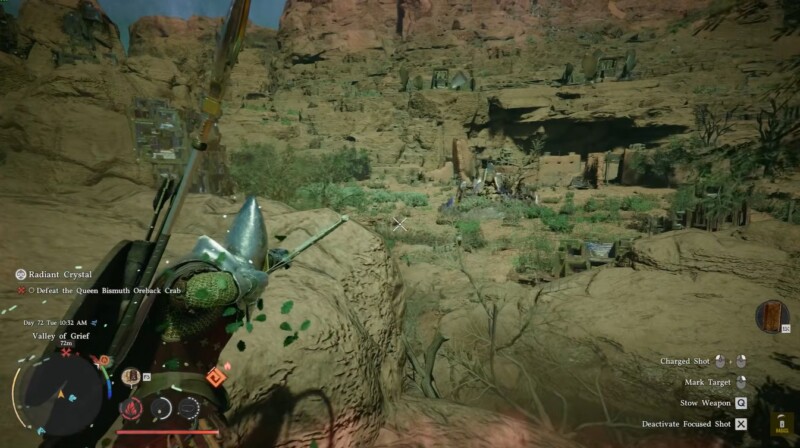
Start the fight by equipping your bow using the ranged weapon input. On PC controls, this is done with Q. After equipping the bow, activate focused shot mode with X to improve accuracy and allow faster shots.
Step 2
Wait for the crab to lift its body high enough to expose the soft underbelly. Fire repeated arrows directly into this weak point to build up the stun meter. Bringing a large supply of arrows is highly recommended because this mechanic is the fastest way to create damage opportunities.

Step 3
Continue attacking the underbelly until the boss collapses onto the ground. Once stunned, quickly run toward the crab and begin climbing onto its shell before it recovers.
Step 4
While climbing, hold the cling input to reduce the chances of being thrown off during the crab’s shaking animations. On PC, using and holding the Q input while attached to the shell helps maintain stability.

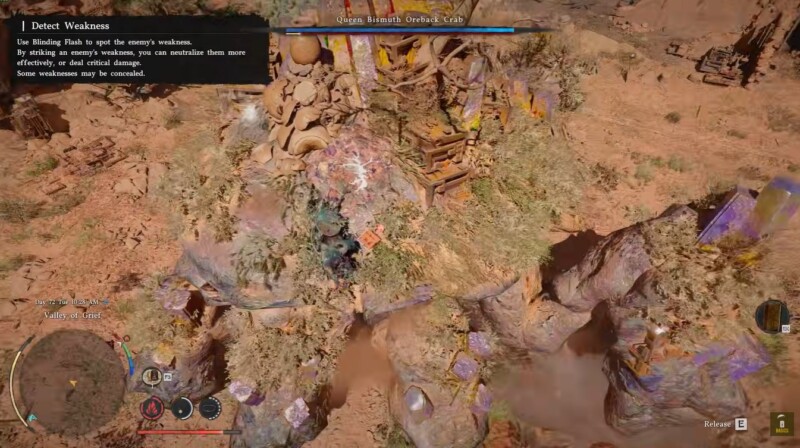
Step 5
Locate the large ore deposits attached to the crab’s shell. These ore piles protect the boss’s vulnerable core and must be destroyed before you can deal significant damage.
Step 6
Use heavy attacks or force palm abilities to destroy the ore weak points as quickly as possible. Heavy attacks are generally more effective than standard strikes during this phase.
Step 7
Once the ore deposits are destroyed, use the pierce attack with the right mouse button to deal massive damage directly to the exposed weak point.
Repeat the stun process by targeting the underbelly again with focused bow shots. Continue cycling between stun phases, climbing sections, and weak-point attacks until the Queen Bismuth Oreback Crab is defeated.
Common mistakes during the boss fight
| Mistake | Why It Causes Problems |
|---|---|
| Attacking armored sections directly | Deals very little damage |
| Forgetting focused shot mode | Slower stun buildup |
| Bringing too few arrows | Limits stun opportunities |
| Ignoring cling controls | Makes falling off more likely |
| Wasting stamina before climbing | Reduces climbing effectiveness |
Avoiding these issues makes the fight far smoother and less frustrating.
Useful combat tips for Queen Bismuth in Crimson Desert
Stay slightly to the side of the boss
The crab’s forward attacks are easier to avoid when you stay off-center instead of directly in front of it.
Save stamina before climbing
Climbing and resisting knock-offs consume stamina quickly, so avoid unnecessary dodges before mounting the shell.

Focus entirely on weak points
Trying to damage armored areas wastes time. Prioritize stun windows and shell weak points instead.
Use heavy attacks during shell phases
Heavy strikes break ore nodes faster, speeding up the entire encounter.
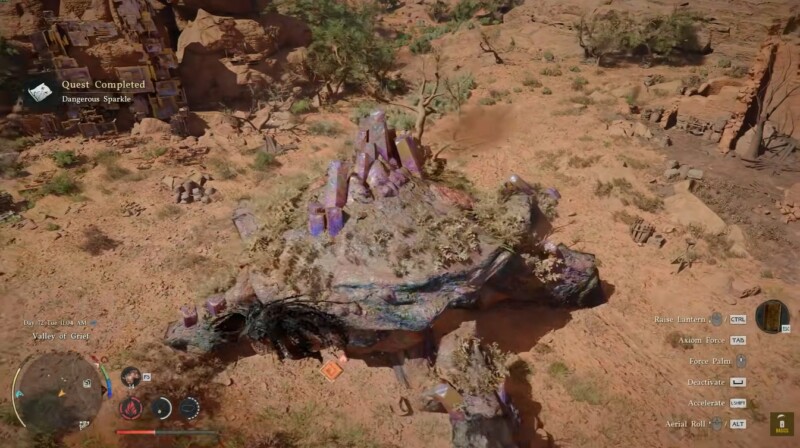
Rewards and post-fight resources
| Activity | Reward |
|---|---|
| Defeating the Queen Bismuth Oreback Crab | Quest progression |
| Completing the Radiant Crystal quest | Main rewards and progression |
| Breaking ore weak points | Major damage opportunities |
| Exploring the arena afterward | Resource gathering materials |
After the battle, the surrounding area contains useful crafting materials and collectible resources worth gathering before leaving the region.
Defeating the Queen Bismuth Oreback Crab efficiently
The Queen Bismuth Oreback Crab fight is less about raw combat difficulty and more about understanding the intended mechanics. Once you learn how to trigger stun phases consistently and handle the climbing sections properly, the encounter becomes straightforward and much faster to complete.
Using focused bow shots, destroying ore weak points efficiently, and managing cling controls during shell phases are the keys to defeating the boss without unnecessary frustration.


Leave a Reply