What to know
-
To unlock Lightning Surge, you need to first return to the Spire of the Stars area after Chapter 4 progression.
-
The unlock path runs through three Abyss puzzle areas: Secret Garden, Vault of Vengeance, and Courtyard of Precision.
-
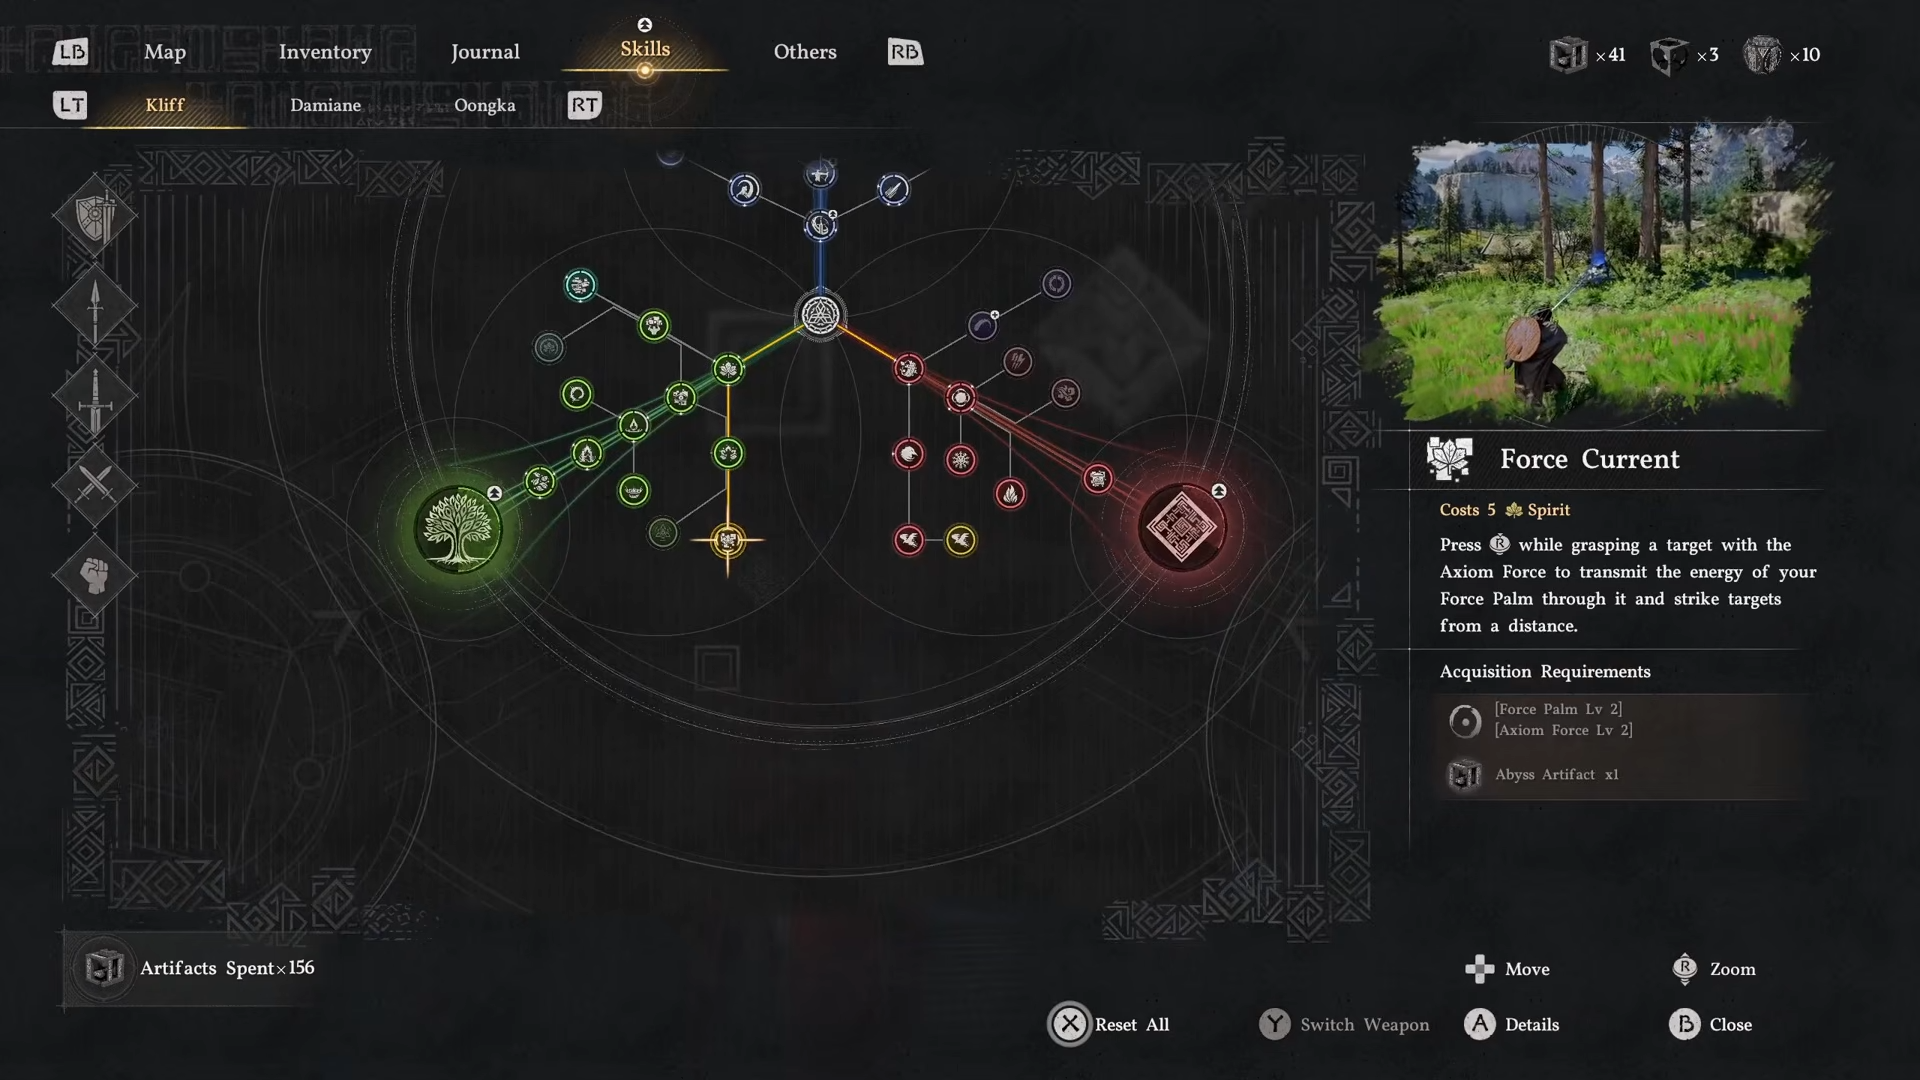
You’ll need skills like Force Current, Focus Shot, Nature’s Grasp, Axiom Force, and Force Palm to solve the puzzles cleanly.
-
Once the final puzzle is completed, Lightning Surge becomes available, and it can be used with Lightning imbue attacks.
Lightning Imbue is one of the most useful elemental unlocks in Crimson Desert because it opens up Lightning Surge, a strong offensive option that can be paired with later lightning gear. The path is puzzle-heavy, but each section follows a clear logic once you know what to look for.
Crimson Desert: Lightning Surge Unlock Details
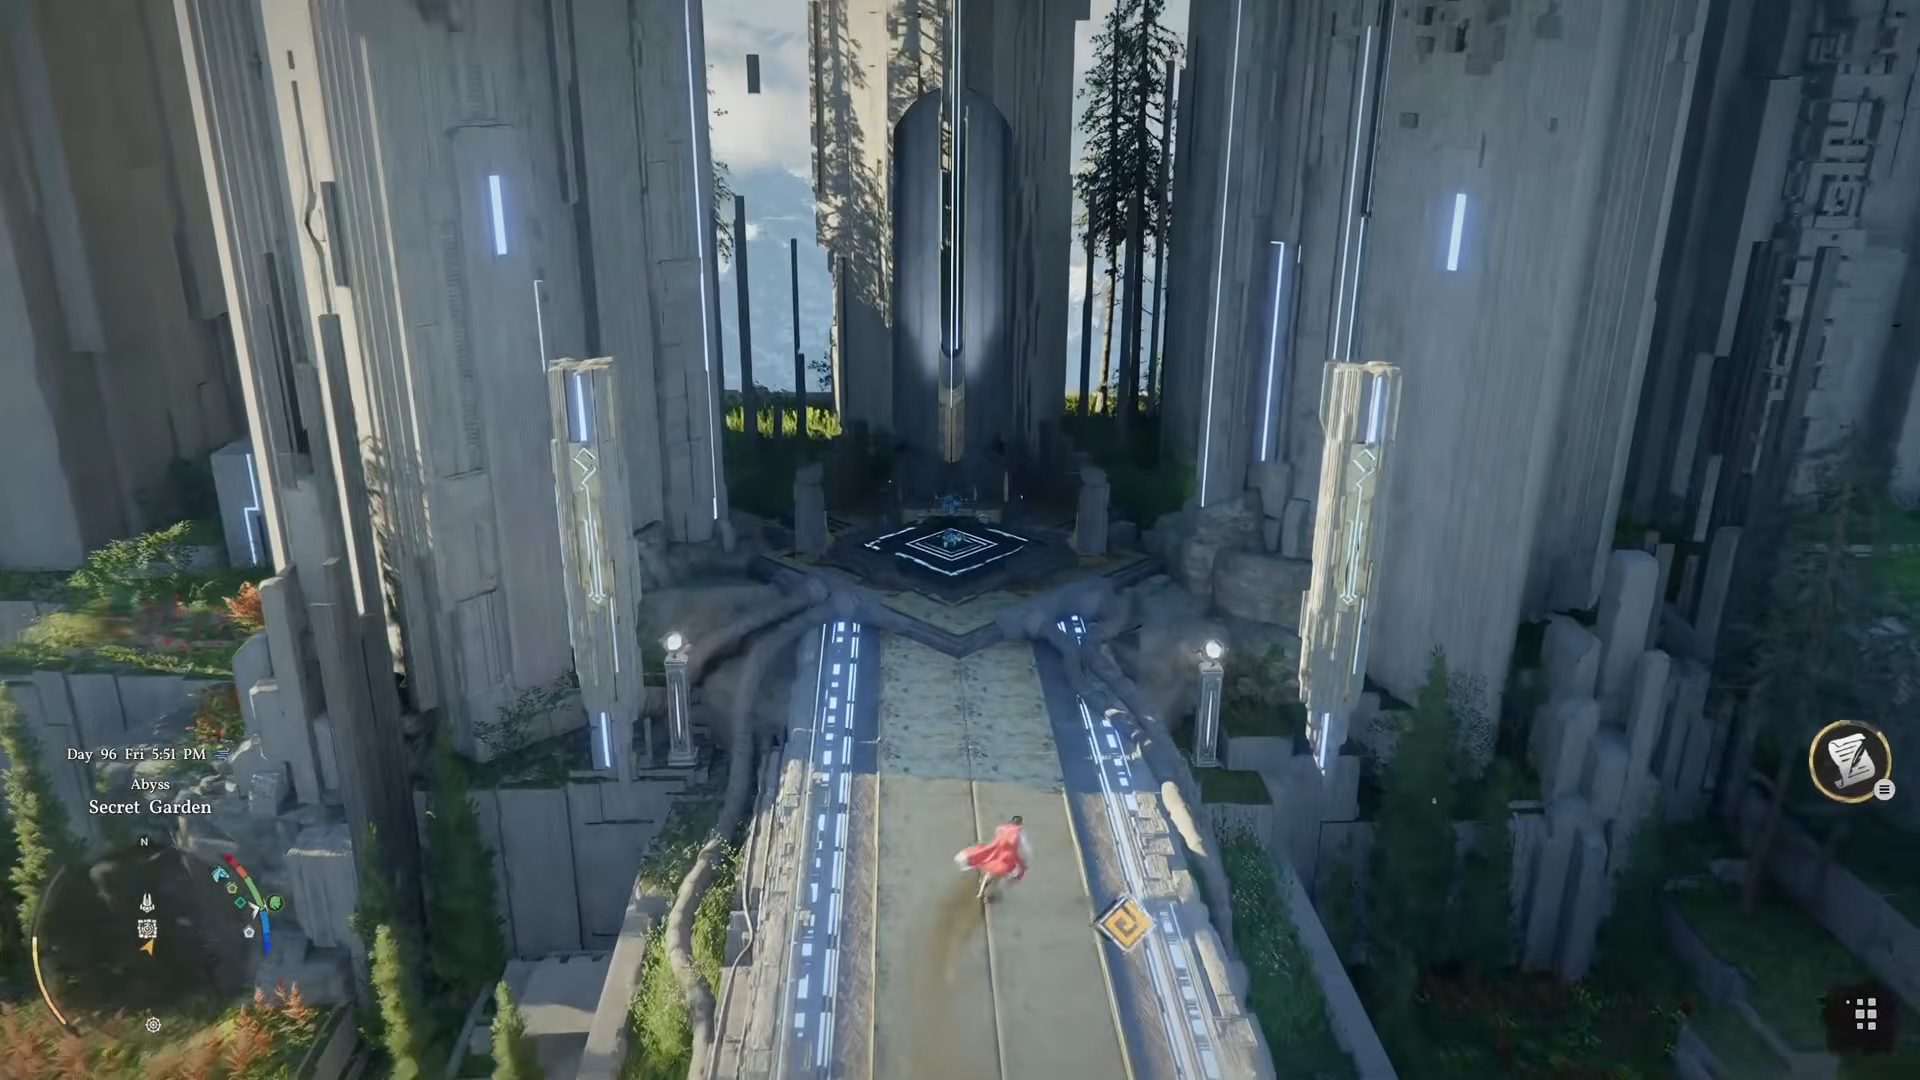
Starting point at Spire of the Stars
The unlock chain begins at the Spire of the Stars, which is a location you first visit during Chapter 4.
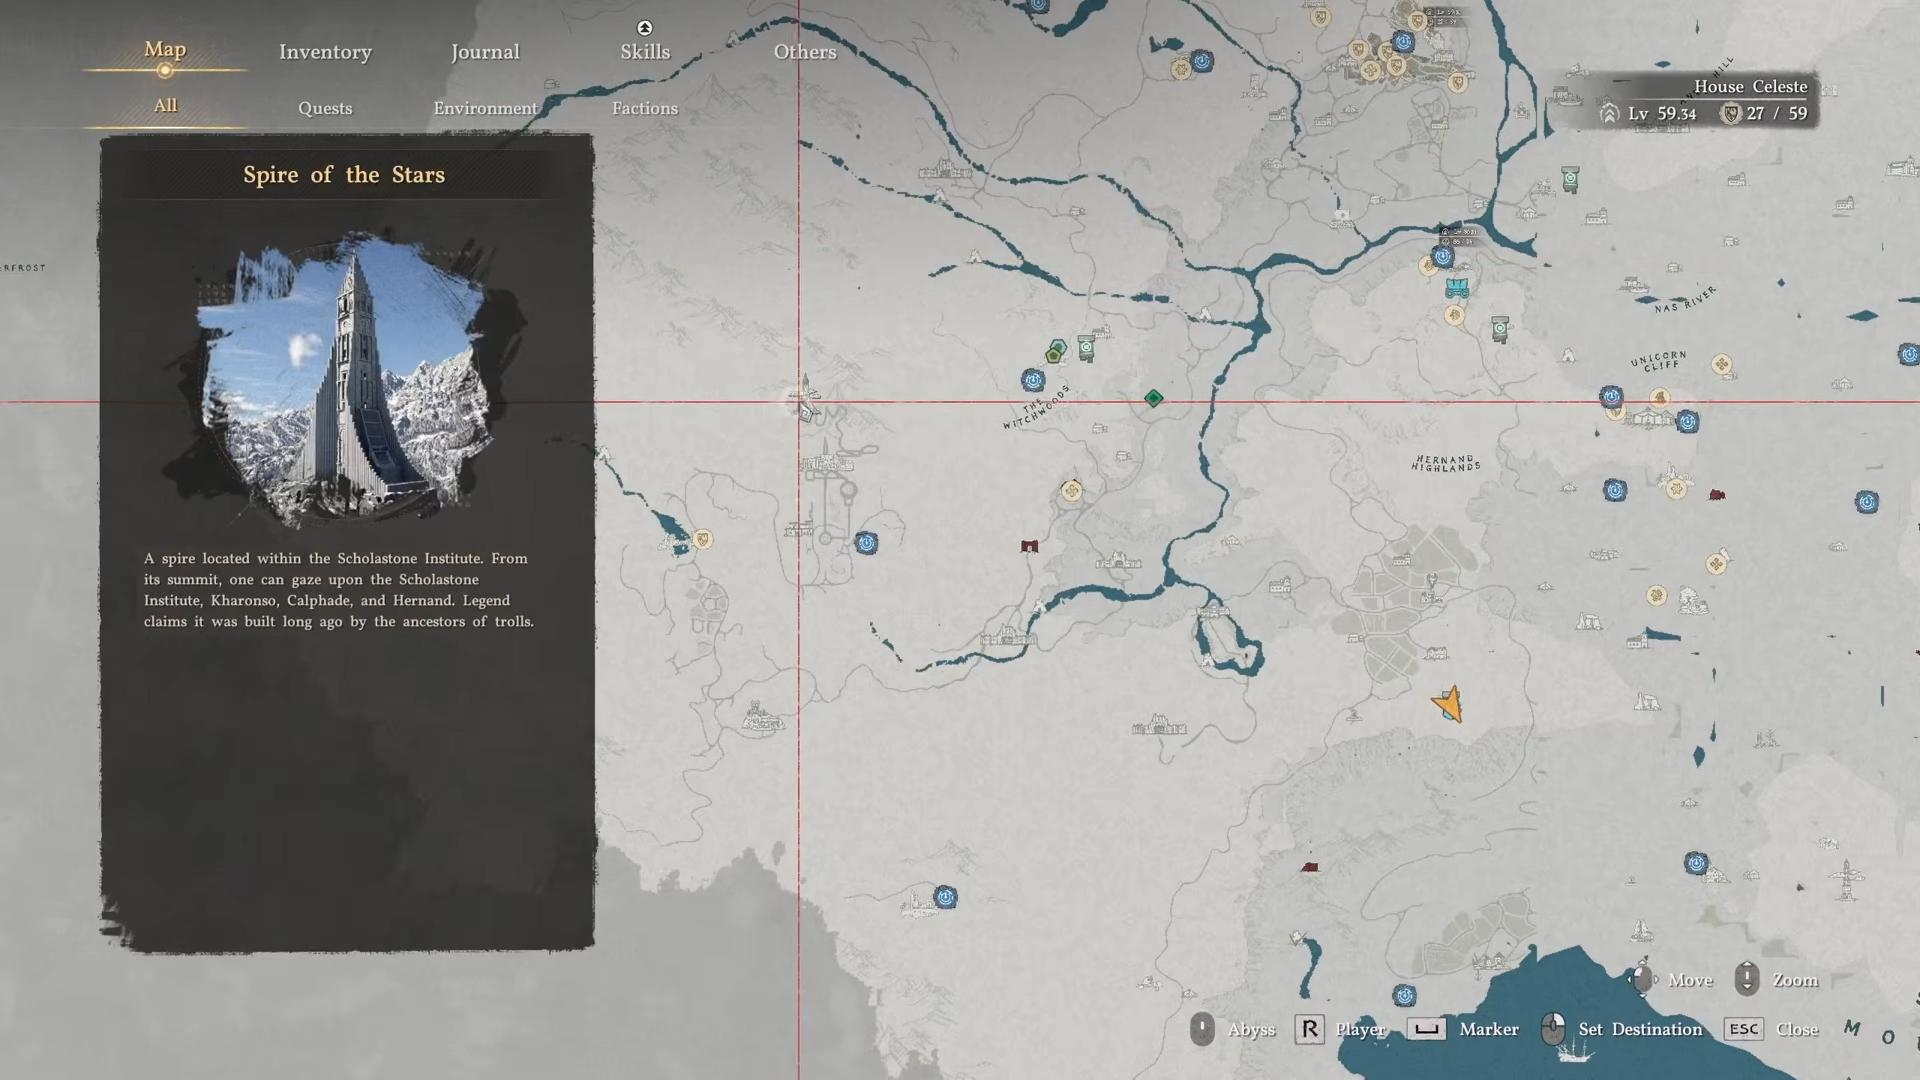
After progressing the story, you return there and enter the abyss section again. If you already cleared parts of the route earlier, you can skip past them with movement options like force jump.
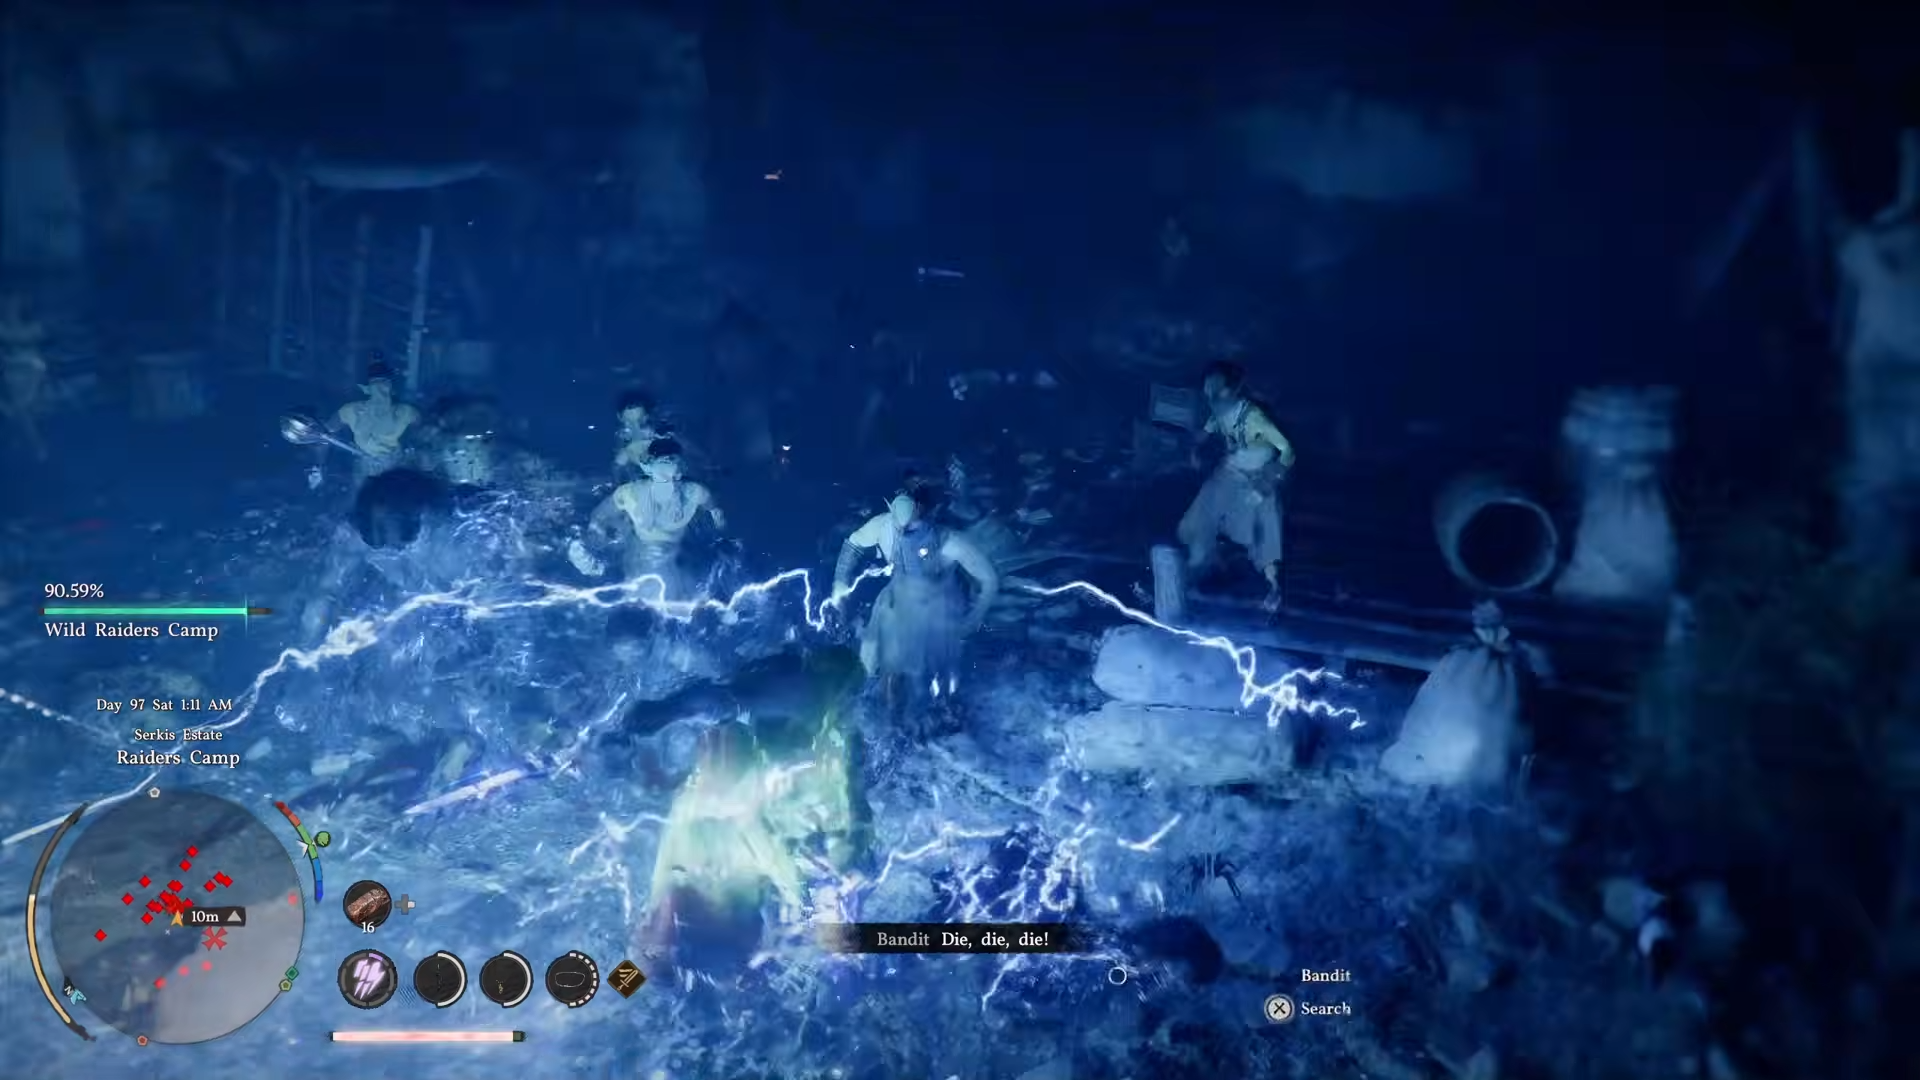
Your first job is to push through to the next section and reach the area where the lightning battery is hidden near the water.
This battery is important because it powers the first major puzzle interaction.
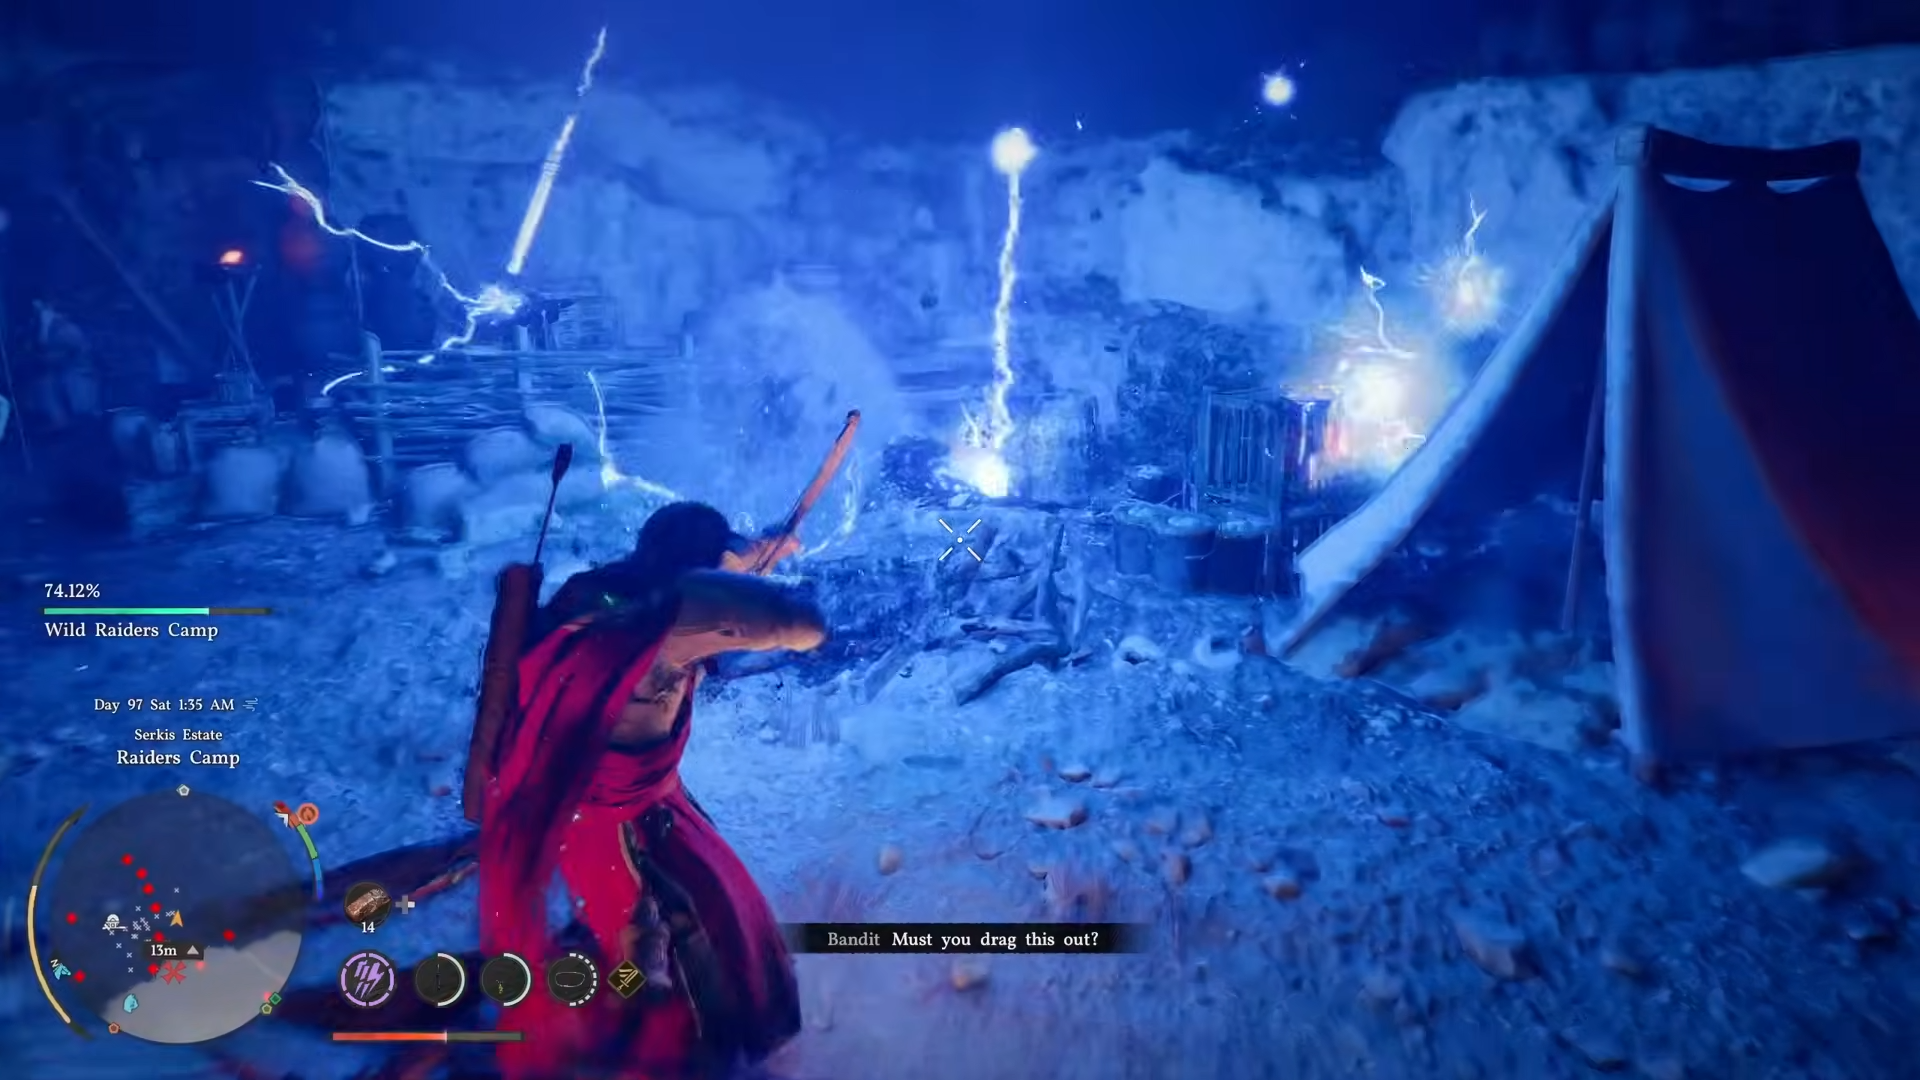
The area also contains points where you may need to use Force Current and avoid being stopped or electrocuted.
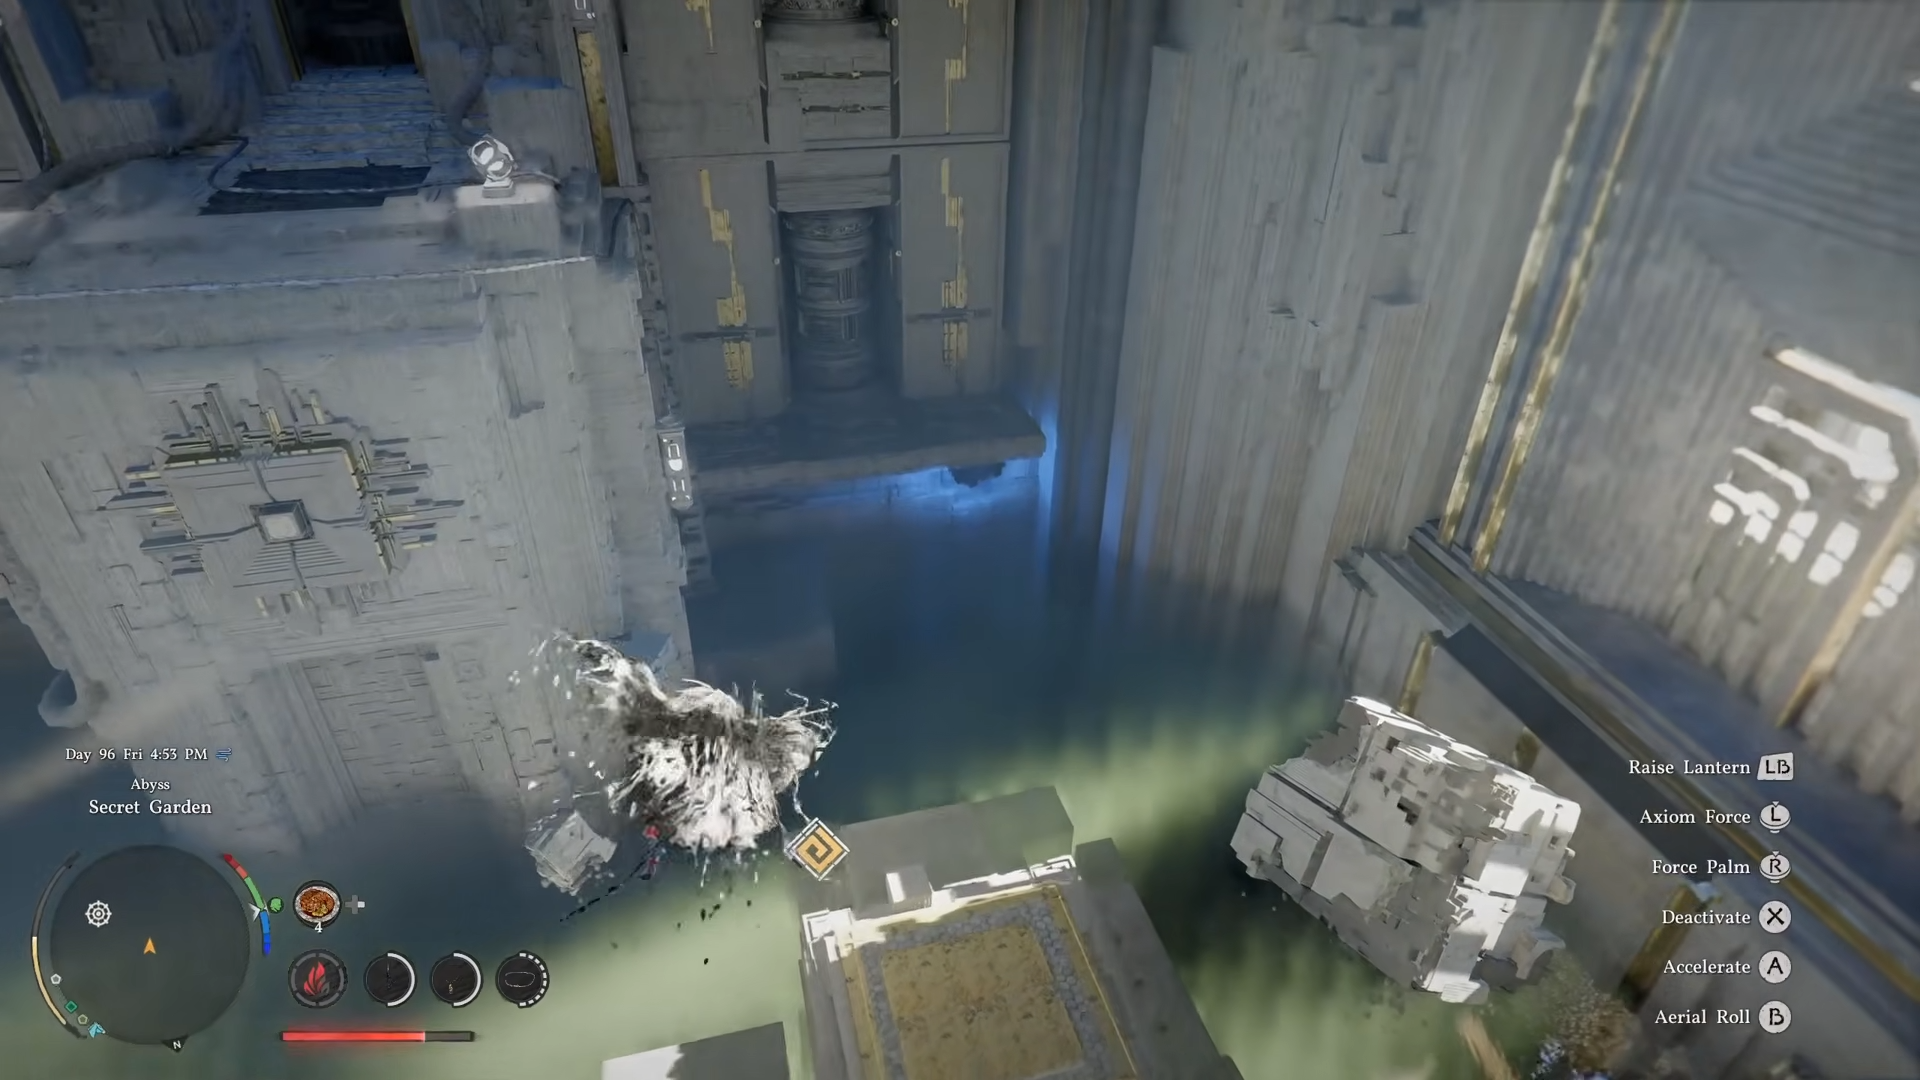
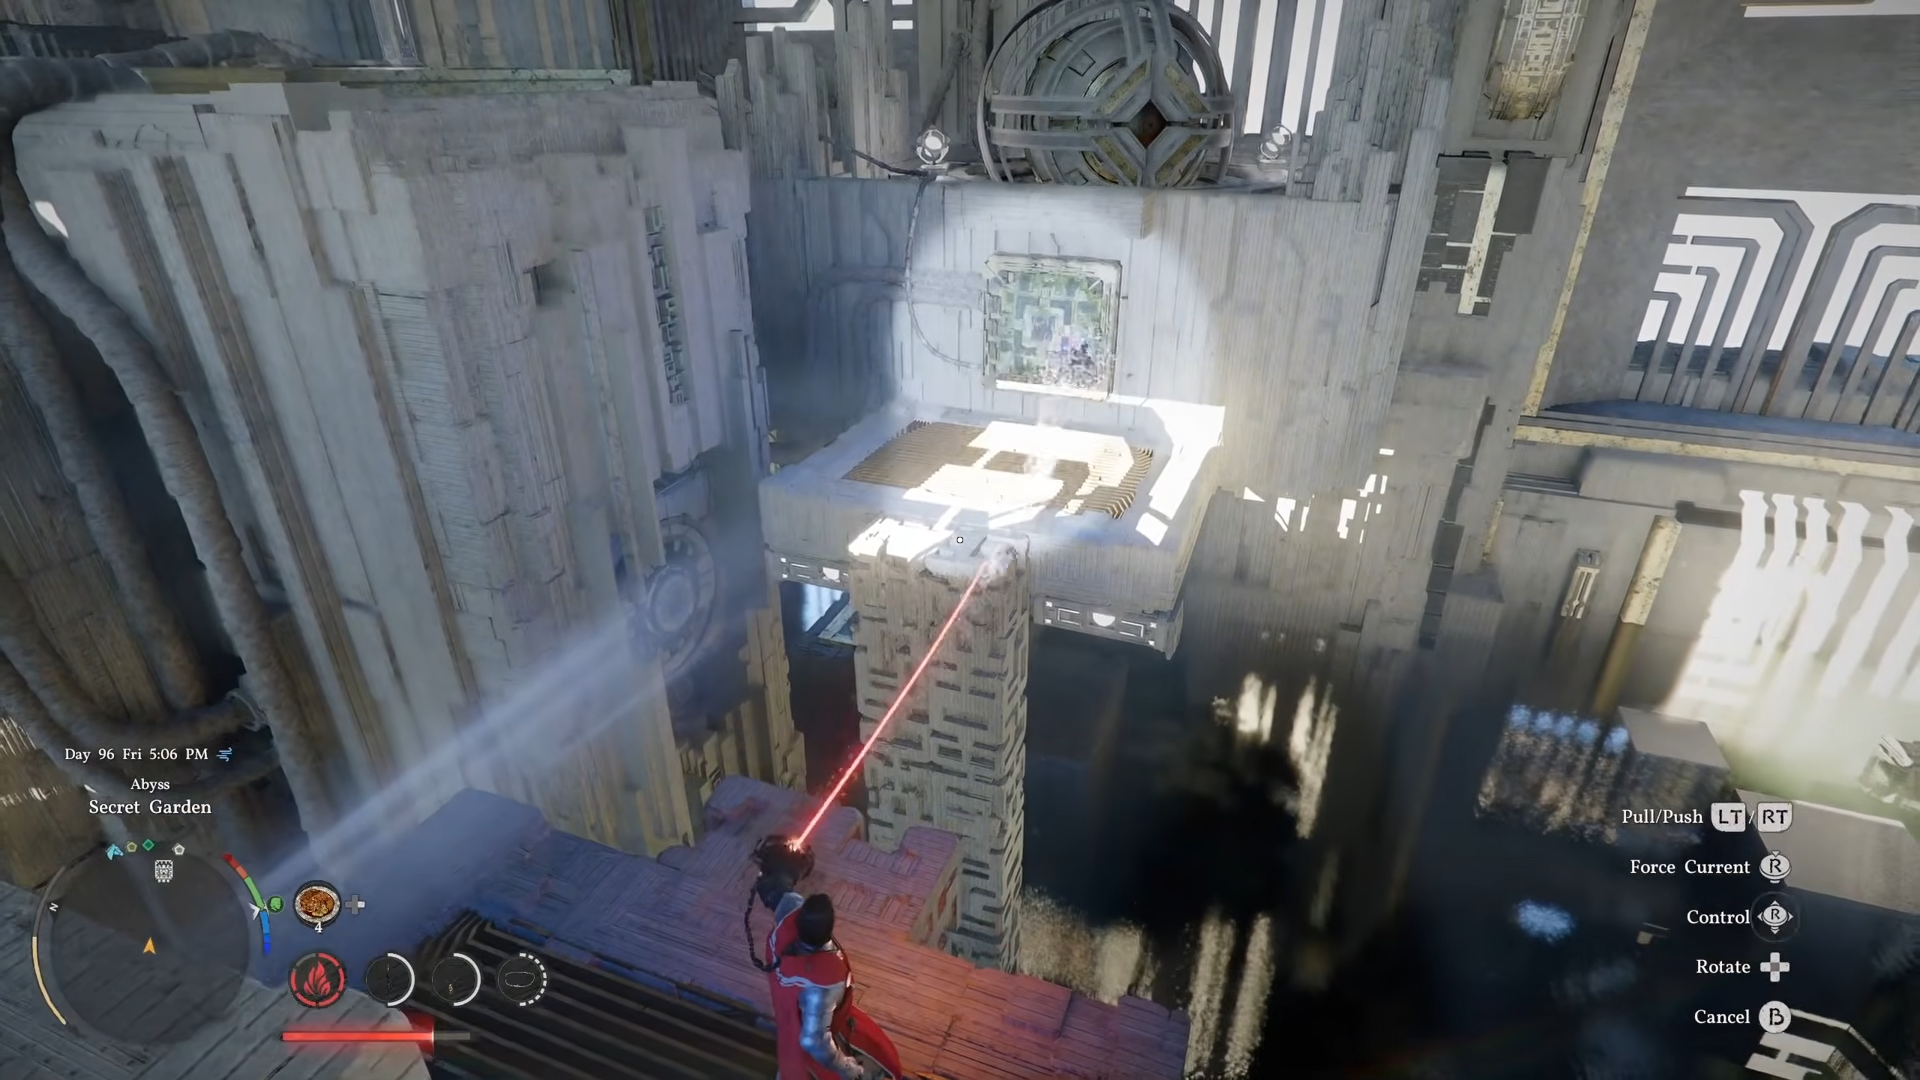
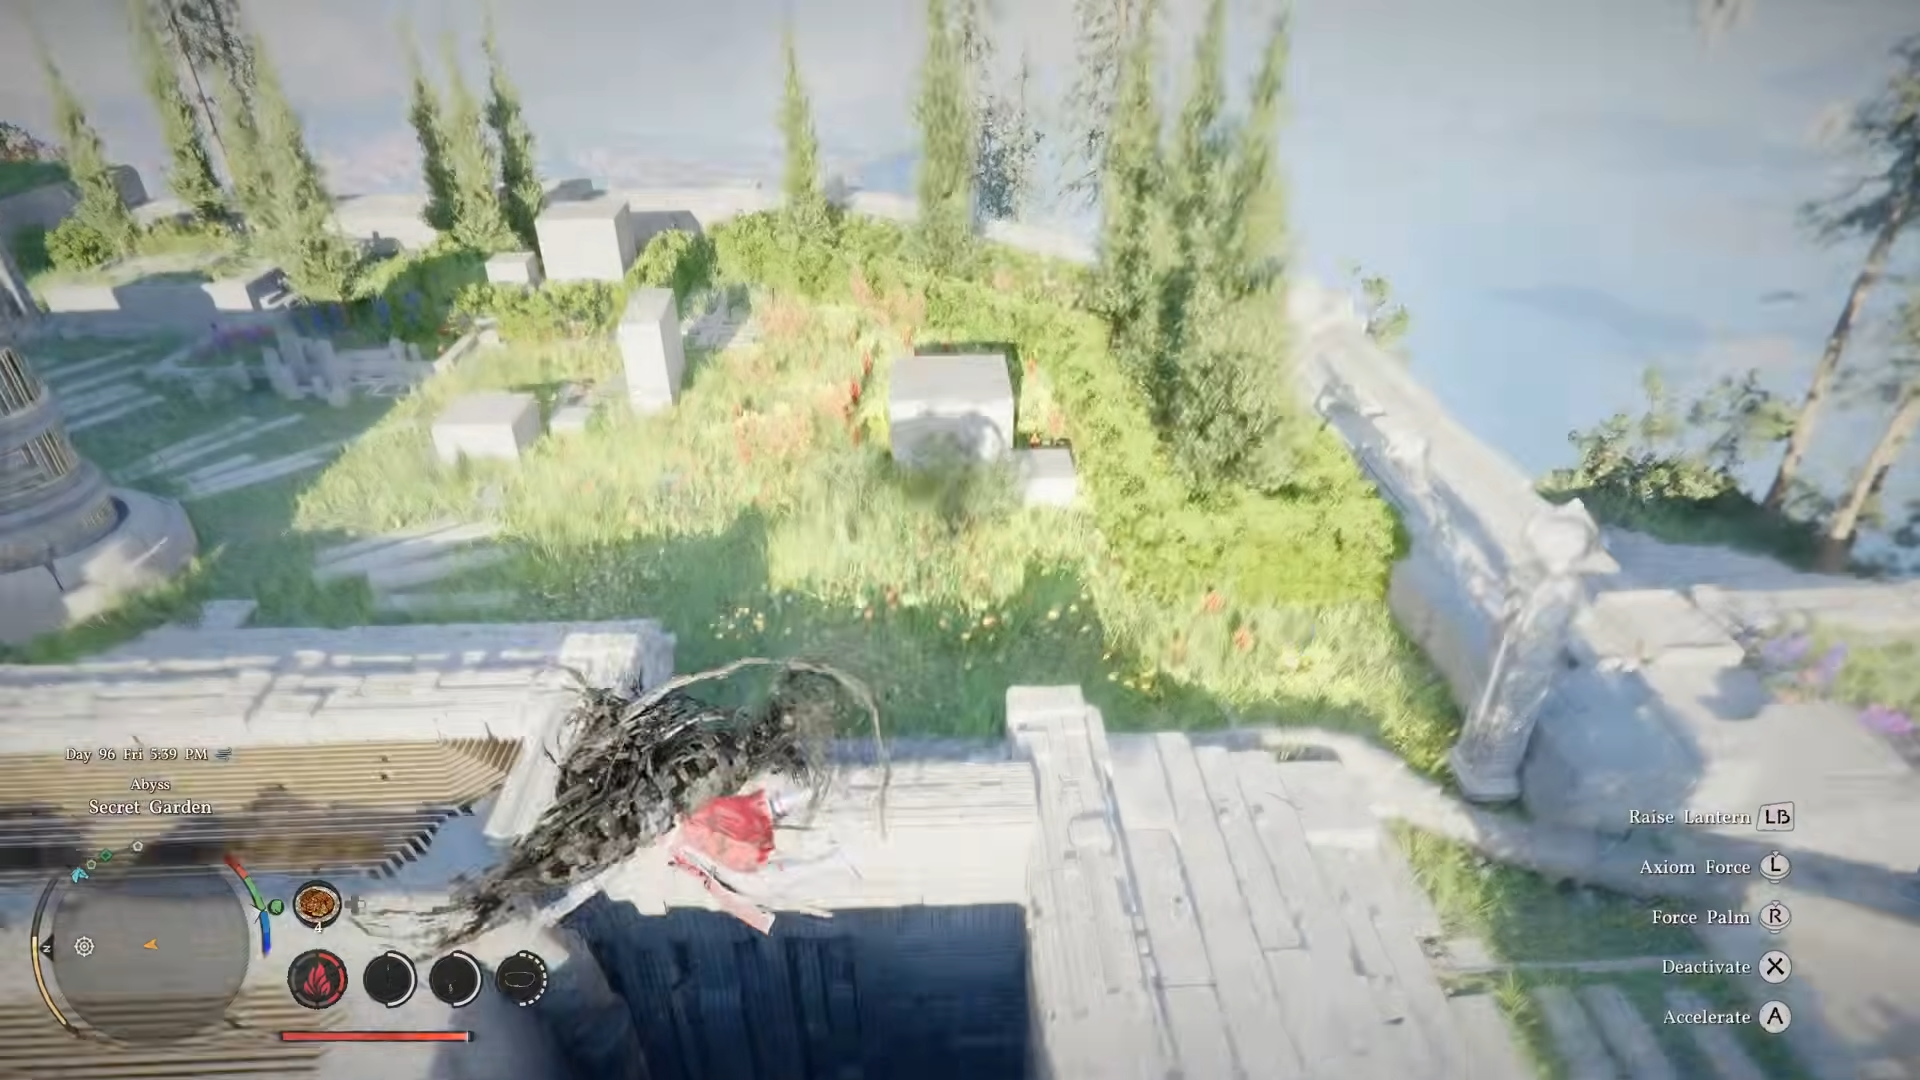
Secret Garden puzzle route
In the Secret Garden section, you need to grab the lightning battery from the far side of the map and bring it back to the correct position.
Rely on Force Current here.
Because it lets you lock the battery into the wall and prevent it from slipping or shocking you.
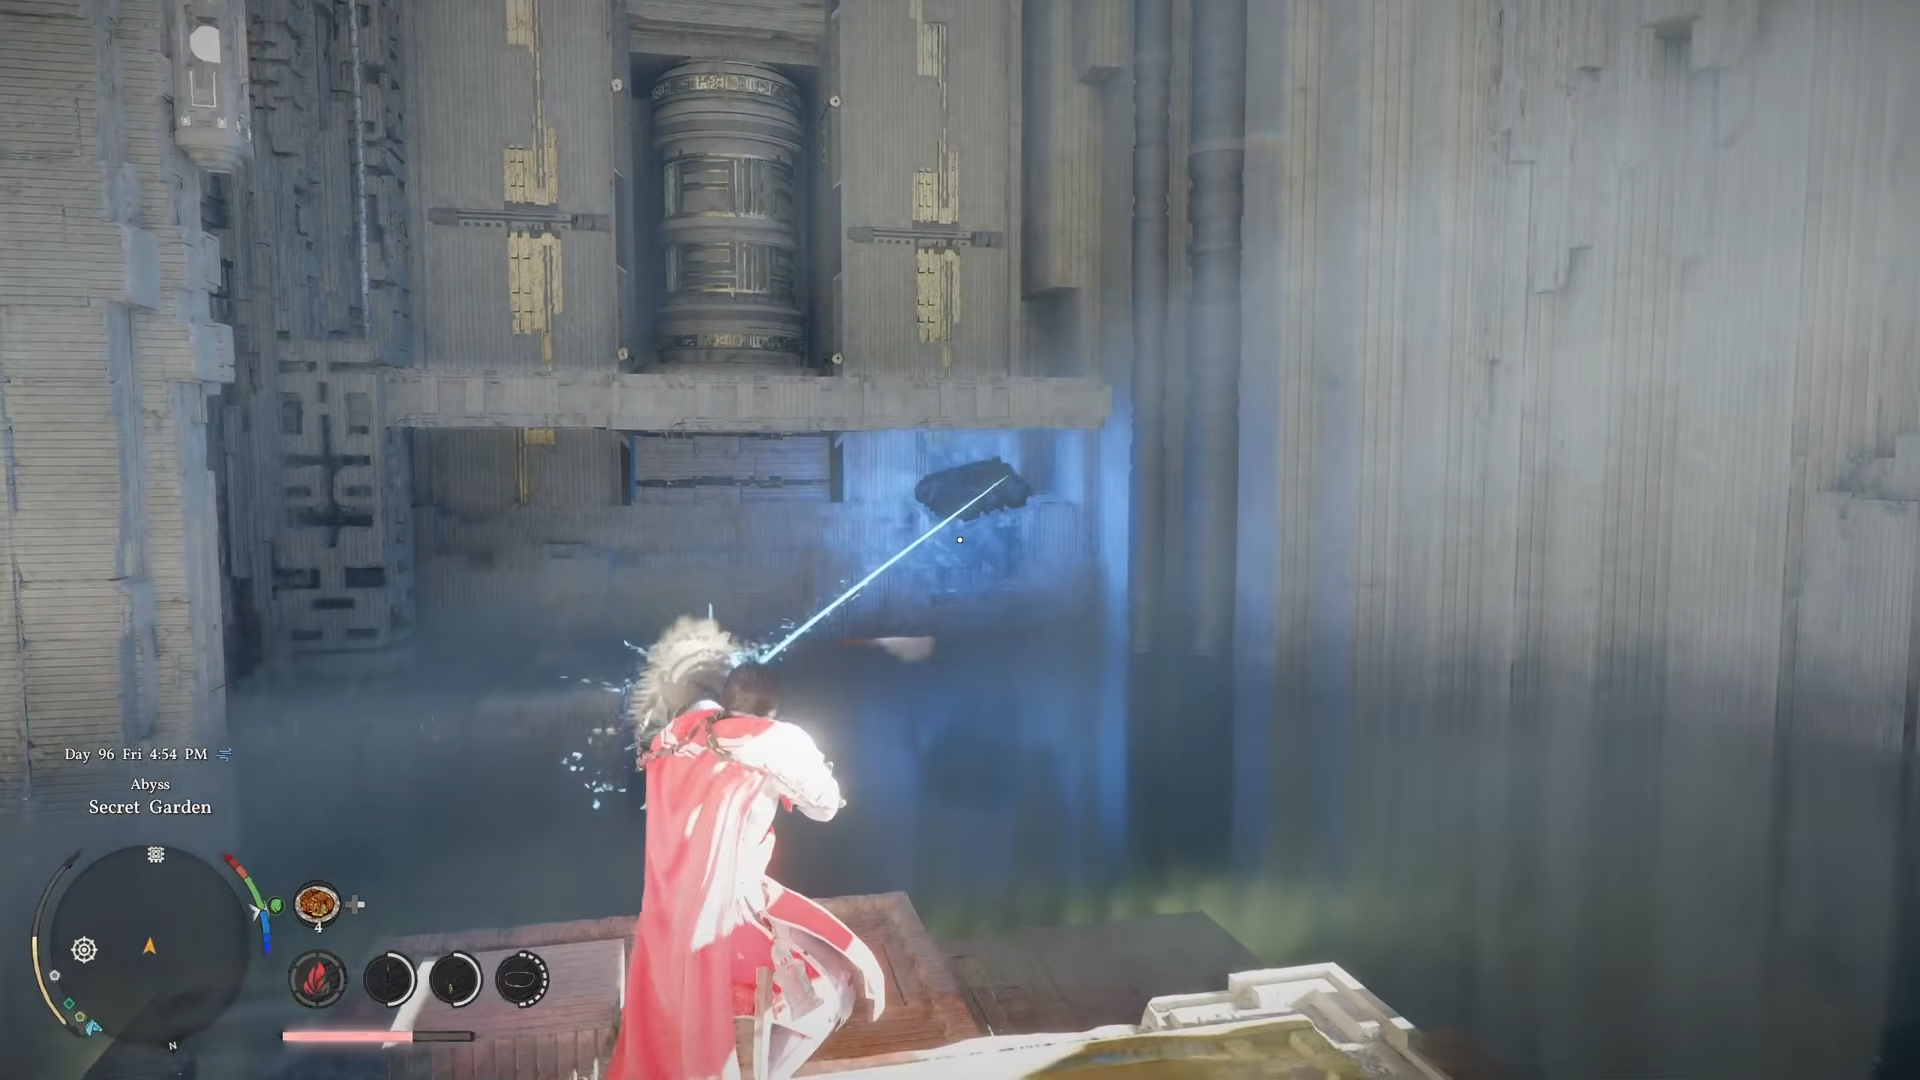
After that, you move an orb so it lines up with the wall across from you.
Use camera rotation to get the angle right.
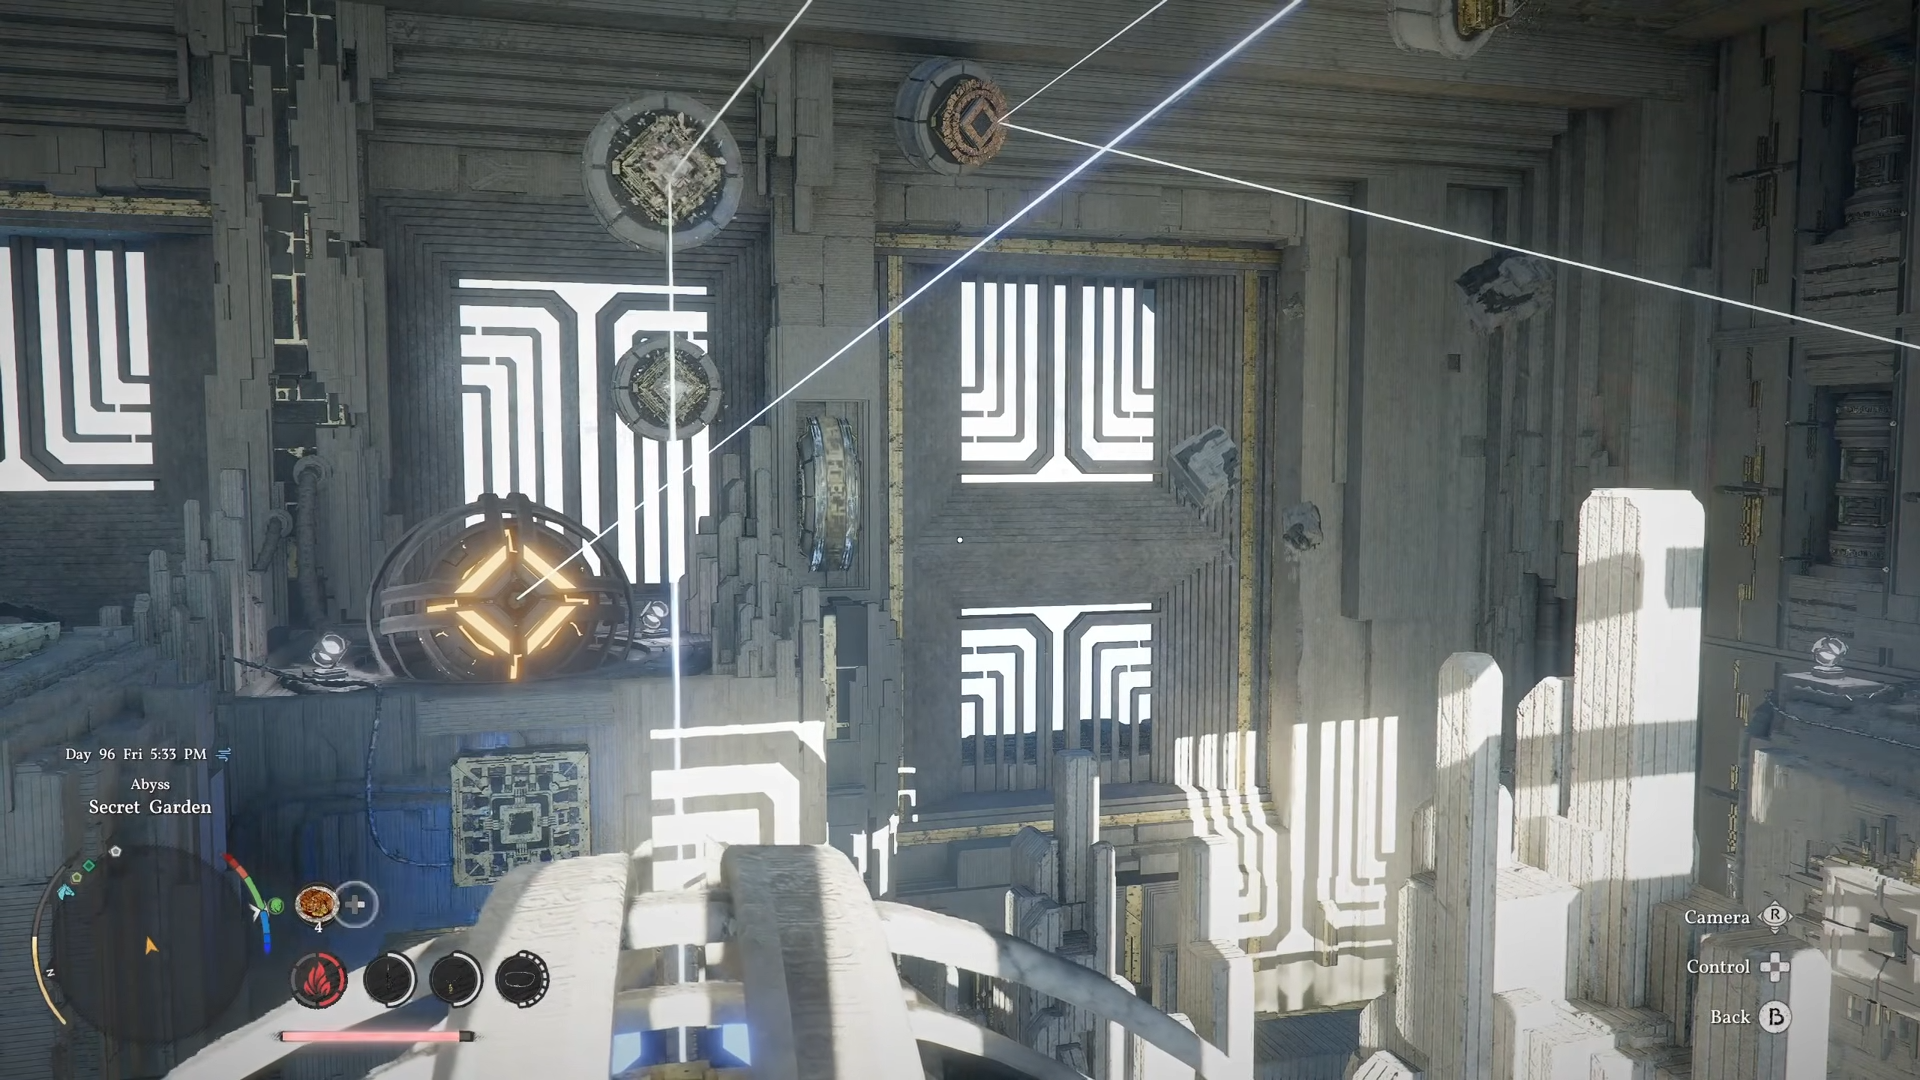
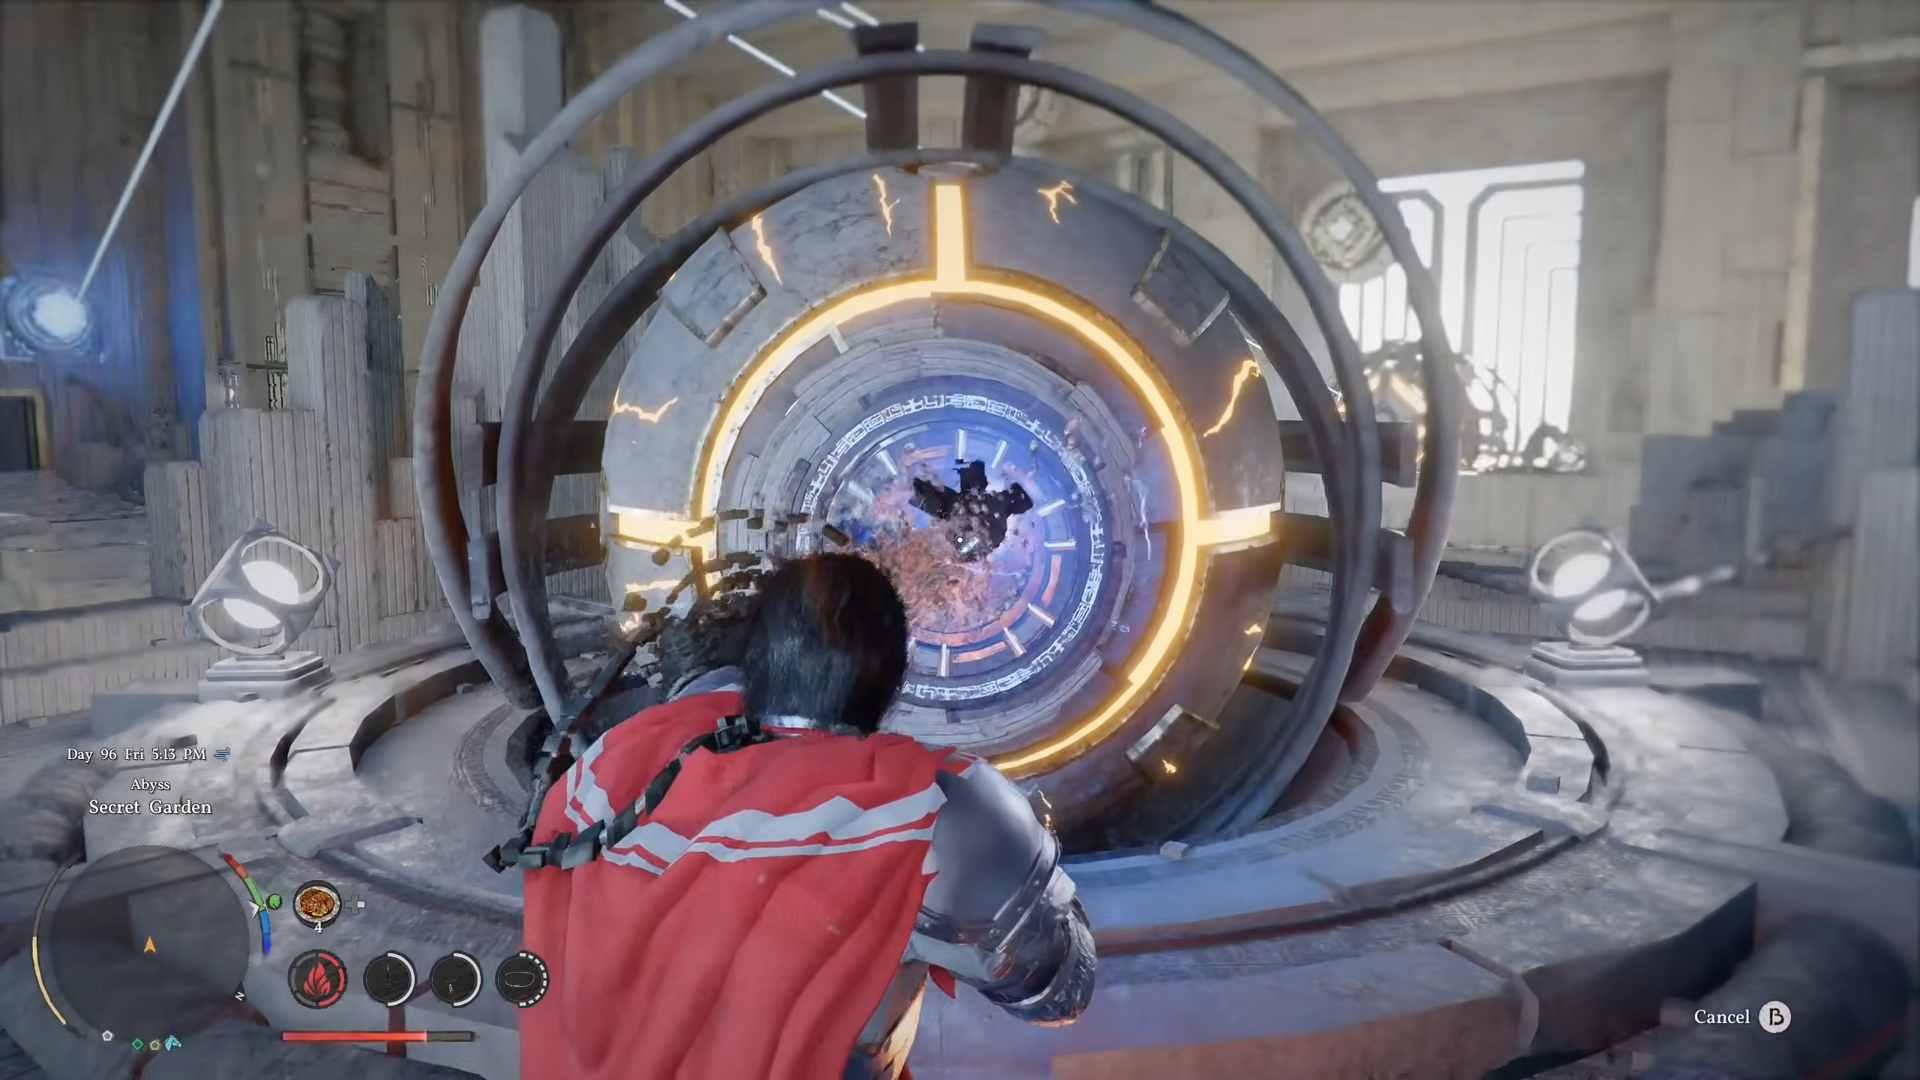
Once the mirror or orb alignment is correct, you continue upward to the top section.
There is a fuse that is easy to miss, and connecting it lights up the next interaction point.
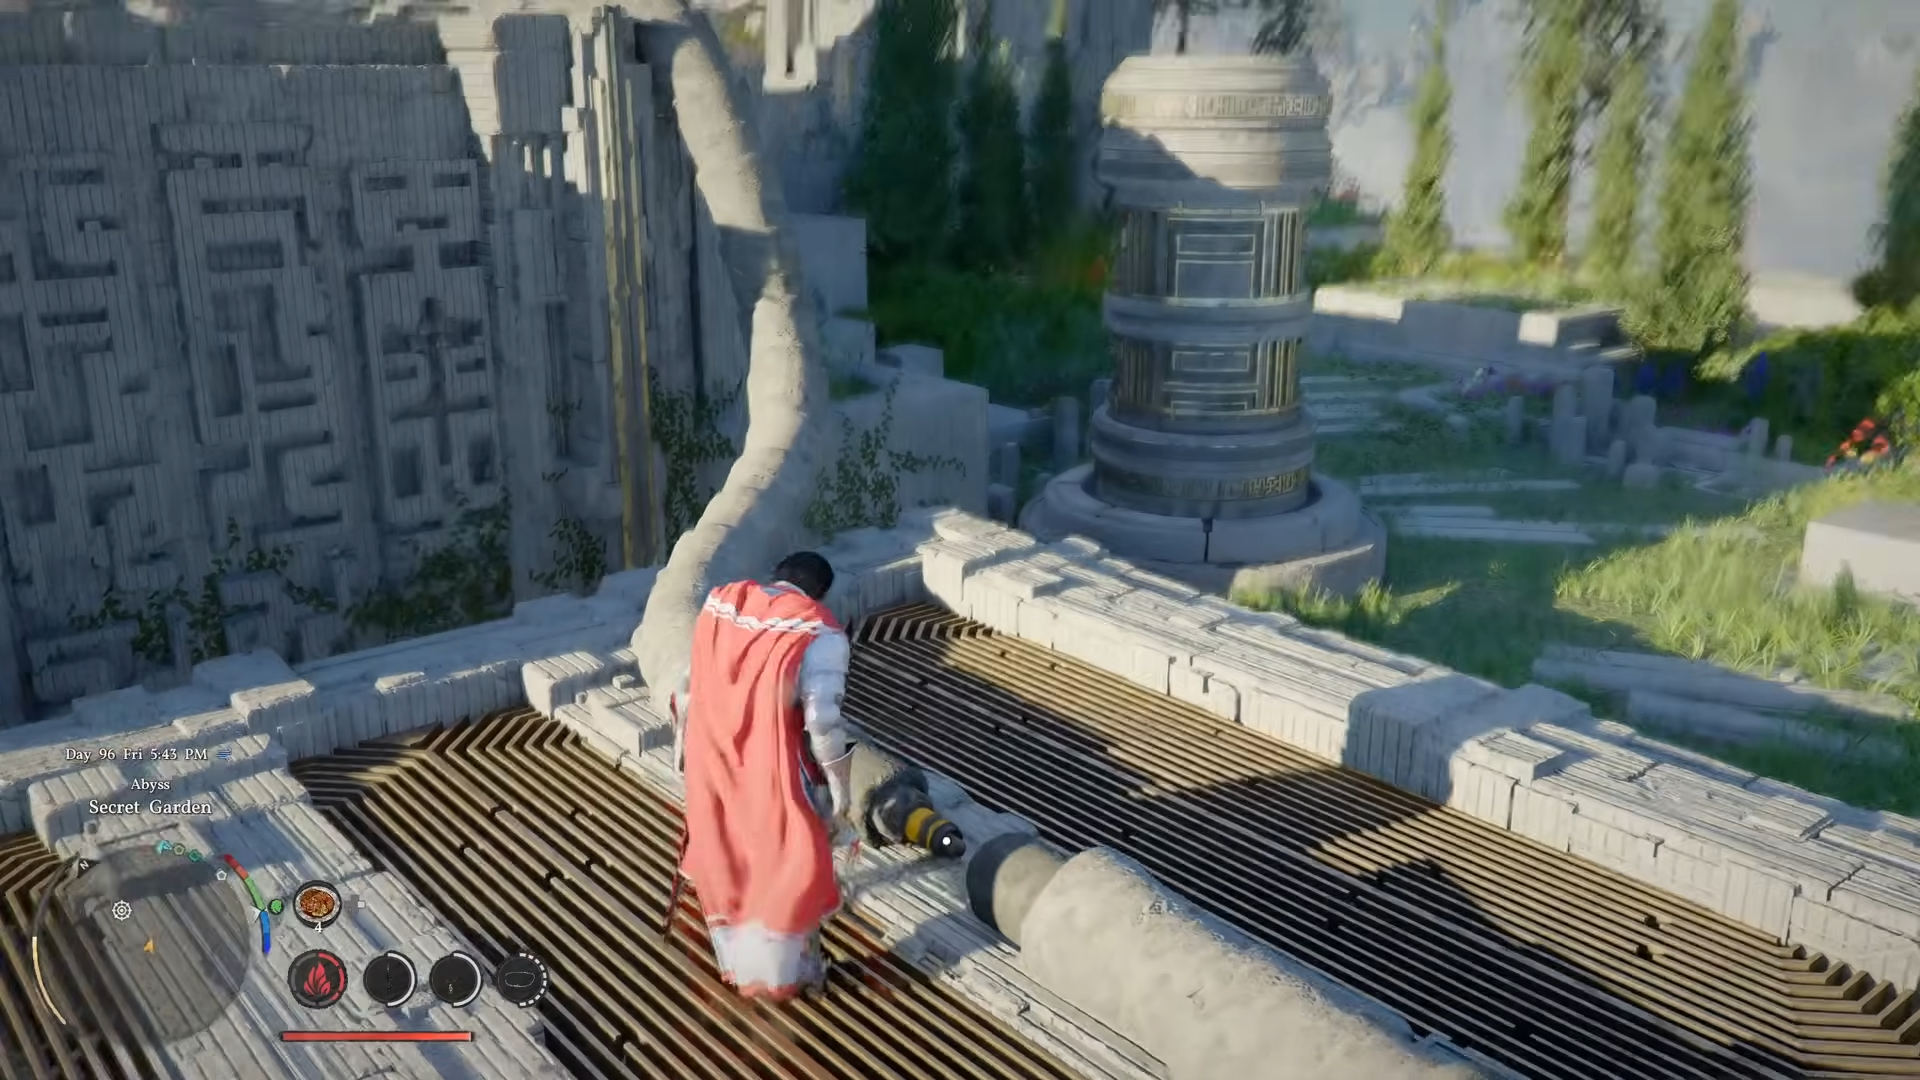
After that, punch the activated object, crouch, and finish the action and collect the abyss core artifact.
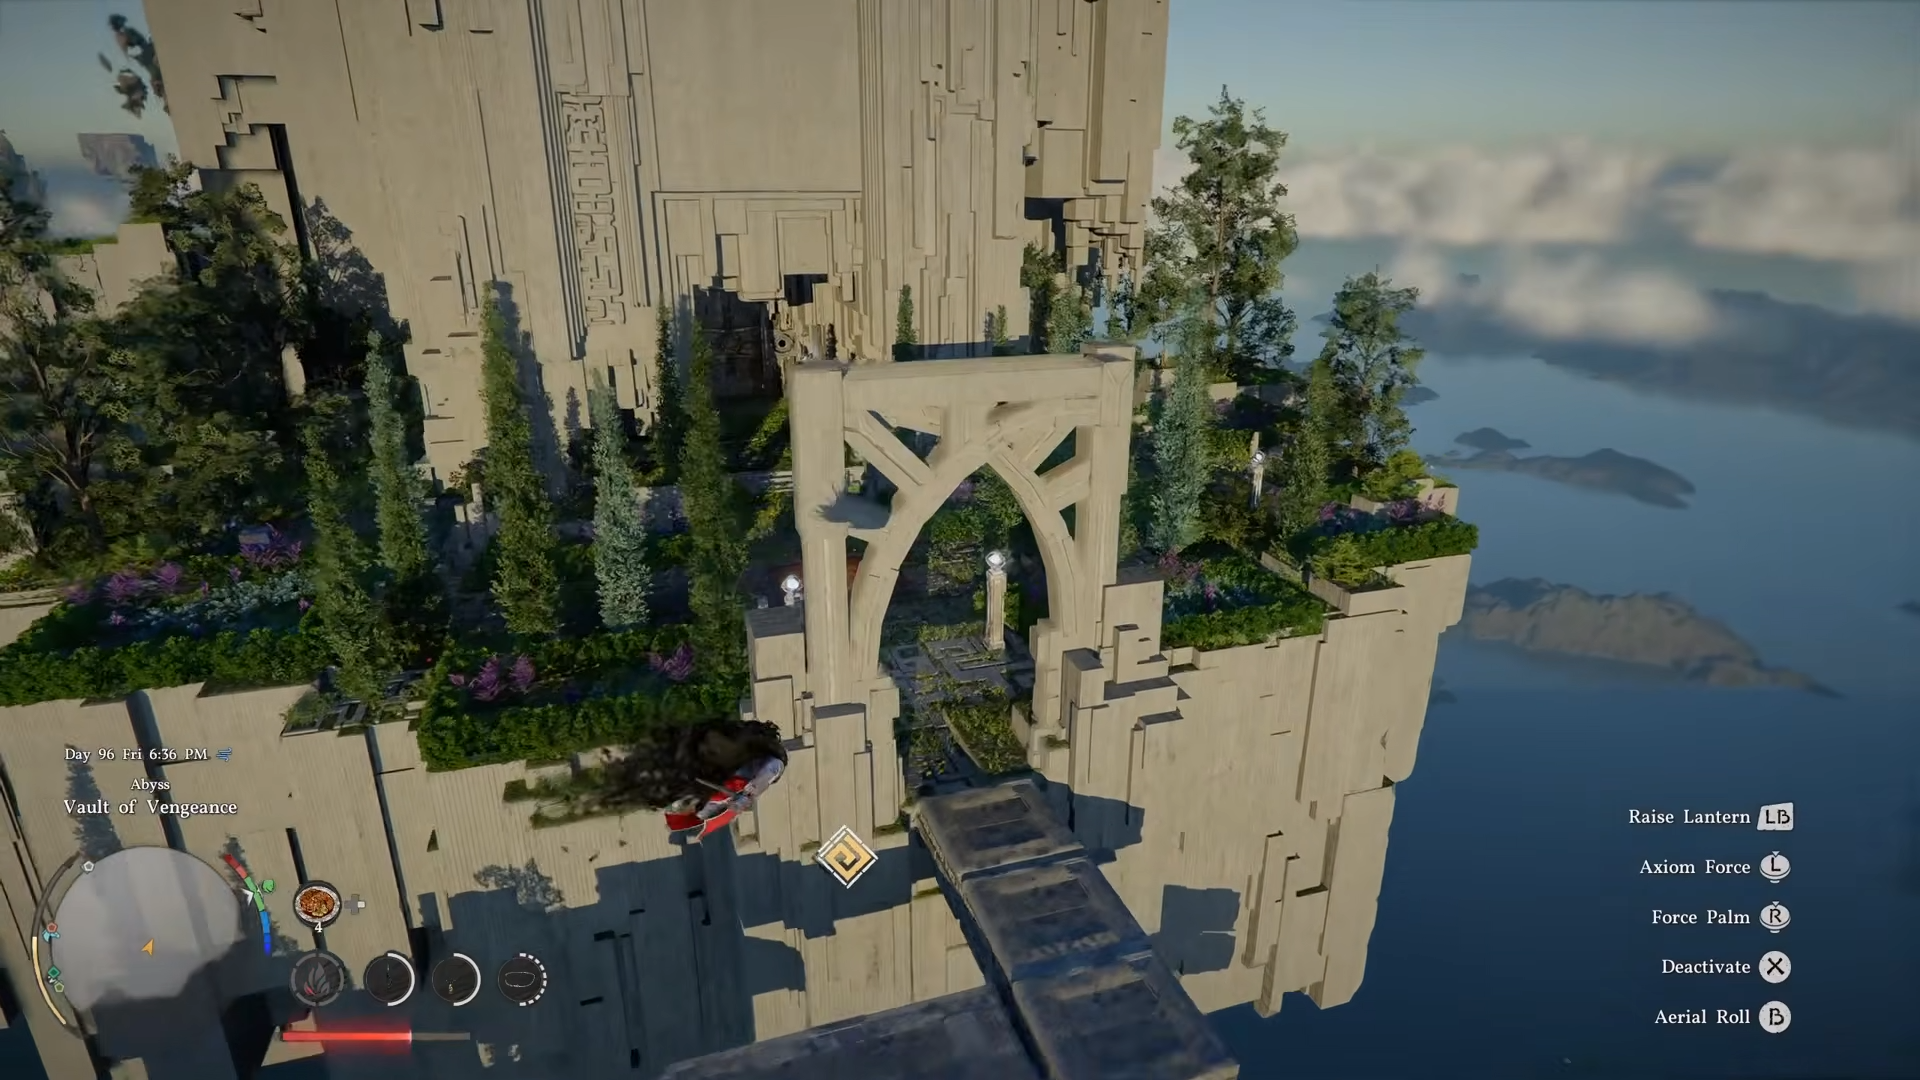
Vault of Vengeance puzzle route
The next section sends you through a new set of abyss puzzle rooms.
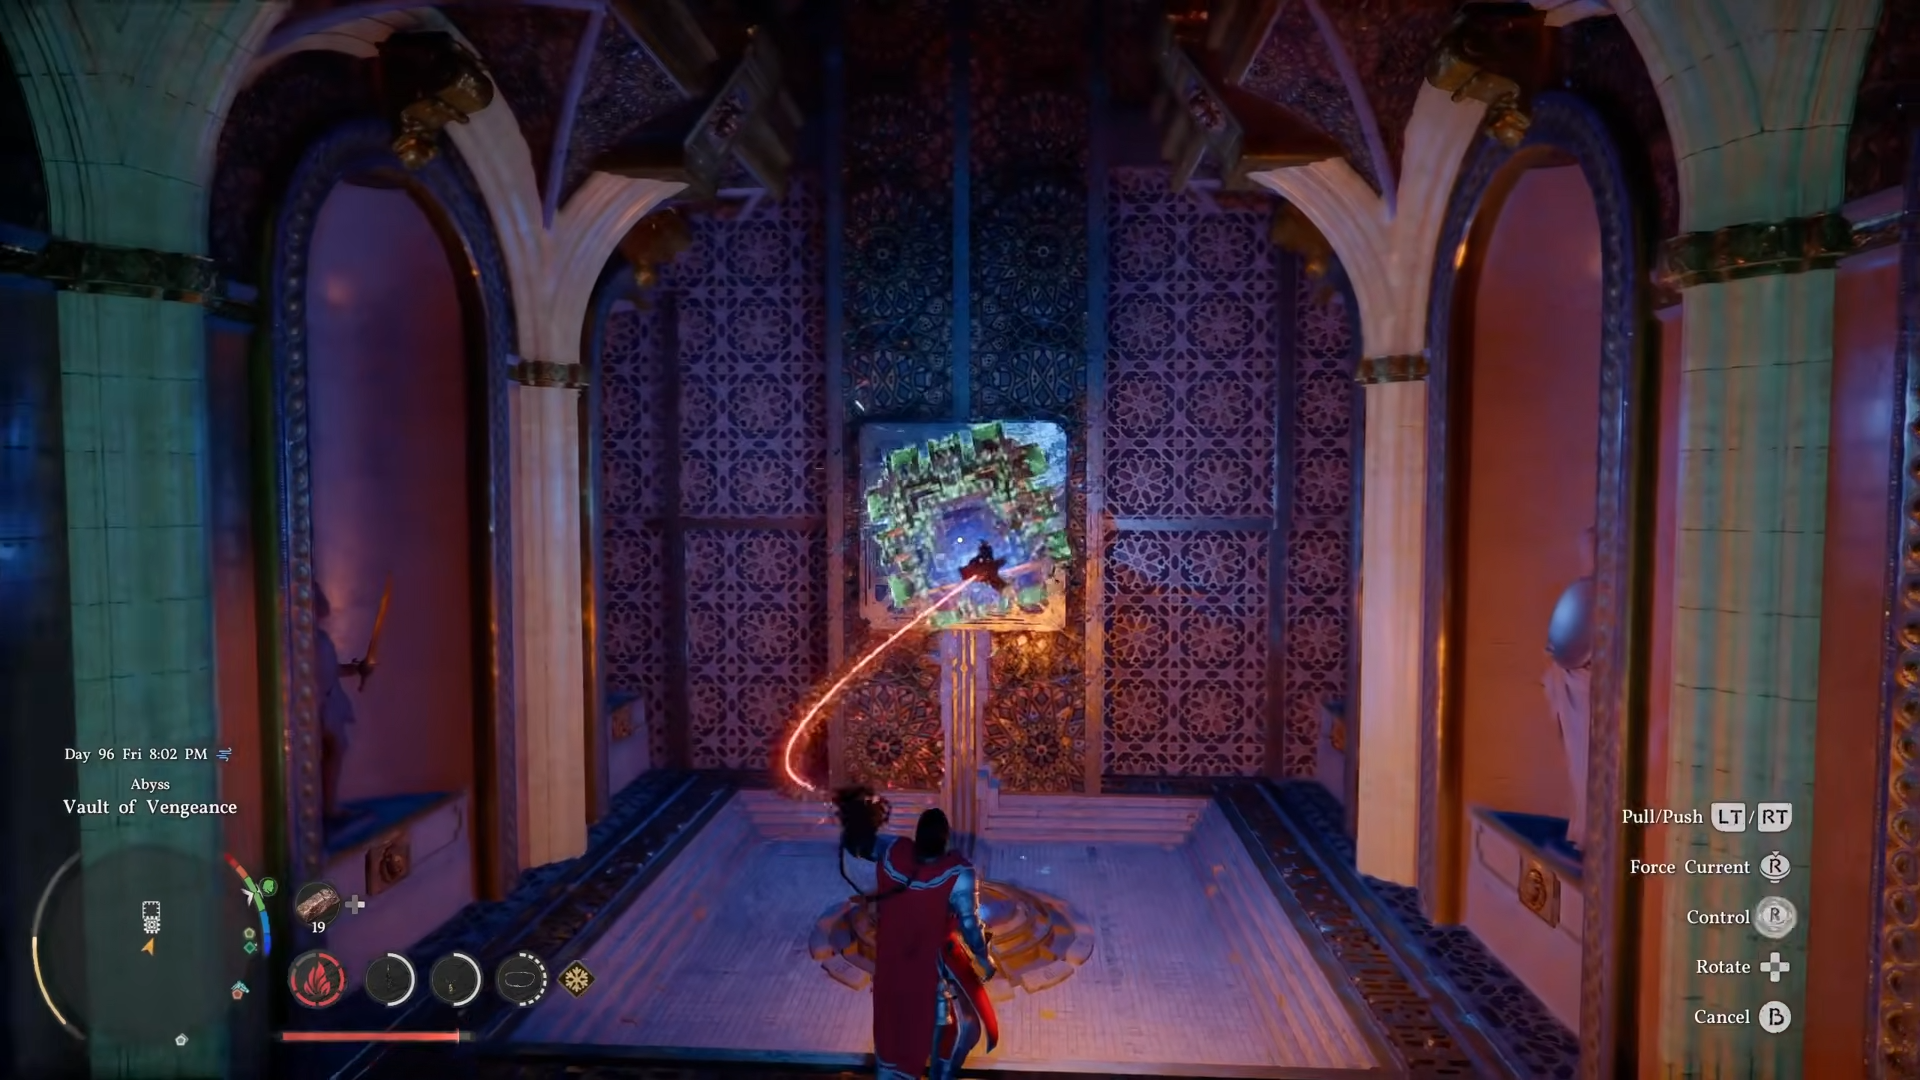
Here, you collect electrical cubes.
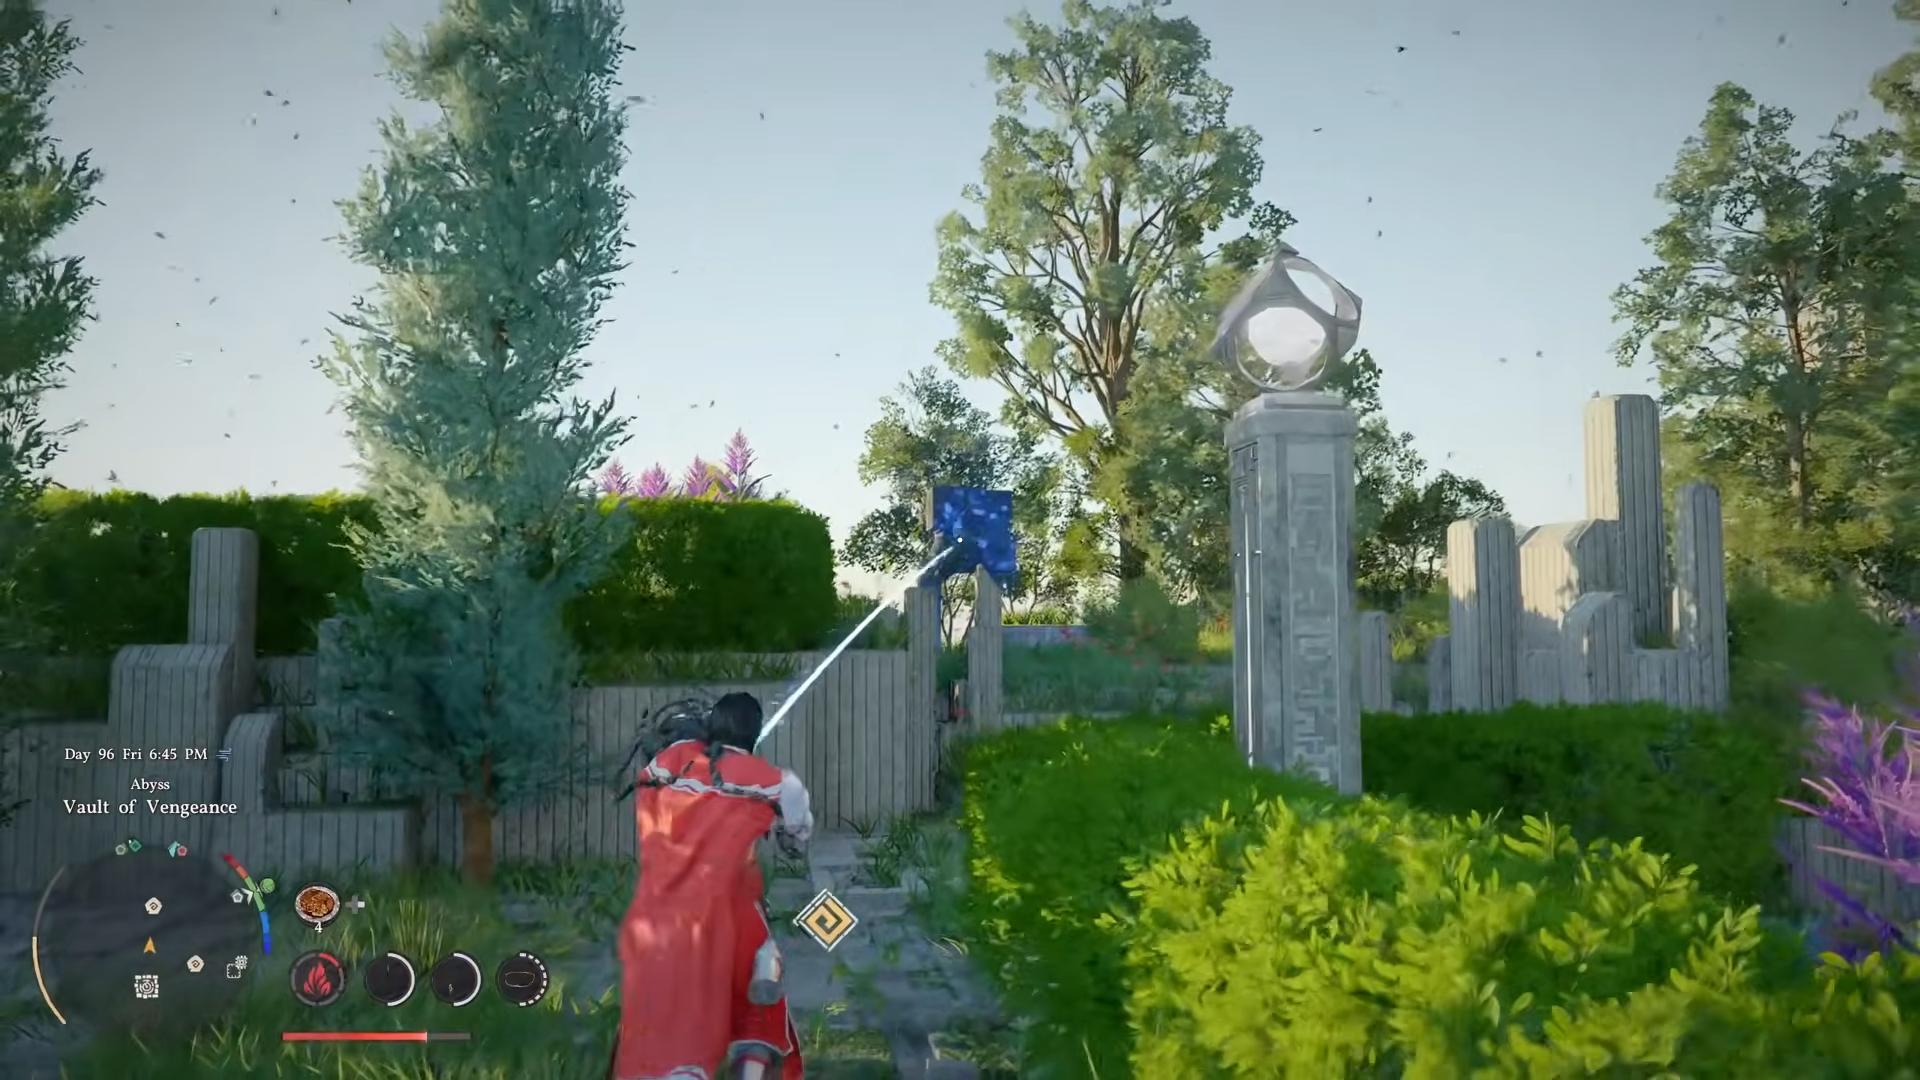
And place them on stone blocks to open a gate.
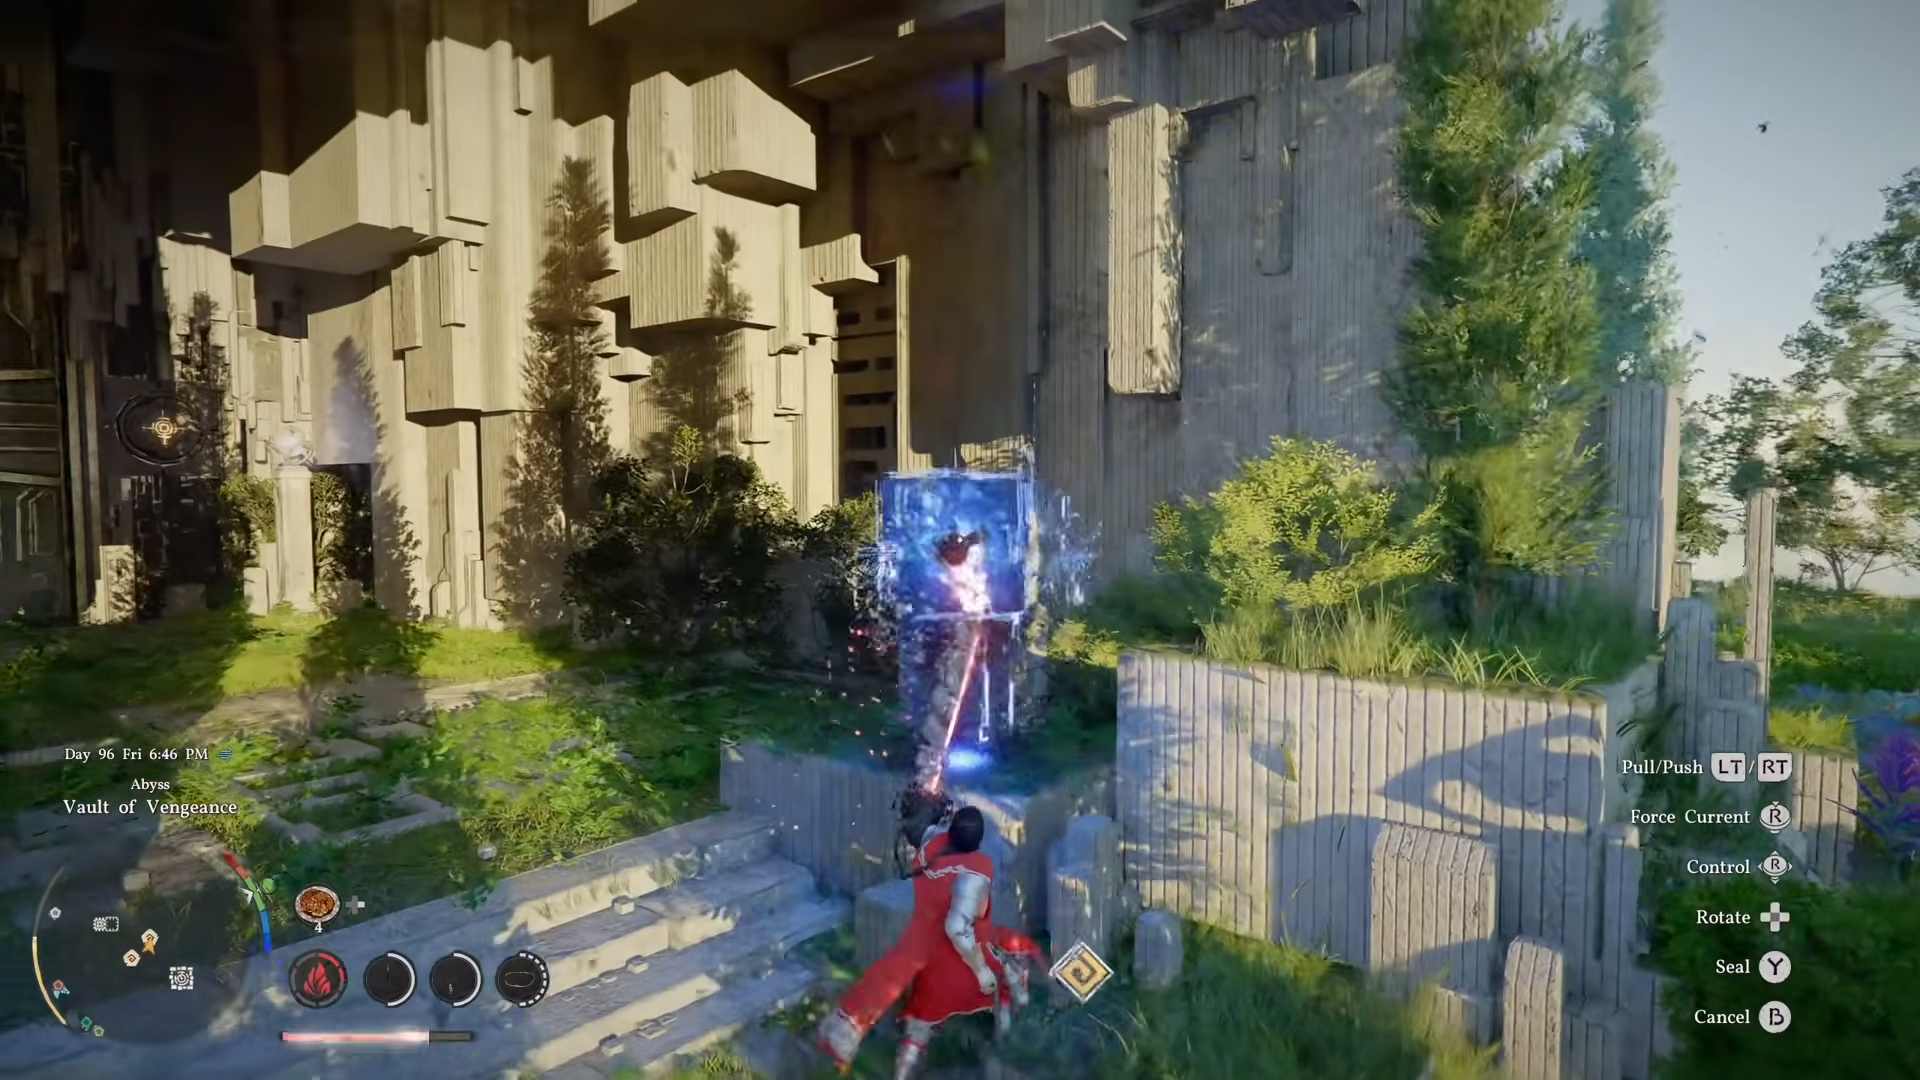
The mini map helps if you lose track of the cubes, since the pickups are not always obvious.
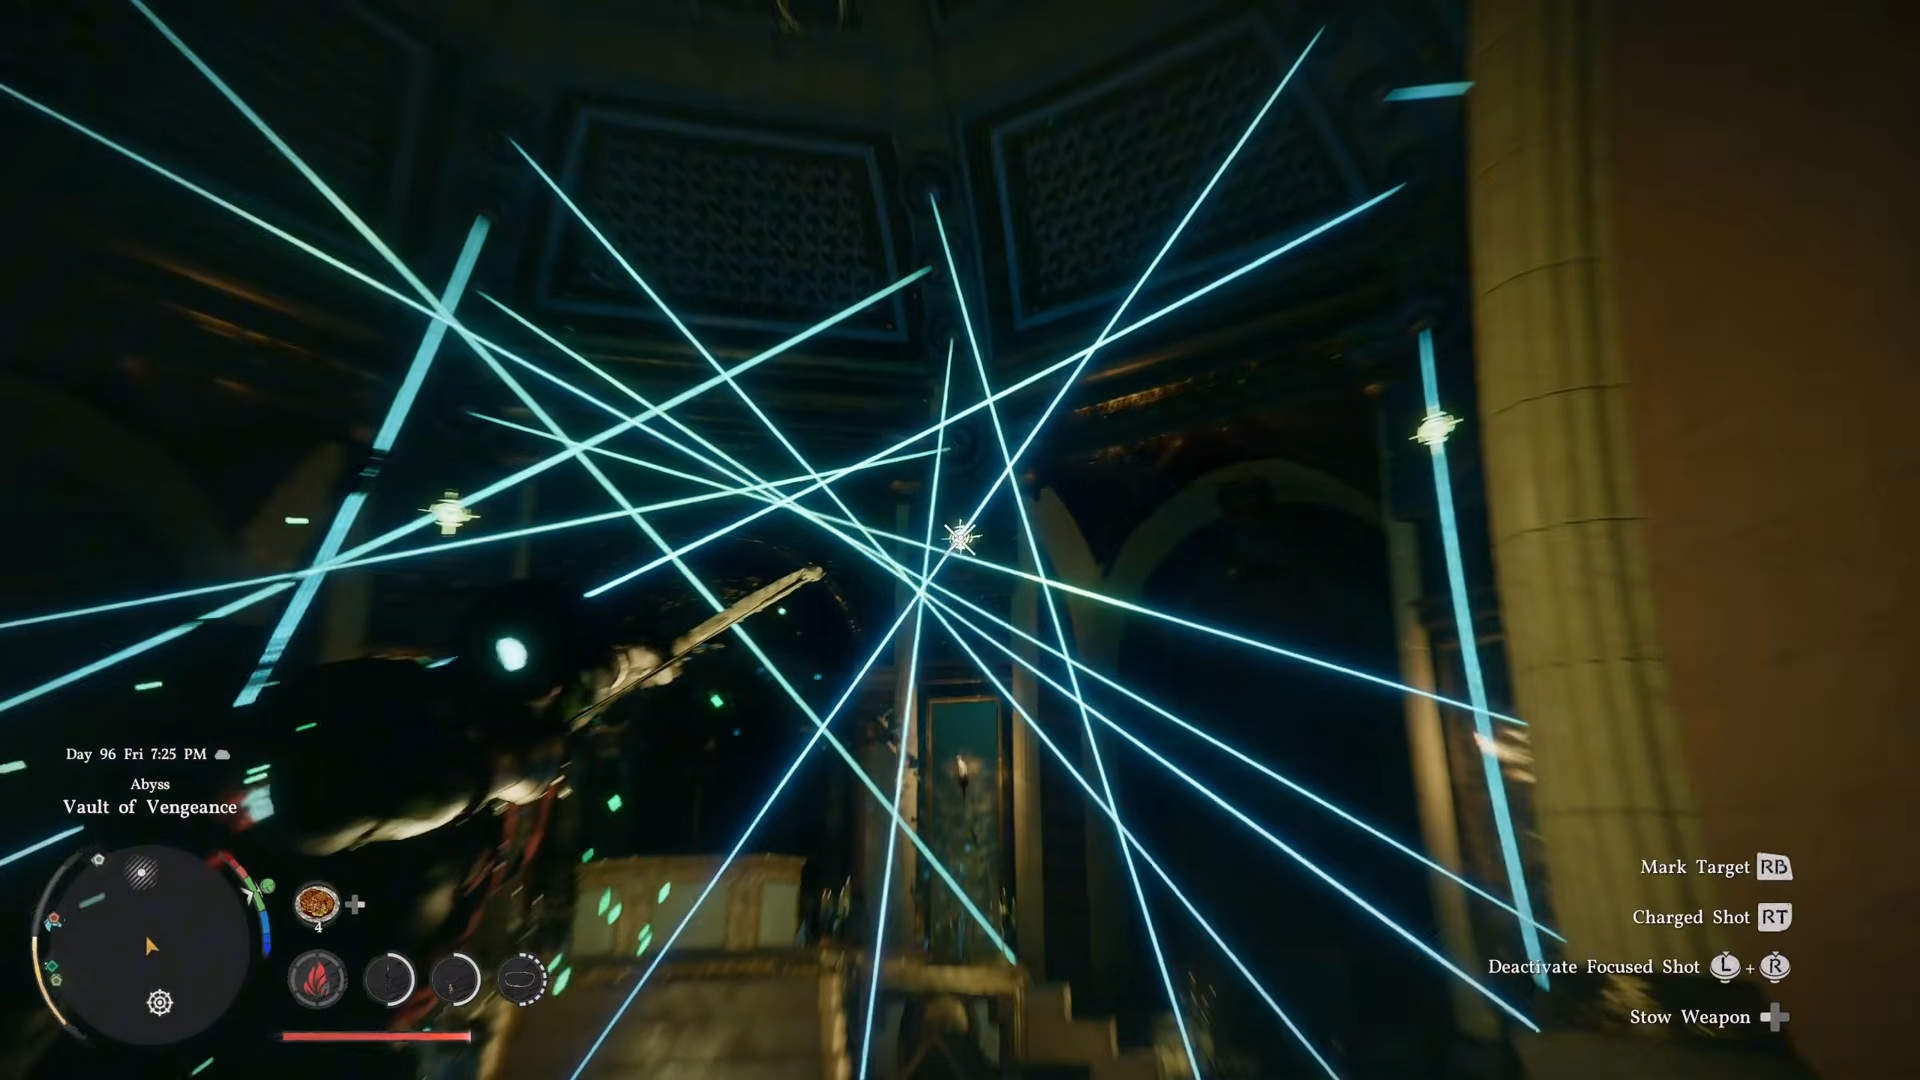
After entering the room, switch to Focus Shot for the more complex target section.
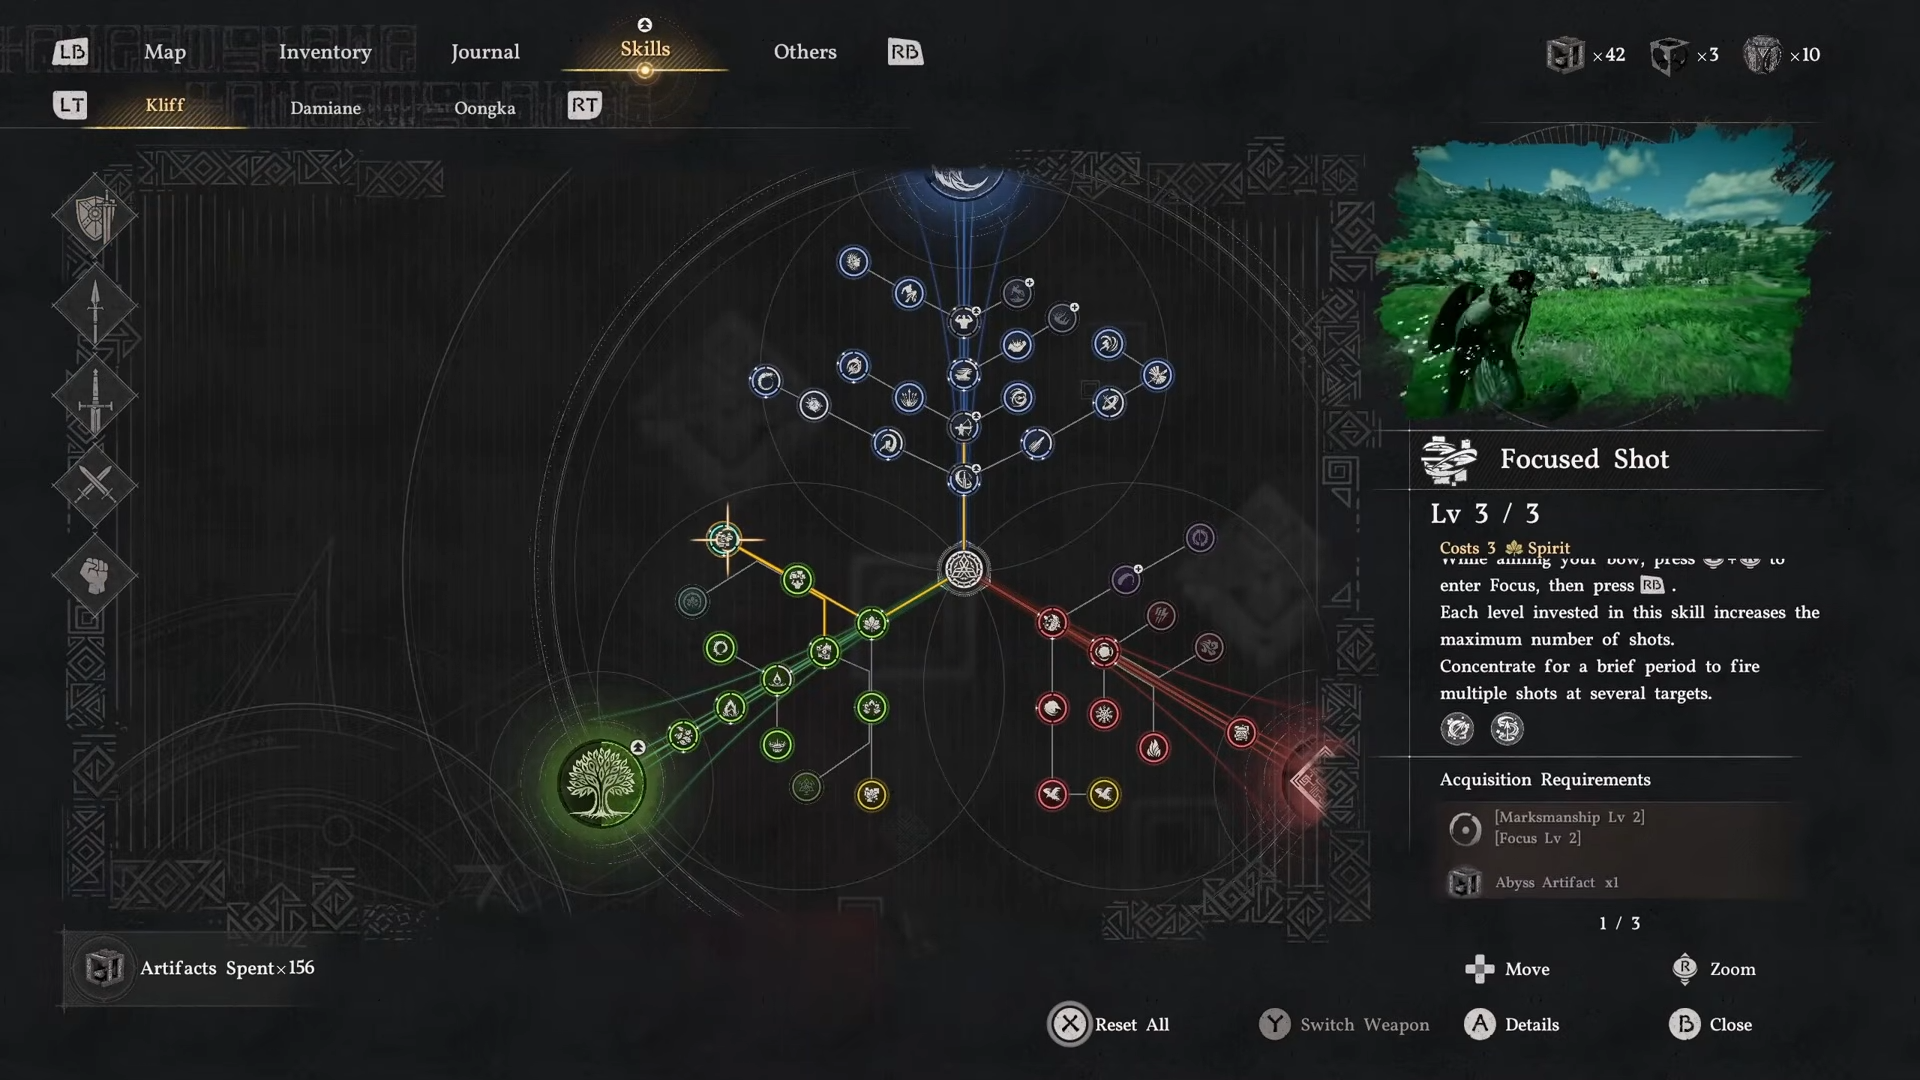
Aim down your bow, press both control sticks, then mark the targets with R1 or the right bumper.
Fire the marked shots when time resumes, and repeat the process until the puzzle is complete.
Pick up the golden sword when it appears. Then continue onward.

The same area also includes a more dangerous platforming and combat-style run through laser hazards and force interactions.
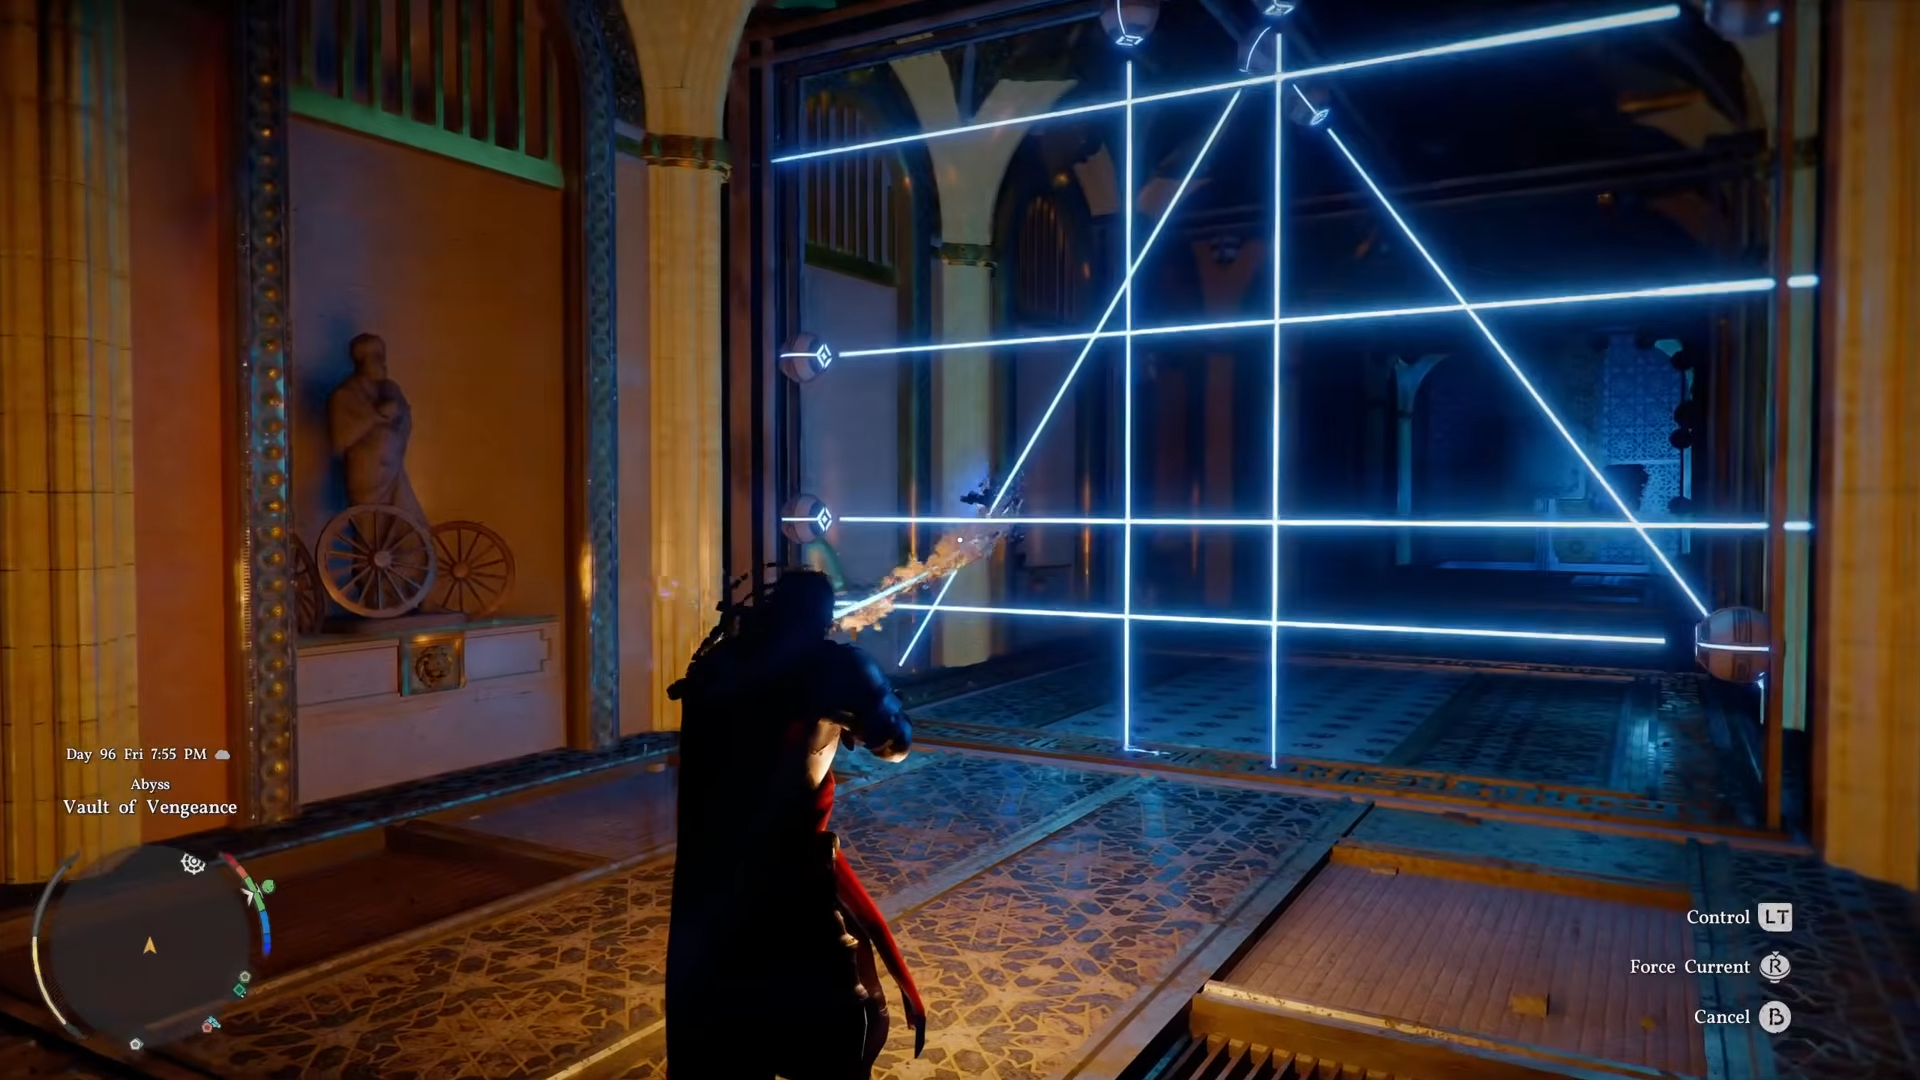
You can also use your grappling and force skills to get through the section without getting stuck.
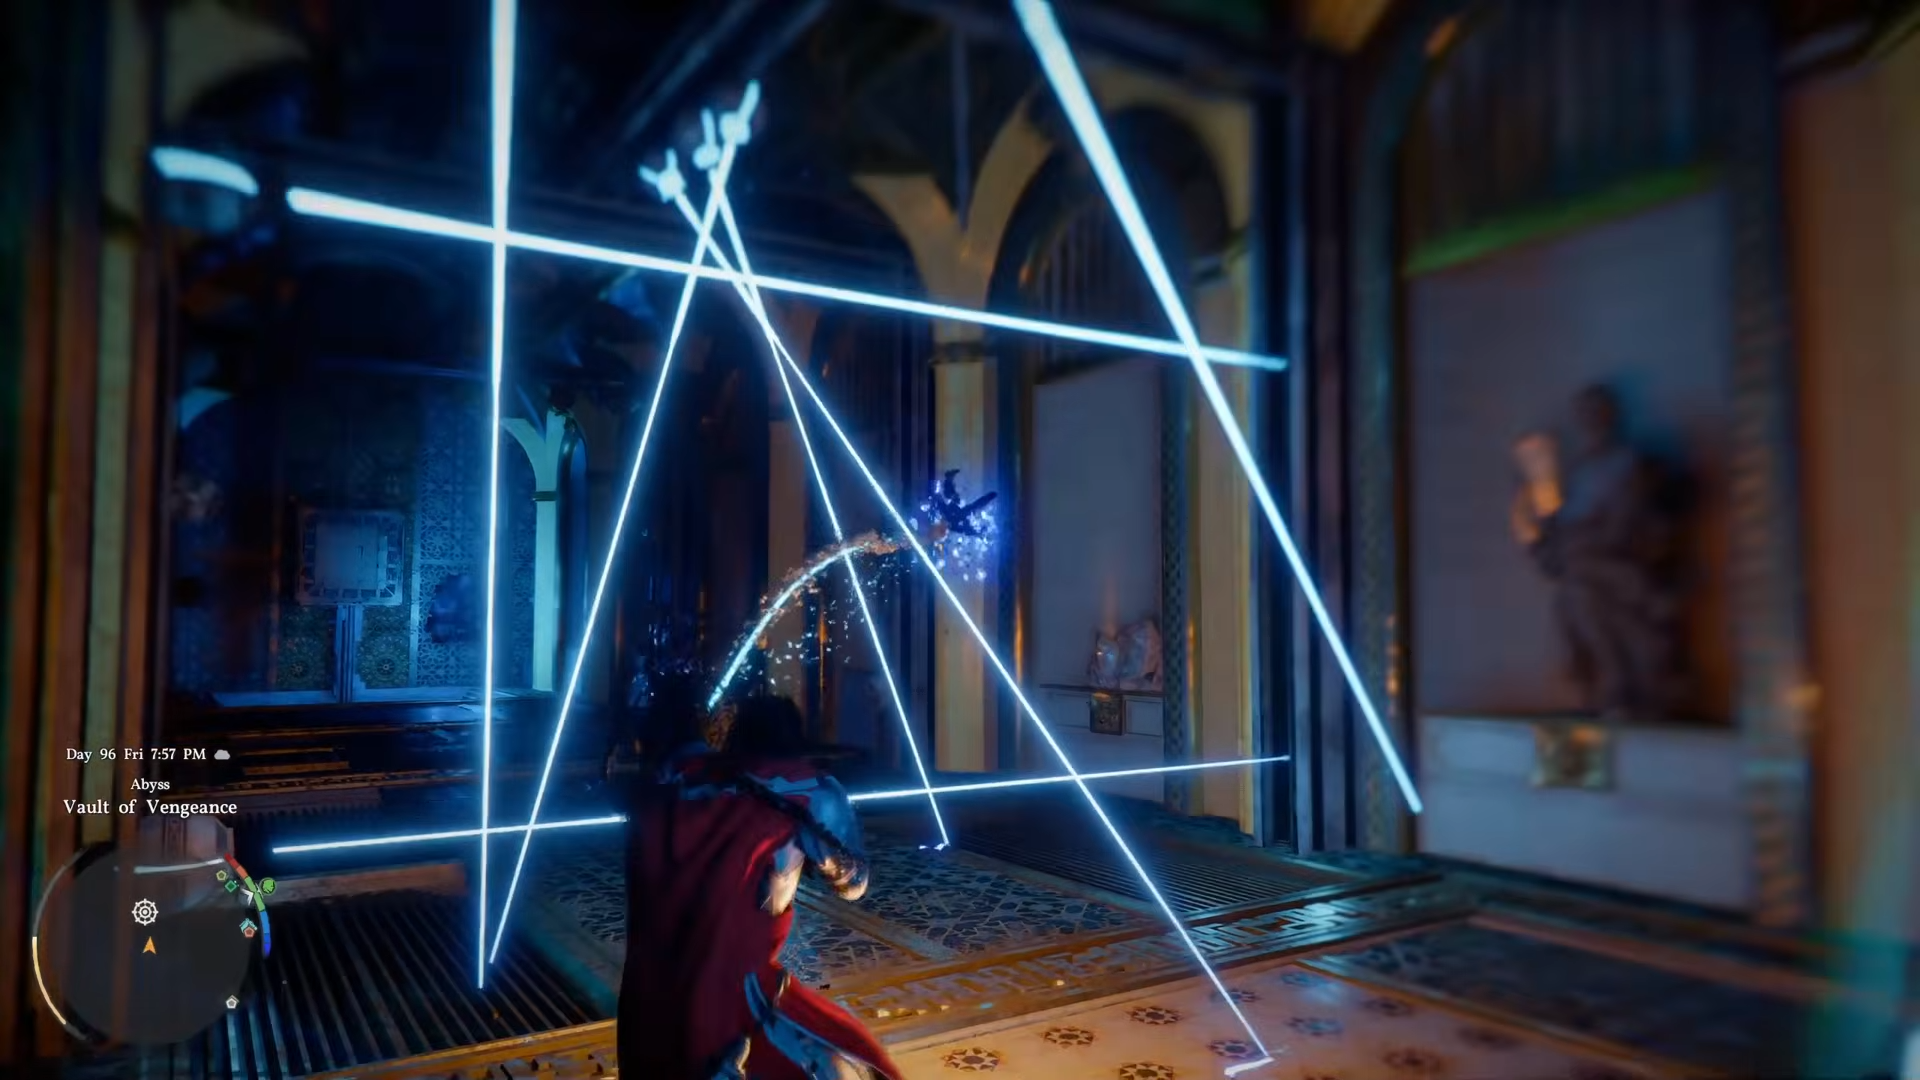
You may still take damage, so the safest approach is to keep moving and recover when needed.
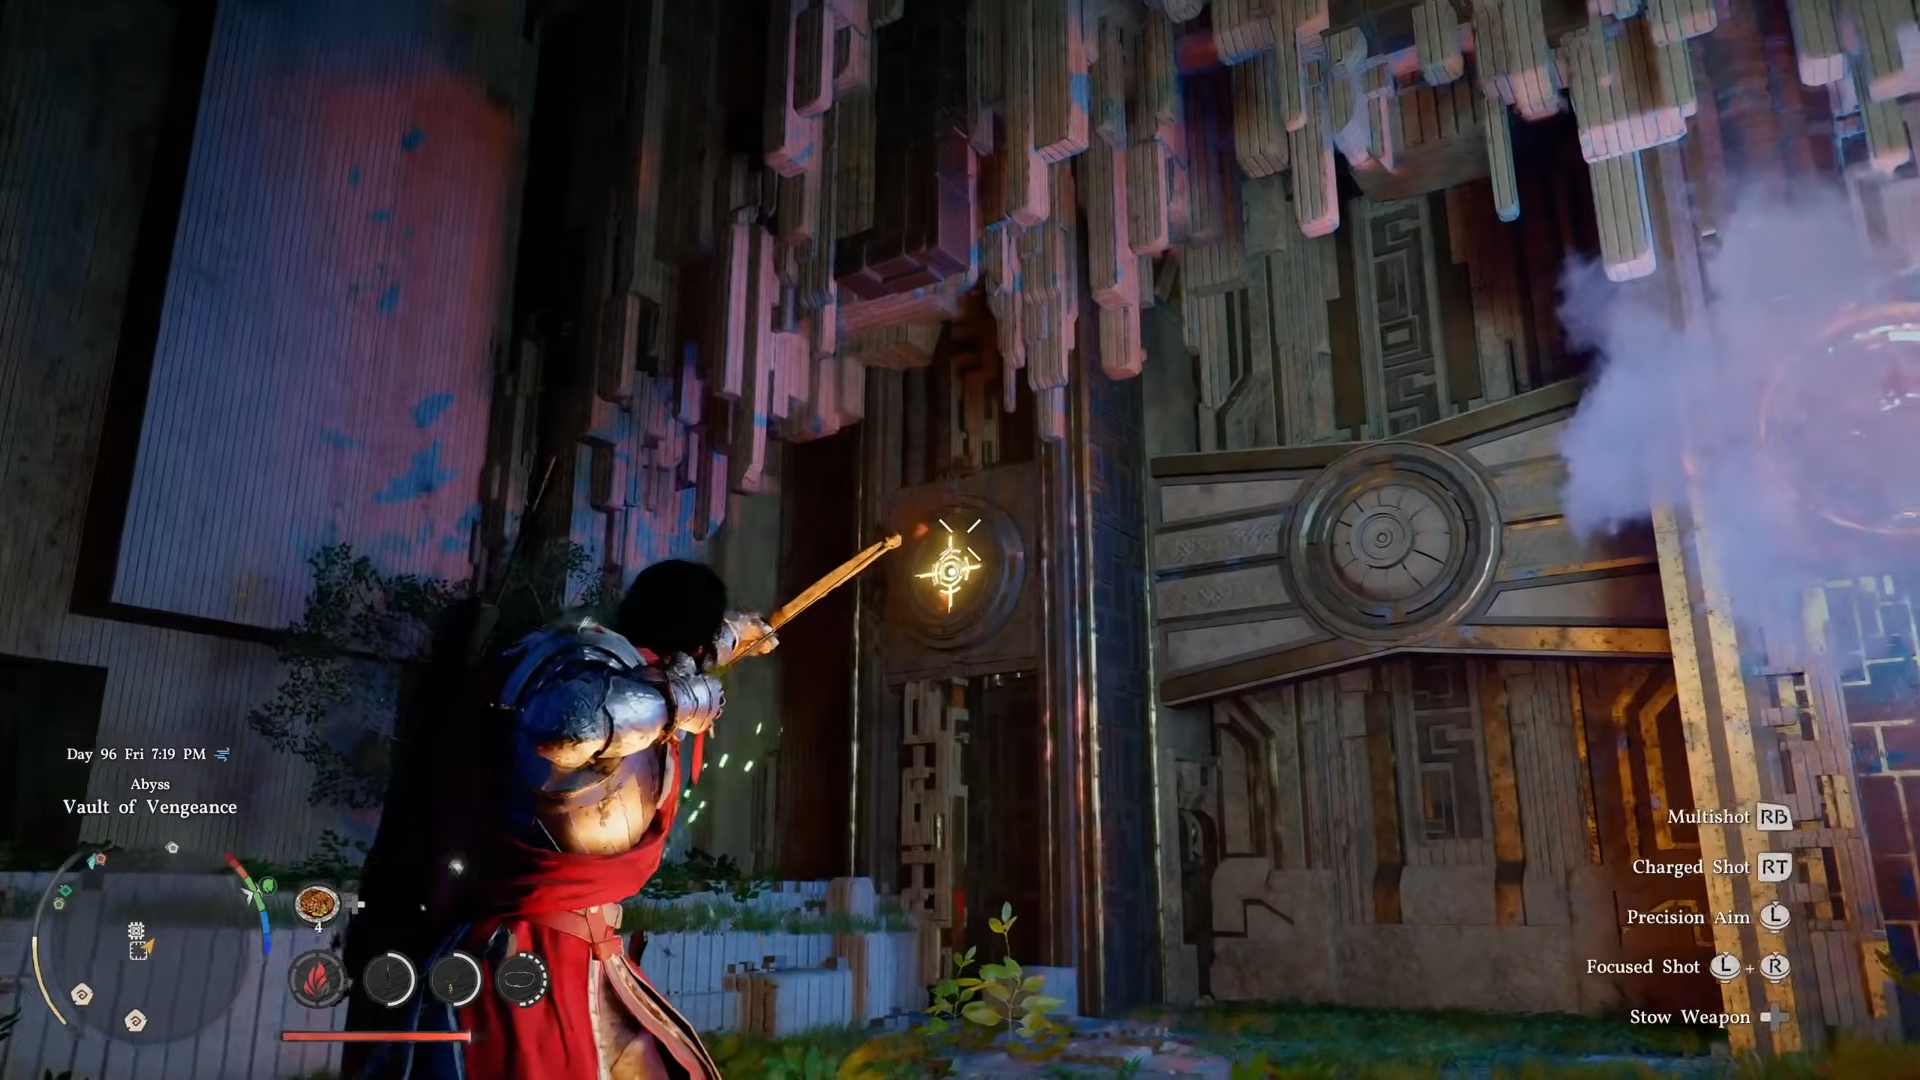
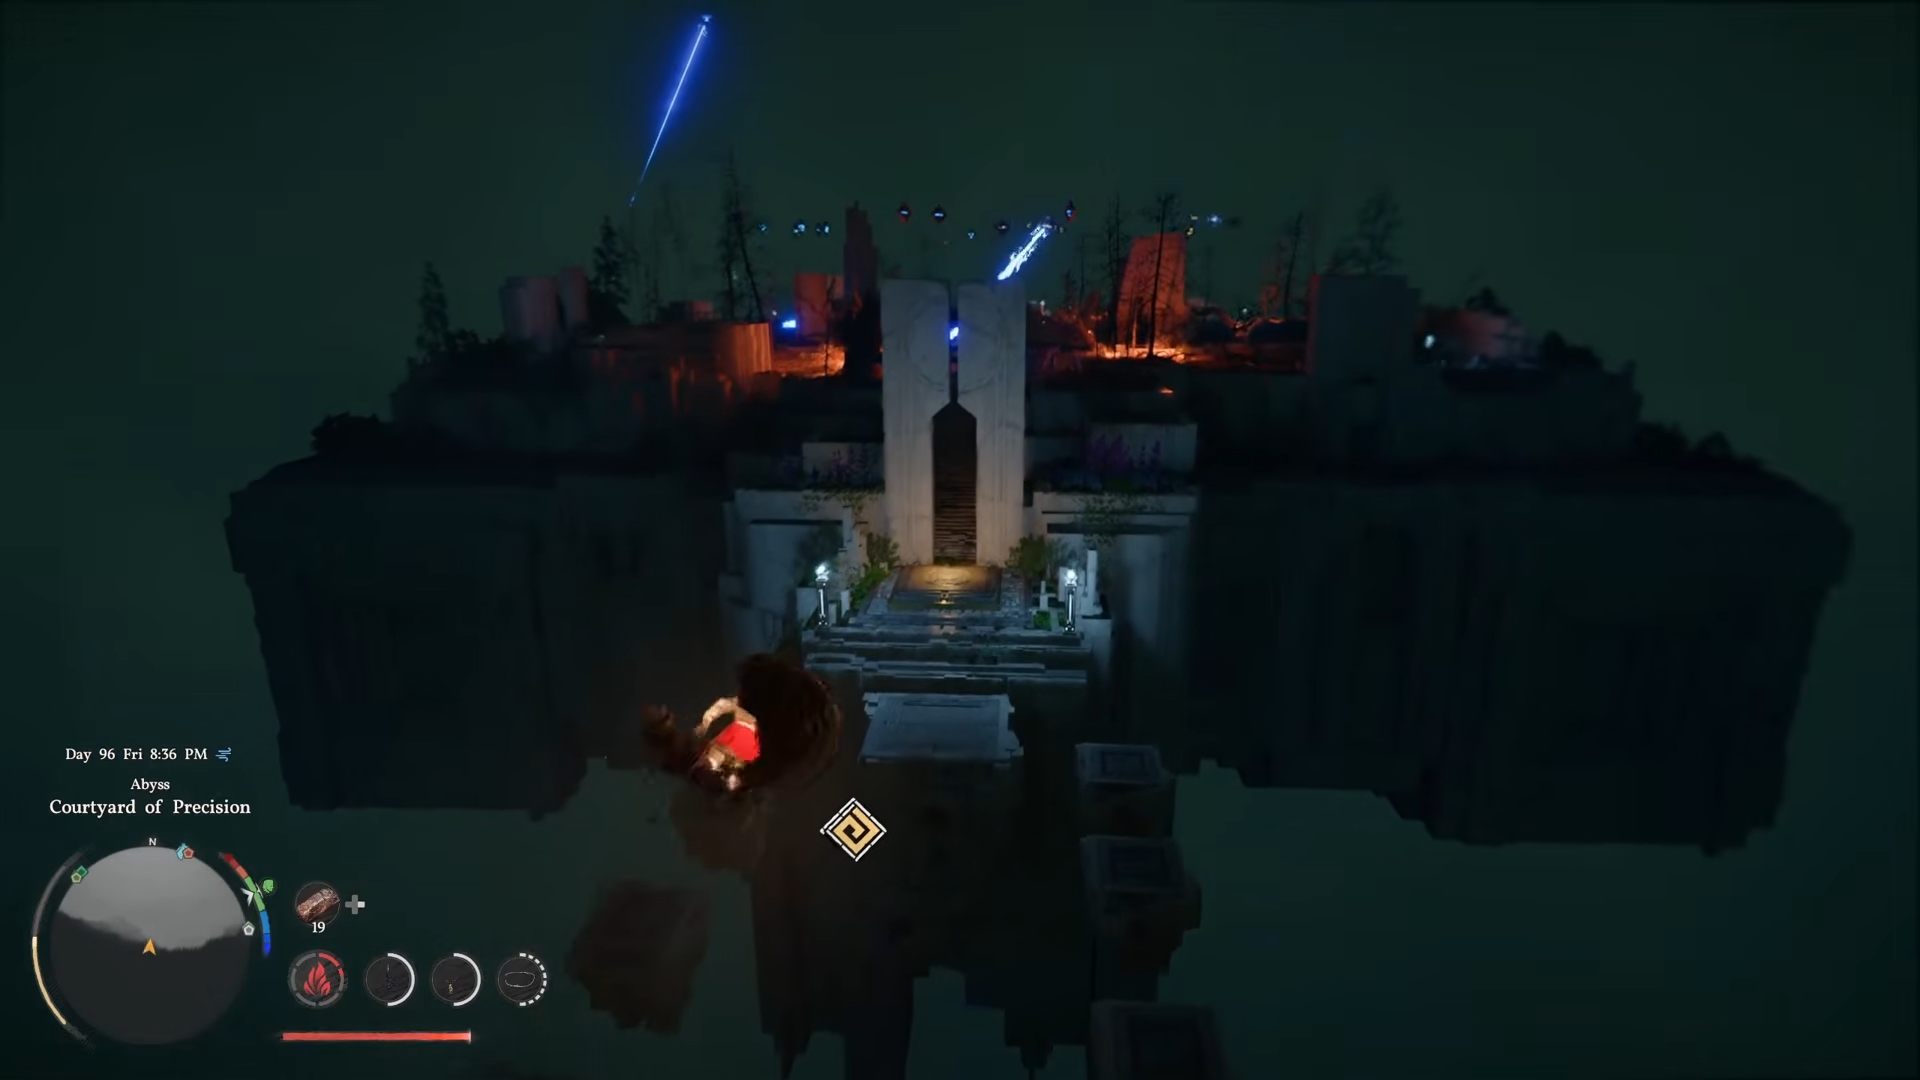
Courtyard of Precision puzzle route
The final section is the hardest part of the unlock chain. You first need to use earlier skills again, then move into a flying and target-shooting sequence where only the yellow targets count.
The hit detection is picky and multiple arrows may be needed.

You will also need to trigger the lift mechanism after clearing the ground targets.
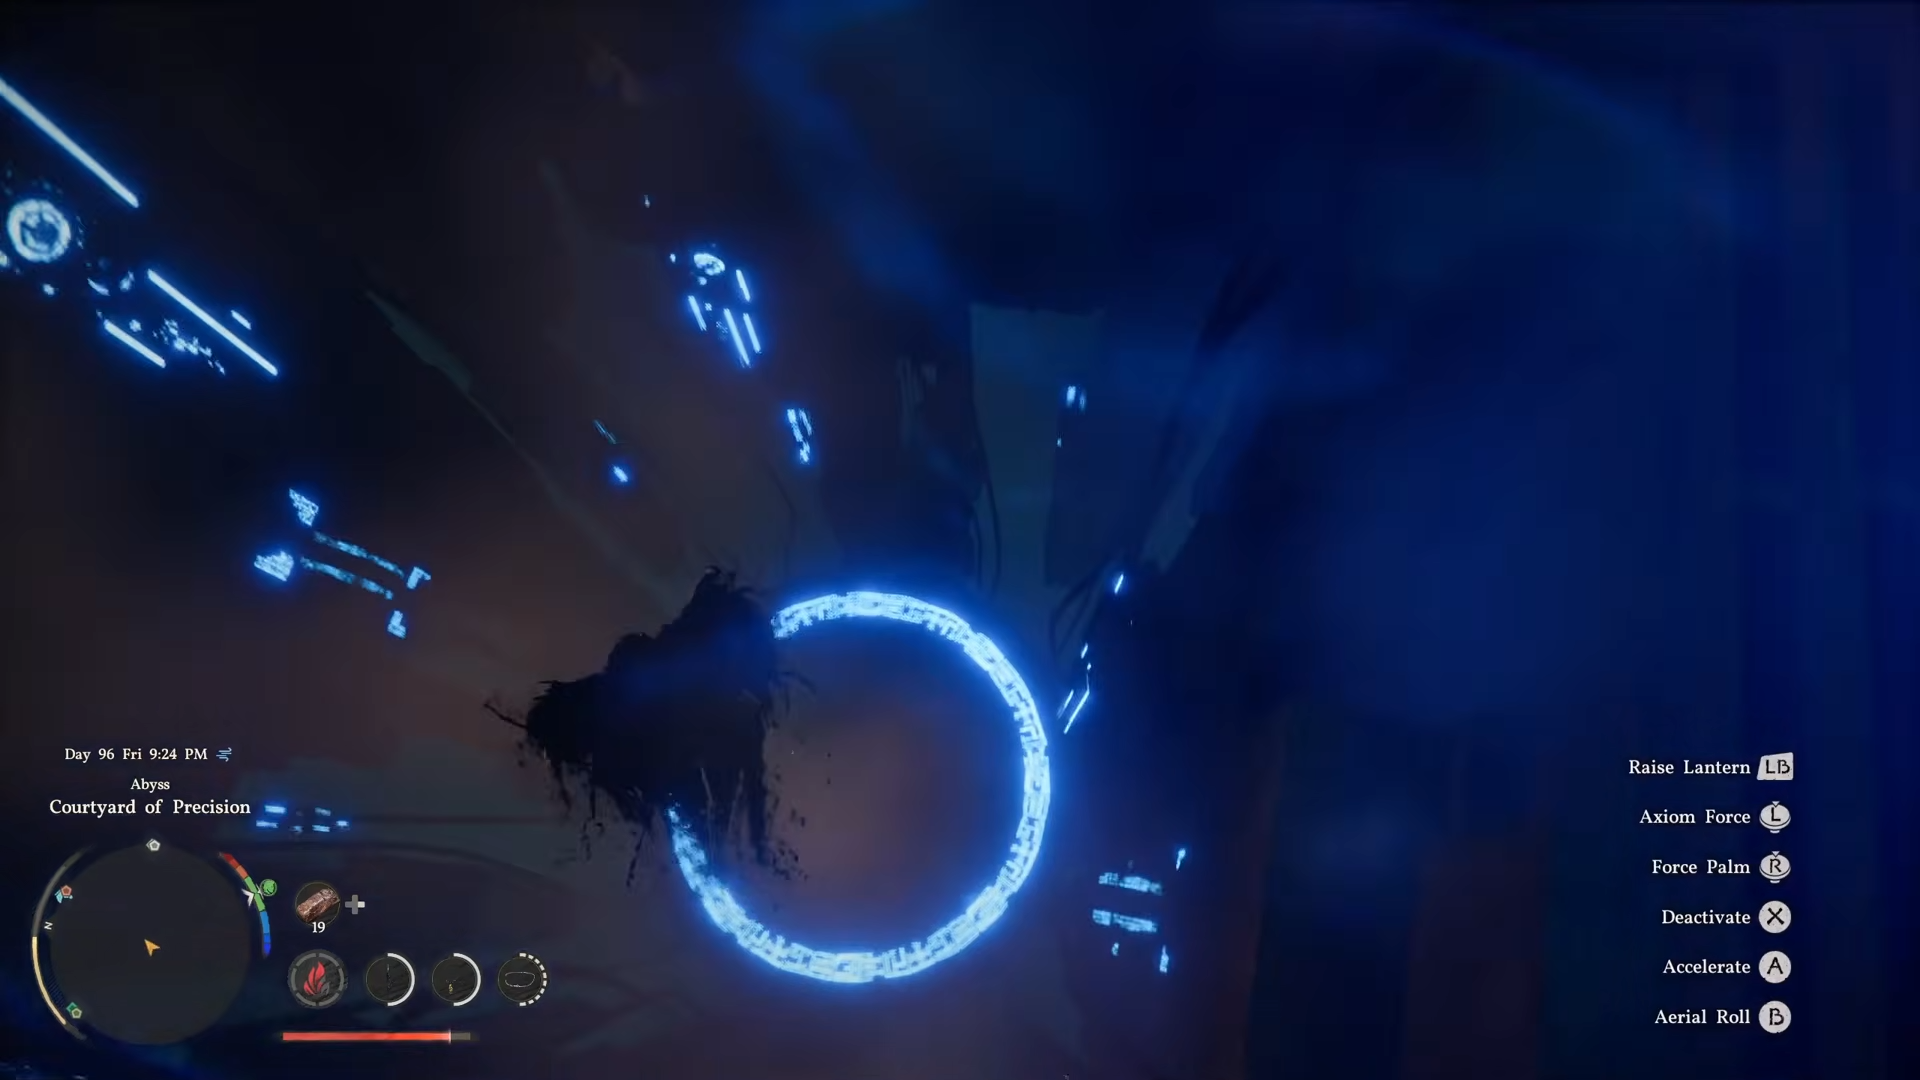
Once it activates, you go upward and continue the same yellow-target process in the air.
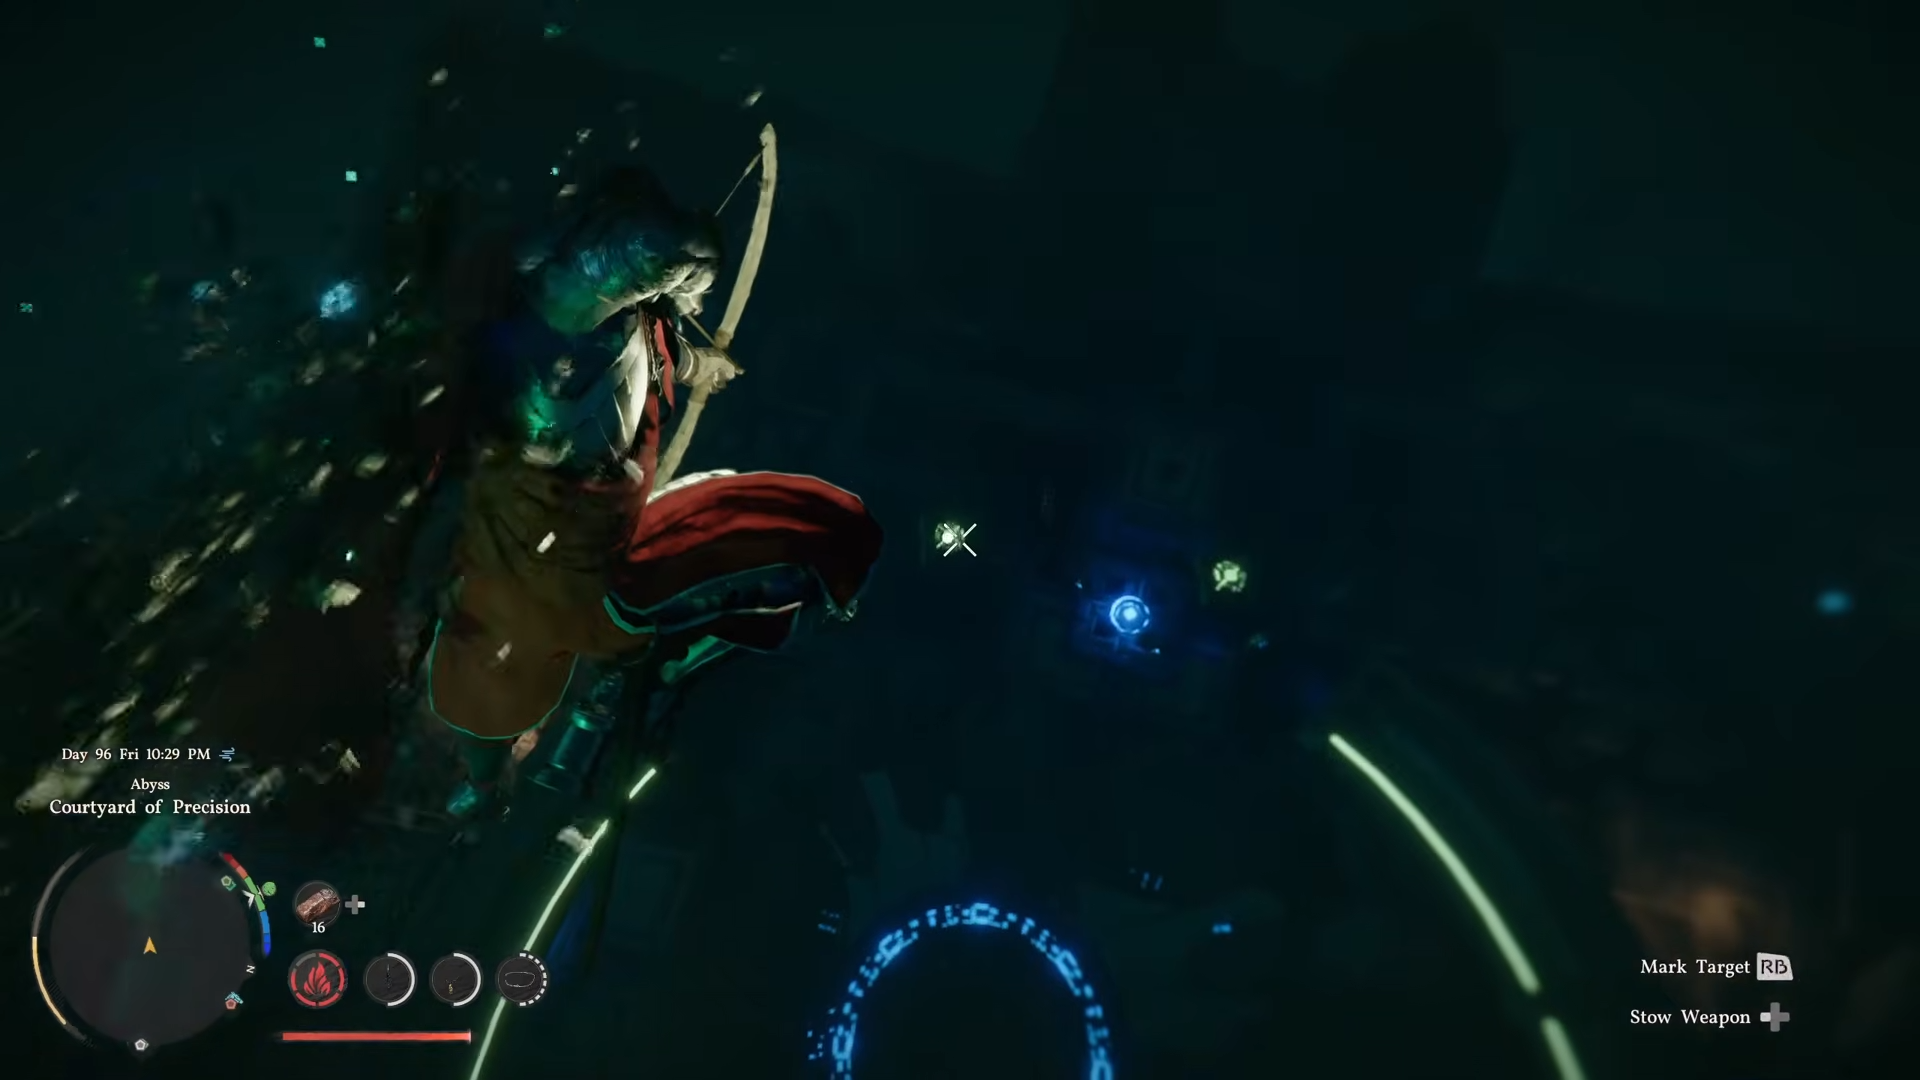
The key is to mark the targets carefully, keep aiming at the yellow center, and use multiple arrows if one shot does not register.
Unlock Lightning Surge
When the last puzzle is finished, Lightning Surge becomes available.
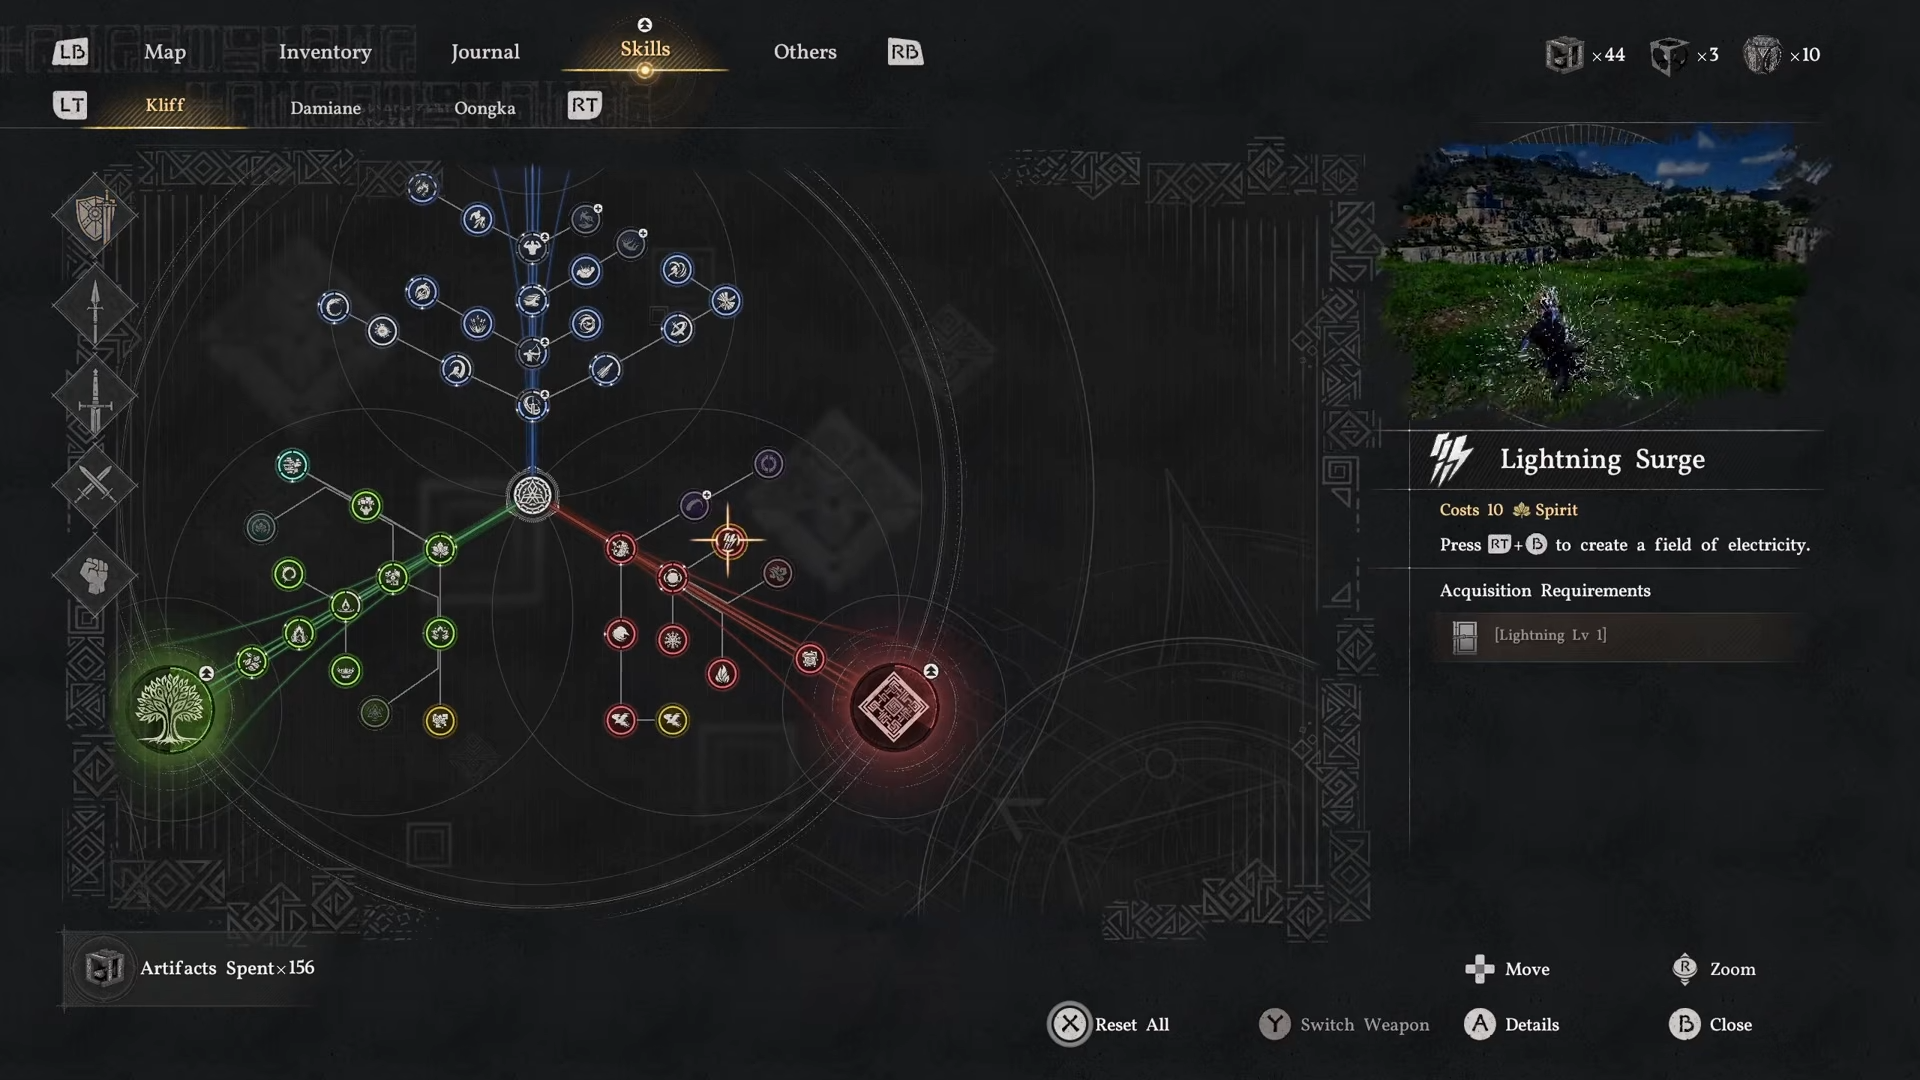
It as a strong lightning attack that can be triggered with Right Trigger and B, and it also improves how your lightning-based attacks function overall.
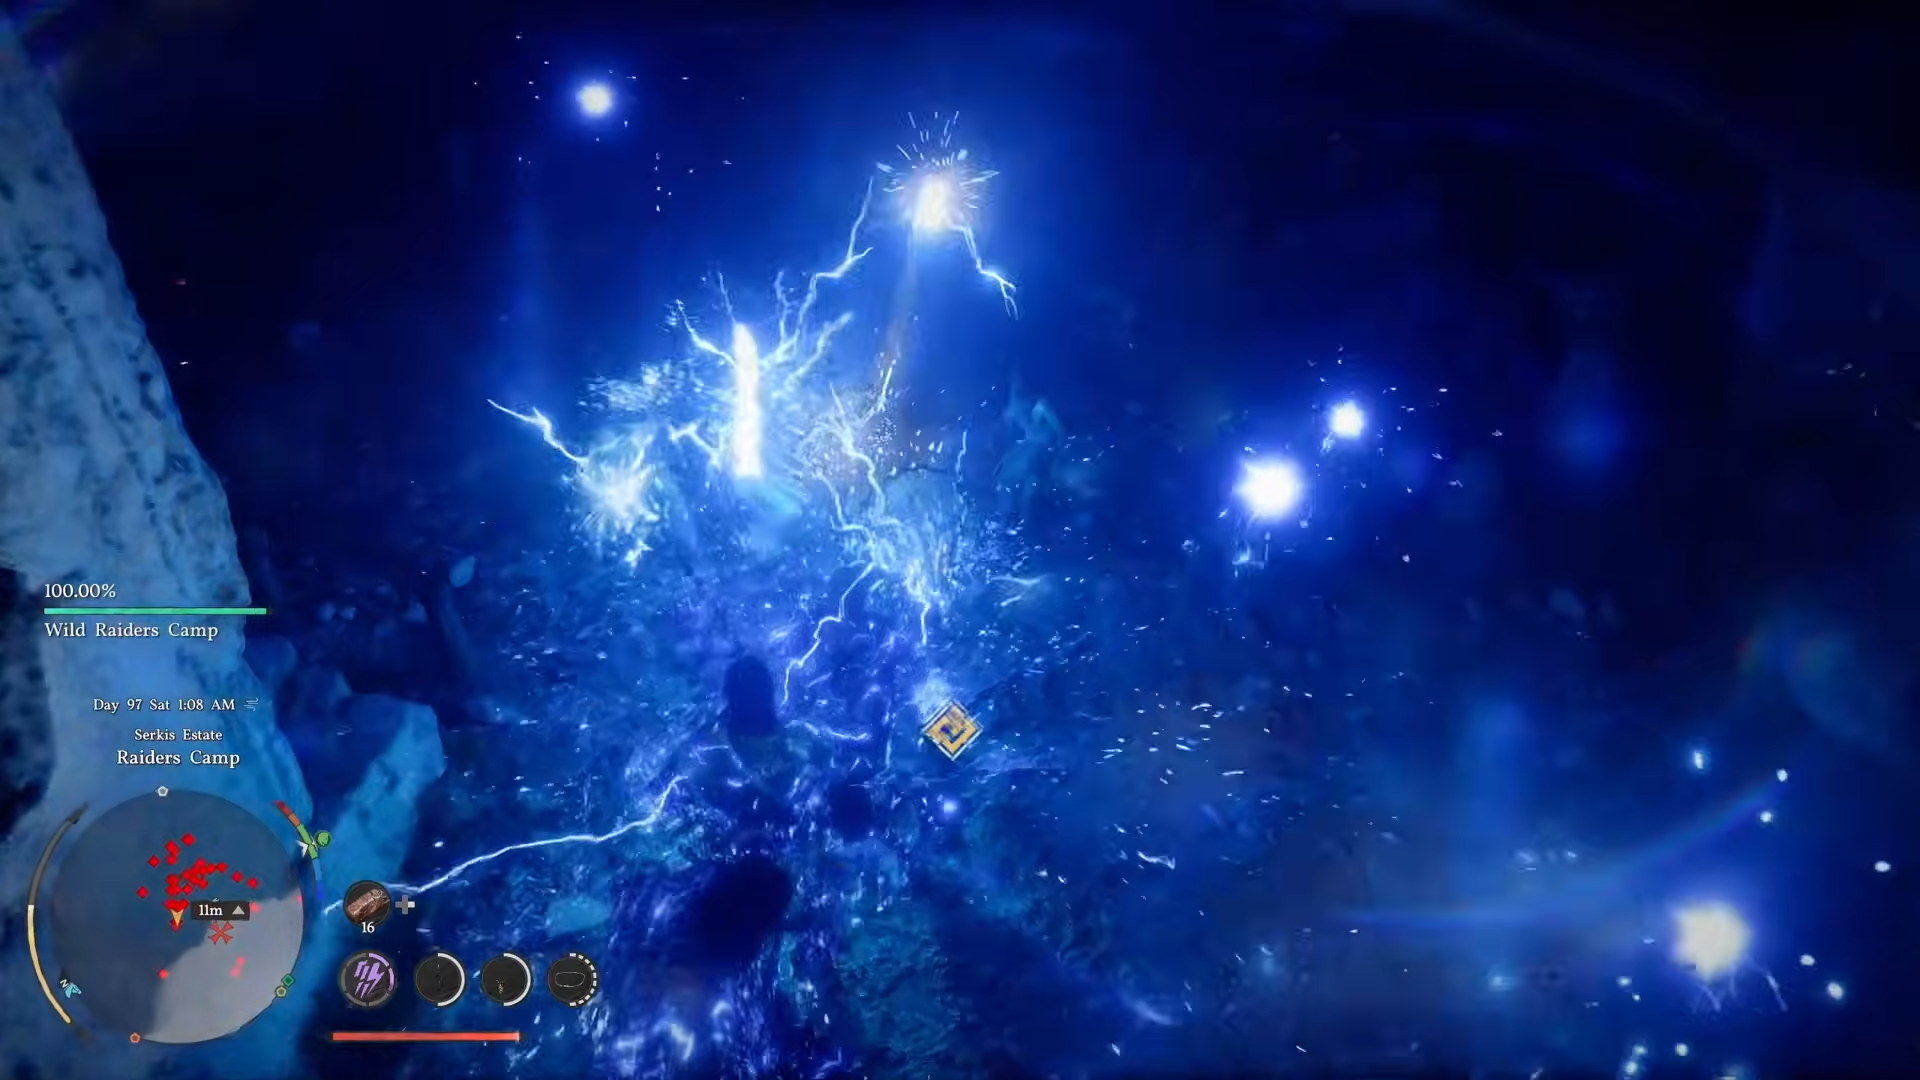
The route is especially valuable because it turns your lightning element into a real combat tool instead of just a progression unlock.
It becomes much better when paired with Orbs of Lightning, which come from a Chapter 7 story boss. That pairing boosts the overall damage potential and makes lightning builds much more effective.
How to unlock Lightning Surge cleanly
If you want the shortest practical path, follow this order: return to the Spire of the Stars after Chapter 4, complete the Secret Garden puzzle, move through Vault of Vengeance, and then finish Courtyard of Precision. Make sure you have the needed movement and force skills before starting, especially Force Current, Focus Shot, Nature’s Grasp, Axiom Force, and Force Palm. The final target section is easier if you bring extra arrows, since repeated shots may be needed.
One helpful example: if a target does not respond, don’t waste time trying to force a side hit. Re-aim at the yellow center and fire again, because the puzzle only counts the correct hit zone.
Lightning Surge build value
Lightning Imbue stands out because it adds a fast, high-impact elemental option to your combat kit. It is not just a cosmetic effect; it changes how certain attacks perform and gives you a strong damage spike when used correctly. The build also scales better once you have the Chapter 7 Orbs of Lightning gear, making the unlock even more worthwhile.
This unlock path is mostly about puzzle execution, not raw combat difficulty. Once you know the locations and the exact mechanics for each chamber, the route becomes straightforward and repeatable. The reward is worth the effort because Lightning Surge gives you a powerful elemental option that fits both early experimentation and later lightning-focused setups.


Leave a Reply