What to know
-
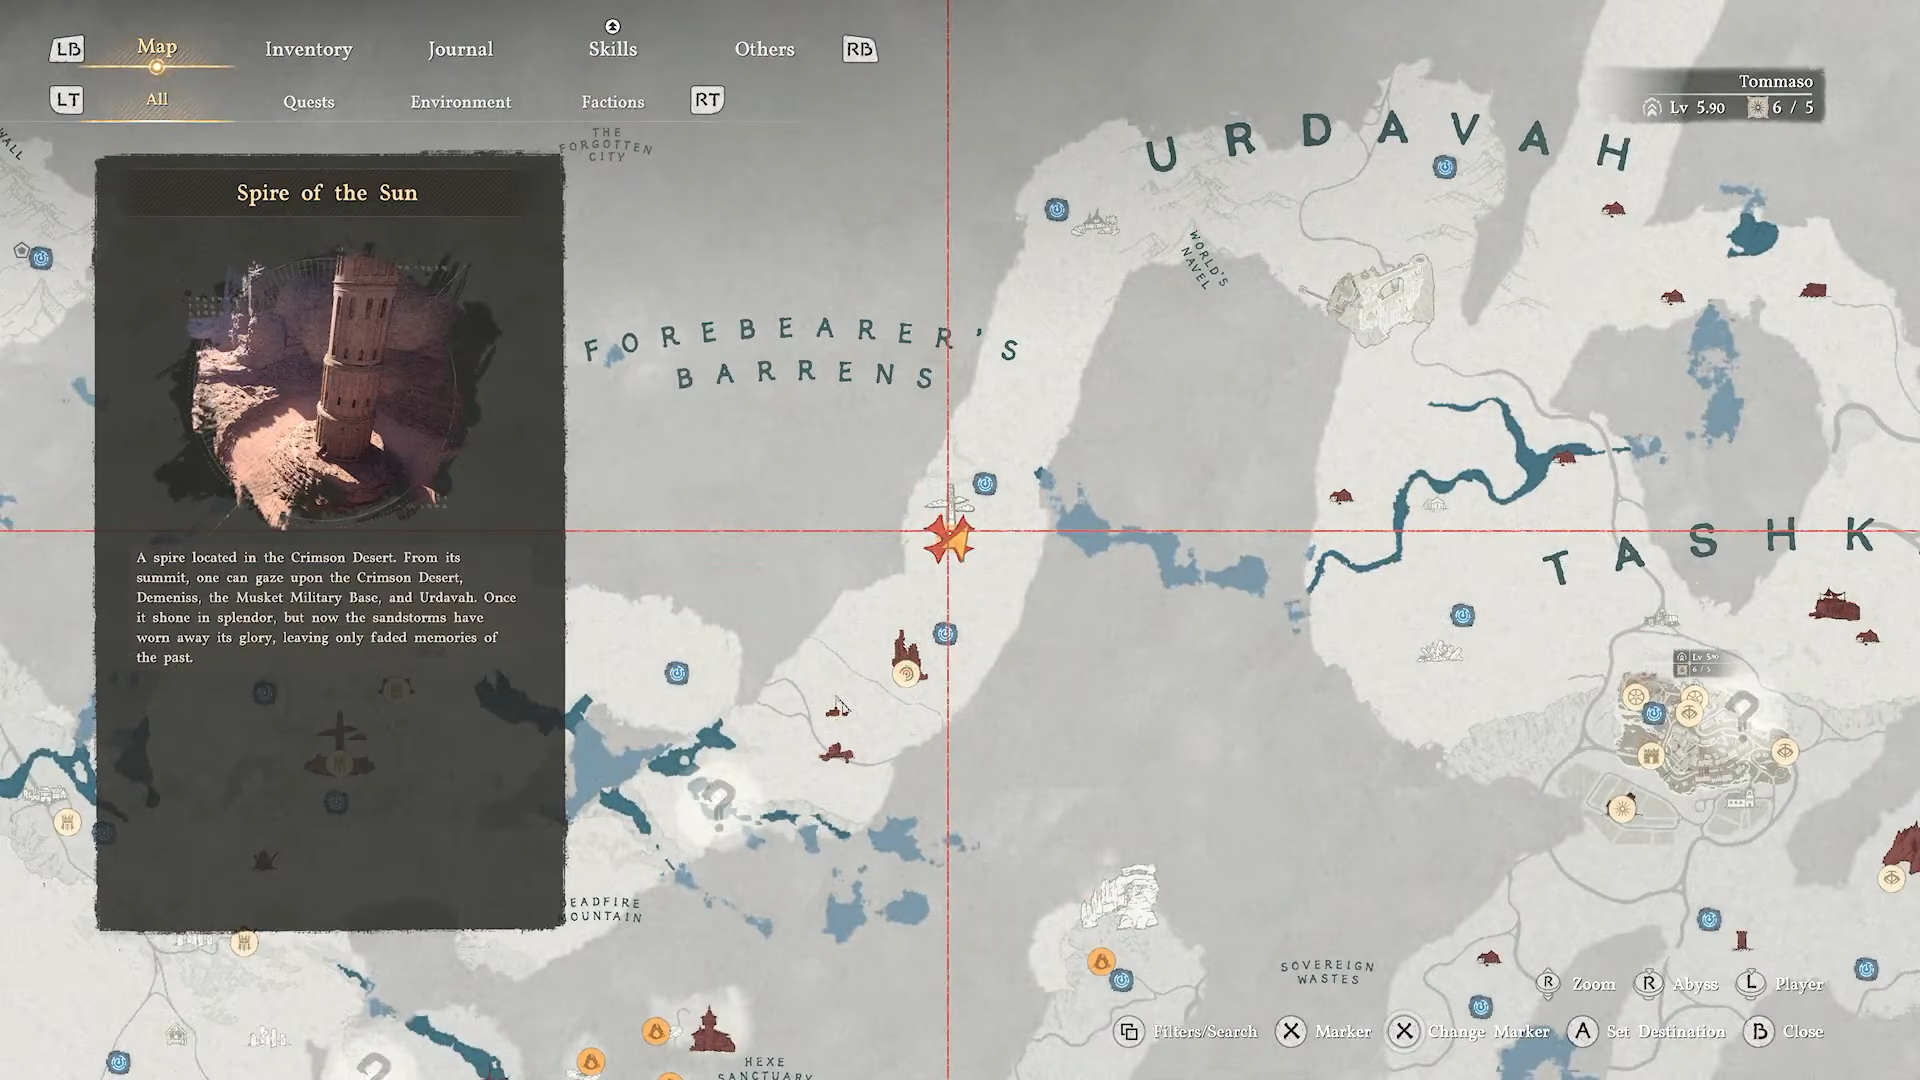
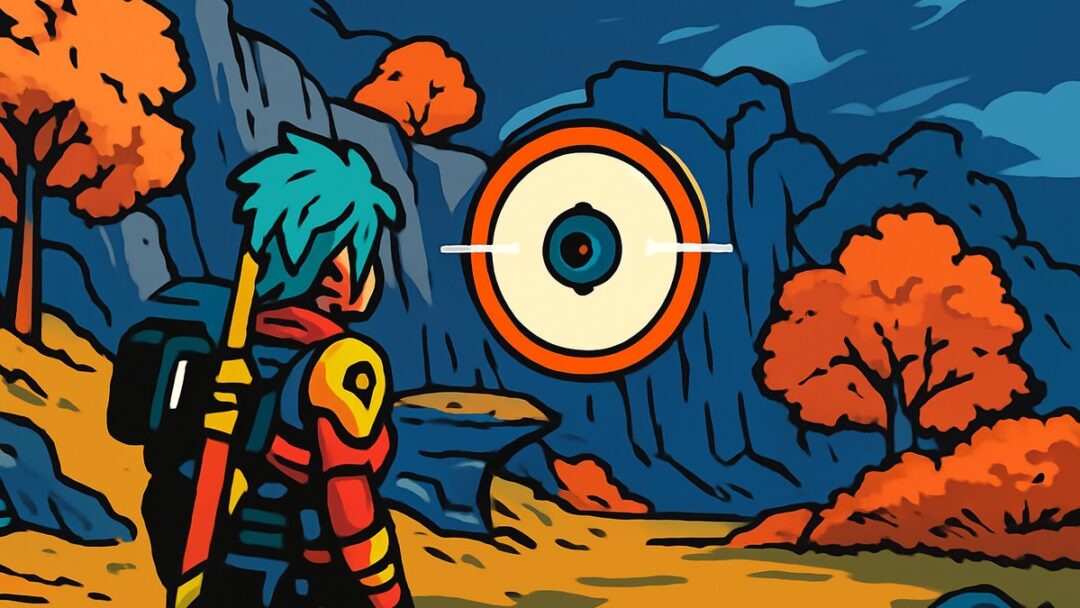
The Spire of the Sun is an early‑to‑mid campaign story location tied to the “Unwavering Steps” quest, reached by heading north into the Forebearers Barrens region.
-
You cannot enter the spire directly; you must turn away from the entrance and solve two mirror‑beam puzzles on the left and right flanks first.
-
The first puzzle lines a beam from a crystal to the spire’s doorway, the second routes the beam through stacked mirrors up the interior staircase, rotating the stairs as you go.
-
Finishing the final interior mirror sequence unlocks the last staircase, lets you reach the top‑level abyss‑gate platform, and triggers a boss encounter there.
In Crimson Desert, to reach the top of the Spire of the Sun and continue into the abyss zone, you must solve two linked mirror‑light puzzles outside the spire, then mirror‑step a beam all the way up the tower’s interior staircase. Once all beams hit their crystals, the final stairs open and the abyss gate stands ready ahead.
Spire of the Sun puzzle details
How to reach the Spire of the Sun and start the puzzle
The Spire of the Sun is one of the major story landmarks in the northern half of the Crimson Desert map, standing in the Forebearers Barrens just beyond earlier Demeniss‑area zones.
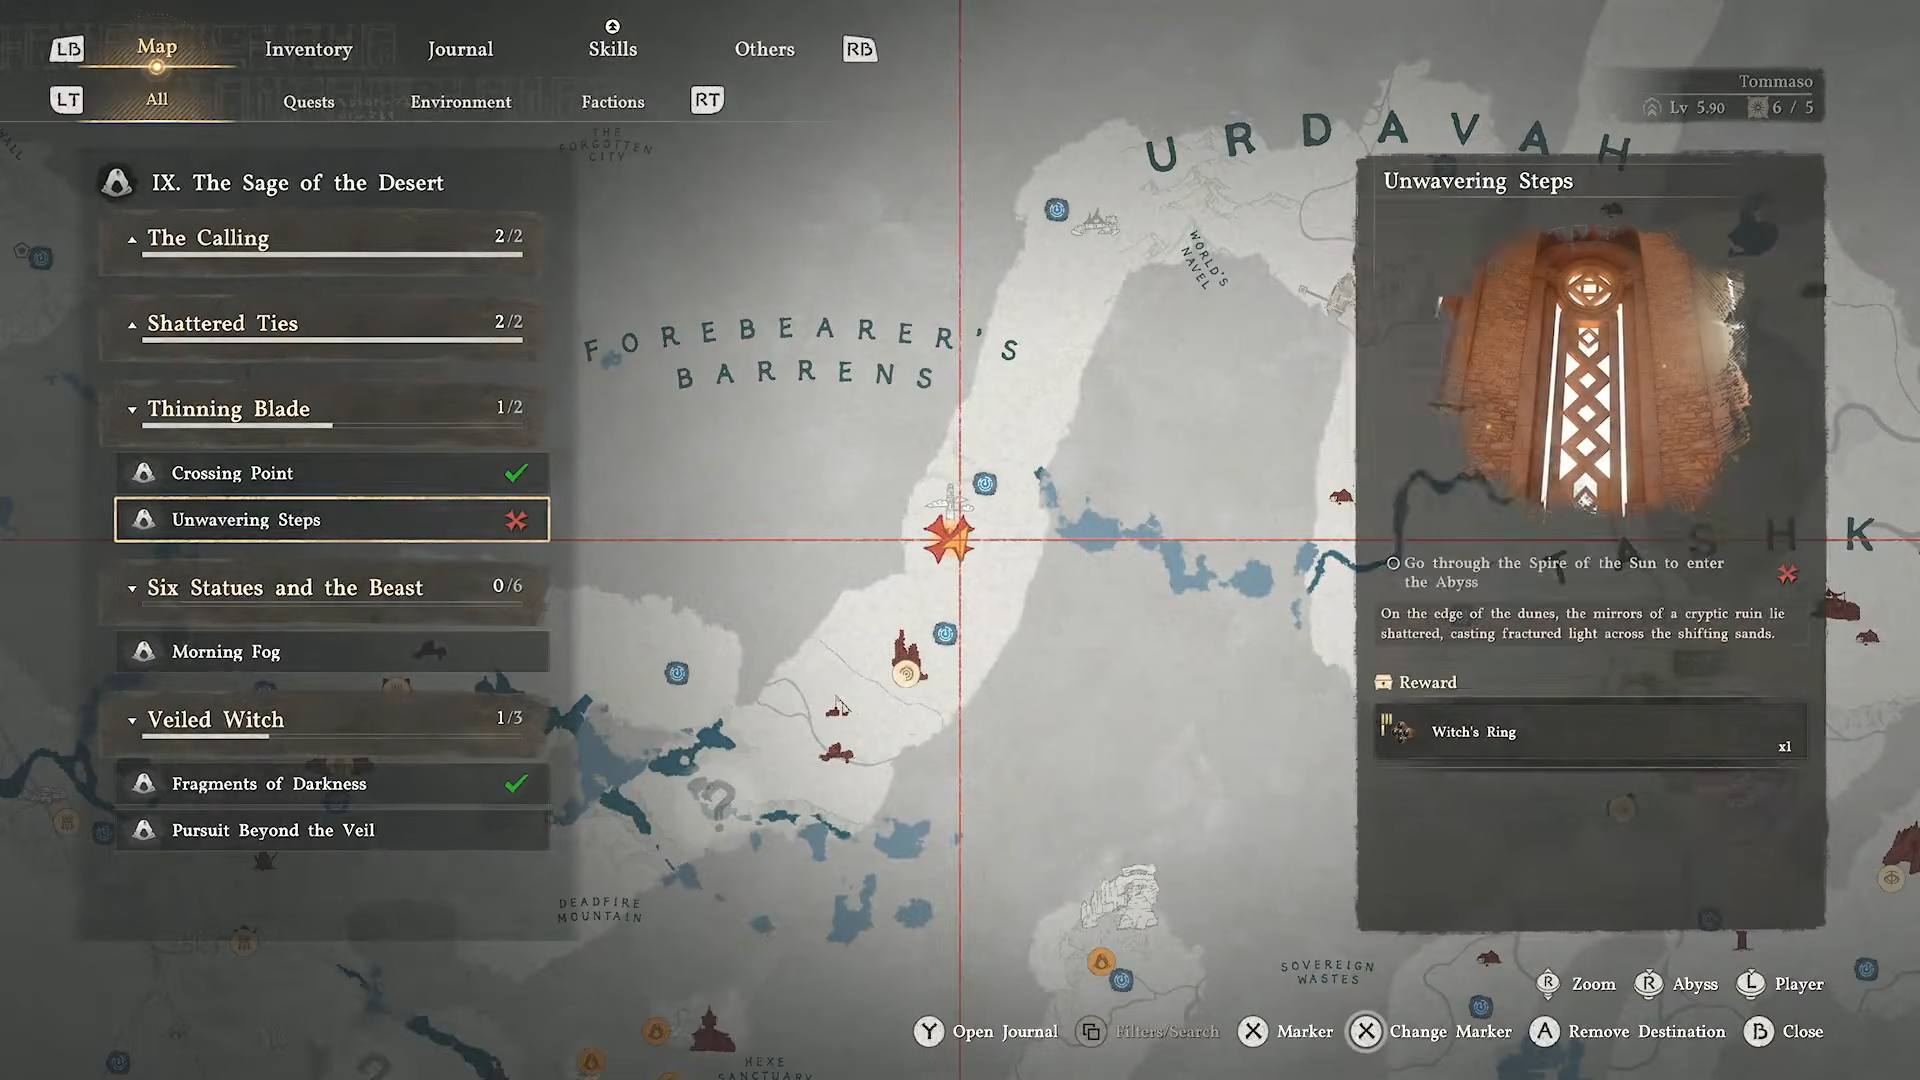
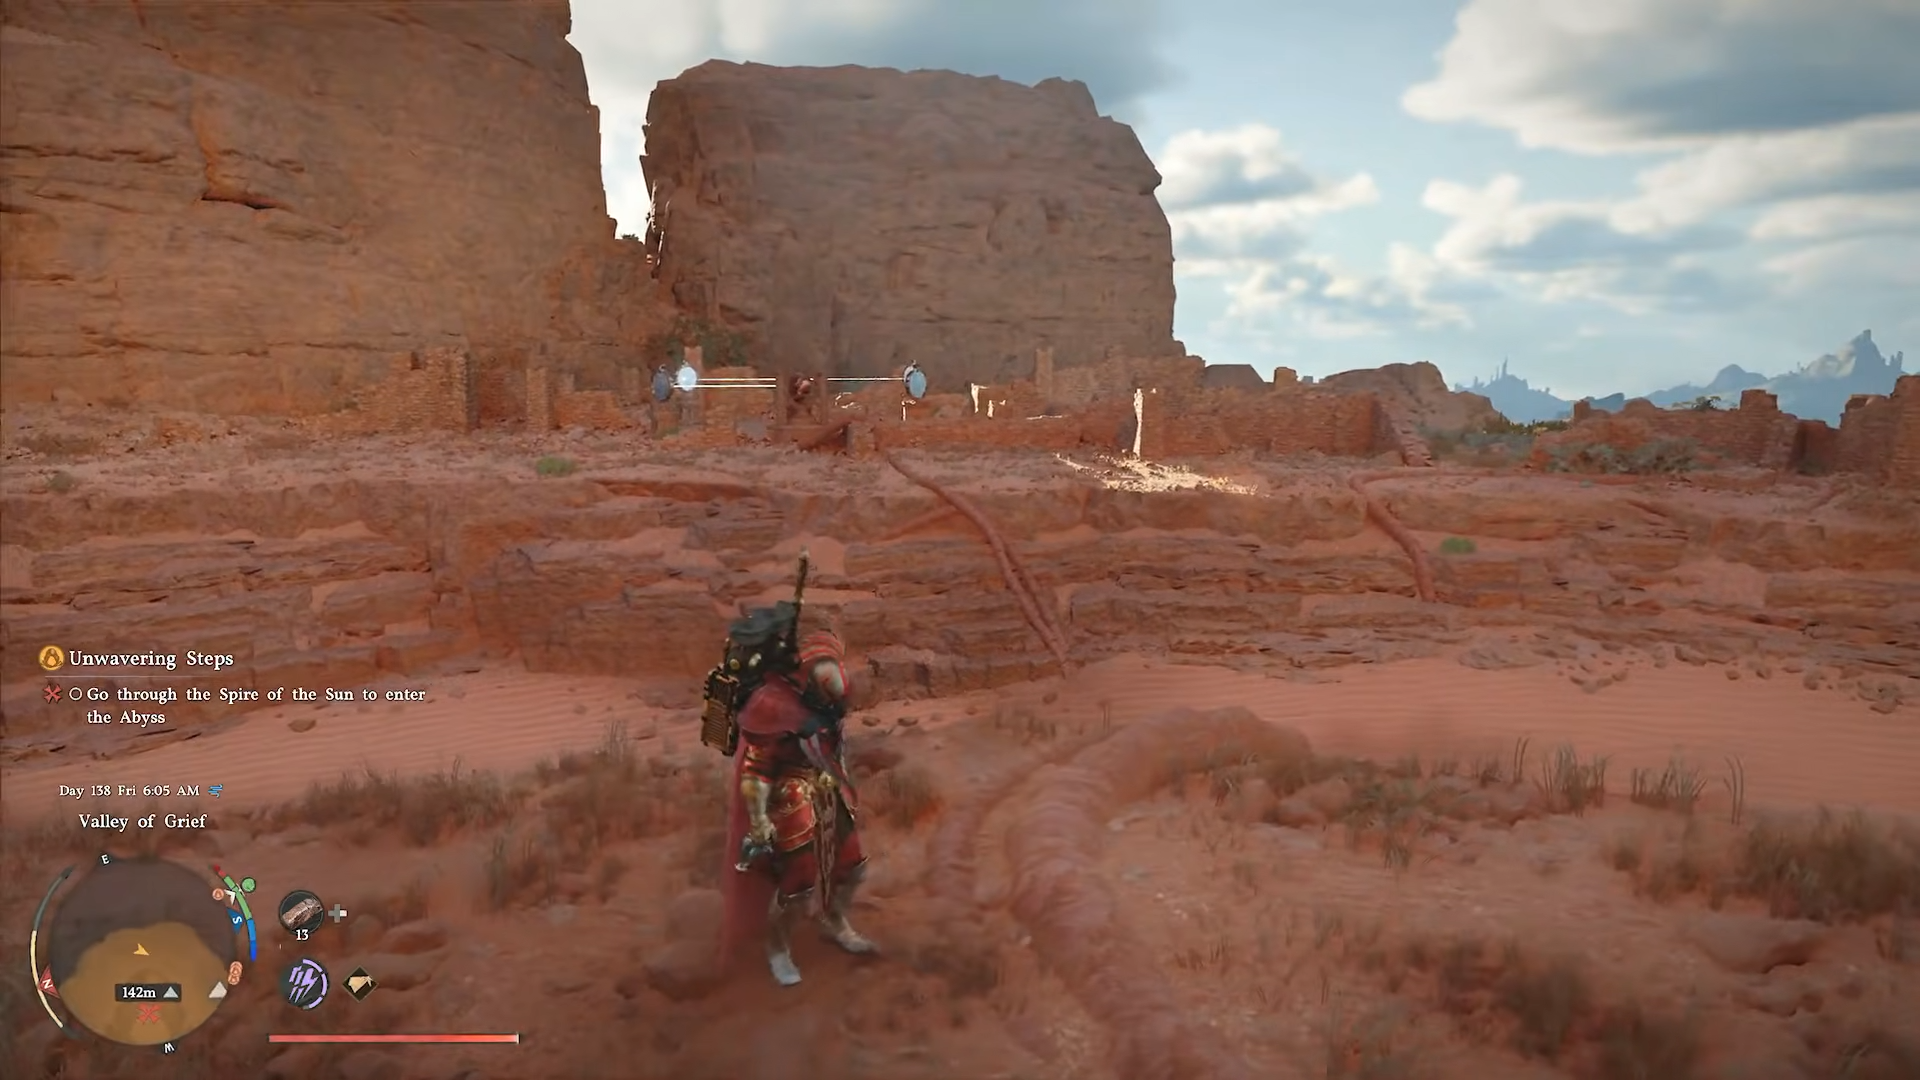
Once “Unwavering Steps” is active, the quest marker will guide you toward its rough heading; follow the road‑like track or enemy‑activity ridgeline north until the spire’s tall, sun‑carved silhouette appears ahead.
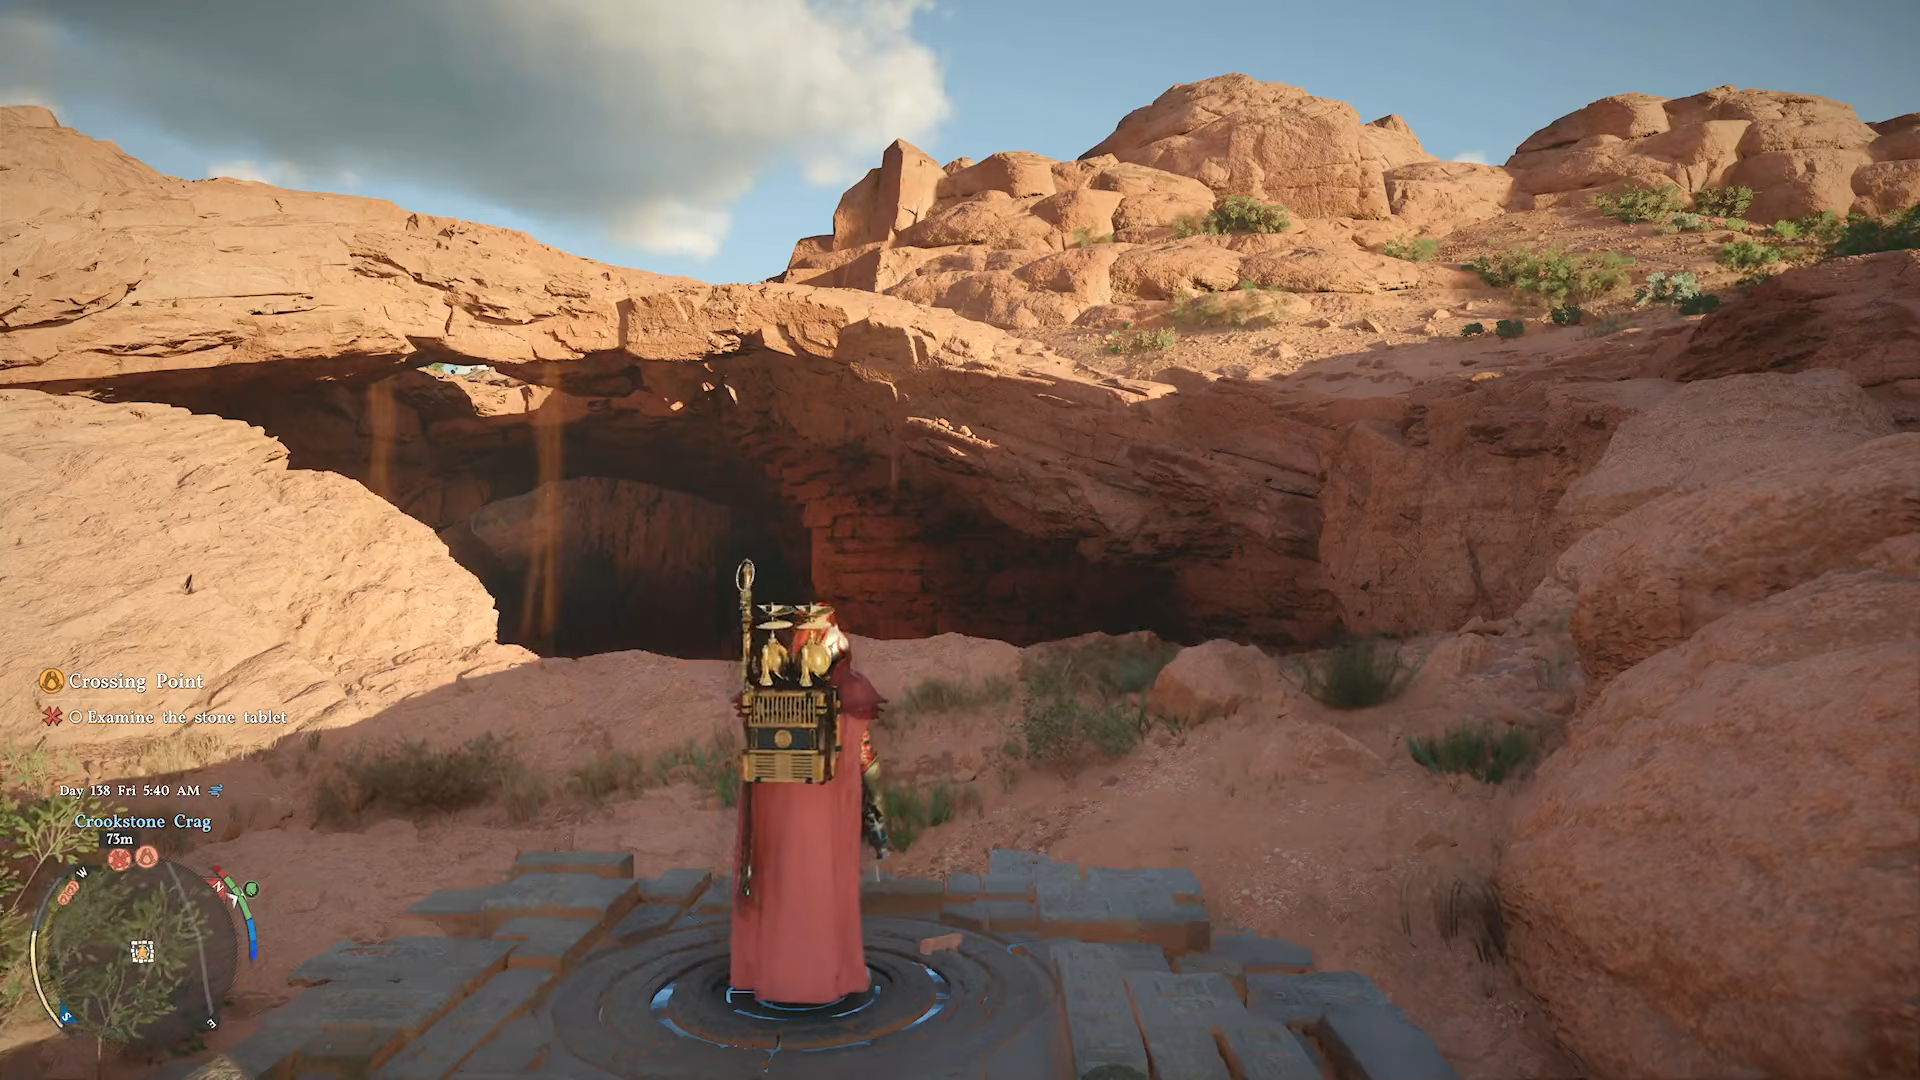
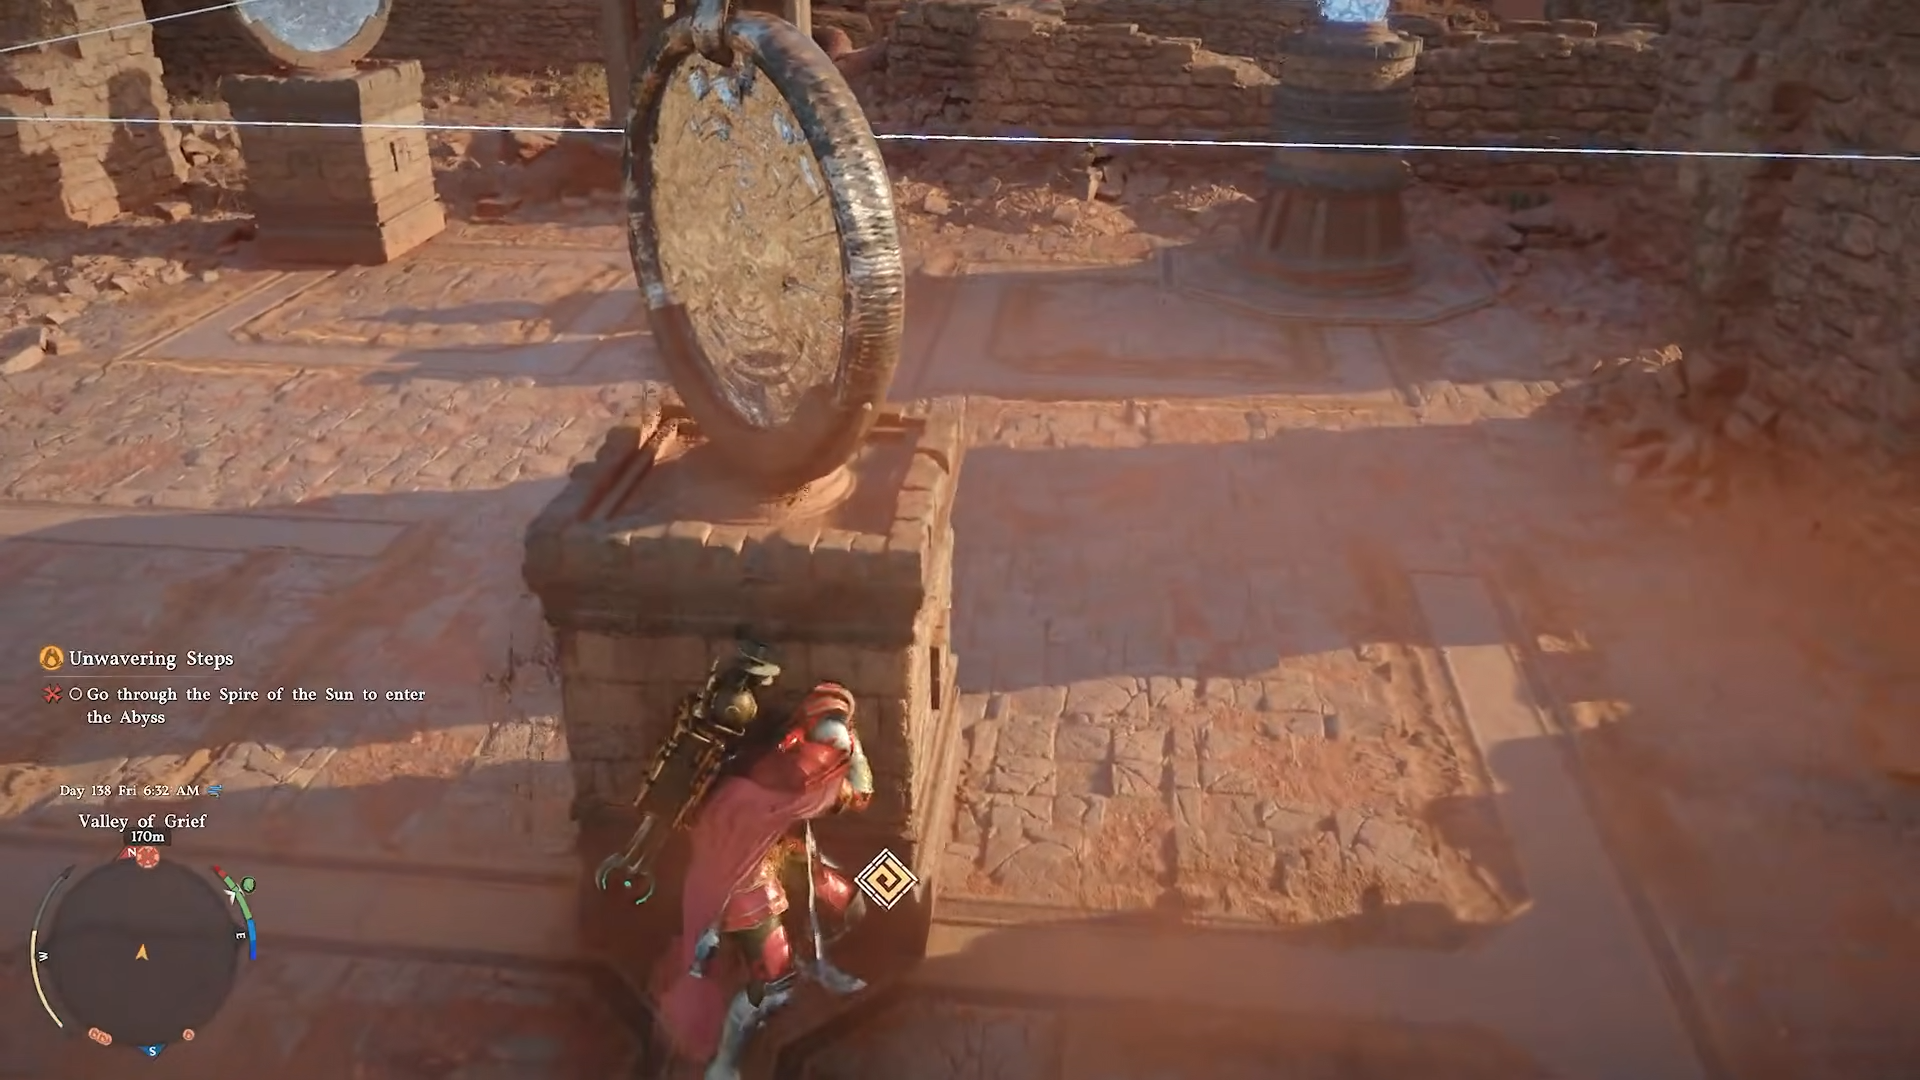
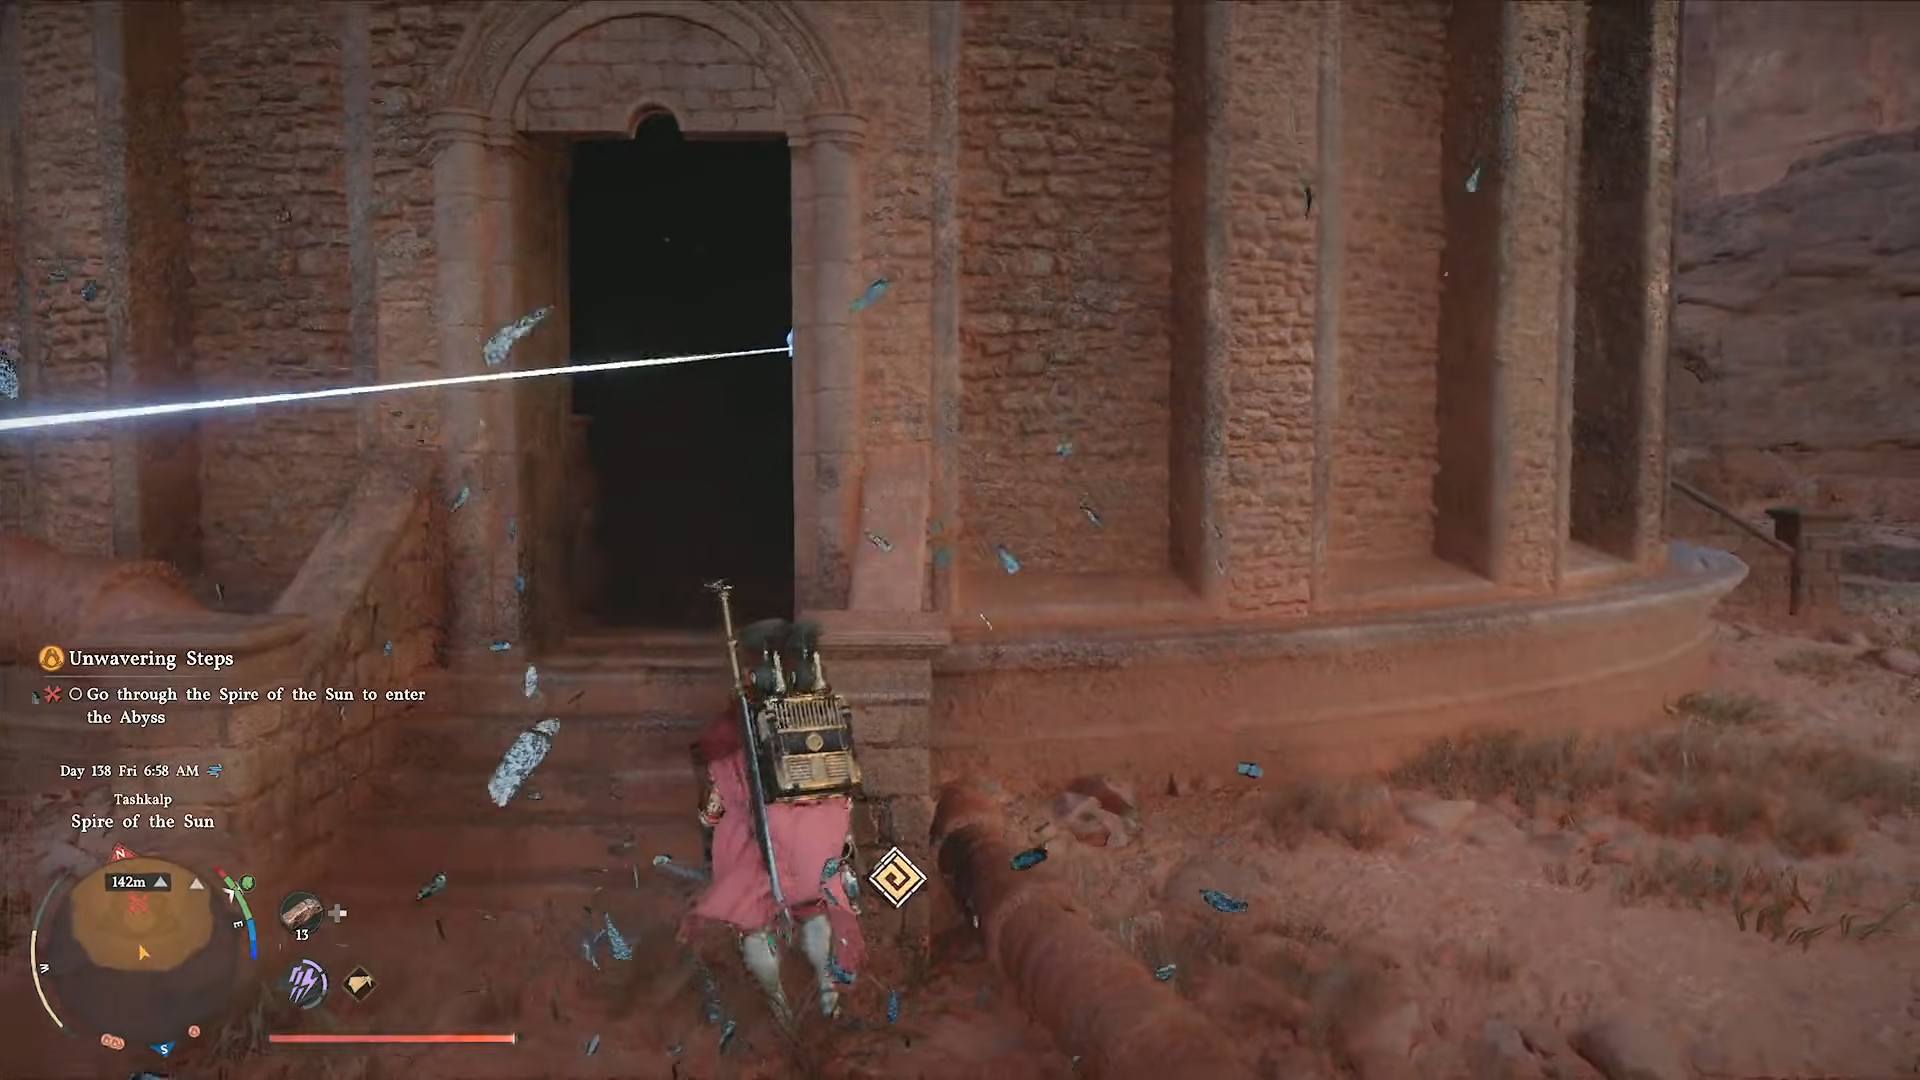
When you arrive at the base, do not try to push the door open immediately. Instead, reverse your camera so you are facing outward with the spire’s wall straight behind you.
From that back‑to‑wall view, scan the open ground to the left and right and you will see two low‑level platforms, each crowded with several small mirrors. The left‑side cluster is the first section you need to solve; the right‑side cluster is the second. Both are within a short sprint from the spire front, so you can walk back and forth between them without fast travel.
How to solve the first mirror‑beam puzzle (left‑side platform)
Step 1: Identify the idle mirror and start the chain
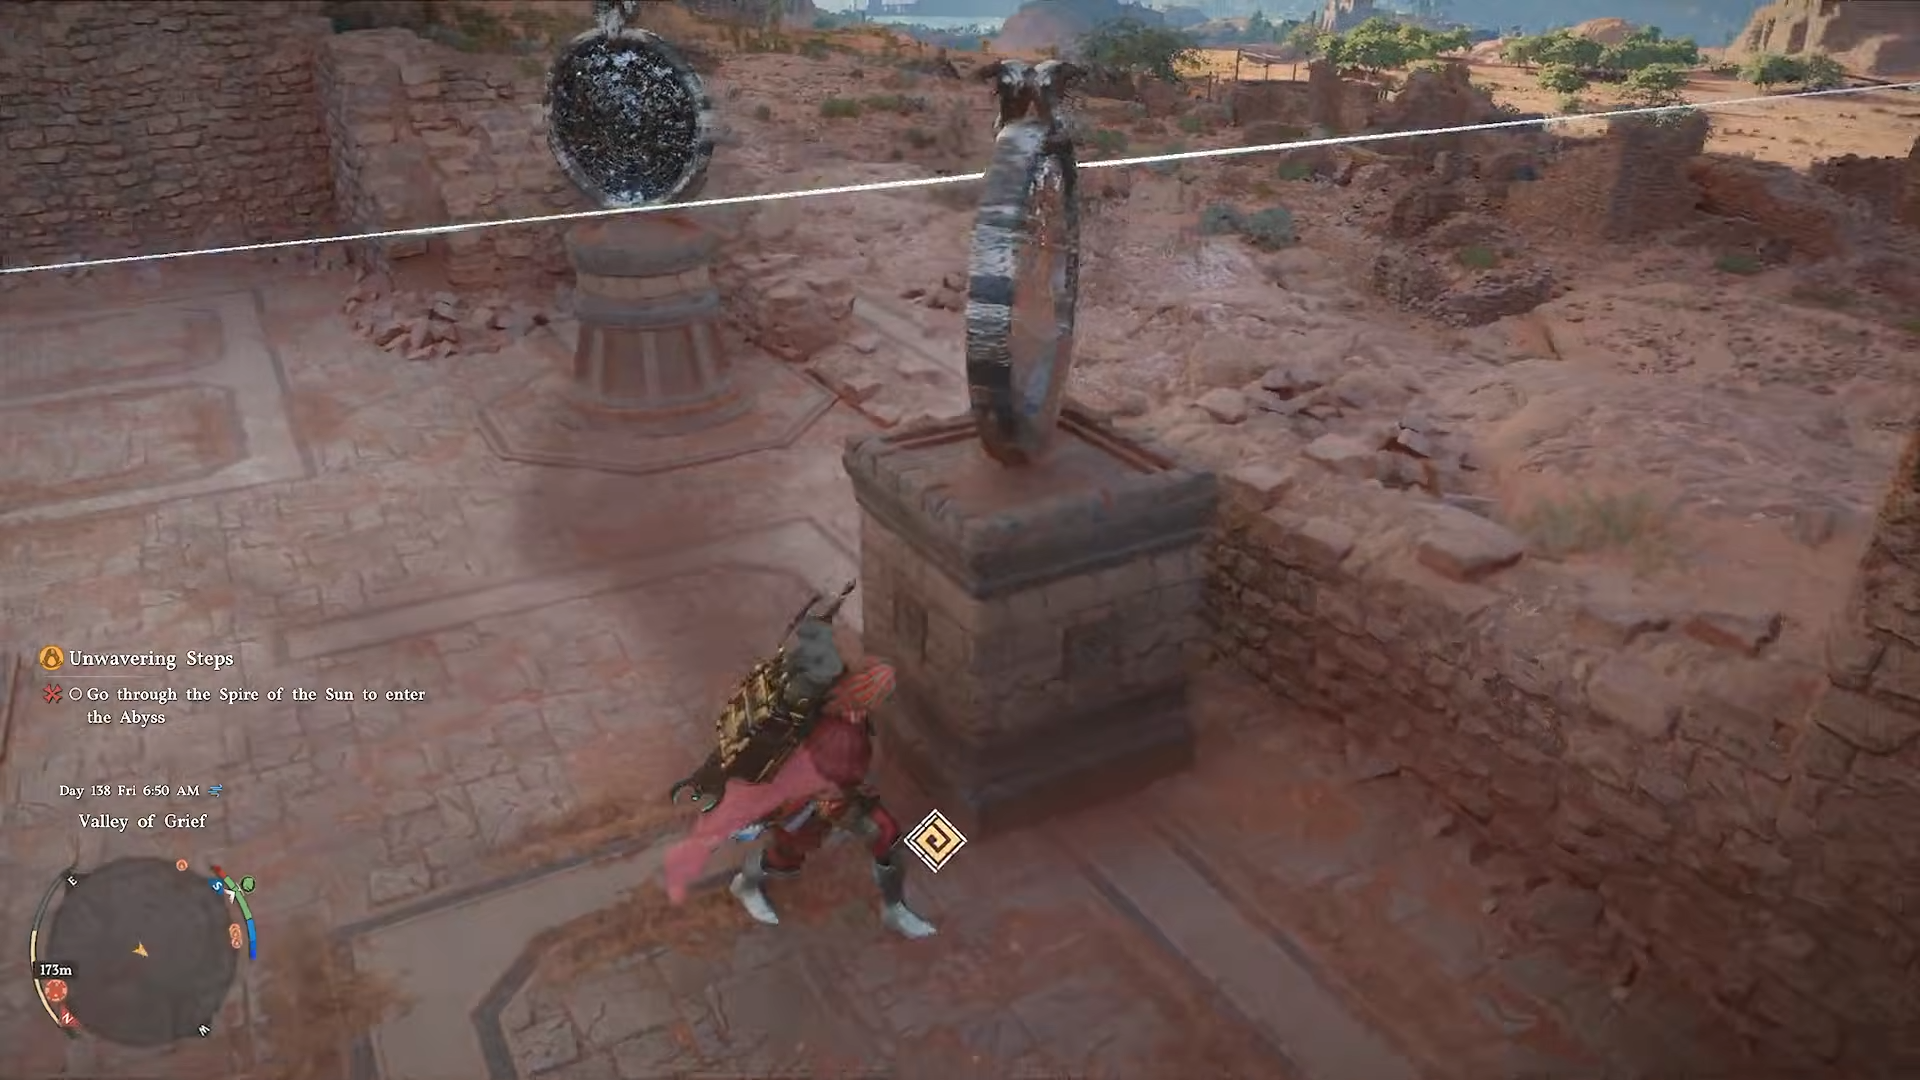
With your back against the spire and the left platform in front of you, walk up to the row of mirrors and look for the one that is not receiving any beam at all.
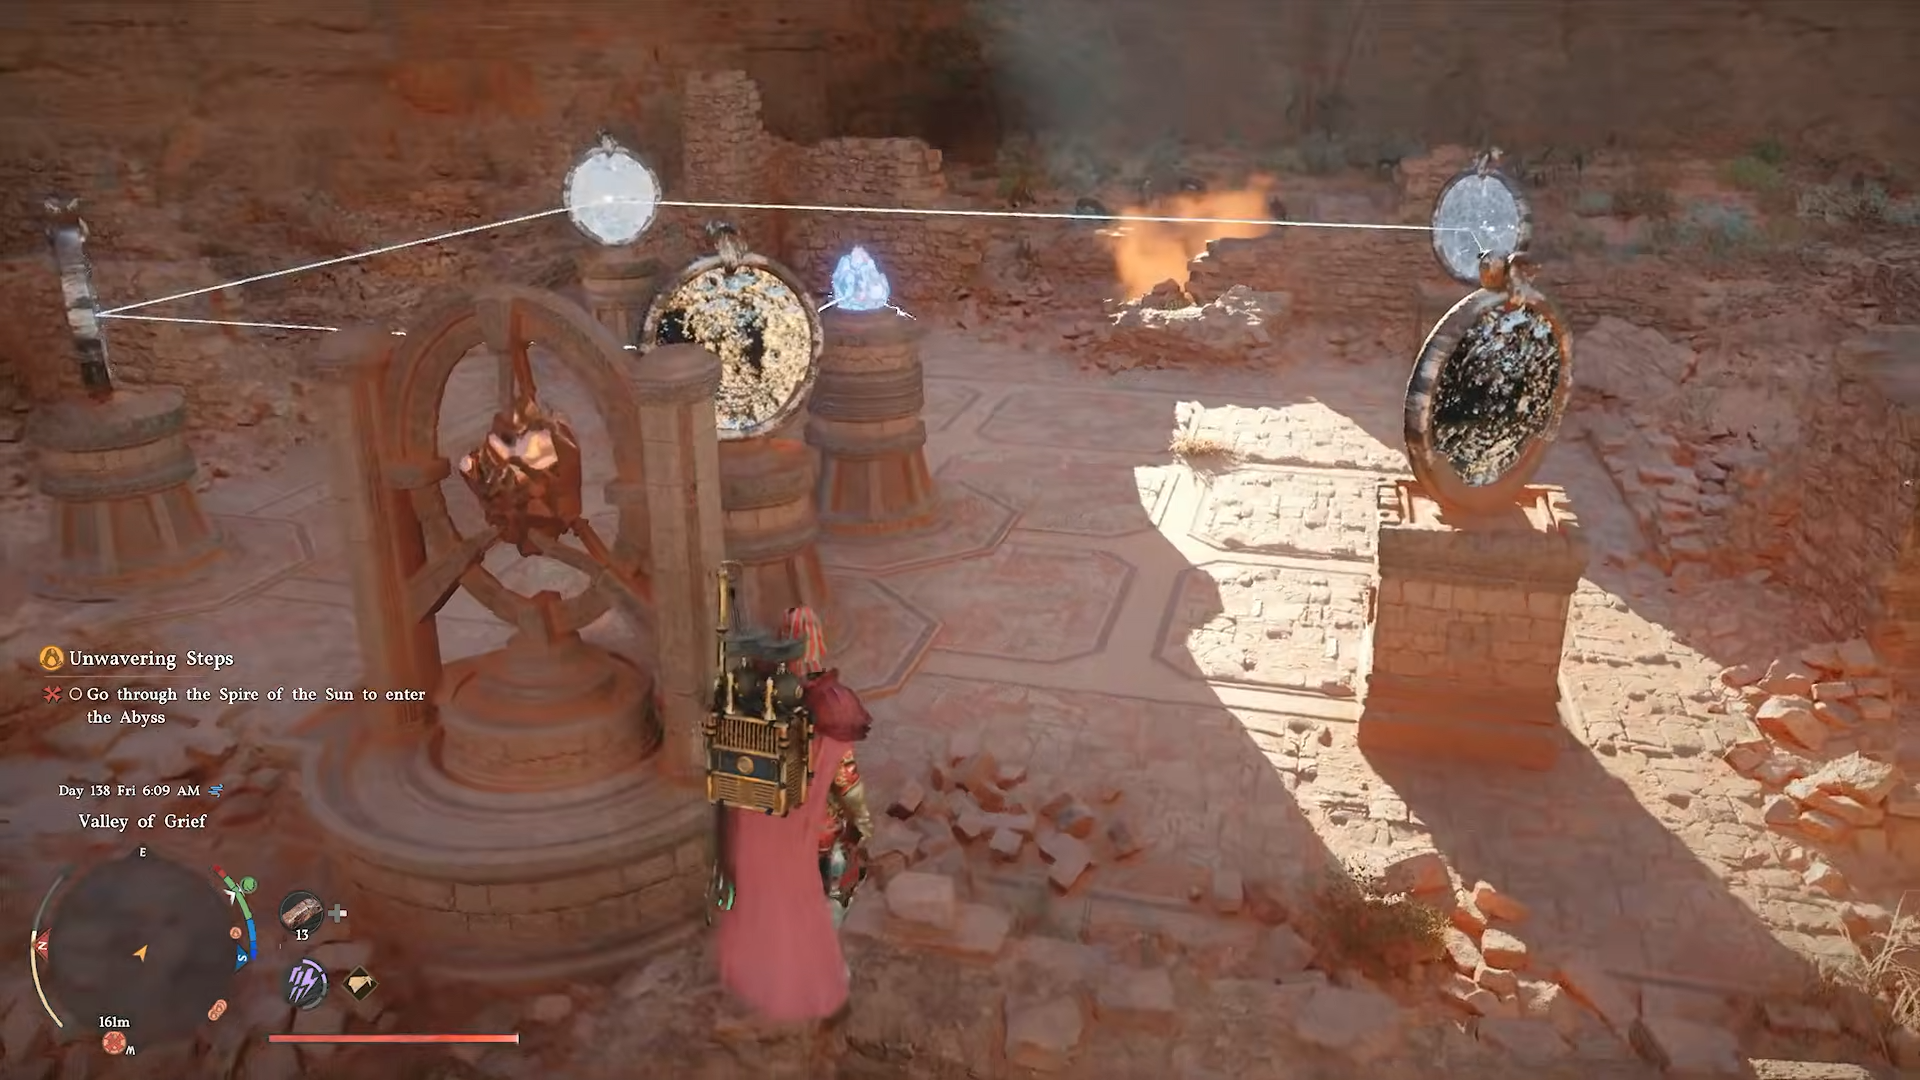
This “dead” mirror is the puzzle’s starting tile. Drag it horizontally along its rail until it snaps into a position where the beam from the central crystal starts reflecting off it.
Once the beam is visible, you’ll see it already linking to at least one downstream mirror, which means the chain is now live and ready to route.
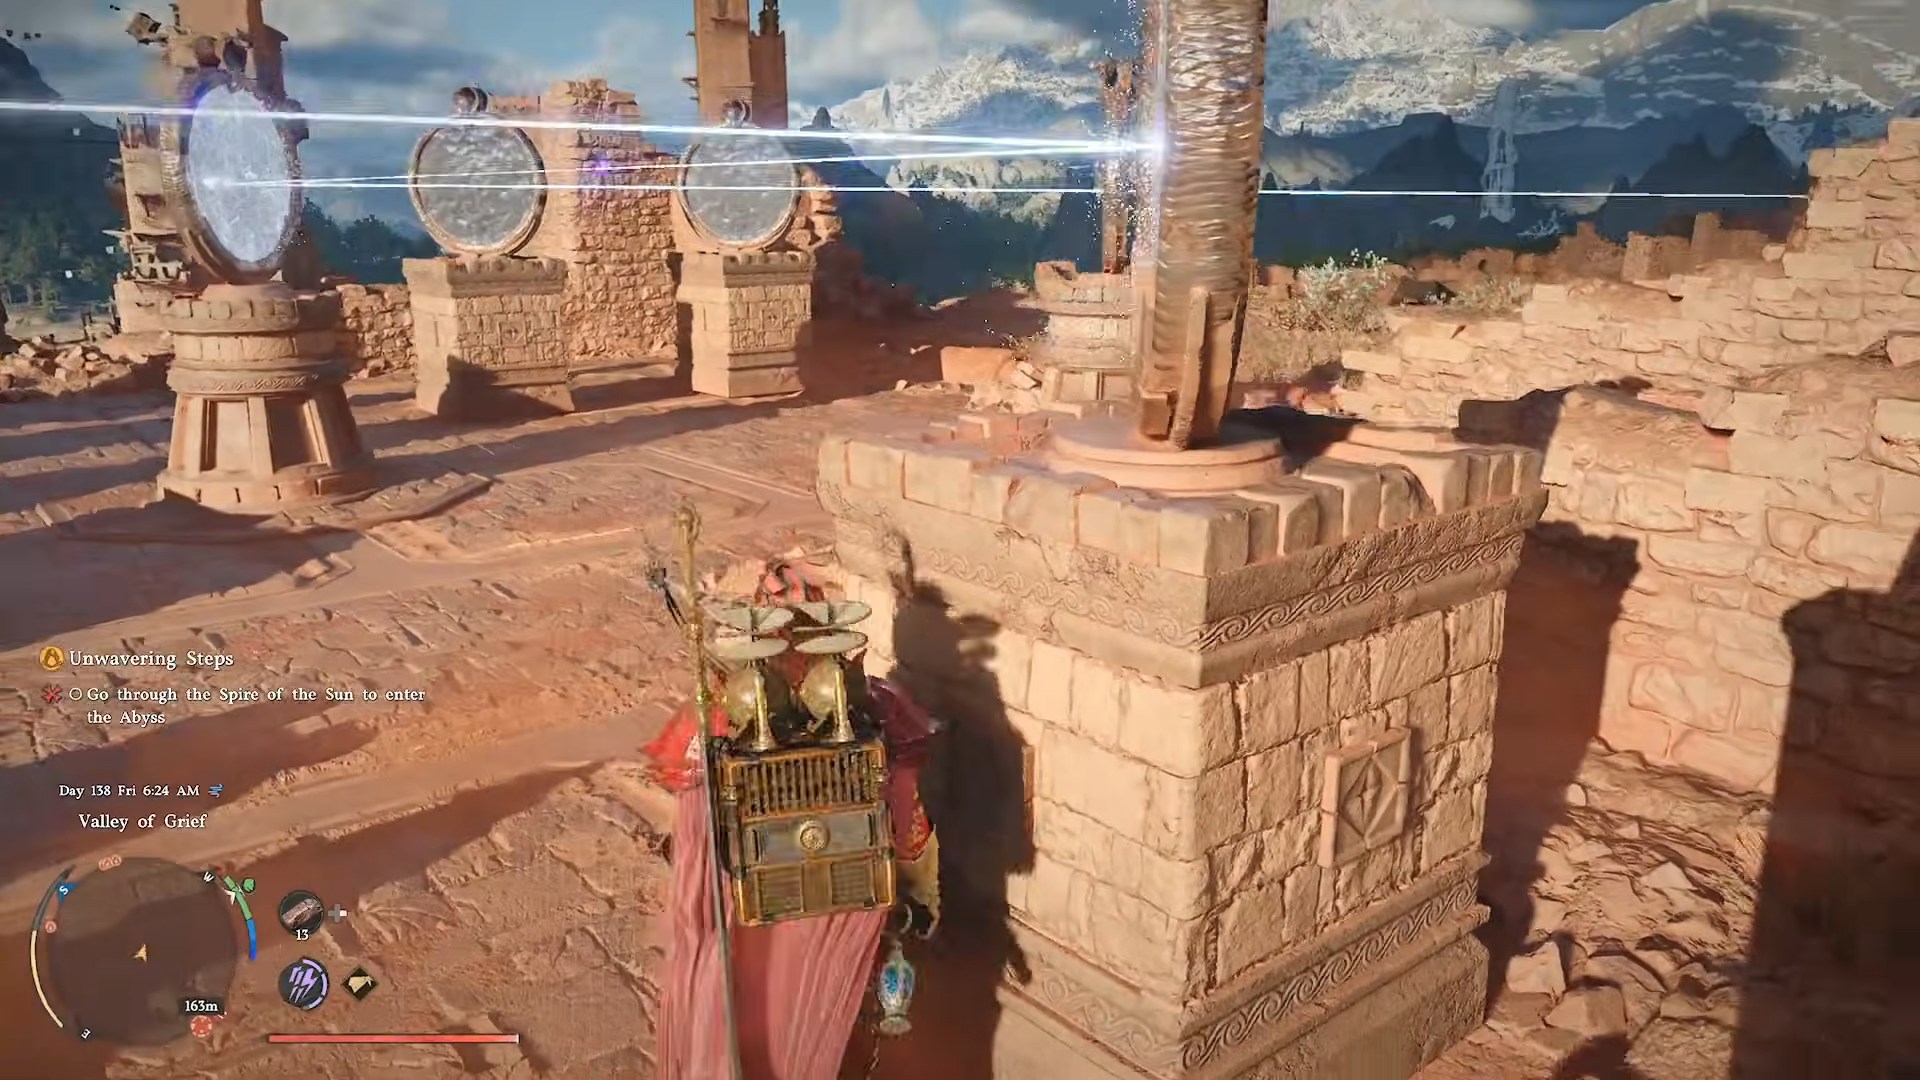
Step 2: Adjust the first mirrored‑crystal segment
Move right from the idle mirror toward the crystal that is already firing a beam. Stand on the tile just to the crystal’s right and find the mirror on that rail. Push it all the way to the far end of its track so that the beam now bounces cleanly off it and shoots deeper into the mirror grid.

This action creates a new beam segment that will extend toward the next visible mirror down the line.
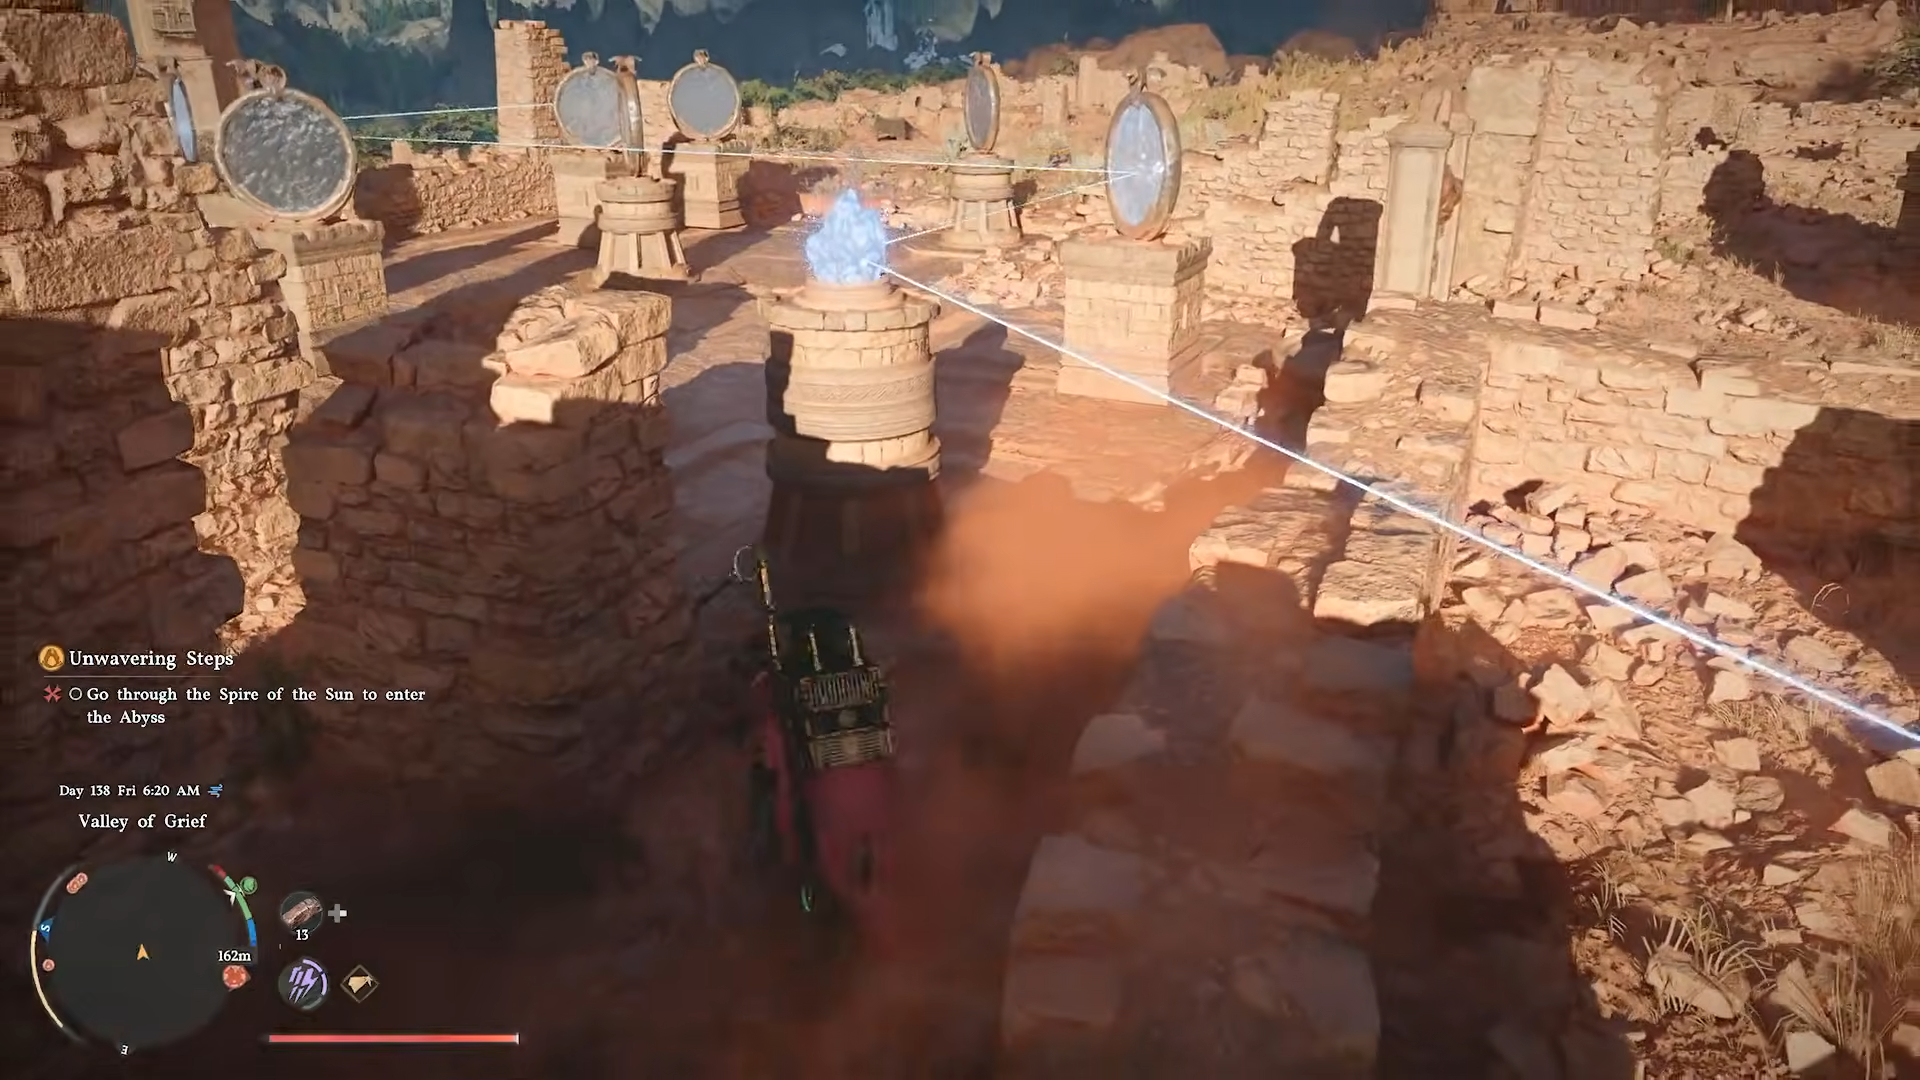
Step 3: Route the beam through the middle rails
Walk past where that second mirror sits and head to the end of the next rail where a third mirror waits. Get behind it and slide it into the freshly aligned beam so that the reflection now arcs across the platform. At this point you should see the beam bouncing through multiple mirrors that are visibly linked, glowing whenever the light passes through.
Continue to the next nearby mirror that looks misaligned. Carefully move it along its rail until it sits in the middle of its track section, then nudge it slightly up into the next segment so that the beam centers on its reflecting face.
If the mirror is too far forward, back, or off‑center, the beam will veer off and break the chain, so precise centering here is key.
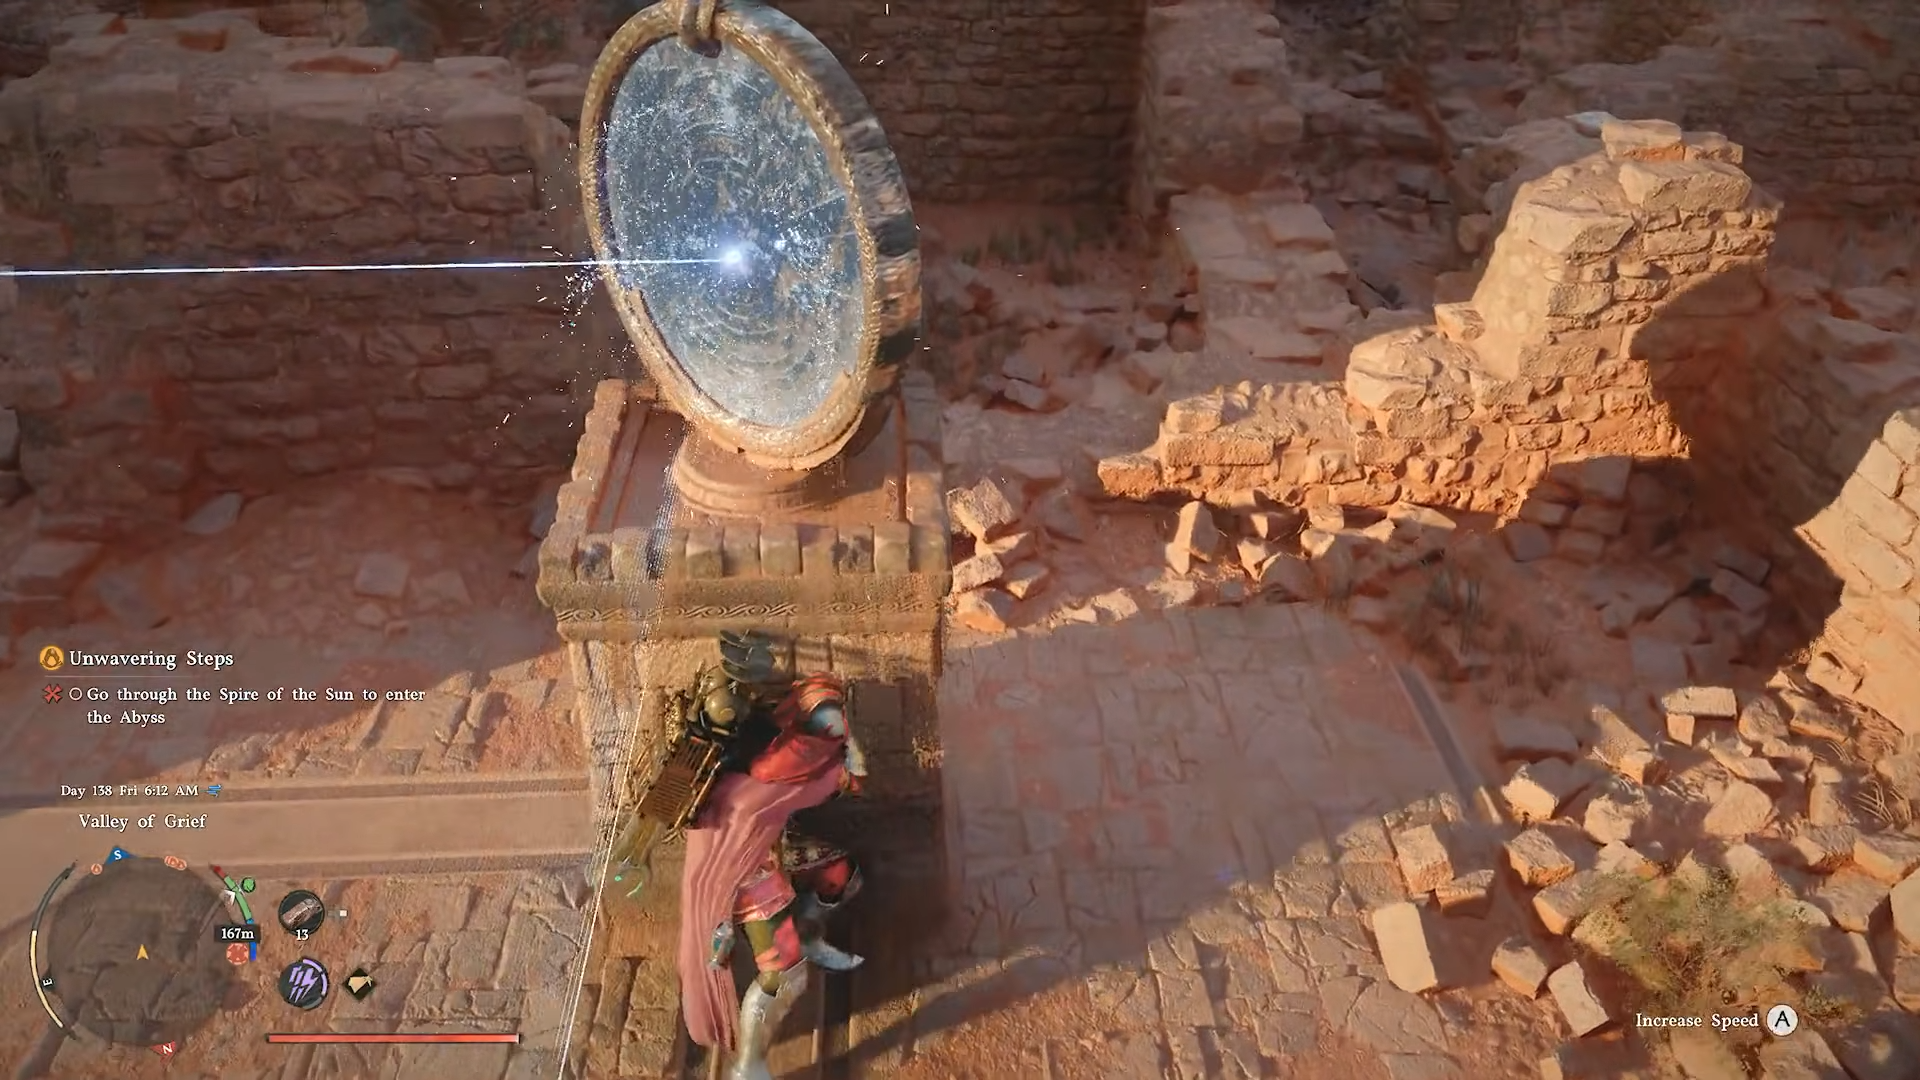
Step 4: Complete the final mirror‑link to the spire doorway
There is one more visible mirror that appears to be pointing away from the intended path.
Drag this mirror all the way to the very end of its rail, then circle to the opposite side and shove it one more time along the same axis until it no longer points outward into the open world but instead toward the spire’s front.
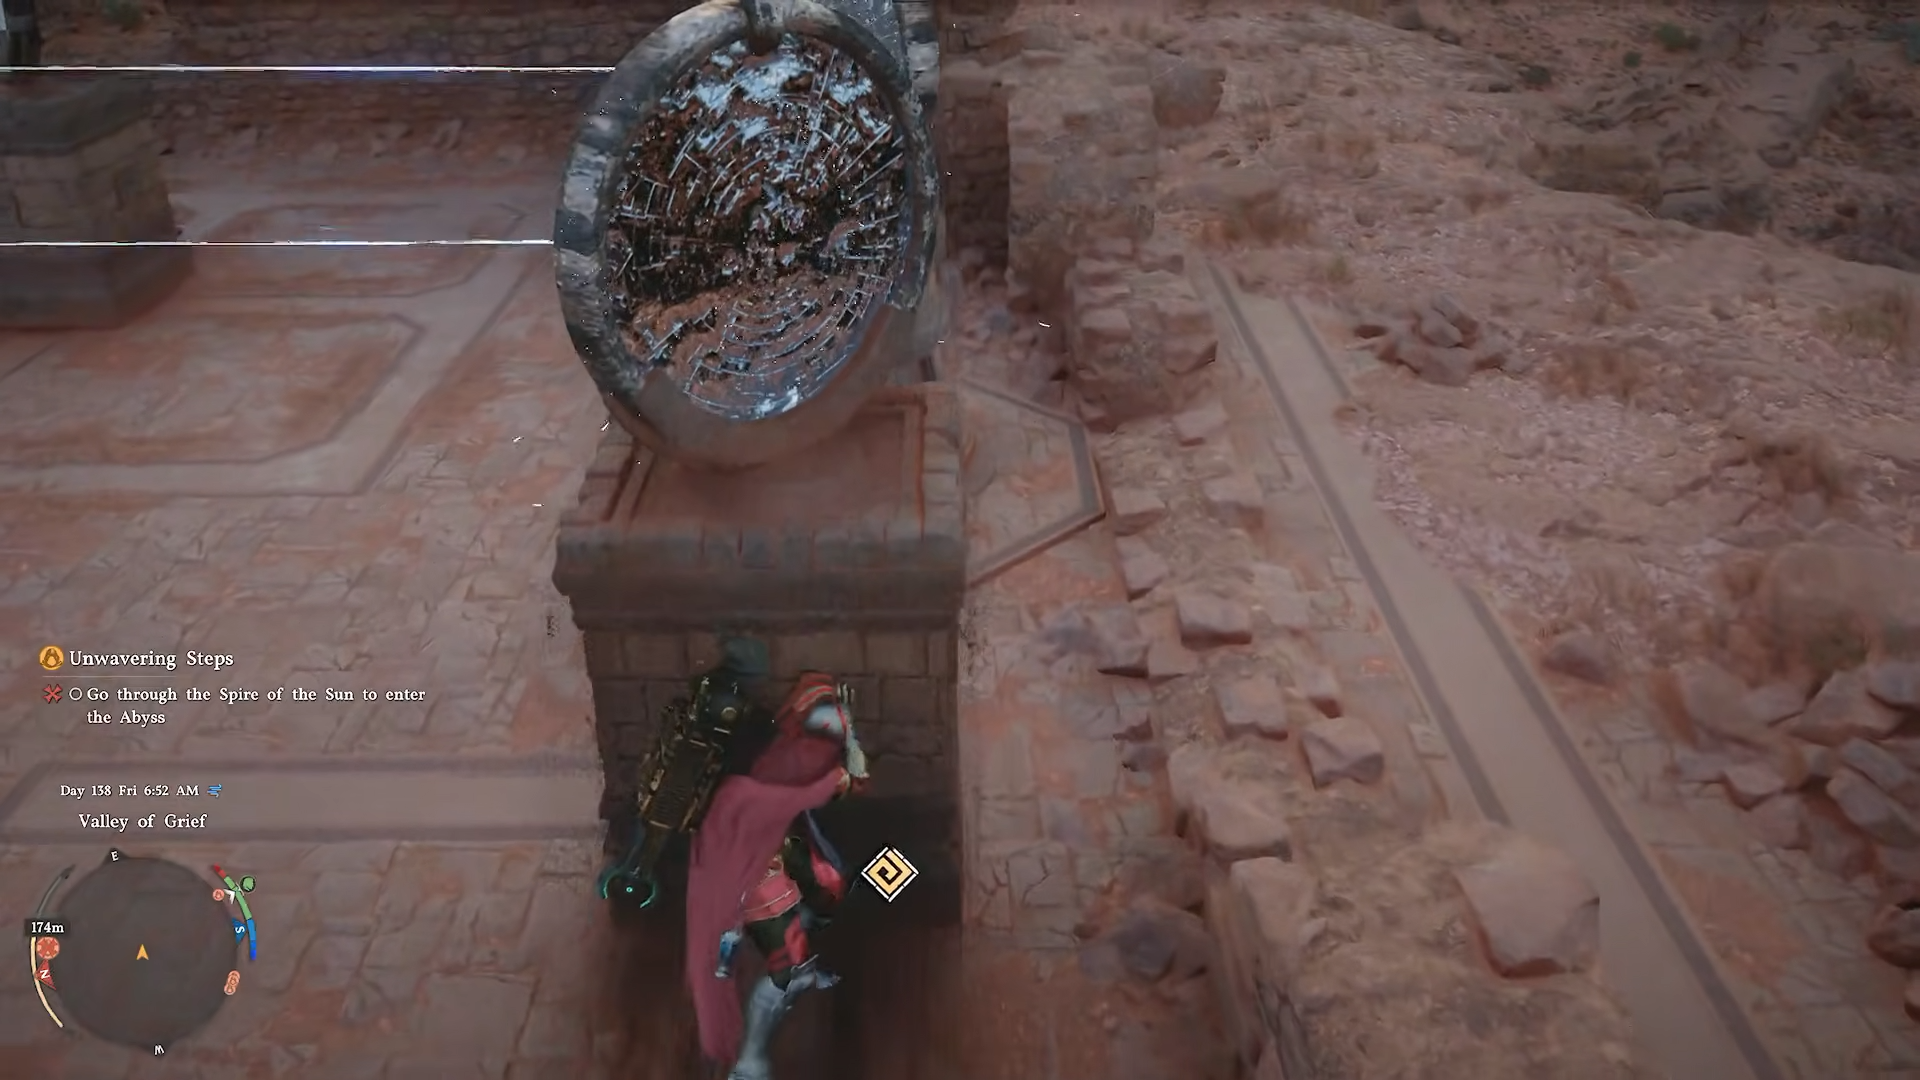
When positioned correctly, the beam will now trace all the way from the crystal through every mirror and finally slam into the large crystal set into the doorway of the Spire of the Sun.
Once the doorway crystal lights up, the door mechanism will whir and the massive entrance will slowly swing open.
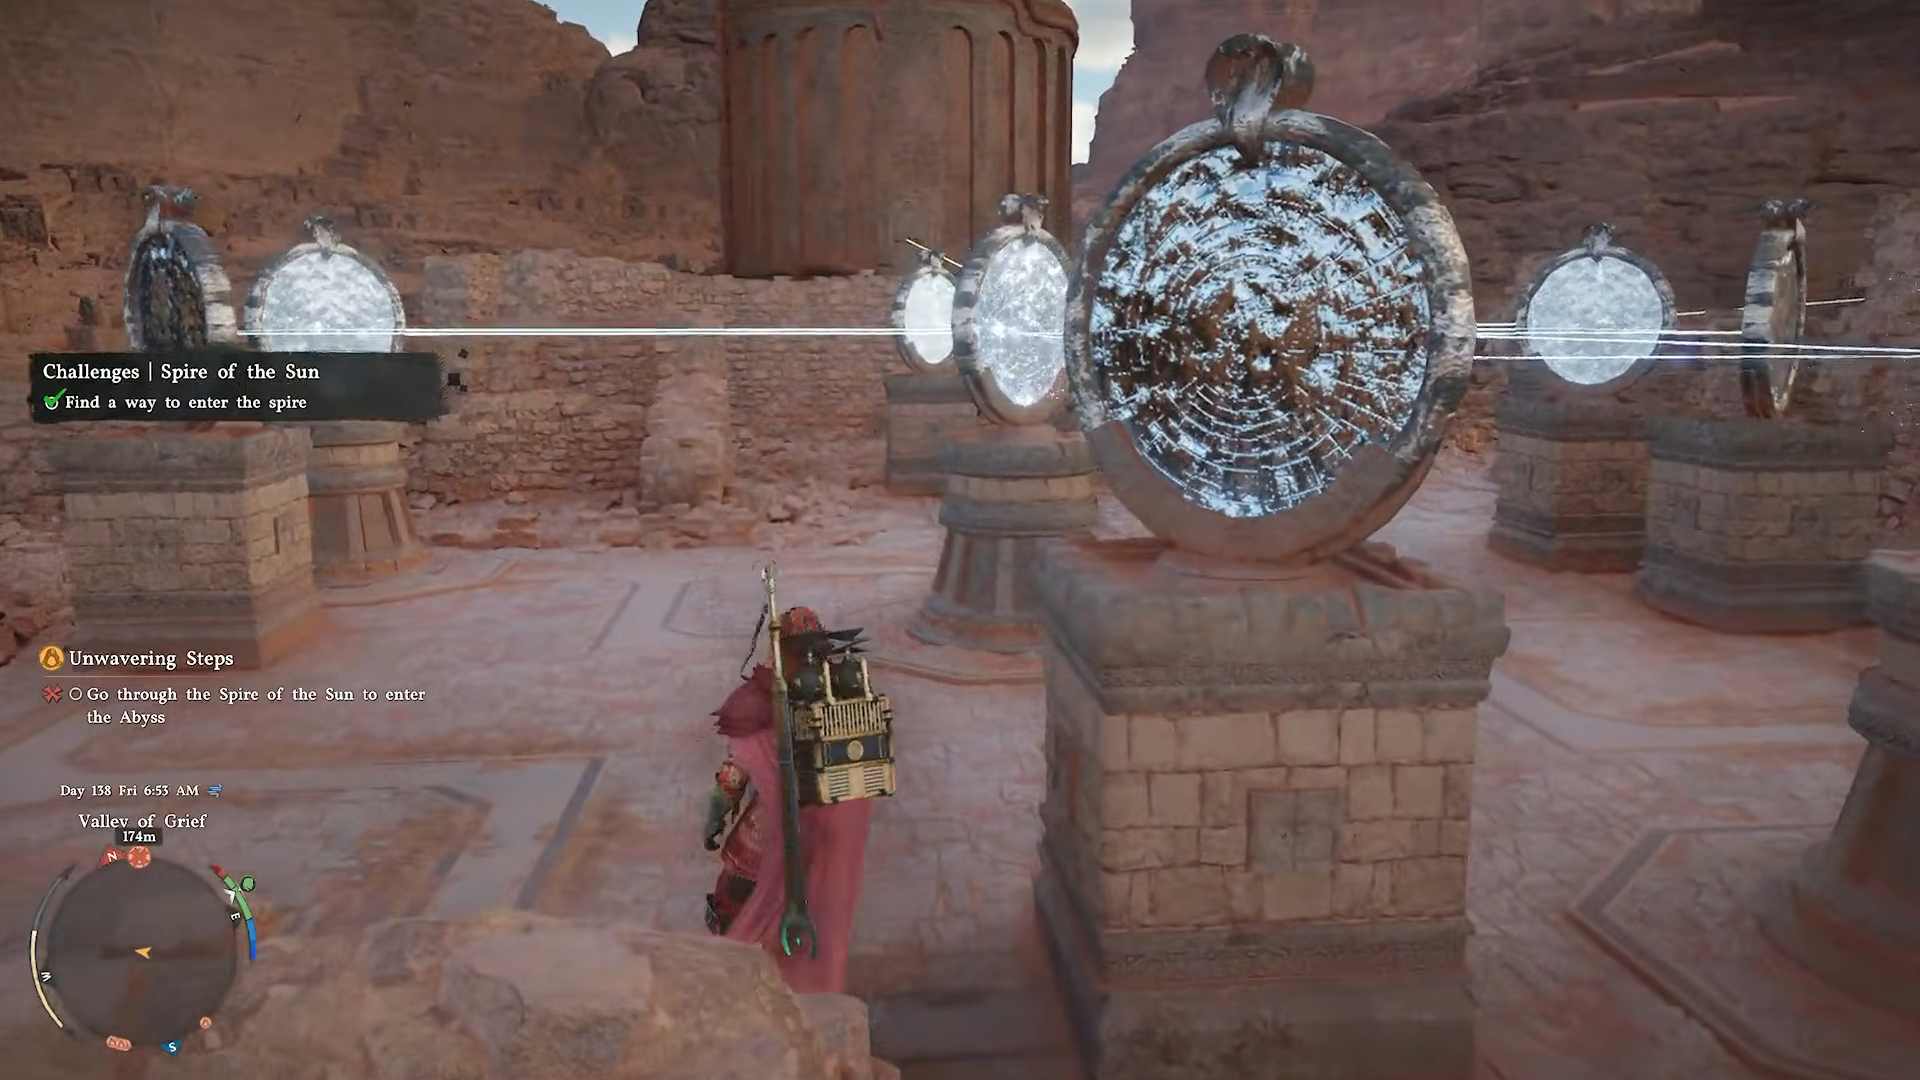
Step inside while the beam is still active so you can immediately continue with the interior staircase sequence.
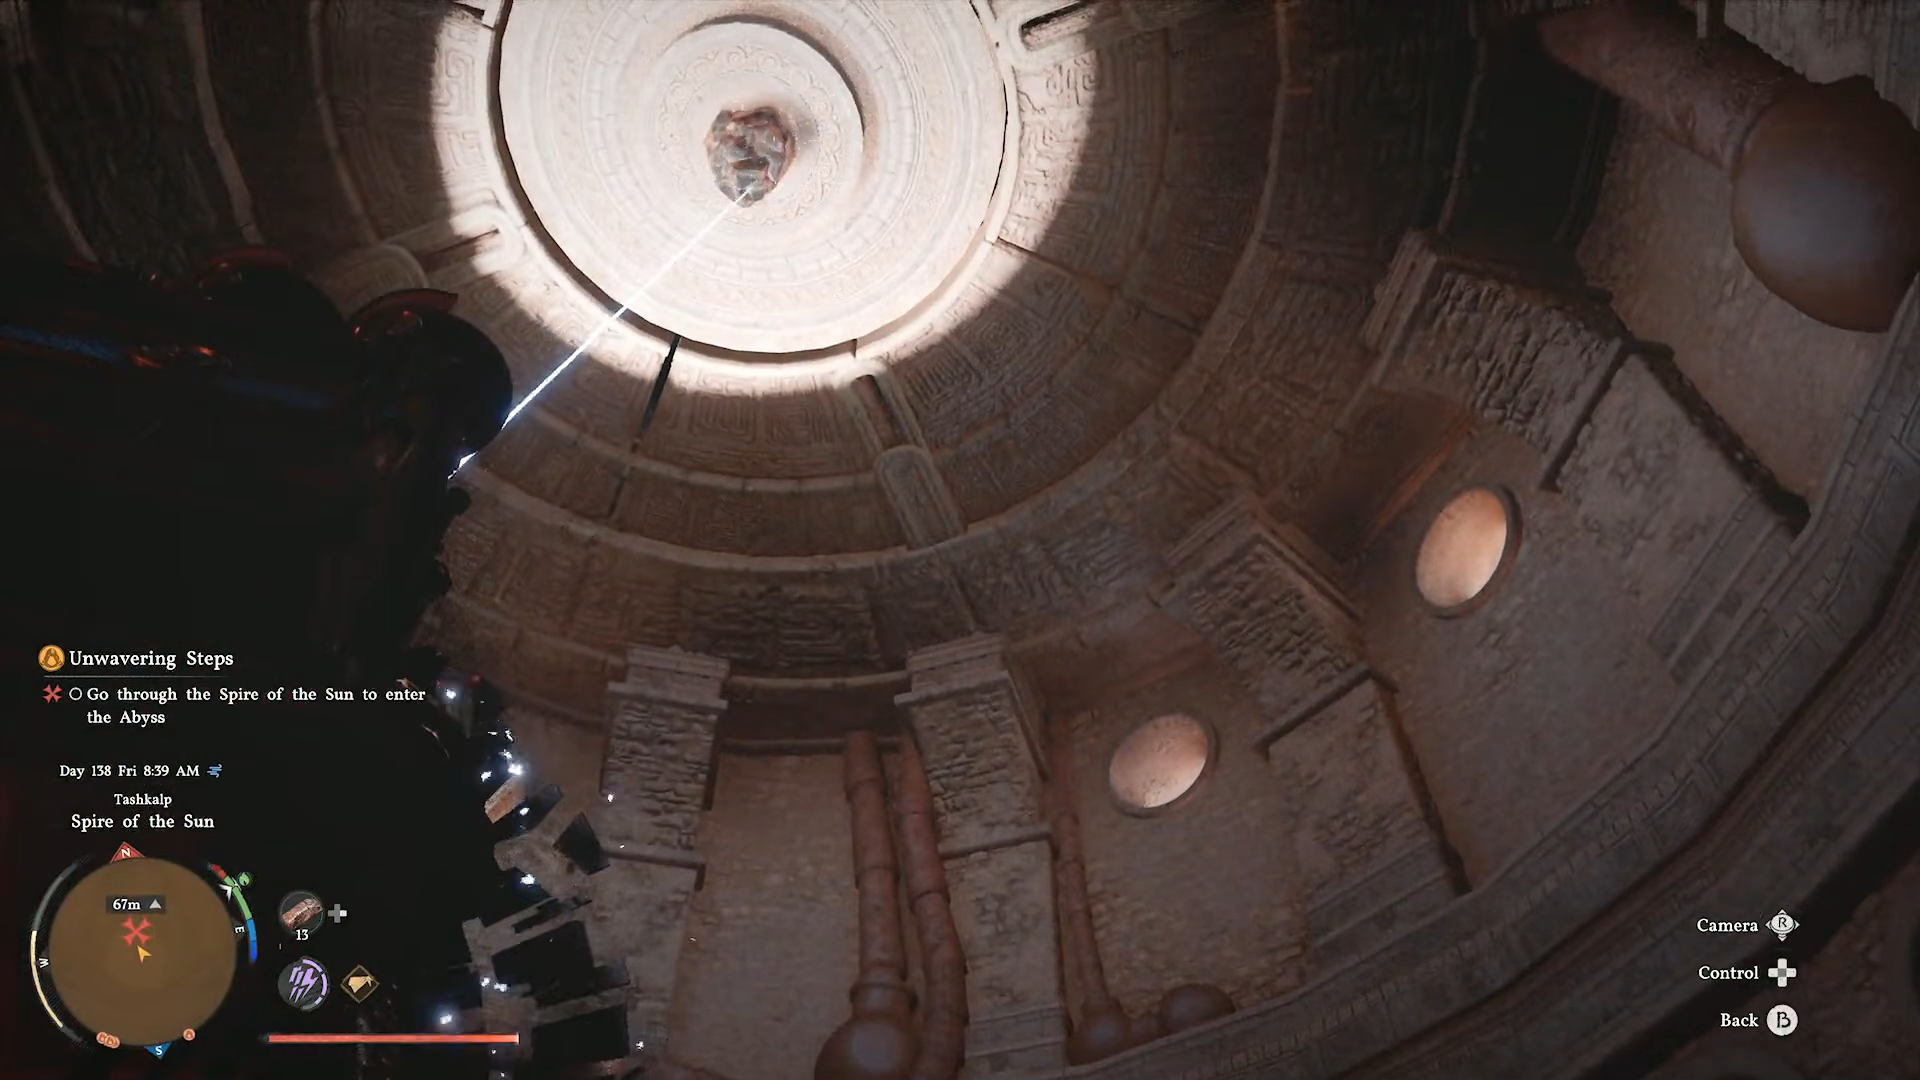
How to climb the interior staircase using moving mirrors
Inside the spire, the quest goal is to send the beam up through a series of mirrored platforms carved into the corkscrew‑style stairwell. The gameplay here is repetitive but mechanical: you ride each mirror up, adjust its angle, let the beam hit the next mirror above, and repeat until you reach the top‑level crystal.
Step 1: Align the first interior mirror
Enter the doorway and walk up the short landing until you see the first large mirror placed across the stairwell.
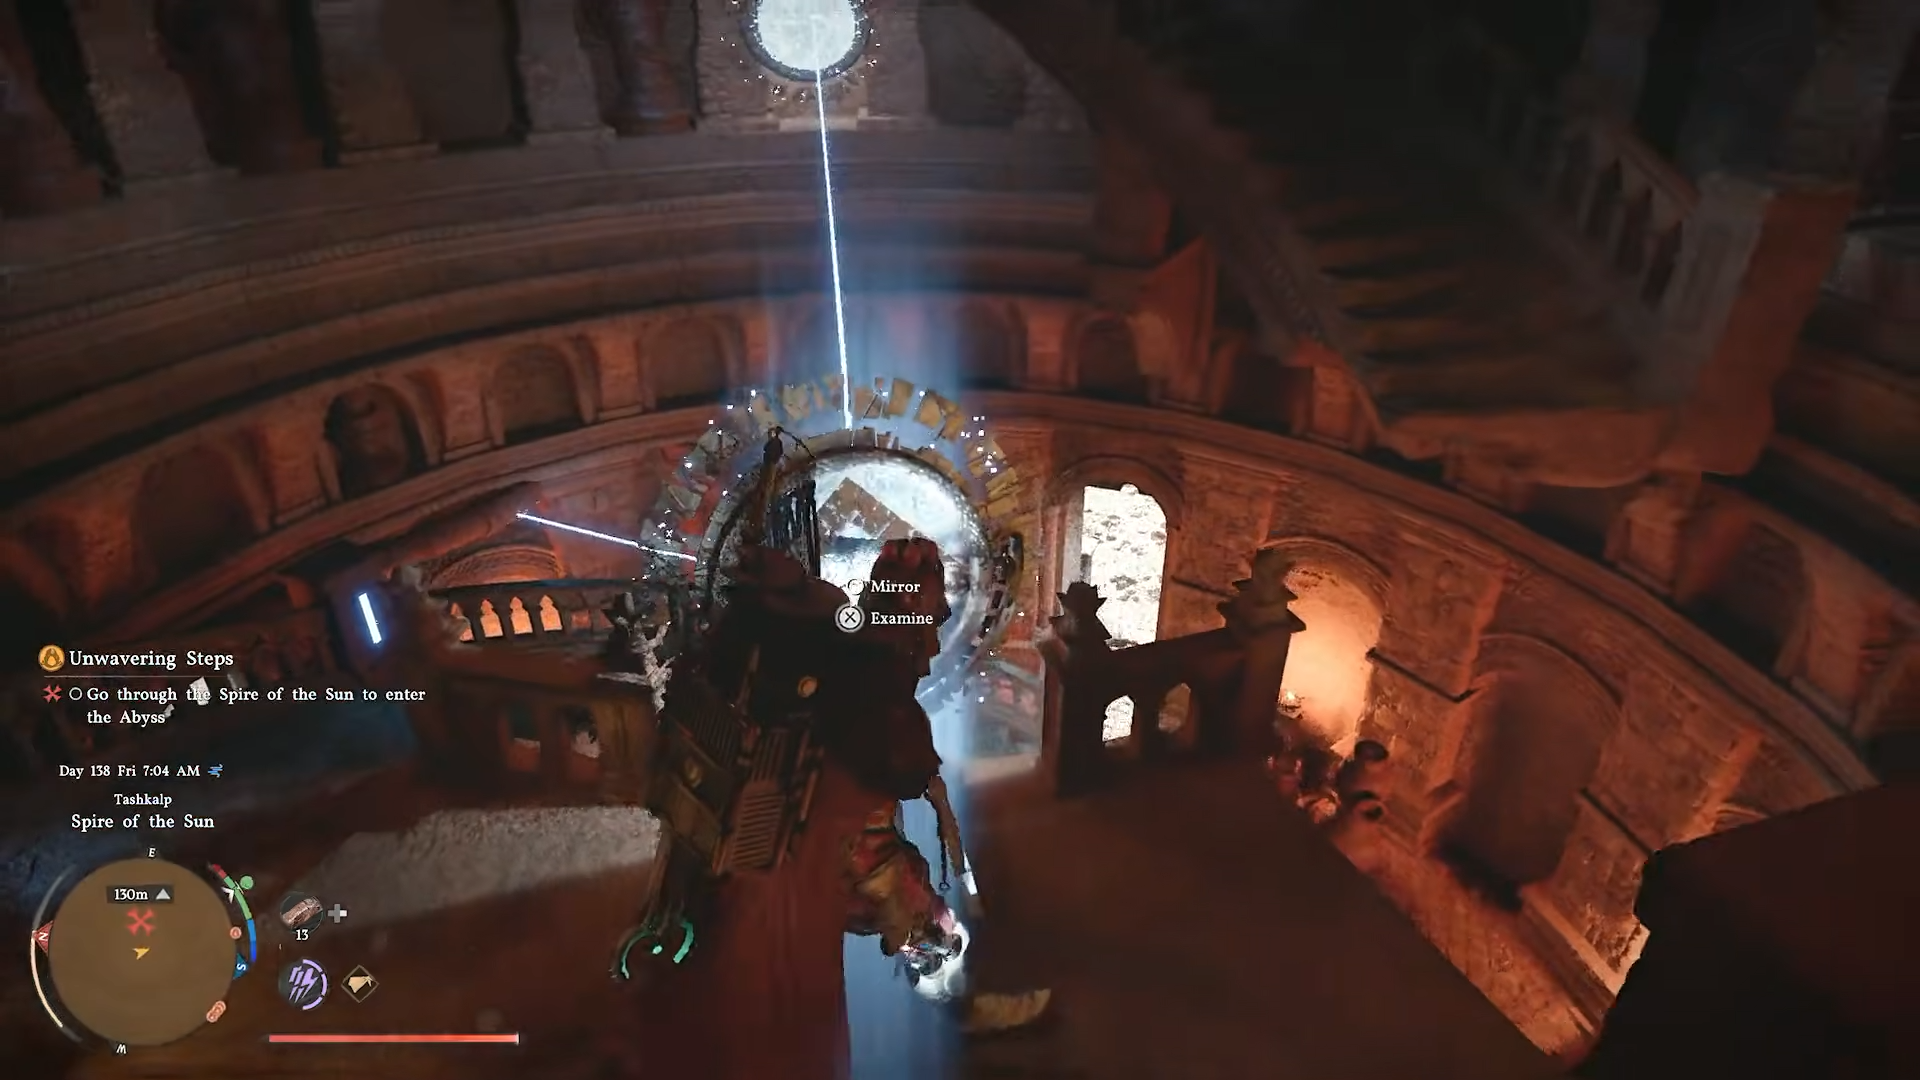
This mirror is already reflecting the beam that just entered from outside. Jump onto it and move it slightly upward so that the beam now hits the center of the next mirror suspended one level above.
Make sure the beam strikes the mirror’s middle, not the edges, because a clipped reflection will cause the beam to wander off and fail to activate the next stair‑rotation.
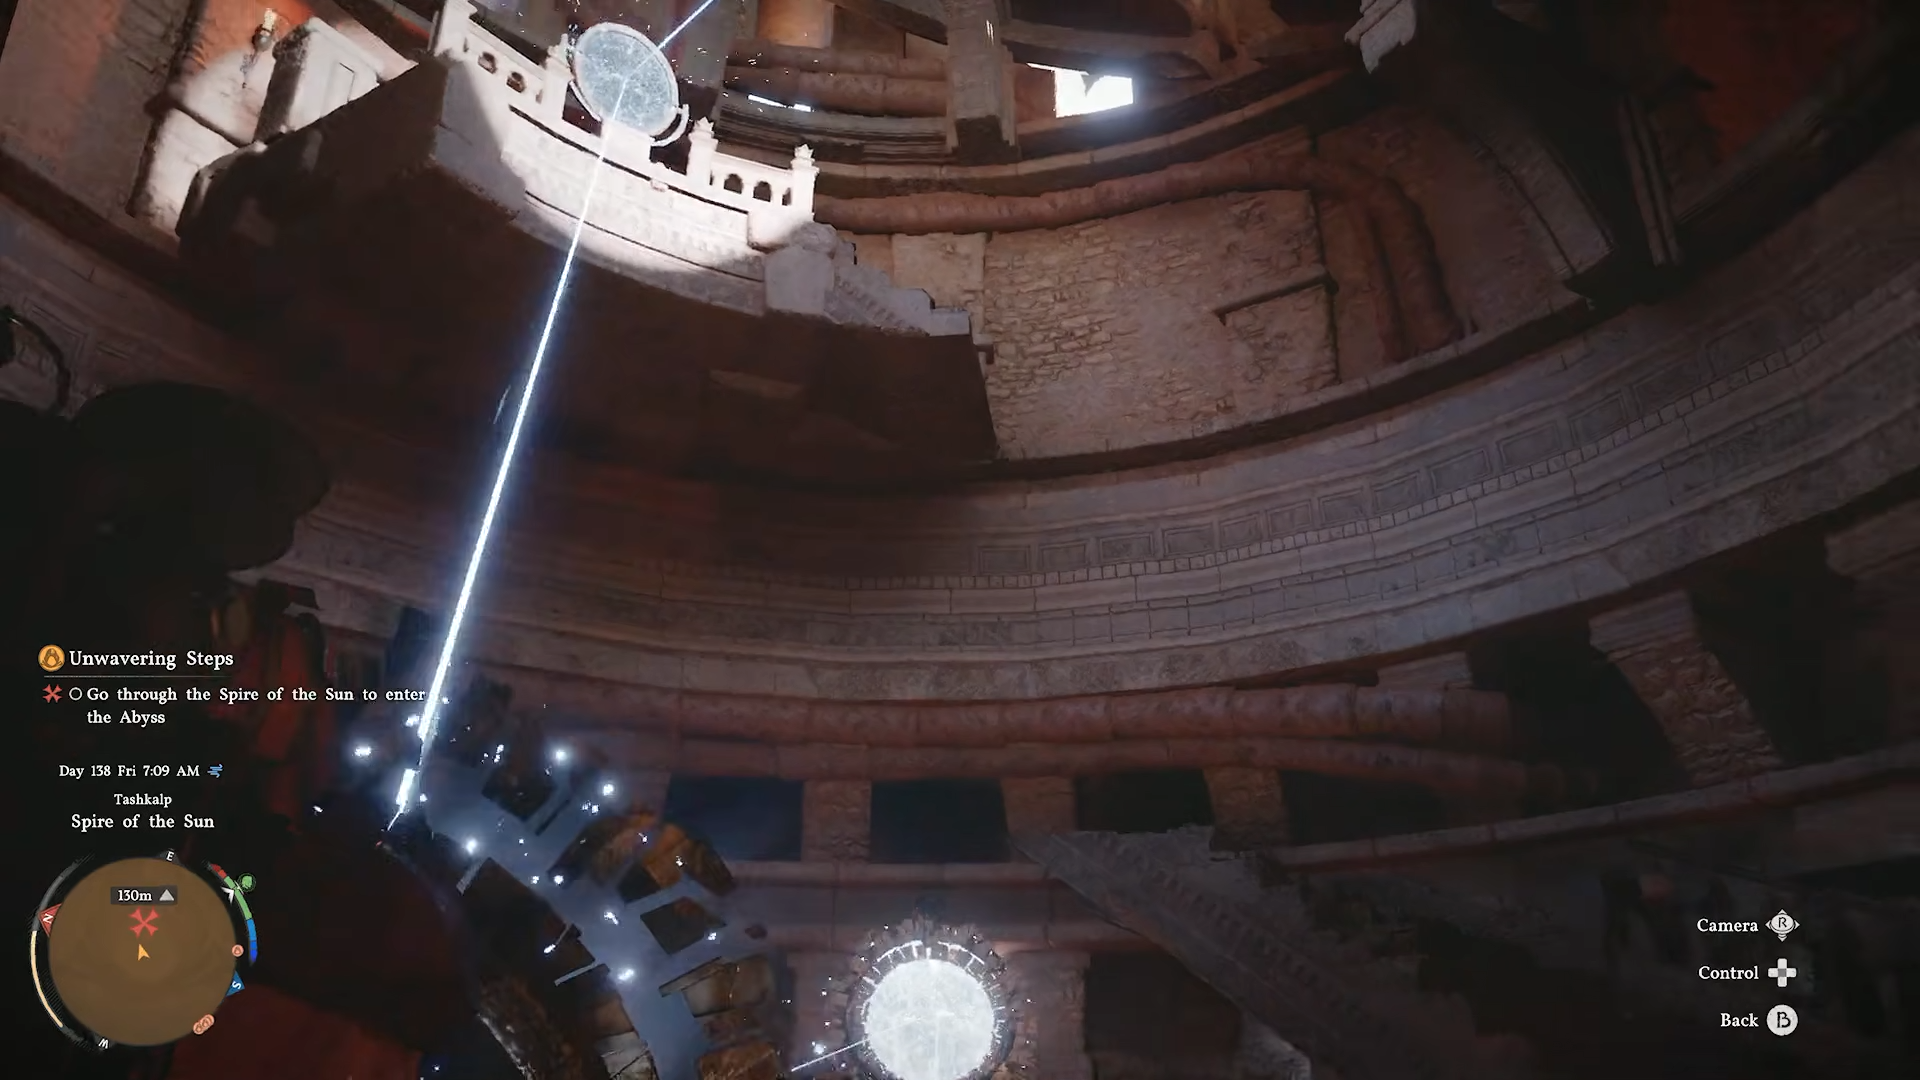
Step 2: Repeat the mirror‑step sequence on each tier
Each subsequent section follows the same pattern. As soon as the beam hits the next mirror, the staircase segment immediately ahead of you will rotate or extend, creating a new climbable path.
Walk up that new section until you reach the mirror platform, then repeat:
-
Mount the mirror.
-
Angle it so the beam strikes the center of the mirror above.
-
Confirm that the beam is fully aligned and not flickering off‑center.
-
Wait for the next stair segment to unlock before proceeding.

There are around eight such segments, spread over several rotations of the corkscrew, so the climb feels long even though the mechanics never change. If the beam suddenly vanishes, go back two or three mirrors and nudge the most recent ones until the chain re‑establishes itself.
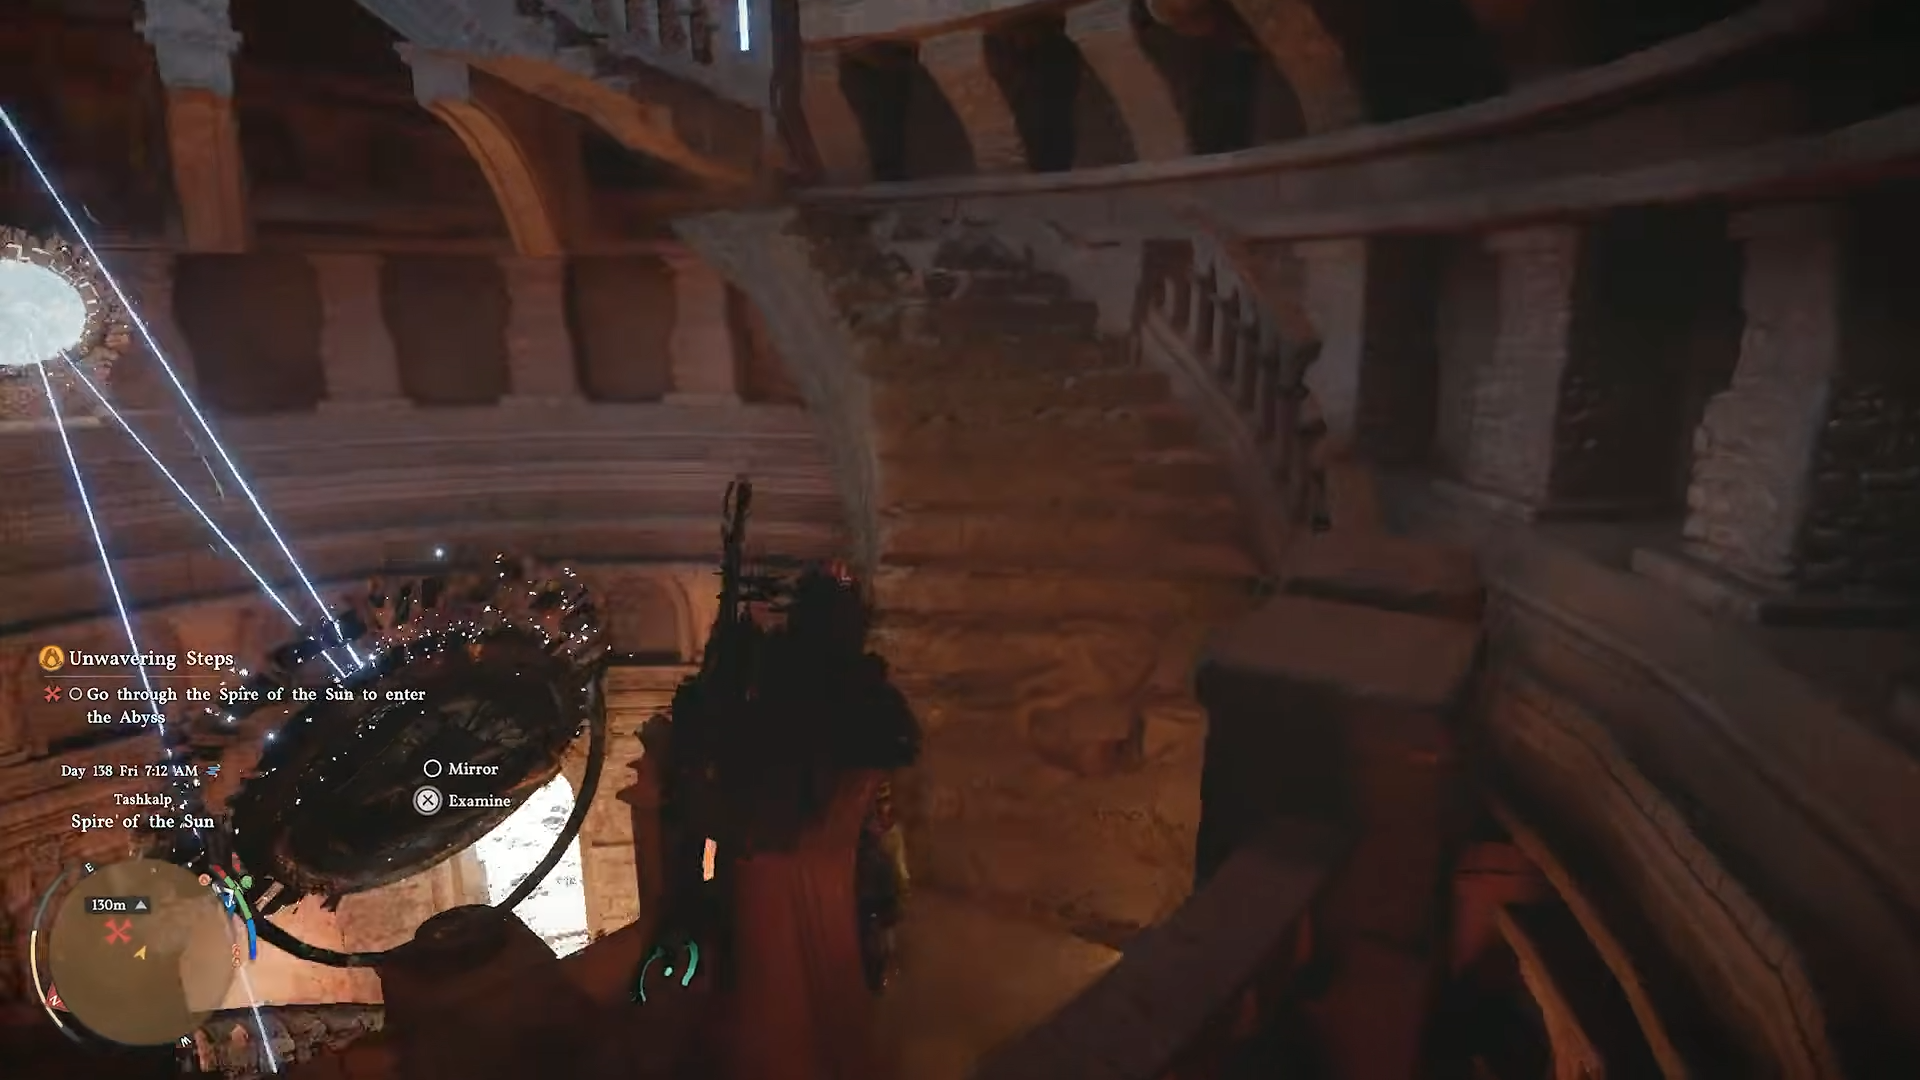
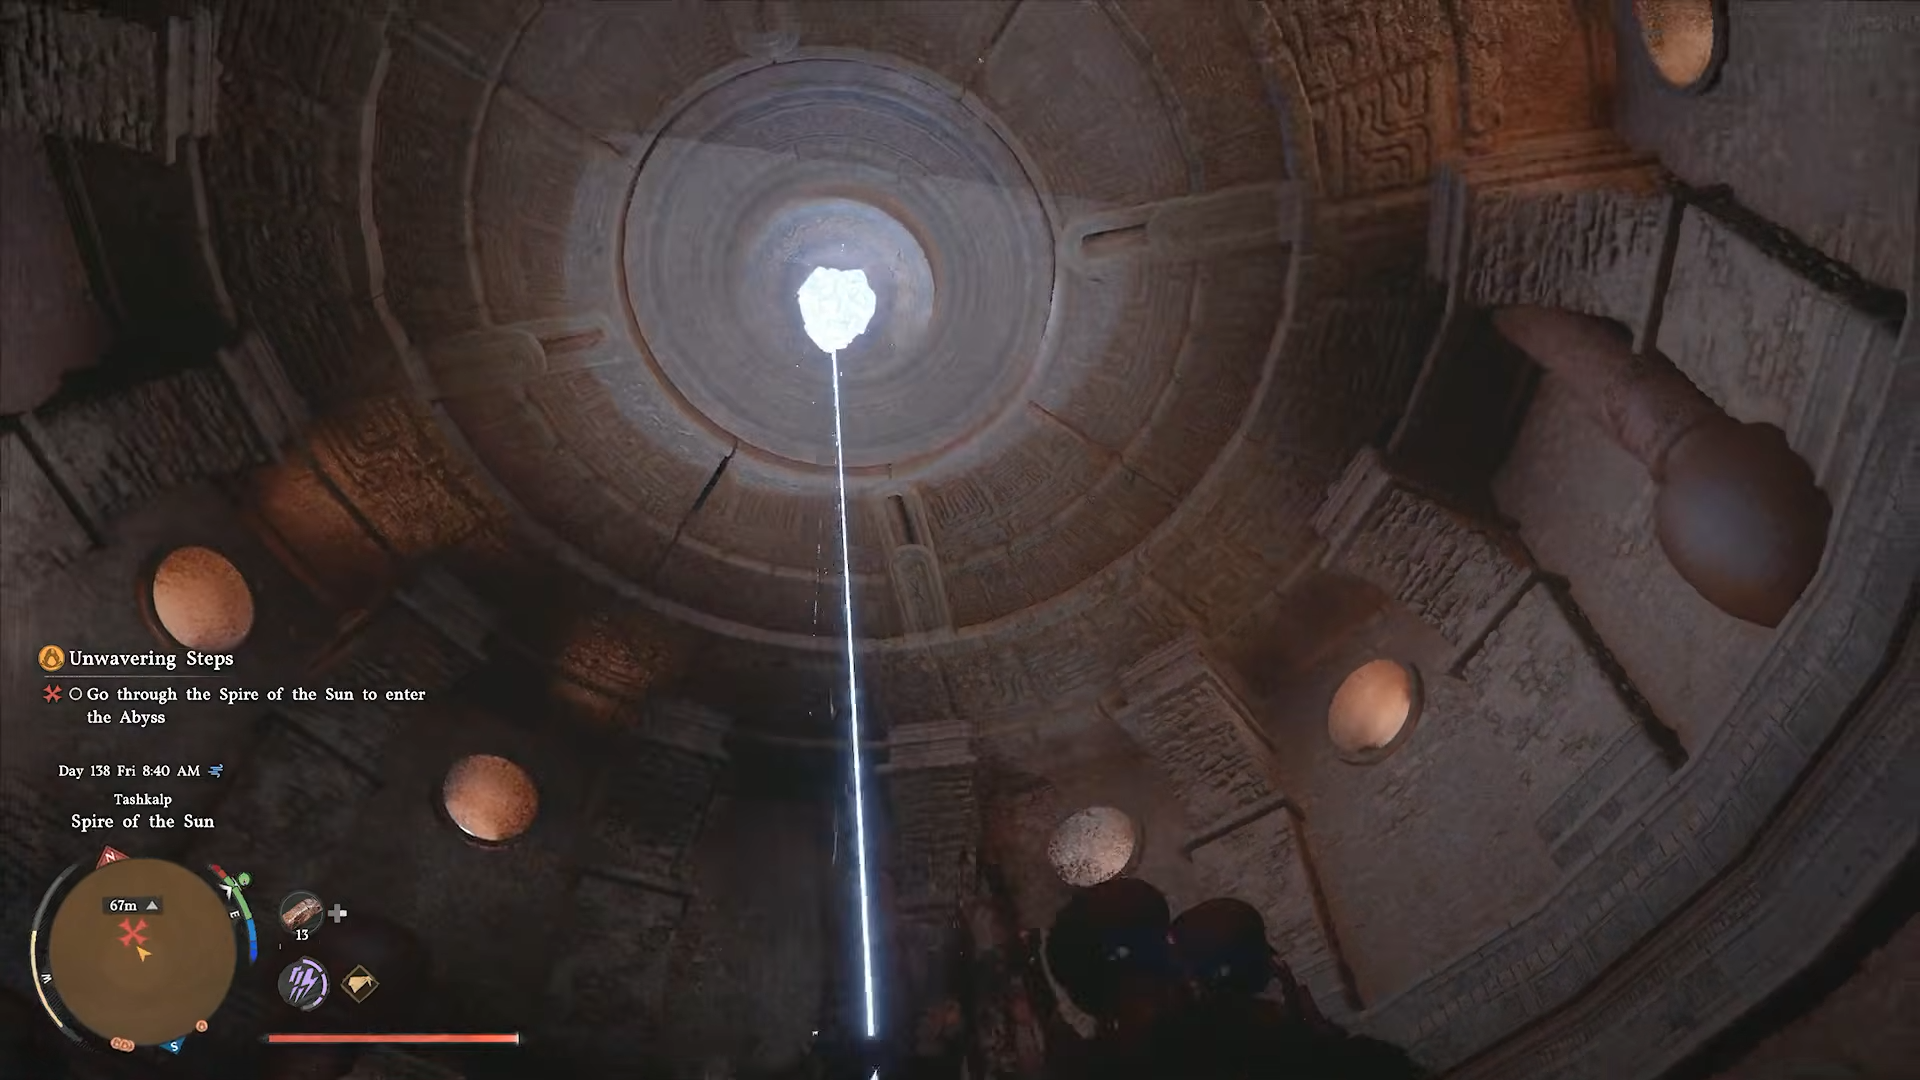
Step 3: Strike the final ceiling‑mounted crystal
The very top of the spire features a larger crystal embedded in the ceiling, directly above the last staircase. By the time you reach the penultimate mirror, you will see that the beam is already pointing roughly toward the ceiling zone. Slightly adjust the last mirror so that the beam passes through its center and then lands squarely on the crystal’s glowing face.
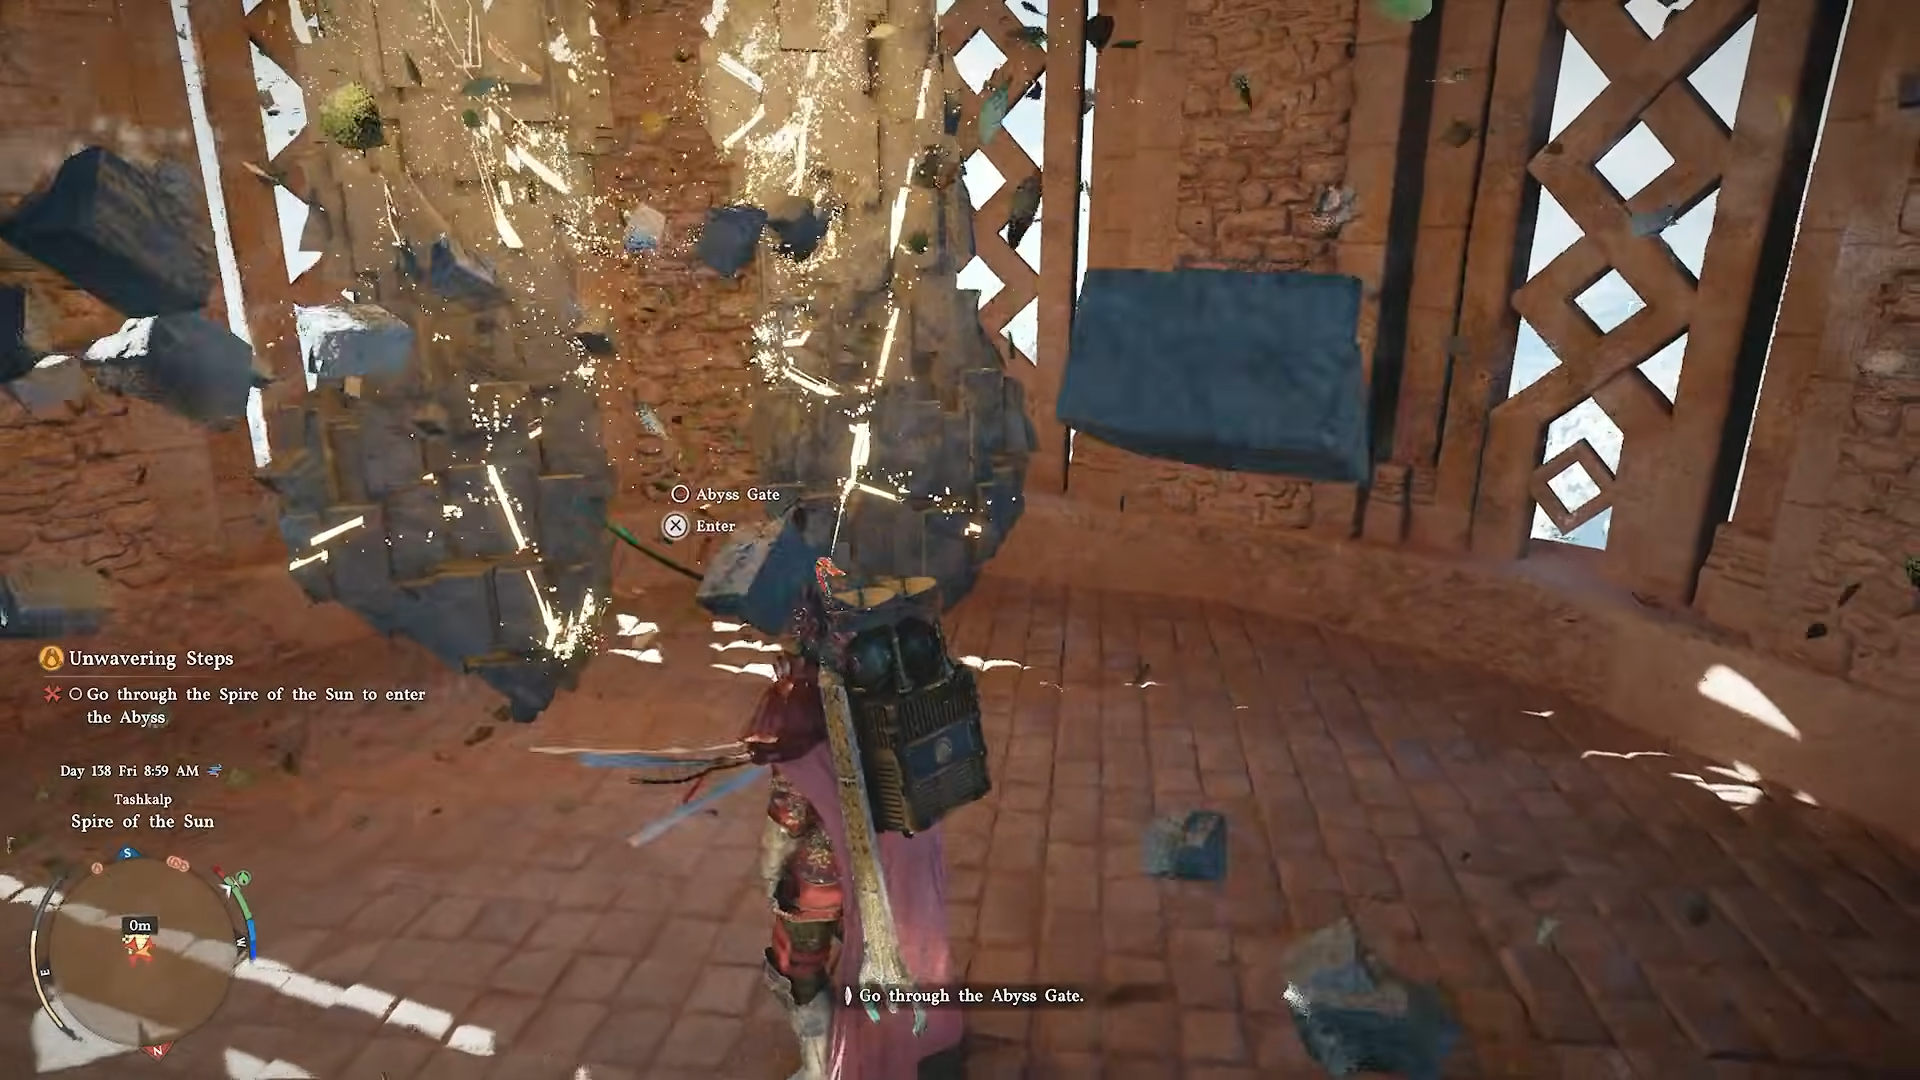
When the beam hits, the final staircase will extend fully, opening a clear path to the small platform directly beneath the abyss gate.
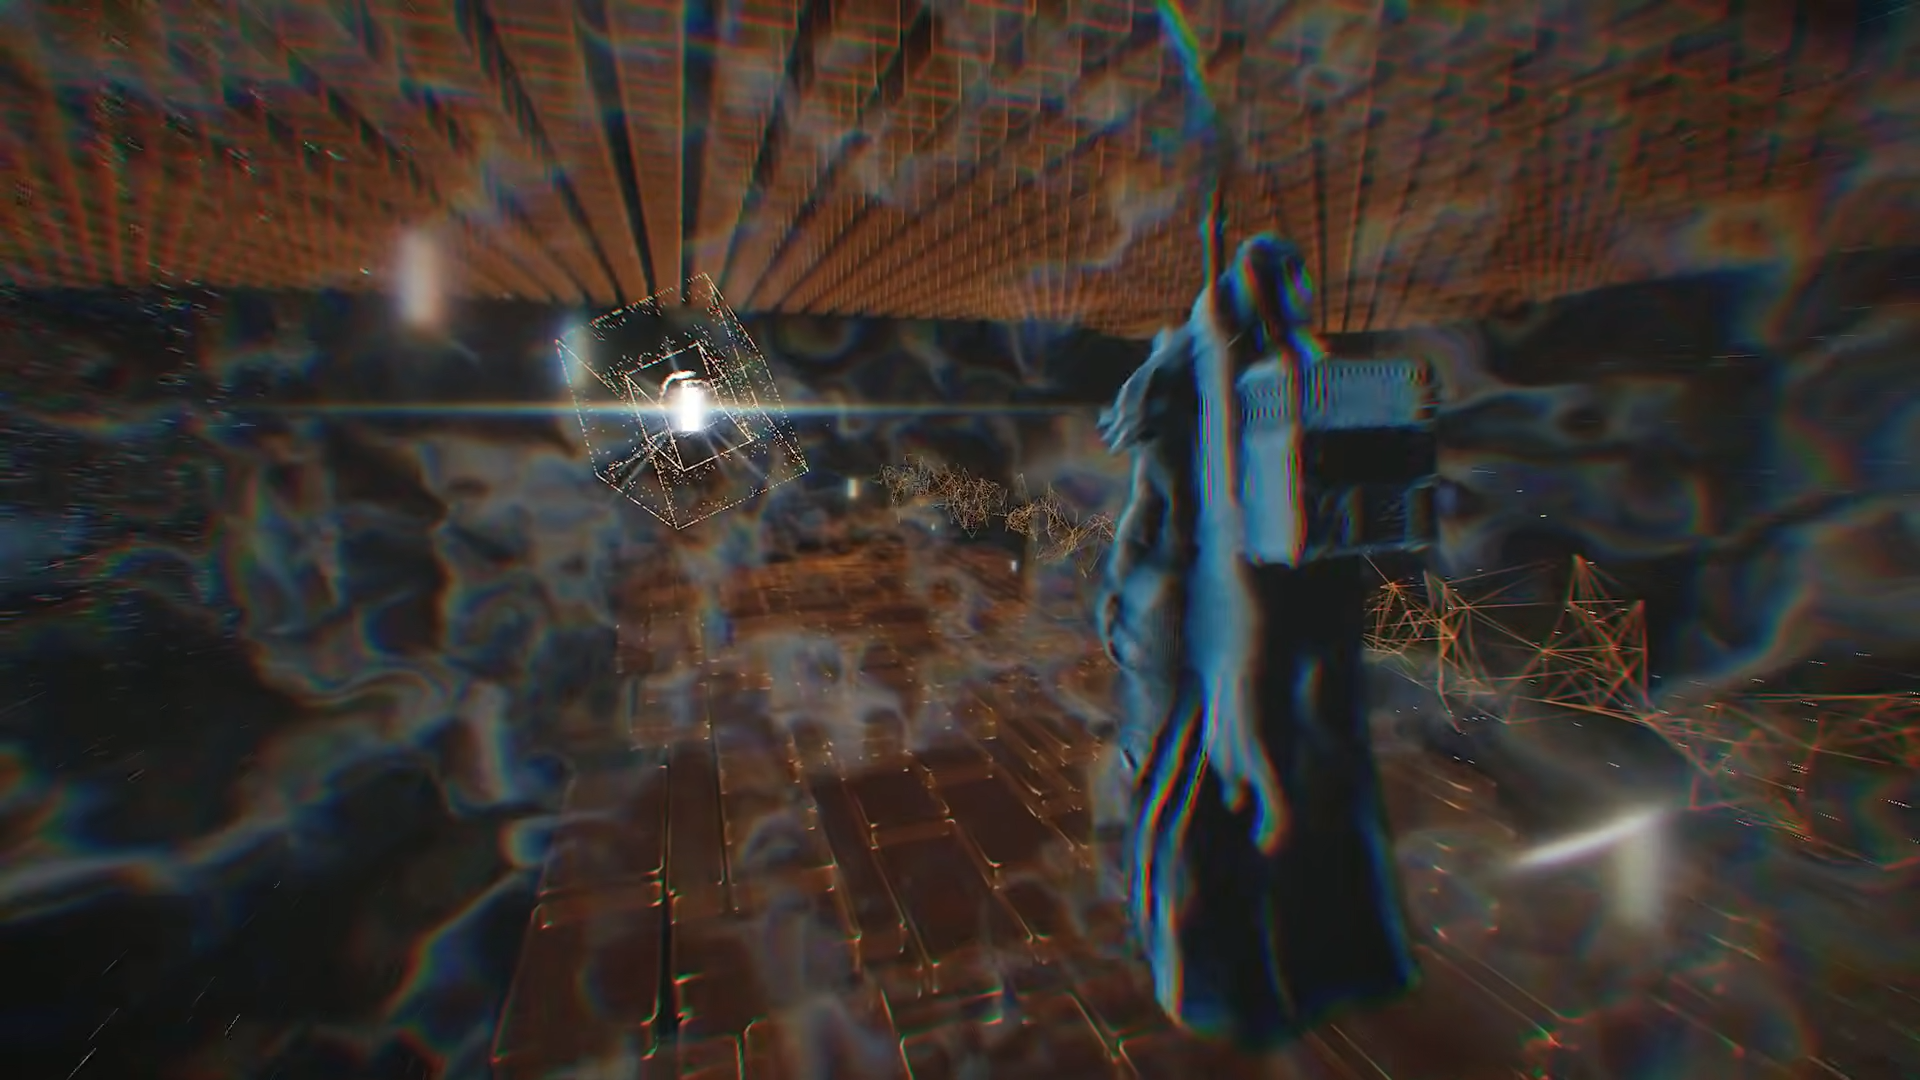
Walk up the last steps onto that top‑level ring, interact with the gate crystal, and trigger the cutscene that leads into the abyss encounter. The area just before the abyss gate also contains a small chest that can be looted while the door is still open, but it is not required for the puzzle itself.
Rewards and outcomes from completing the Spire of the Sun
The Spire of the Sun is primarily a story‑gate, so its rewards are tied more to progression than to a loot pile. Nonetheless, the sequence yields several tangible benefits once you solve the mirror puzzles and enter the abyss gate.
If you ever find the beam misaligned or the stairs refusing to rotate, the safest approach is to retrace only the last two or three mirrors instead of resetting the entire left‑side platform. This keeps the exterior puzzle intact while letting you quickly fix the interior‑stairchain and move on toward the abyss gate and the encounter that follows.


Leave a Reply