
- What to know
- Locations in Kharonso for barrier stones
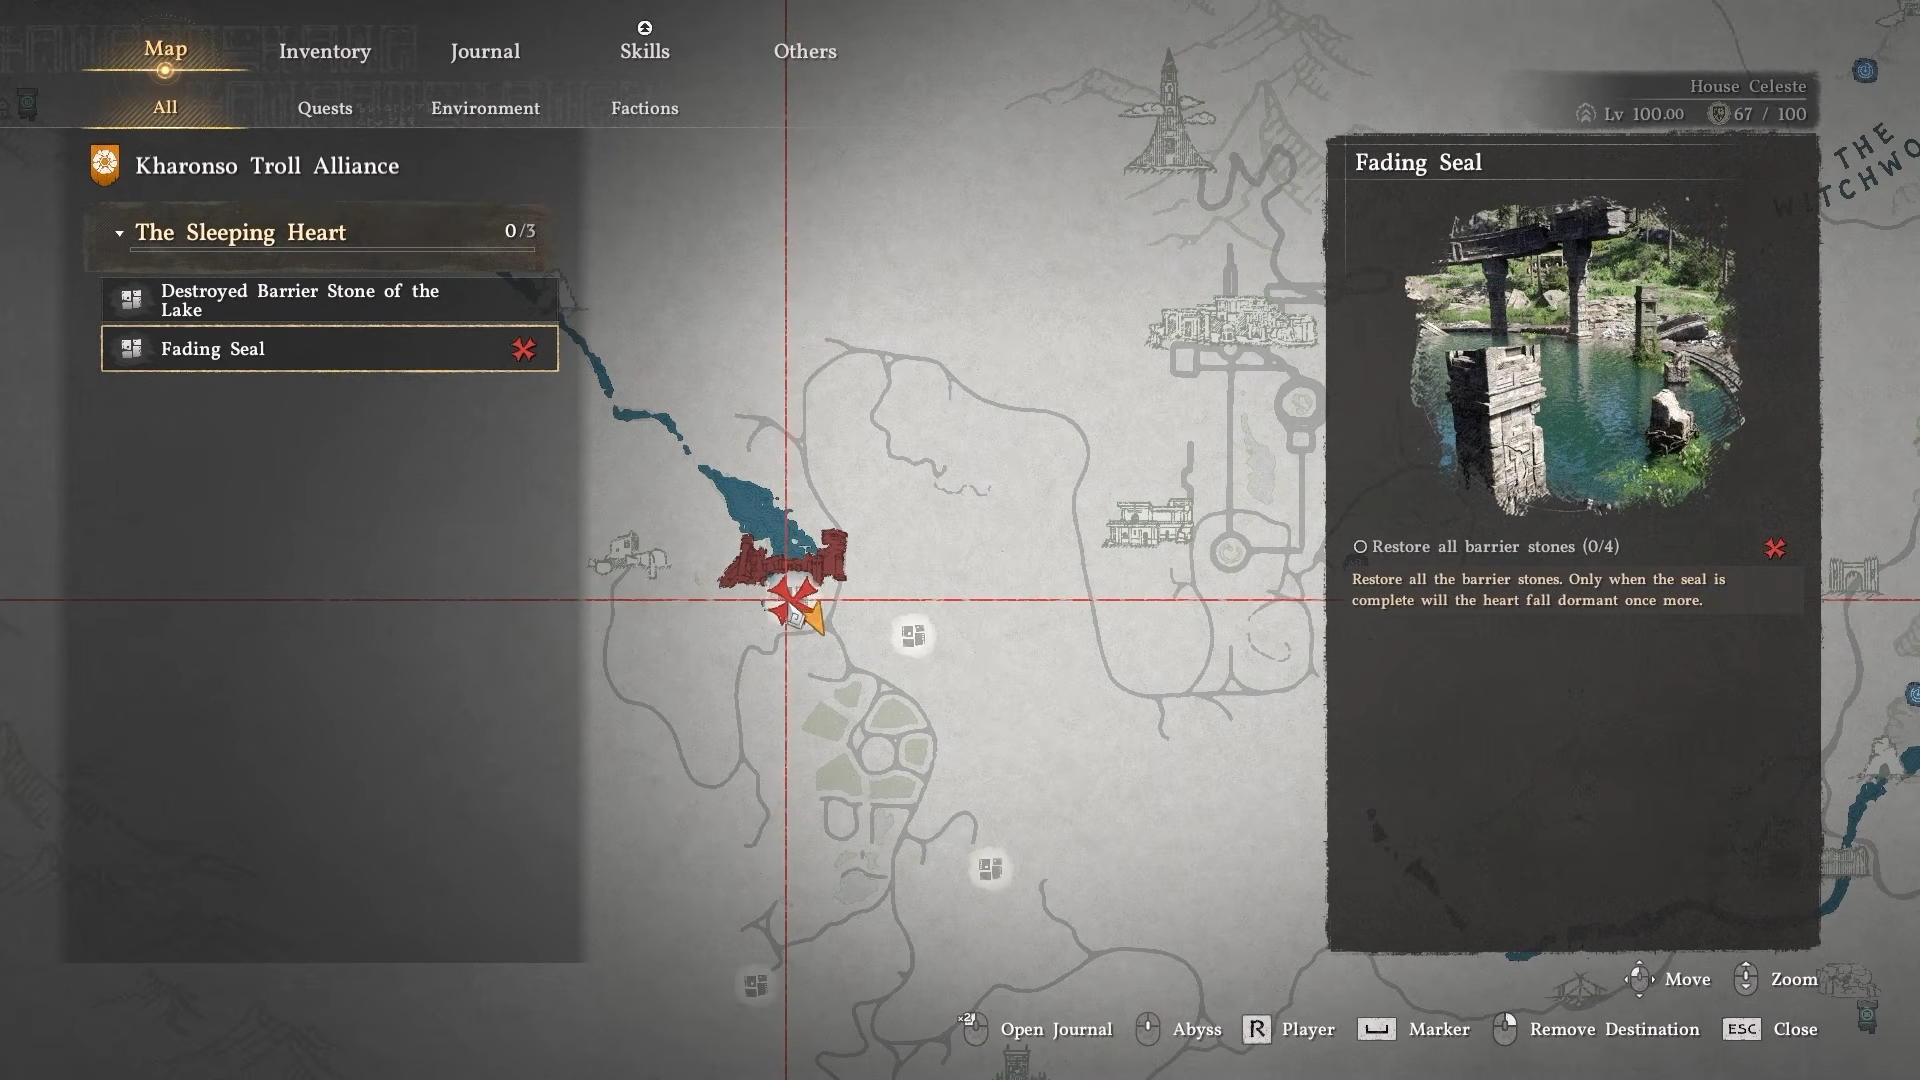
- How to start the Fading Seal quest
- How to collect the first barrier stone pillar
- How to collect the second barrier stone pillar
- How to collect the third barrier stone pillar
- How to collect the fourth barrier stone pillar
- How to restore the barrier stones
- How to defeat the Runewalker boss
- Claiming the Runewalker Shield reward
- Runewalker Shield details
What to know
- Start the quest at Hernand near Scholastone Institute to collect four barrier stone pillars.
- Restore them at the main structure to trigger the Runewalker boss in Lake Kharonso.
- Defeat the boss, then check the equipment shop north of Kharonso for the free shield reward.
- The shield builds charges from enemy hits to fire laser attacks.
Nestled in the southwestern corner of the map near Lake Kharonso, this sequence blends exploration, puzzle-solving, and combat in Crimson Desert‘s Kharonso region. Players often miss the shield because it doesn’t drop directly from the boss but appears as a marked item in town. Following the full chain ensures you claim this unique gear with its damage-charging mechanic.
| Aspect | Details |
|---|---|
| Region | Lake Coronzo, bottom-left map near Scholastone Institute |
| Quest Starter | NPC at Hernand village, next to the institute |
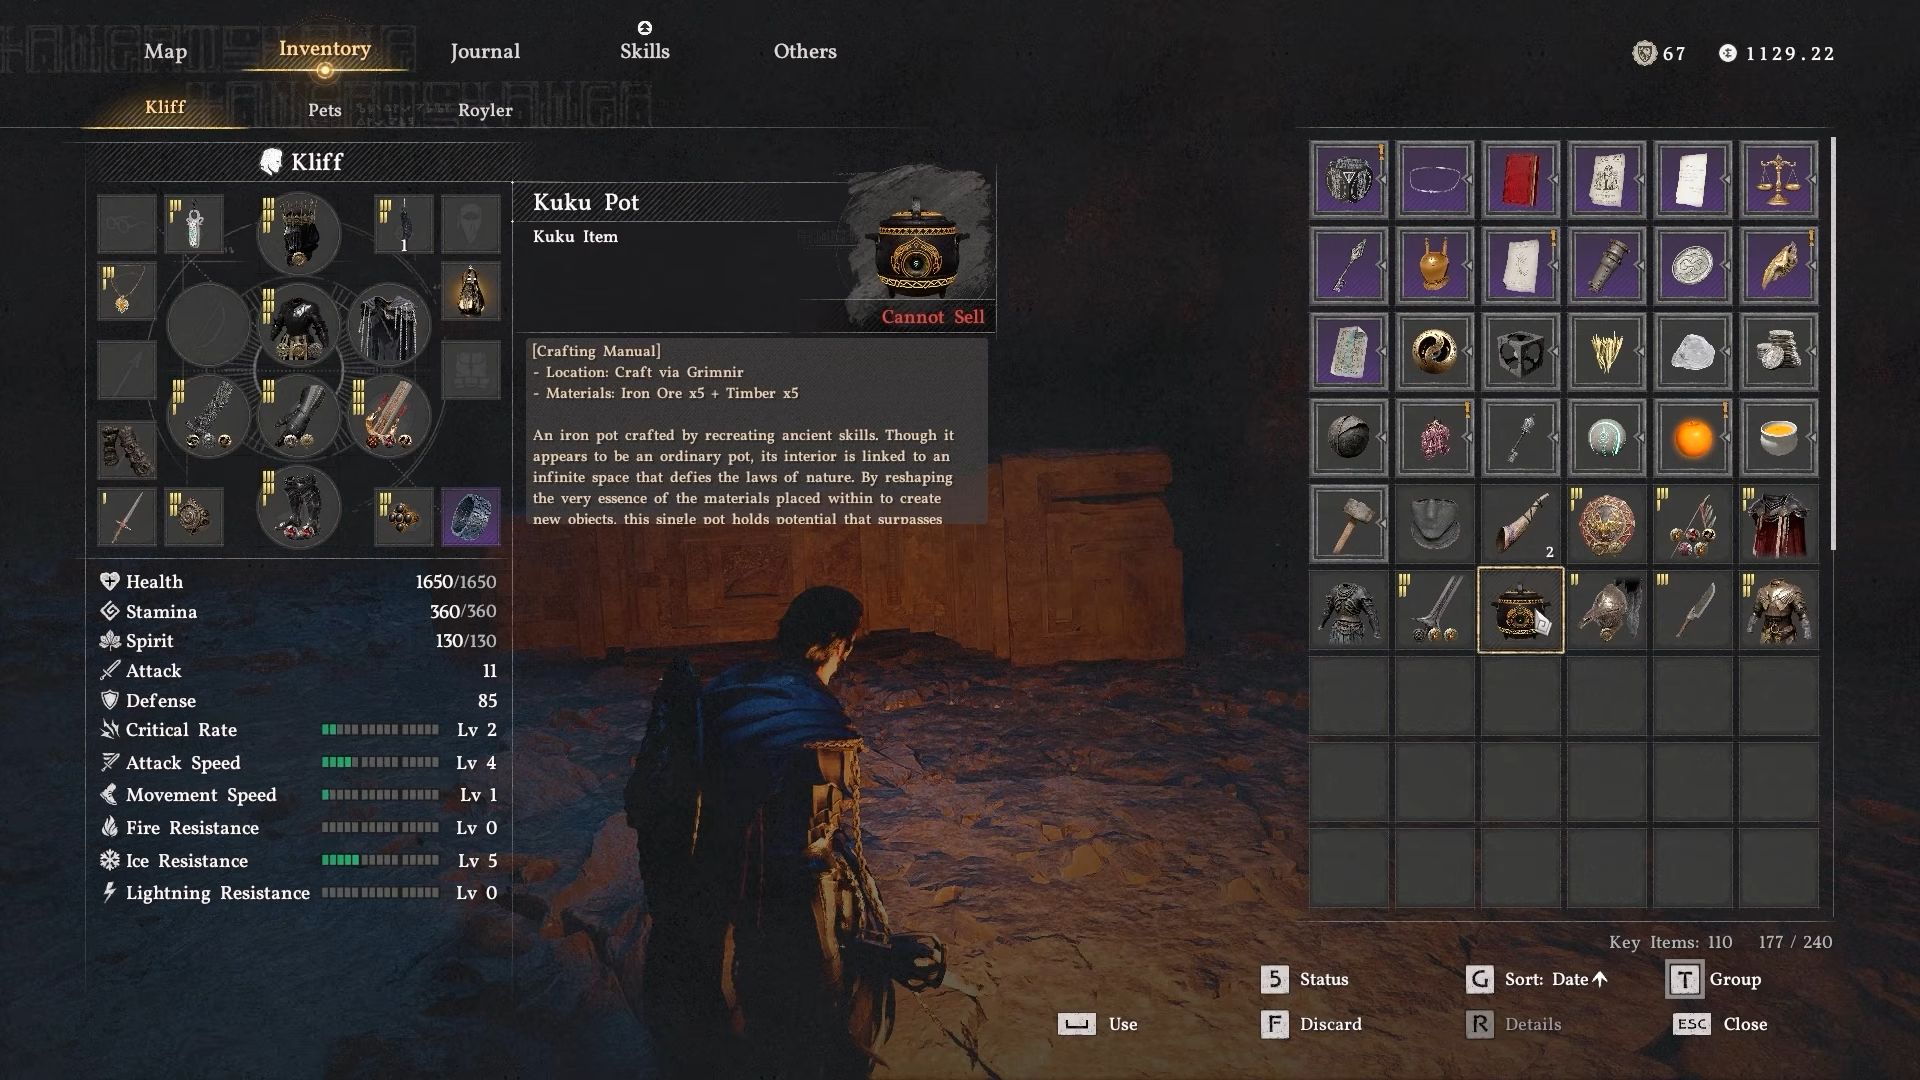
| Key Items Needed | Kuku pot for storing pillars |
| Boss Trigger | Restore all four barrier stones at central structure |
| Reward Location | Equipment shop in town north of Kharonso (exclamation mark on minimap) |
| Shield Ability | Runic Retribution—gains charges from blocks (3 hits per charge), fires laser beams |
Locations in Kharonso for barrier stones
The four pillars hide across Lake Kharonso’s rugged terrain, from hidden wells and caves to chained barriers and mountain entrances, all marked on your map after speaking to the NPC.
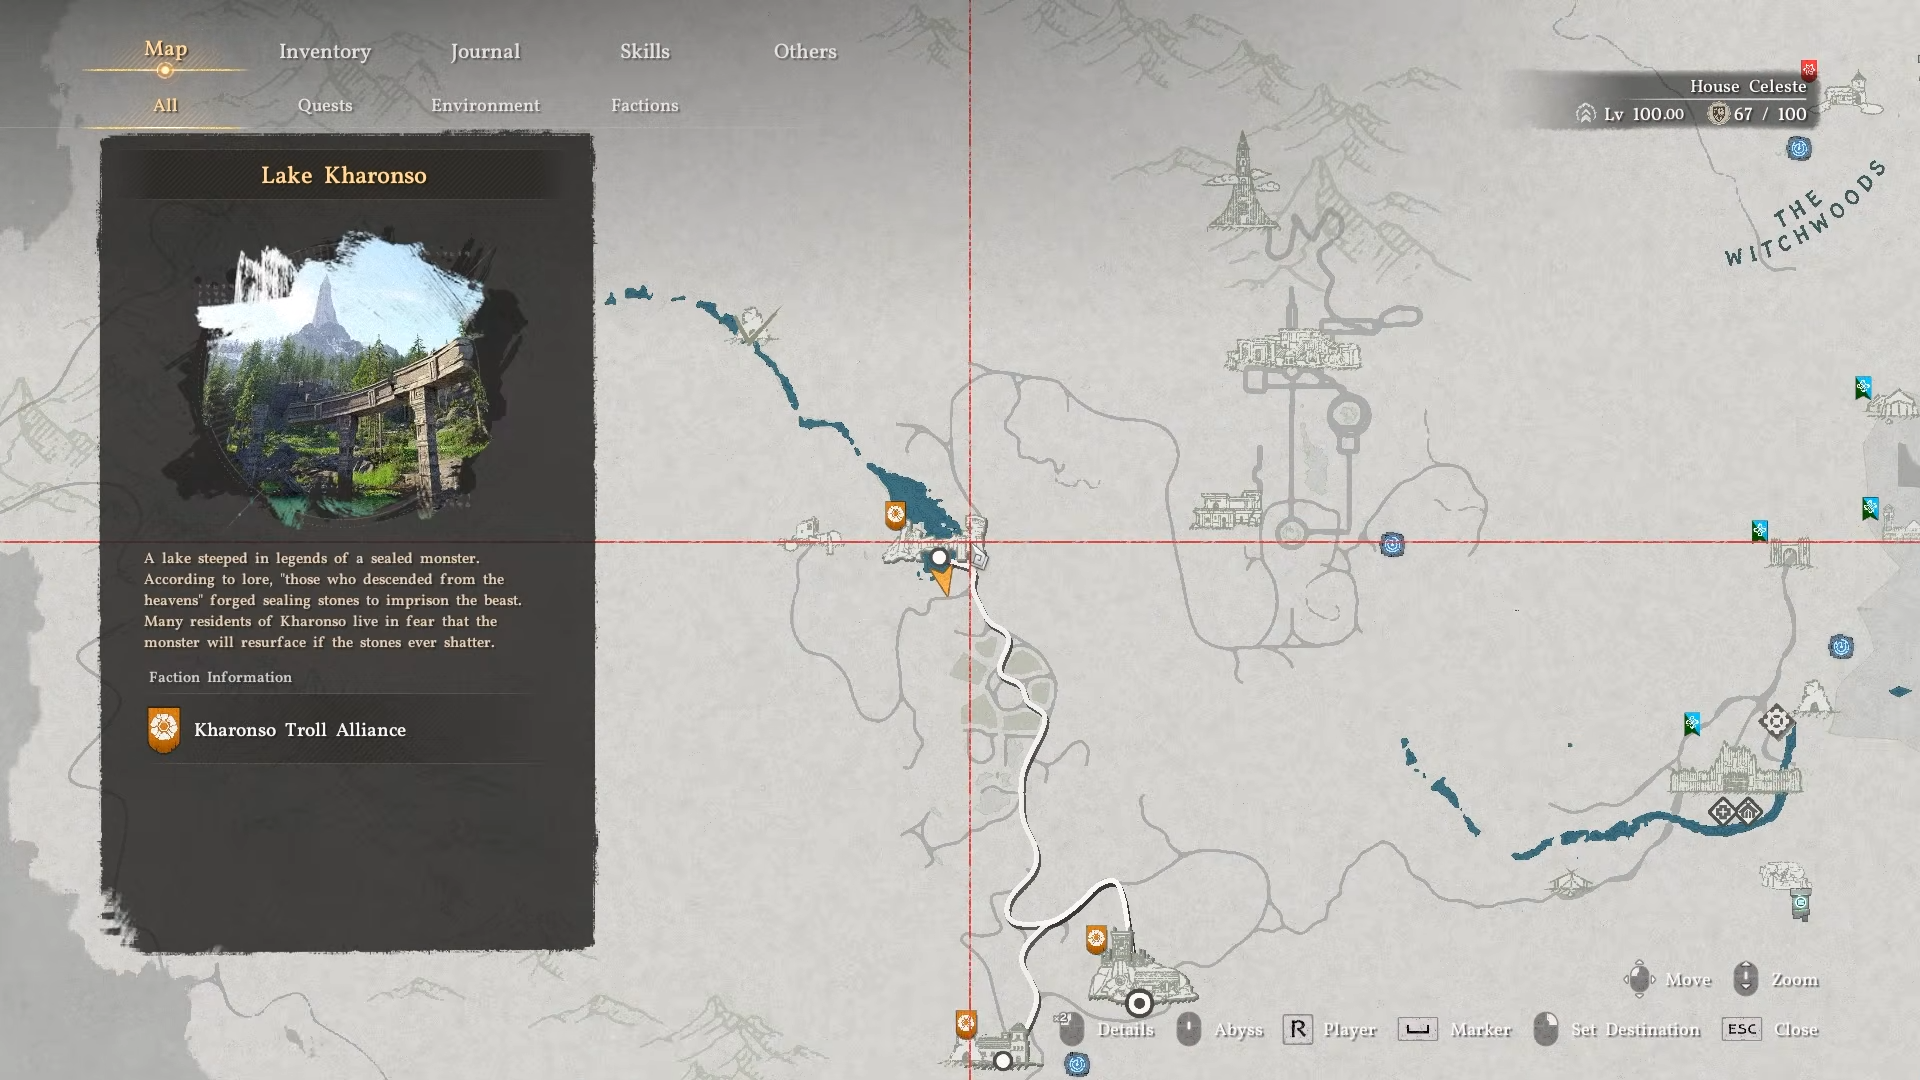
Accessing them demands Axiom Hand for grabbing, sealing into the Kuku pot, and tools like False Palm for barriers—plan a route starting from Hernand to loop efficiently back to the restoration site.

How to start the Fading Seal quest
Head to Hernand at the bottom-left of the map, right beside Scholastone Institute. Speak to the NPC there who briefs you on repairing the structure by finding the four barrier stones. The quest markers appear automatically, guiding you to each pillar location around Lake Kharonso.
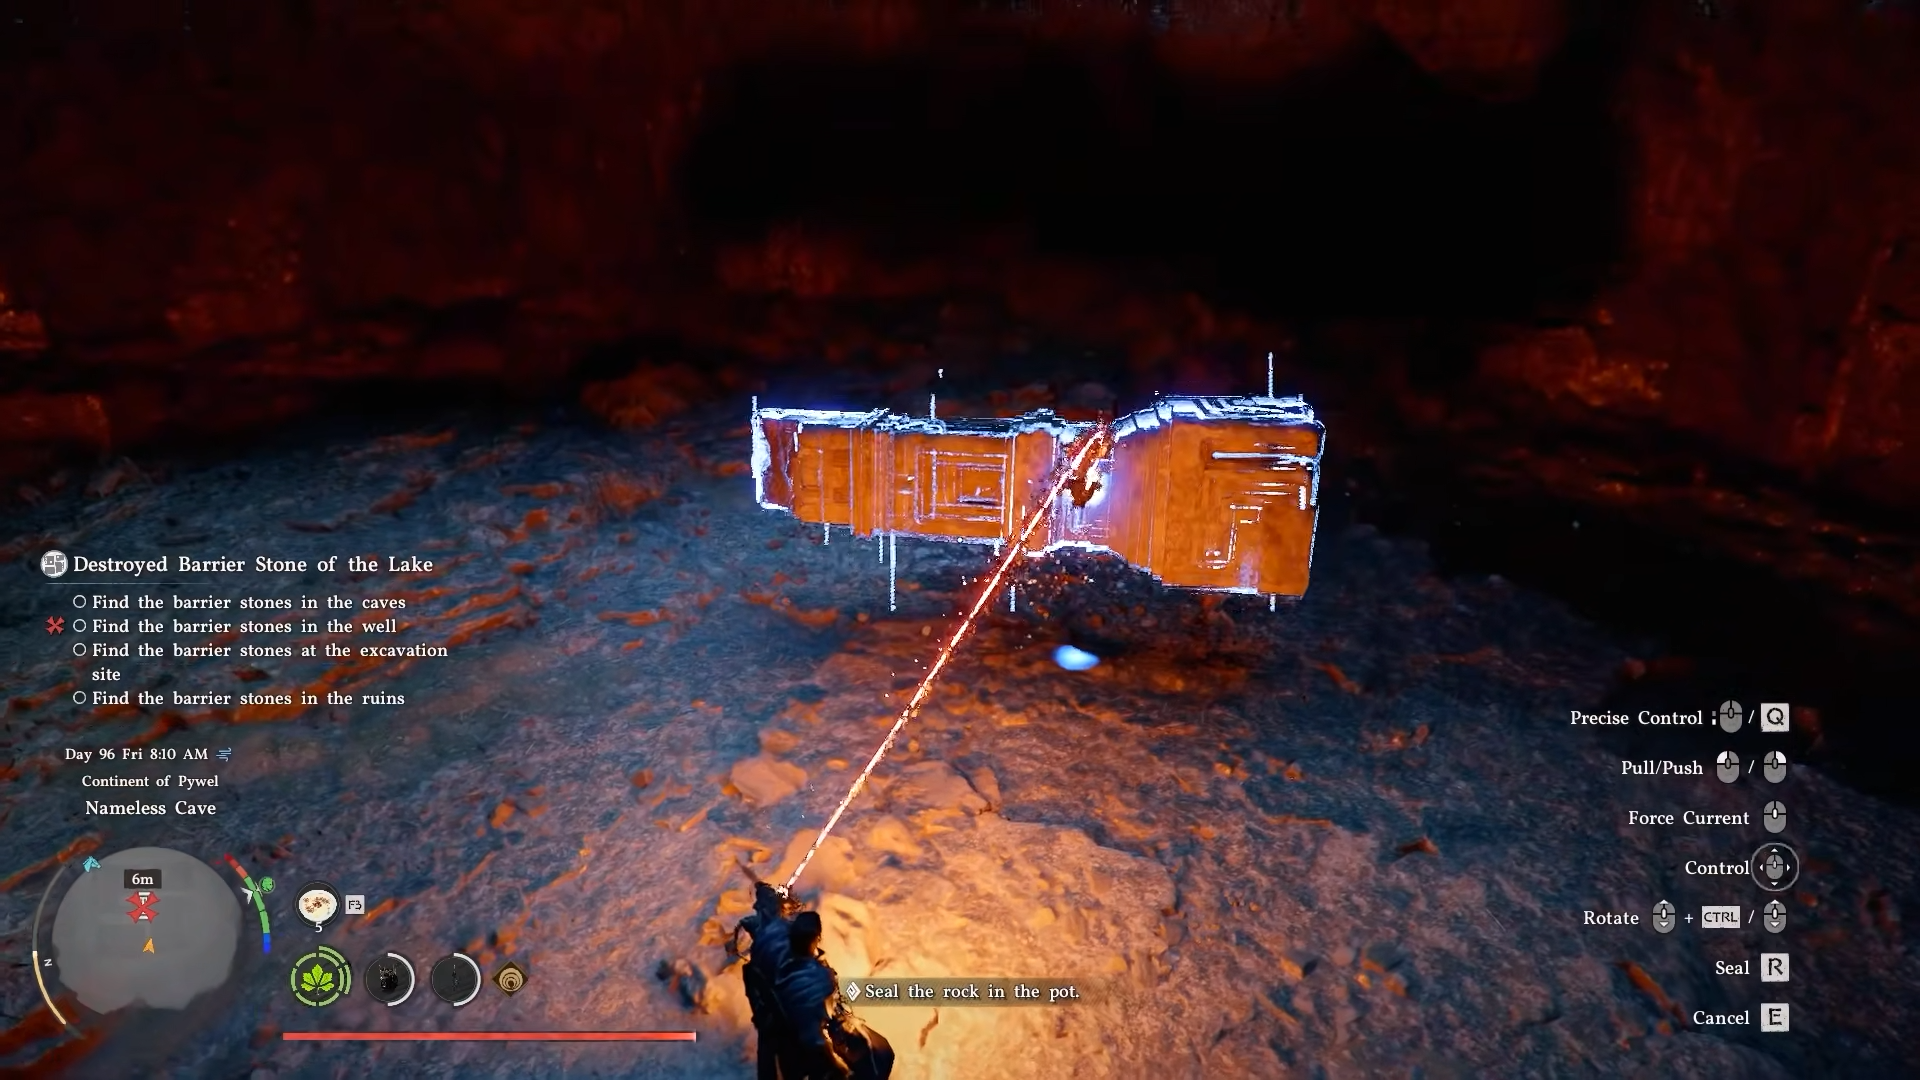
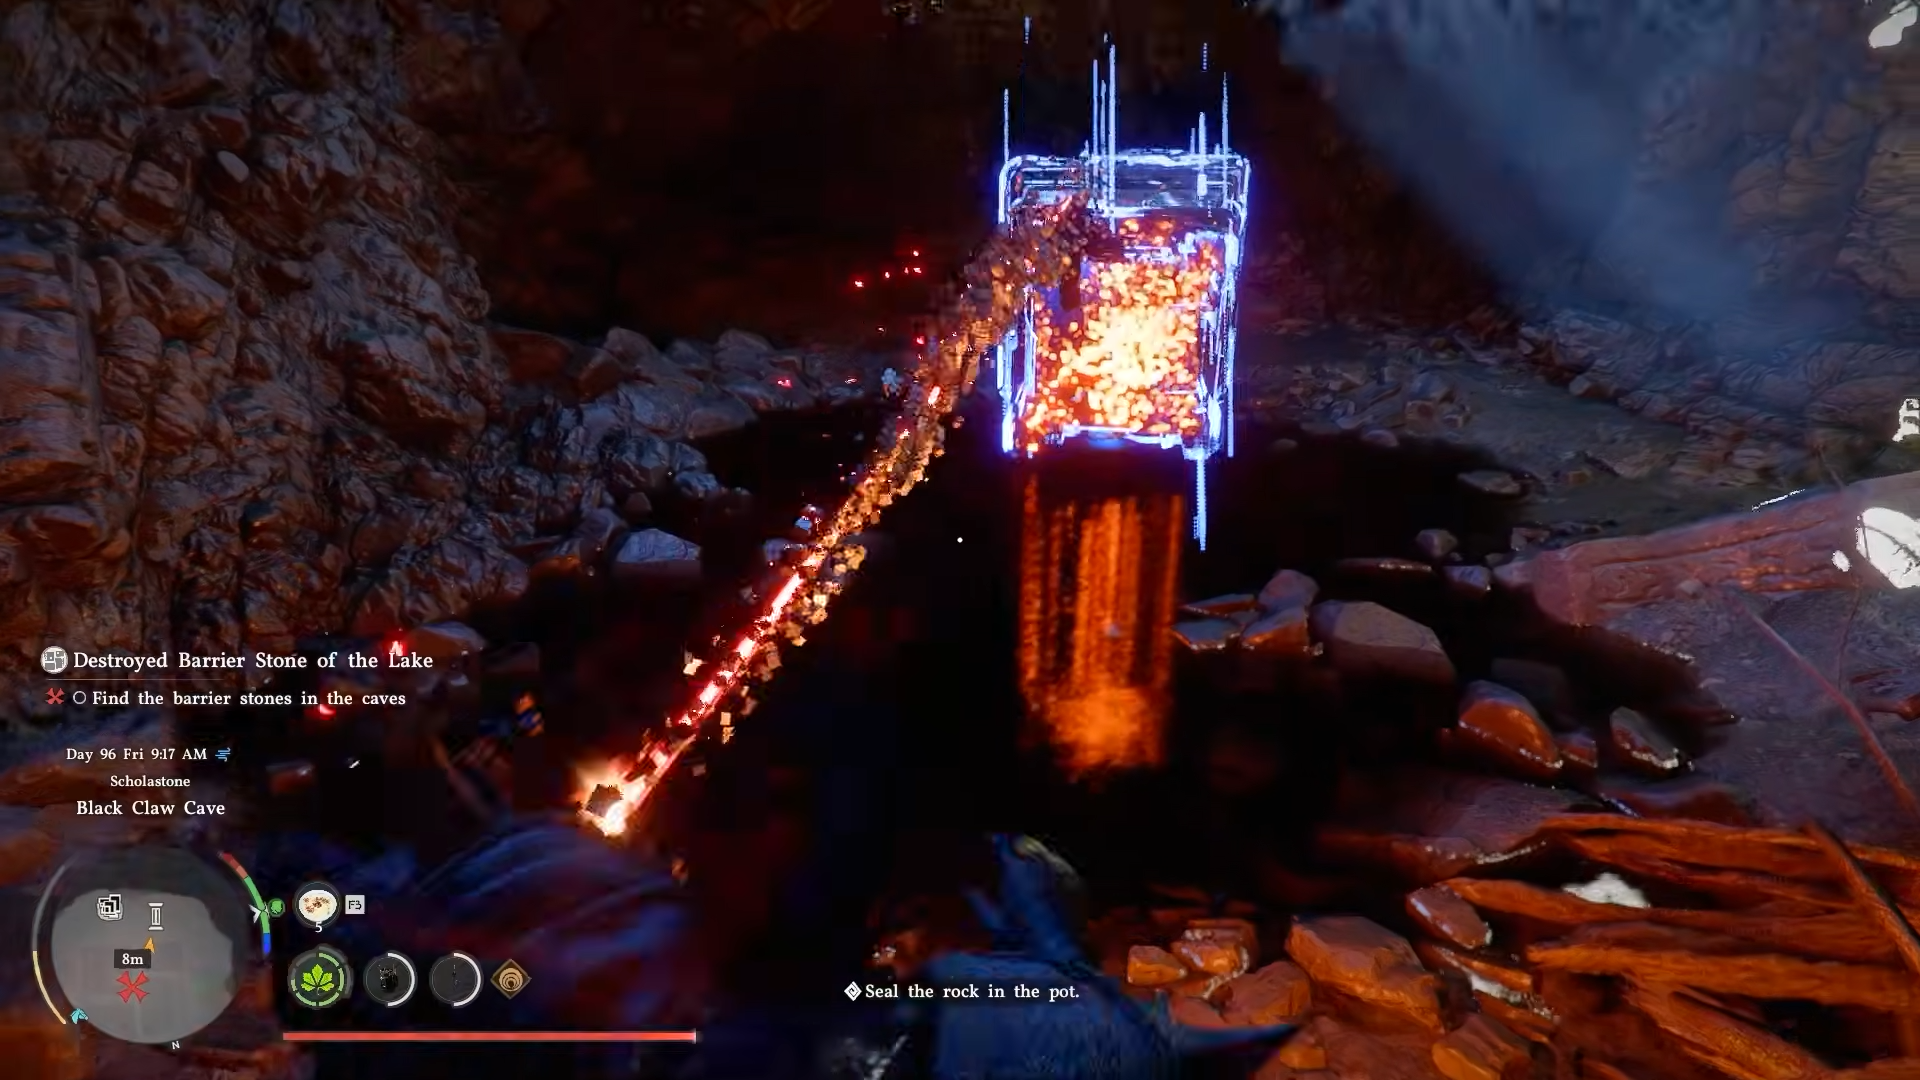
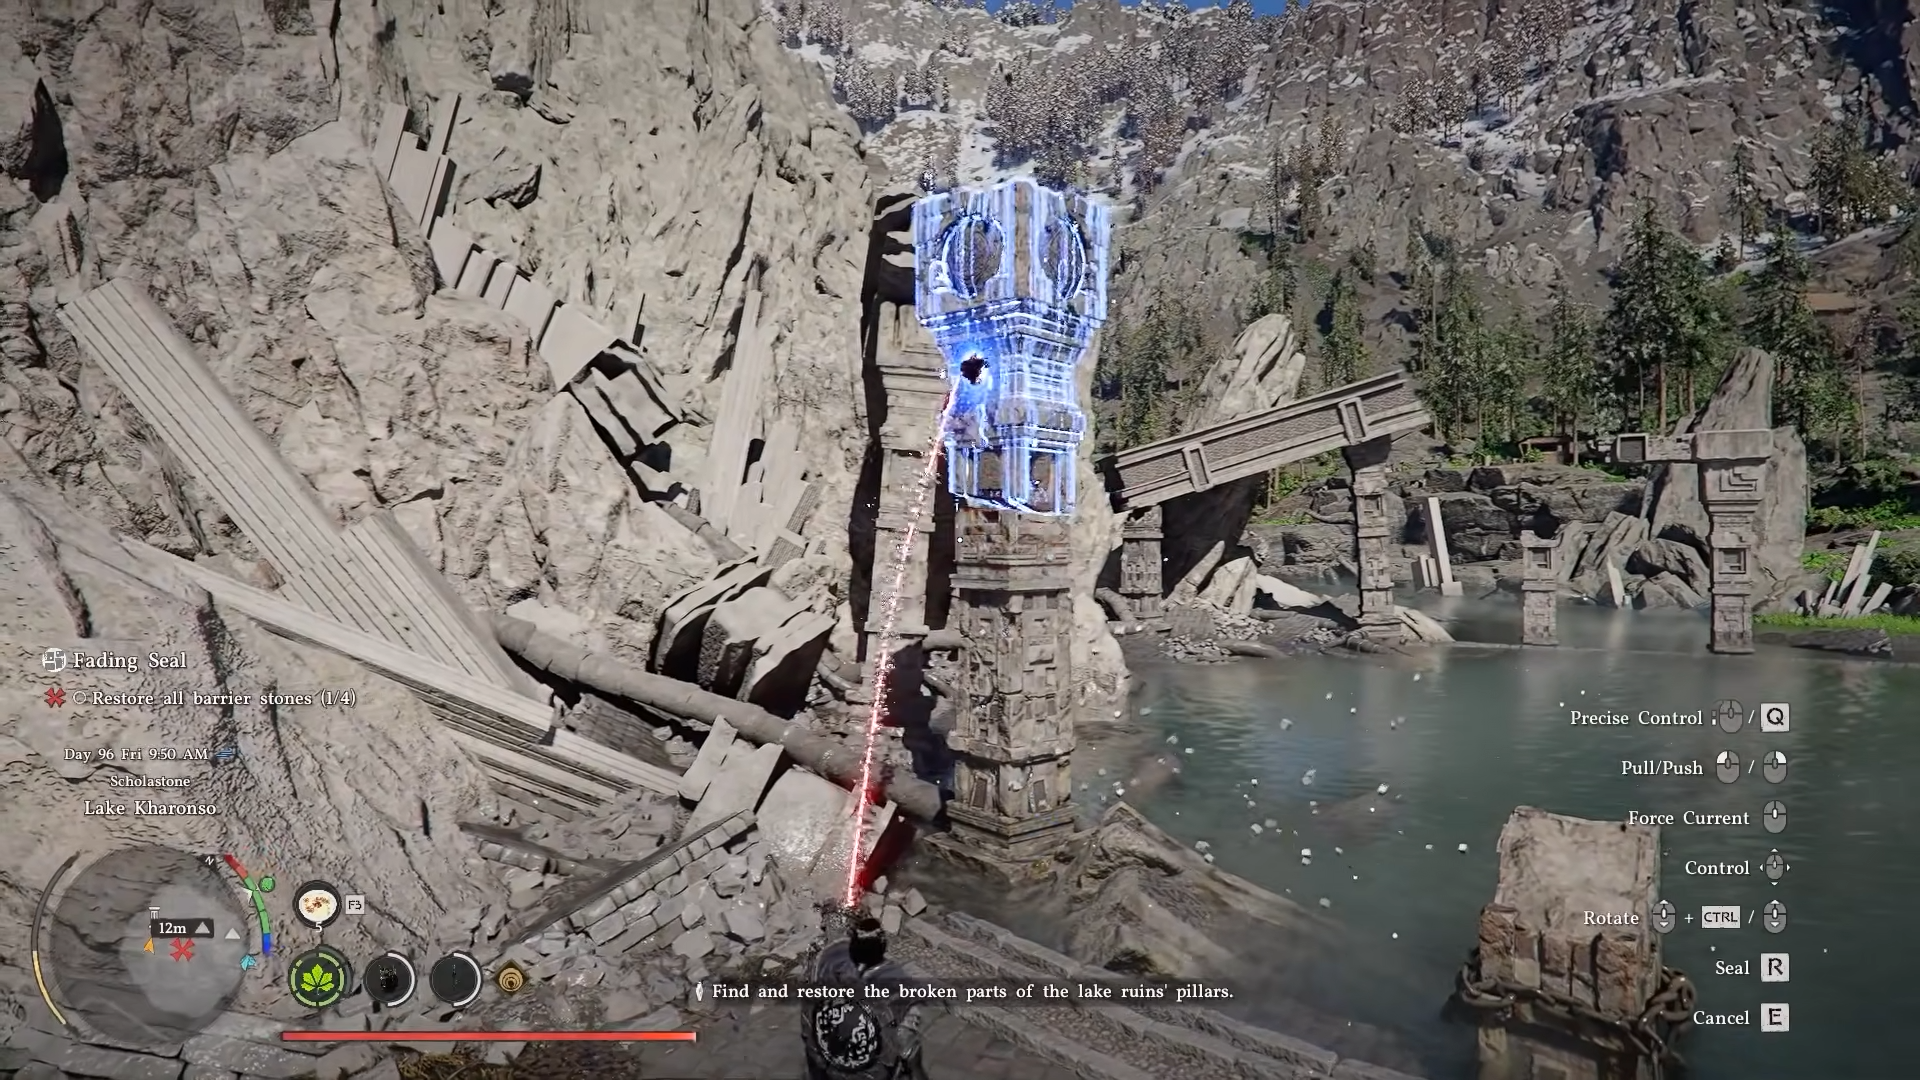
How to collect the first barrier stone pillar
Dive into the well near the first marker to enter a massive underground chamber.
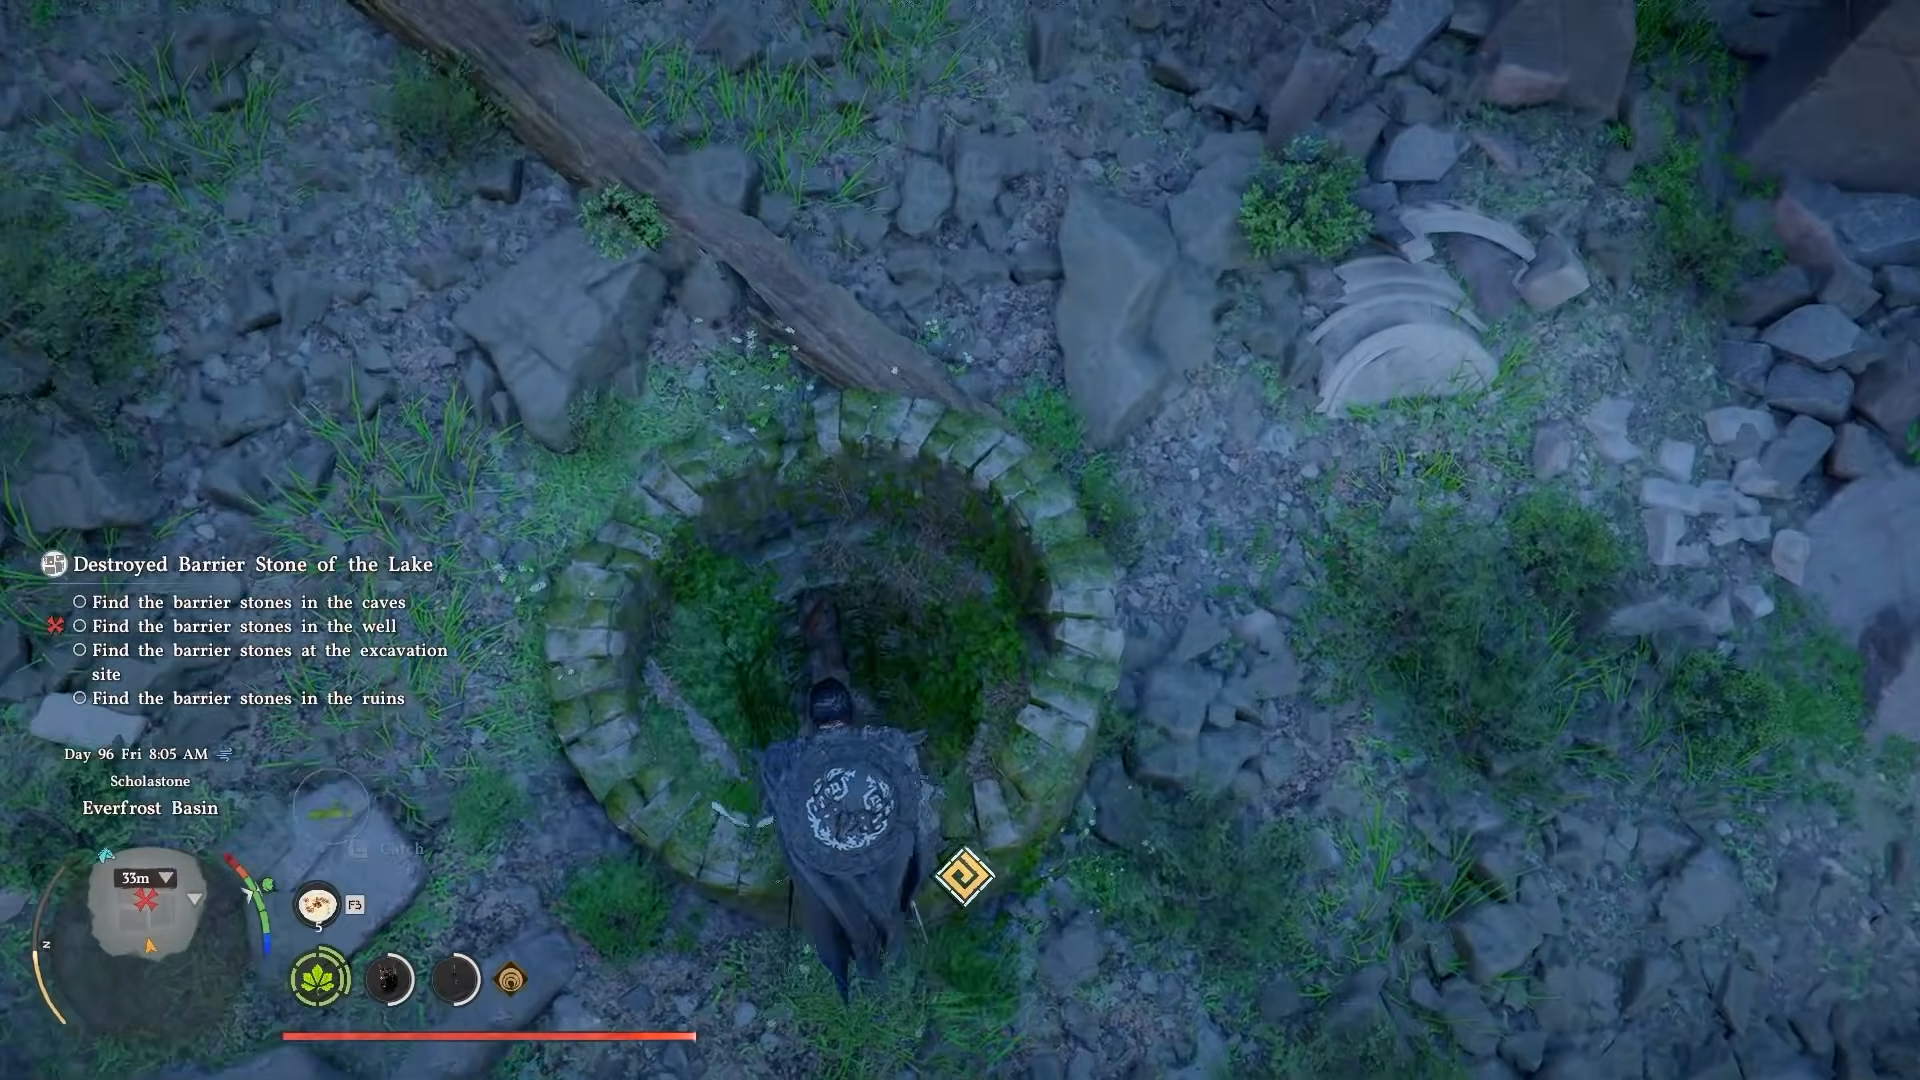
Step 1
Ensure you have a Kuku pot in your inventory before descending.
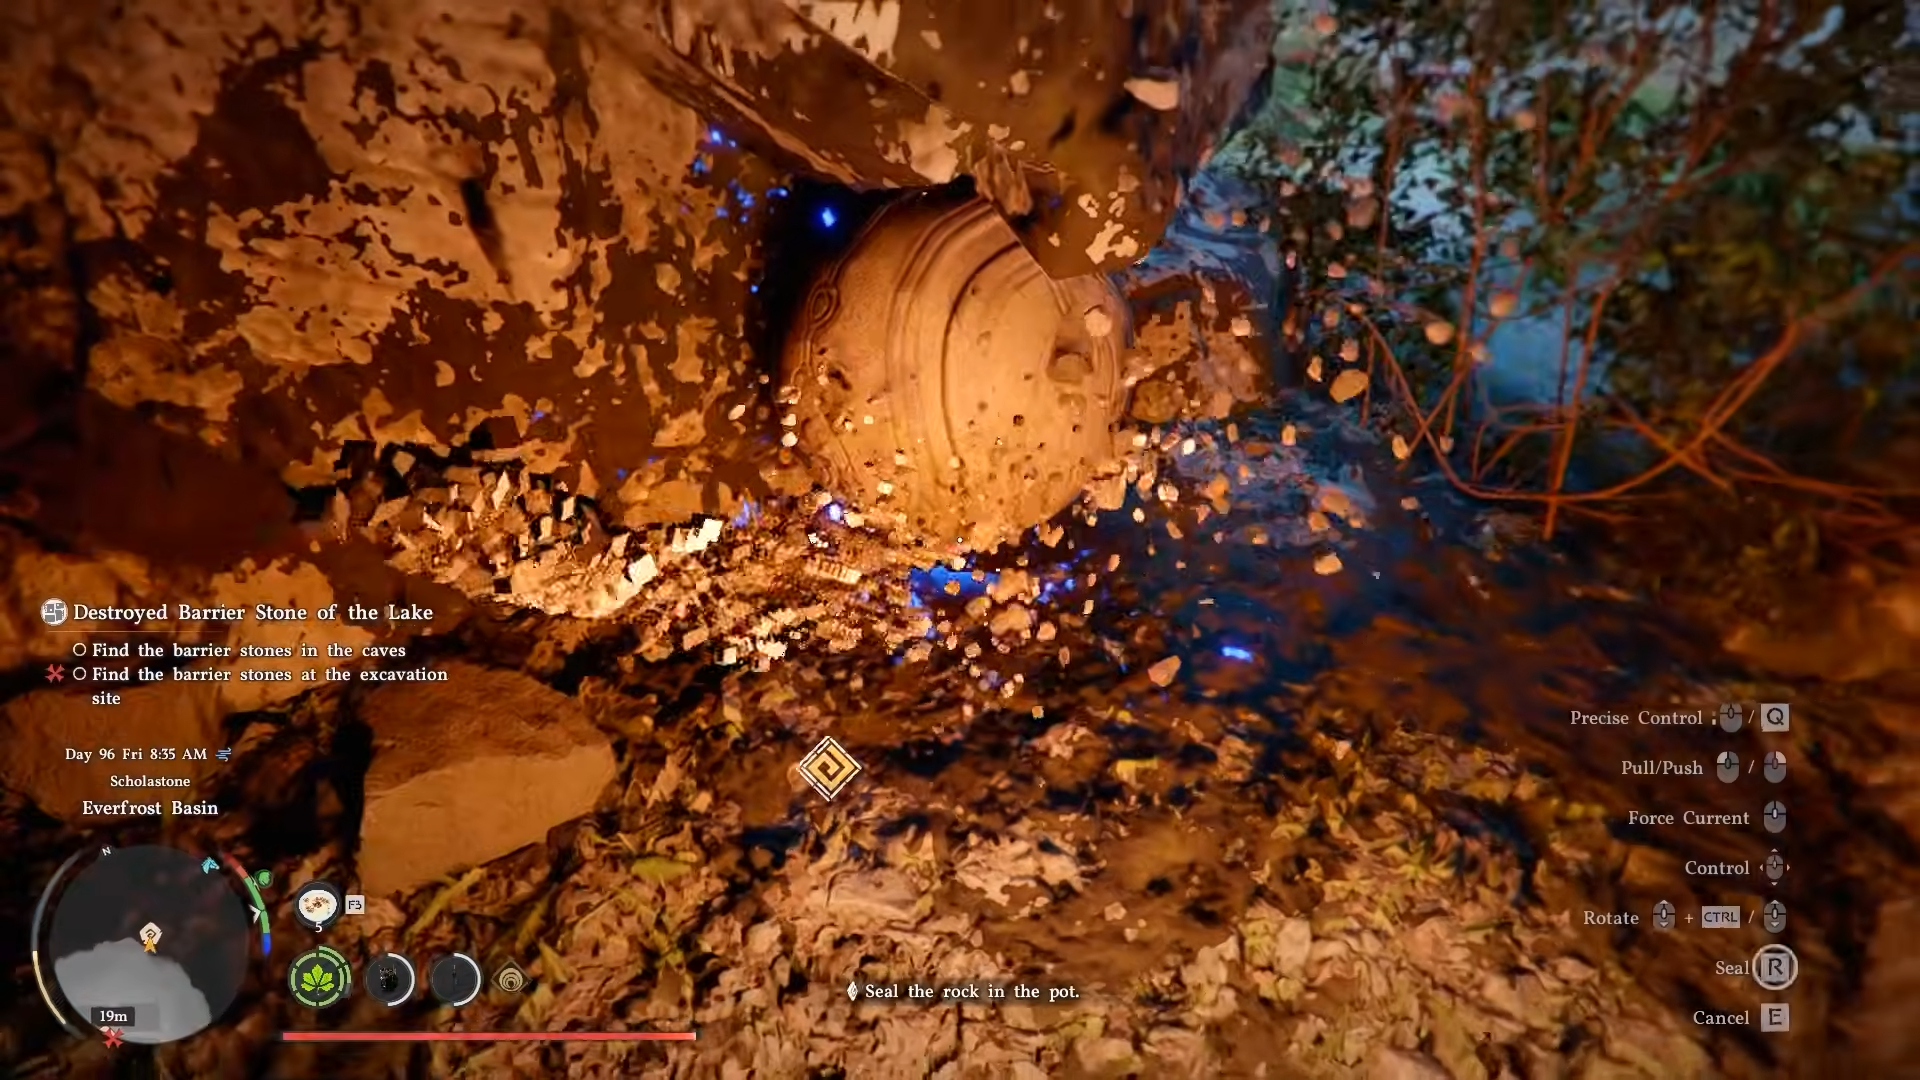
Step 2
Use Axiom Hand to grab the pillar and hit the seal button to store it in the pot.
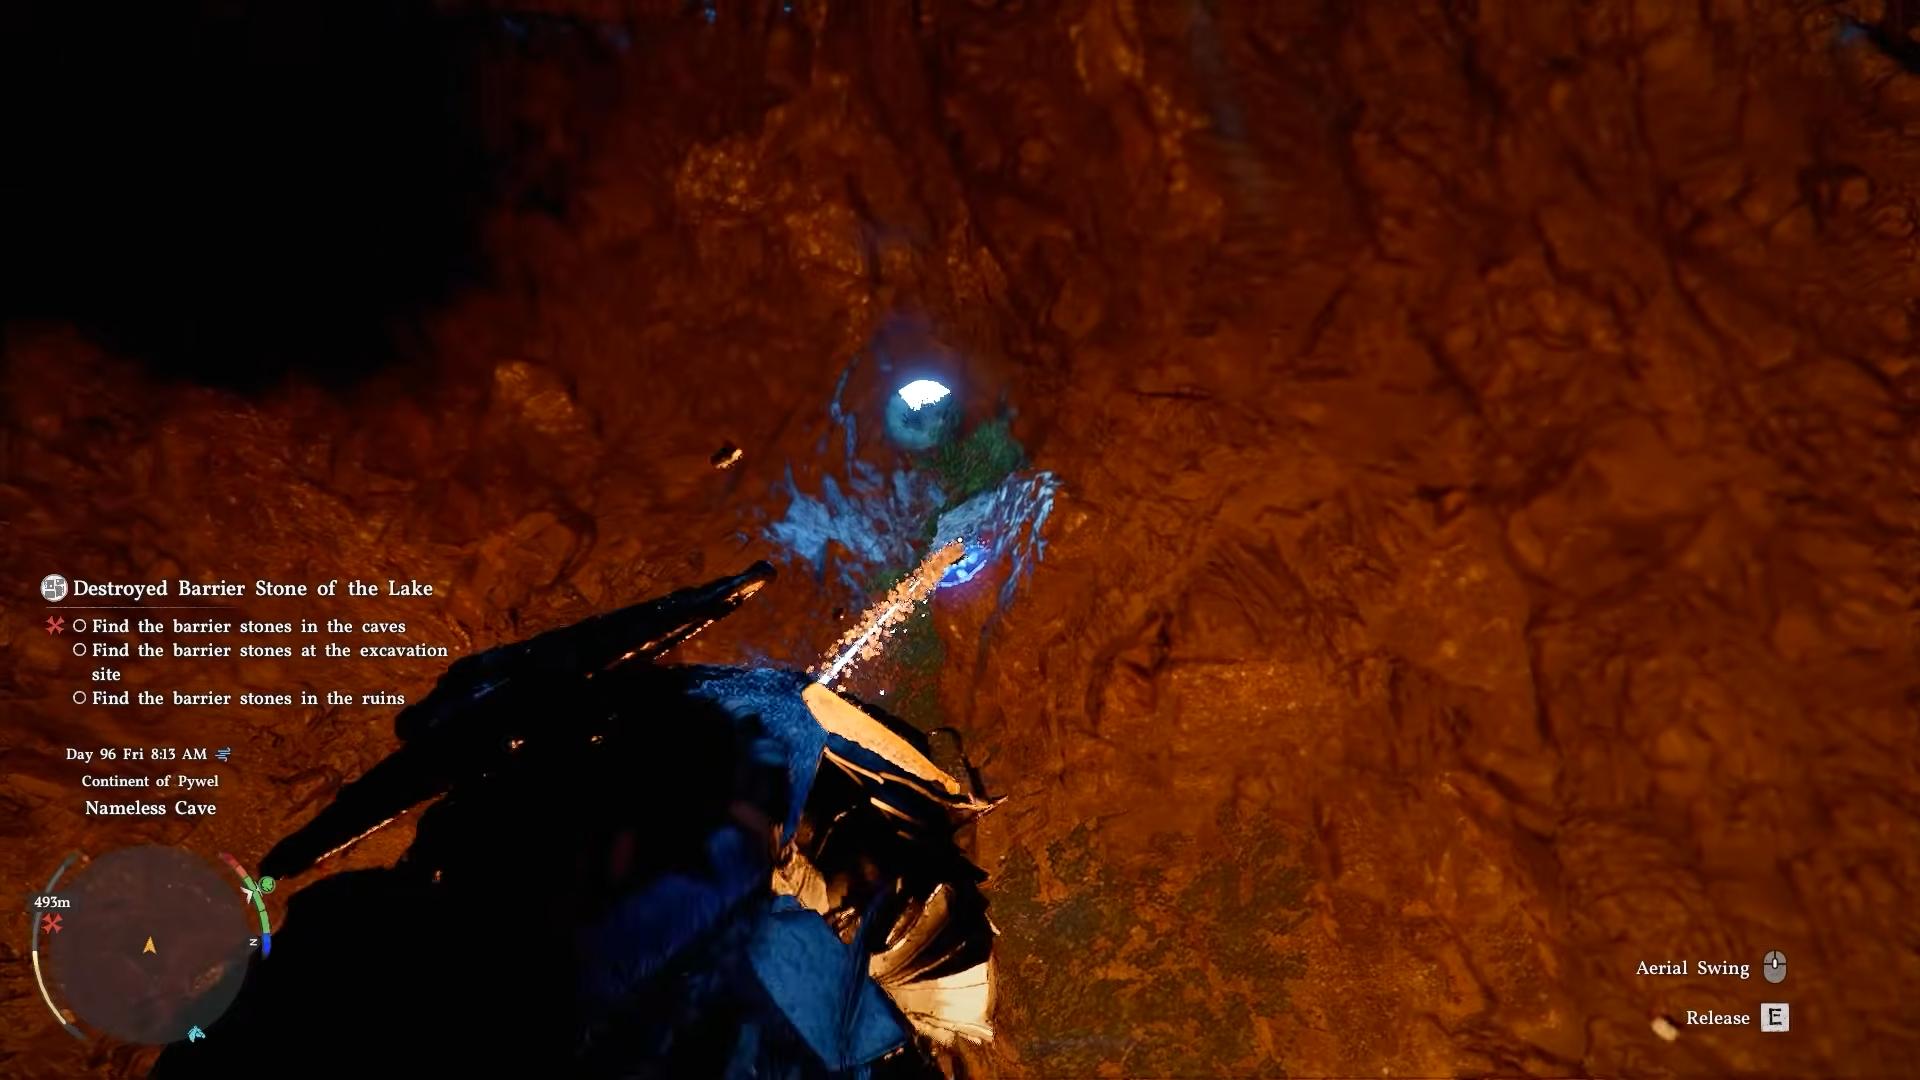
Step 3
Exit by climbing out—watch for tricky jumps.
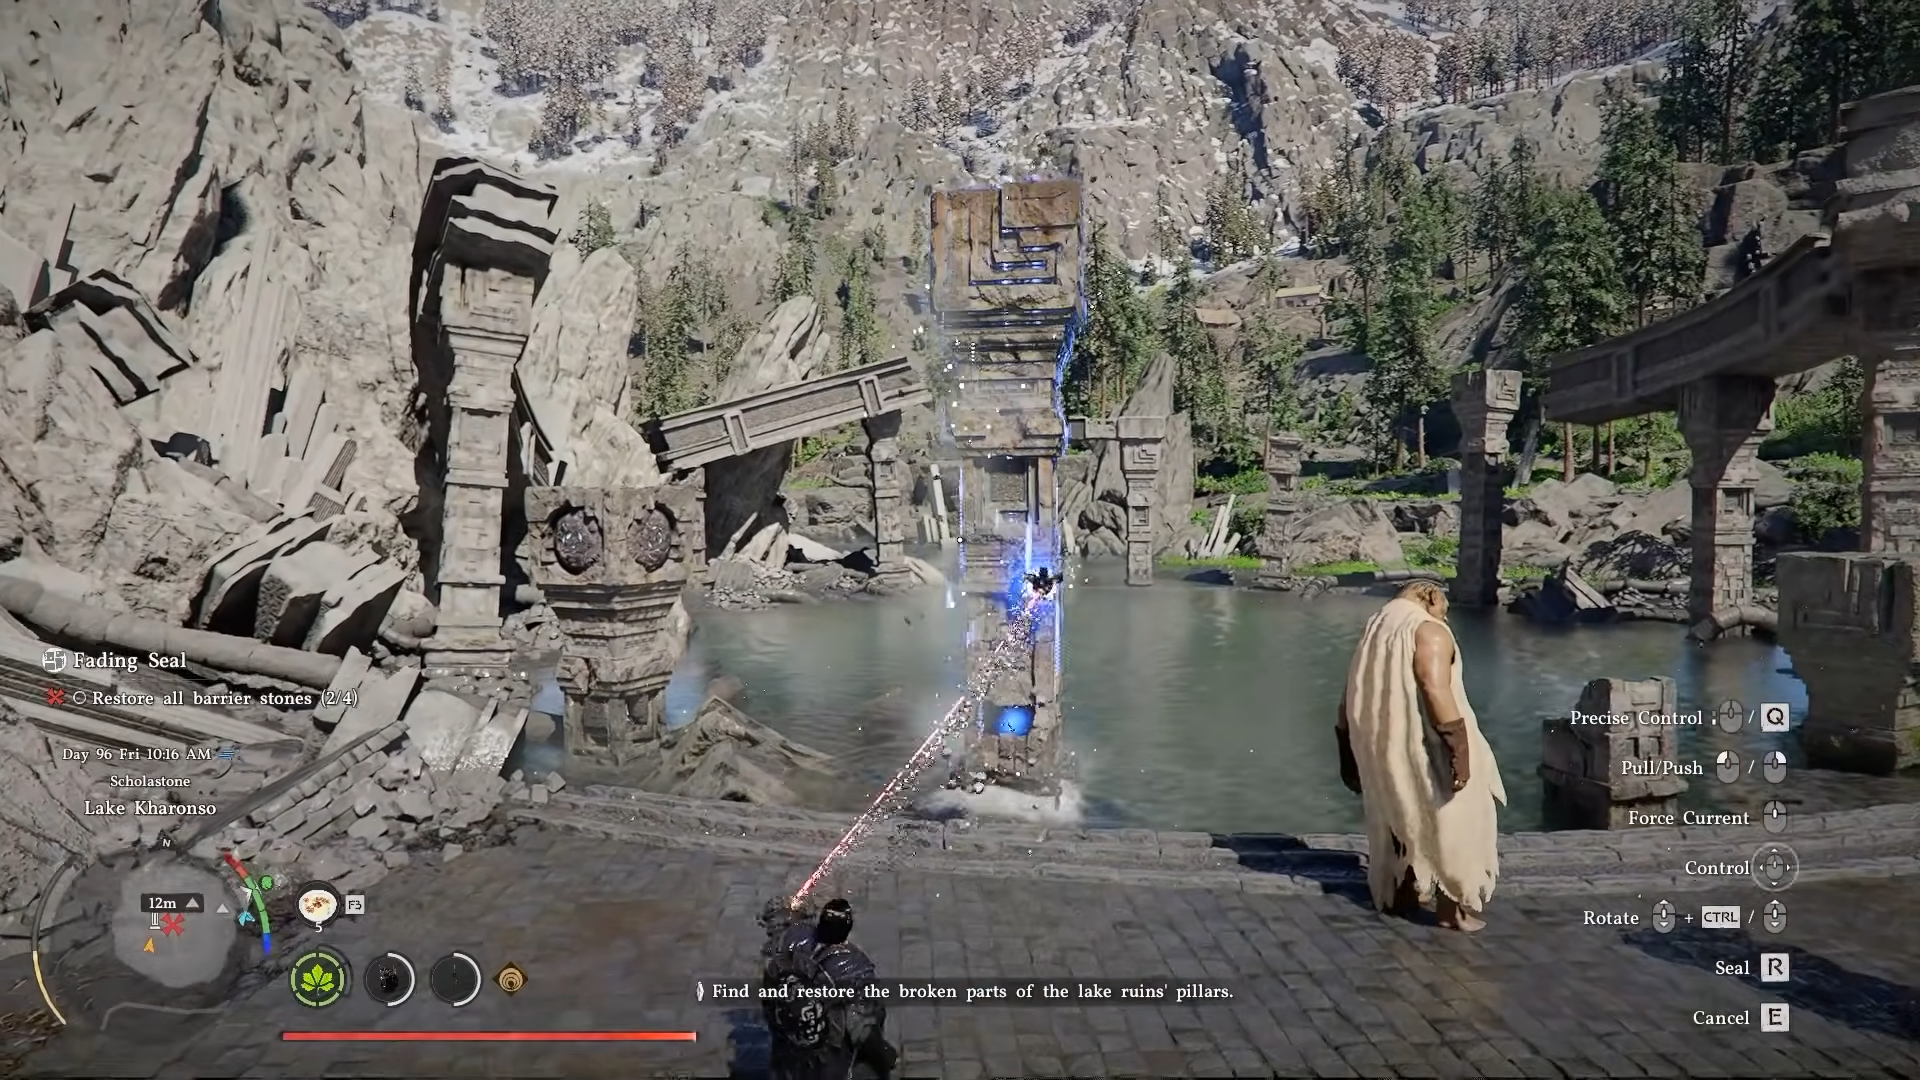
How to collect the second barrier stone pillar
Approach the cave entrance at the second marker.
Step 1
Enter straight through and squeeze through the narrow gap.
Step 2
Grab the cubic top piece of the pillar inside.
Step 3
Seal it into the Kuku pot and exit the way you came.
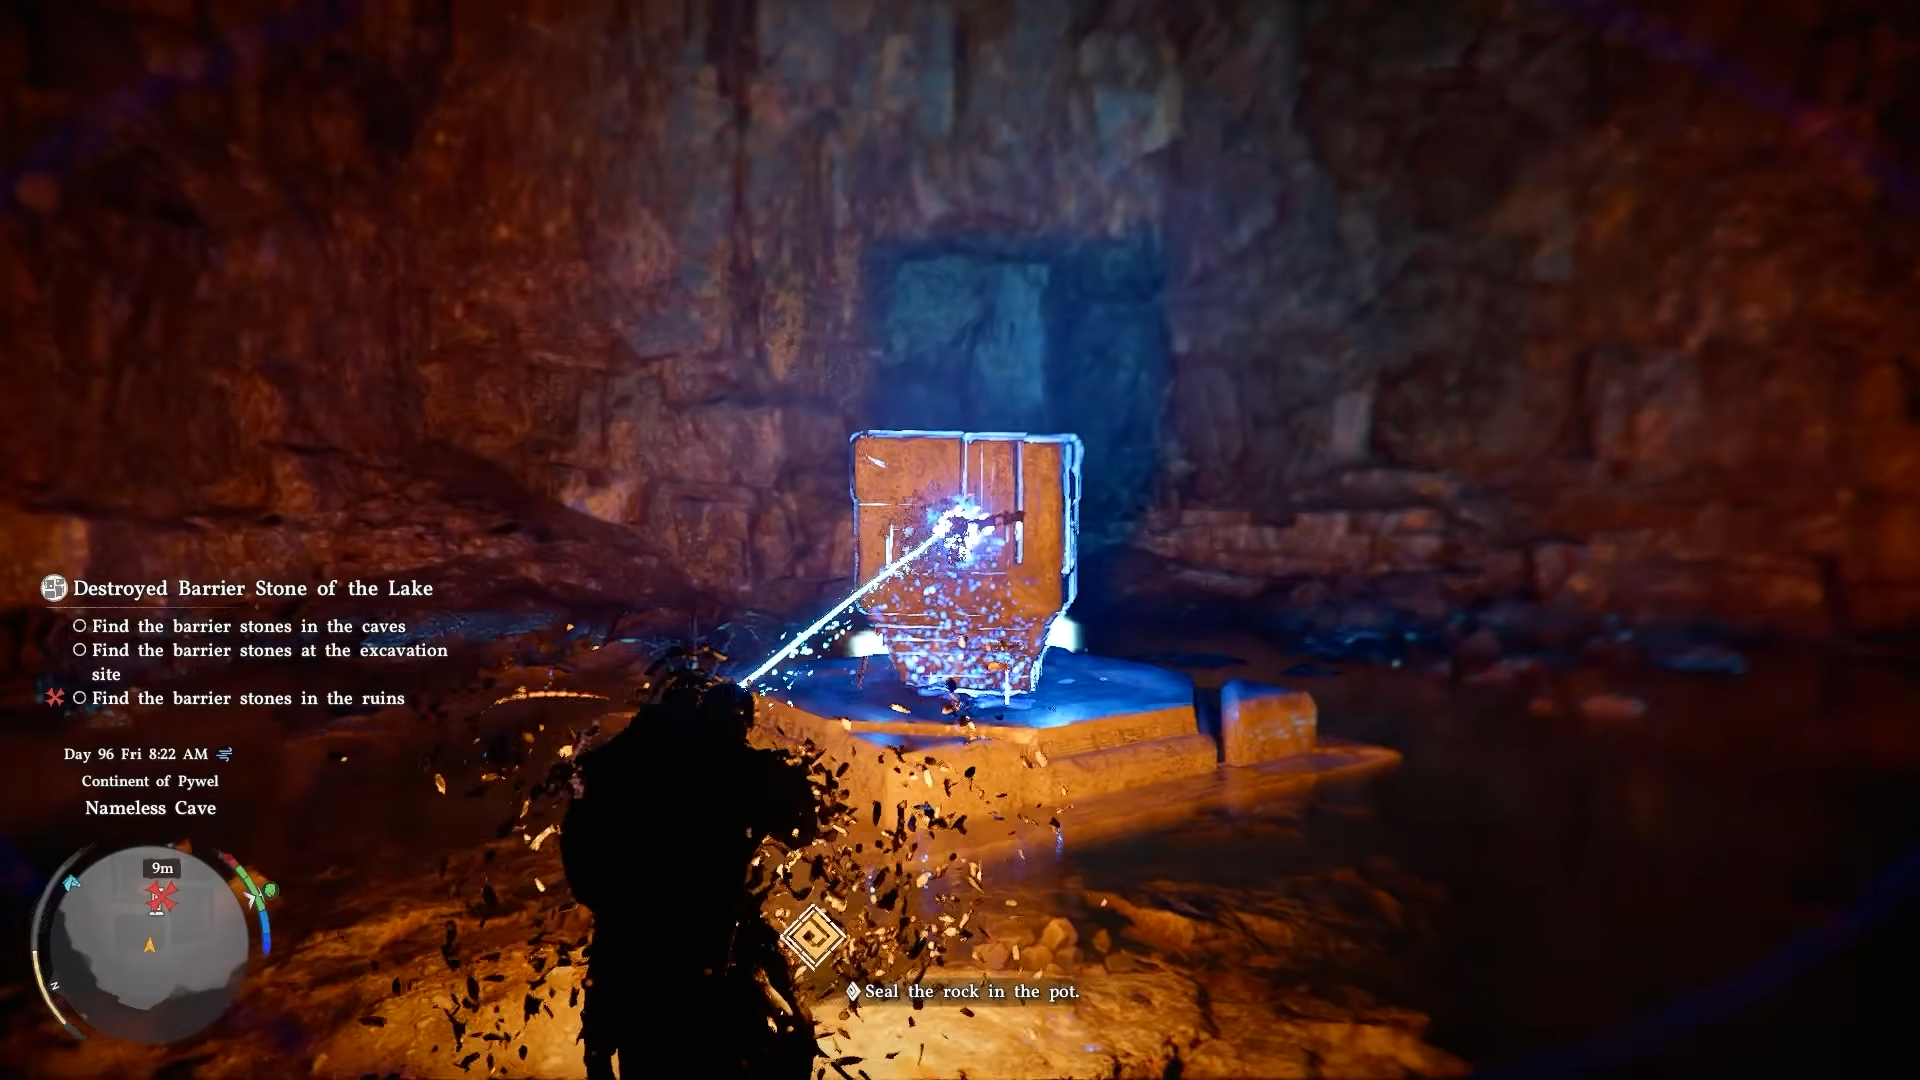
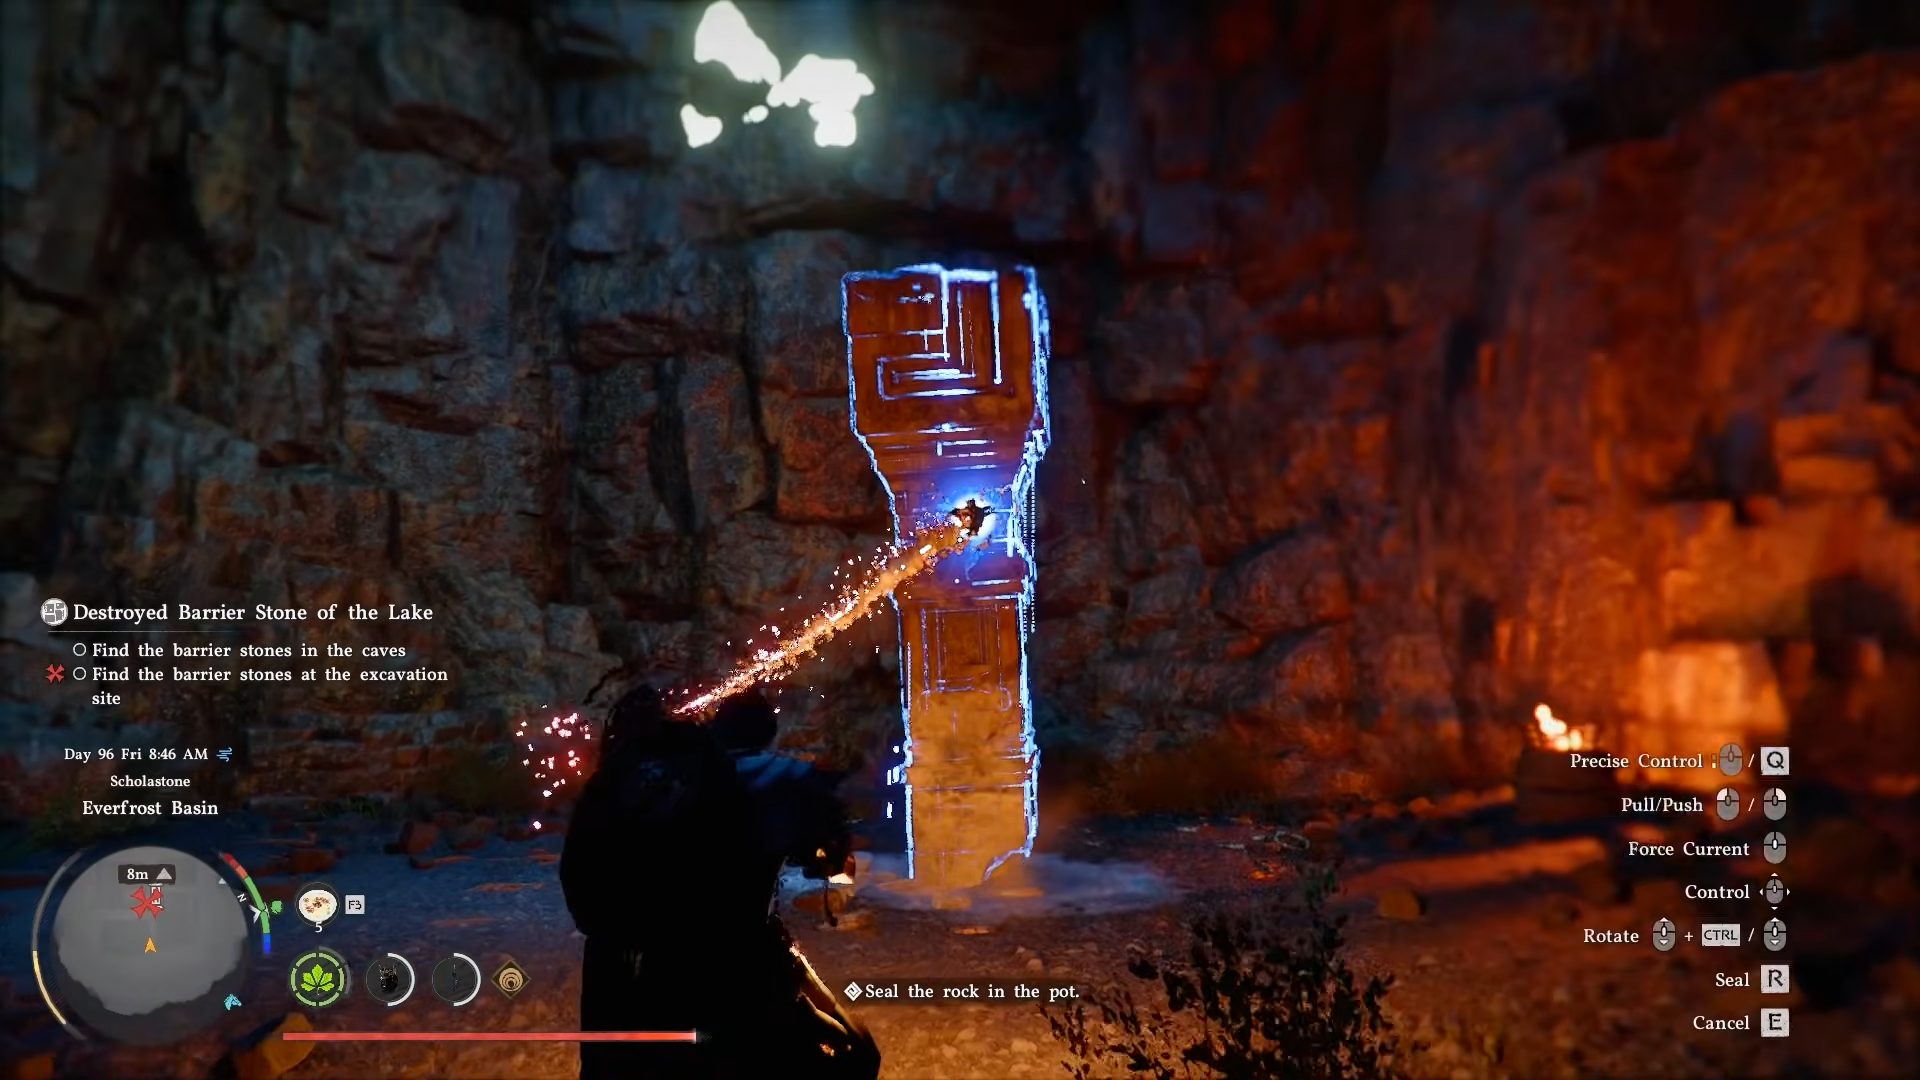
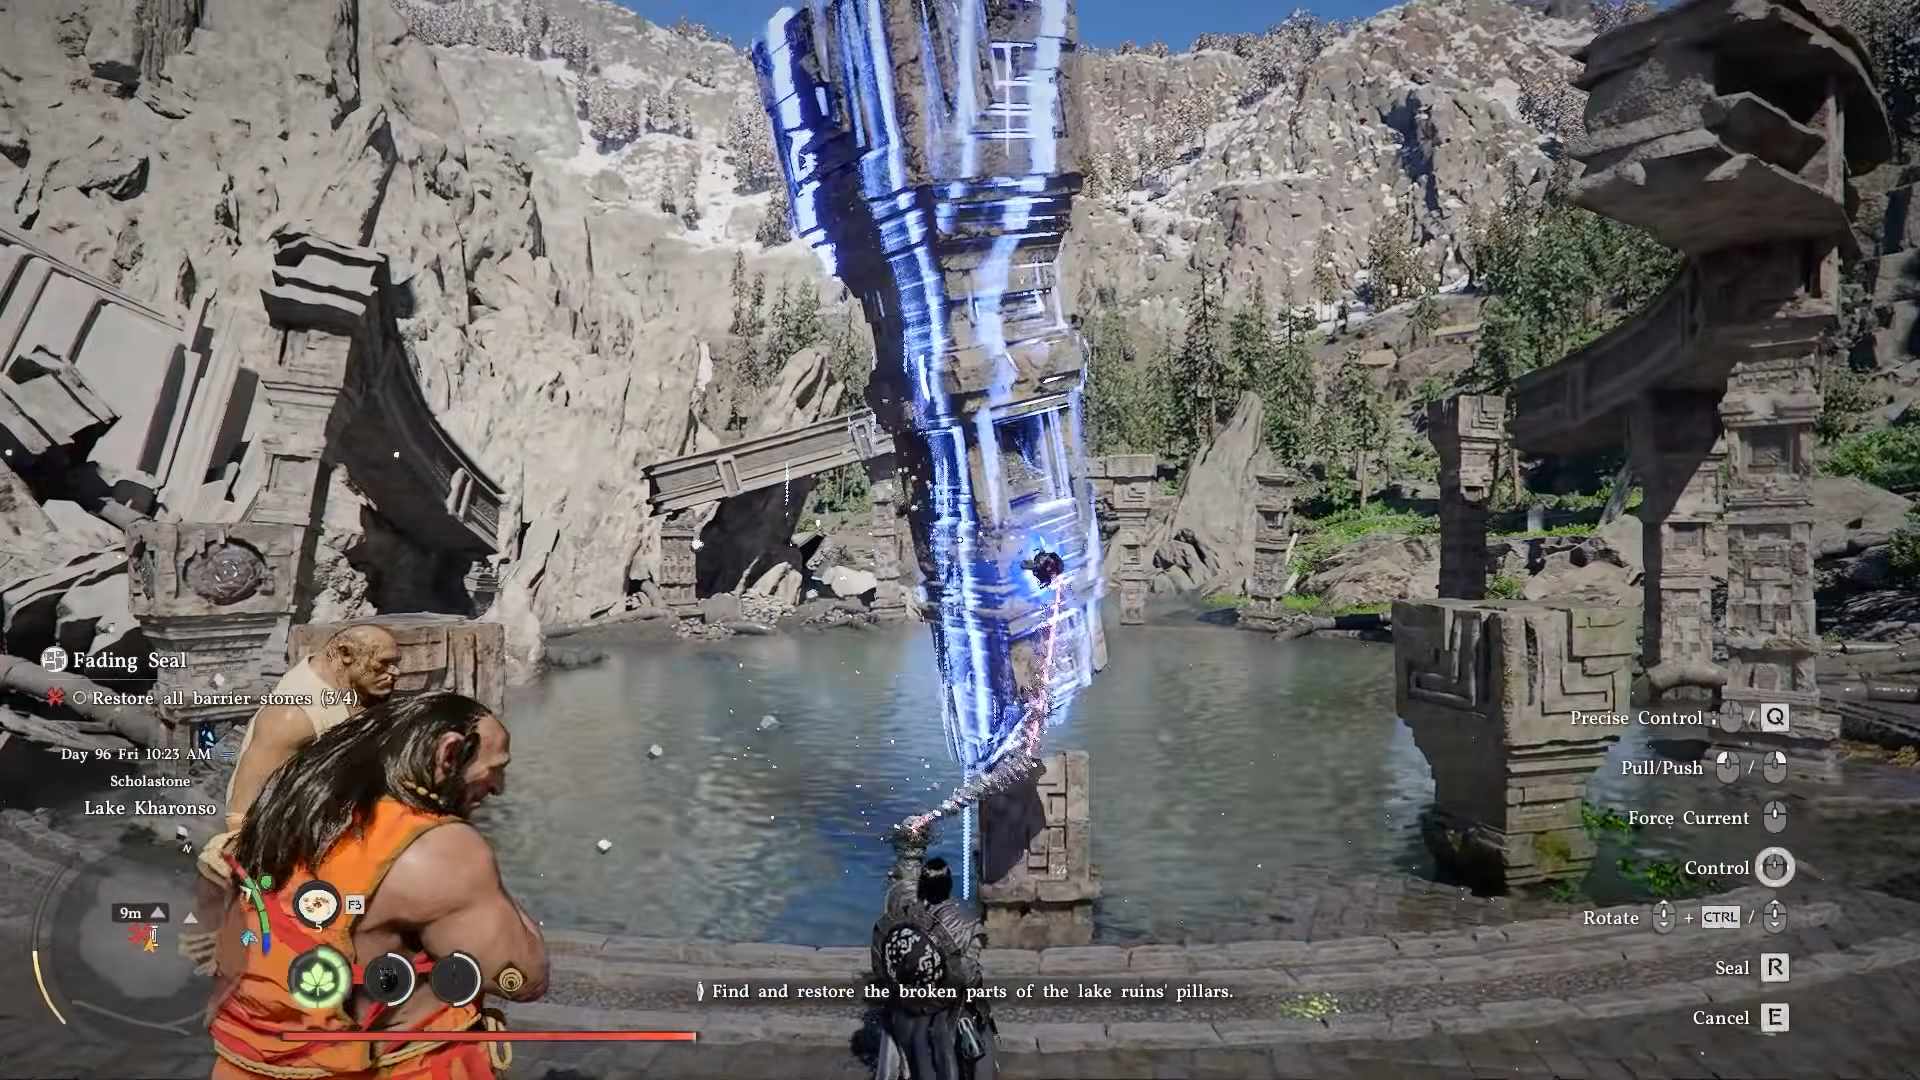
How to collect the third barrier stone pillar
Reach the barrier-protected site at the third marker.
Step 1
Enter focus mode and hold False Palm, aiming the symbol at the emerging circle.
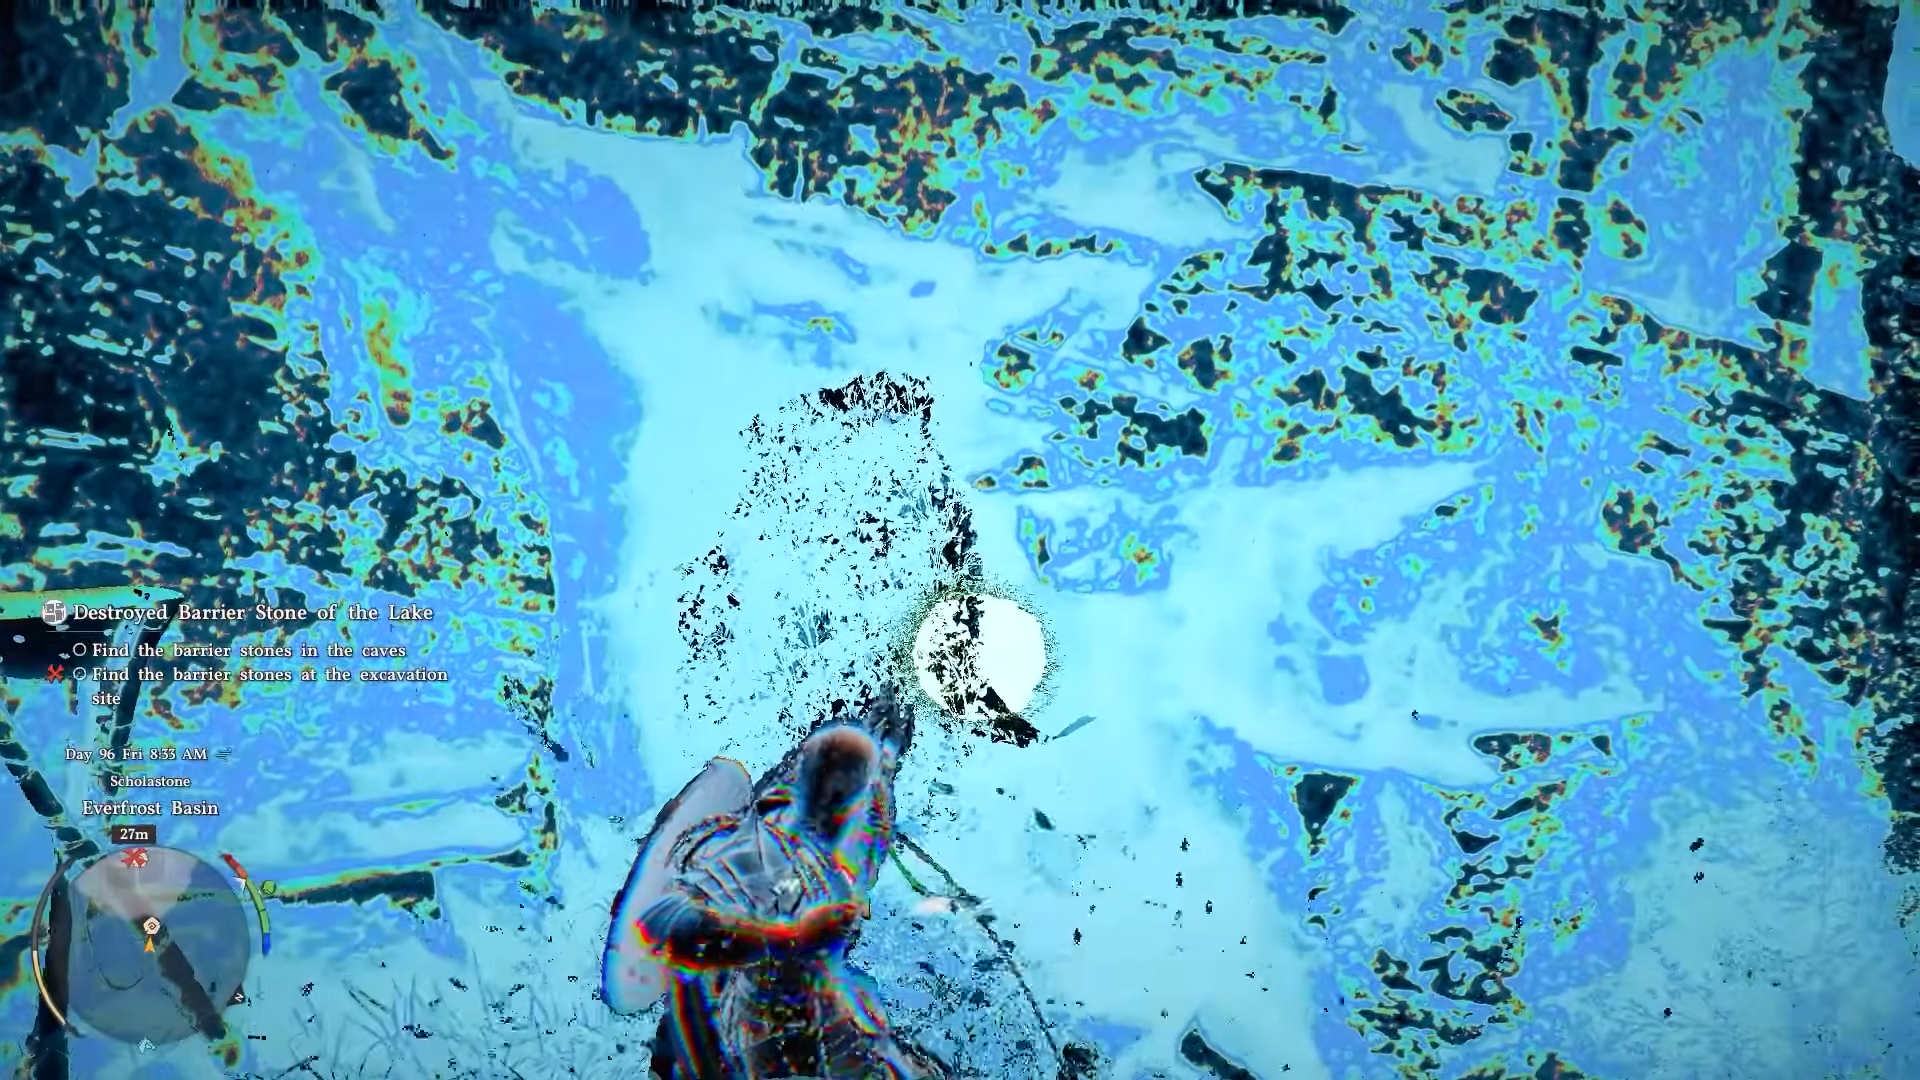
Step 2
Release when the circle turns yellow to shatter the abyss cell and pass through.
Step 3
Light attack and heavy attack simultaneously for a charged hit on one chain to break all.
Then Axiom Hand and seal the pillar.
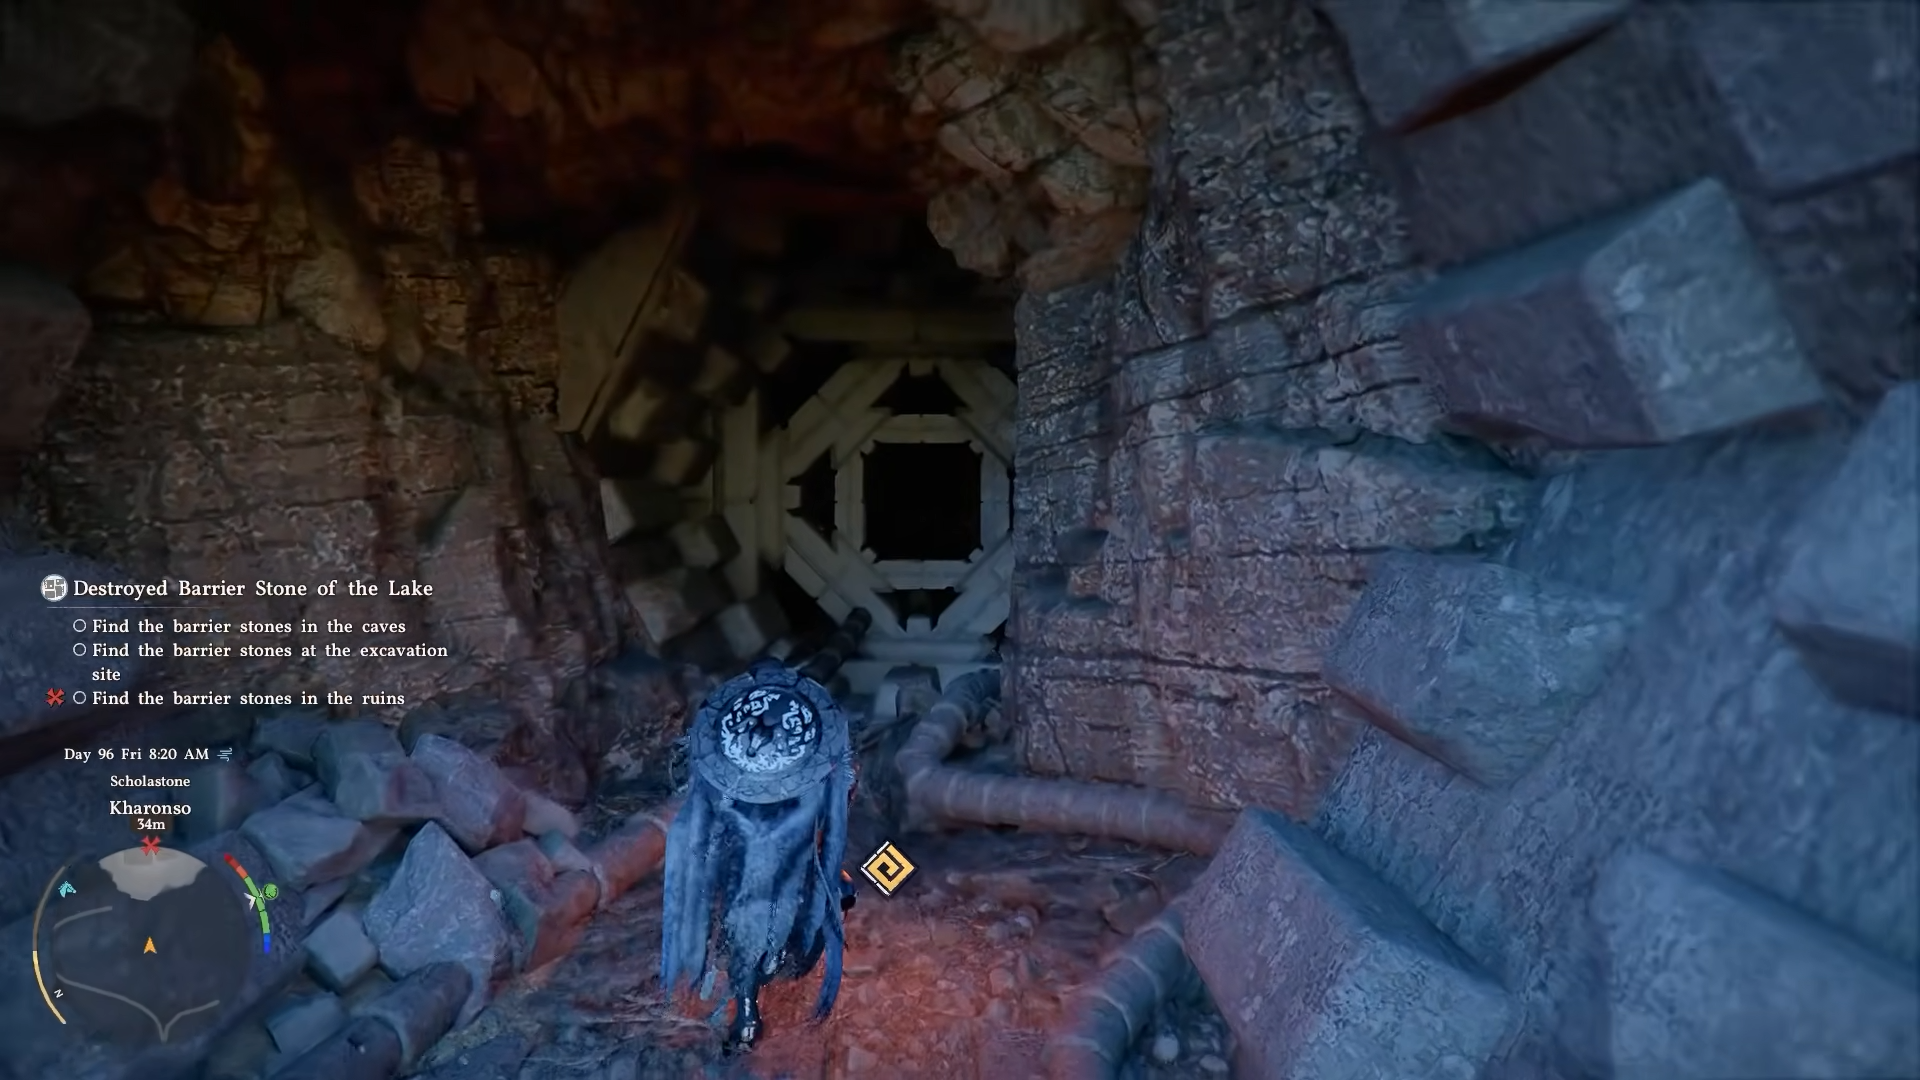
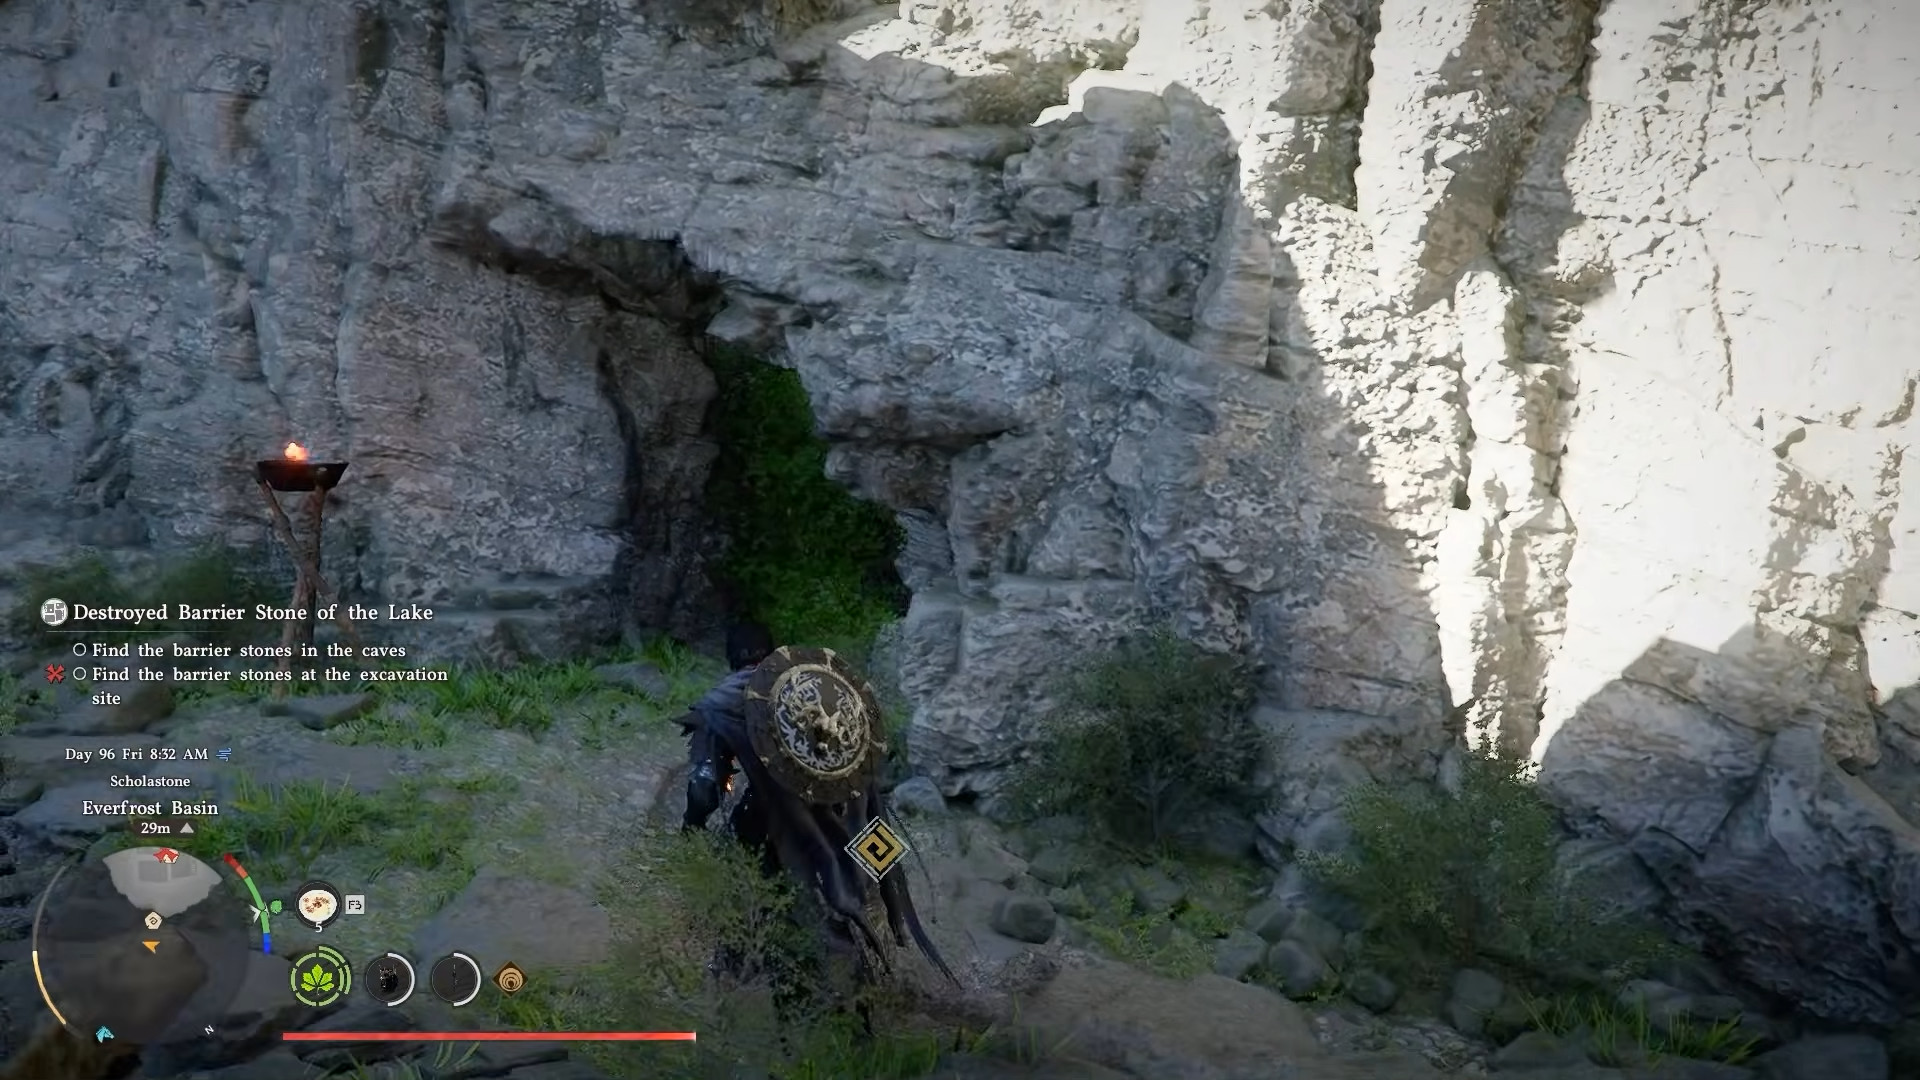
How to collect the fourth barrier stone pillar
Follow the road to the mountain base at the fourth marker.
Step 1
Enter the unlocked cave door at the bottom.
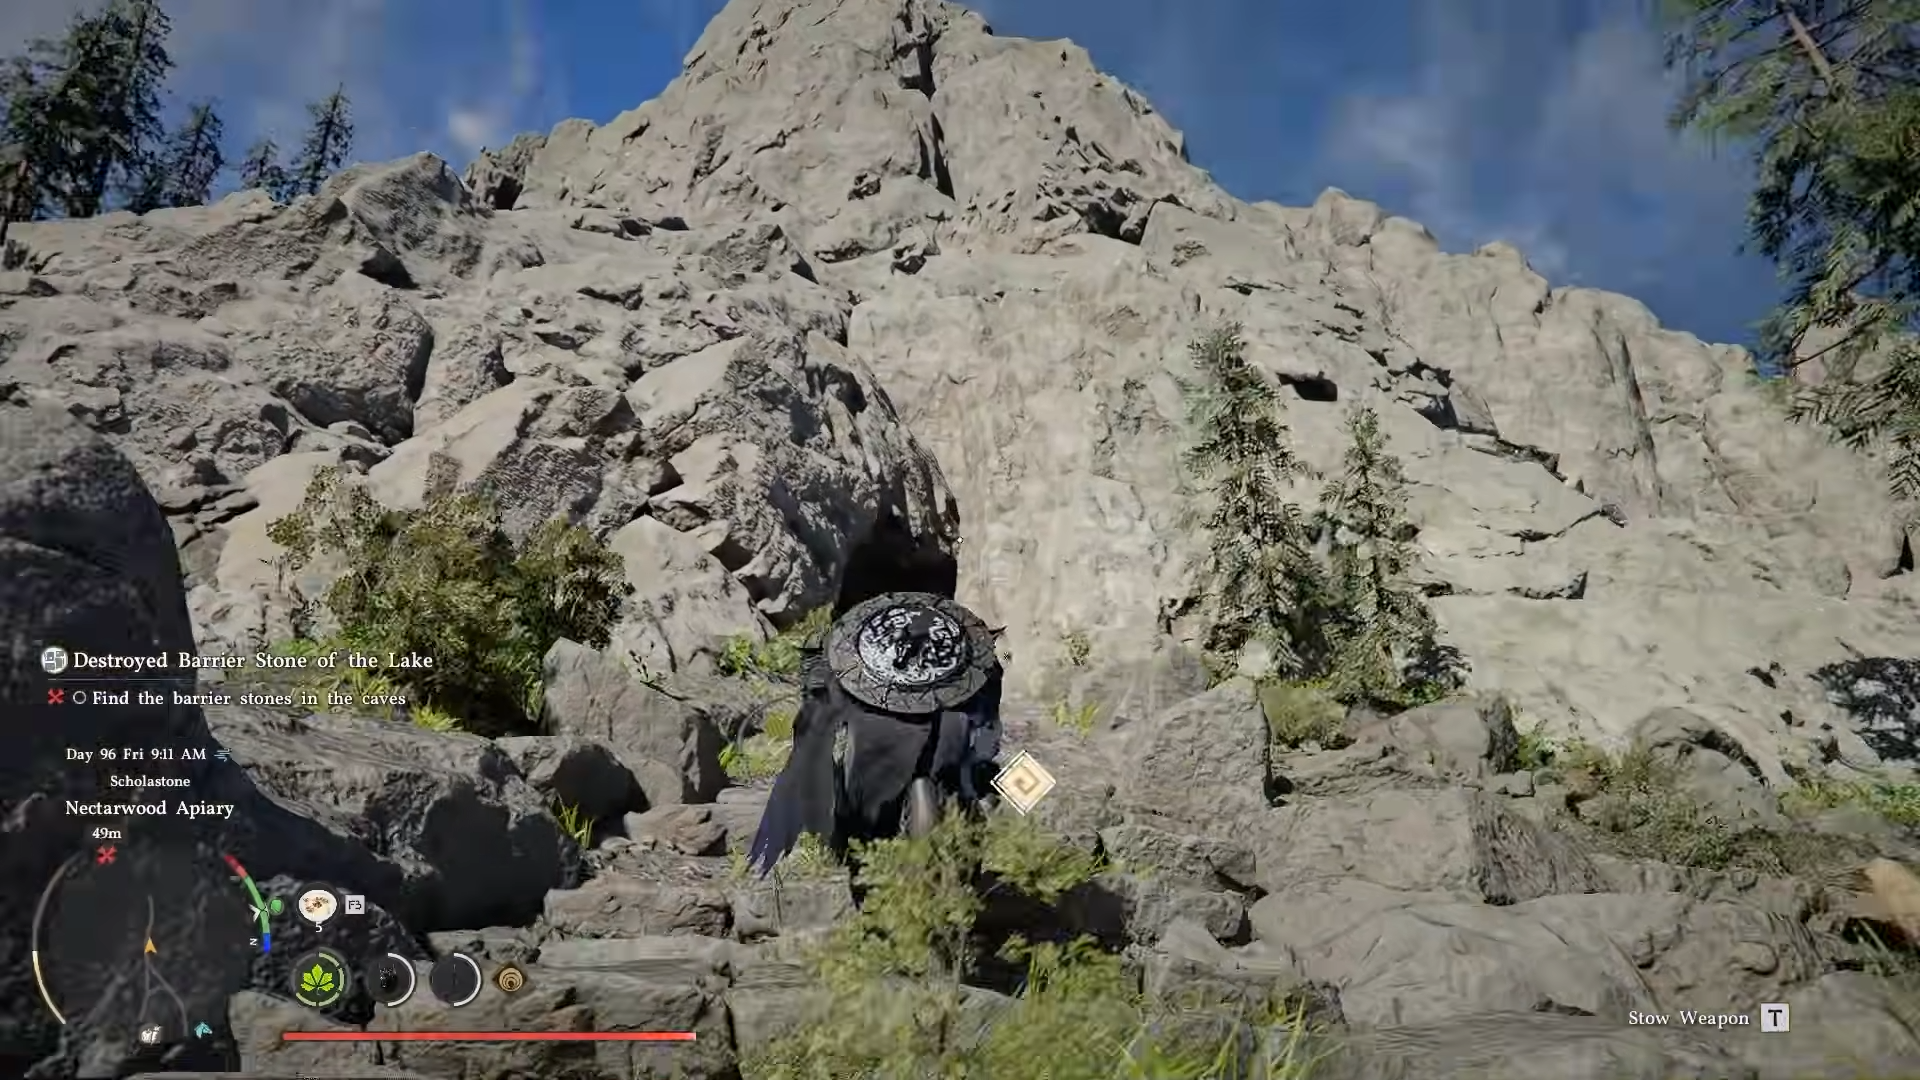
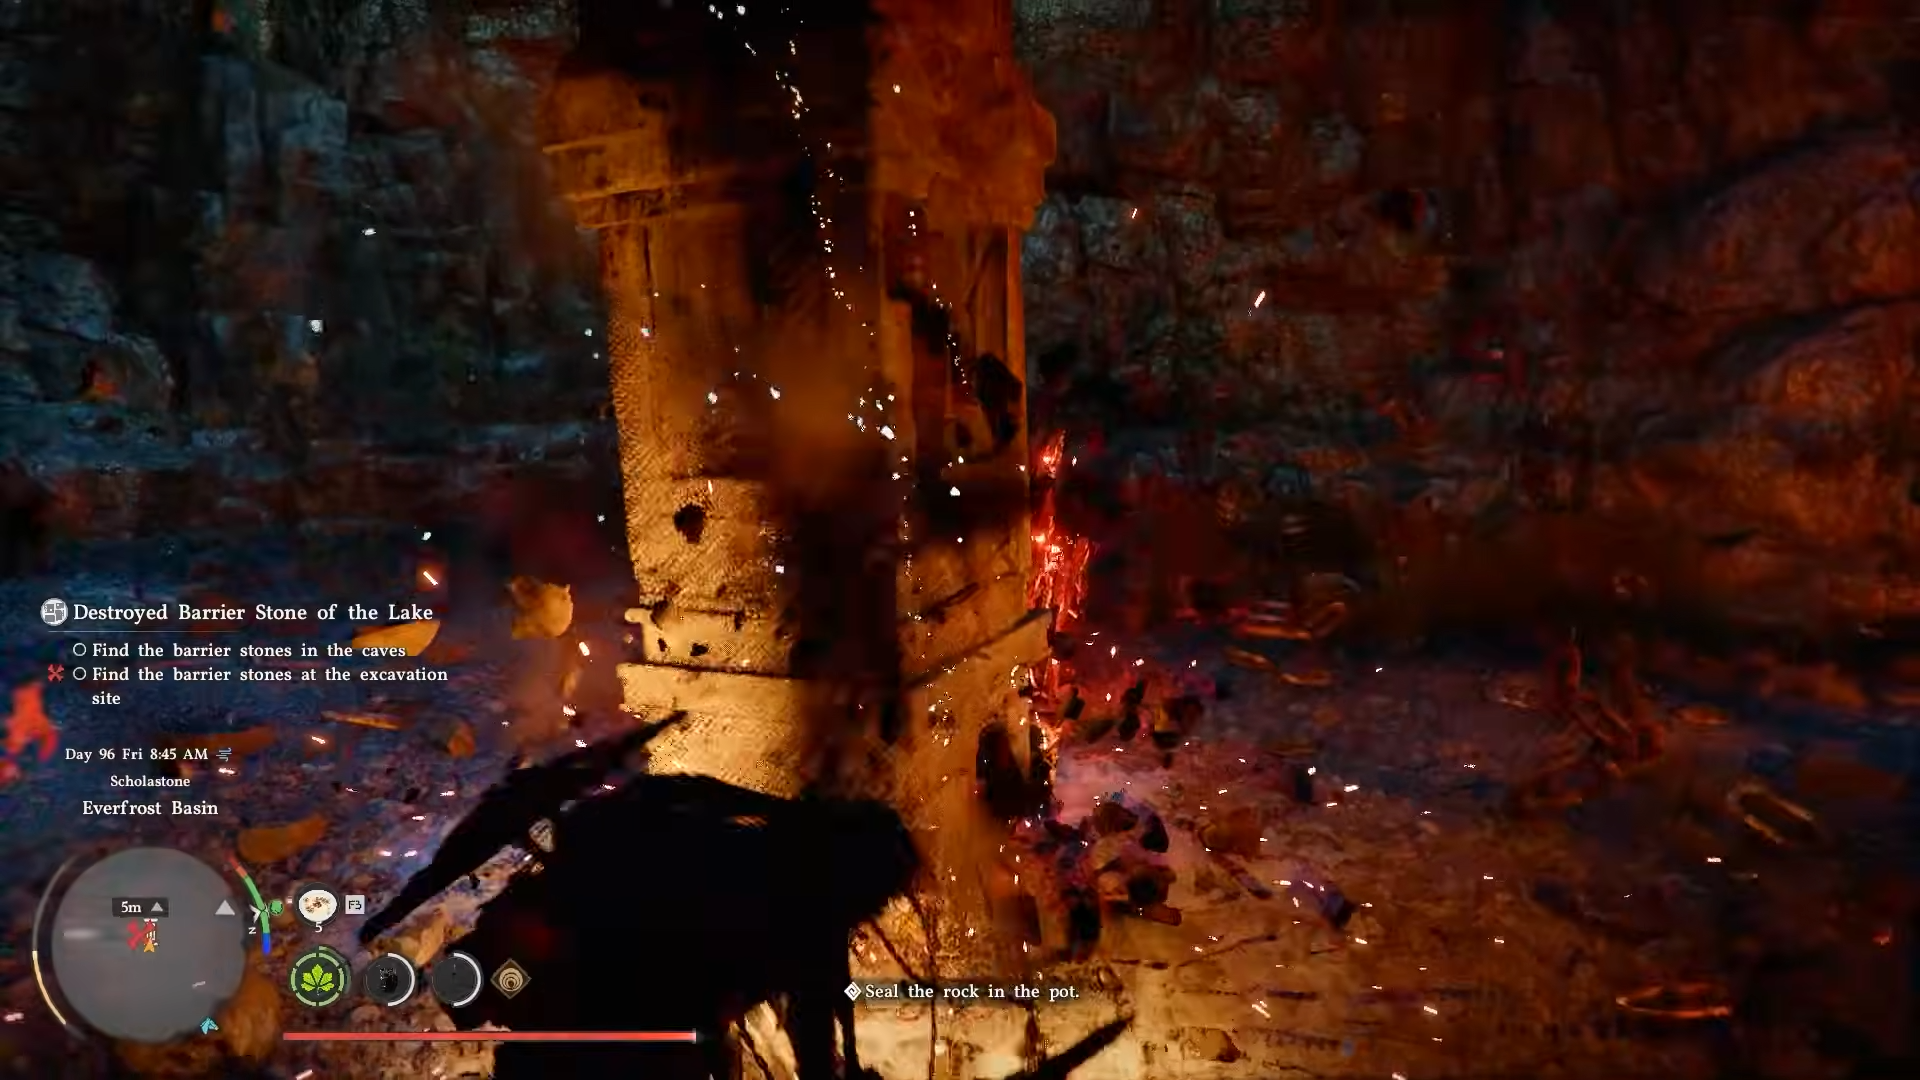
Step 2
Proceed straight through to the pillar.
Step 3
Axiom Hand it and seal into the Kuku pot.
How to restore the barrier stones
Return to the central structure at Lake Kharonso with all pillars sealed.
Step 1
Open Kuku pot, discard pillar #1, grab with Axiom Hand, attach to the top of the first pillar slot.
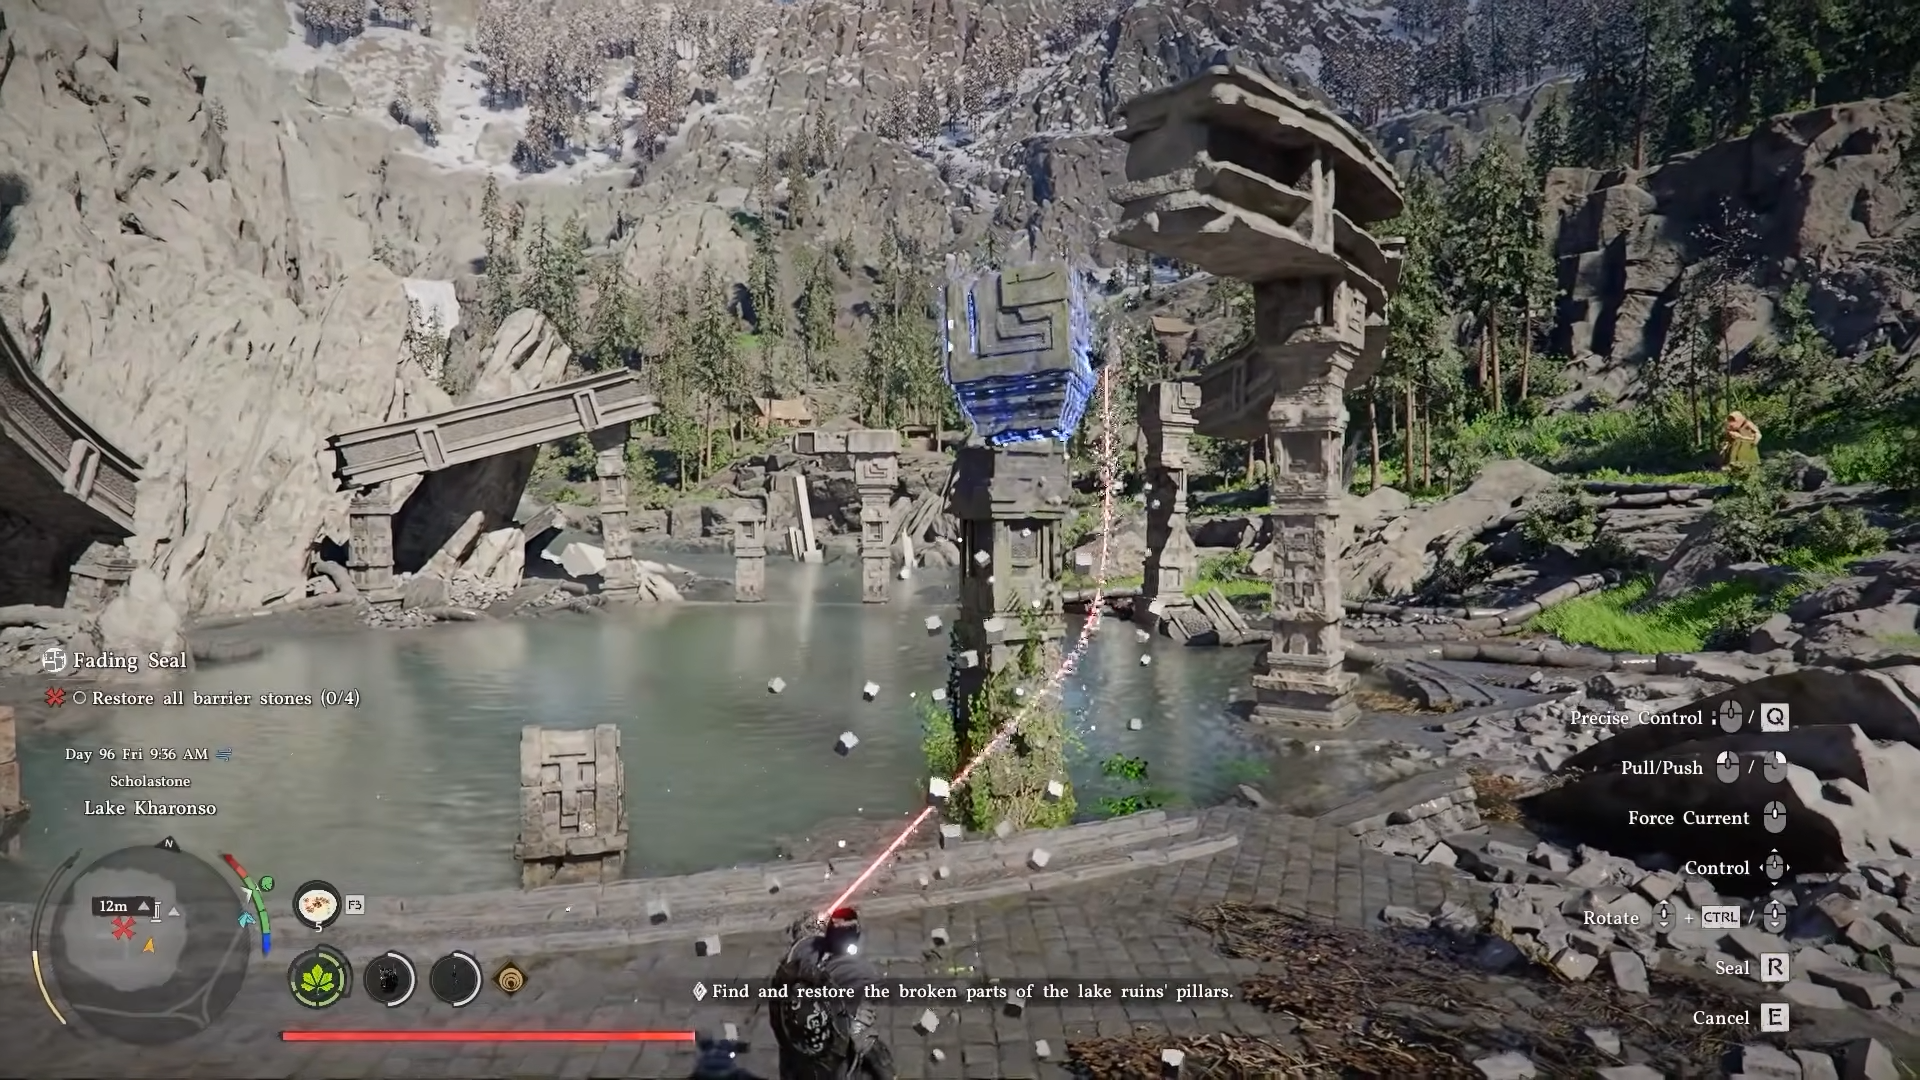
Step 2
Climb atop and False Palm downward to lock it in place.
Step 3
Repeat for pillar #2 on the left side (ignore fire), using green leaves as alignment guide before False Palm.
Step 4
For pillar #3, attach to the second slot, climb, and False Palm down.
Step 5
Discard pillar #4 carefully, attach to the final slot, and False Palm to complete.
How to defeat the Runewalker boss
With stones restored, the boss awakens.
Step 1
Use Axiom Hand to yank out the core.
Step 2
Attack the exposed core repeatedly until the boss falls.
Step 3
Collect the nearby abyss artifact as direct loot.
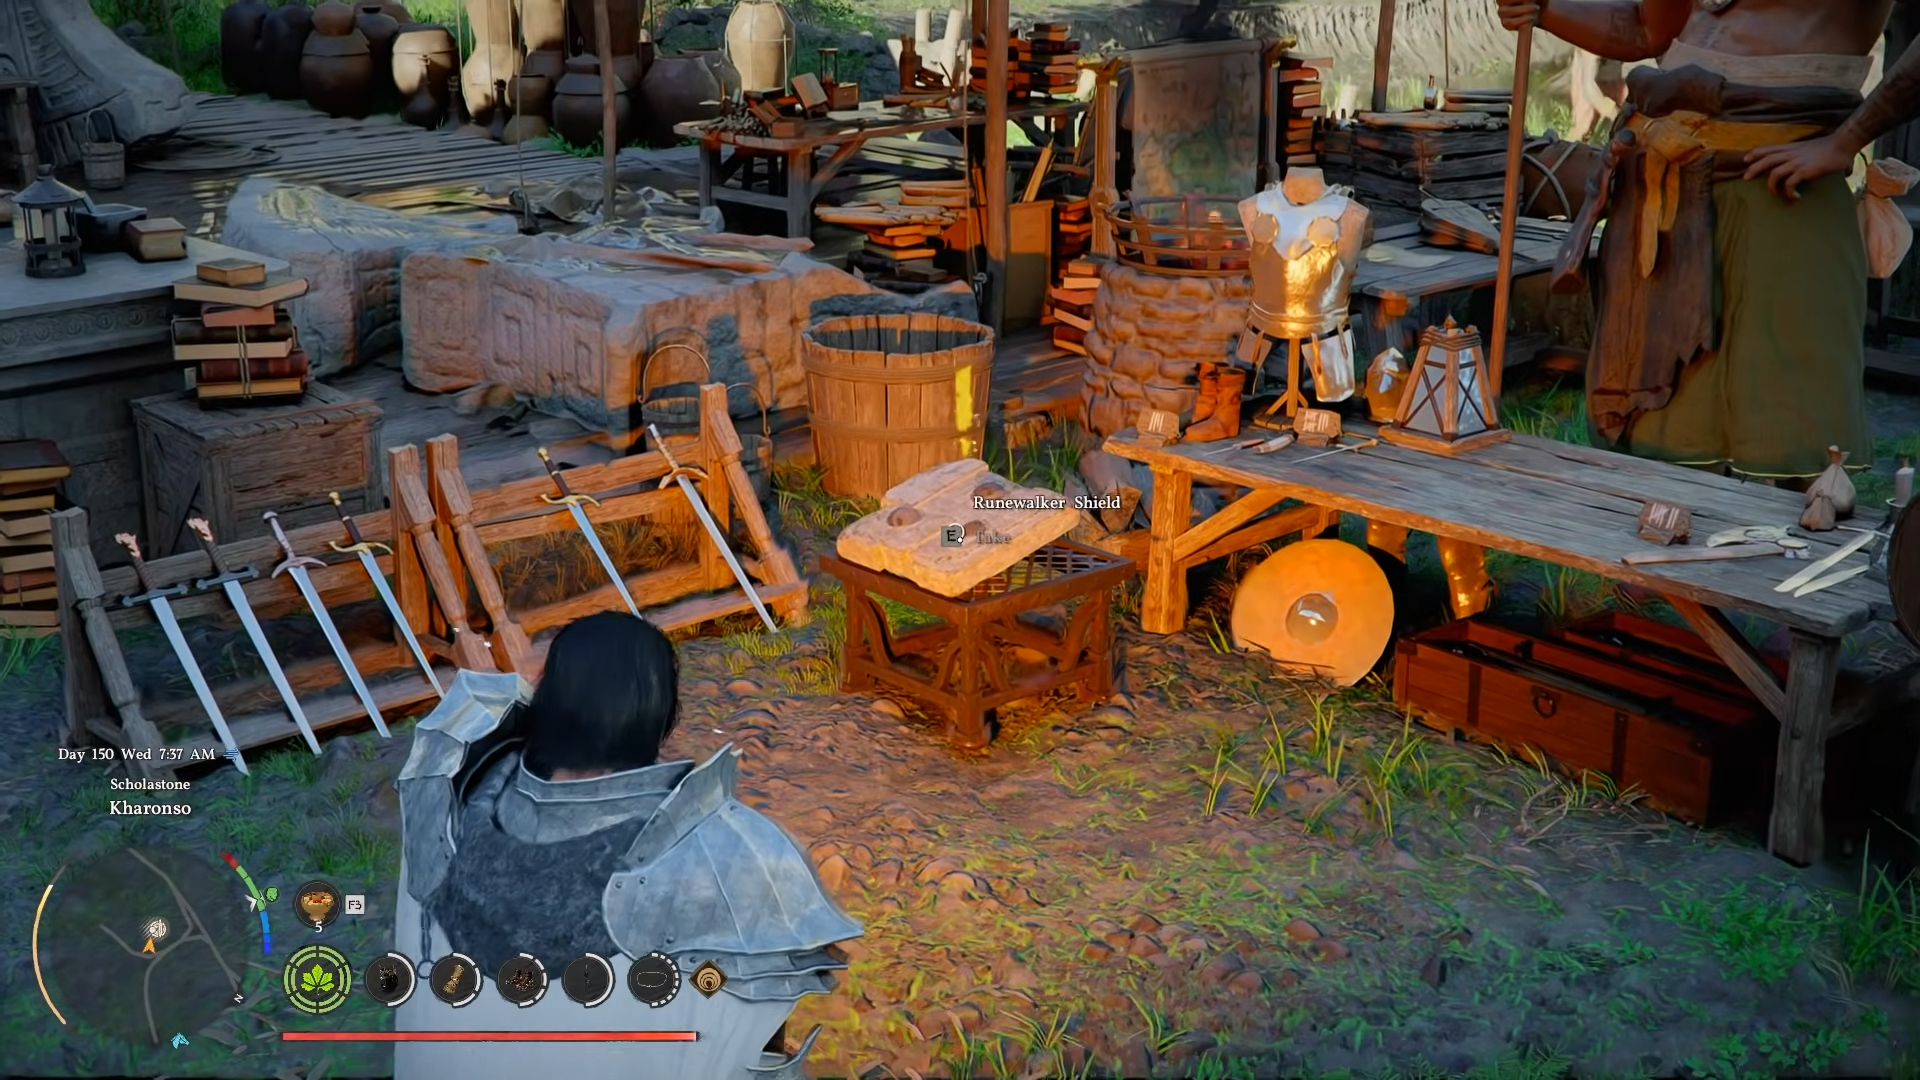
Claiming the Runewalker Shield reward
Post-battle, fast travel or ride to the equipment shop north of Kharonso town—notice the white circle with grey lines on minimap for special gear.
Step 1
Enter the shop and spot the shield on a stool.
Step 2
Pick it up for free—no purchase needed.
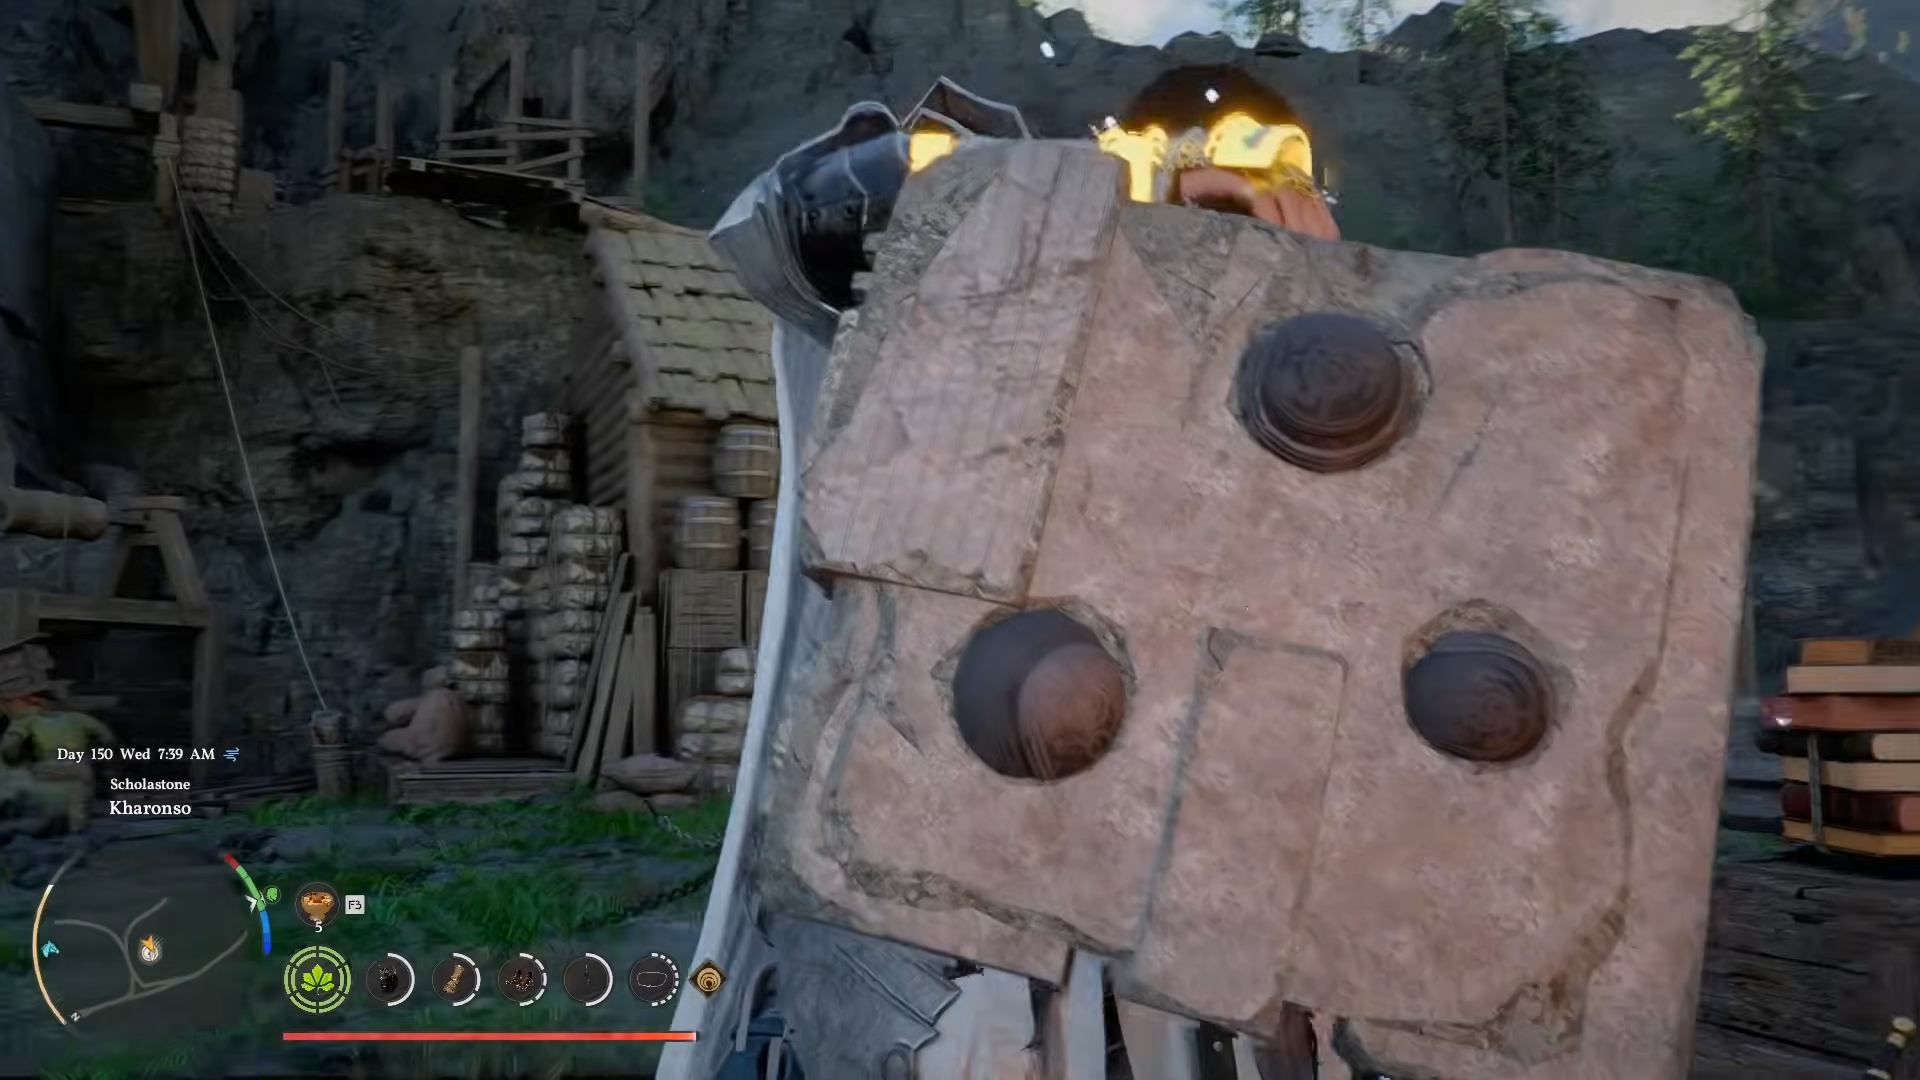
Runewalker Shield details
This rock-textured shield evokes a fingerprint design with solid base stats on pickup. Its Runic Retribution ability activates after blocking hits (one charge per three blocks, up to three shown above health bar)—press the special combo (e.g., Ctrl + right-click after guards) to unleash blue laser beams at foes.
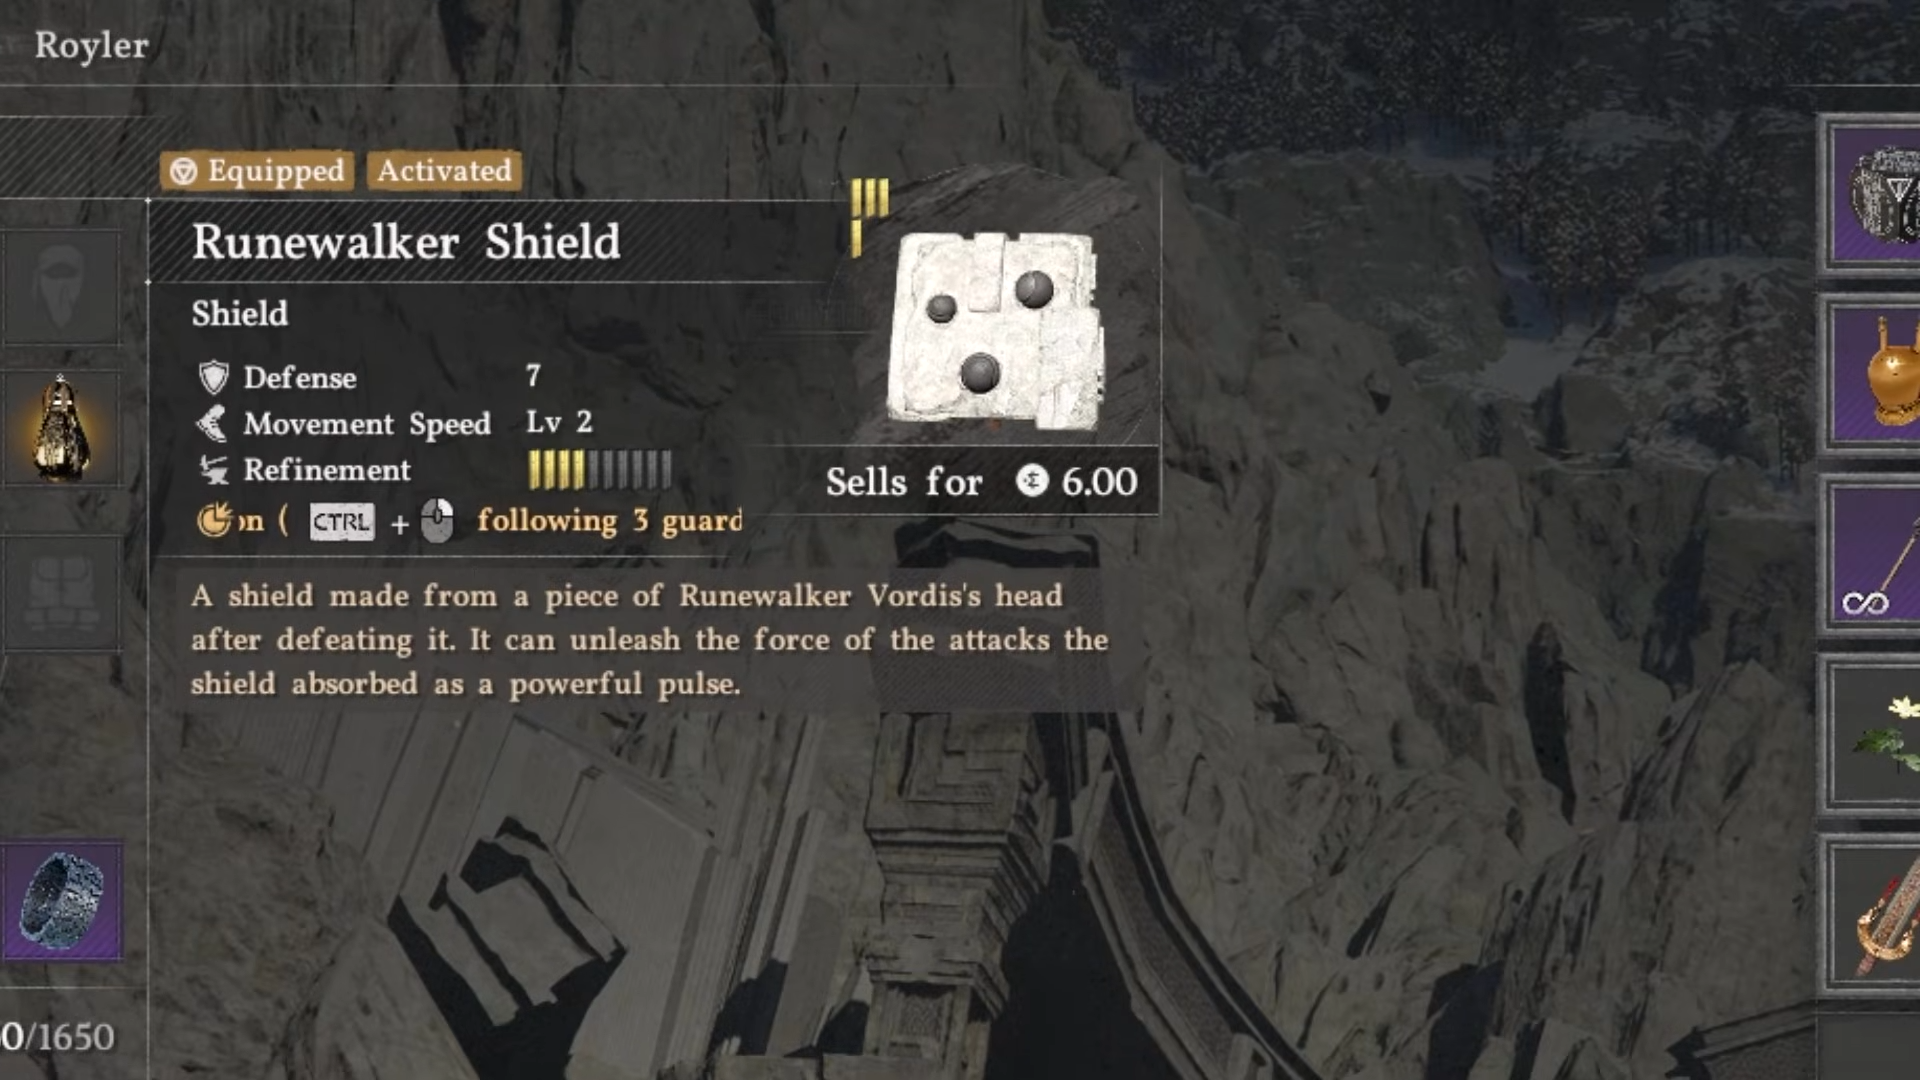
Charges from incoming damage make it ideal for aggressive defense, though it can’t equip extra effects.
| ITEM | Type | Acquisition | Special Feature |
|---|---|---|---|
| Runewalker Shield | Unique Shield | Equipment shop post-boss | Runic Retribution: Block 3x for laser charge (3 max) |
This reward elevates shield playstyles in early Kharonso runs, turning defense into offense without rare drops or crafting. Perfect for players mastering Axiom tools amid Lake Kharonso’s secrets.


Leave a Reply