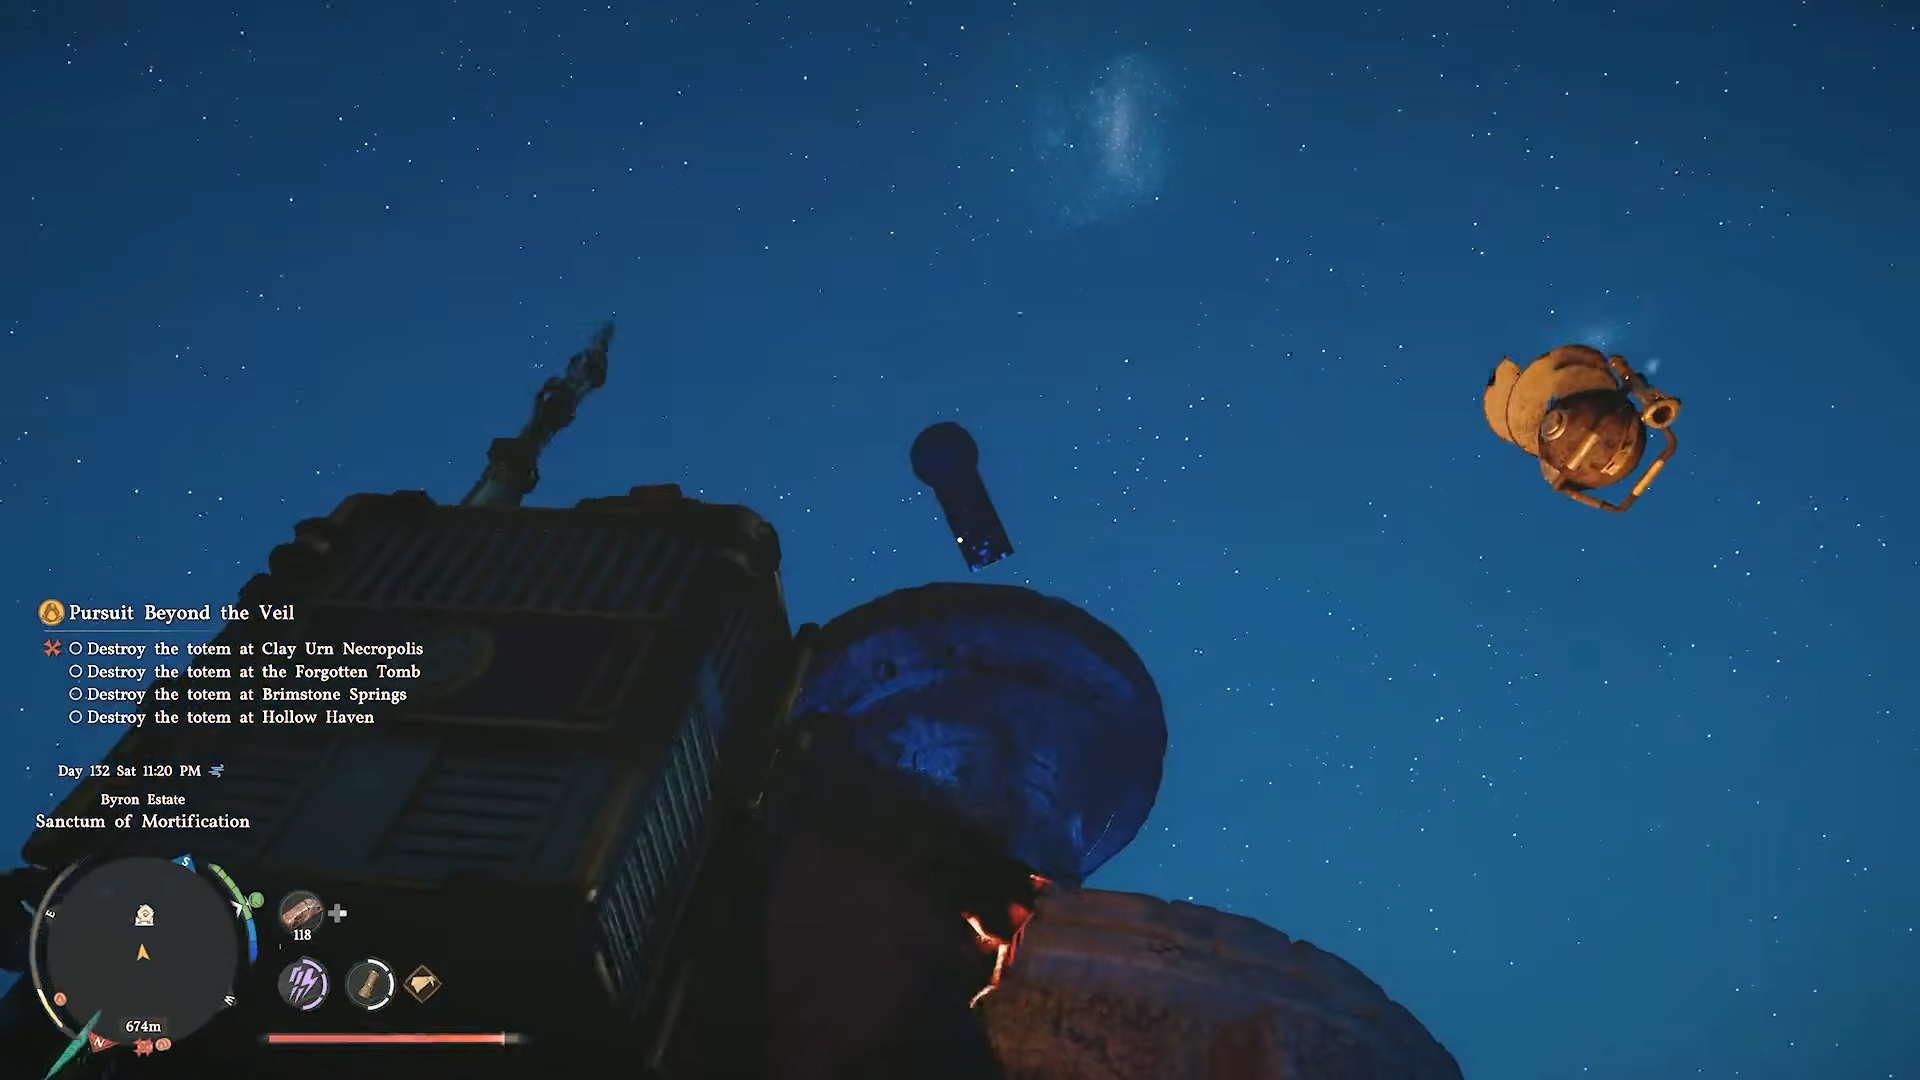
-
Sanctum of Mortification is tied to a main‑story quest in Chapter 9; you must accept “Restore power at the Sanctum of Mortification” to trigger it.
-
You’ll need Axiom Force and Concentrating Light (Force Palm) fully unlocked and the Kuku Pot in your inventory.
-
The puzzle involves a broken pylon, a hidden cube behind vines, and a reactor‑tower with a socket for the Fusion Reactor Core.
-
After the main puzzle, a small hidden interaction in the center of the machine lets you obtain the Mortification Core for later crafting.
Crimson Desert’s Sanctum of Mortification is one of the more intricate sanctum‑type puzzles in the game, tying into the late‑chapter story and rewarding you with rare gear and a secret core. Below is a full, step‑by‑step breakdown of how to cleanse the sanctum, including the hidden chest and the way to unlock the Mortification Core.
Sanctum of Mortification details
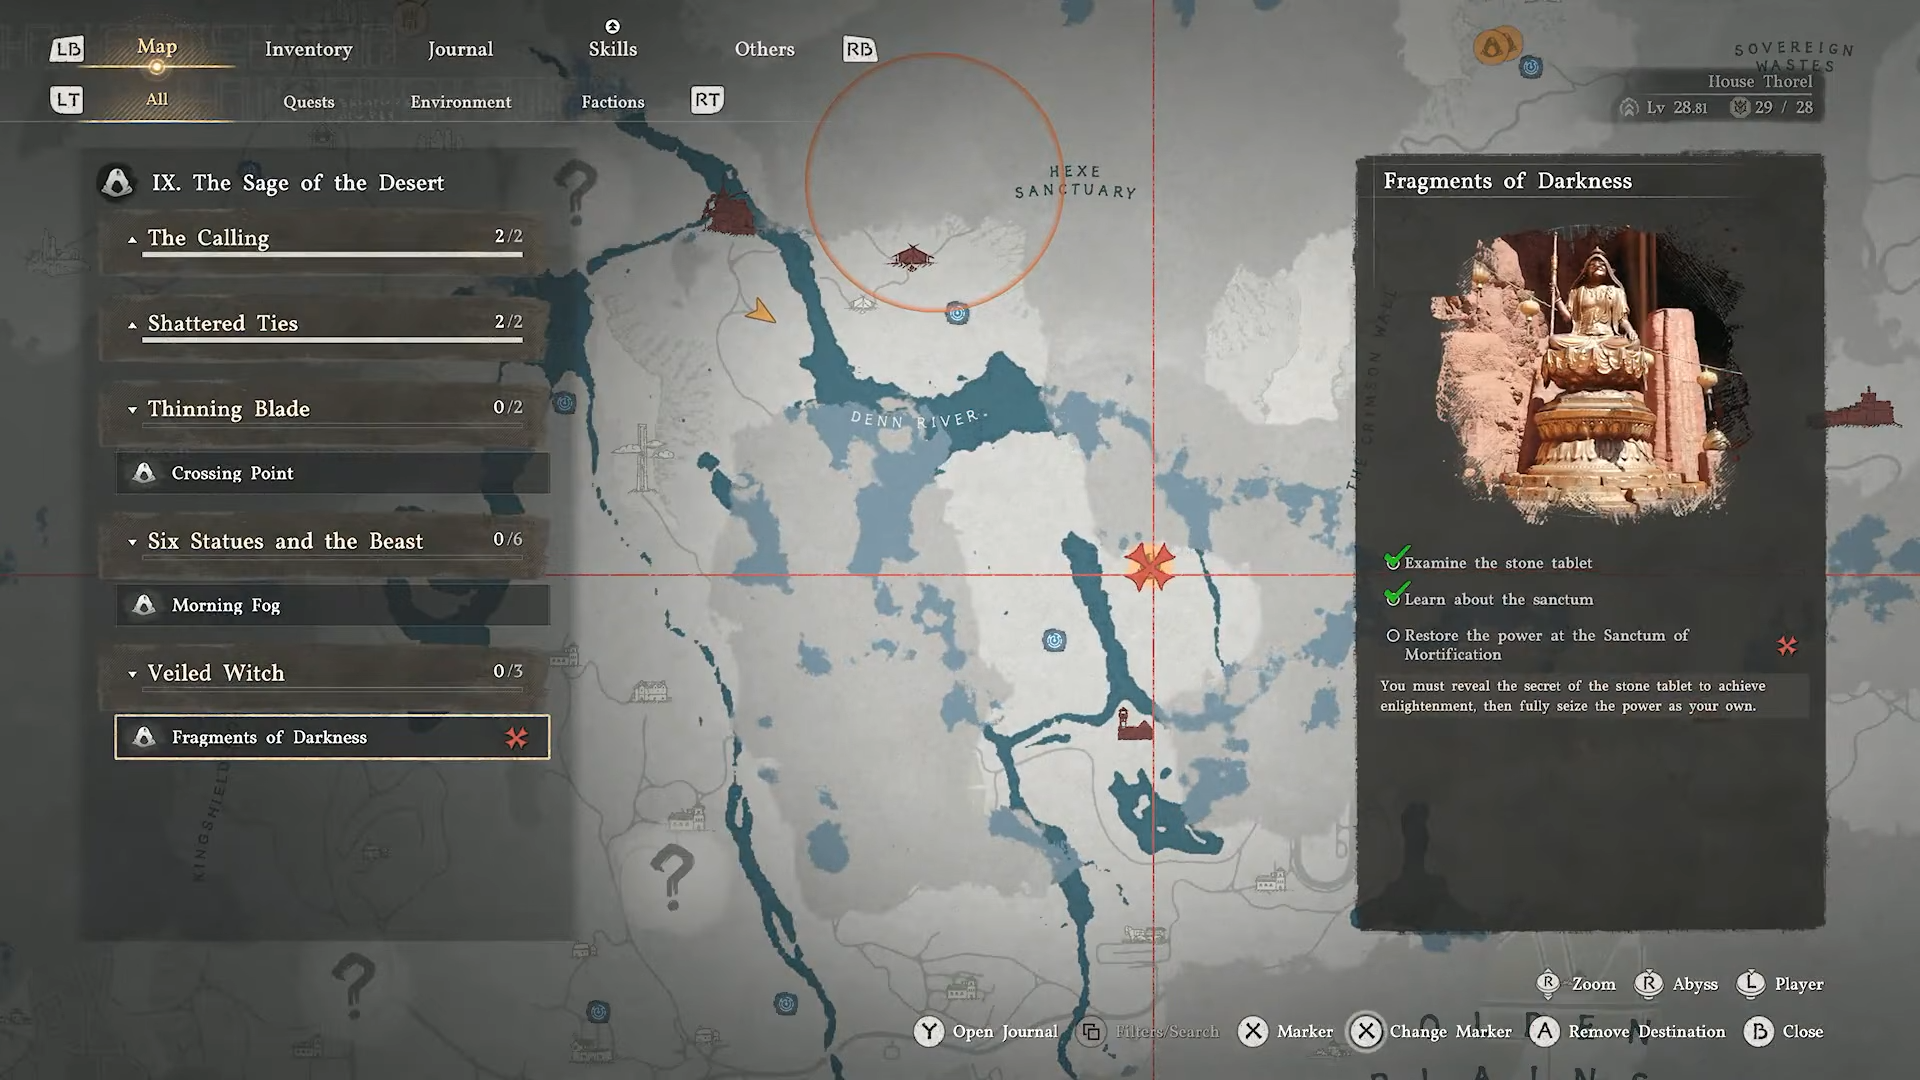
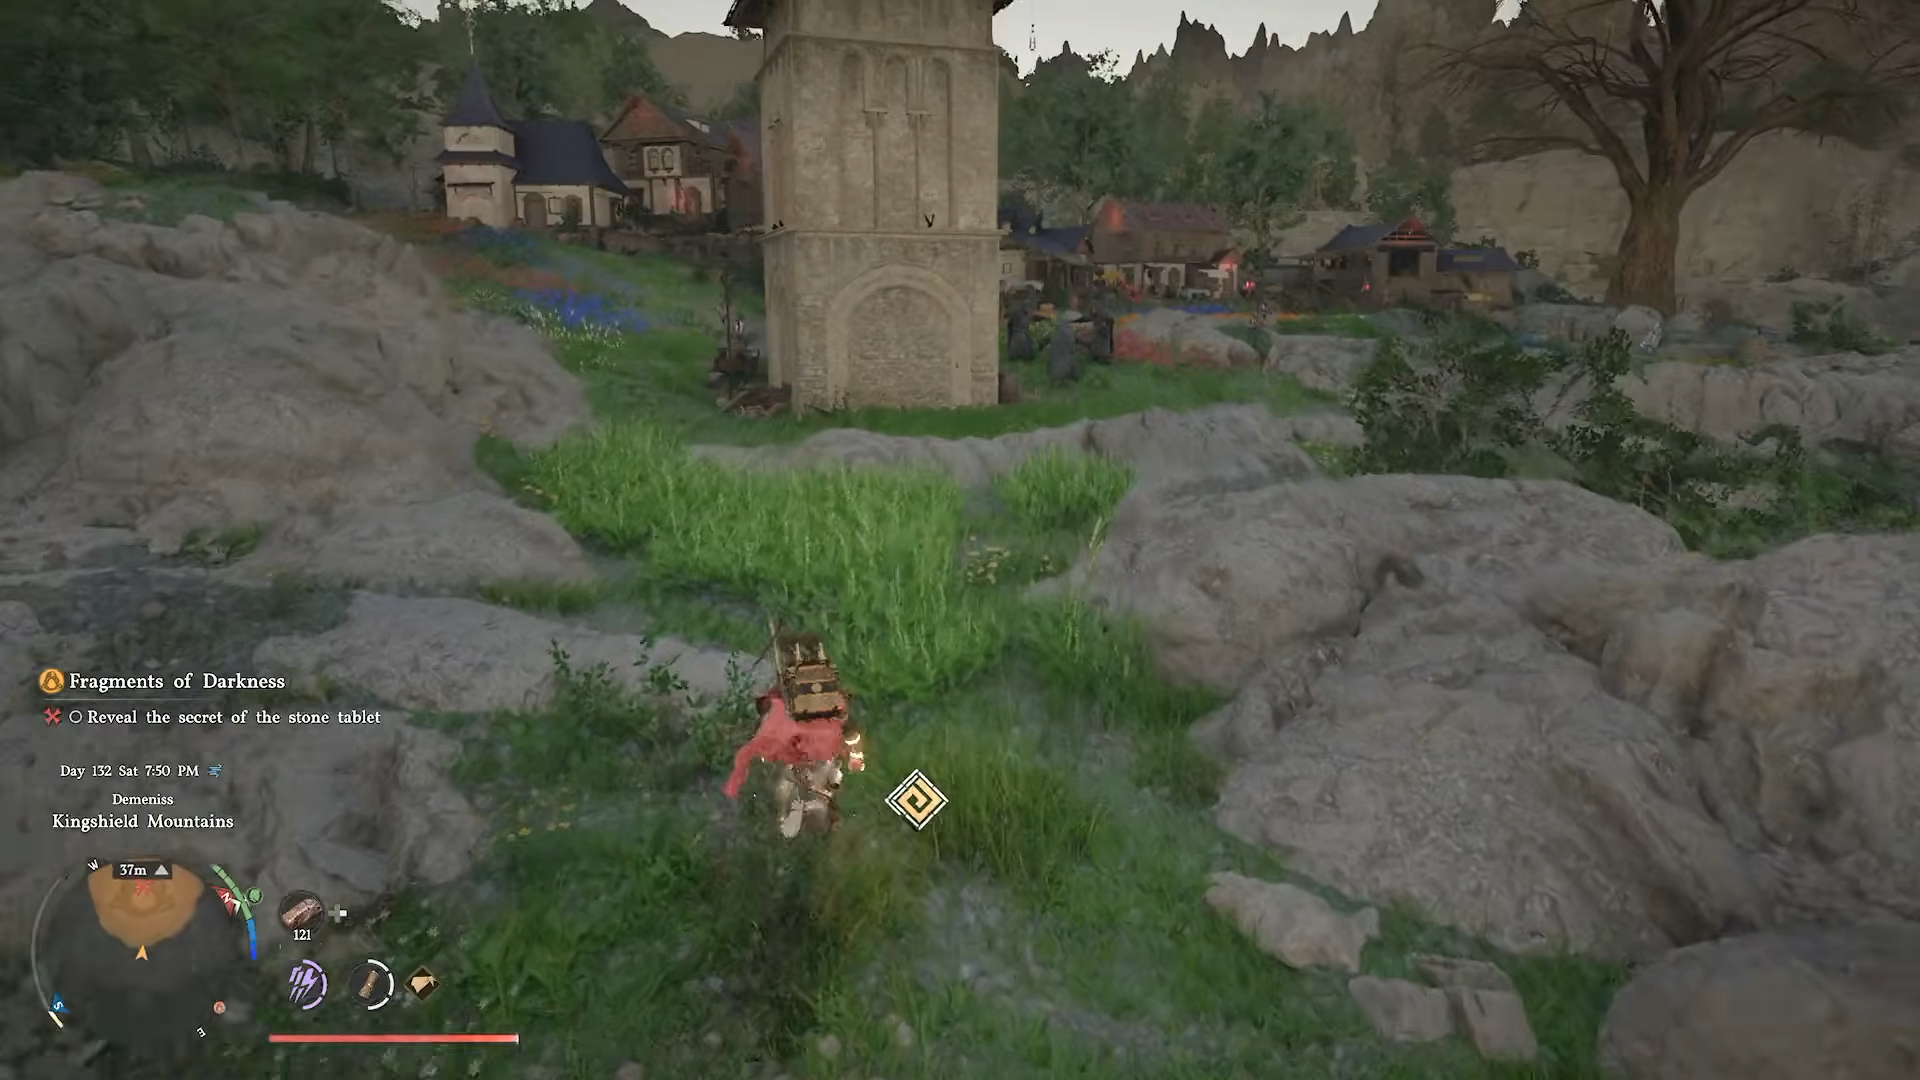
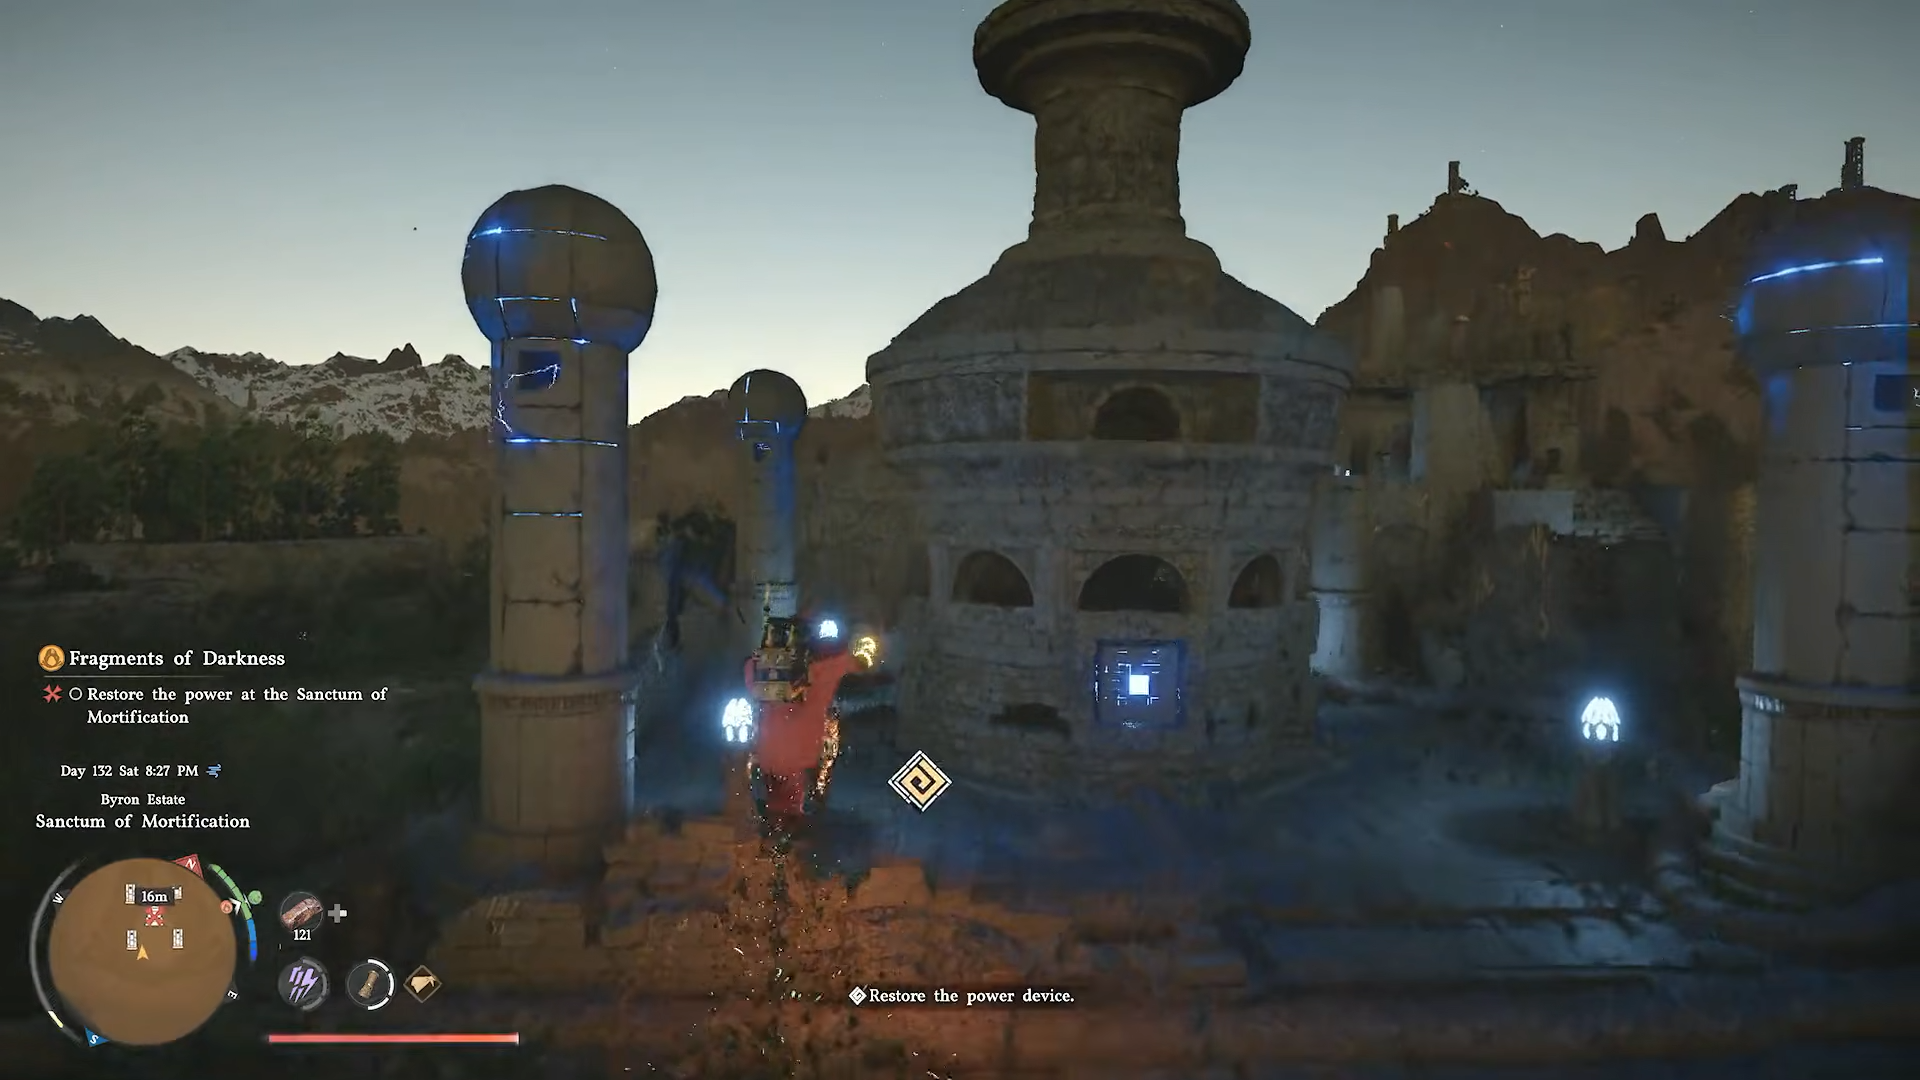
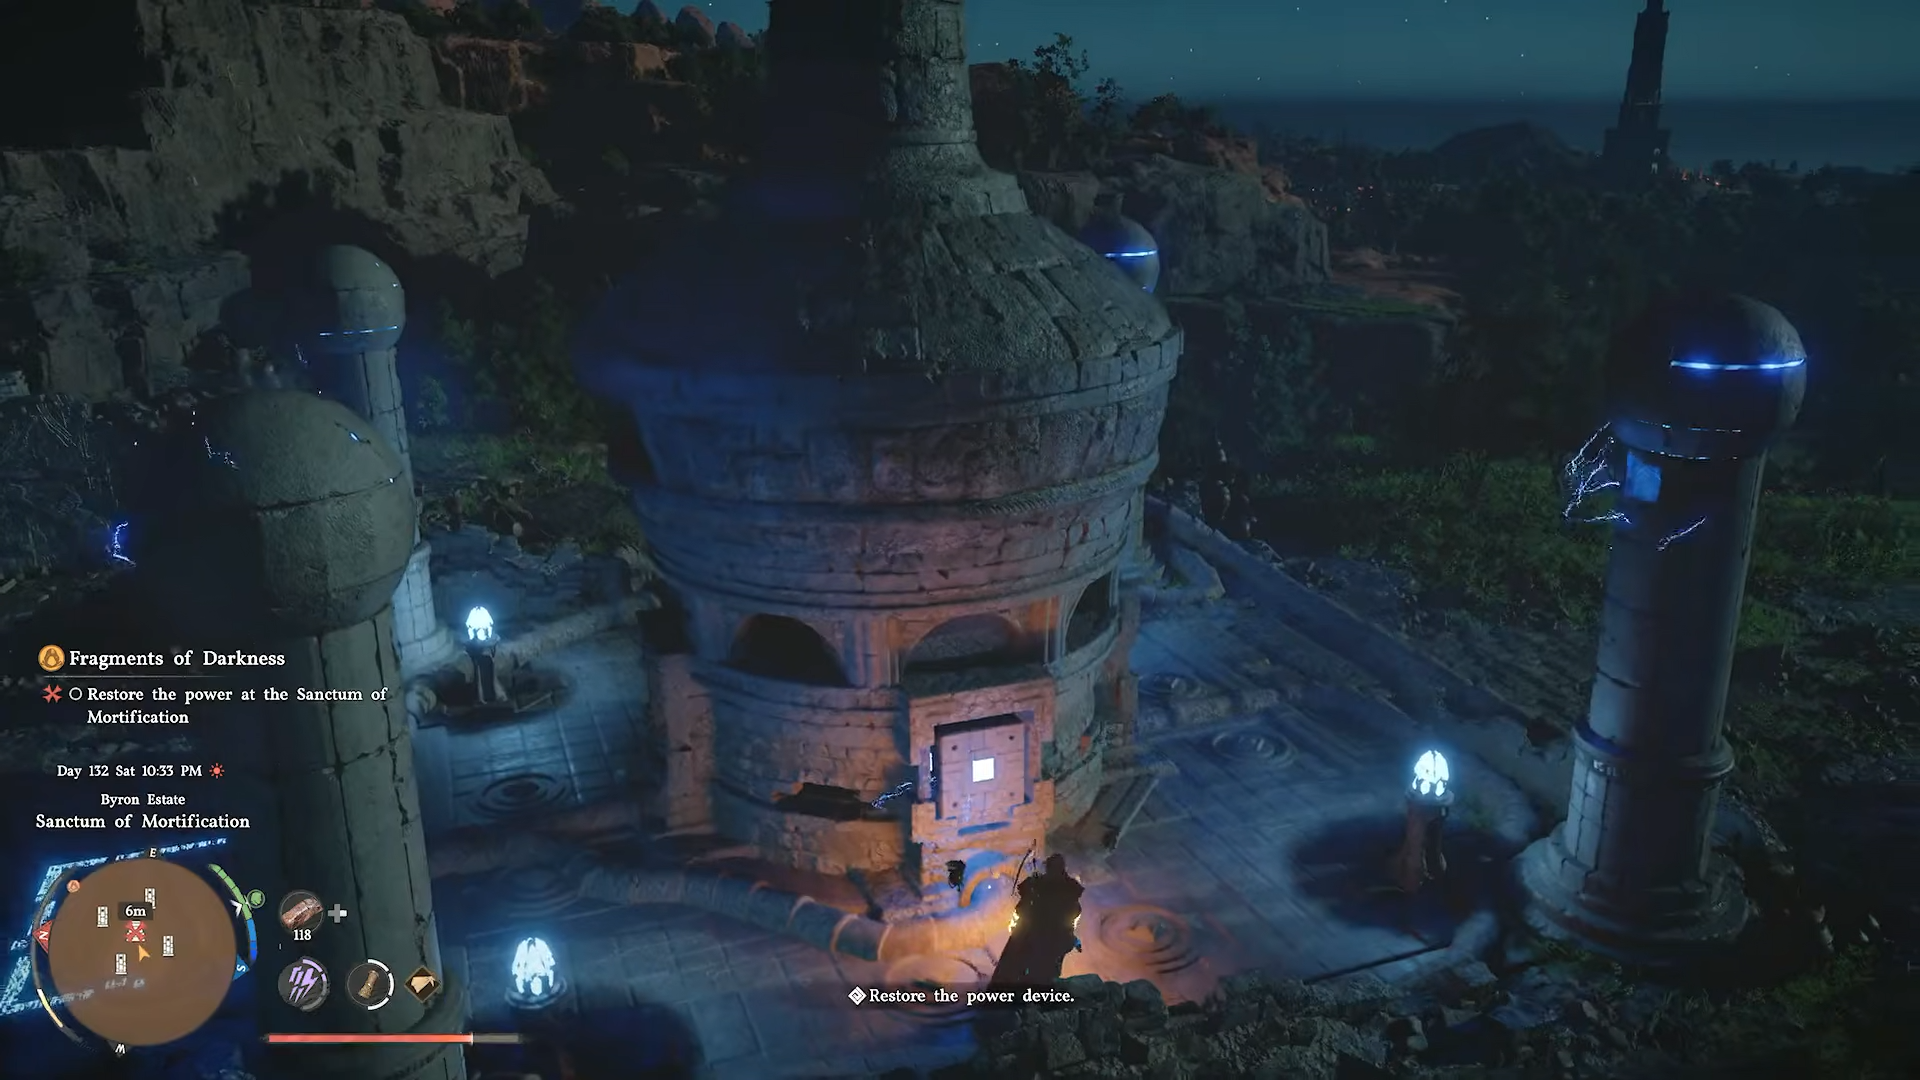
Sanctum of Mortification sits in rocky, elevated ruins dominated by a central tower‑like reactor ringed by pylons. The area empties out once you complete the main puzzle, so you can treat it as a cleared location afterward and return for any missed chests.
Enemies are light during the initial fight, but the real challenge is the precision‑oriented sequence of Axiom grabs, Force Palm links, and Concentrating Light burns.
Below is a quick‑glance table before you dive into the walkthrough.
How to cleanse the Sanctum of Mortification
Step 1: Enter the main building and grab the pylon dome
-
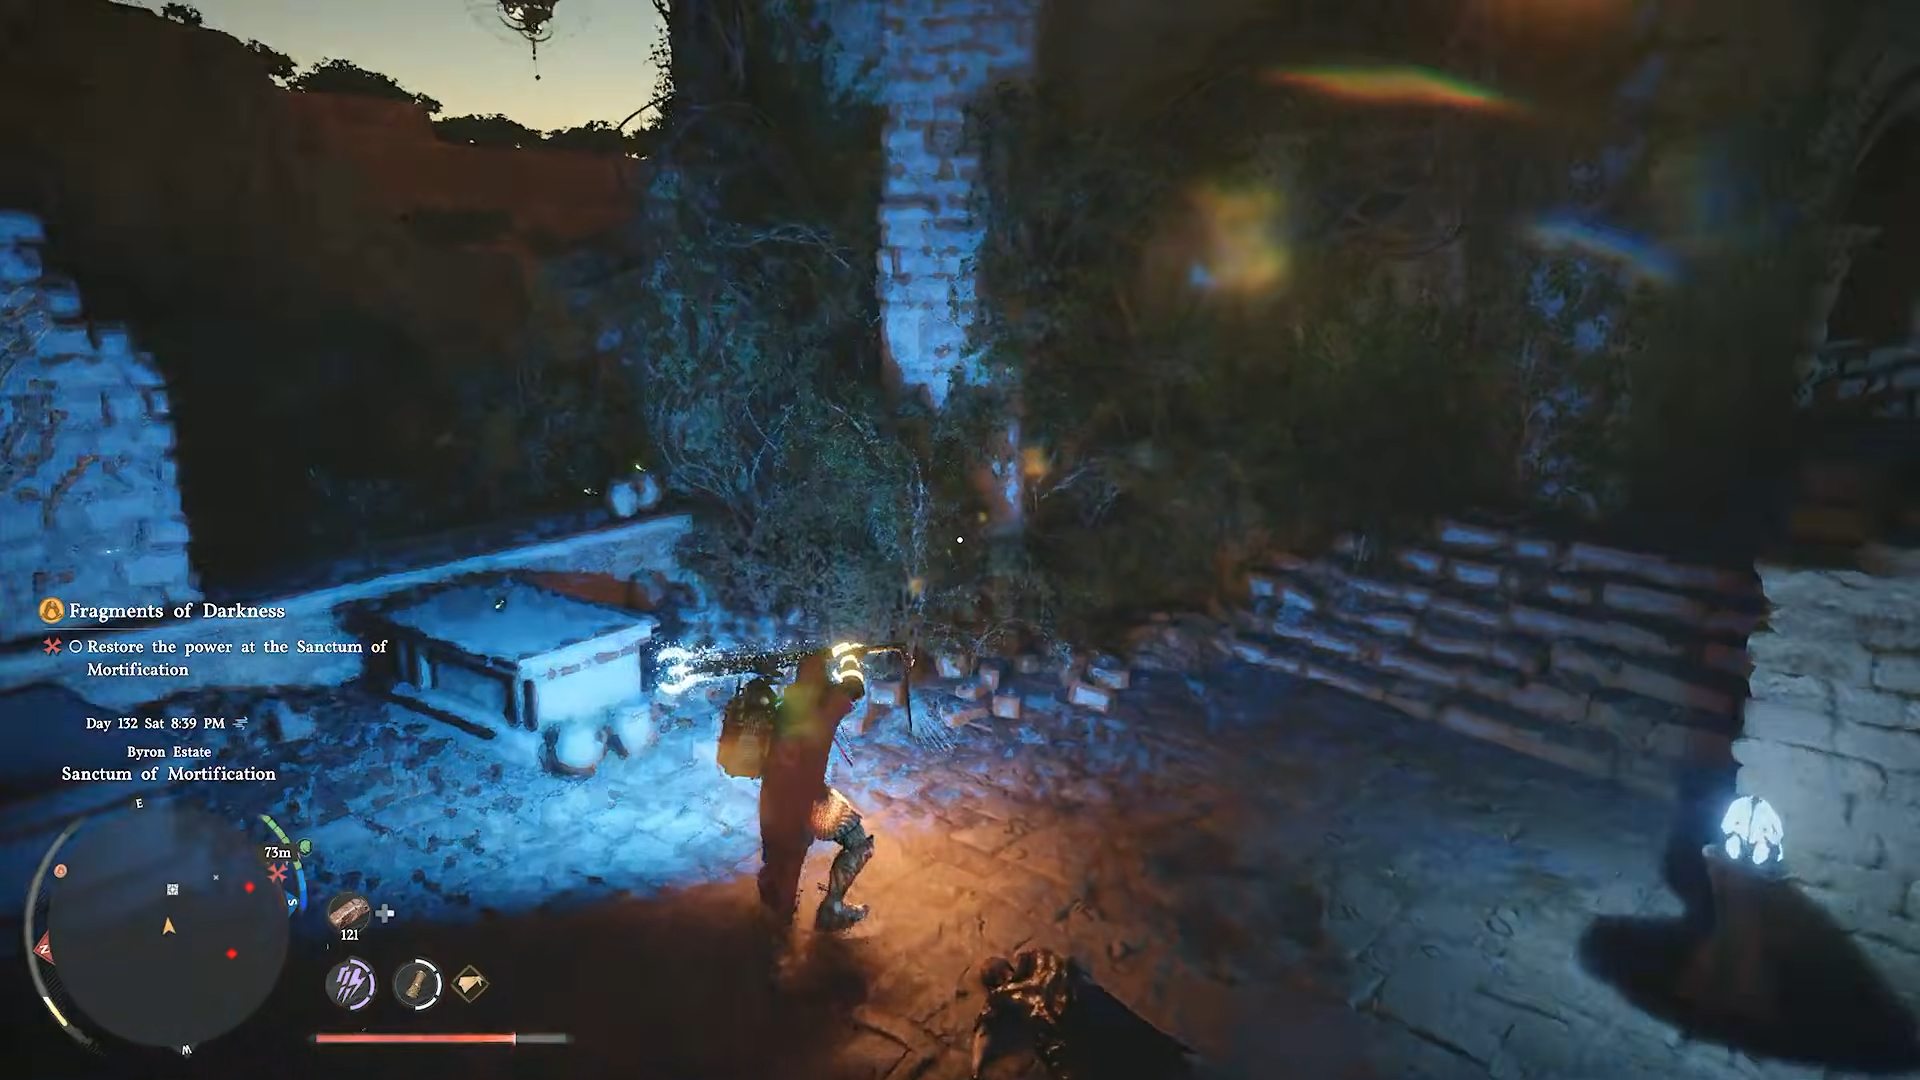
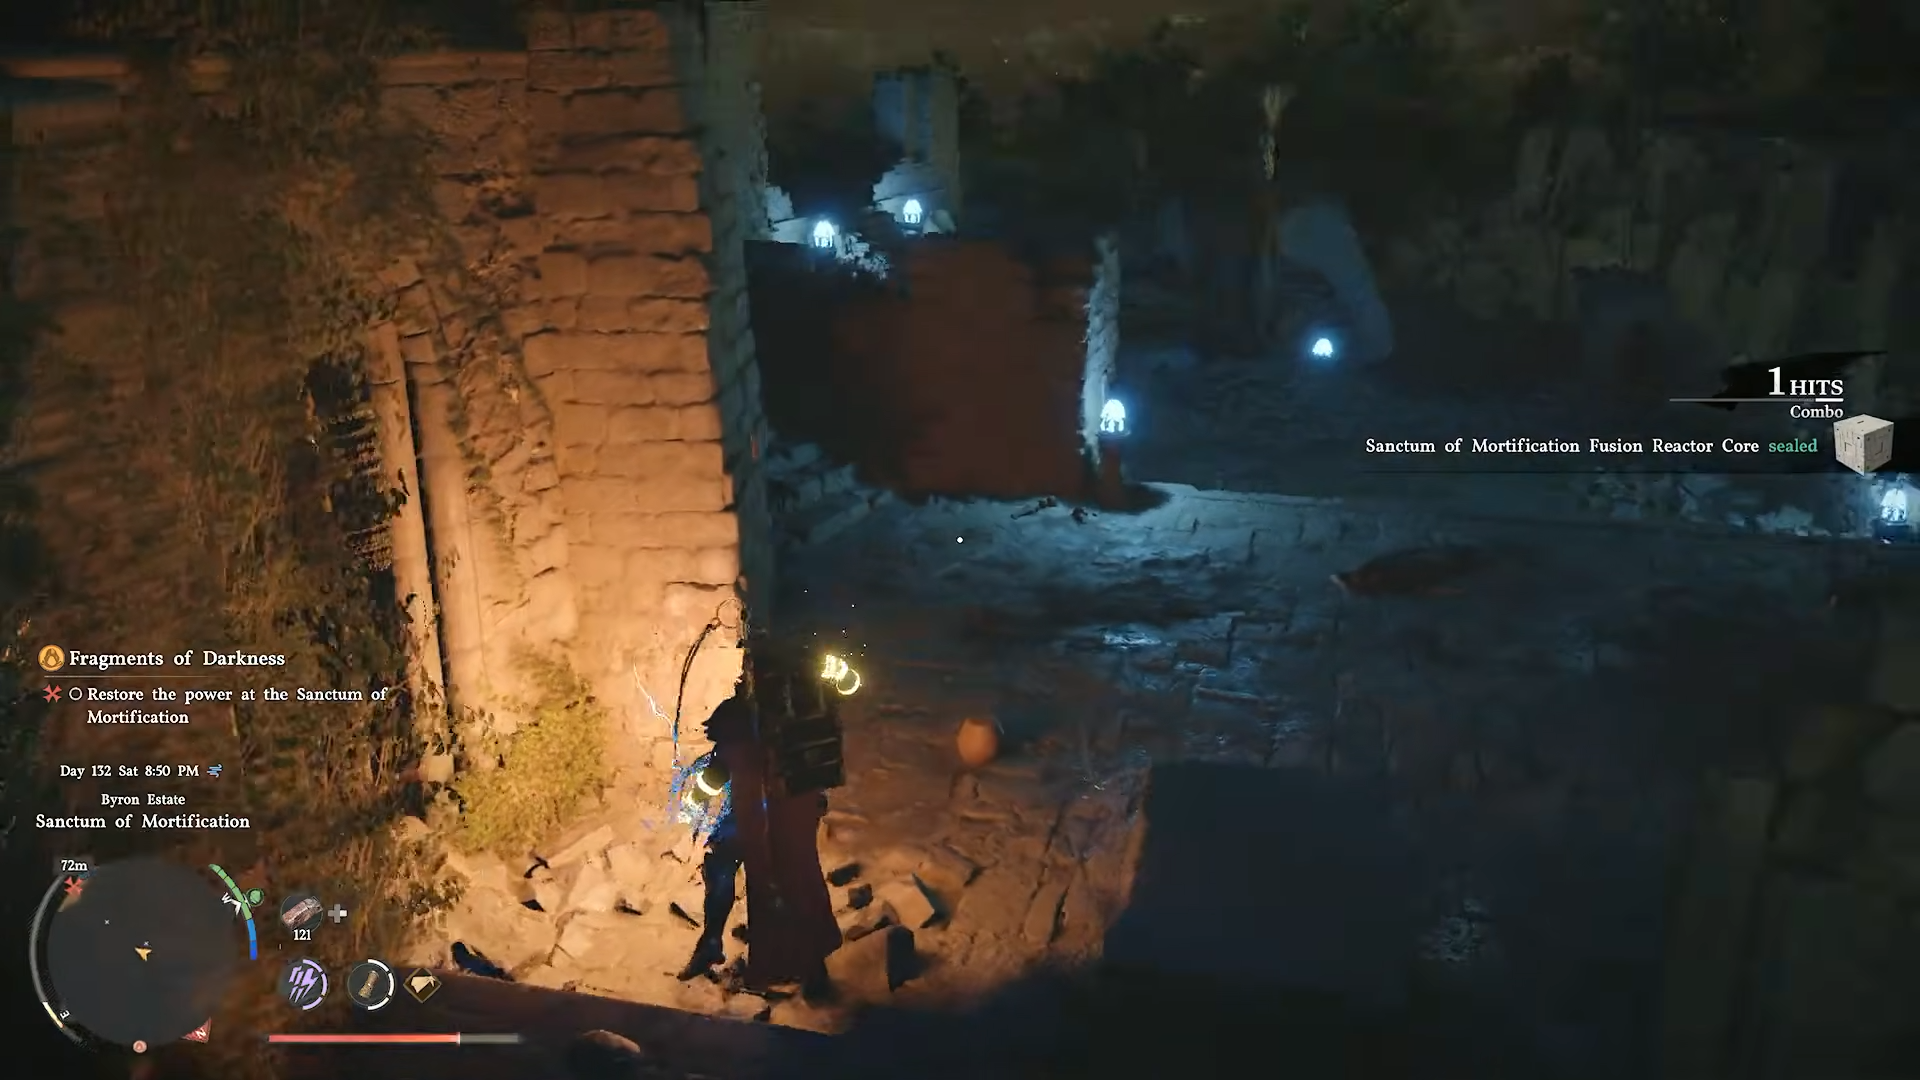
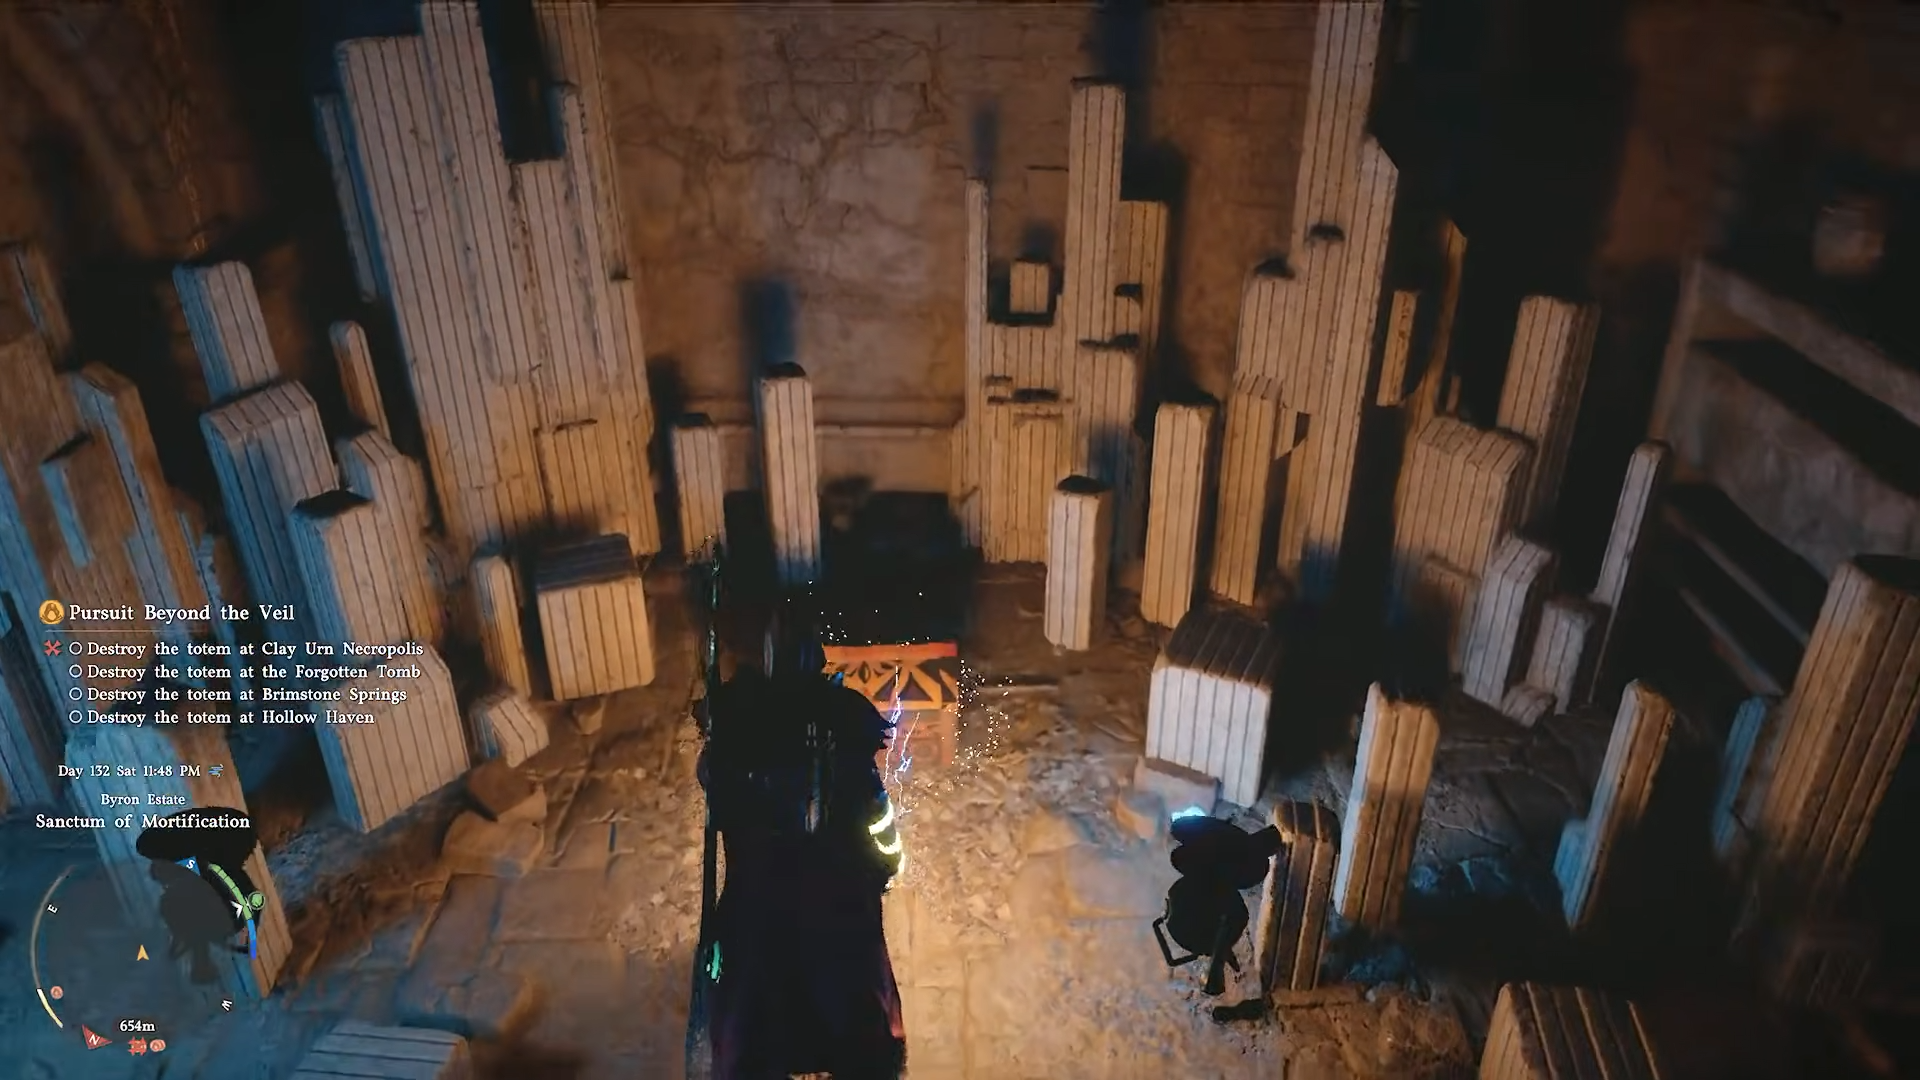
Head to the northern side of the sanctum and approach the main stone building.

-
From the side entrance at ground level, walk inside to the bottom floor.
-
You’ll see a broken pylon with a floating dome‑like top.
-
Activate Axiom Force (hold the Axiom key) on the dome to lift it, then carry it up the stairs and out of the building.
Step 2: Reattach the pylon dome
-
Place the dome above the broken pylon so it snaps into position.
-
When correctly seated, you’ll see small green leaves or a faint aura swirl around the joint, indicating the pylon is ready to be reactivated.
Step 3: Connect the pylon with Force Palm
-
Climb to the top of the pylon dome or the platform directly above it.
-
From there, perform a jumping Force Palm (jump then press the Force Palm key) toward the pylon’s shaft.
-
The pylon should snap into place, light up, and become electrified; if nothing happens, reposition your jump so the Force Palm hits the central column.

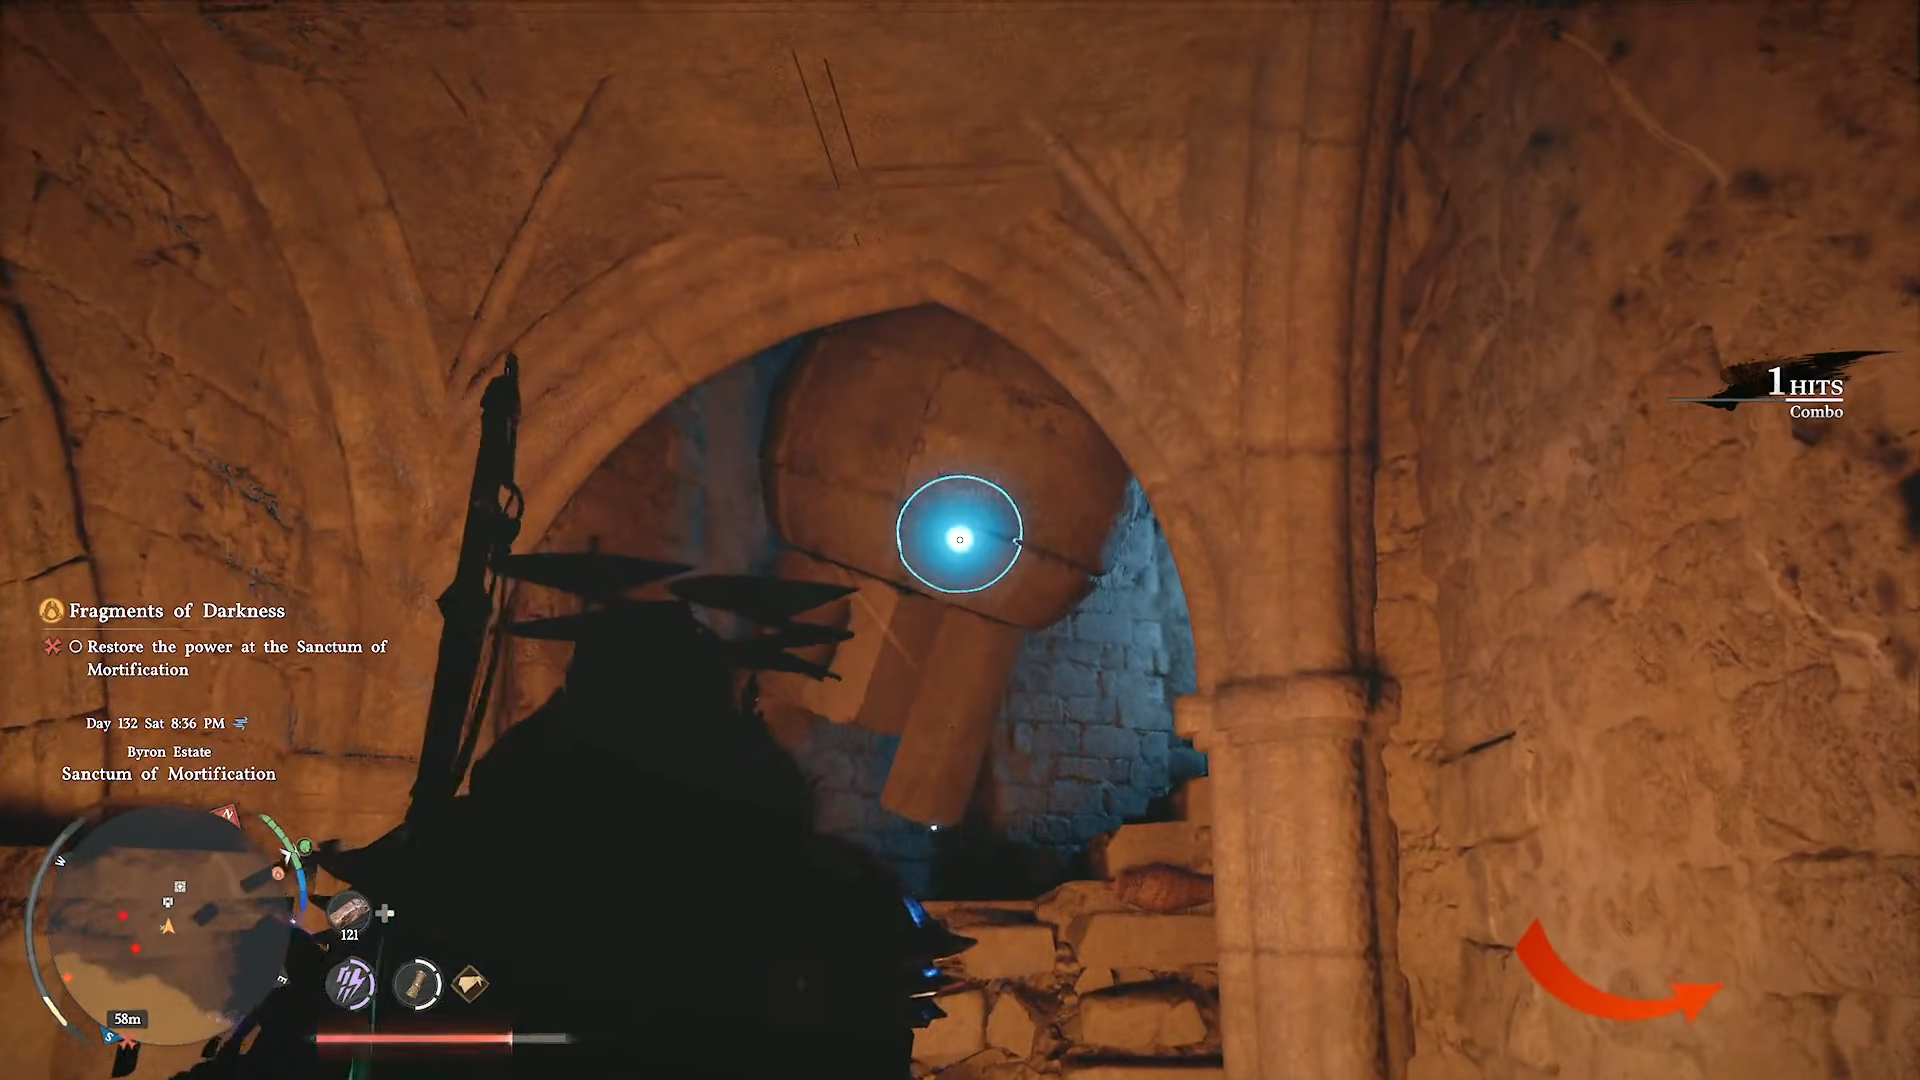
Step 4: Burn the vines on the outer wall
-
Move back outside, toward the northern exterior wall of the sanctum where you first grabbed the pylon part.
-
You’ll see thick vines or leaves covering a section of the wall. Use Concentrating Light to target them.
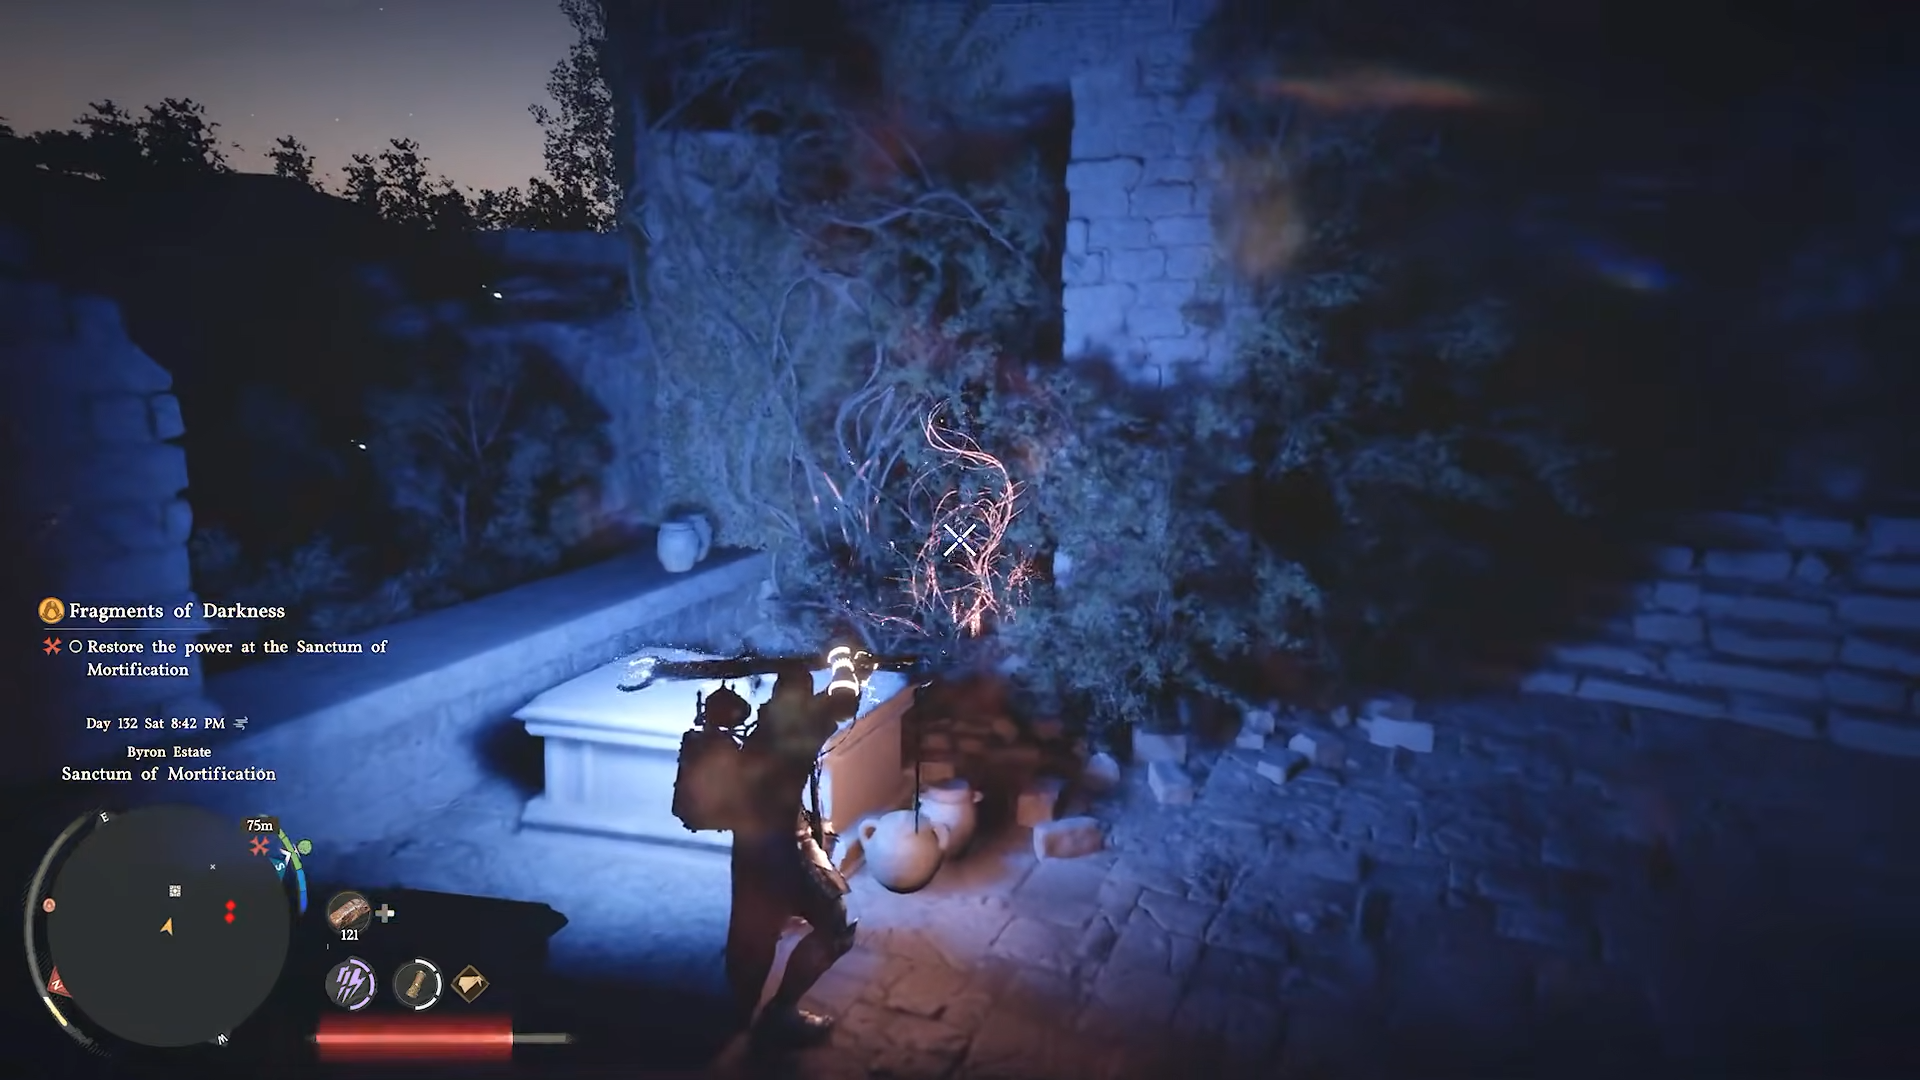
-
Hold the Concentrating Light key until the beam burns the vines away, revealing a small recess behind the wall.
Step 5: Grab the hidden cube and seal it
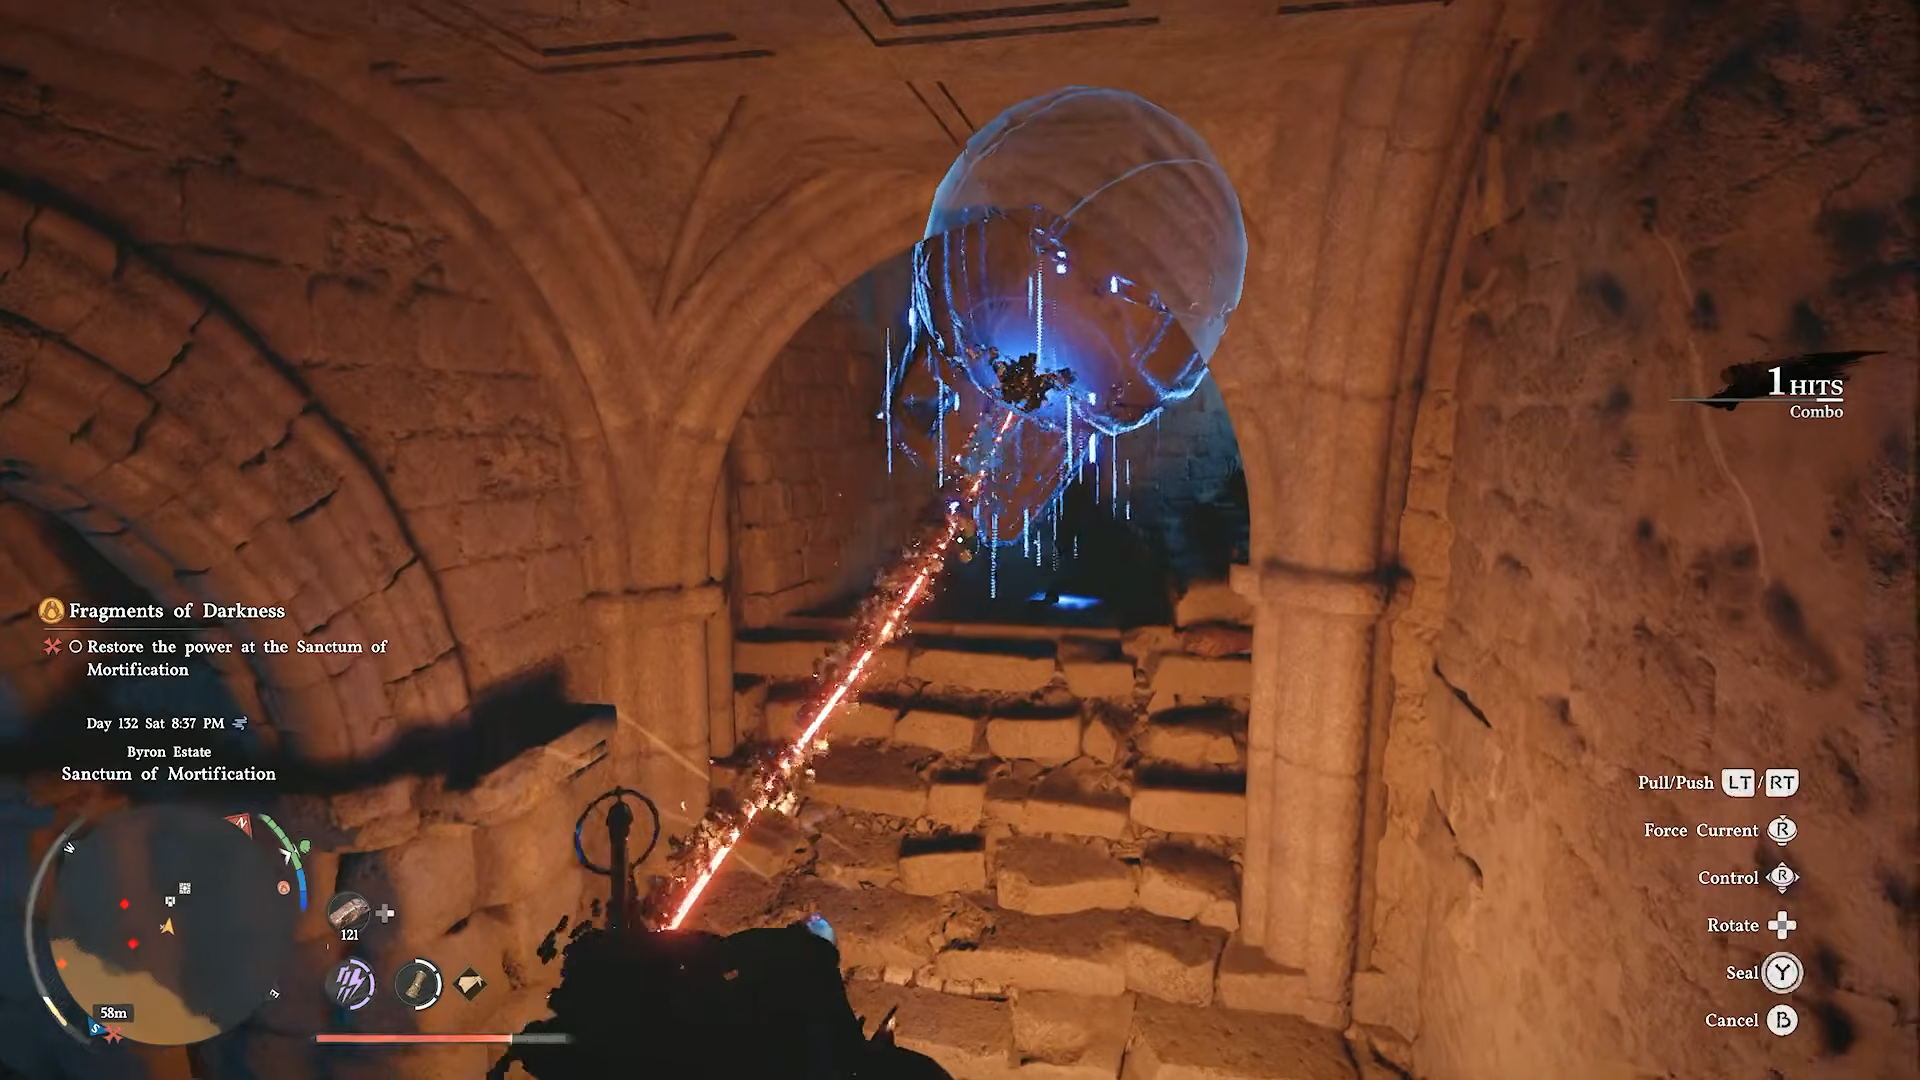
-
Peer into the recess and look for a cube‑shaped object behind bars or a grate.
-
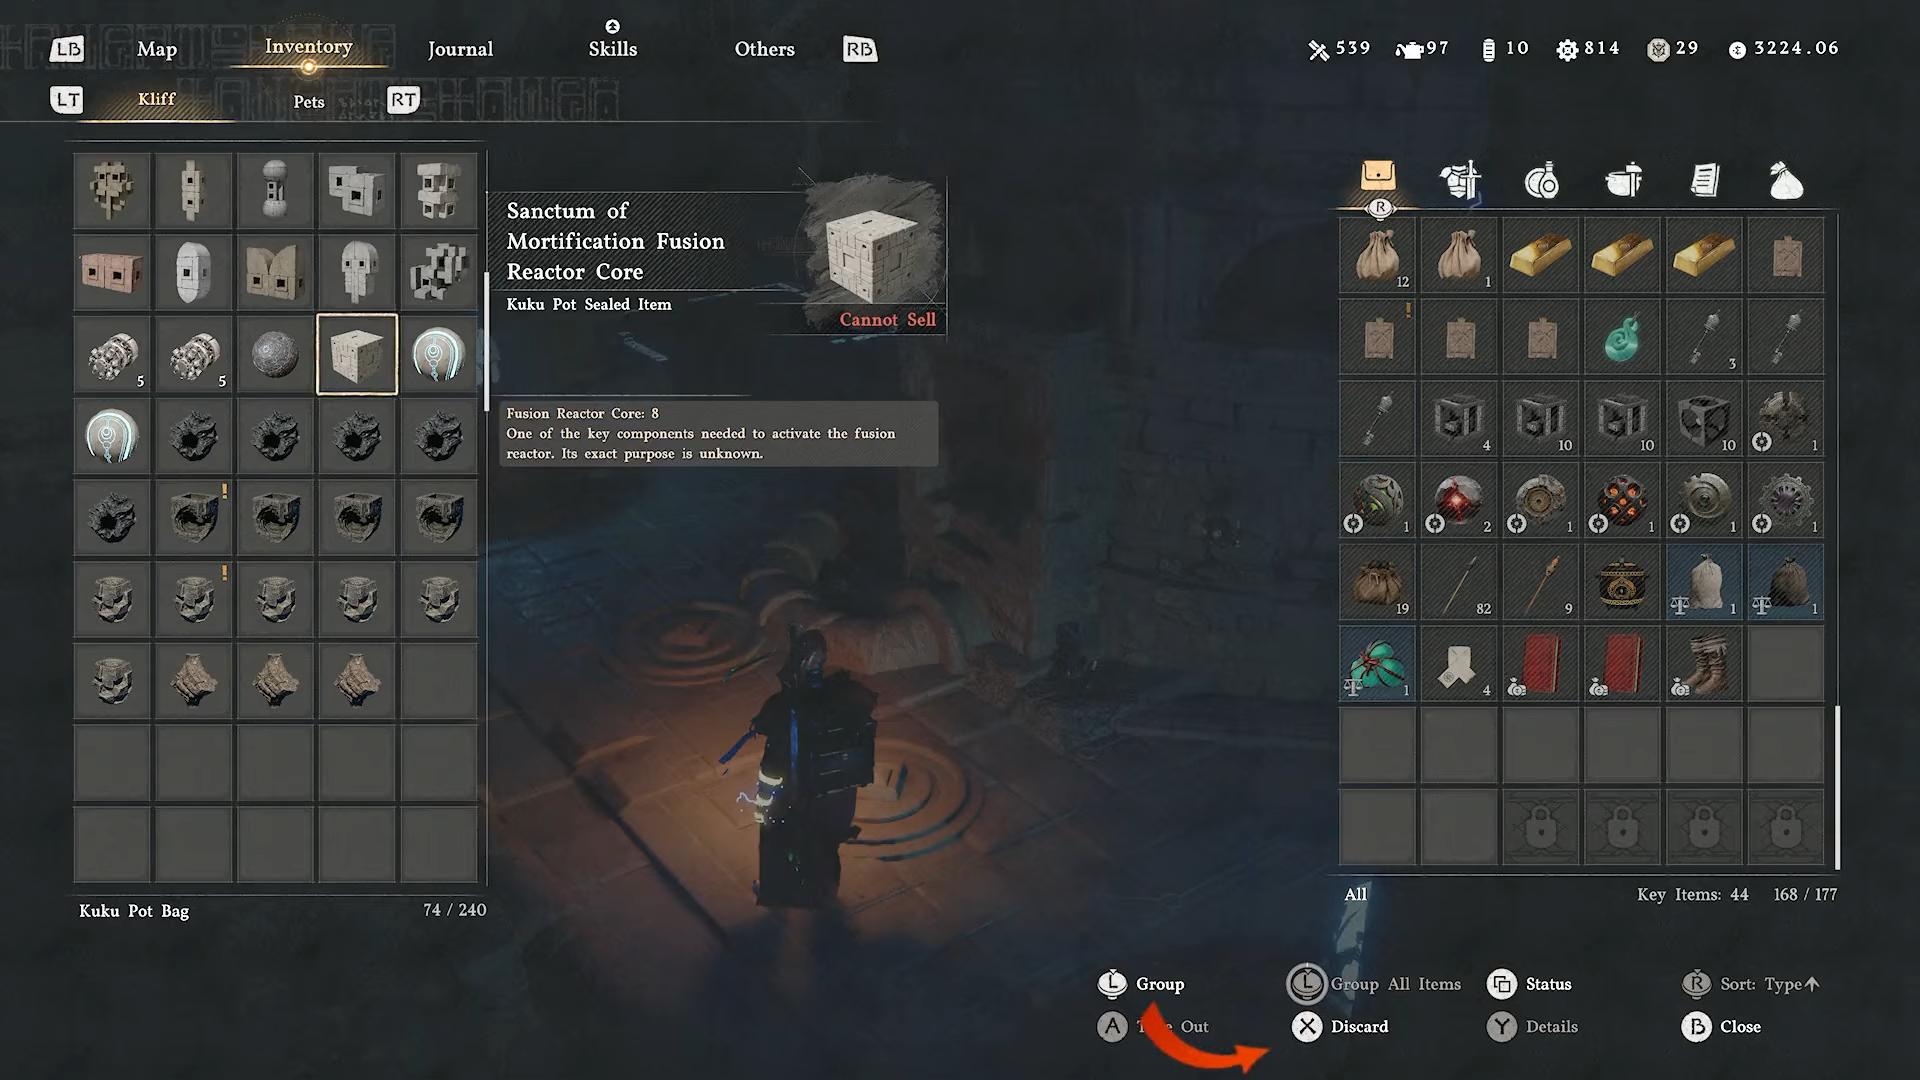
Use Axiom Force to reach through the bars and grab the cube, then press the “Seal” button to store it inside the Kuku Pot.
-
The item will be labeled something like “Fusion Reactor Core: VIII” once you examine it.
Step 6: Extract the core from the Kuku Pot
-
Return to the area where you fixed the pylon, then open your inventory.
-
Examine the Kuku Pot and select the Fusion Reactor Core inside.
-
Choose the option to discard or drop it so it appears in the world at your feet; this step is required so you can manually slot it into the tower.
Step 7: Plug the core into the reactor‑tower
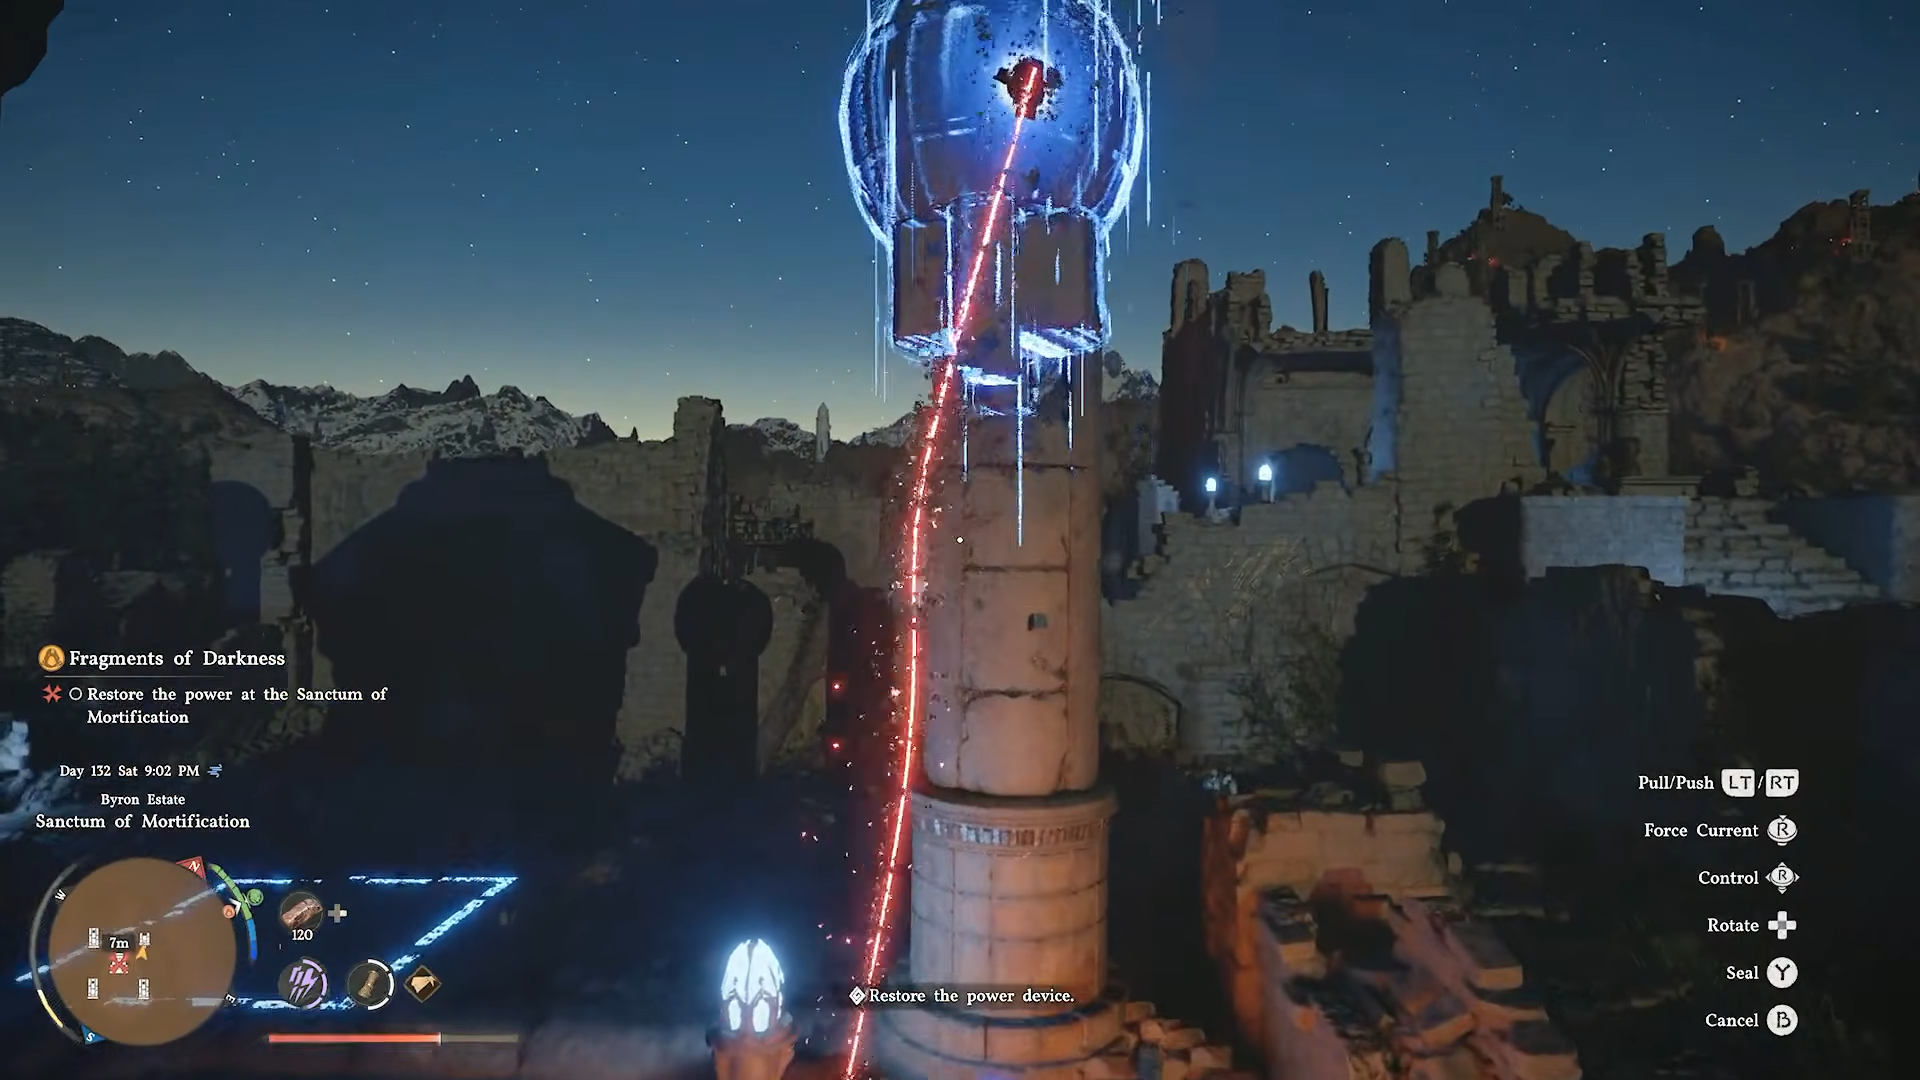
-
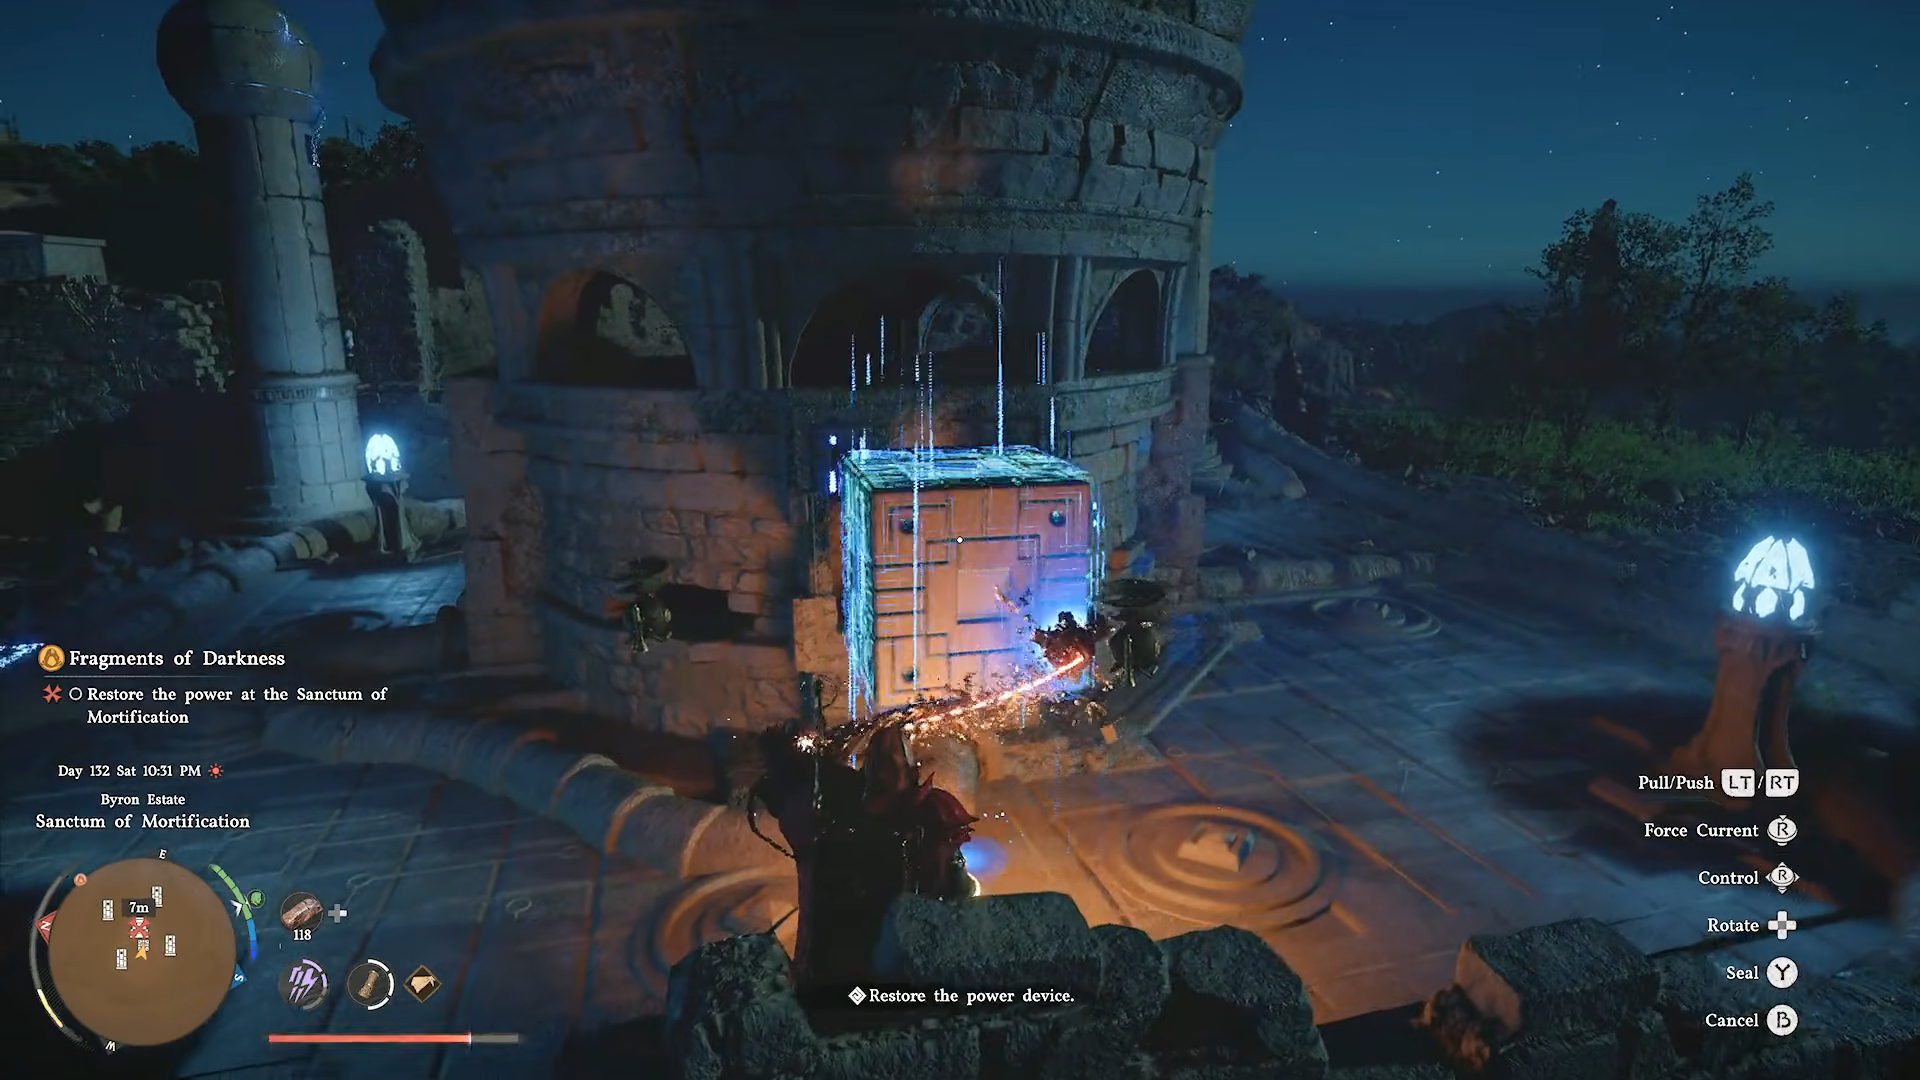
Approach the large central tower (the reactor ringed by the four pylons) and locate the socket on its side.
-
Use Axiom Force to lift the dropped core again, then move until the cursor or prompt indicates you can insert it.
-
Press the interact key to push the core into the socket, then follow up with a Force Palm hit to lock it in place.
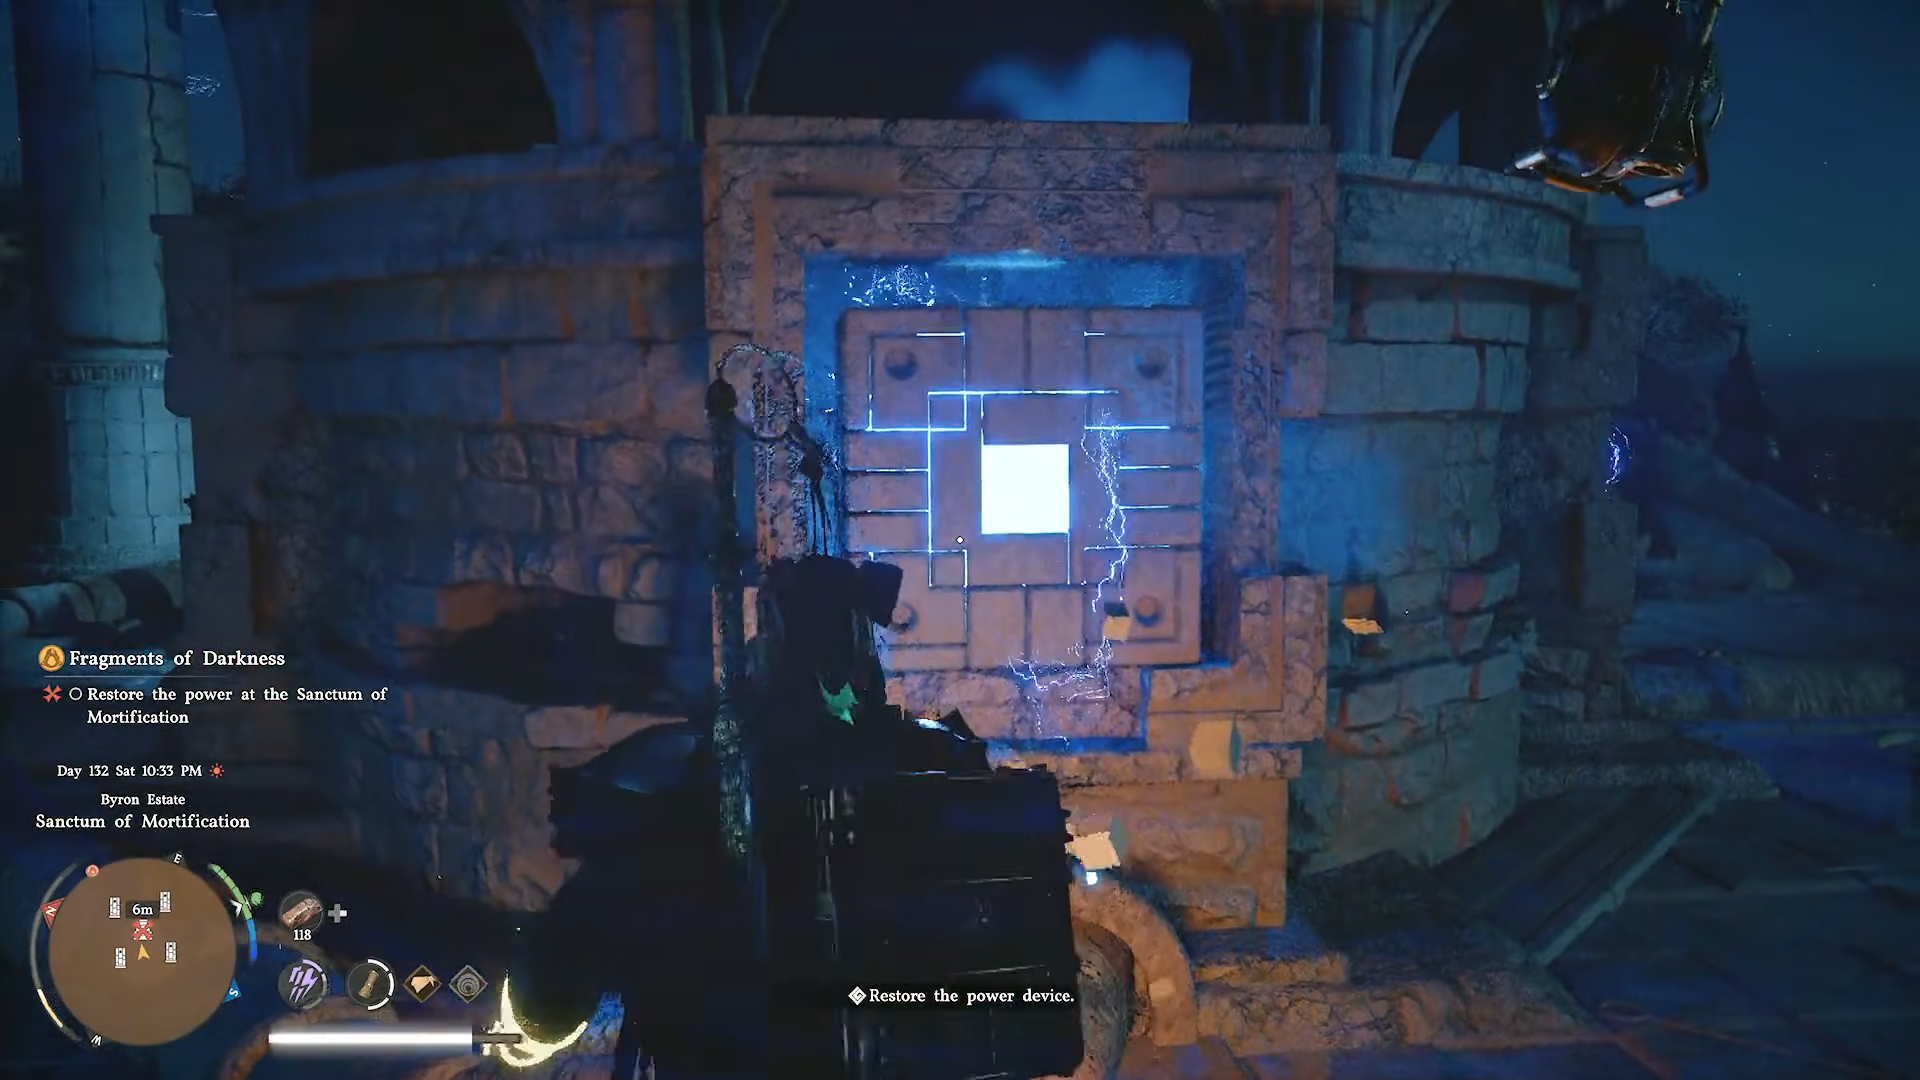
Once the core is seated and the Force Palm connects, the reactor will power up, play a brief cutscene, and the main cleansing objective for the sanctum will complete.
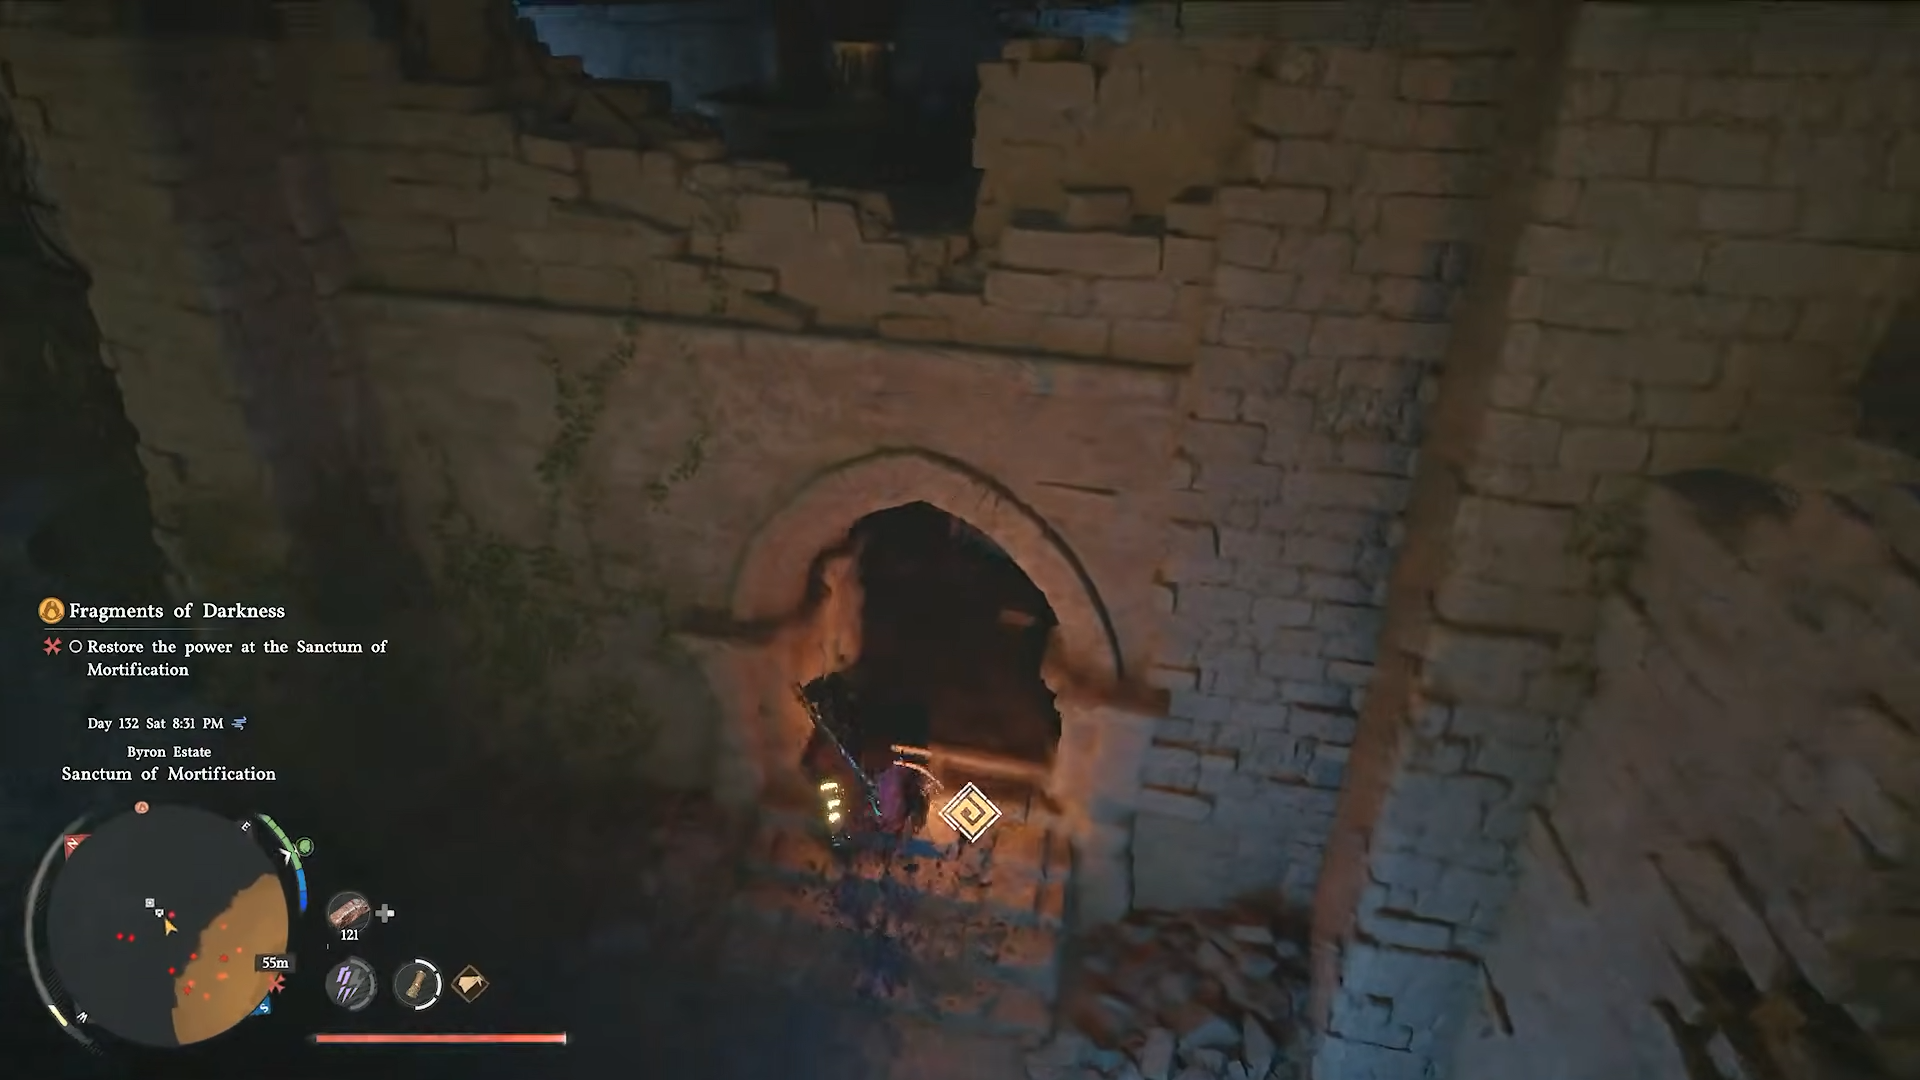
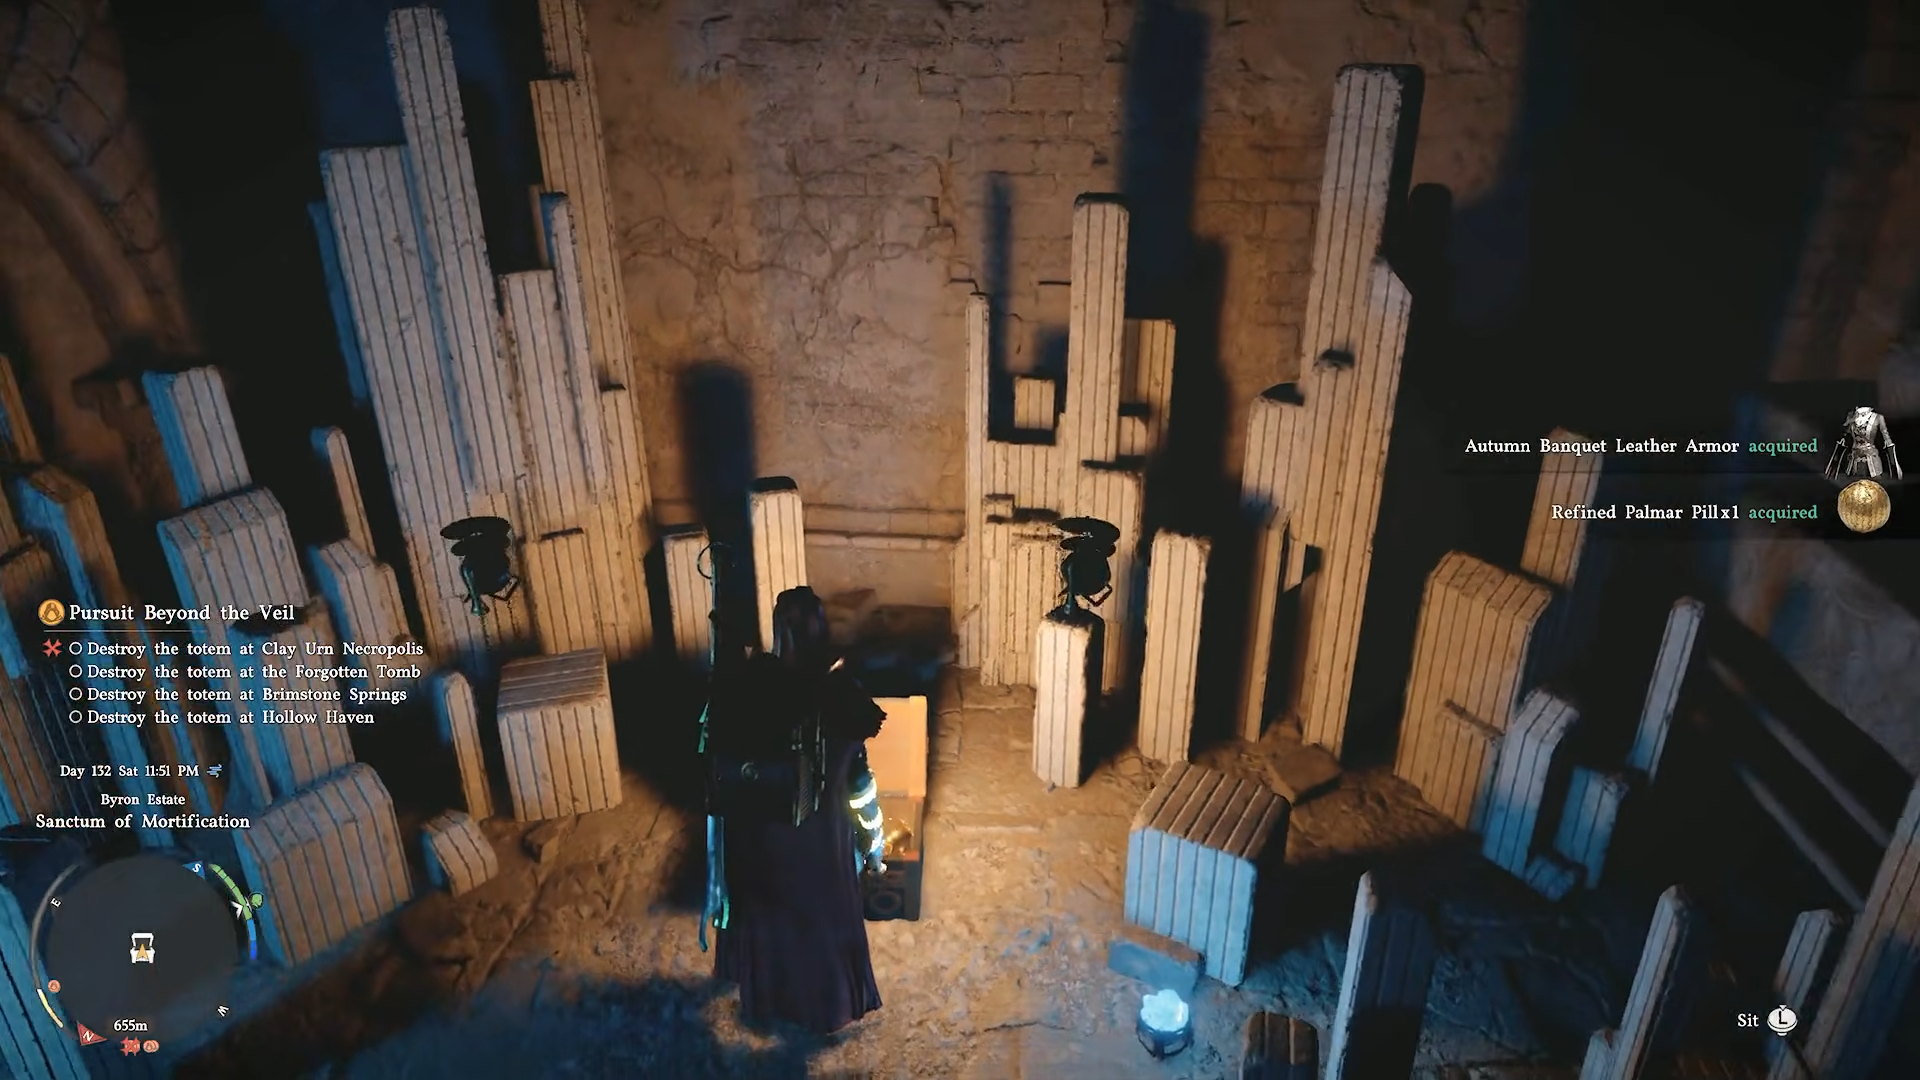
How to open the secret chest at Sanctum of Mortification
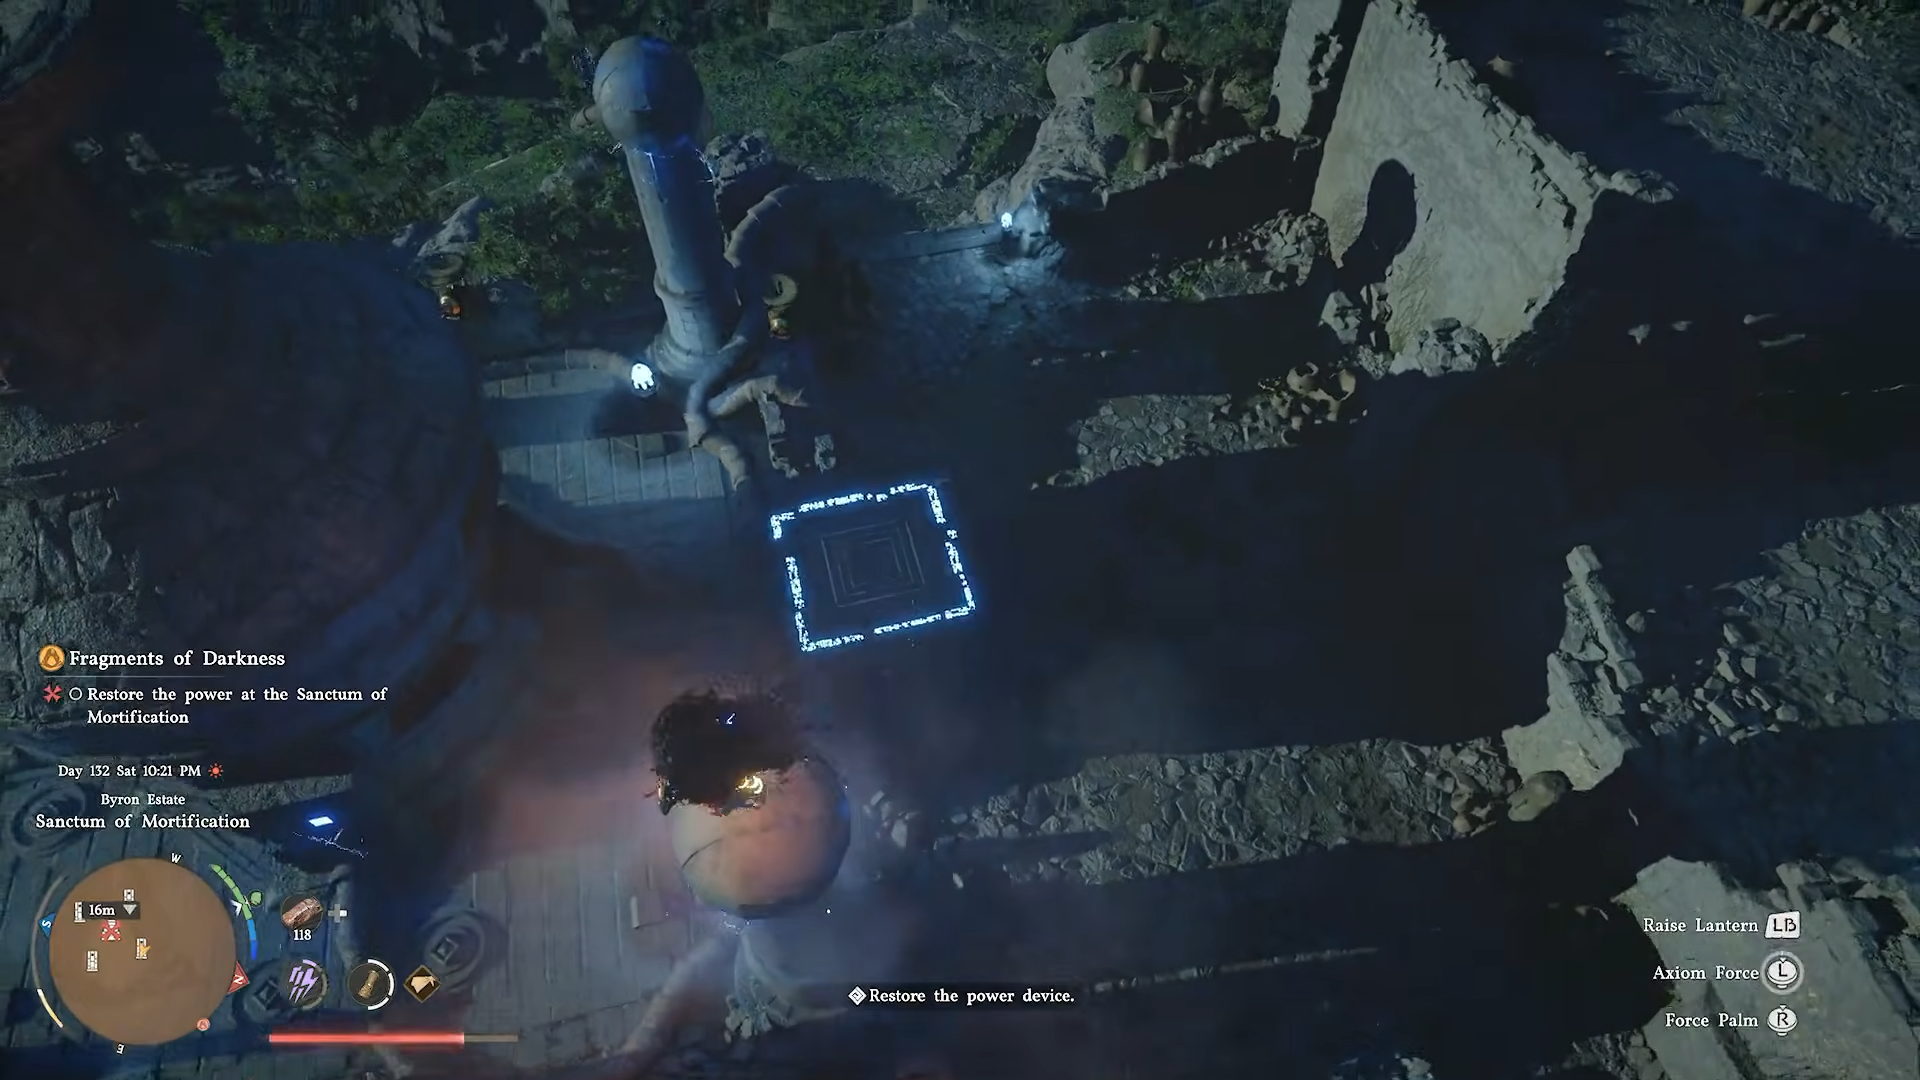
The secret chest is usually tucked into an out‑of‑the‑way nook once the area is clear, often near the reactor or on a ledge behind the pylons.
-
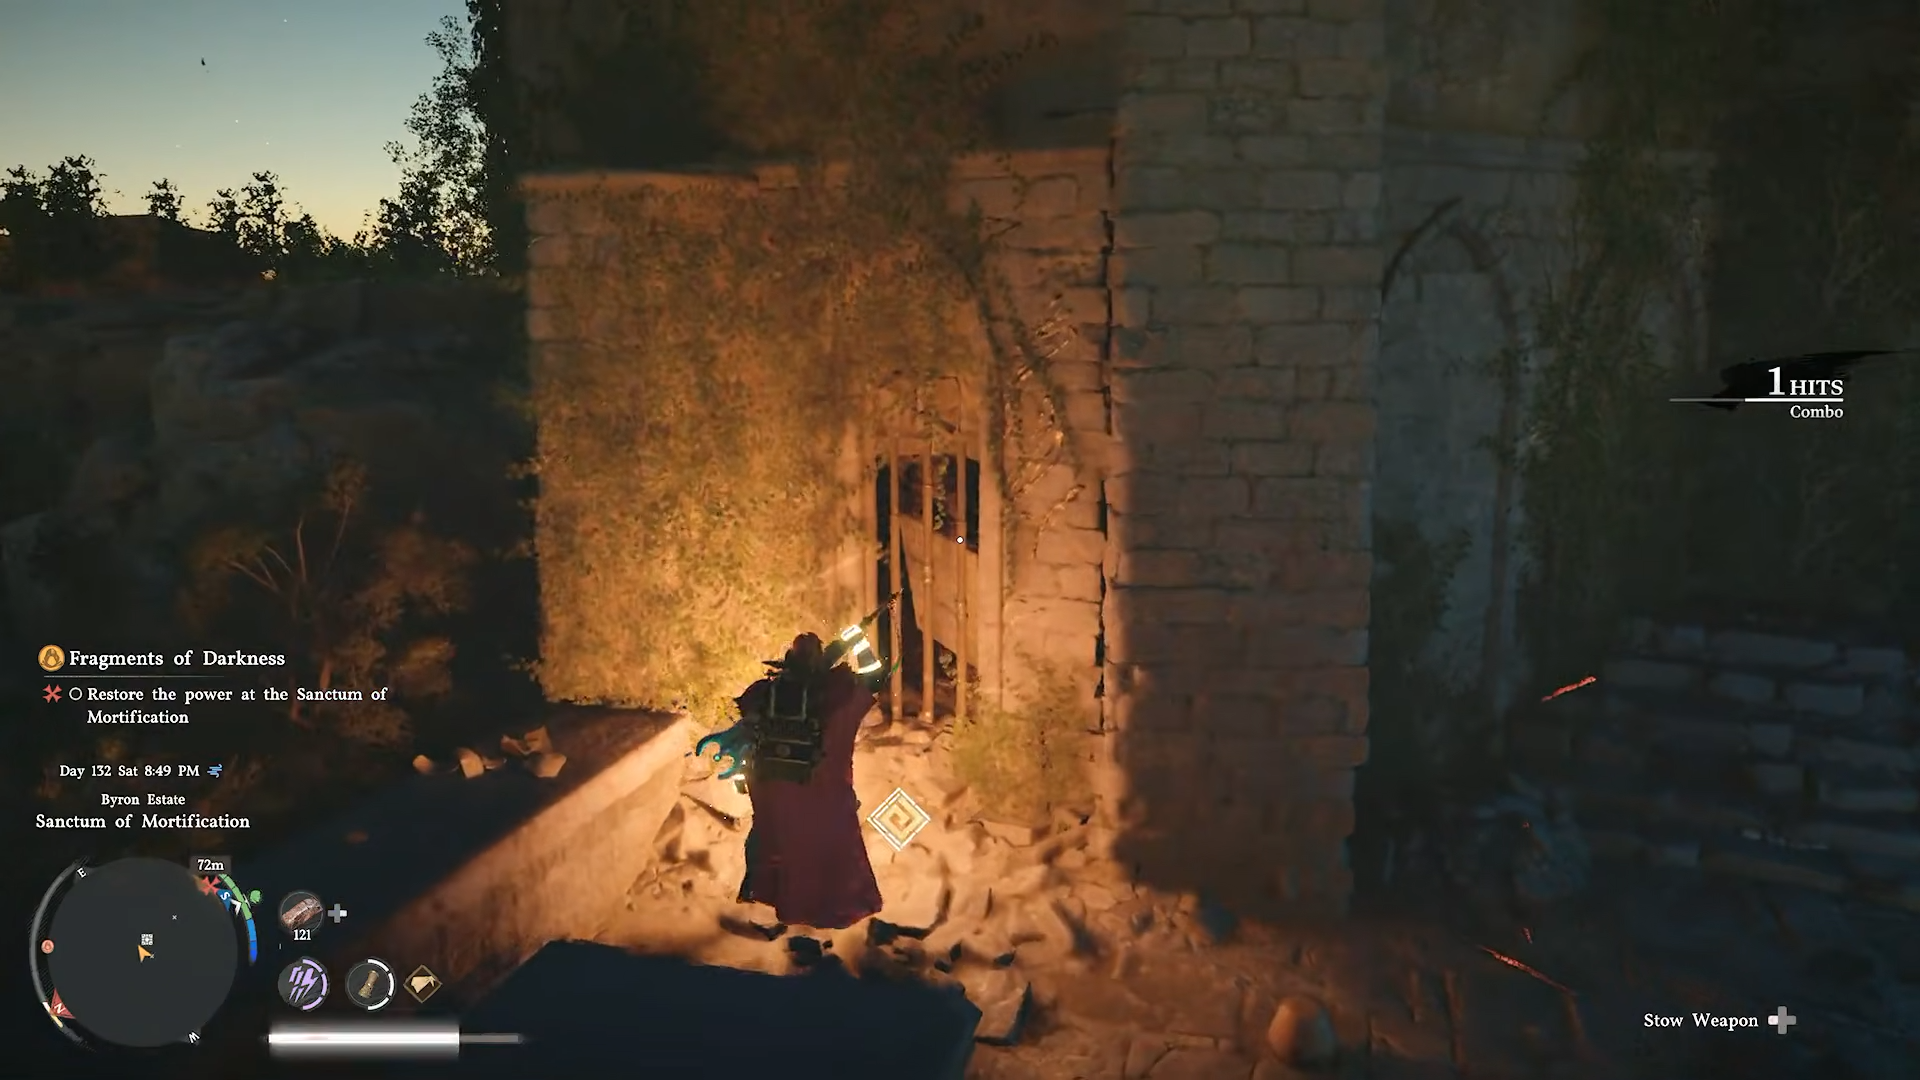
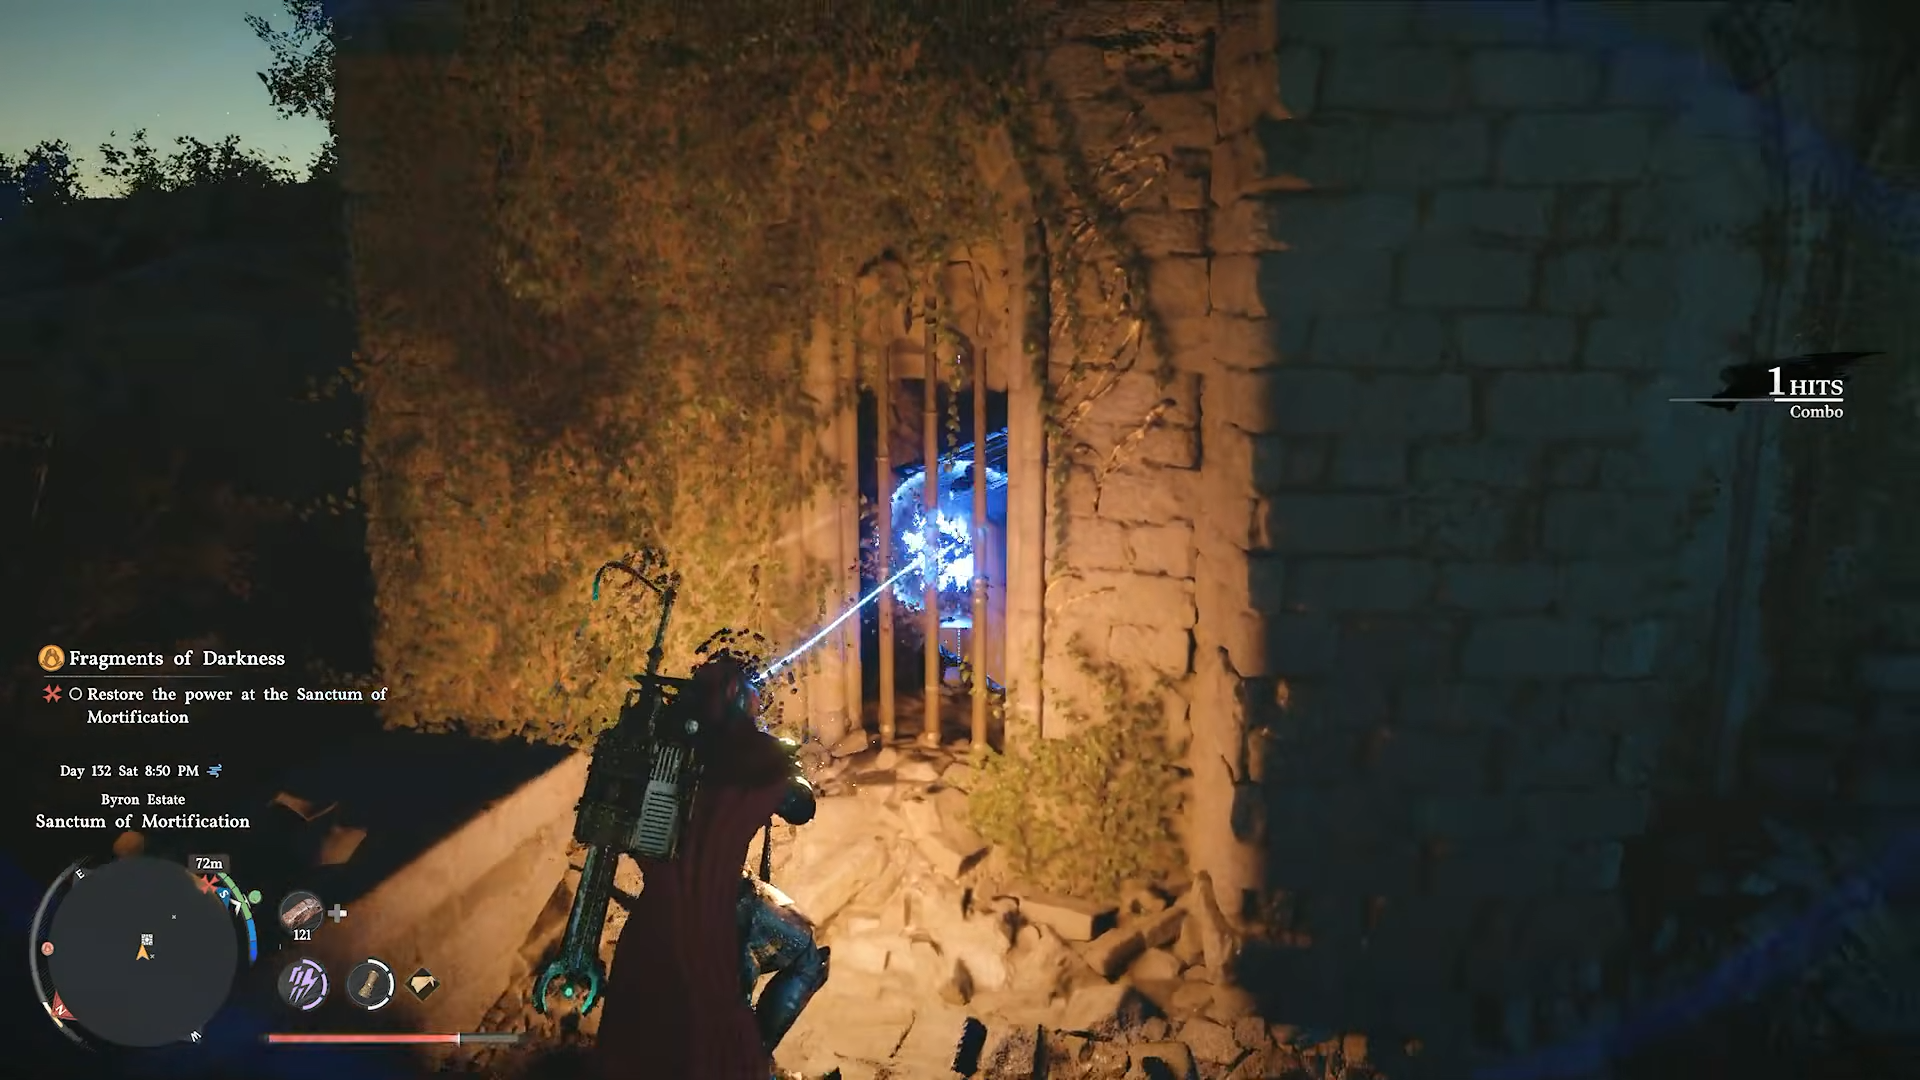
After the reactor powers up and the main quest step finishes, run a quick loop around the entire structure at ground level and on the immediate surrounding rocks.
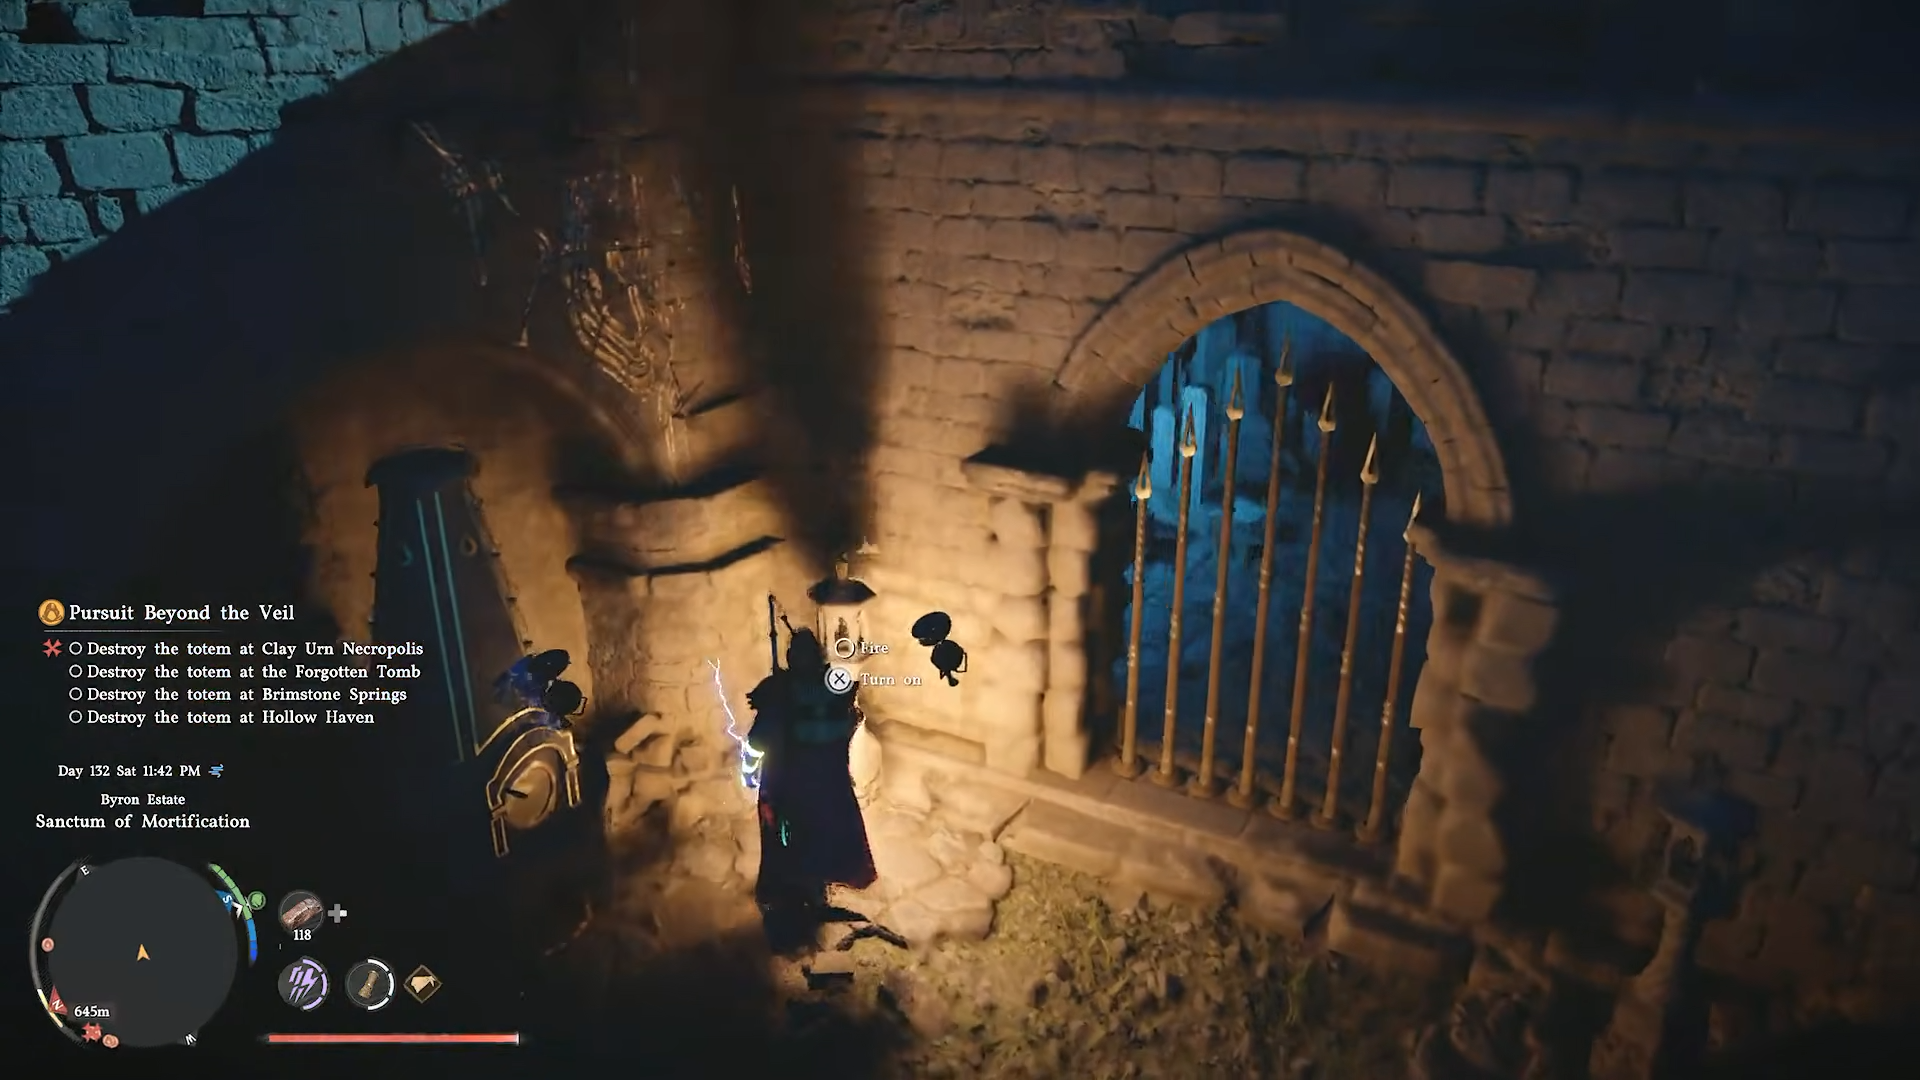
- Find a locked gate behind a wall. Light the two lamps to unlock the gate.
-
Look for a small chest icon inside.
-
Unlike the mandatory puzzle loot, this chest is optional and can be opened anytime after the reactor is active, even if you come back later.
How to get the Mortification Core from the reactor
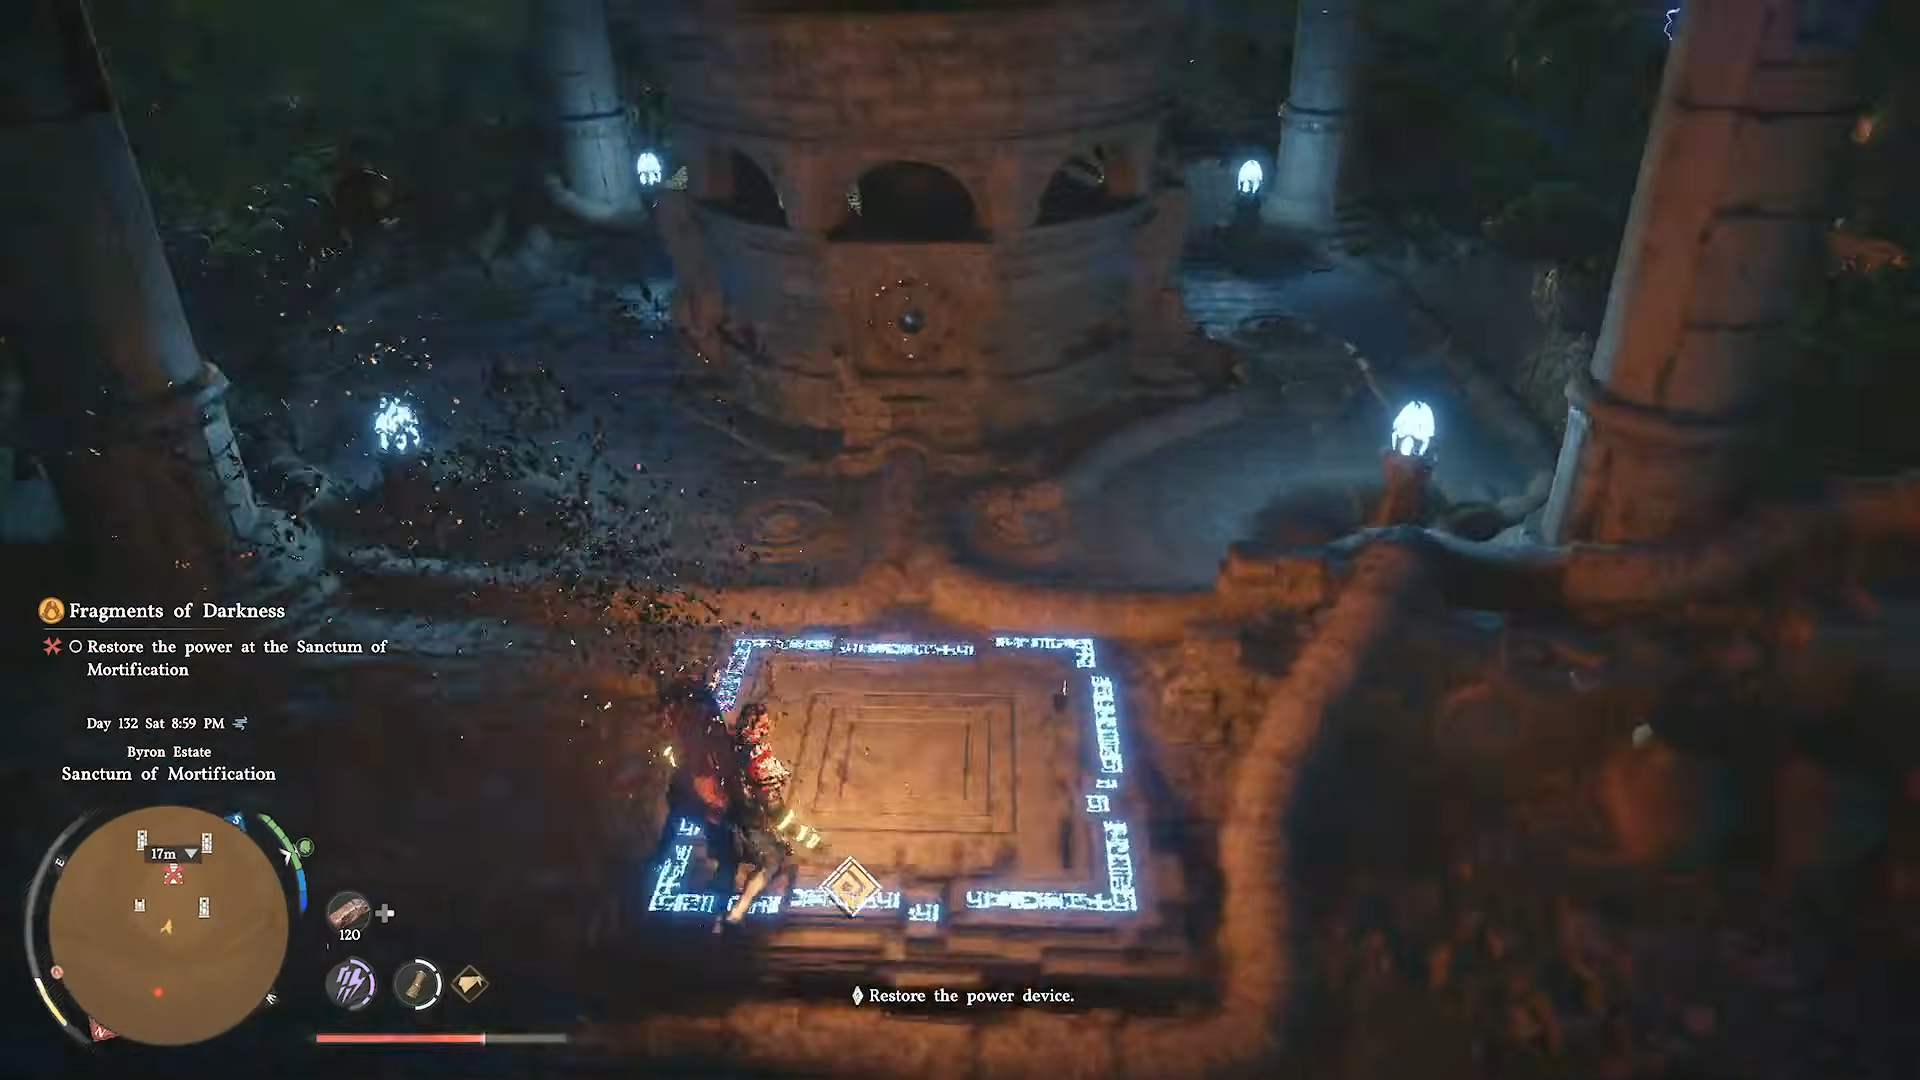
The Mortification Core is obtained by interacting with a small gem‑line puzzle in the center of the powered‑up reactor:
-
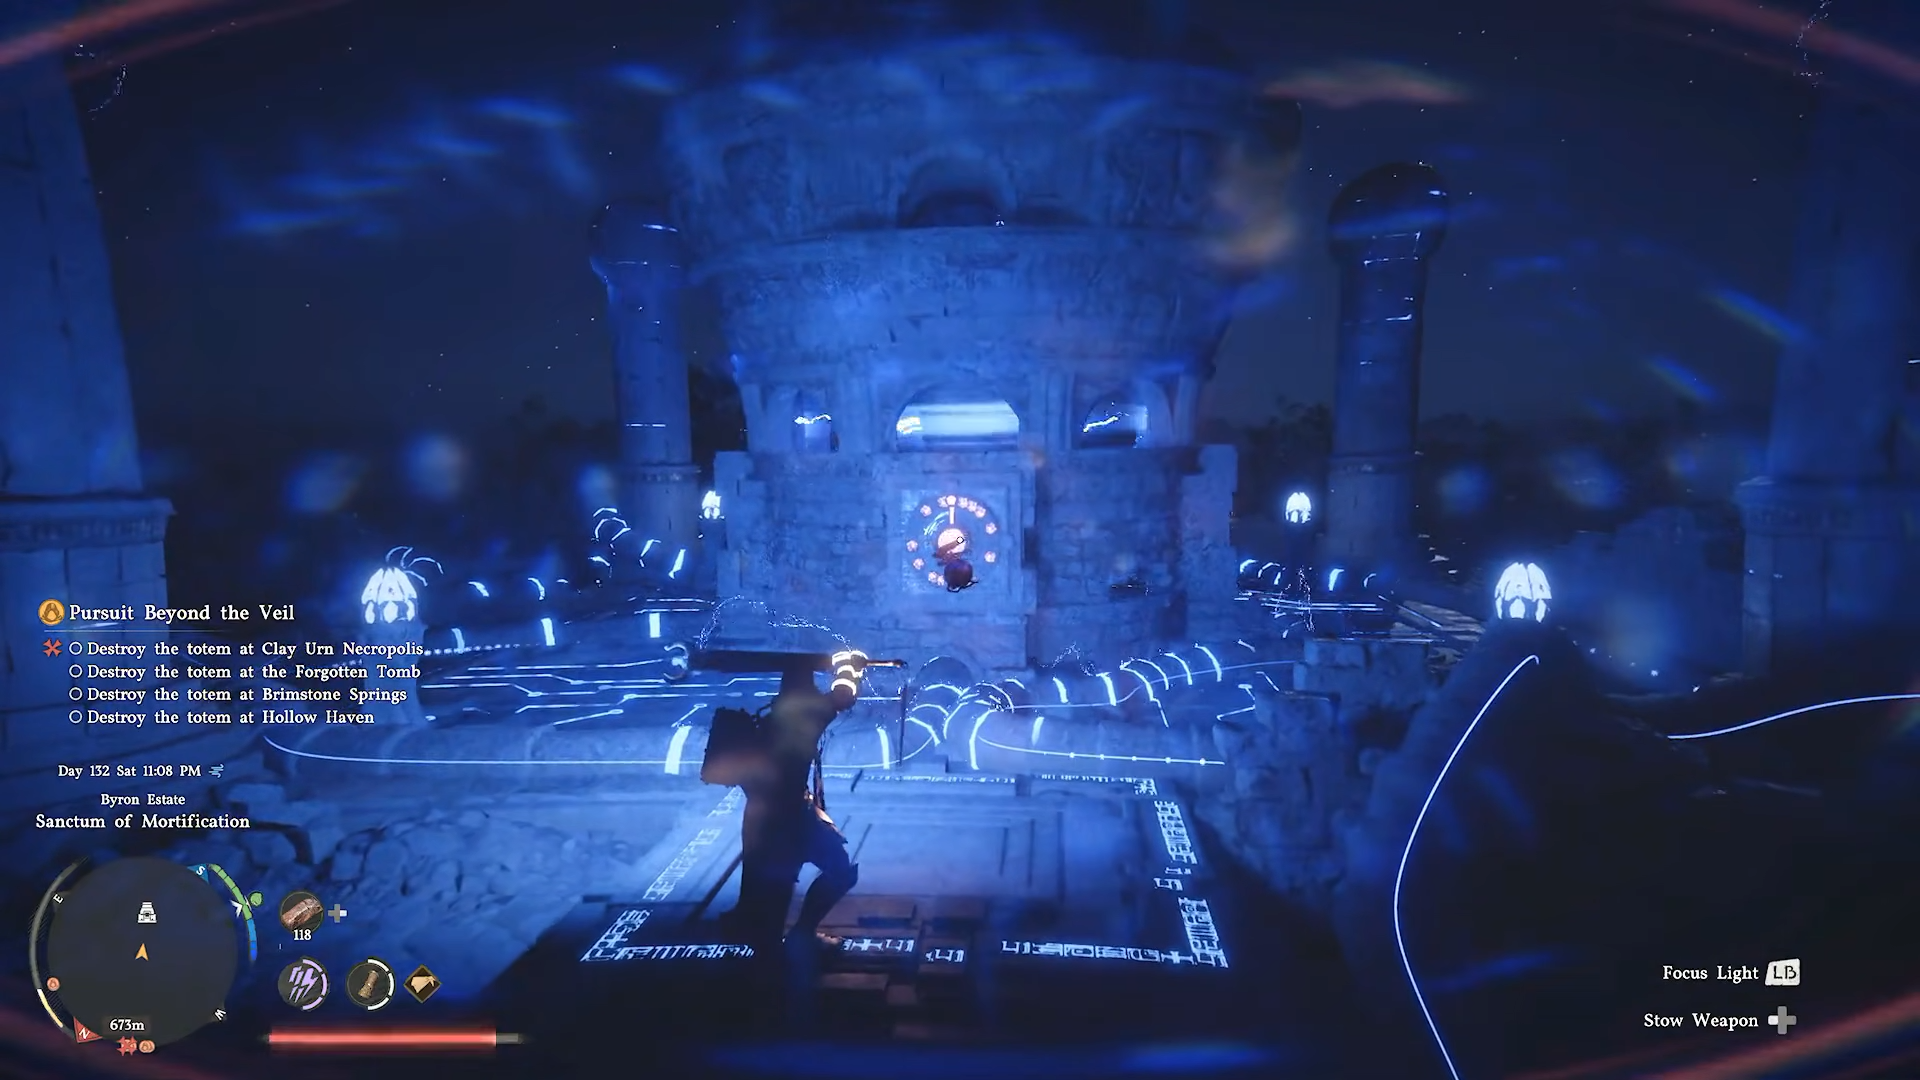
After the cutscene, go to the very center of the machine, where the reactor’s top section churns or glows.

-
Look for several small gems or sockets arranged in a circle around the central shaft. One or more of these will briefly glow blue when a beam‑like line passes through them.
-
Use the Concentrating Light button (or equivalent) only when the line is aligned with one of the gems so its light turns blue; if the line is not on the gem, hold off.
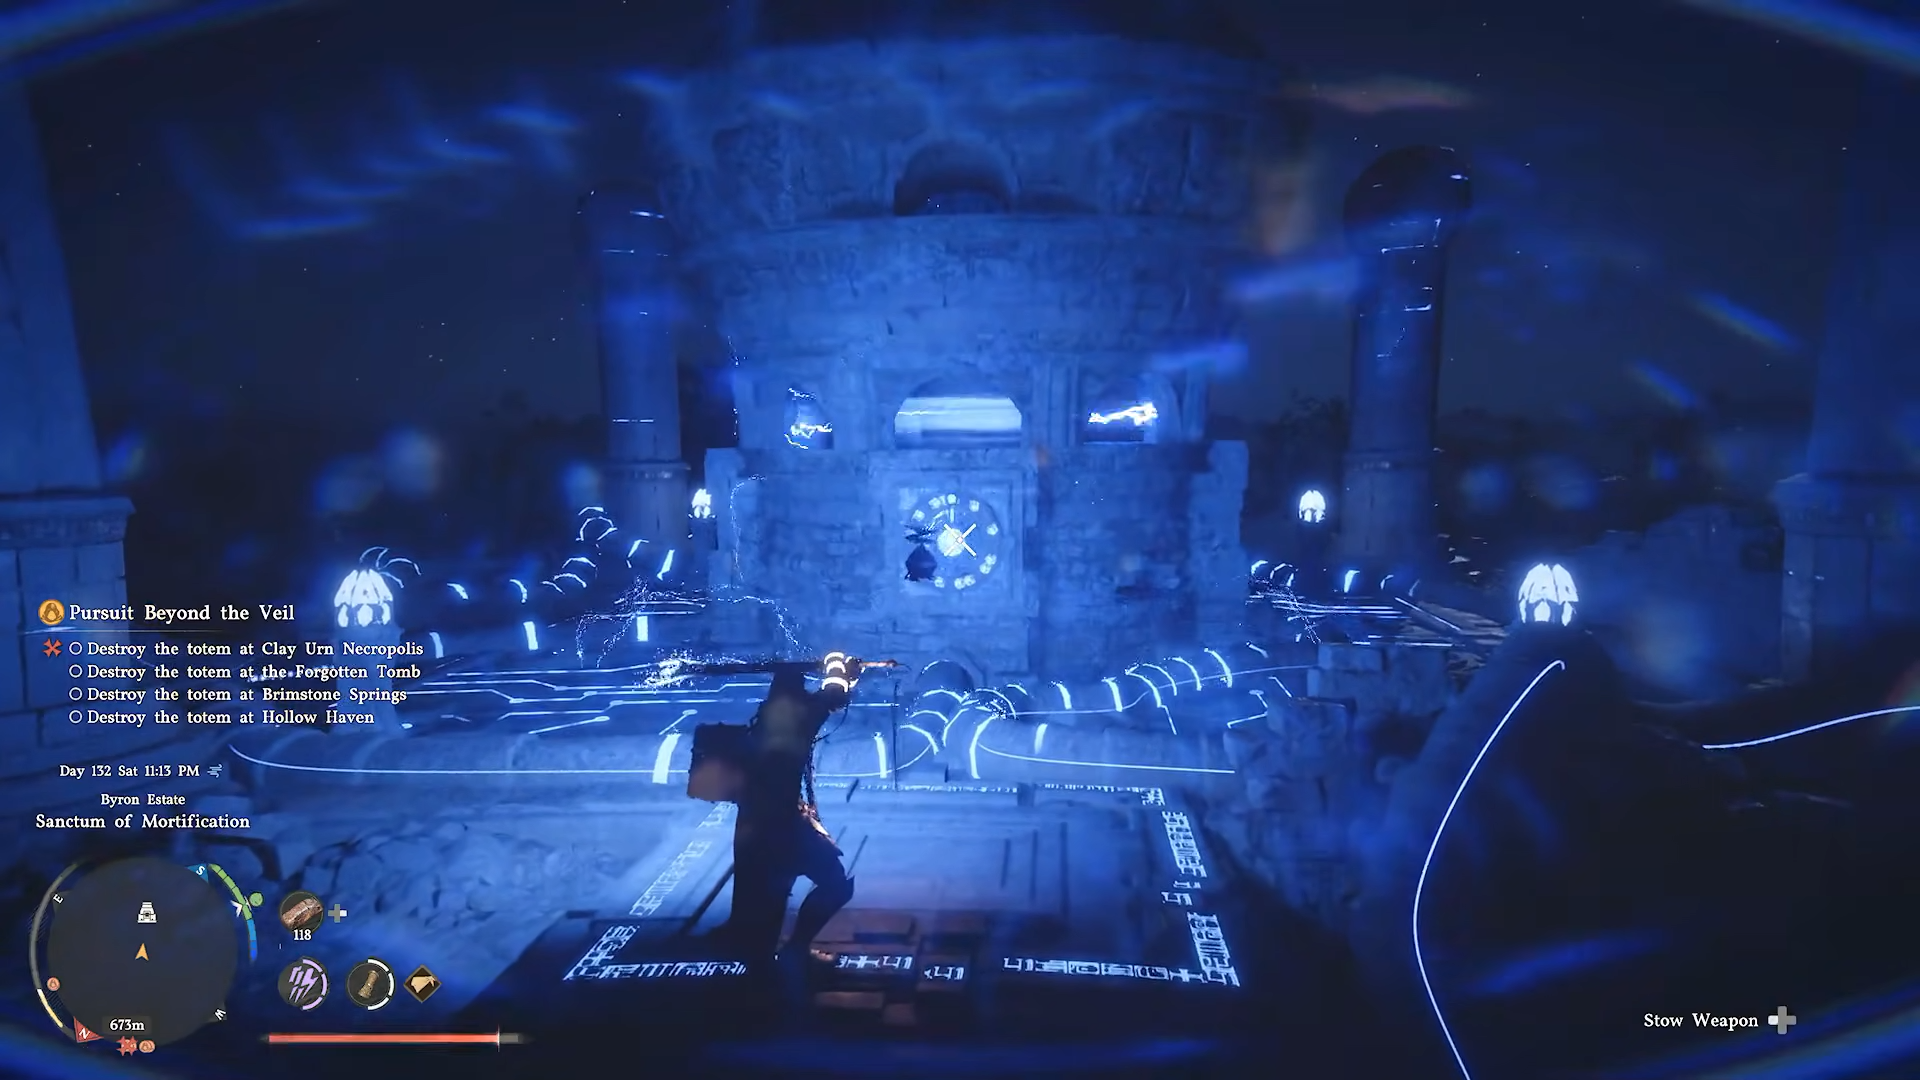
-
Repeatedly press the Light button as the beam passes over different gems, turning each one blue in sequence. After all gems are lit, the top of the reactor will spit out a small core object.
-
Climb or jump up to the upper rim of the reactor, grapple the core, and then store it inside the Kuku Pot for later.

This Mortification Core is used in special crafting recipes, such as for high‑end Kuku‑related gear, and it cannot be obtained without finishing the main sanctum puzzle first.

Rewards from Sanctum of Mortification
Below is a compact table of the main obtainable rewards once the sanctum is cleansed and the core‑puzzle is completed.
You can revisit the sanctum after the main quest to farm or re‑check any optional chest you might have skipped, as the area is otherwise treated as a cleared location.


Leave a Reply