
What to know
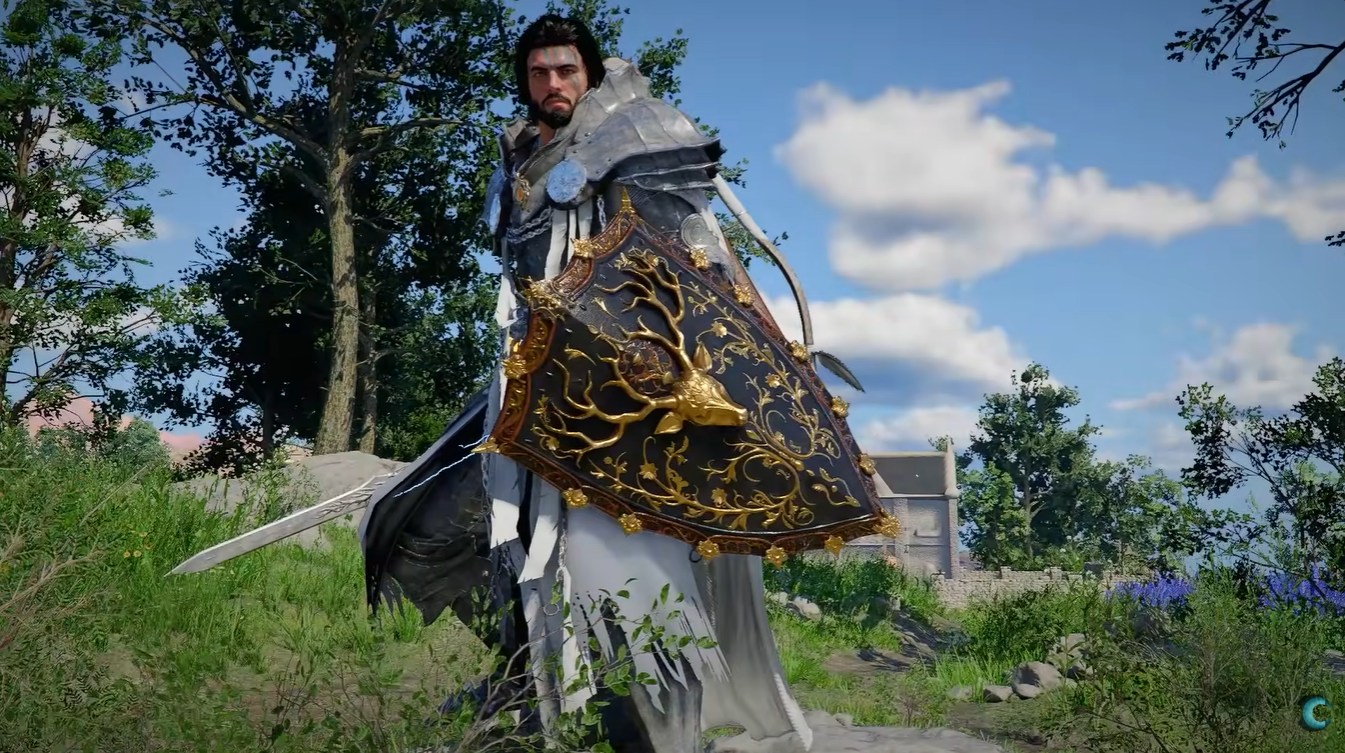
- The Demeniss Royal Guard Shield is a legendary defensive item with strong guard and defense scaling
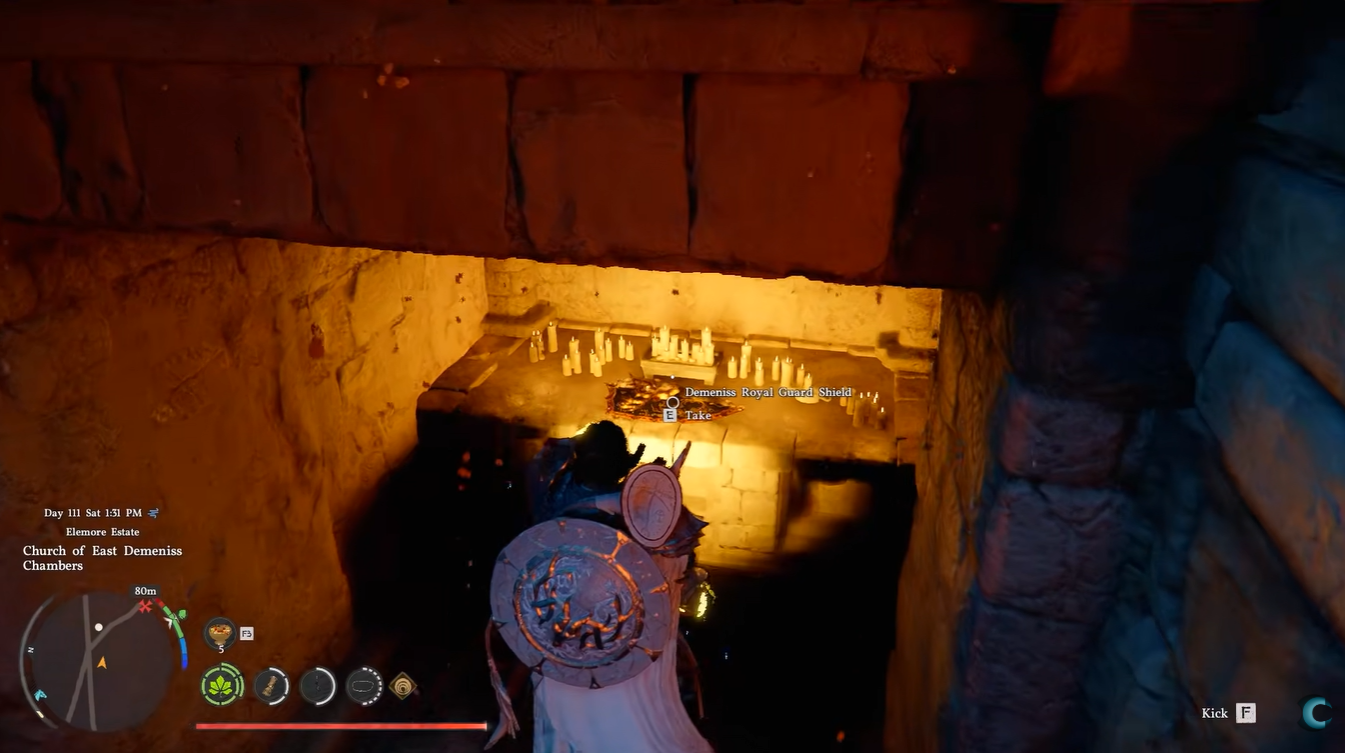
- It is located inside the Church of East Demeniss catacombs in a trap-heavy dungeon
- You must solve lever puzzles and navigate traps carefully to obtain it
- It provides guard stamina reduction and damage mitigation through sockets
If you are focusing on survivability and defensive playstyles in Crimson Desert, the Demeniss Royal Guard Shield stands out as one of the most reliable legendary shields you can acquire mid-to-late progression. It not only boosts your defensive stats significantly but also enhances stamina efficiency during blocking, making prolonged fights far more manageable.
Before diving into the detailed guide, here’s a quick overview of what you’re getting.
| Attribute | Details |
|---|---|
| Item Type | Shield |
| Rarity | Legendary |
| Location | Church of East Demeniss Chambers |
| Guard Rate | 5 → 30 |
| Defense | 3 → 15 |
| Movement Speed | Lv.2 |
| Sockets | 2 Slots |
| Key Bonuses | Damage Reduction + Guard Stamina Cost -3% |
Crimson Desert Demeniss Royal Guard Shield location
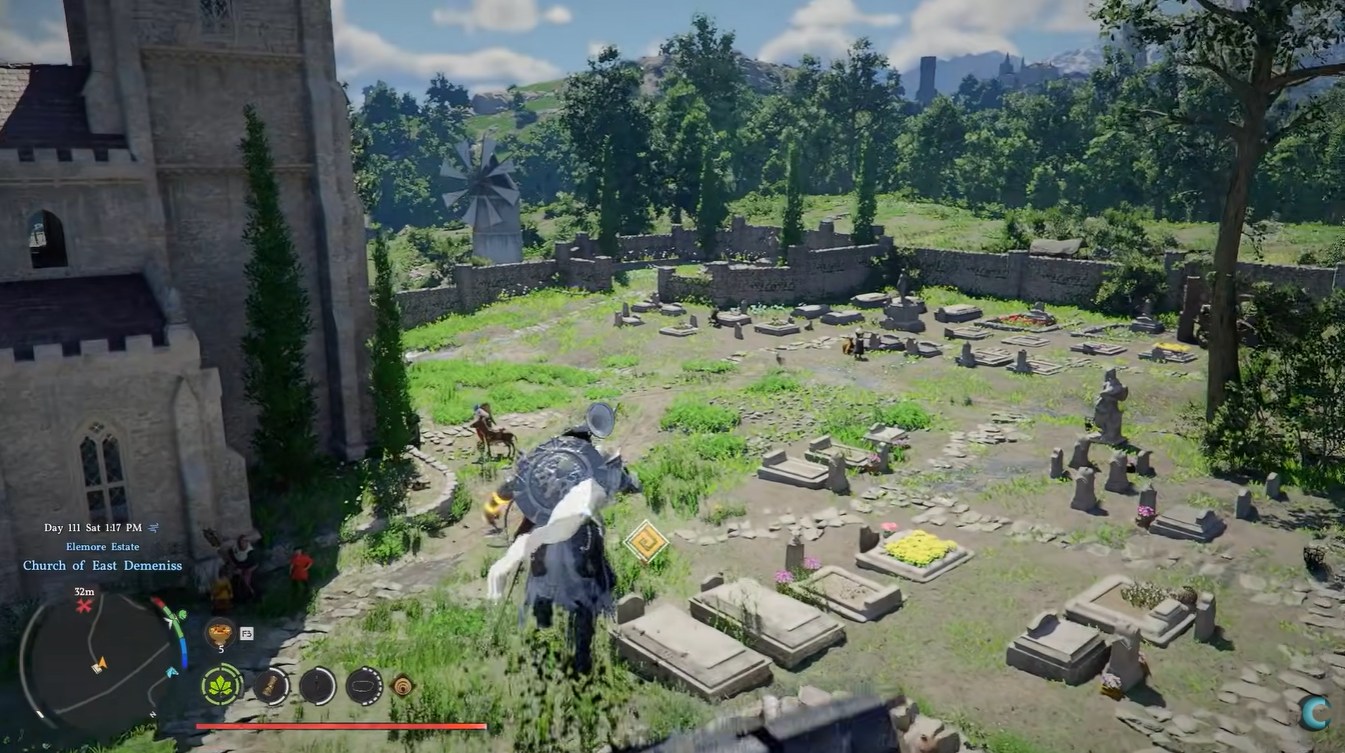
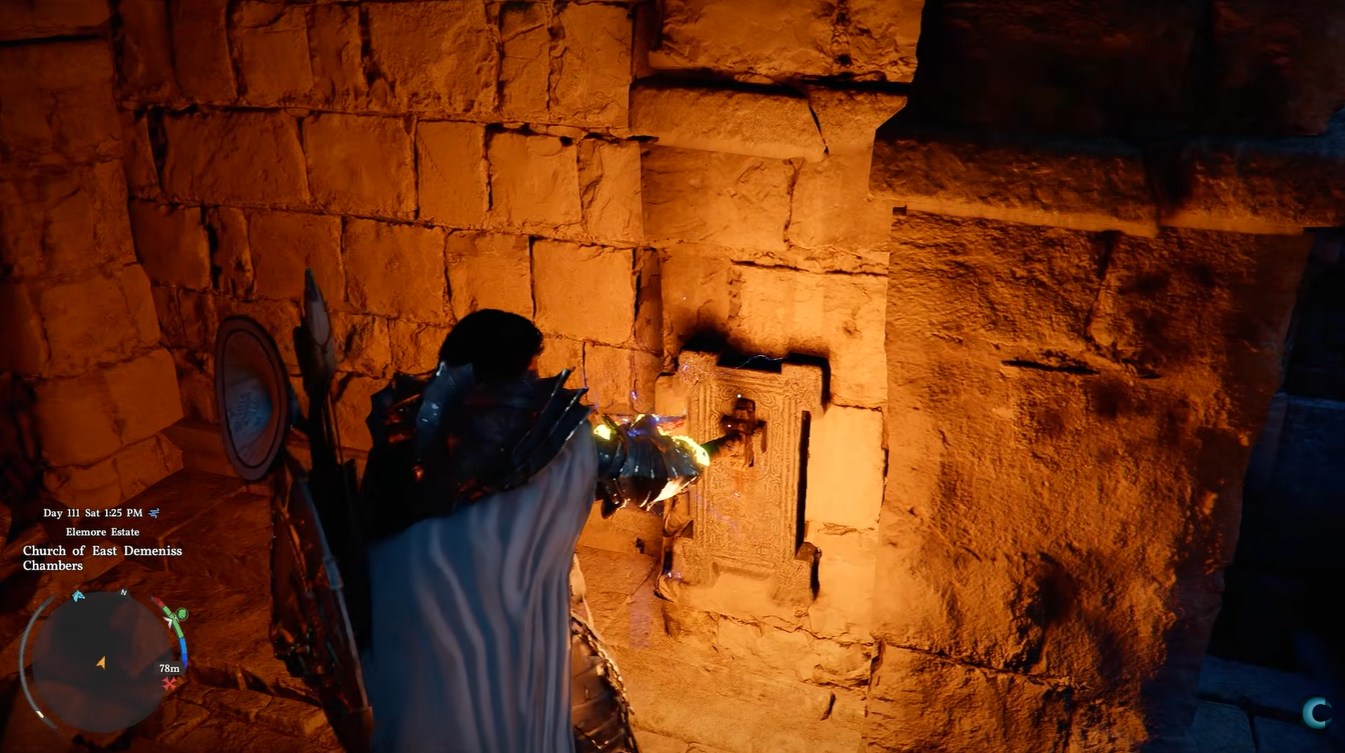
The shield is located beneath the Church of East Demeniss, specifically inside its underground chambers accessed through a hidden graveyard entrance. You will not find it by simply exploring the main building, which makes it easy to miss if you are not actively searching.

The entrance lies in the graveyard section of the church grounds, where a concealed hole leads into a dungeon-like catacomb system. This underground area is filled with traps, puzzles, and narrow corridors designed to test both your awareness and timing. Expect environmental hazards rather than traditional enemies to be your biggest challenge here.
How to get the Demeniss Royal Guard Shield in Crimson Desert
Step 1
Travel to the Church of East Demeniss and locate the graveyard area. This is your starting point, and you should take a moment to scan the surroundings before proceeding.
Step 2
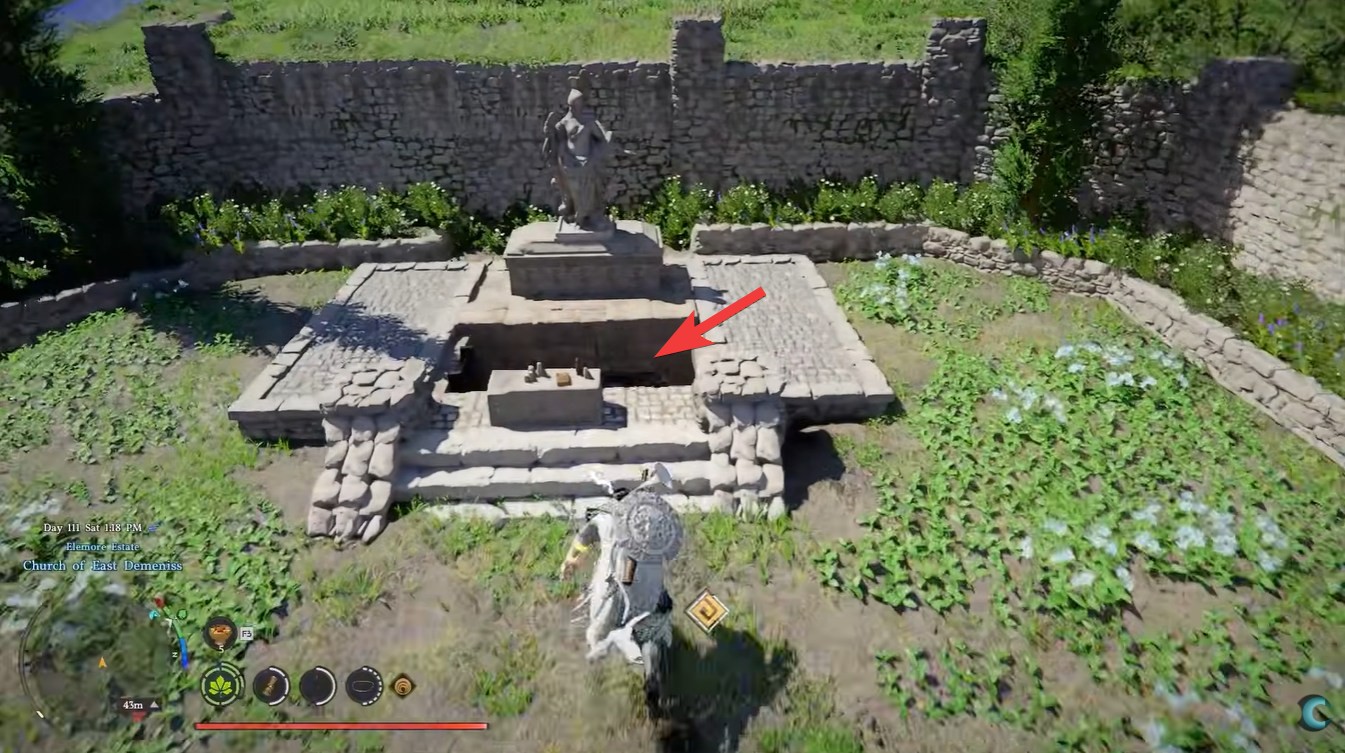
Head toward the southwest corner of the graveyard to find a hole in the ground. This is the hidden entrance leading into the underground chambers.
Step 3
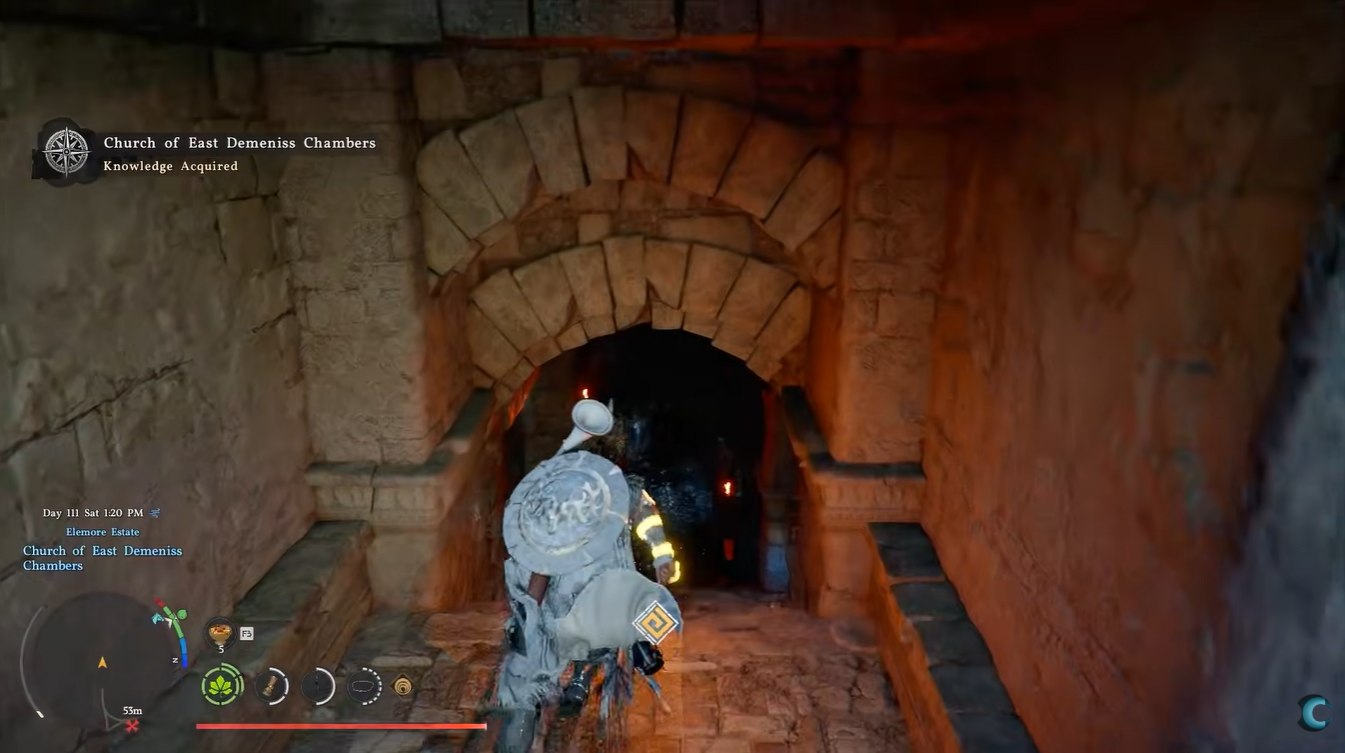
Drop into the catacombs and prepare for traps immediately. You will encounter pressure plates, tripwires, and mechanical hazards that can deal significant damage if ignored.
Step 4
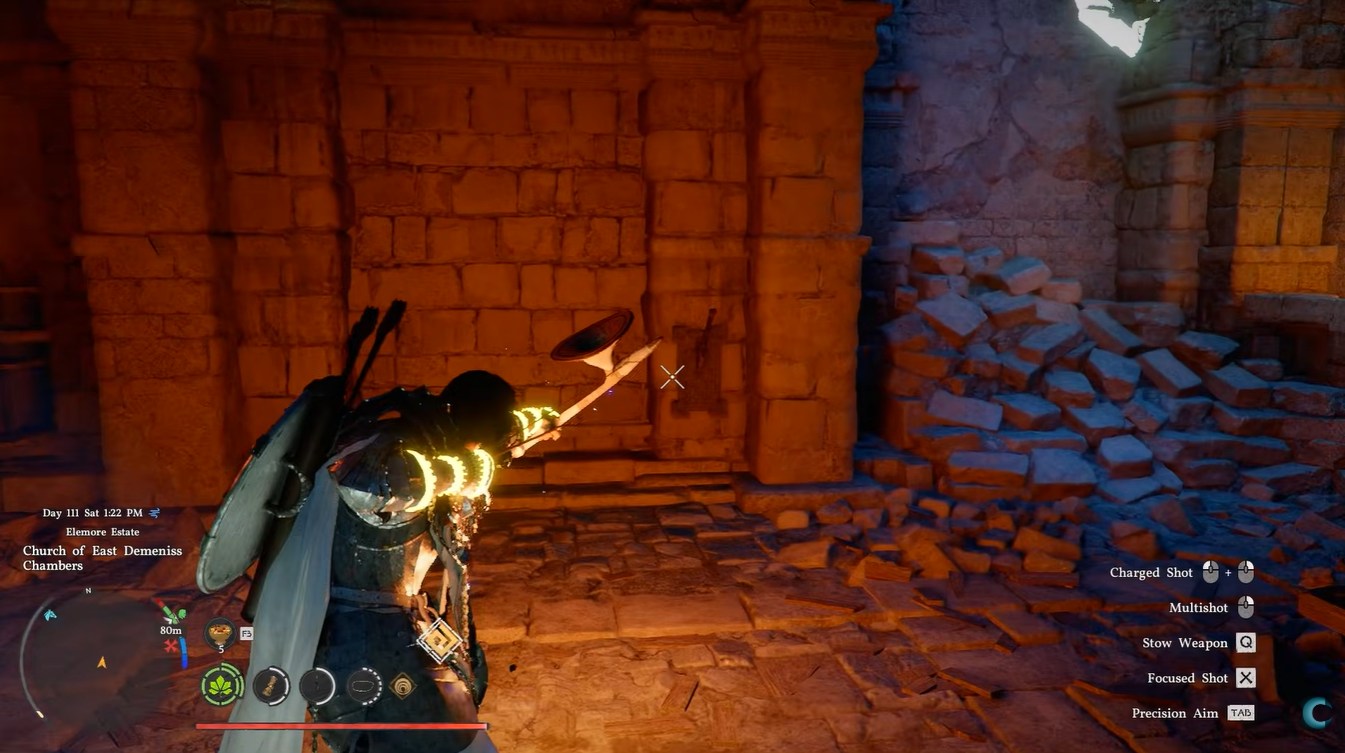
Use your bow to safely trigger traps from a distance. This is one of the most important strategies in this dungeon, as rushing forward blindly will almost always result in damage.
Step 5
Navigate through the puzzle-like corridors until you reach a stone door. This door blocks progression and requires interaction with a lever.
Step 6
Pull the lever to open the stone door and move into the next section. Timing matters here, so be ready for traps beyond the doorway.
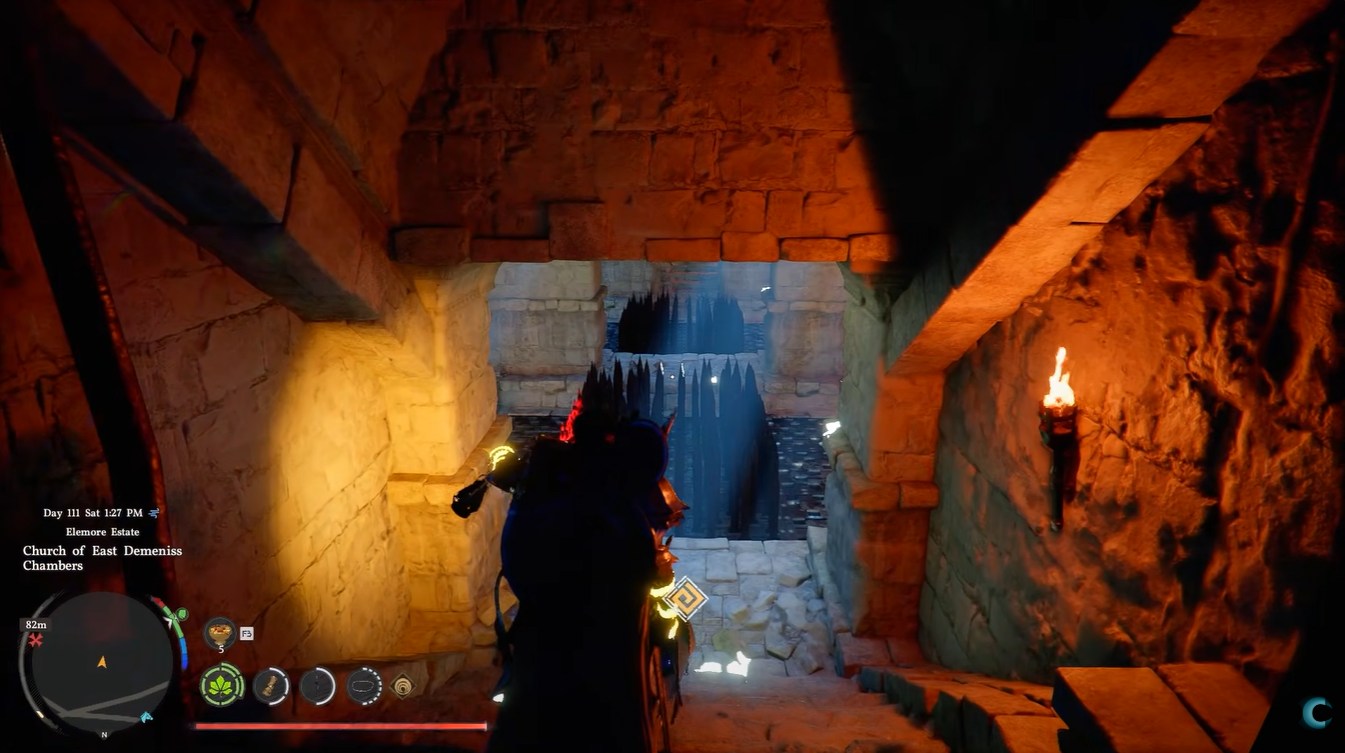
Step 7
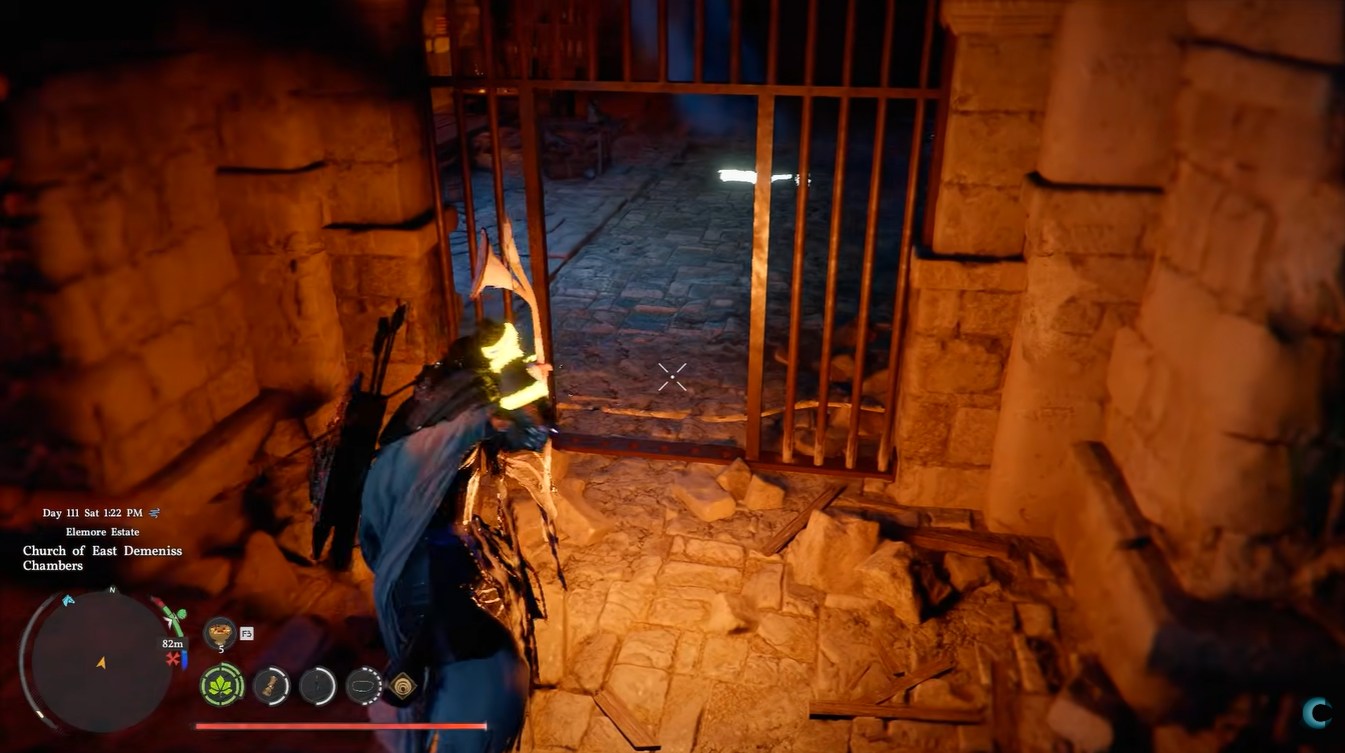
Cross the trap-filled corridor carefully, shooting any visible tripwires. Movement speed helps here, but awareness is more important than rushing.
Step 8
Enter the final chamber and locate the levers. This is the last puzzle before obtaining the shield.
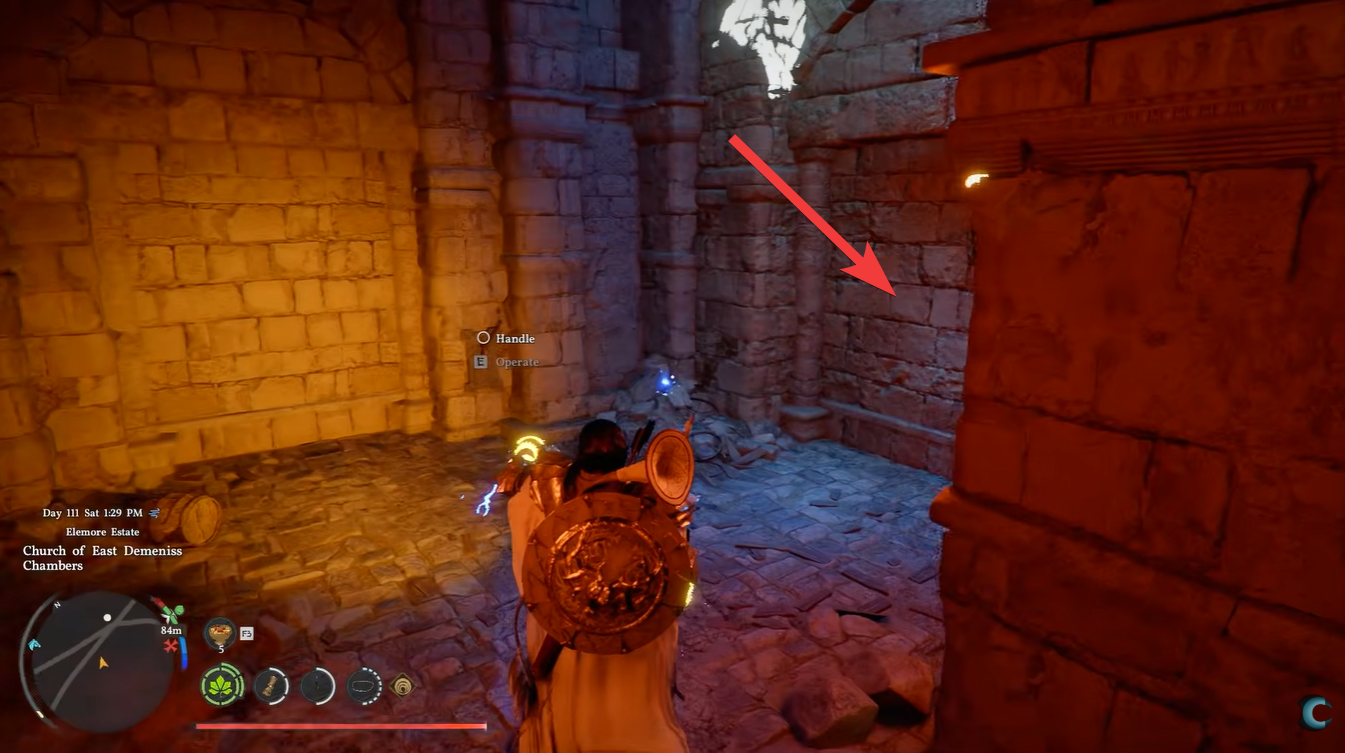
Step 9
Pull only the right-hand lever to unlock access to the reward. Choosing incorrectly may reset or complicate the puzzle.
Step 10
Collect the Demeniss Royal Guard Shield from the final room. Once acquired, it becomes a powerful addition to your defensive setup.
Demeniss Royal Guard shield’s stats and effects
The standout feature of this shield is its scaling guard rate, jumping from 5 to 30, which significantly improves your ability to block incoming attacks. This makes it particularly effective against heavy-hitting enemies and bosses.
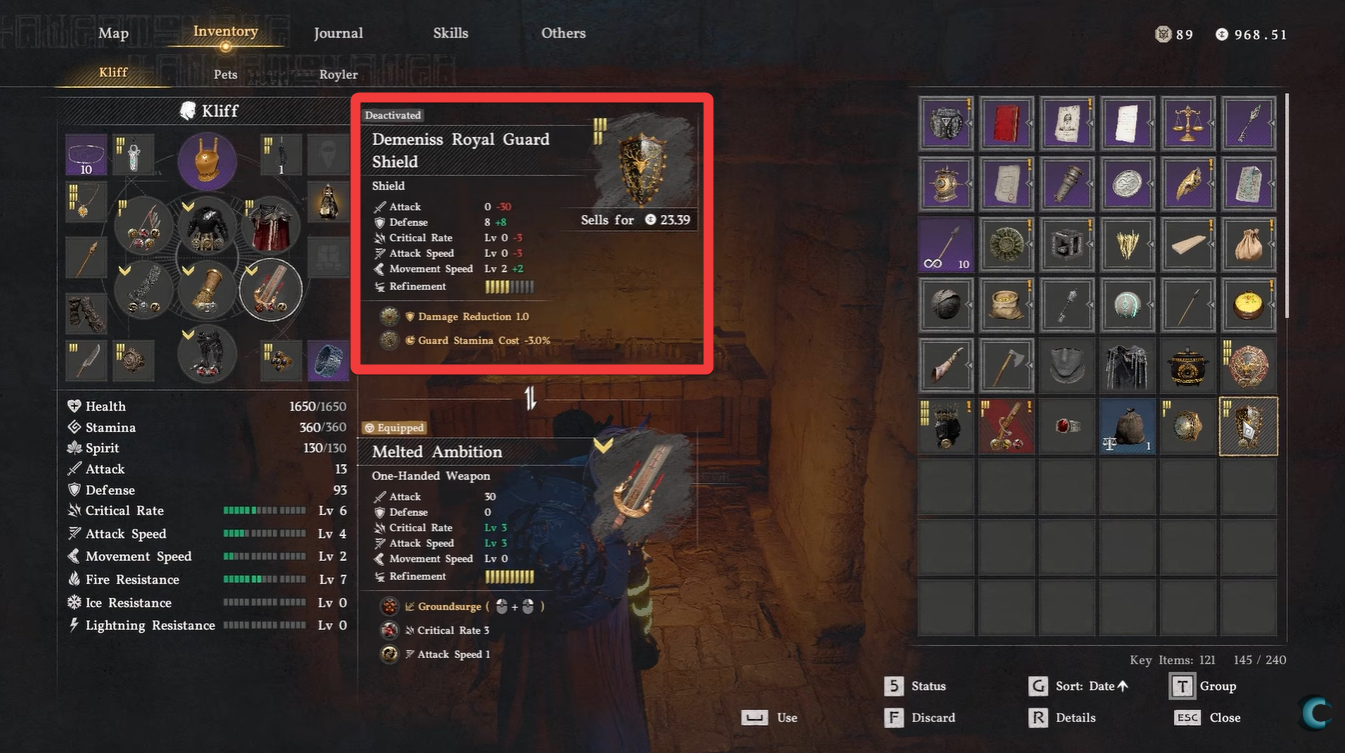
Its defense increase from 3 to 15 further reinforces its role as a tank-focused item, allowing you to absorb more damage even when not actively blocking. Combined with Movement Speed Lv.2, the shield avoids making you feel overly sluggish, which is often a downside of heavy defensive gear.
The socket system adds another layer of customization.
Socket bonuses and effects
| Socket Effect | Benefit |
|---|---|
| Damage Reduction +1 | Reduces incoming damage consistently |
| Guard Stamina Cost -3% | Improves stamina efficiency while blocking |
These bonuses make the shield especially valuable in longer encounters, where stamina management becomes critical. You can block more often and sustain fewer penalties, giving you better control in combat.
When you should prioritize this shield
Since the Demeniss Royal Guard shield is a world drop, it is recommended to go for it as you move past the 4th chapter and unlock the Demeniss area’s quests. This is a great mid-to-late game shield to invest in.
You should aim to acquire this shield if your build relies on blocking, countering, or surviving sustained enemy pressure. It is particularly useful in encounters where dodging alone is not enough, and you need reliable damage mitigation.
Players who prefer aggressive playstyles can still benefit, as the stamina reduction allows for smoother transitions between offense and defense. However, its true value shines in defensive or hybrid builds.


Leave a Reply