
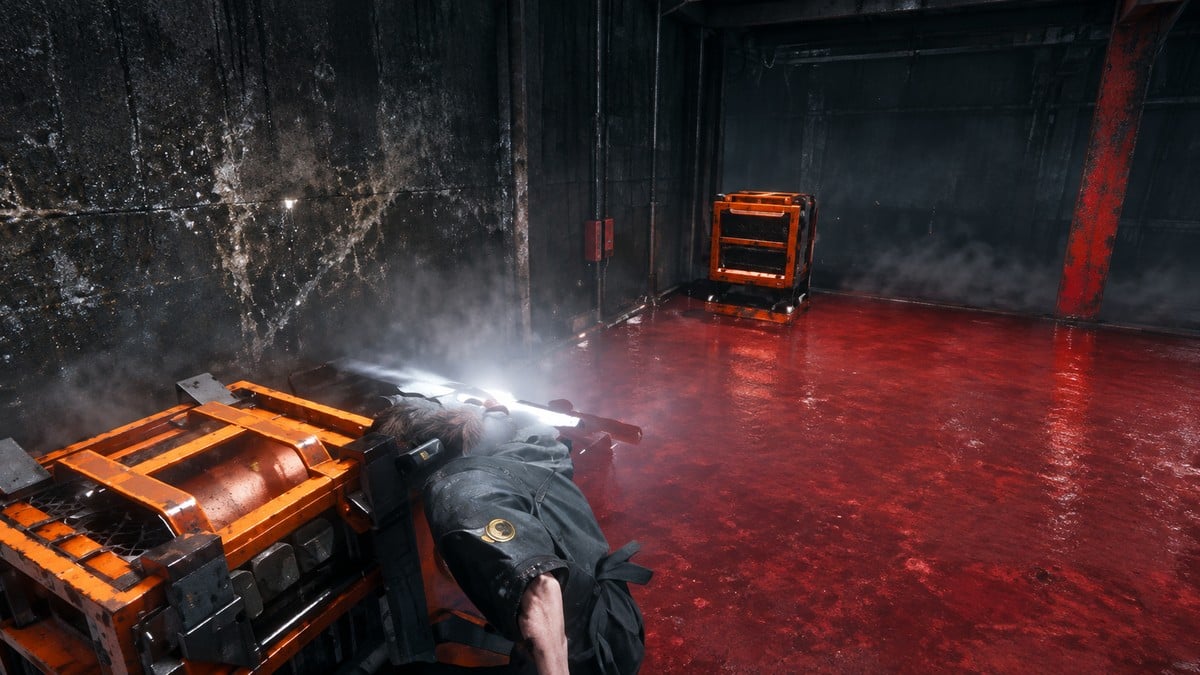
Bring charges from three nearby active Power Cores to the three unpowered cores in the Underpass battery room, then return to Ayad.
Restore the Power is an objective in the Recursions and Iterations main quest of Control Resonant, alongside Track the Time Fluctuations. You reach this part of the Underpass during the research-site and time-fluctuation investigation. In the battery room, one of four Power Cores is already powered; the other three need charges.
Ayad, the team’s engineer, asks Dylan to help repair power in one timeline so the team’s data can reach the surface. Tape markings point toward the supplies. This guide covers each charge and its return to the battery room.
How to restore the power in Recursions and Iterations in Control Resonant
Speak with Ayad, find the battery room, then bring back a charge from each of the three nearby power sources.
1 – Find the battery room below Ayad
Start at the Underpass research site.
STEP 1/13
8%
Speak with Ayad
Go down to Ayad in the research lab and talk to him to receive the Restore the Power objective.
STEP 2/13
15%
Reach the battery room
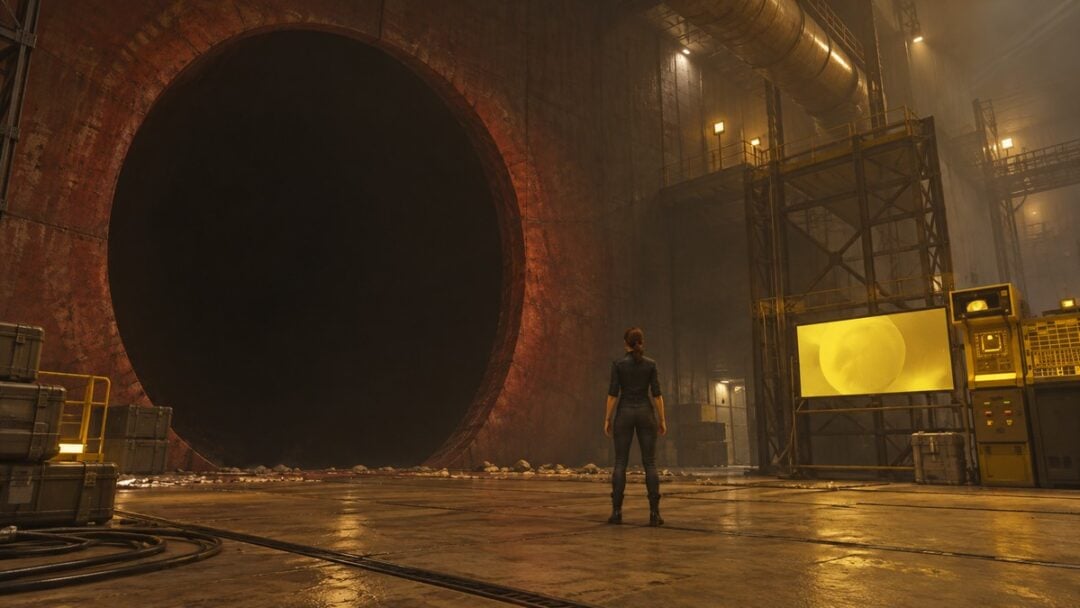
Leave the lab, drop down from Ayad’s position and head left into the room below the research site. Yellow markings lead to four Power Cores, three of which need charges.
2 – Retrieve the charge from the nearby fluctuation room
The first source is across a short gap.
STEP 3/13
23%
Jump to the nearby room
Leave the battery room for the section overlooking its cores, then jump across from the platform area to a small container room on your left.
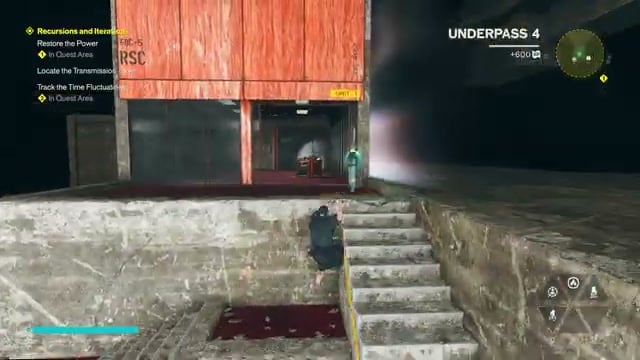
STEP 4/13
31%
Turn back after the fluctuation
Enter the room’s spatial fluctuation, then move back after it trips you up and collect the glowing charge from the unit inside.
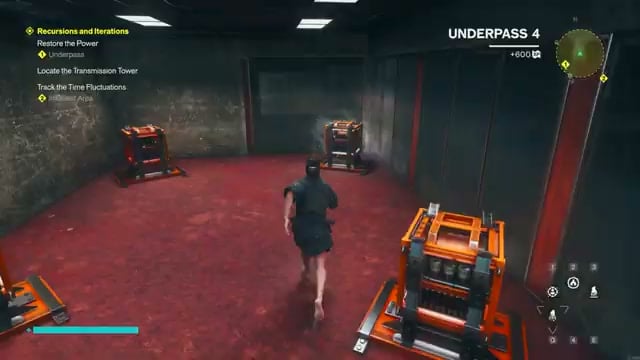
STEP 5/13
38%
Install the first charge
Leave the room, take the route on your right and carry the charge back across the gap and up into the battery room. Power an unpowered core; two cores will now be active.
3 – Retrieve the charge from the disappearing building
Follow the yellow line toward the raised platforms.
STEP 6/13
46%
Follow the yellow line right
Head upstairs and right along the yellow cable to the platforms that lead toward the elevated building.
STEP 7/13
54%
Climb to the upper walkway
Use the platforms and wall ledges to climb the concrete structure, where the building shifts in and out of view.
STEP 8/13
62%
Collect the second charge
Cross the upper ledge, enter the building and take the charge from its active core.
STEP 9/13
69%
Return to the battery room
Exit and descend promptly by the platforms, keeping left on the way down. Pass through the hallway, return to the battery room and install the charge in another unpowered core.
4 – Retrieve the charge from the shifting elevated building
Take the other branch of the yellow line.
STEP 10/13
77%
Take the left branch
Go upstairs and follow the yellow line again, turning left around the corner instead of using the earlier climbing route. The next source is in the building overhead.
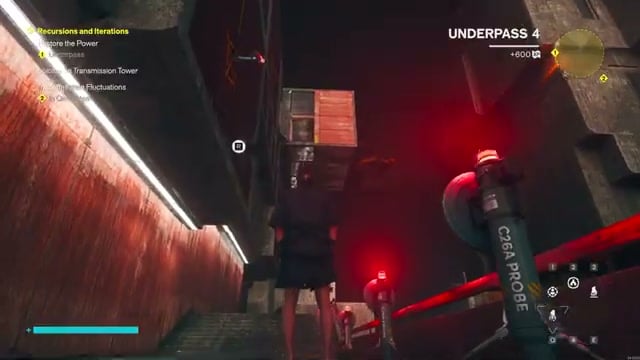
STEP 11/13
85%
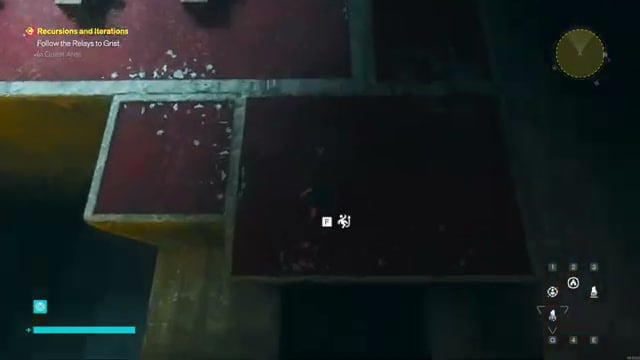
Press the button on the control pedestal to rise toward the elevated building.
STEP 12/13
92%
Reorient and collect the charge
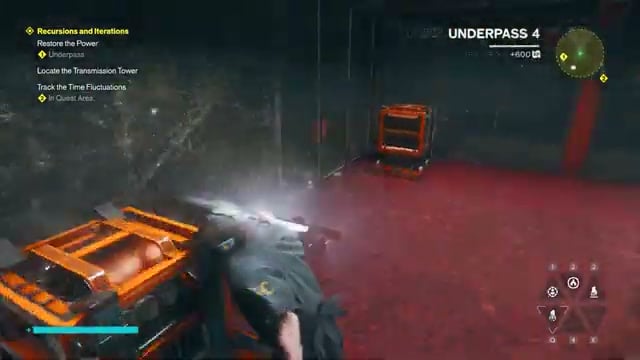
When you enter, the building shifts behind you. Turn toward its new position, enter and take the charge, then leave as the structure shifts again.
STEP 13/13
100%
Deliver the final charge
Jump down through the lower levels, retrace the corridors to the battery room and power its last unpowered core.
Powering the final core completes Restore the Power and changes the objective to Return to Ayad, so head back to him. After you return, Locate the Transmission Tower appears alongside Track the Time Fluctuations, opening the next stage of the quest.
Related Control Resonant guides

Leave a Reply