
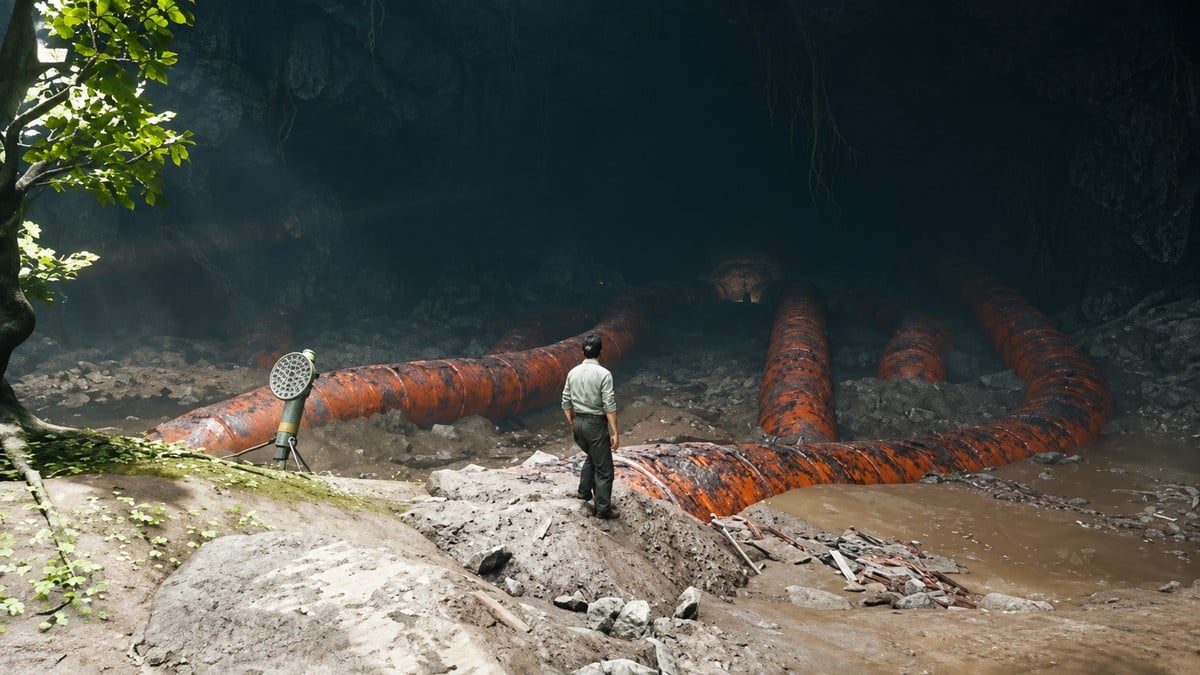
Find Agent Schultz’s four-person research team beneath the Sinkhole, send their findings across the changing timelines, then carry Grist’s final probe to the tree beneath the Oldest House.
You’re after the research team’s findings. Dylan must recover them in Recursions and Iterations, a main story quest where both the research camp and its researchers exist in multiple versions. Follow the map’s beacon marker toward the Transmission Tower, then set the probe at the glowing tree’s base underneath the Oldest House to complete Recursions and Iterations.
- Meet Pope and reach the Underpass below the Sinkhole
- How to complete Recursions and Iterations in Control Resonant
- Find the equipment camp and follow the beacon
- Follow the changing camp and collect Grist’s device
- Reach Ayad and restore power to the terminal
- Find Grist at the cliff edge
- Retrieve Grist’s log and defend the Transmission Tower
- Investigate Dylan’s voice and cross with Grist
- Follow the relays and recover the final probe
- Carry the probe to the tree and complete the quest
Meet Pope and reach the Underpass below the Sinkhole
Emily Pope sends Dylan after Agent Schultz’s four-person research team, which has run into trouble beneath the Sinkhole. They entered by an escape route Dylan had previously discovered.
How to complete Recursions and Iterations in Control Resonant
Follow the objectives through the Underpass, using the named doors and shifting map circle to keep your bearings.
STEP 1/55
2%
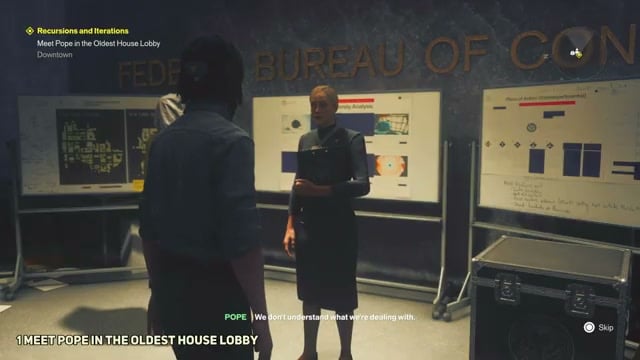
Meet Pope and reach the Underpass: speak to Emily Pope
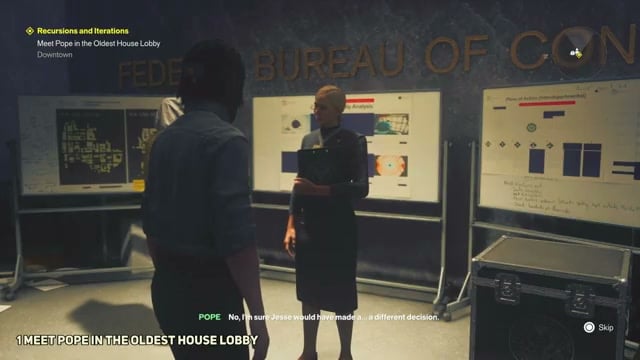
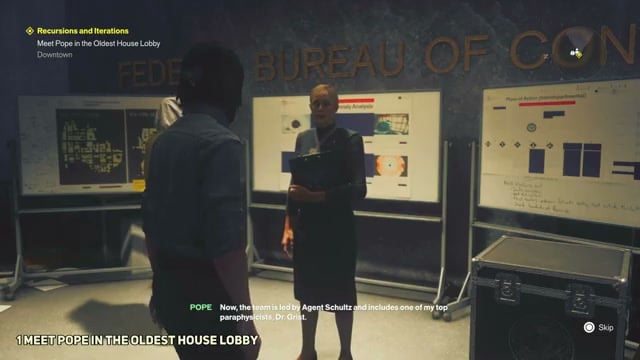
Find her in the Oldest House Lobby in Downtown, in front of the Federal Bureau of Control board. The starting objective is Meet Pope in the Oldest House Lobby.
STEP 2/55
4%
Head for the Sinkhole
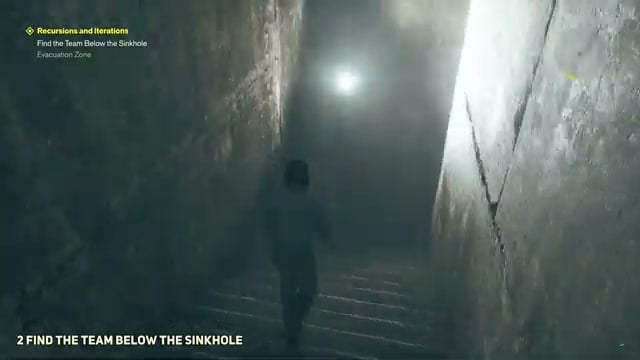
After the conversation, follow Find the Team Below the Sinkhole toward the entrance marked in Evacuation Zone.
STEP 3/55
5%
Descend through the laundromat
Cross the Evacuation Zone checkpoint, enter through the laundromat and take the stairwells into the underground corridors.
STEP 4/55
7%
Follow the shifting rooms downward
Pass the yellow-taped metal doors and green-lit hallway, then descend over suspended rooms, red-carpeted platforms and square shafts into the lower concrete tunnel.
STEP 5/55
9%
Arrive in the Underpass
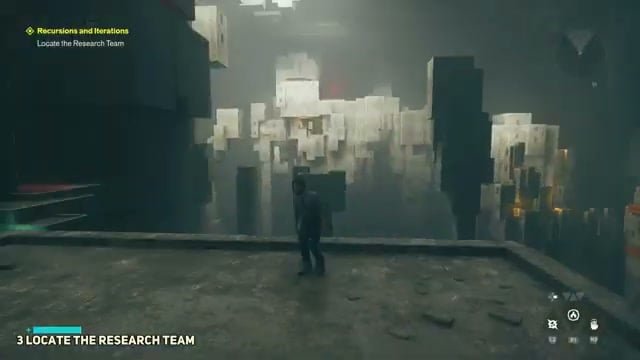
Continue through the unfinished utility shaft, curved stairs and work-lit corridors to the arched doorway. The open bridge brings up UNDERPASS and Locate the Research Team.
STEP 6/55
11%
Find the equipment camp: descend from the bridge
Jump toward the floating pillars and yellow-lit entrances, landing on the red-carpeted office platform with a resource container.
STEP 7/55
13%
Clear the first flying enemies
Strike the flying red entities with melee attacks and dodge their laser beams.
STEP 8/55
15%
Cross the right-wall blocks
Climb the concrete blocks beside the right wall and jump to the narrow red ledge near the glowing yellow ropes.
STEP 9/55
16%
Continue along the lit ledges
Interact with the climbing ropes to contact Zoe, then vault the illuminated concrete ledges and cross the slabs carrying solar panels and debris.
STEP 10/55
18%
Climb through the central shaft
Clear the flying enemies in the red-floored chamber, collect their source drops and use the wall grips to climb the shaft.
STEP 11/55
20%
Reach the terrace camp
Cross the upper structures past the lamp-lit workstation, vault the short divider and reach the raised walkway leading to the tents and crates.
STEP 12/55
22%
Activate The Spire
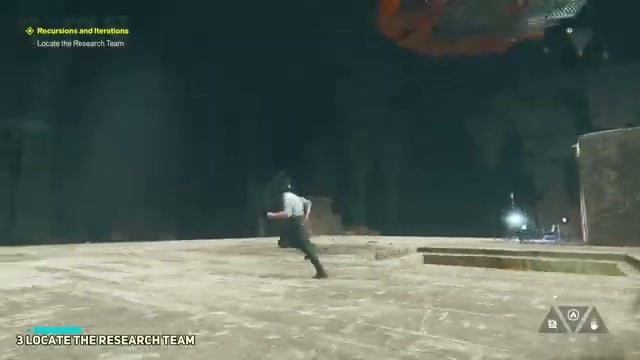
At the equipment camp, activate the The Spire fast travel door and follow Explore the Beacon Location.
STEP 13/55
24%
Cross toward Hallway Trail
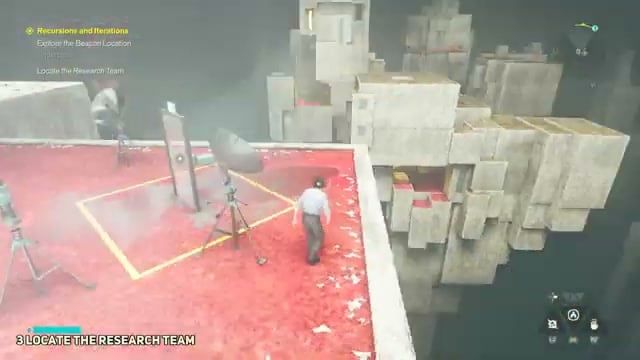
Jump between floating pillars and steel beams, pass through the square doorway, cross the industrial pipes and enter through the raised window.
STEP 14/55
25%
Follow the office route
From the Hallway Trail door, take the adjacent corridor across the tower gaps and clear the flying enemies on the red-carpeted structure.
STEP 15/55
27%
Search beyond the cable car overlook
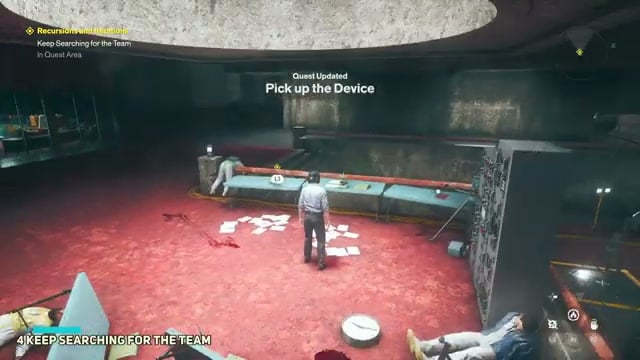
Cross the low parapet, vault to the block overlooking the yellow cable car, then cross the broad terrace to the office with papers scattered over its red carpet.
STEP 16/55
29%
Continue after finding the researchers
Report the dead researchers in white hazmat suits and follow Keep Searching for the Team.
STEP 17/55
31%
Follow the changing camp: check the revised area
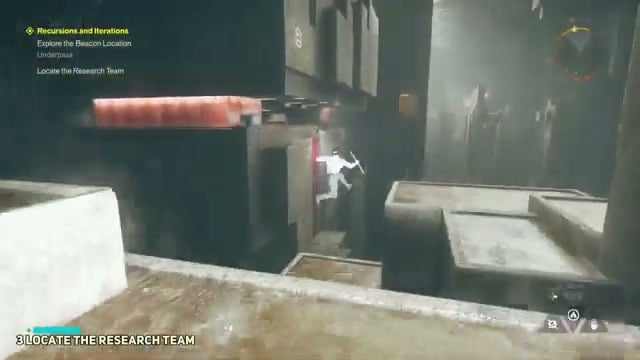
Use the Underpass map’s updated quest area, then jump back across the rectangular pillars and climb the stepped concrete blocks.
STEP 18/55
33%
Return through the green-lit hall
Pass the dim hallway and roof terrace, then re-enter the research office.
STEP 19/55
35%
Watch the research office change
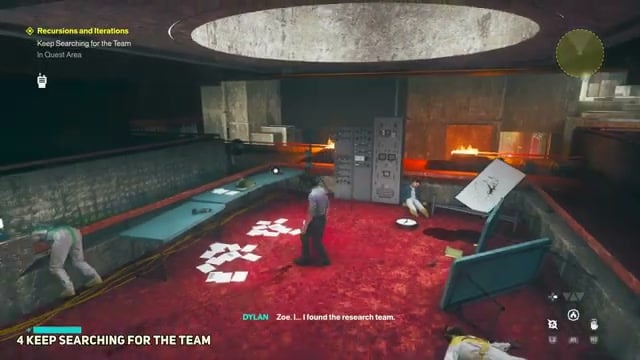
The researchers appear alive at their consoles before becoming dead again; Dylan reports the time-loop anomaly over the radio and continues searching for the missing member.
STEP 20/55
36%
Cross the balcony ambush
Follow the red-carpeted balcony perimeter, scale the tall wall and defeat the red enemies waiting in the alley. A talent point appears during this fight.
STEP 21/55
38%
Reach Grist’s console
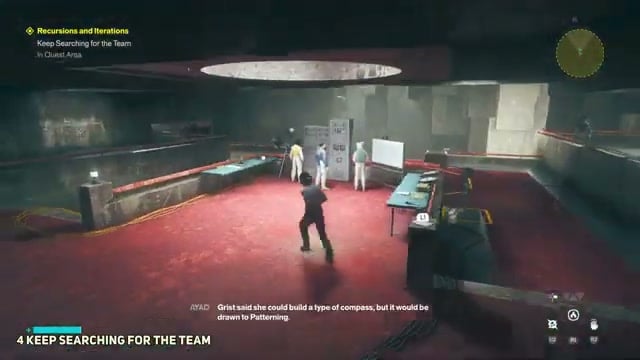
Descend the narrow chasm, climb into the neighboring corridor and speak to Dr. Grist beside the research console.
STEP 22/55
40%
Take Grist’s Tracking Device
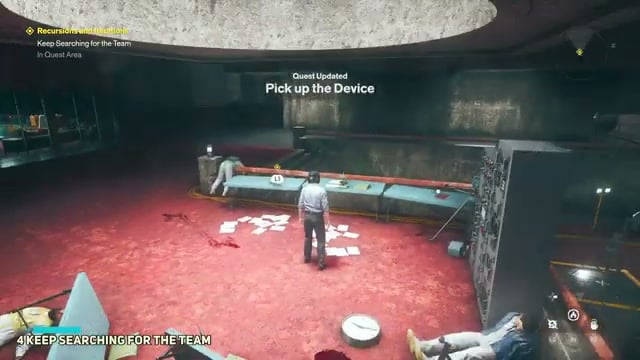
When Pick up the Device appears, collect Grist’s Tracking Device from the desk.
STEP 23/55
42%
Reach Ayad and restore power: follow the tracking circle
Cross the exterior rooftops, defeat the heavy red entity and climb the higher concrete blocks into the upper-floor opening.
STEP 24/55
44%
Speak to Ayad
Find engineer Ayad at the electrical console and hear about the missing charges. His request starts Restore the Power.
STEP 25/55
45%
Follow the markings to power
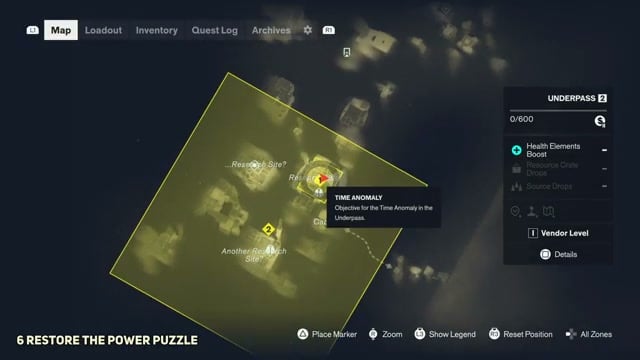
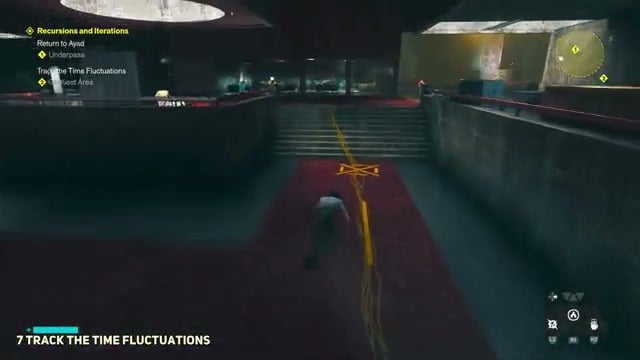
Trace the yellow floor line through the doorways and down the steps into the exterior yard, using the tape on floors, walls and platforms to stay on the route.
STEP 26/55
47%
Work through the linked supplies
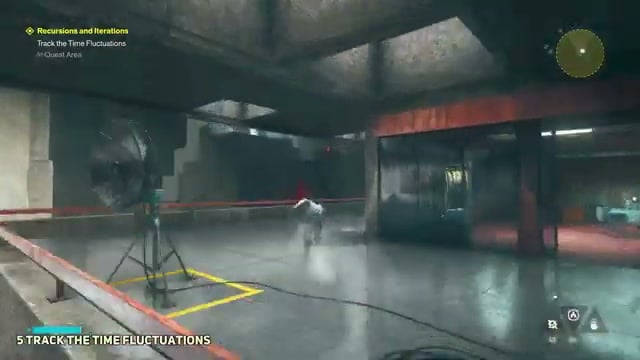
At Unit 1, note the two battery units and the one available charge. Follow the yellow tape, strike the power switches and terminals along the route, then interact with the final power unit.
STEP 27/55
49%
Return to Ayad
Continue restoring the linked supplies until the objective reads Return to Ayad, then go back to the console room.
STEP 28/55
51%
Follow the next fluctuation
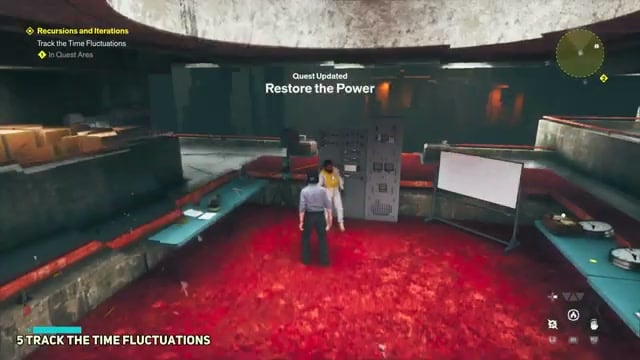
Ayad falls dead while a temporal duplicate speaks. The attempted transmission has failed; follow Track the Time Fluctuations and its shifted map circle.
STEP 29/55
53%
Find Grist at the cliff edge: leave the console room
Take the upper corridors onto floating ledges, descend across metal grates and concrete pillars, and defeat the red enemy on the middle pillar.
STEP 30/55
55%
Ask the researchers about Grist
Follow the red runners into the hallway and reach the research-team iteration beside the whiteboard. Their discussion leads to Locate Grist.
STEP 31/55
56%
Meet Grist on the balcony
Follow the exterior corridors through the wall vent to the balcony, where Grist stands near the edge beside a probe canister.
STEP 32/55
58%
Persuade Grist to continue
Speak with her about the other timelines. I know you and I am your proof! are the responses used here; afterward, follow Track the Time Fluctuations.
STEP 33/55
60%
Retrieve Grist’s log and reach the tower: return to the offices
Take the walkway through the central circular room, jump through the upper windows and cross the exterior platforms and red-carpeted route.
STEP 34/55
62%
Collect Grist Research Log #3
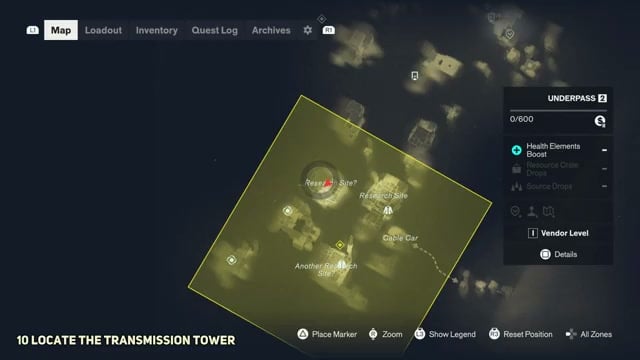
At the changed campsite with scattered documents and bodies, listen to Grist Research Log #3 and head toward the Transmission Tower beacon marker on the map.
STEP 35/55
64%
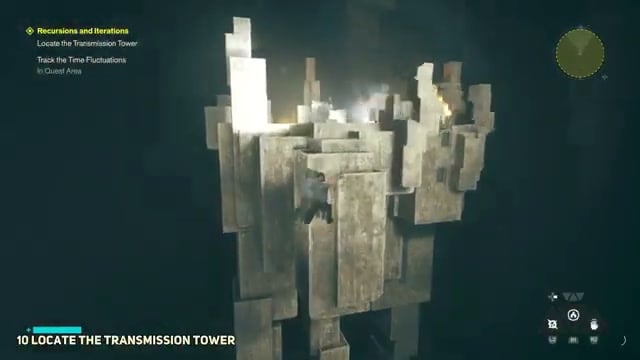
Jump to the Transmission Tower
Leave by the outer ledge and cross the gap to the tower on the rocky peak.
STEP 36/55
65%
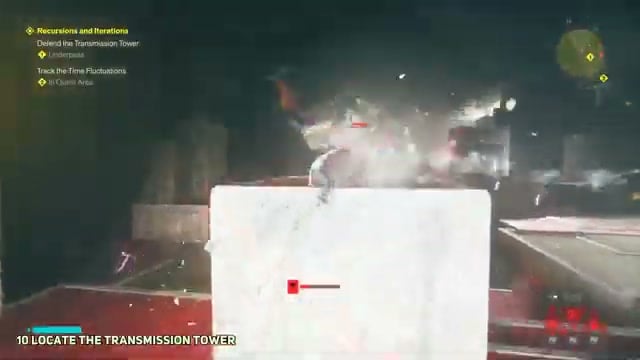
Defend the tower
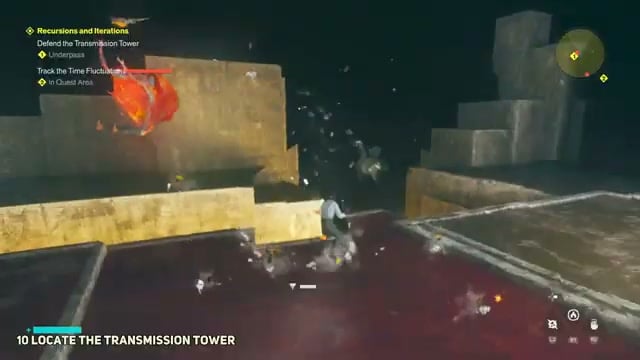
When Defend the Transmission Tower appears, use melee strikes and dodges against the ground and flying enemies, including the remaining airborne attackers. The Paranatural Agility trophy notification appears during this fight.
STEP 37/55
67%
Check the new objective
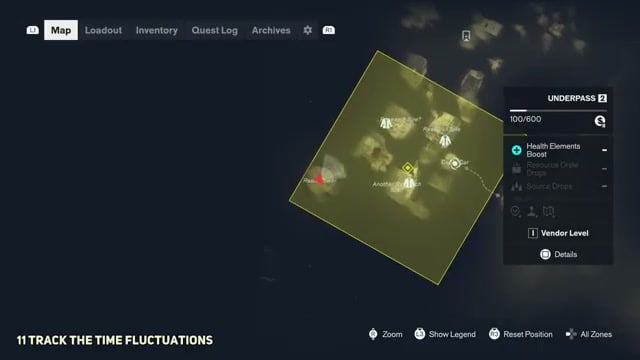
After the defense, Track the Time Fluctuations returns; the map, inventory and quest log show the next stage.
STEP 38/55
69%
Investigate Dylan’s voice: leave the tower
Jump over floating blocks toward the Cable Car station, climbing the high concrete walls and following the narrow ledges.
STEP 39/55
71%
Follow the familiar voice
Dylan hears his own voice without having spoken; continue toward the station to investigate it.
STEP 40/55
73%
Meet Grist in the cable car
Speak with her inside the car about reaching a spot directly beneath the Oldest House and protecting her while she places relays.
STEP 41/55
75%
Agree to cross
The response Let’s go is used here. Follow Cross the Chasm and its map marker.
STEP 42/55
76%
Ride across the chasm
Activate the panel inside the cable car. Grist disappears during the crossing, and the car reaches the opposite landing.
STEP 43/55
78%
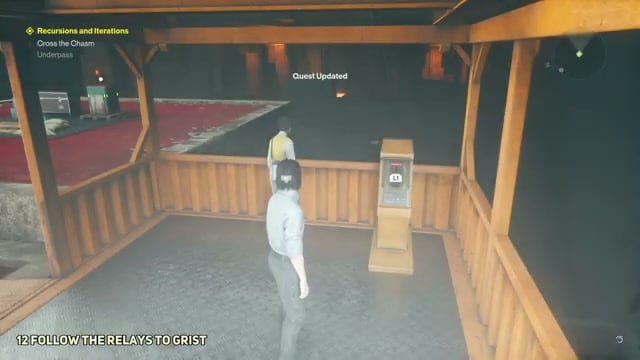
Follow the relays to Grist: leave the car
Step onto the far landing and follow Follow the Relays to Grist.
STEP 44/55
80%
Follow the lit chasm route
Follow the illuminated relays and red cables over concrete ledges and through the narrow crevice.
STEP 45/55
82%
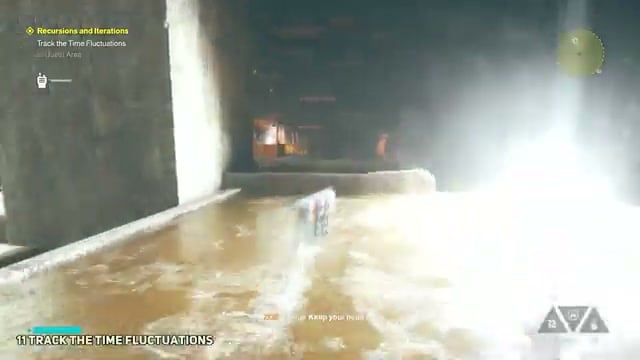
Descend onto the pipes
Drop toward the huge pipes, using the orange sludge and green-lit stalagmites around them as landmarks.
STEP 46/55
84%
Continue past the message
The appeal asks a surviving version of its speaker to cross the chasm and says another version must finish the job.
STEP 47/55
85%
Collect I Don’t Mind Dying
Find the dead or frozen Dylan in blue crystalline material and pick up I Don’t Mind Dying.
STEP 48/55
87%
Climb toward Grist
Return to the pipes, jump through the elevated opening and use the jutting blocks to scale the interior walls into the red-lit cavern.
STEP 49/55
89%
Recover the final probe
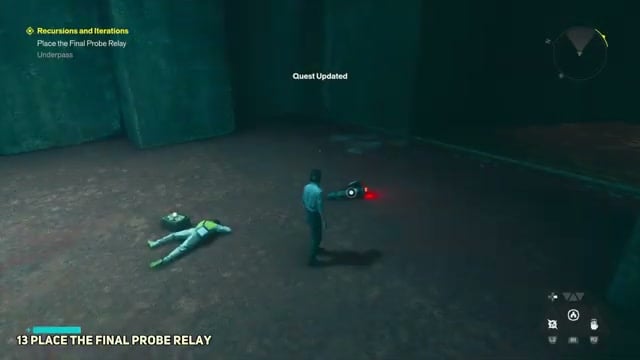
Find Grist’s body and the dropped relay, consult the final-site marker under Place the Final Probe Relay, and pick up the glowing probe from the floor.
STEP 50/55
91%
Carry the probe to the tree: cross the pipeline
Take the held probe along the massive orange pipeline spanning the abyss.
STEP 51/55
93%
Enter the final cavern
Continue through the curved pipe tunnel into the vast cavern and approach the green tree growing alone on its central mound.
STEP 52/55
95%
Place the relay
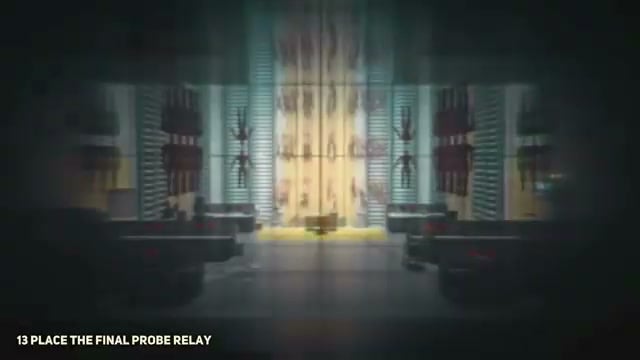
Set the Final Probe Relay at the tree’s base beneath the Oldest House.
STEP 53/55
96%
Hear Pope’s assessment
After the montage, control returns beside the deployed relay and Pope calls about the new data from beneath the Oldest House.
STEP 54/55
98%
Speak with Zoe
Dylan asks her to meet him at Prime Candidate Training near his cell in the Oldest House.
STEP 55/55
100%
Confirm quest completion
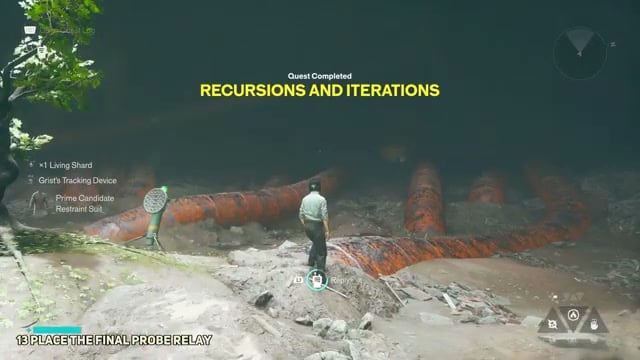
The QUEST COMPLETED: RECURSIONS AND ITERATIONS banner appears; the map and inventory show the completed objectives and updated key items.
Find the equipment camp and follow the beacon
The first terrace holds the researchers’ equipment, tents and crates, but the team has moved on. Beyond The Spire, the route through Hallway Trail leads to researchers lying dead in an office. The dead researchers wear white hazmat suits, while Keep Searching for the Team keeps the investigation moving.
Follow the changing camp and collect Grist’s device
The return to the office changes what Dylan sees: researchers work at their consoles, then become corpses again. One member is still missing. Dr. Grist explains that time is being patterned here, leaving multiple versions of both the camp and its occupants.
Grist has experienced months below the Sinkhole. That relative time could mean months of additional research. Find a method for sending back the team’s data across every iteration and timeline. Grist’s device gives Dylan a way to track the fluctuations; its yellow circle marks the search area on the Underpass map.
When Track the Time Fluctuations returns, reopen the Underpass map: its yellow quest circle moves as the investigation shifts between research sites.
Reach Ayad and restore power to the terminal
Ayad’s missing charges have left the research terminal without power. The team laid yellow tape to keep from getting lost, and the connected yellow lines lead between the supplies. The map also marks the research sites and the power-restoration radius.
Unit 1 begins with two battery units and one charge present. Follow the yellow tape, strike the power switches and terminals along the route, then interact with the final power unit. Return to Ayad at the console after restoring power. Back at his console, the timeline shifts again: Ayad falls dead, a duplicate speaks, and Dylan learns that the attempted transmission failed.
Find Grist at the cliff edge
The researchers by the whiteboard place Grist near the edge of camp. On the balcony, she says she has spent a year researching. Dylan counters that people on the surface survive in at least some timelines and that another version of Grist sent him to find her. She agrees to keep working so another timeline can benefit from what she learns.
Retrieve Grist’s log and defend the Transmission Tower
The next changed campsite contains bodies, scattered documents and the audio collectible Grist Research Log #3. From there, the tower’s beacon leads across the gap to its rocky peak, where red enemies attack from the ground and air.
Investigate Dylan’s voice and cross with Grist
Pope’s initial analysis covers decades of research across multiple timelines, yet finds nothing that can stop the patterning. She calls the mission unsuccessful at this stage. Dylan then hears his own voice despite not speaking, drawing him toward the Cable Car station.
Inside the car, Grist needs to reach a spot directly beneath the Oldest House and asks Dylan to protect her while she places the relays. The car carries them across the chasm, but Grist disappears before it reaches the far landing.
Follow the relays and recover the final probe
Farther down, the pipes run through orange sludge and green-lit stalagmites. The message asks a surviving version of its speaker to cross the chasm and says another version must finish the job; beyond it lie another Dylan encased in blue crystal and the collectible I Don’t Mind Dying.
Grist lies in the red-lit cavern beside a dropped probe. The quest shifts to Place the Final Probe Relay, and the Underpass map marks its destination.
Carry the probe to the tree and complete the quest
Carry the probe along the massive pipes, following the orange pipeline across the abyss. Take it through the bending pipe tunnel into the vast underground cavern beneath the Oldest House. Your destination is the green tree growing alone on a mound at the cavern’s center.
Place the relay to start the montage. You regain control beside the sapling, with the deployed relay next to it, and Pope comes over the radio. She discusses the incoming data.
The banner confirms “QUEST COMPLETED: RECURSIONS AND ITERATIONS”, awarding you +1 Living Shard and the Prime Candidate Restraint Suit. Your key items change too: Grist’s Tracking Device is removed when you finish the quest. The objectives are complete, and Dylan turns to his meeting with Zoe.
Related Control Resonant guides


Leave a Reply