
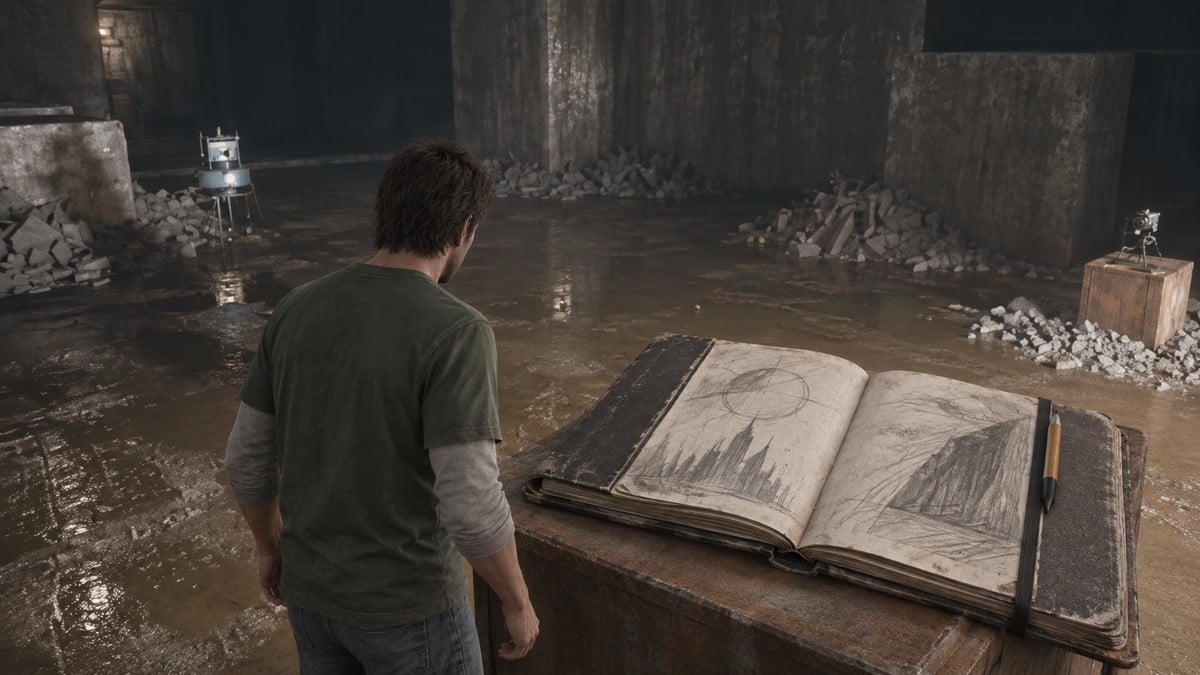
Complete all 11 Dylan’s Sketchbook scenes across Manhattan to earn Work-Life Balance, a silver PlayStation trophy in Control Resonant.
Dylan’s Sketchbook is one of Control Resonant’s collectible side activities, but it works differently from a typical collectible hunt. Instead of simply picking up an item, each Sketchbook location contains a partially destroyed or unfinished scene that you need to reconstruct by bringing in the props to the scene.
Once the scene is completed, you get the Draw prompt to finish the activity. There are 11 such scenes in Dylan’s Sketchbooks, and none of them are missable. Completing the entire set is required for the Work-Life Balance silver trophy and achievement.
All 11 Dylan’s Sketchbook Scenes in Control Resonant
| # | Sketchbook scene | Region | Main requirement |
|---|---|---|---|
| 1 | Beach Day | Downtown | Restore the beach setup |
| 2 | Rooftop Oasis | Downtown | Replace bird statues and plants |
| 3 | The Cat Picnic | Central | Rebuild the picnic |
| 4 | Live On Stage | Central | Restore the band setup |
| 5 | Halloween Party | West Incursion Zone | Rebuild the Halloween display |
| 6 | Dream House | Evacuation Zone | Assemble the model house |
| 7 | Robotics | Evacuation Zone | Complete the robot |
| 8 | The Dragon and The Knight | The Park | Recreate the dragon from Mold |
| 9 | Space Adventure | Underpass | Rebuild the moon landing |
| 10 | Art Exhibition | The Unknown | Restore the gallery display |
| 11 | Game Night | The Unknown | Rebuild the tabletop scene |
Each Sketchbook scene requires its missing parts to be assembled before Dylan can draw it. Here are all 11 scenes and how to draw each one:
1 – Beach Day
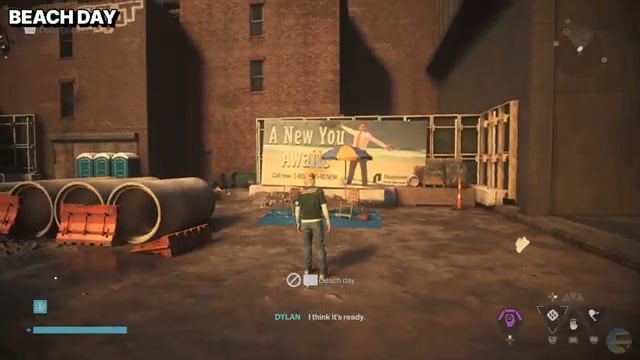
STEP 1/5
20%
Find the beach setup
Open the West Incursion Zone map view and mark Downtown Secret, then go to the partially arranged scene beside the “A New You Awaits” billboard.
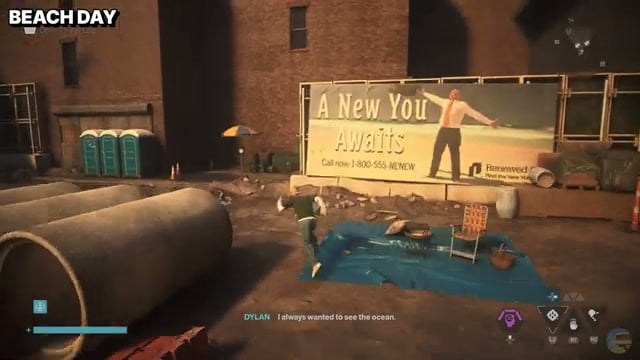
STEP 2/5
40%
Place the umbrella
Pick up the fallen umbrella nearby and set it on the blue tarp.
STEP 3/5
60%
Bring over the chairs
Find the folded beach chair beside the trash bags in the alley, then carry it back and open it on the tarp.
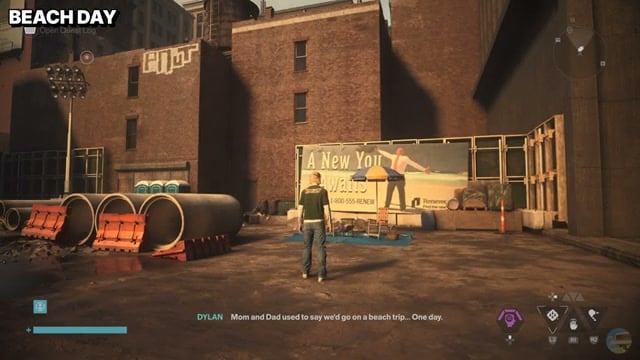
STEP 4/5
80%
Add the portable prop
With the umbrella and chair in place on the blue tarp, the Beach Day scene is complete.
STEP 5/5
100%
Draw Beach Day
Once the beach arrangement is ready, activate Draw to put the scene in Dylan’s Sketchbook.
2 – Rooftop Oasis
STEP 1/7
14%
Reach the birdwatching deck
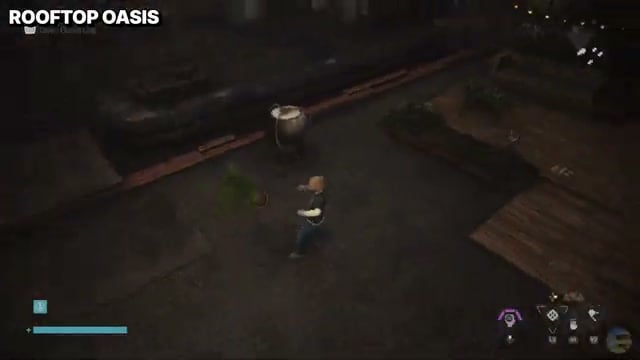
Follow the rooftop secret to the wooden deck marked “Birdwatcher’s paradise.”
STEP 2/7
29%
Set the first goose
Take the decorative goose sculpture from the roof’s corner and place it on the table.
STEP 3/7
43%
Return the fern
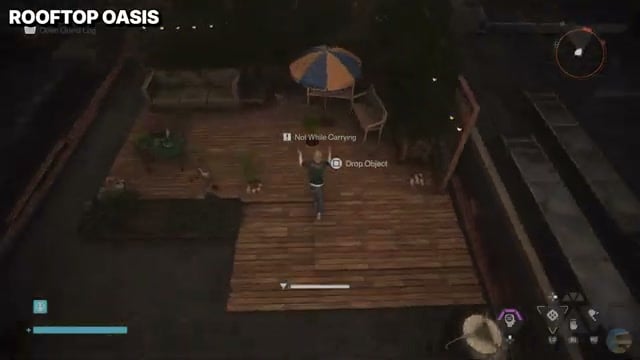
Cross the wall onto the neighboring roof, pick up the potted fern and return with it to the garden planter.
STEP 4/7
57%
Find the second goose
Jump to the other rooftop ledge for the second goose statue, then set it near the deck.
STEP 5/7
71%
Move the fence-side plant
Pick up the tall potted plant beside the fence and position it on the wooden deck.
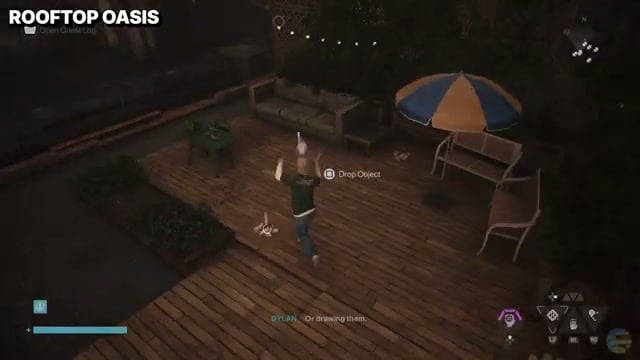 Move the fence side plant | 100% Guides / YouTube
STEP 6/7
86%
Bring up the alley plant
Descend the stairs into the side alley for the remaining potted plant, leap back to the terrace and add the pot to the arrangement.
STEP 7/7
100%
Sketch the oasis
Use Draw at the restored birdwatching scene.
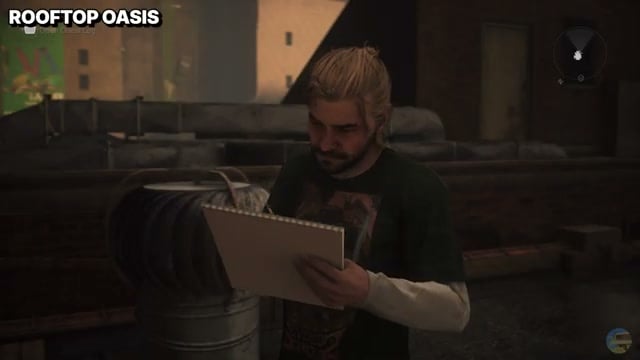 Find the second goose | 100% Guides / YouTube
3 – Cat Picnic courtyard
STEP 1/5
20%
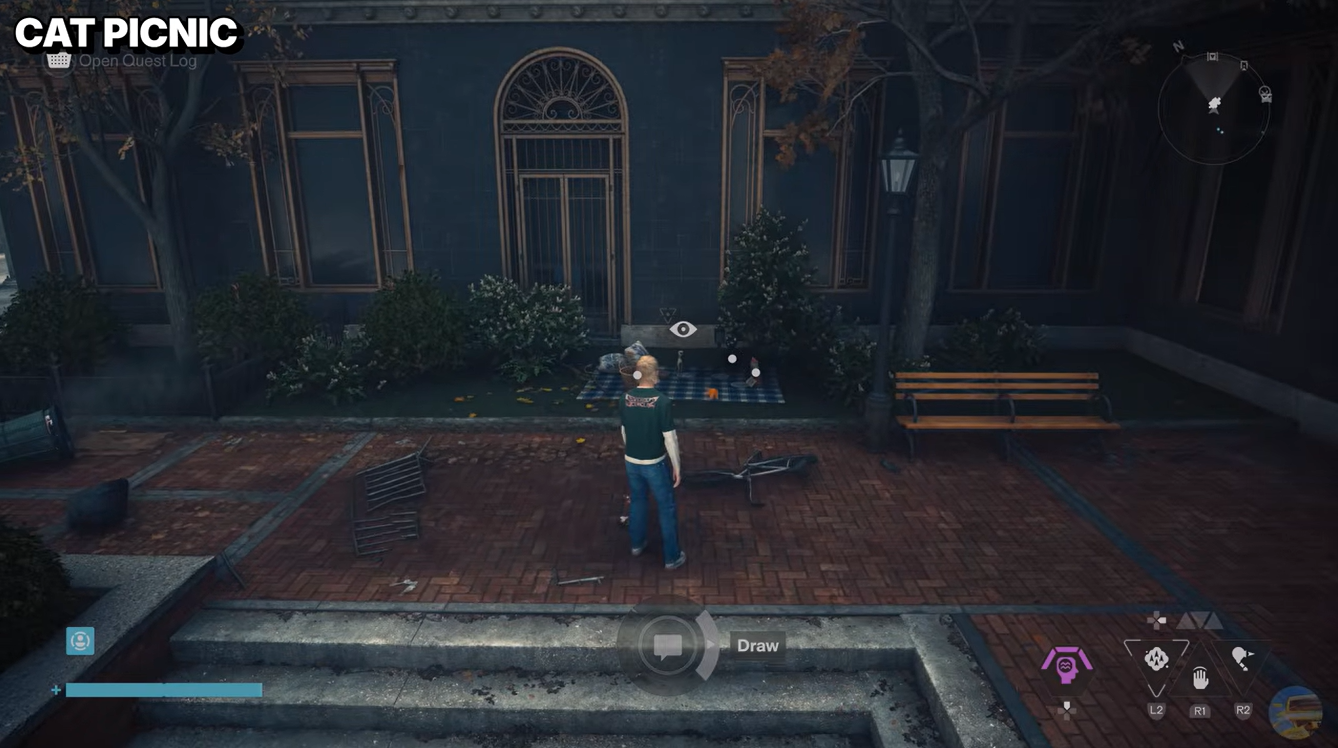
Find the blanket
Mark the secret alley near East Park Station, climb the stone steps and look for the checkered blanket outside the courtyard building entrance.
STEP 2/5
40%
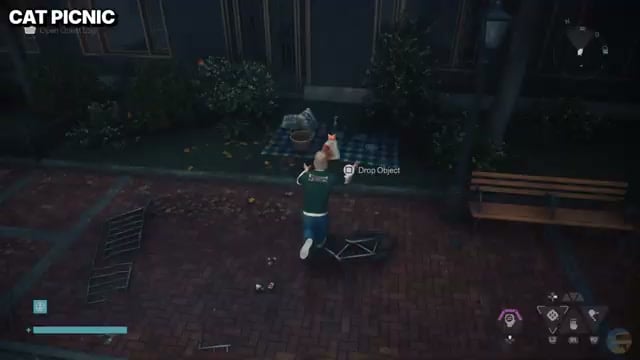
Right the trash can
Pick up the nearby green trash can that has overturned and place it beside the hedge.
 Sketch the oasis | 100% Guides / YouTube
STEP 3/5
60%
Set out the basket
Pick up the open picnic basket from the ground and put it on the blanket.
STEP 4/5
80%
Bring the cat
Collect the cat figurine from the chess-table area and place it on the blanket.
STEP 5/5
100%
Draw the picnic
Interact with the finished arrangement to sketch Cat Picnic.
4 – Live On Stage
STEP 1/6
17%
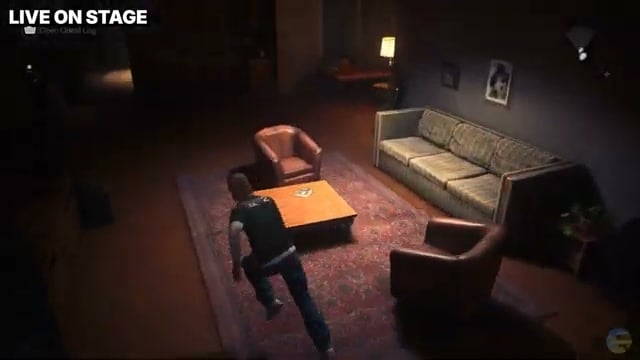
Enter the band room
Consult the West Incursion Zone map view and mark the secret in Central’s residential apartment building. Open the entrance and follow the hallway and stairs to the upper floor. Turn into the open apartment and find the band setup around a patterned rug, labeled “One man band.”
 Enter the band room | 100% Guides / YouTube
STEP 2/6
33%
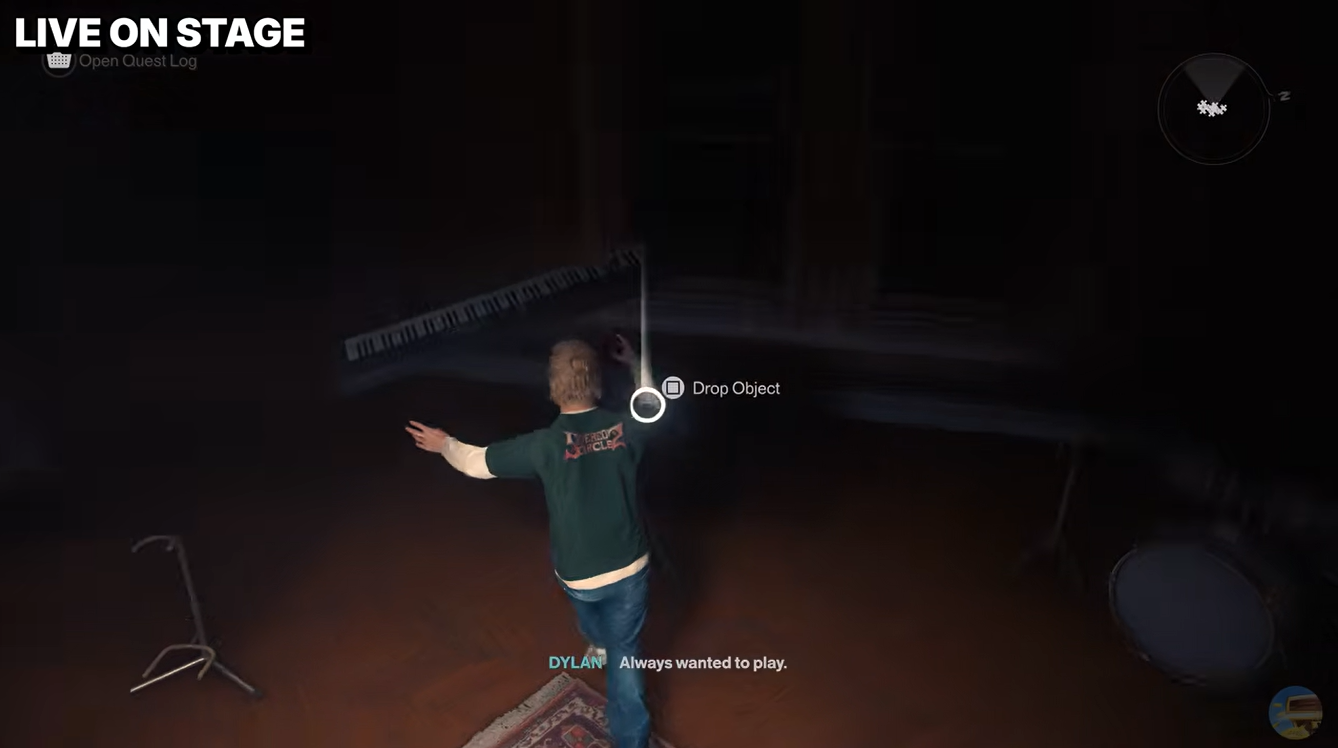
Set up the keyboard
Retrieve the electric keyboard from the adjacent bedroom and carry it to its stand.
STEP 3/6
50%
Complete the drum kit
Pick up the cymbal from the floor and mount it on the drums.
STEP 4/6
67%
Place the guitar
Take the electric guitar beside the living-room couch and set it on its stand.
STEP 5/6
83%
Arrange the mic stands
With the guitar on its stand, the band setup is complete.
STEP 6/6
100%
Draw the band
Step back from the assembled instruments and use Draw for “One man band.”
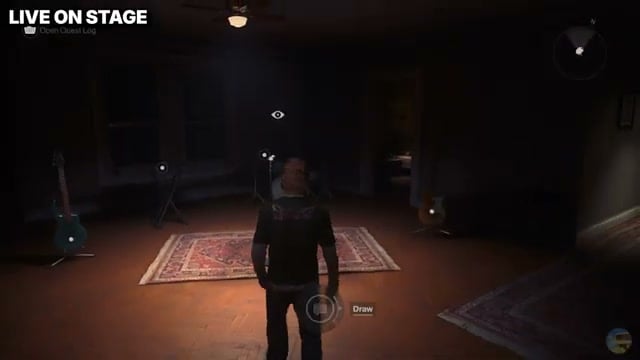 Draw the band | 100% Guides / YouTube
5 – Halloween Party rooftop
STEP 1/6
17%
Climb to the party
Mark the rooftop secret near West Incursion Zone Checkpoint, follow the road and leap across the brick buildings to the decorated wooden deck.
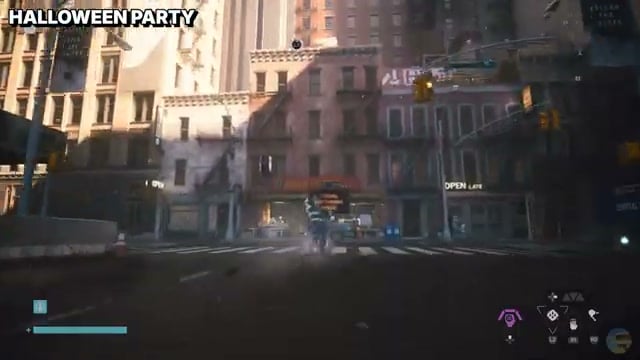 Enter the band room | 100% Guides / YouTube
STEP 2/6
33%
Stack the pumpkins
Pick up the jack-o’-lantern stack and put it by the fence.
STEP 3/6
50%
Move the loose pumpkin
Bring the separate pumpkin onto the main deck and place it beside the seated skeleton.
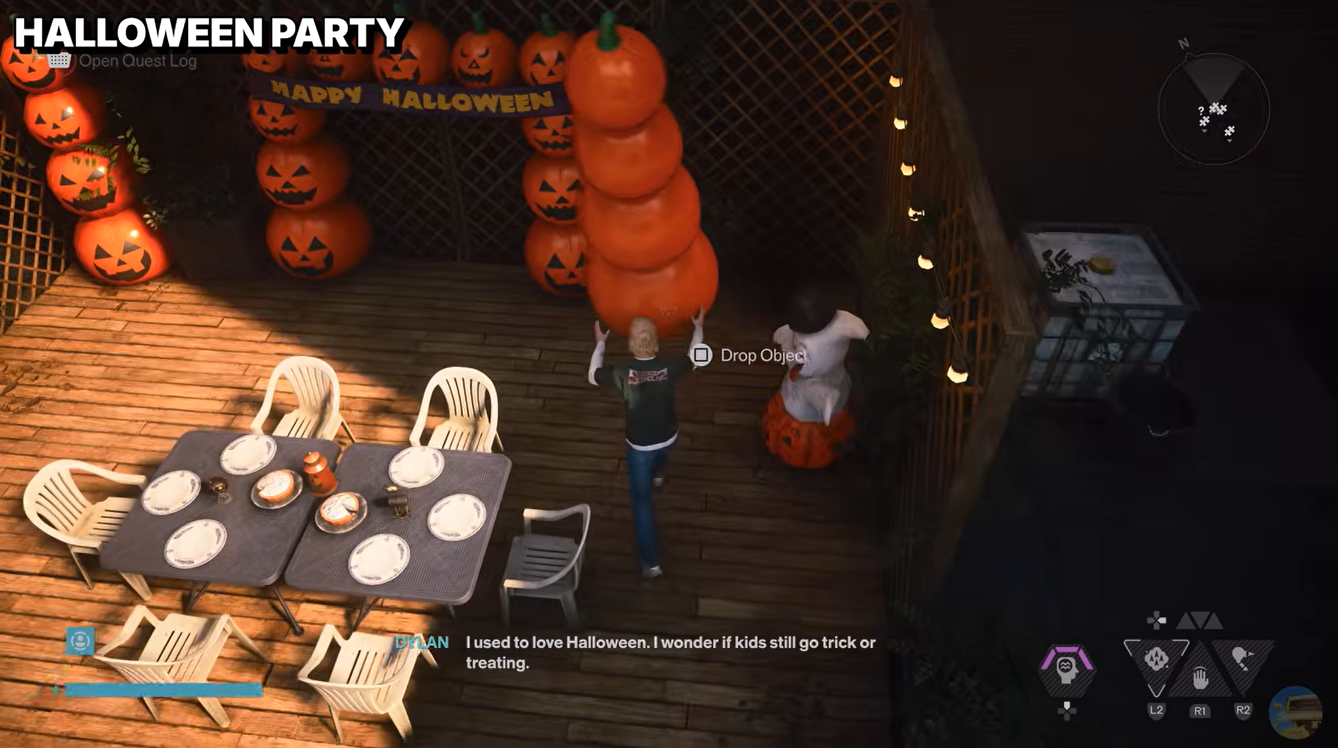
STEP 4/6
67%
Position the ghost
Retrieve the inflatable ghost from the lower roof and set it behind the chairs.
STEP 5/6
83%
Add the standing skeleton
Cross the brick wall for the standing skeleton and place it beside the Halloween backdrop.
STEP 6/6
100%
Draw the party
Activate the drawing interaction once the festive arrangement is finished.
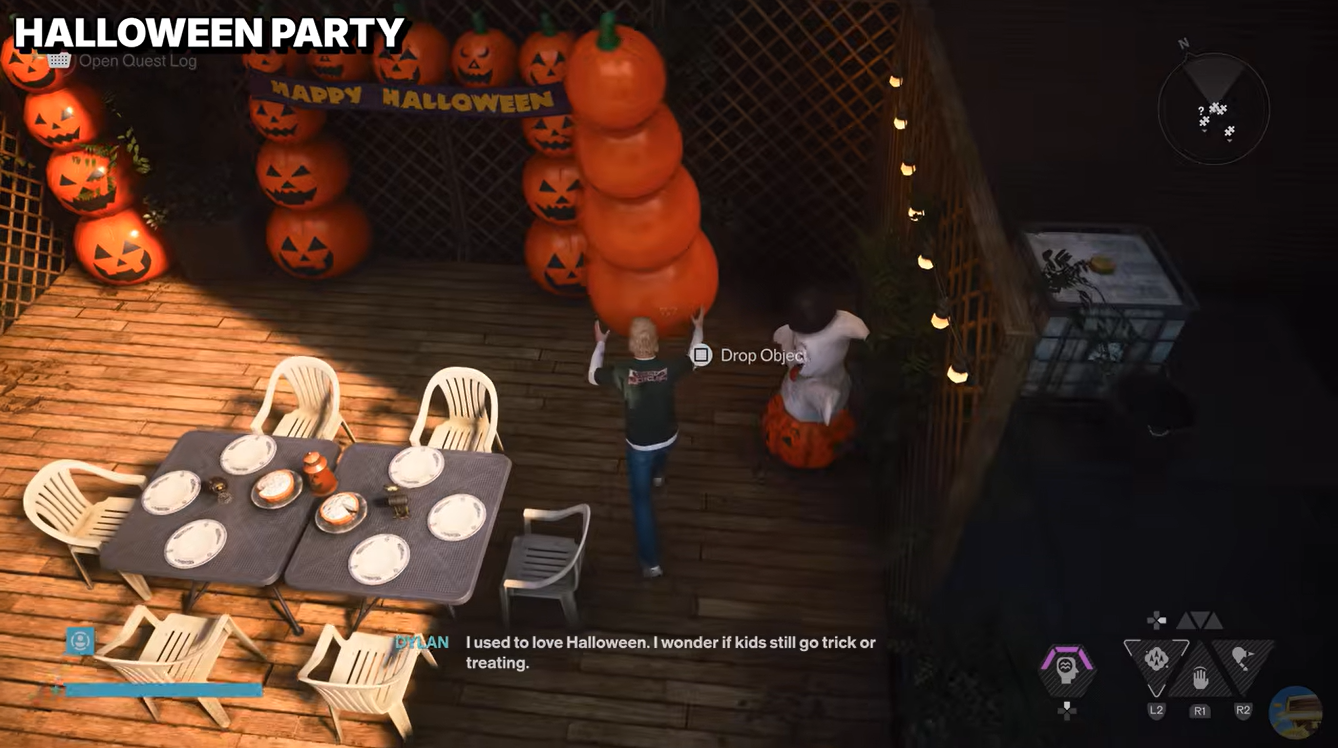
6 – The Dragon and the Knight Sketch
STEP 1/5
20%
Enter the subway
Follow the secret marker into the Underground Subway beneath The Park. Descend the blue-lit stairs through the abandoned concourse.
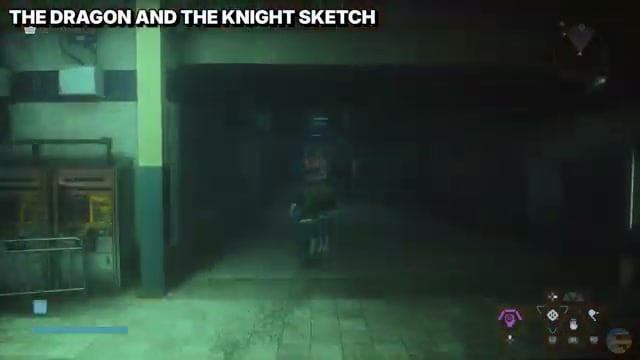 Enter the subway | 100% Guides / YouTube
STEP 2/5
40%
Find the dragon shape
Look for the glowing green, mossy growth embedded in the wall; its head-like shape is the base of the scene.
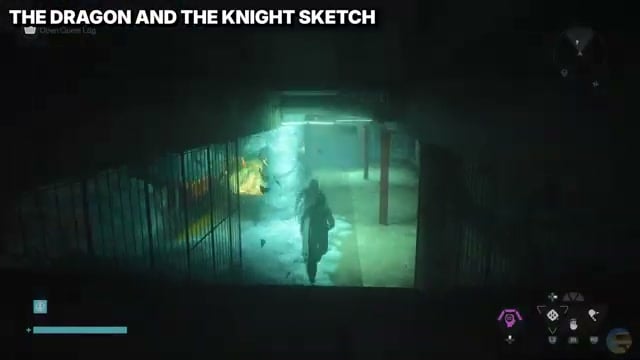 Find the dragon shape| 100% Guides / YouTube
STEP 3/5
60%
Supply both wings
Fit a nearby metal object beside the growth as one wing. Pass through the opening to the adjacent tunnel, retrieve the other metal object and bring it back for the second wing.
STEP 4/5
80%
Place the cones
Place the cones on the dragon’s back, spine and tail before drawing the dragon.
STEP 5/5
100%
Draw the dragon
Use Draw when the sculpture is assembled.
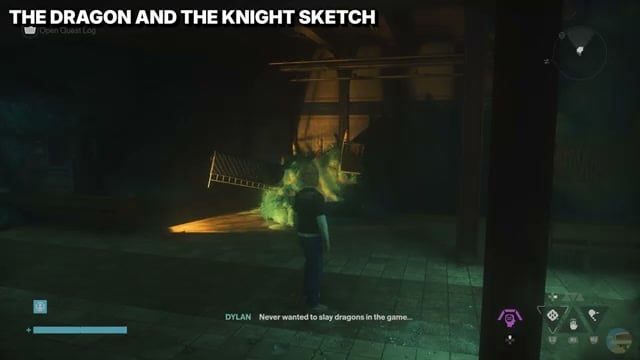 Draw the dragon | 100% Guides / YouTube
7 – Robotics vending-machine figure
STEP 1/6
17%
Find the warehouse project
Mark the secret at Testing Facility Pearl, cross the foggy street and vehicles, then take the alley into the open loading bay. Inside, the vending machine is labeled “Cool robot.”
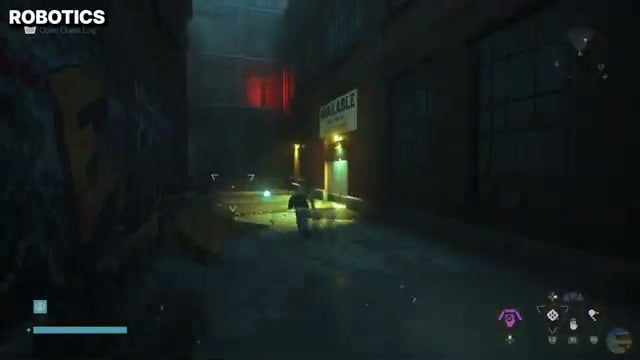 Find the warehouse project | 100% Guides / YouTube
STEP 2/6
33%
Attach the first arm
Gather the nearby duct and pipe pieces, then fasten the curved industrial pipe to the machine’s side.
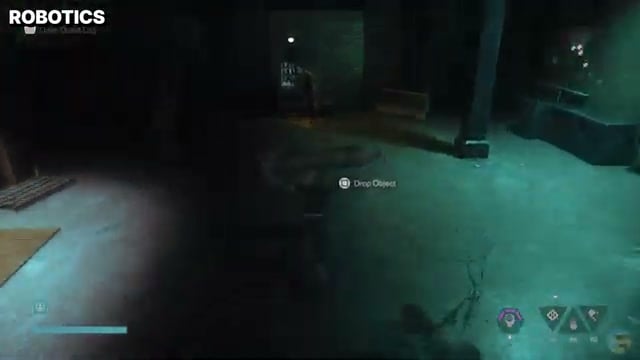 Attach the first arm | 100% Guides / YouTube
STEP 3/6
50%
Build the base
Go into the rear storage bay for the horizontal exhaust pipe and place it beneath the figure.
STEP 4/6
67%
Fit a leg
Take the interior metal stairs to the catwalk, collect the angled pipe and bring it down to attach as a leg.
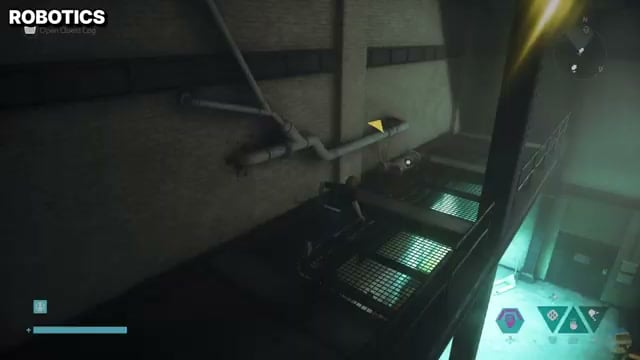 Find the leg for robot | 100% Guides / YouTube
STEP 5/6
83%
Finish the arms
Climb back to the catwalk using the crates, pick up the valve-wheel pipe and carry it down for the remaining arm.
STEP 6/6
100%
Sketch the robot
Activate Draw when the vending-machine figure is complete.
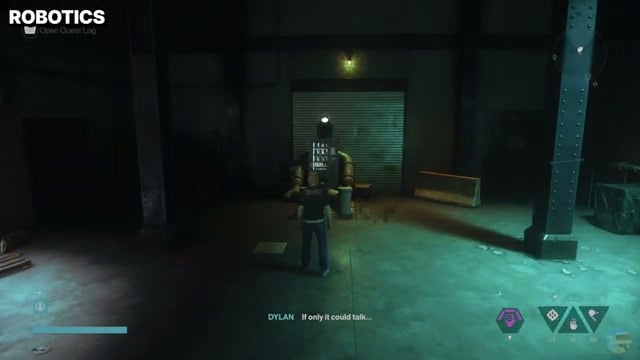 Sketch the robot | 100% Guides / YouTube
8 – Build and sketch Dream House
STEP 1/7
14%
Reach the building site
Tag the secret near Dense Patterning, Unfinished, then traverse the rooftops and balconies to reach the half-finished industrial hall’s upper level. Locate the “Dream house” setup.
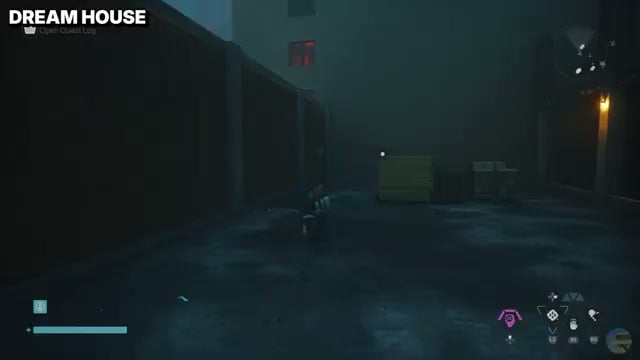 Reach the building site | 100% Guides / YouTube
STEP 2/7
29%
Start the model
Collect the wooden building materials, cardboard house sections and tarps around the site, then take the small frame over to the central foundation.
STEP 3/7
43%
Fit the roof
Pick up the wooden board and fit it into the roof’s miniature frame.
STEP 4/7
57%
Add the window
Search by the shadowed column for the wooden window panel and fit it into the structure.
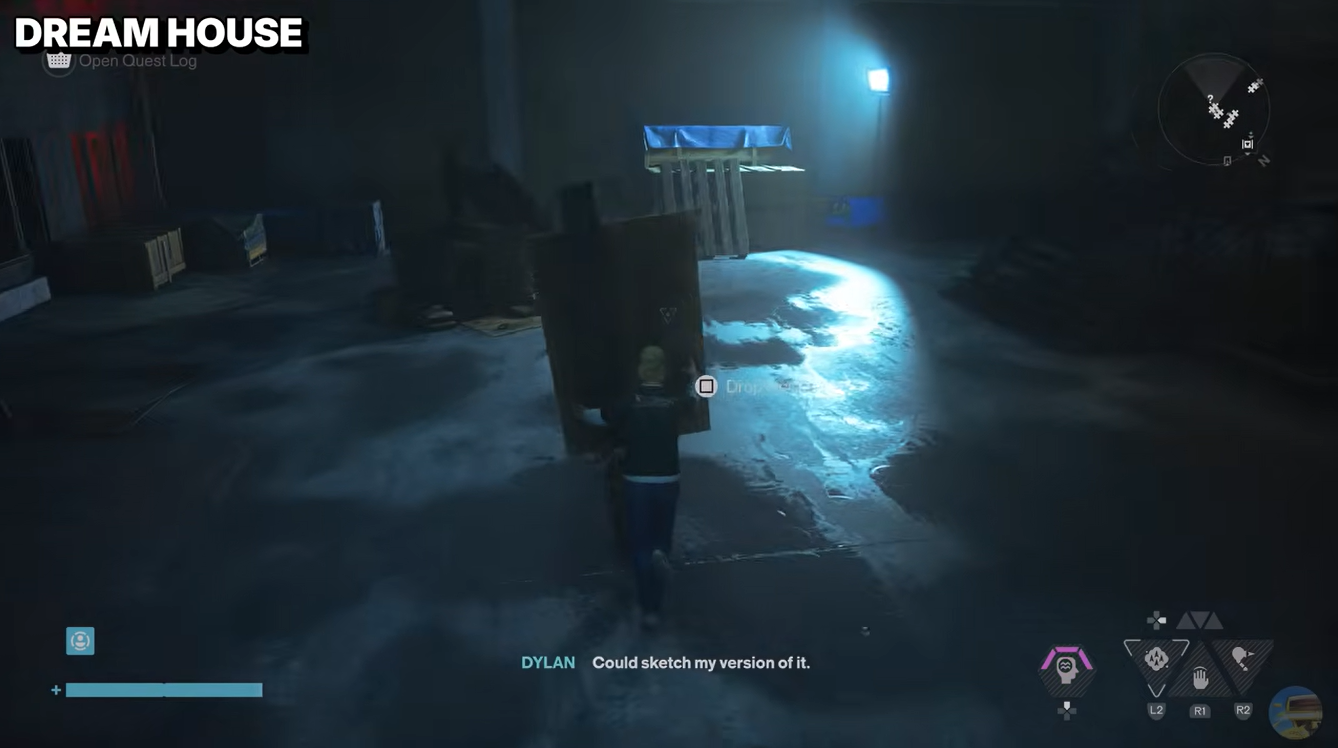
STEP 5/7
71%
Extend the awning
Bring the large plywood board to the model to form its extended roof awning.
STEP 6/7
86%
Attach the outside piece
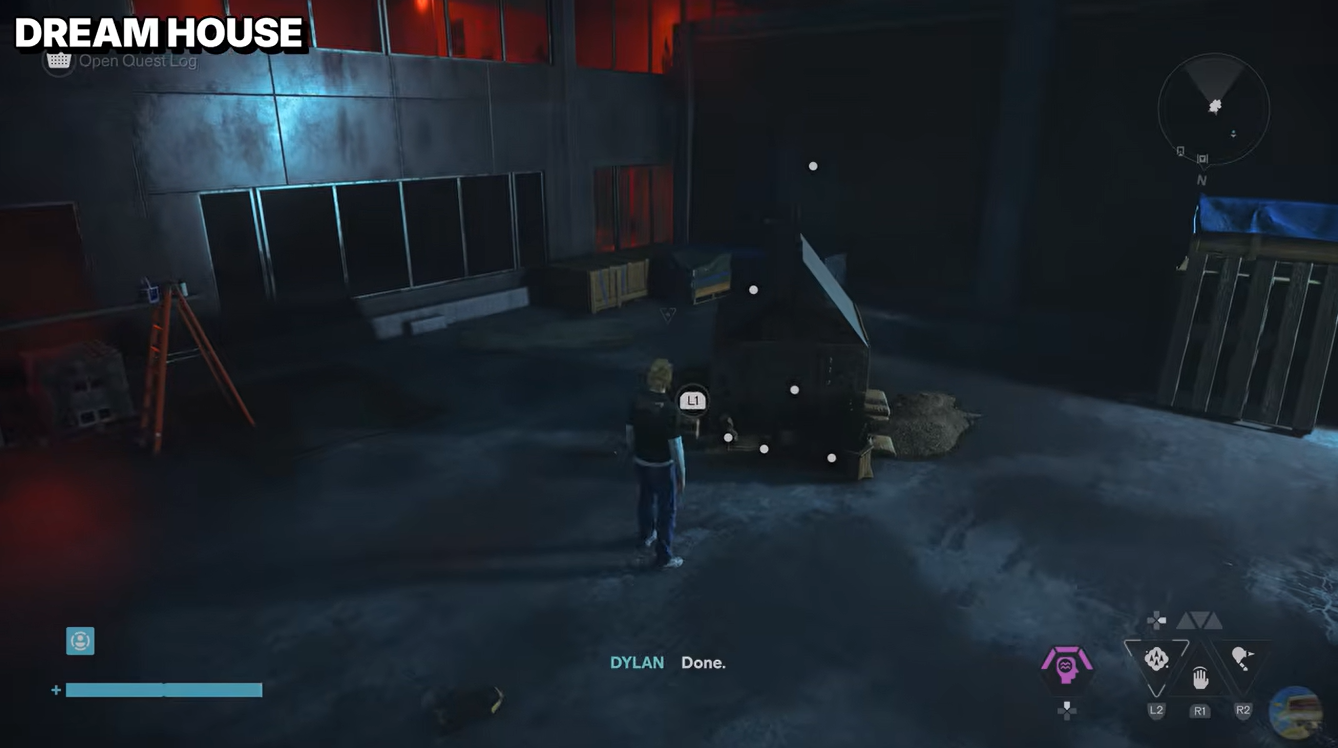
Go outside for the miniature model-house piece and connect it to the project.
STEP 7/7
100%
Finish at the catwalk
Jump to the upper catwalk, retrieve the chimney component and drop it into place. Sit down to draw the completed house.
9 – Space Adventure landing
STEP 1/7
14%
Cross to the landing pad
Follow the Underpass secret through the geometric area, leaping over the foggy abyss via modular stone blocks and platforms. The destination carries the label “Spaceship landing.”
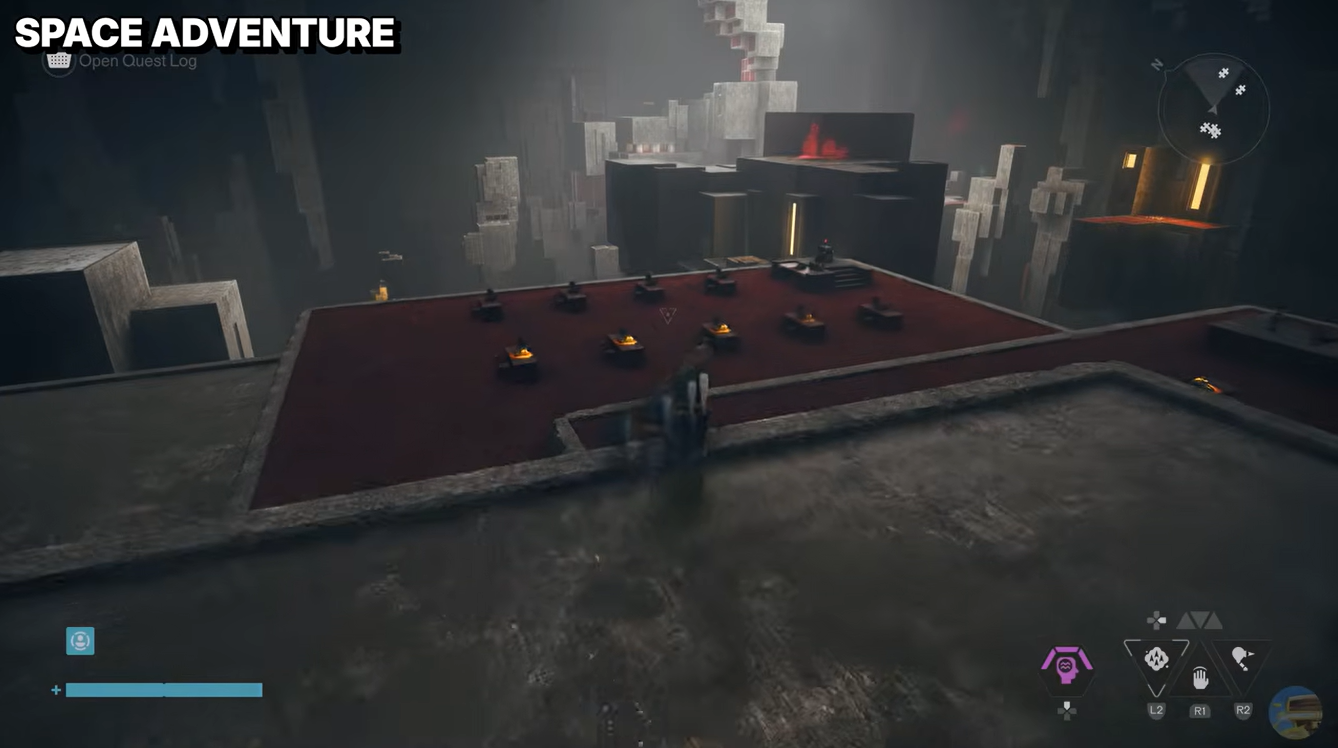
STEP 2/7
29%
Plant the flag
Pick up the American flag and place it on the central block of the moon-landing display.
STEP 3/7
43%
Set down the module
Retrieve the lunar module model from its pillar and fit it onto the orange target marker.
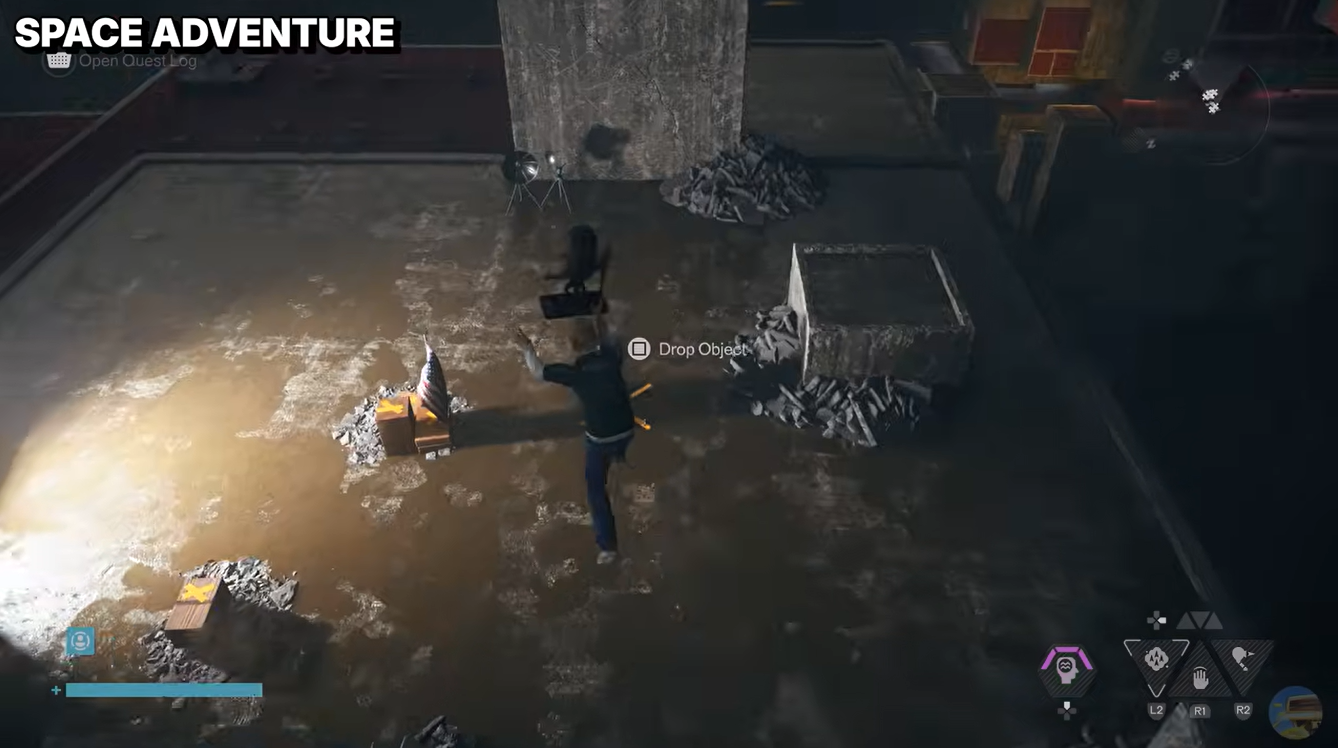
STEP 4/7
57%
Place the first astronaut
Climb the tall block for an astronaut figurine and bring it down to the wooden box.
STEP 5/7
71%
Fetch the moon buggy
Cross to the altar platform, take the buggy back over the gap and set it on the display beside the flag.
STEP 6/7
86%
Bring back the second astronaut
Return to the altar for the other astronaut, cross back to the landing pad and place it in the scene.
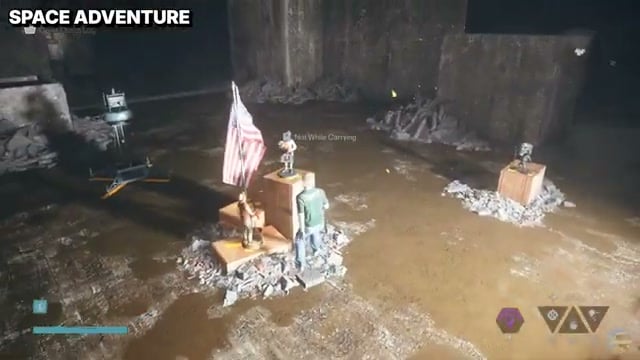 Completed Spaceship landing display | 100% Guides/YouTube
STEP 7/7
100%
Draw the landing
Use the Draw interaction to sketch “Spaceship landing.”
10 – Game Night and gather its props
STEP 1/9
11%
Find the dining room
Mark the abandoned upper-floor apartment secret, climb the fire-lit industrial structure and enter through its open window. Continue through the worn rooms to the dark dining area and its “Game night” table.
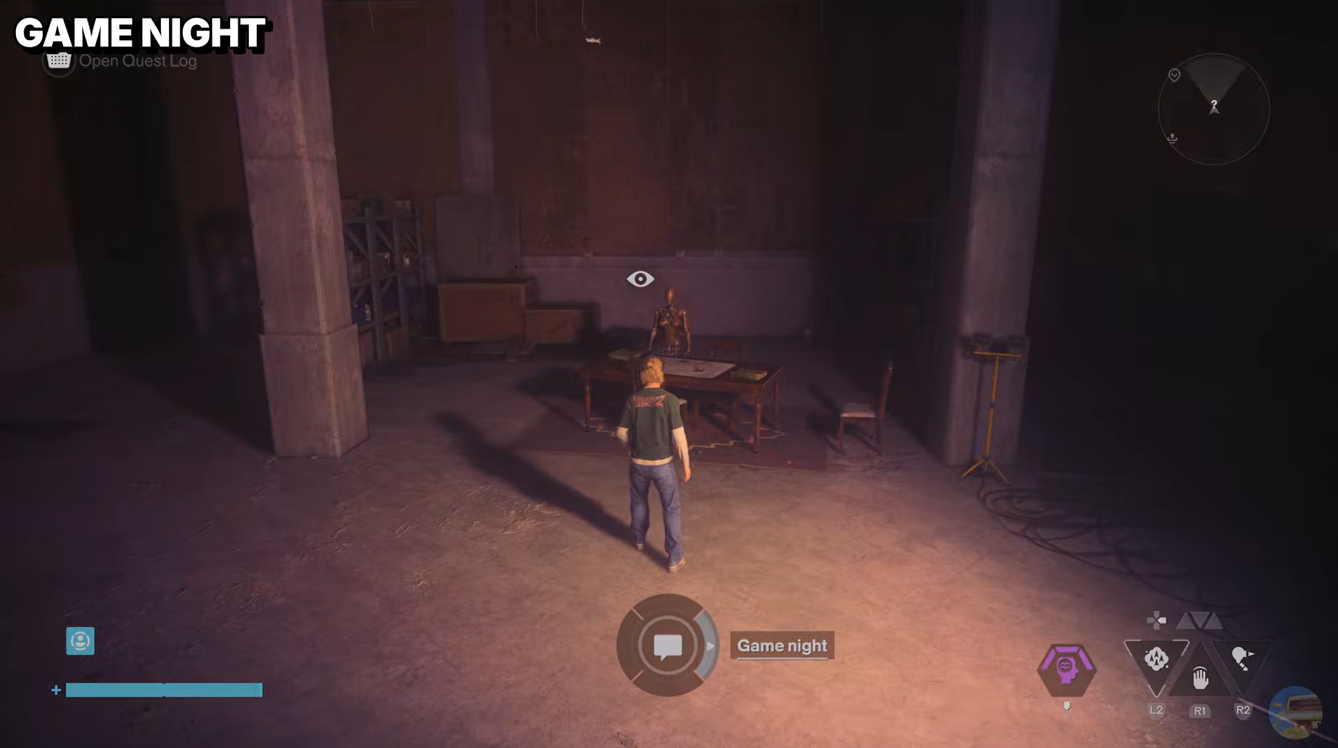
STEP 2/9
22%
Seat the first guest
Retrieve the mannequin torso from behind the storage rack and set it in a chair beside the table.
STEP 3/9
33%
Set out the game
Put the box of board-game pieces on the table, then pull the extra wooden chair into place.
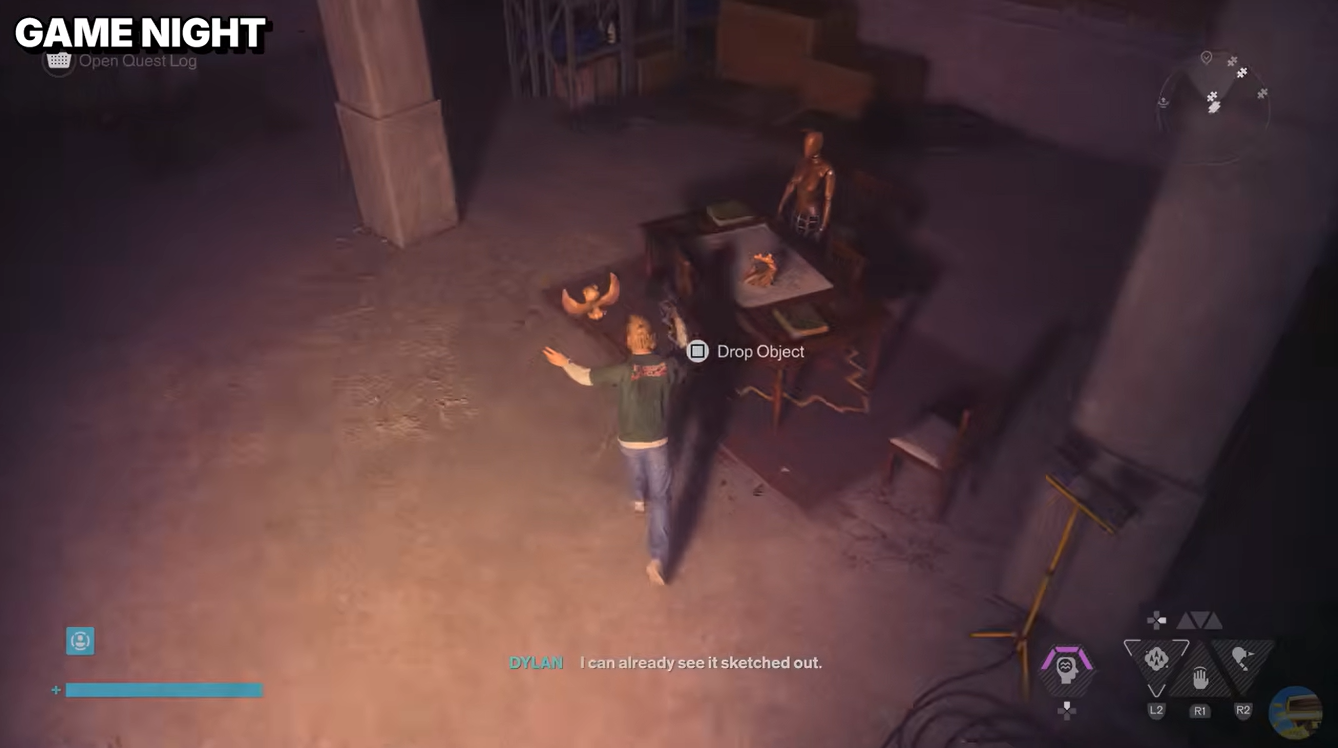
STEP 4/9
44%
Bring back pizza
Leave the building and cross the rooftops to the street-level shop marked “Paradise PIZZA PLACE.” Take the stacked pizza box from its counter, return through the streets and apartment corridors, and place it on the table.
STEP 5/9
56%
Find the second guest
Go back down to the street and enter the 24-hour laundromat. Pick up the witch-hatted mannequin torso from the corner.
STEP 6/9
67%
Seat the second guest
Carry the mannequin outside and back up to the apartment, then take it through the interior stairs and doorway to a chair at the table.
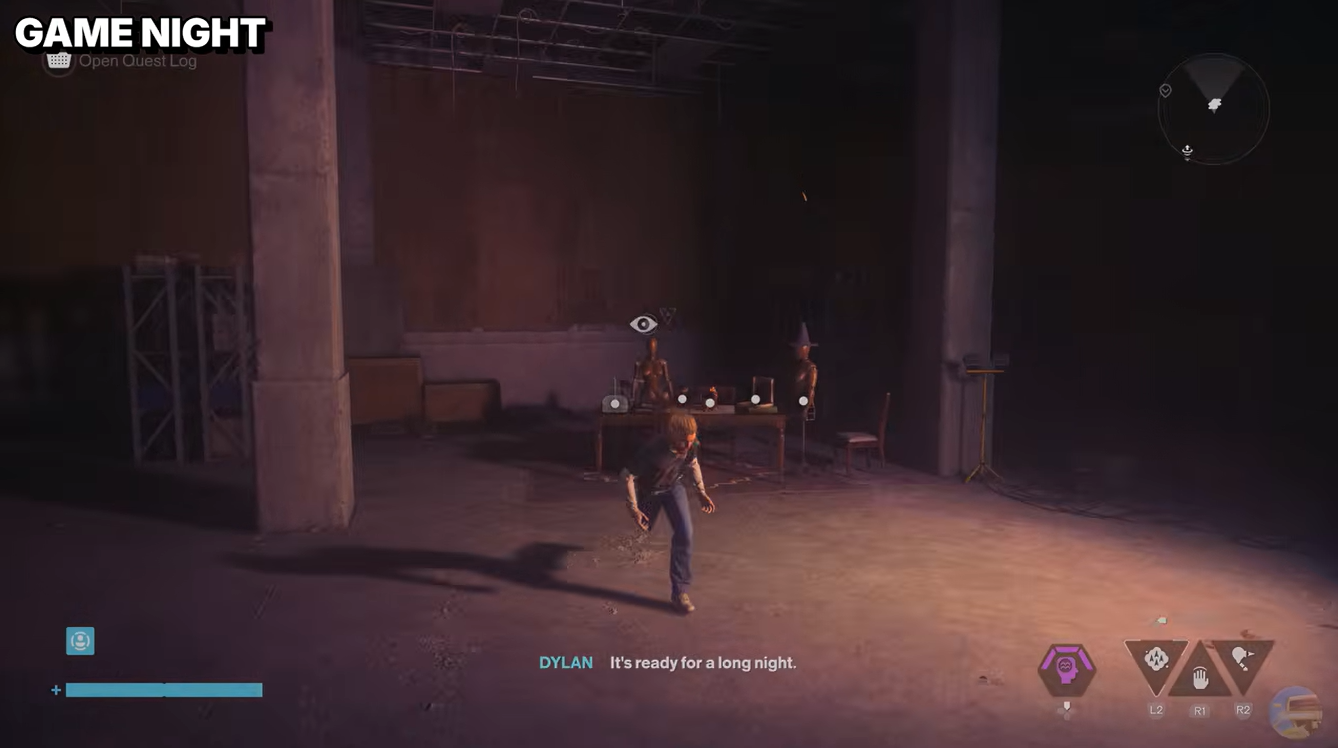
STEP 7/9
78%
Collect the remaining game prop
Bring any remaining props from the nearby areas to the table.
STEP 8/9
89%
Add refreshments
Visit Urban Fresh Mart for the snack bag on its shelf. Bring the snacks back to the dining room and put them on the table to complete Game Night.
STEP 9/9
100%
Draw Game Night
Use Draw when the guests, game and food are arranged.
Use the containers and construction scaffolding when carrying the witch-hatted mannequin back to the upper-floor apartment and when returning with the snacks.
11 – Art Exhibition
STEP 1/6
17%
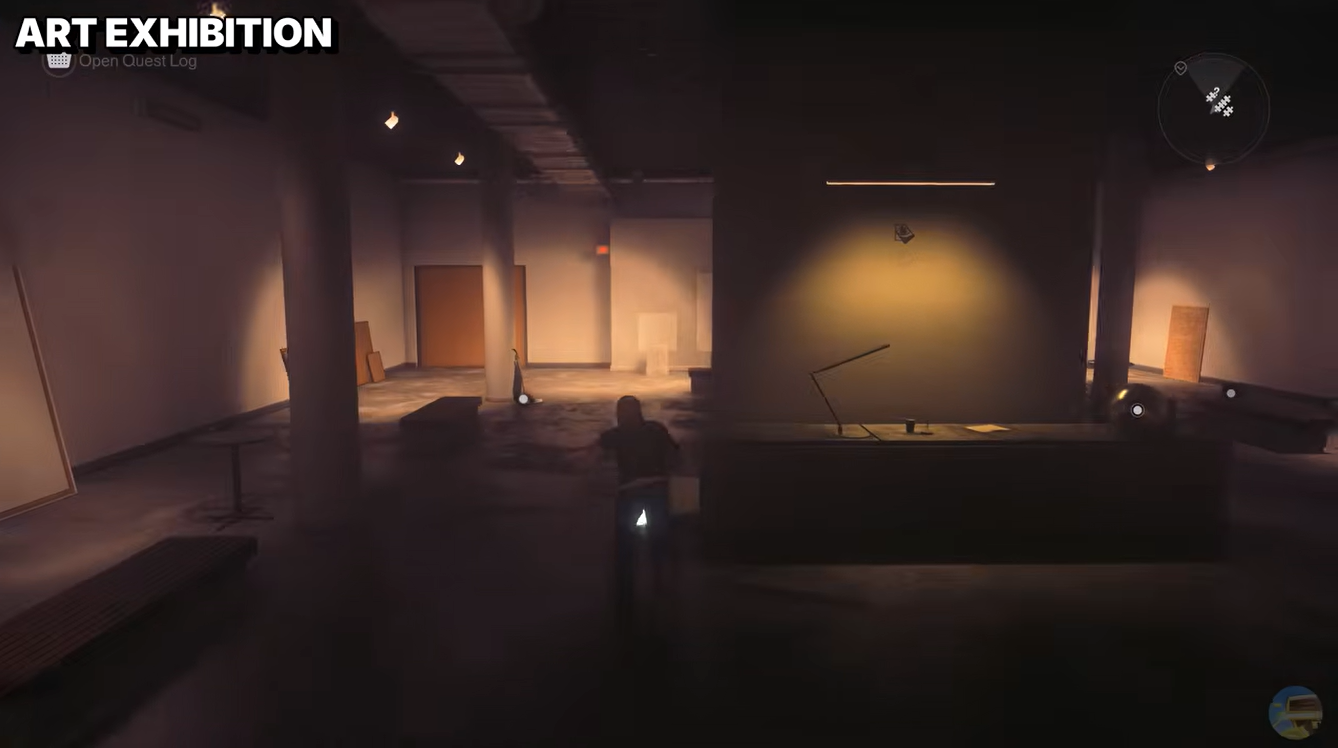
Enter the gallery
Mark the art-gallery secret located near Museum of Curiosities, then cross the street to enter the storefront marked “KUNSTIG.” The room’s label reads “Art exhibition.”
STEP 2/6
33%
Fill the left pedestal
Among the gallery’s three display pedestals, place the wire cube on the left one.
STEP 3/6
50%
Fill the center pedestal
Pick up the bent metal artwork and set it on the middle pedestal.
STEP 4/6
67%
Fill the right pedestal
Retrieve the golden chalice sculpture from the adjacent room and set it on the right pedestal.
STEP 5/6
83%
Top the left display
Take the chrome sphere from the desk and balance it on top of the left display.
STEP 6/6
100%
Draw the exhibition
Activate Draw for the finished gallery arrangement. If this completes every Sketchbook instance, the PlayStation notification reads “Work-Life Balance – Trophy earned!”
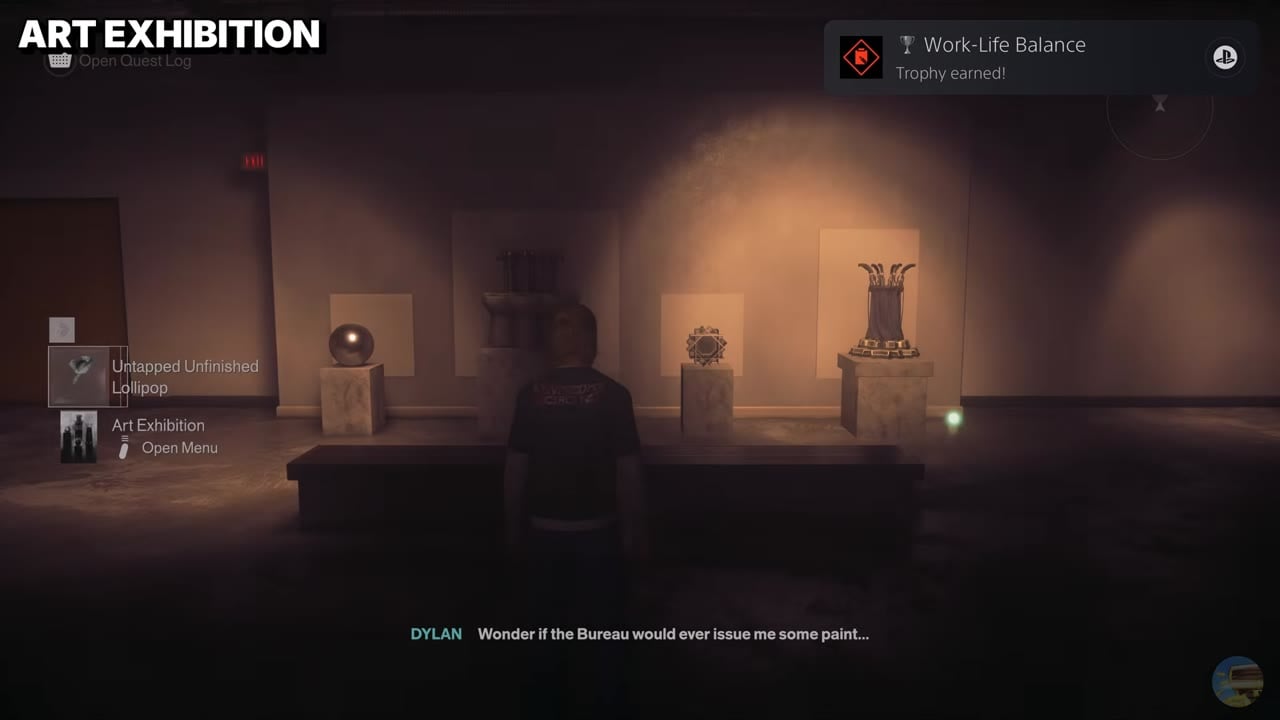
Work-Life Balance – Trophy earned | 100% Guides / YouTube
Unlocking Work-Life Balance trophy
On completing your rounds with all 11 painting puzzles from Dylan’s Sketchbook, you can unlock the Work-Life Balance trophy. Since none of the activities from Dylan’s Sketchbook are missable, you won’t have to hunt for these objectives separately. Work-Life Balance is a silver trophy in Control Resonant. Don’t miss out on small prop interactions and you will be able to unlock the trophy easily.
Related Control Resonant guides
Quick questions
Where do you start Dylan’s Sketchbook?
You start in DOWNTOWN.
What trophy do you earn at the end?
You earn the Work-Life Balance trophy when Dylan completes the final art exhibition scene.
How do you drop an object on PlayStation?
You press Square to drop an object.


Leave a Reply