
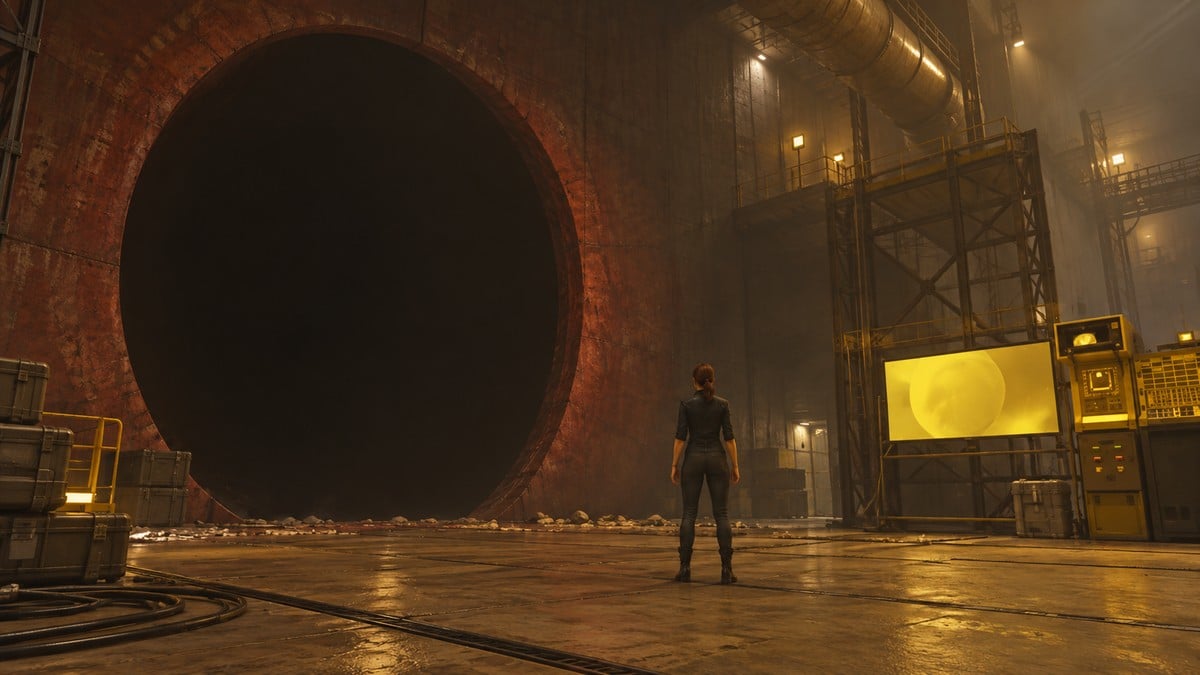
Shut down all six FBC Testing Facilities beneath Manhattan, enter the Threshold in the Unknown, and interact with Dr. Titus Grant’s body to complete Unsupervised Science.
The FBC left an experiment running in several test facilities around Manhattan, so your first objective is Shut Down the Experiments. Once all six facilities are off, the quest changes to Go Into the Threshold.
- Where to find all six Testing Facilities
- NPCs involved
- 1 – Start Unsupervised Science in the control room
- 2 – Complete Testing Facility Reade in Downtown
- 3 – Balance the Power Cores in Central
- 4 – Arrange the dispensers at Testing Facility Broadway
- Stabilize Testing Facility Vesey in The Park
- 5 – Shut down Testing Facility Dutch in the Unknown
- 6 – Enter the Impermanence Threshold and find Dr. Grant
- Unsupervised Science completion tips
- Quick questions
Where to find all six Testing Facilities
The facilities have three Soda Dispenser puzzles and three Power Core puzzles. Use the discovered map markers as you travel: Patterning may have shifted the facilities from their original positions. The route below covers each shutdown before the Threshold.
Facility locations and puzzle types
| Region | Testing facility | Puzzle |
|---|---|---|
| Central | Testing Facility Puchalski | Power Core |
| The Park | Testing Facility Vesey | Power Core |
| Unknown | Testing Facility Dutch | Power Core |
| Downtown | Testing Facility Reade | Soda Dispenser |
| Evacuation Zone | Testing Facility Pearl | Soda Dispenser |
| West Incursion Zone | Testing Facility Broadway | Soda Dispenser |
NPCs involved
Dr. Roland Milbeck
Deceased FBC scientist identified by ID
1 – Start Unsupervised Science in the control room
Play Dr. Grant’s Voicemail at the desk to start Unsupervised Science.
STEP 1/8
12%
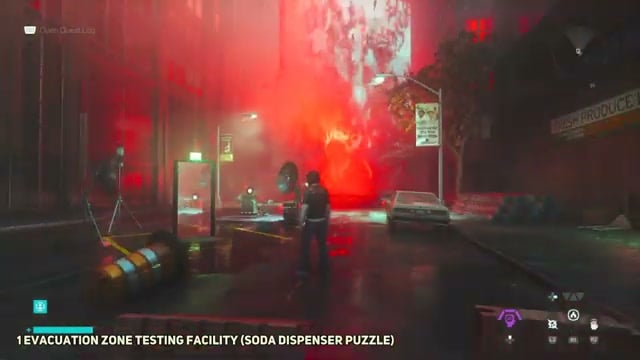
Find Pearl’s entrance
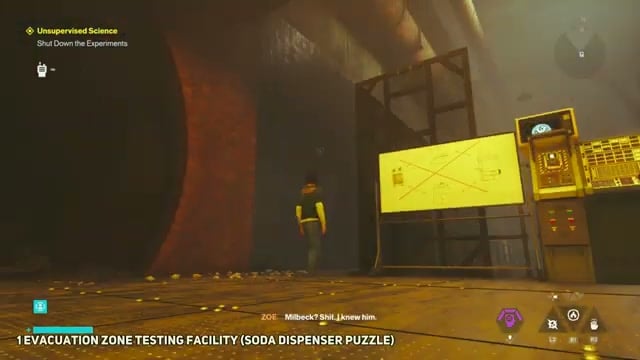
Fast travel to Survivalist’s Bunker in the Evacuation Zone, close to Pearl’s entrance, drop into the concrete shaft, and follow the large drainage pipe to the raised walkway and control area.
STEP 2/8
25%
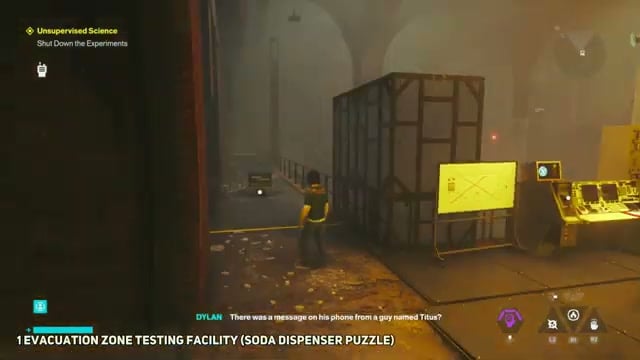
Read the instructions
Pick up Shutdown Instructions at the console before handling the puzzle objects.
STEP 3/8
38%
Gather the room’s objects
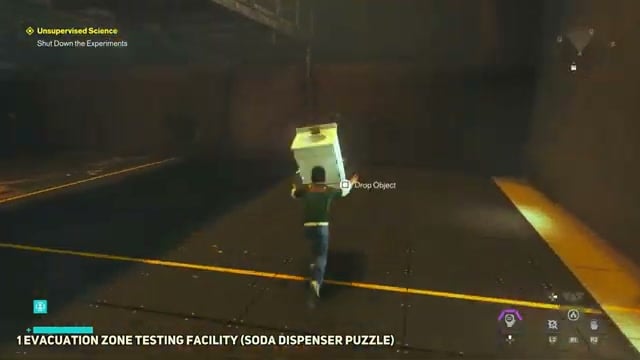
Gather the Soda Dispensers for Pearl’s puzzle.
STEP 4/8
50%
Move objects between levels
Carry a dispenser to its ground-floor square, bring a sink-style unit down from the upper walkway, and move the side-alcove dispenser onto the main floor. Take the stairwell unit up to the raised platform and bring another down from the catwalk.
STEP 5/8
62%
Check the remaining objects
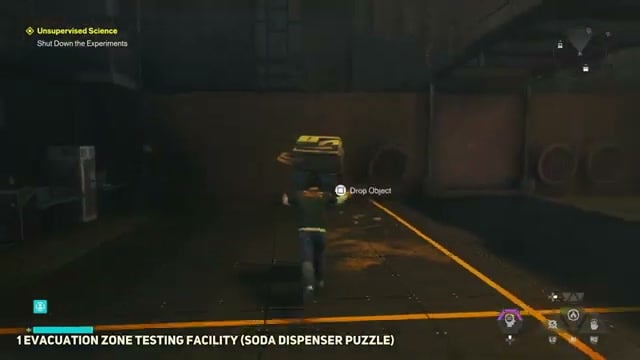
Move the dispenser on the central floor, the oven-style unit from its alcove, and a sink-style unit to their outlines. Carry the last dispenser upstairs toward the control station.
STEP 6/8
75%
Fill the marked positions
Follow the Shutdown Instructions to complete Pearl’s Soda Dispensers puzzle.
STEP 7/8
88%
Shut down Pearl
Activate the terminal lever once the arrangement is complete; the shutdown yields an Undefined Reading.
STEP 8/8
100%
Collect the office pickups
Pass the Testing Facility Pearl sign, jump along the wall fixtures into the upper duct, and enter the office for Testing Facility Coordinates and a Power Upgrade Point from the container. The pickup banner reads Power Upgrade Point 1/3.
2 – Complete Testing Facility Reade in Downtown
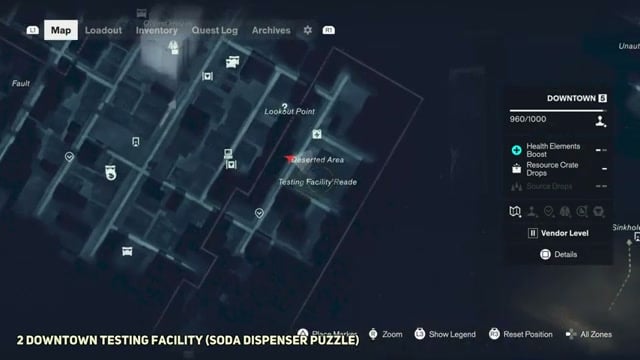
Testing Facility Reade lies on the eastern side of Downtown, by the Deserted Area. Its terminal note identifies Soda Dispenser as the default state. Use the reference board to arrange the objects.
STEP 1/5
20%
Reach the control area
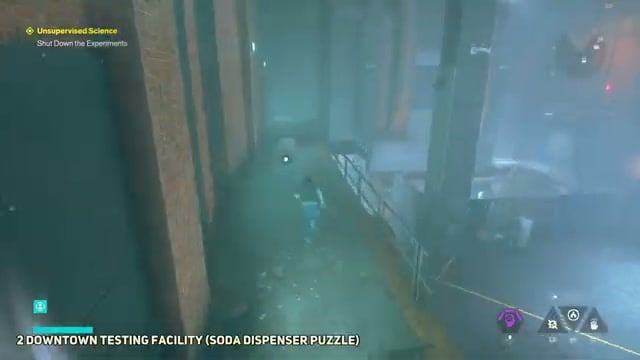
From a Downtown rooftop, descend through the scaffolding into the sewer shaft, then follow the drainage pipe into Reade.
STEP 2/5
40%
Move the first machine
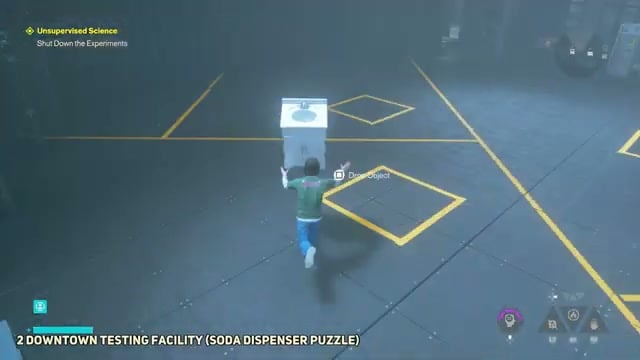
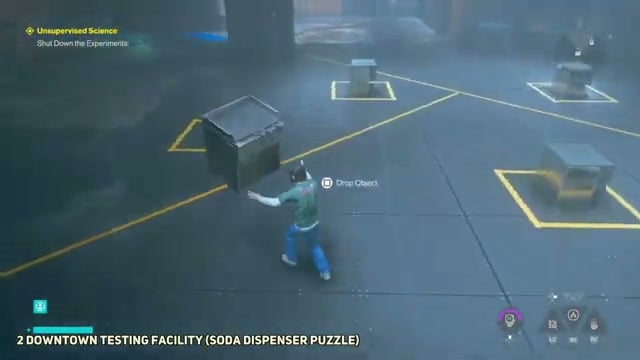
Carry the first Thirst Station dispenser toward the center and set it on its designated yellow outline.
STEP 3/5
60%
Gather the remaining objects
Bring in the dispensers along the sides and near the pipes, then retrieve the units at the stair corners; the arrangement shown uses four dispensers. Include the small cabinet units indicated by the reference board.
STEP 4/5
80%
Stop the experiment
Pull the console lever after the objects are positioned to shut down Reade and receive an Undefined Reading.
STEP 5/5
100%
Search the upper office
Vault onto the elevated platform for a Power Upgrade Point in the crate and A Note From Dr. Milbeck’s Cardiologist. A Talent Point is also picked up during this visit.
3 – Balance the Power Cores in Central
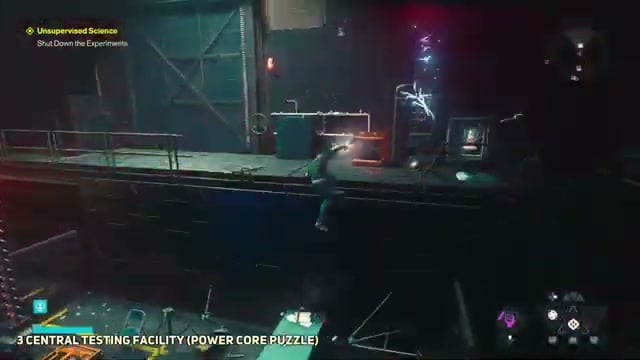
Near Field Office Station, the approach runs through a drainage tunnel. The demonstrated route climbs a wall near Reverance Tower before dropping into a pipe and following the underground corridor to the chamber.
STEP 1/4
25%
Start the shutdown
Read Shutdown Instructions on the desk, then start the countdown by pulling the terminal lever.
STEP 2/4
50%
Watch for a demand for charge
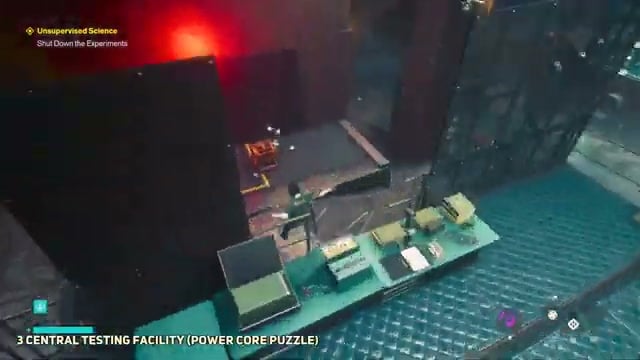
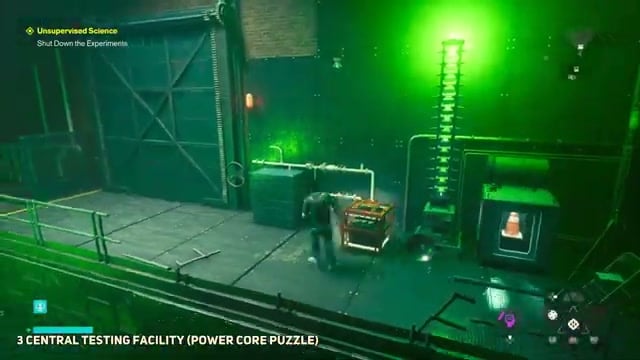
Two cores begin charged. When an uncharged core flashes red, transfer charge to it from a charged core.
STEP 3/4
75%
Balance both levels
Move the orange cores among the ground-level sockets and elevated stations as the meters rise, exchanging charge between the lower and upper platforms to keep the levels in the blue or green range.
STEP 4/4
100%
Finish and collect
When the stations and capacitor indicators hold steady green, the shutdown opens the gate to a Power Upgrade. Visit the control office for Notes From Dr. Puchalski and the Talent Point picked up during this visit.
4 – Arrange the dispensers at Testing Facility Broadway
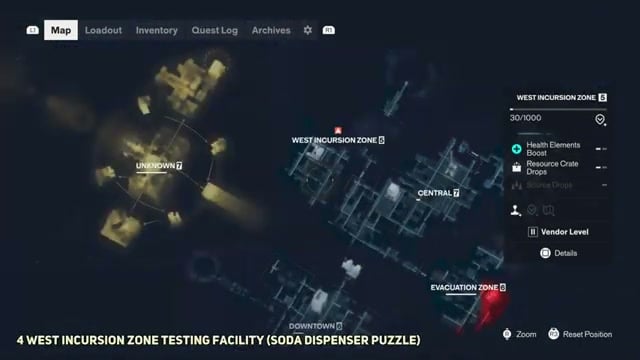
In the West Incursion Zone, look south of the House of Mirrors in the vicinity of the Museum of Curiosities. The approach runs along an avenue, up wooden scaffolding, and down a circular drainage duct into the underground tunnels.
 West Incursion Zone| WoW Quests / YouTube
STEP 1/3
33%
Gather the puzzle objects
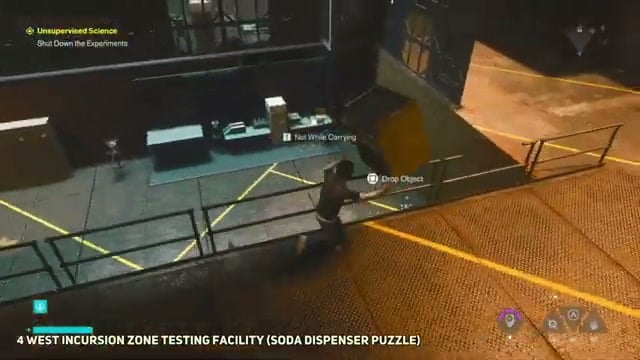
Pick up the scattered soda dispensers and wash units in Broadway’s testing room.
STEP 2/3
67%
Match the schematic
Follow the written shutdown instructions to complete Broadway’s Soda Dispenser puzzle.
STEP 3/3
100%
Open the back chamber
Operate the shutdown switch once the arrangement is complete; an Undefined Reading is picked up here. Enter the adjacent chamber for Notes From Dr. Janson and a Power Upgrade Point from the chest.
Stabilize Testing Facility Vesey in The Park
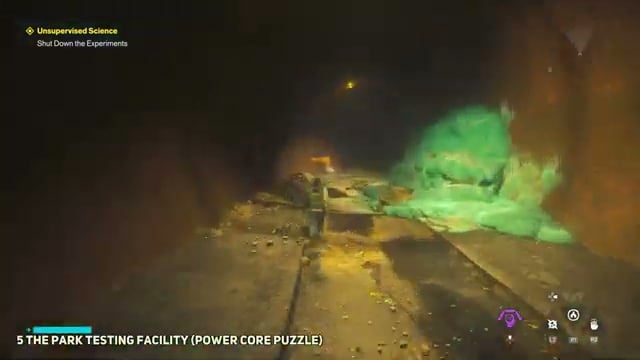
The map marks Vesey’s sewer entrance in The Park, near Underhill’s Lab. From the rooftop, descend into the alley and drainage pipe; the route passes green-slime tunnels, an illuminated yellow-orange chamber, and floating-mist barriers. Dispatch the airborne entity inside Testing Facility Vesey.
STEP 1/4
25%
Begin the Power Core sequence
Use Vesey’s console to start the shutdown, then move between receptacles on the lower central grid and upper catwalks.
STEP 2/4
50%
Hold the load steady
Transfer cores between the lower nodes and raised catwalk sockets as the load bars change. Keep the charge moving as needed through the 60-second sequence.
STEP 3/4
75%
Finish at the console
Once the vertical towers and their indicators are entirely green, head back to the main console, finish the shutdown, and open the secure room.
STEP 4/4
100%
Collect the secure-room items
Cross the upper platforms into the rear research room for the Emergency Hood and Notes From Dr. Roth.
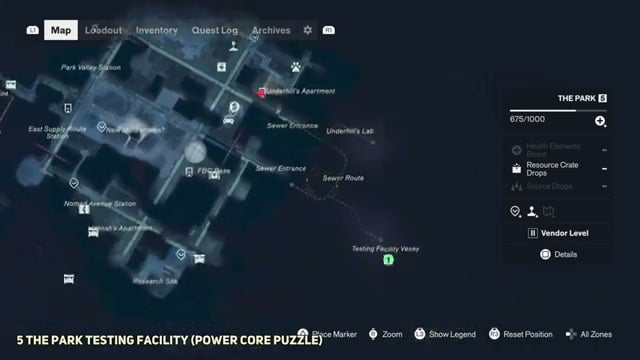
5 – Shut down Testing Facility Dutch in the Unknown
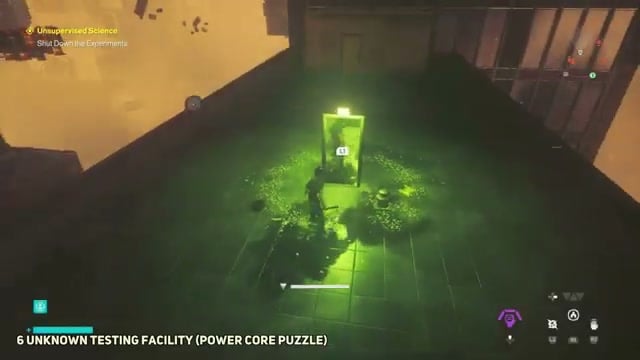
In the Unknown, use fast travel to reach Twisted Rooftops. Beyond the doorway, the fractured cityscape descends to a pipe opening and a flooded maintenance hallway leading to Testing Facility Dutch.
STEP 1/3
33%
Start Dutch’s circuit
Trigger the Power Core sequence at the console and descend to the nodes on the lower floor.
STEP 2/3
67%
Shift charge across the room
Work with Dutch’s Power Core circuit, moving glowing cores among the three towers across the broad floor and multiple tiers as needed to prevent overload. Maintain the transfers through the 60-second sequence.
STEP 3/3
100%
Follow the opening cue
Once the grid balances green, listen for “Attention: The Impermanence Threshold is open.” The Threshold opens after all six experiments have been shut down.
Watch the inactive Power Cores for a flashing red light during a shutdown, then move charge to the core asking for it.
6 – Enter the Impermanence Threshold and find Dr. Grant
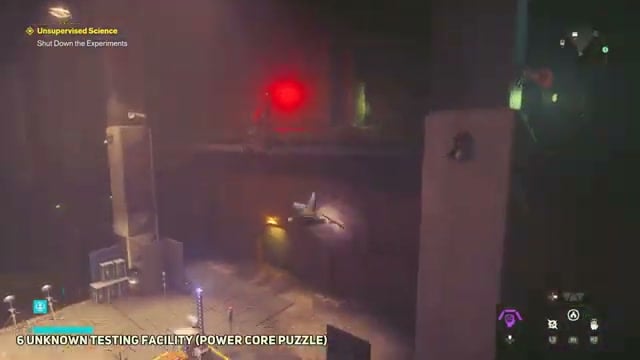
With the experiments shut down, the quest objective becomes Go Into the Threshold. Its entrance is beside the room containing the Firebreaker Goggles in the Unknown facility.
STEP 1/4
25%
Enter the Threshold route
Take the unlocked hallway beside the Firebreaker Goggles room, pass through the observation room with Dr. Grant’s notes, and interact with the security door.
STEP 2/4
50%
Find Grant’s sector
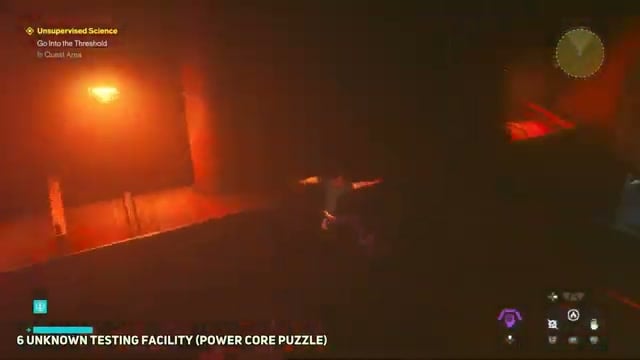
At the split, take the right path and hit the board at the end, then take the left path to retrieve the electric charge from the Power Core, collect the materials in the room, return to the split, and go straight to find the corpse.
STEP 3/4
75%
Complete the quest
Interact with Dr. Grant’s body to finish Unsupervised Science and obtain the Untapped Scrunchie. Collect Dr. Grant’s Final Report, an audio recording beside the body.
STEP 4/4
100%
Search nearby
The adjoining chamber has optional supply caches and collection boxes. The body interaction is what closes the case.
Unsupervised Science completion tips
For the Soda Dispenser facilities, read the shutdown instructions before moving the machines. The reference boards show the intended arrangement.
For the Power Core facilities, watch for inactive cores flashing red. That indicates where charge needs to be transferred.
The Power Core sequences use a 60-second countdown, so keep monitoring the charge levels rather than waiting for the system to stabilize on its own.
The Impermanence Threshold does not open after completing only one or two facilities. All six experiments must be shut down first.
Related Control Resonant guides
Quick questions
What are your objectives in Unsupervised Science?
Your objectives are to shut down the experiments and go into the Threshold.
Who is Dr. Roland Milbeck?
You identify Dr. Roland Milbeck by his ID as a deceased FBC scientist.



Leave a Reply