
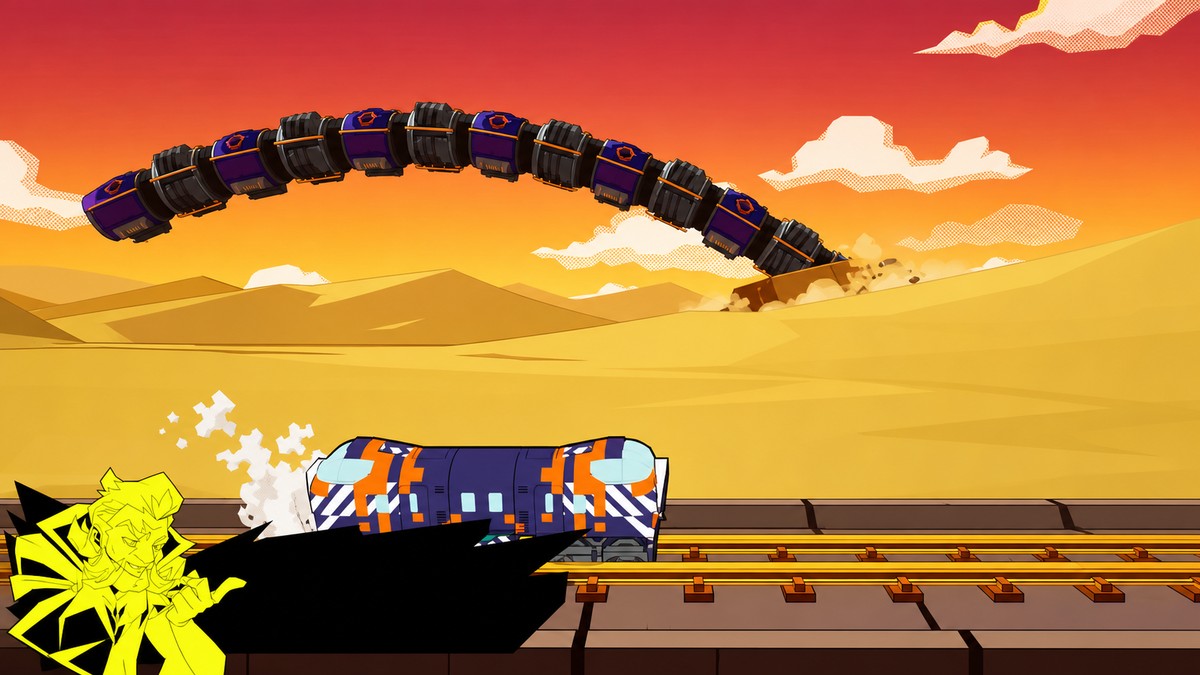
To defeat Madoka Sato in her second Denshattack! boss fight, reflect her baseballs with tricks, survive the rail and tunnel chase patterns, charge the electric bolt on rainbow rails, slam the three barrels onto her, then send back the final baseballs in the sky phase.
Denshattack! is built around fast train movement, tricks, grinds, and clean route control, and this rematch turns those basics into a long reaction test. The Madoka Sato and second fight labels may shift as release-build naming settles, but the encounter route is clear: baseball reflects first, tunnel survival in the middle, then a charged barrel slam and a short sky finish.
Madoka Sato second fight phases
| Phase | What |
|---|---|
| Opening baseballs | Jump high, track the ball, and trick to reflect it. |
| Track crossover | Clear Madoka with high jumps as the track turns. |
| Other-side baseballs | Repeat the reflects while watching for faster throws. |
| City rails and walls | Follow rails and walls, then swap left and right lanes. |
| Charge rail | Wait for her rush, then slam down to the lower rail. |
| Tunnel red zones | Bait the red aim line, move aside, and hit her. |
| Tunnel chase and orbs | Stay opposite her, then circle around the red orbs. |
| Halfpipe charge | Use rainbow rails and tricks to fill the electric bolt. |
| Barrels and sky | Slam three barrels, then reflect the final baseballs. |
The fight moves in a fixed sequence. Treat each phase as a different job: return balls when she gives you space, play clean through movement sections, and spend your biggest trick focus on the rainbow rail charge.
Inputs to prioritize before the rematch
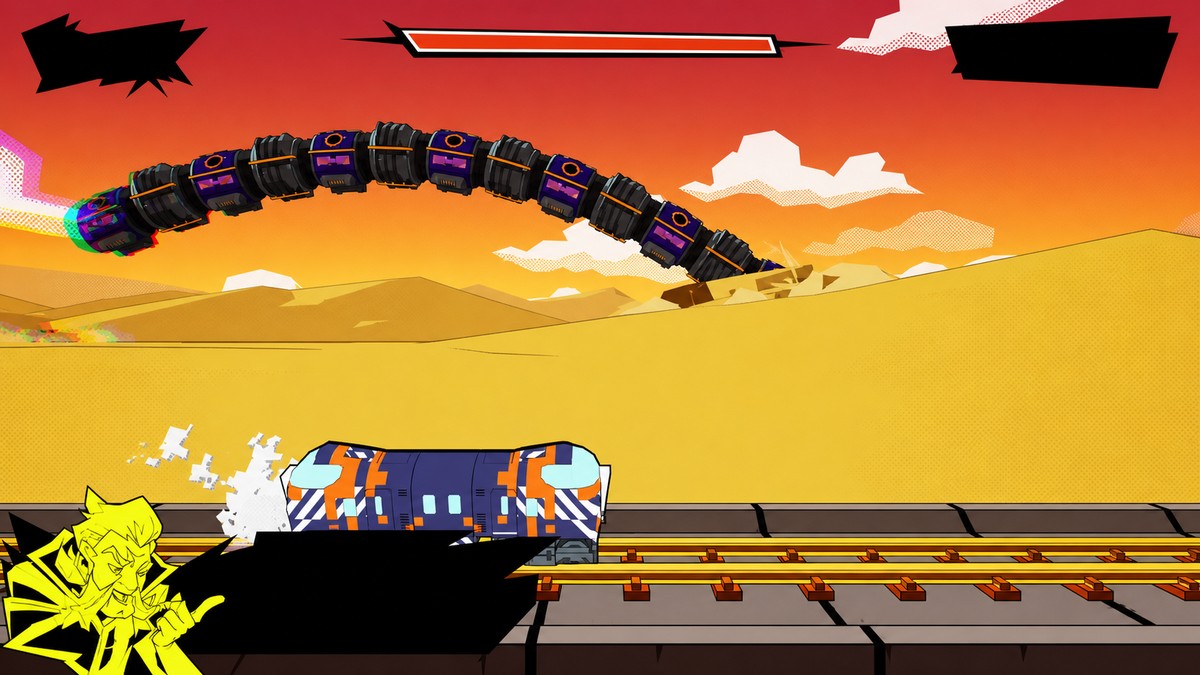
Go into the fight with a clean rhythm on jump, trick, rail switching, and slam-down. The baseball return only works if you give yourself enough height to read the ball’s line, then trick while it reaches you.
Keep the rail sections tidy. Swap lanes only when the next rail is visible, save slam-down for the moment Madoka commits to a charge, and resist chaining tricks just because there is airtime. The one place where style directly matters is the halfpipe, where tricks on rainbow rails help fill the electric bolt.
How to beat Madoka Sato’s second fight in Denshattack!
This route takes the fight in order, from the opening baseball returns to the final sky phase.
STEP 1/23
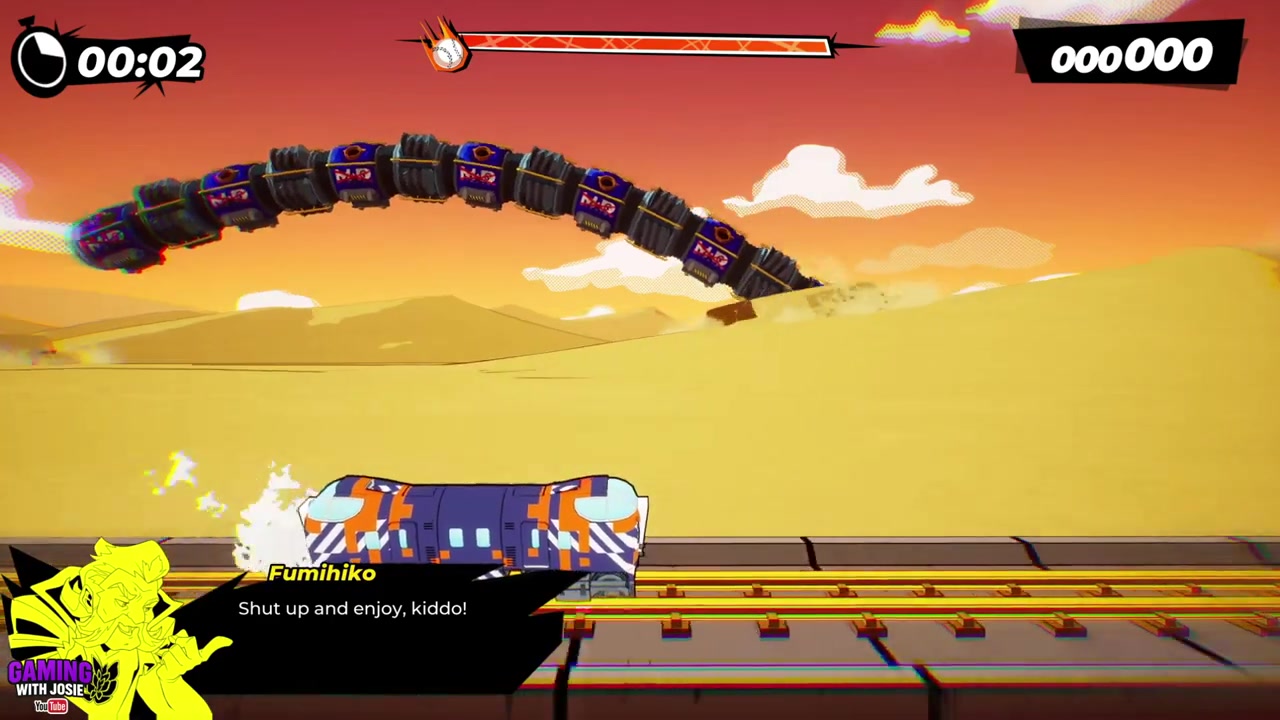
Reflect the first baseballs
Jump high to keep the ball in view, then do a trick as it reaches you to send it back to Madoka.
STEP 2/23
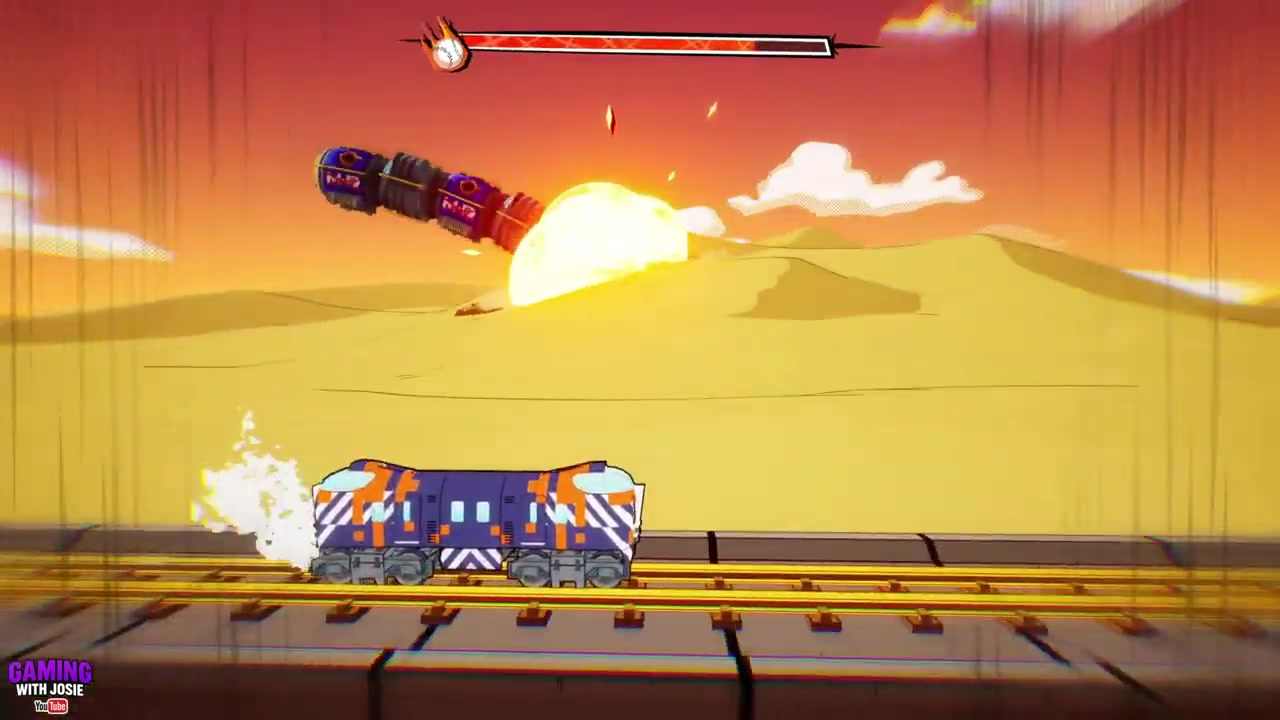
Clear the track crossover
When Madoka moves in front and the track turns, use high jumps to pass over her without crashing.
STEP 3/23
Return the baseballs from the other side
Use the same high-jump-and-trick timing, with extra attention on the quicker throws.
STEP 4/23
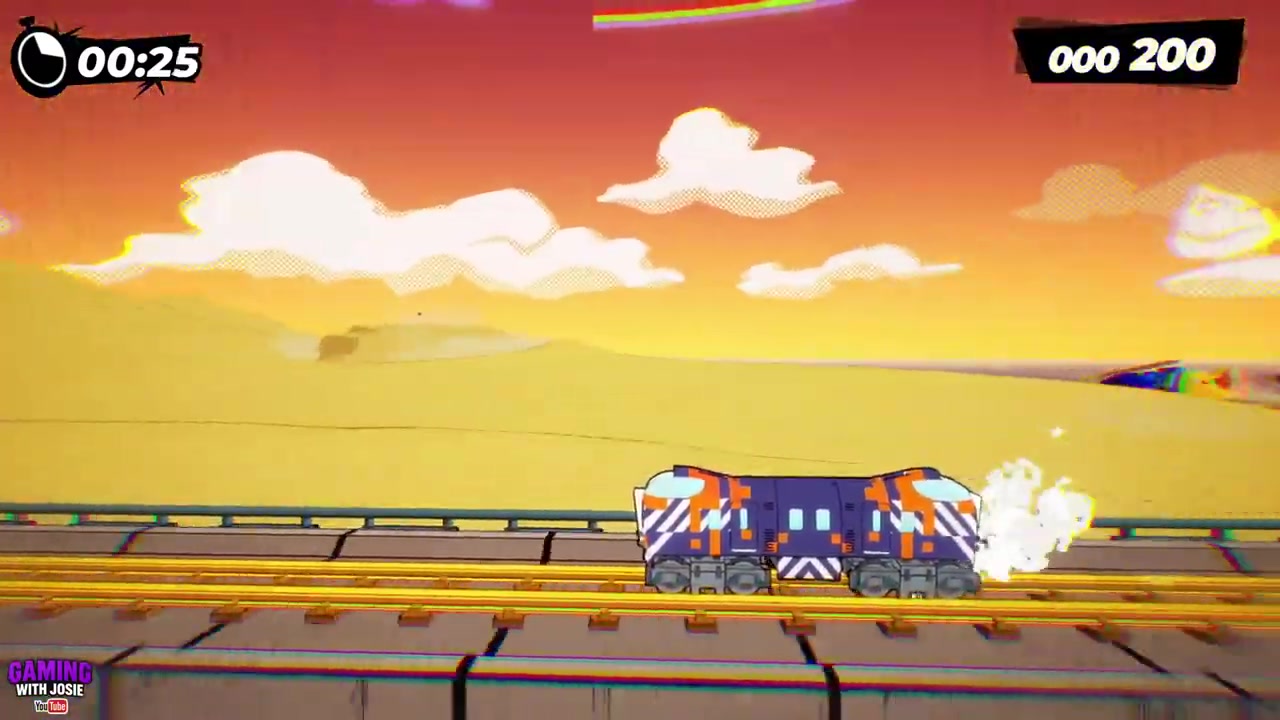
Let the track spin forward
Stay centered as the route rotates, because the next stretch sends you into a rail-and-wall chase.
STEP 5/23
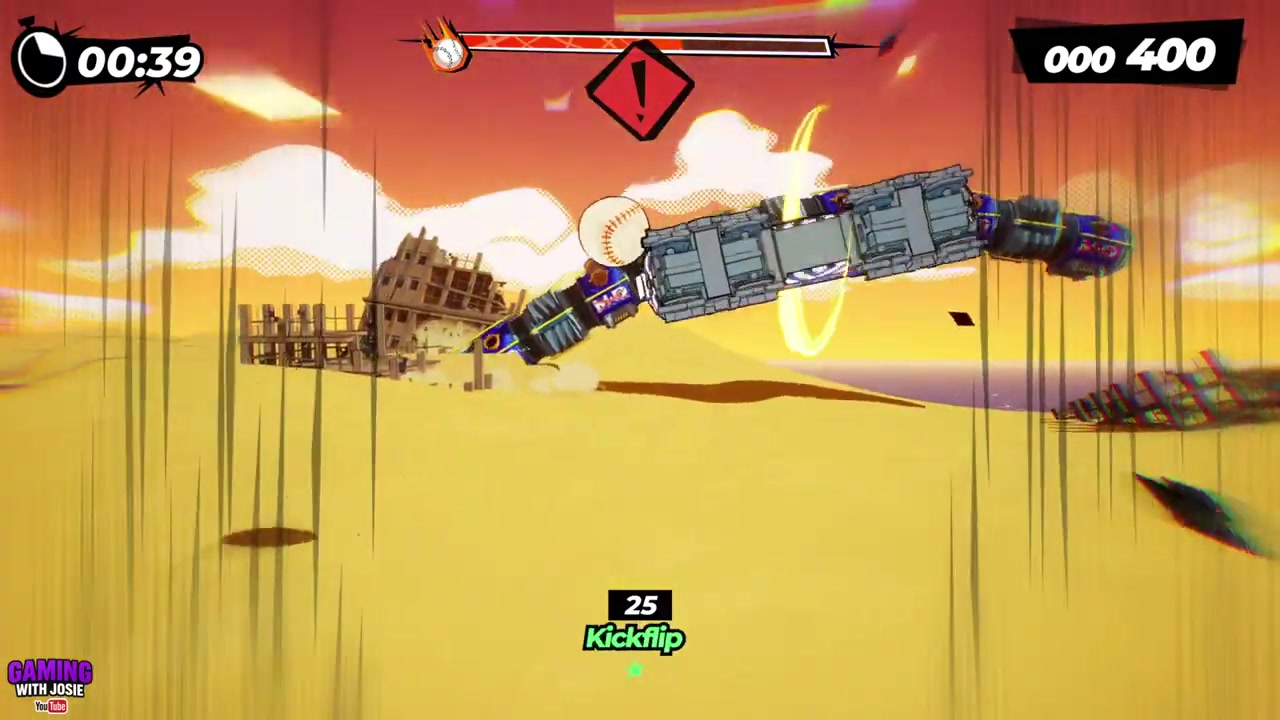
Jump through the building section
Follow the track over Madoka, onto the rails, across the walls, and back onto the rail line.
STEP 6/23
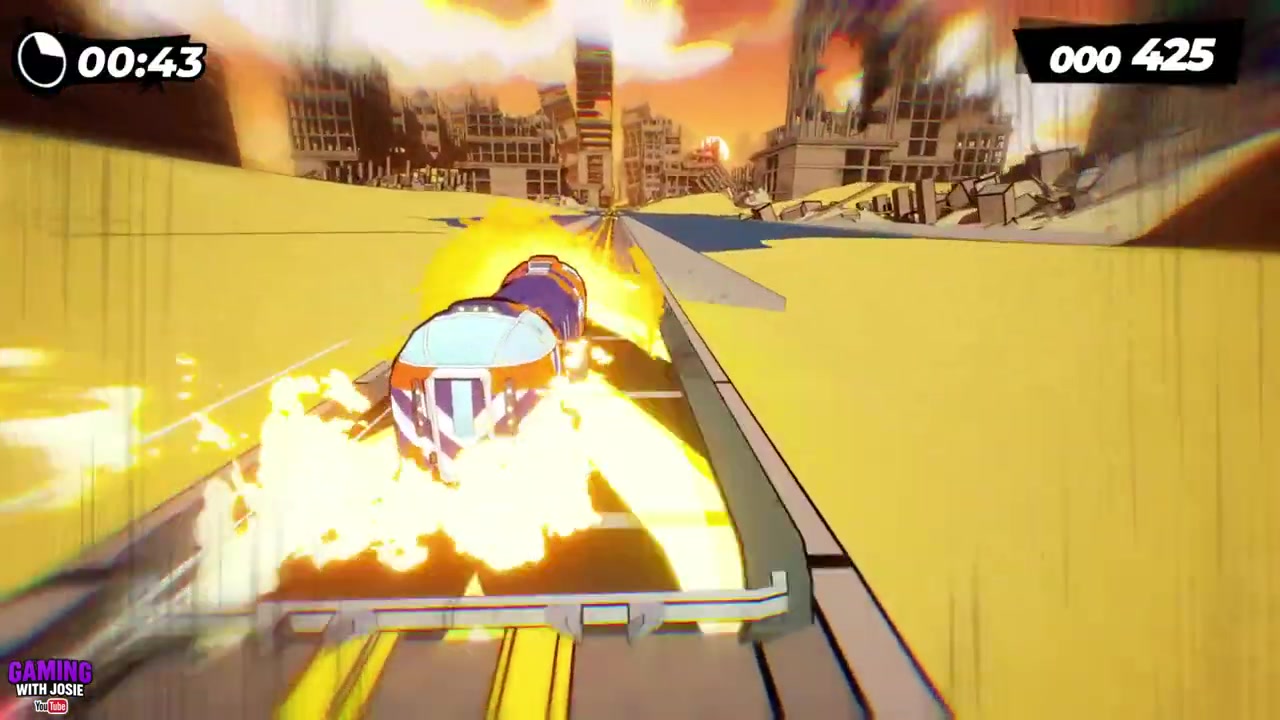
Match the left-right wall rhythm
Move left, right, left, and right with the wall path instead of forcing extra tricks.
STEP 7/23
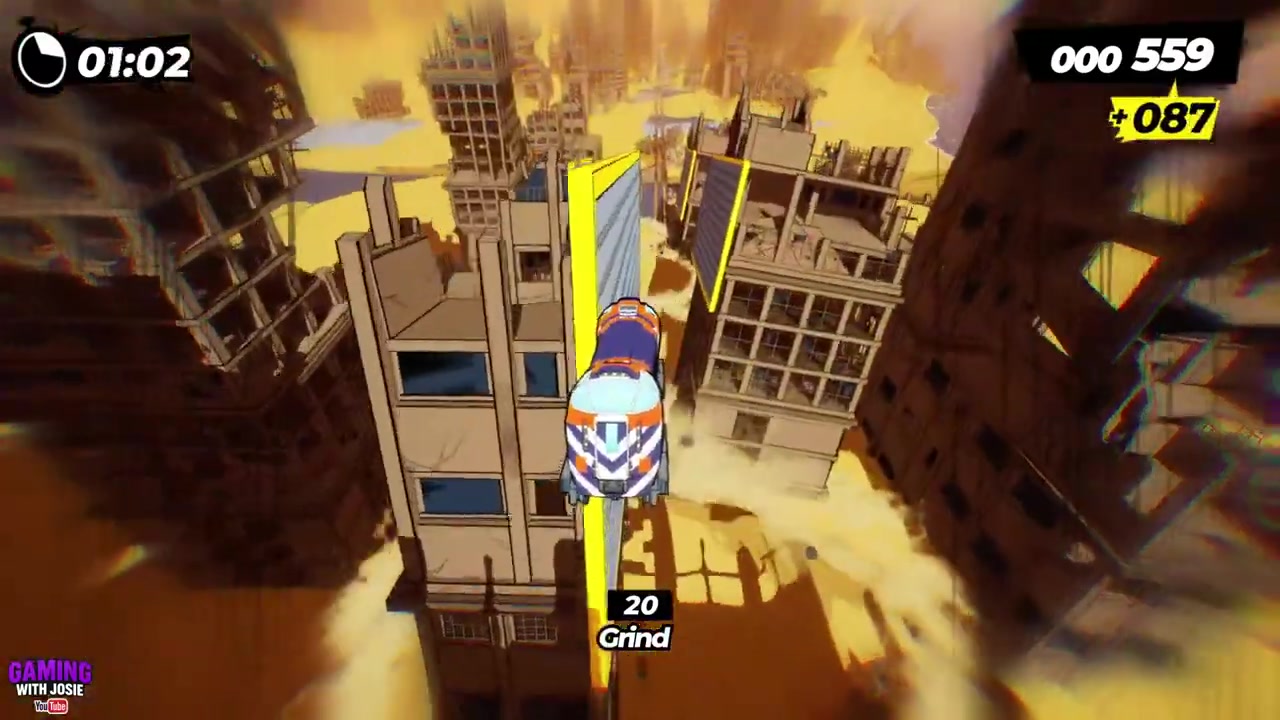
Swap rails in sequence
Switch from left to right, back left, right again, then left as the rail lanes alternate.
STEP 8/23
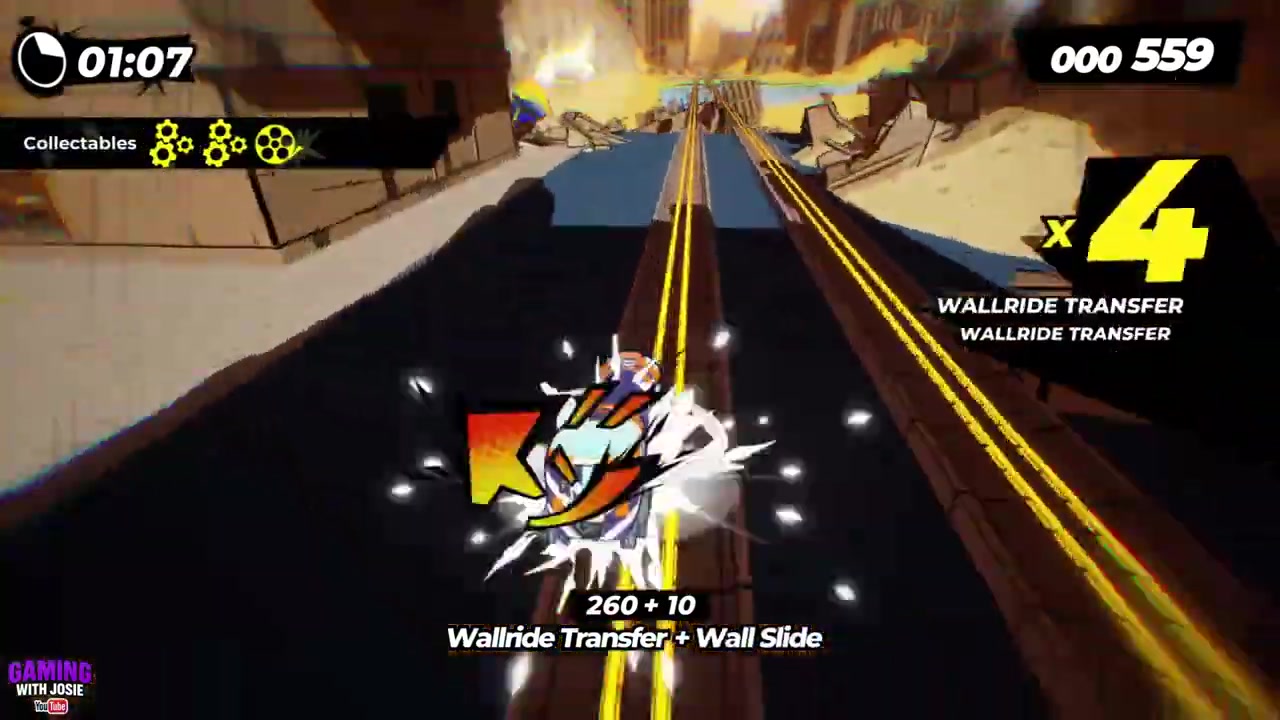
Slam down under Madoka’s charge
Wait for her to rush toward you and use slam-down at the right moment to land on the lower rail.
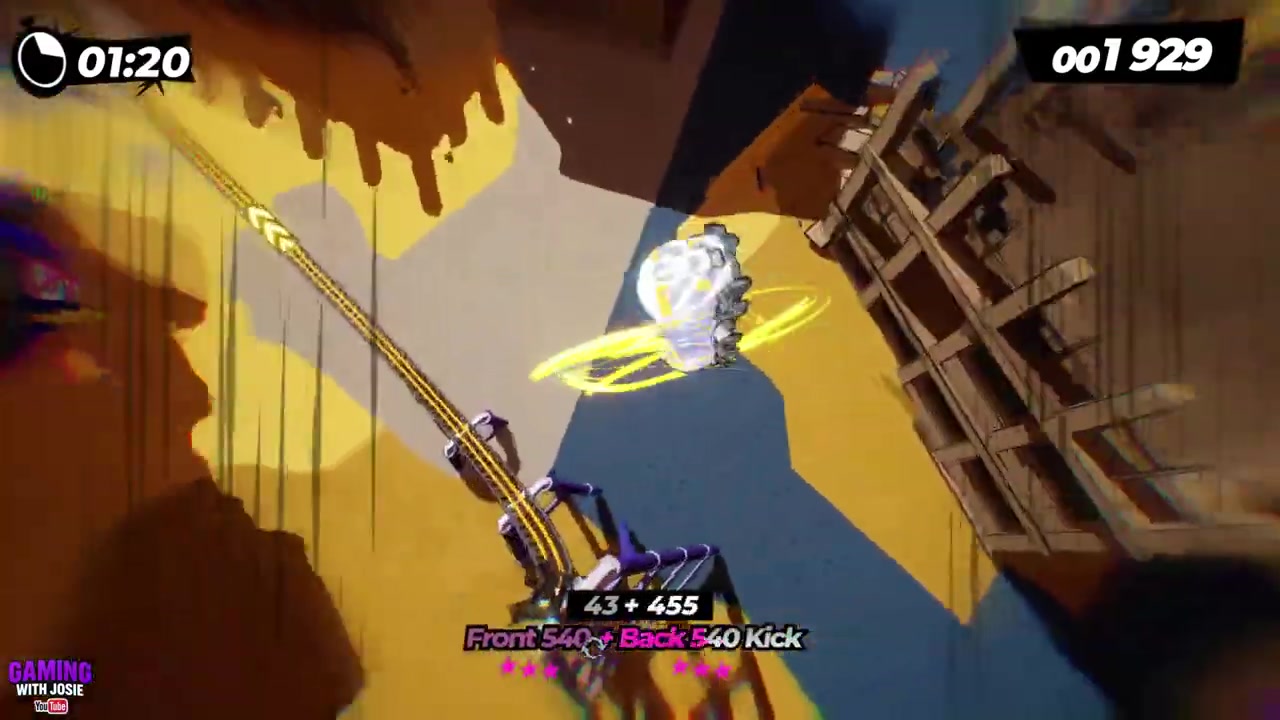
STEP 9/23
Drop into the pit
Follow her down the hole and use the brief pause to reset your timing.
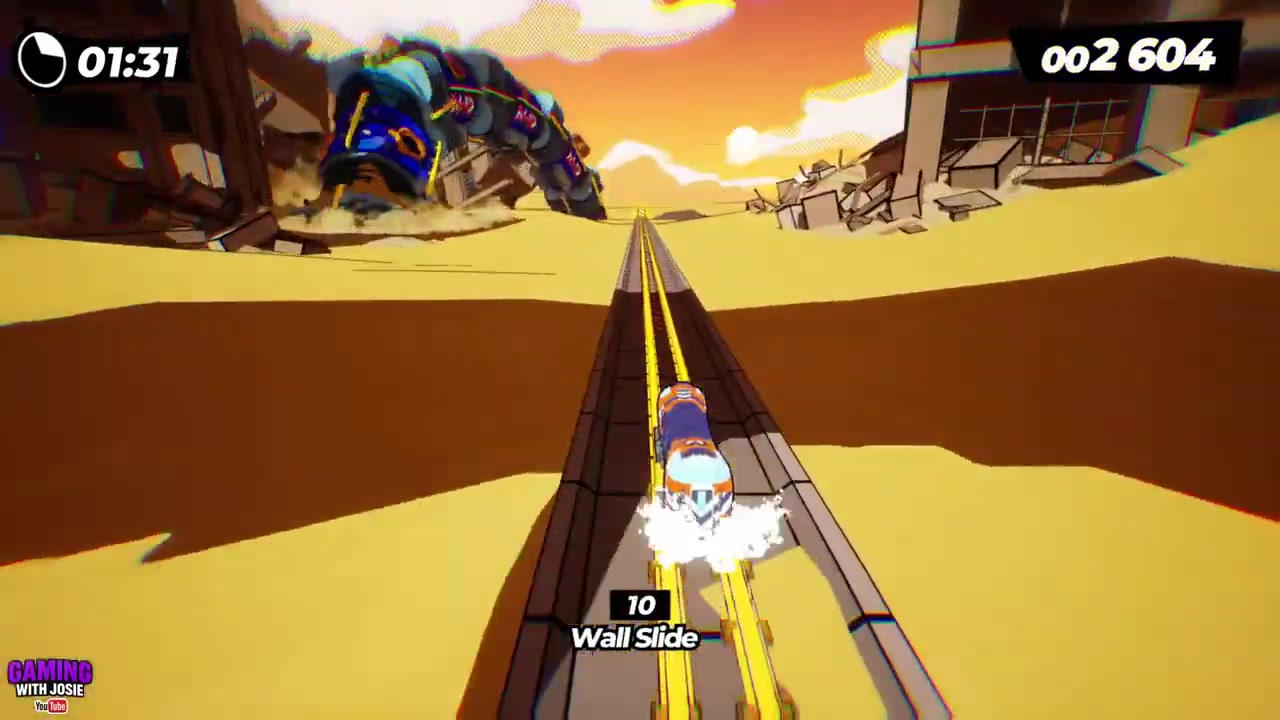
STEP 10/23
Bait the first tunnel hit
Sit in the red aim zone for a moment, move aside, repeat the bait three times, then hit into her.
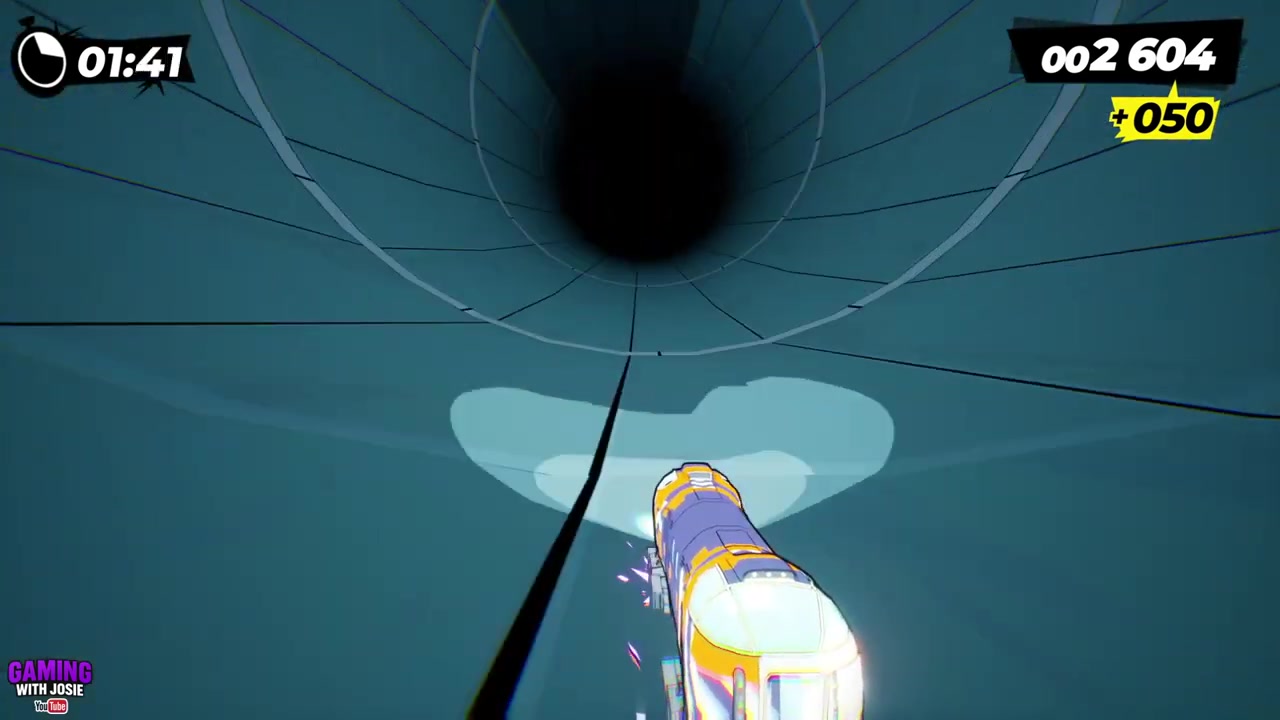
STEP 11/23
Repeat the tunnel bait
Let the red zone lock again, move out after the tell, and collide with her after the third bait.
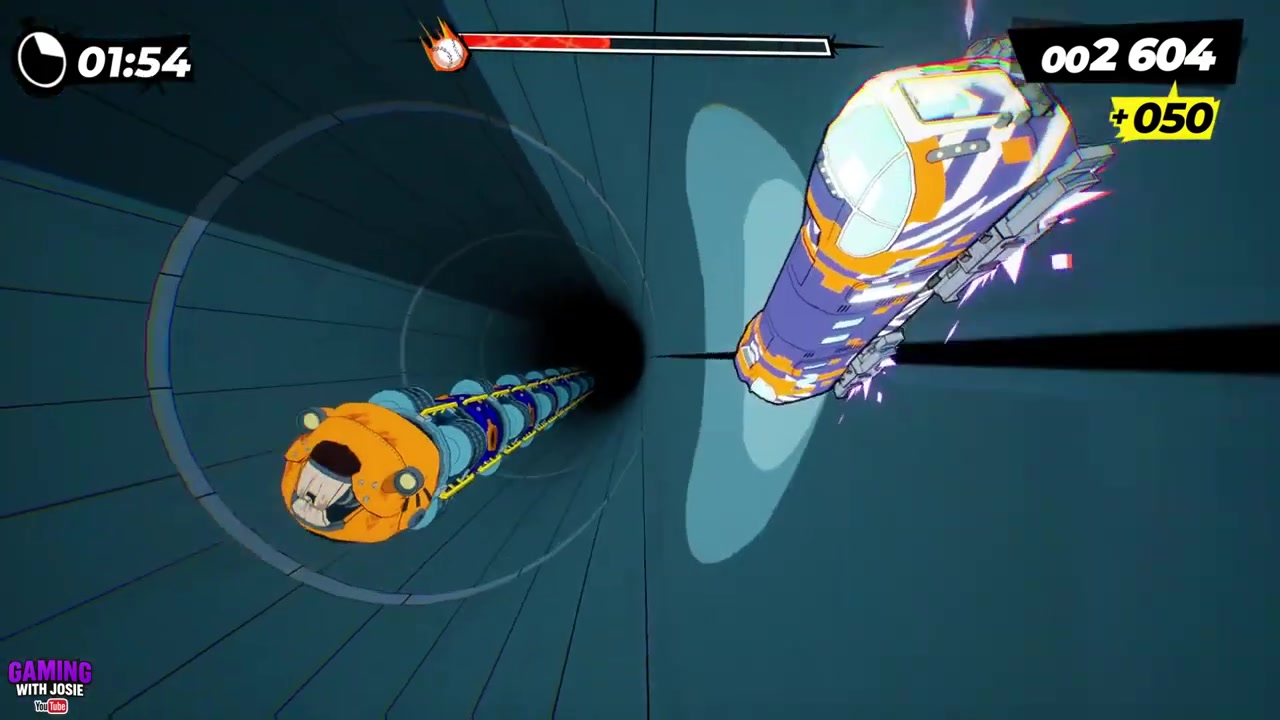
STEP 12/23
Land the final tunnel hit
Do the same red-zone bait one more time and ignore the fire pressure as you move aside.
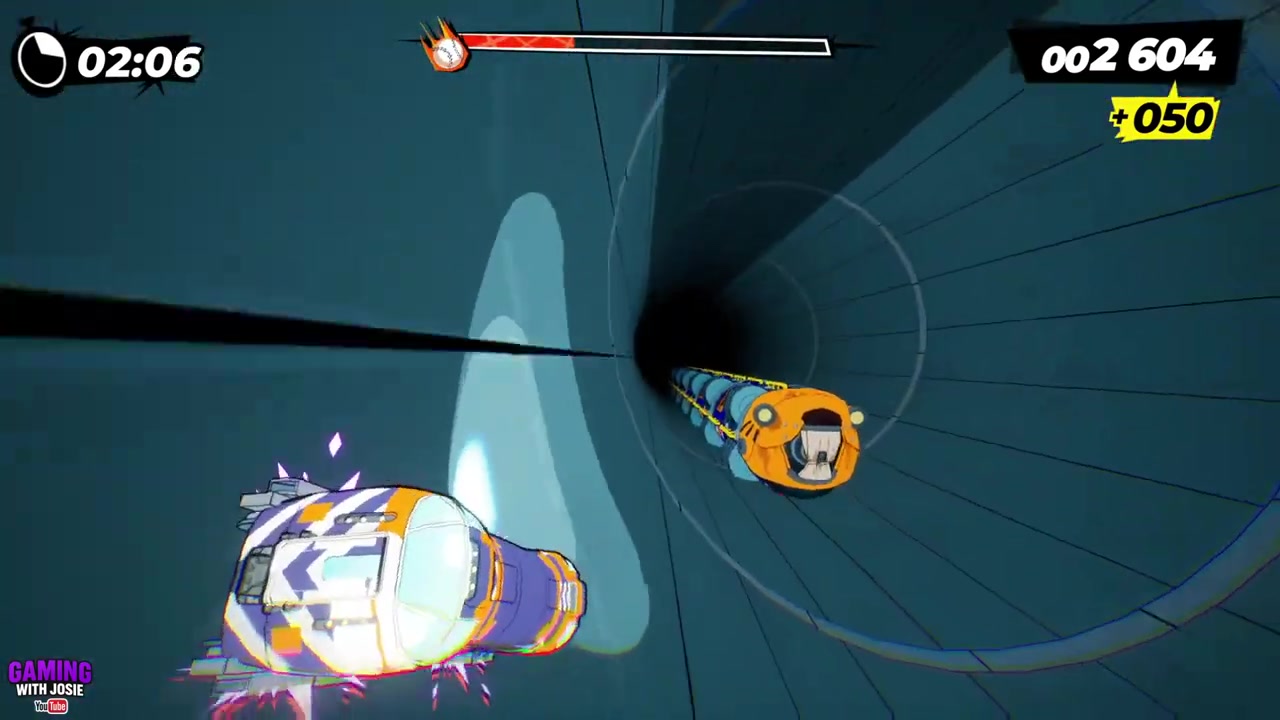
STEP 13/23
Stay opposite during the tunnel chase
When she comes up behind you, keep yourself on the opposite side of the tunnel from her fire.
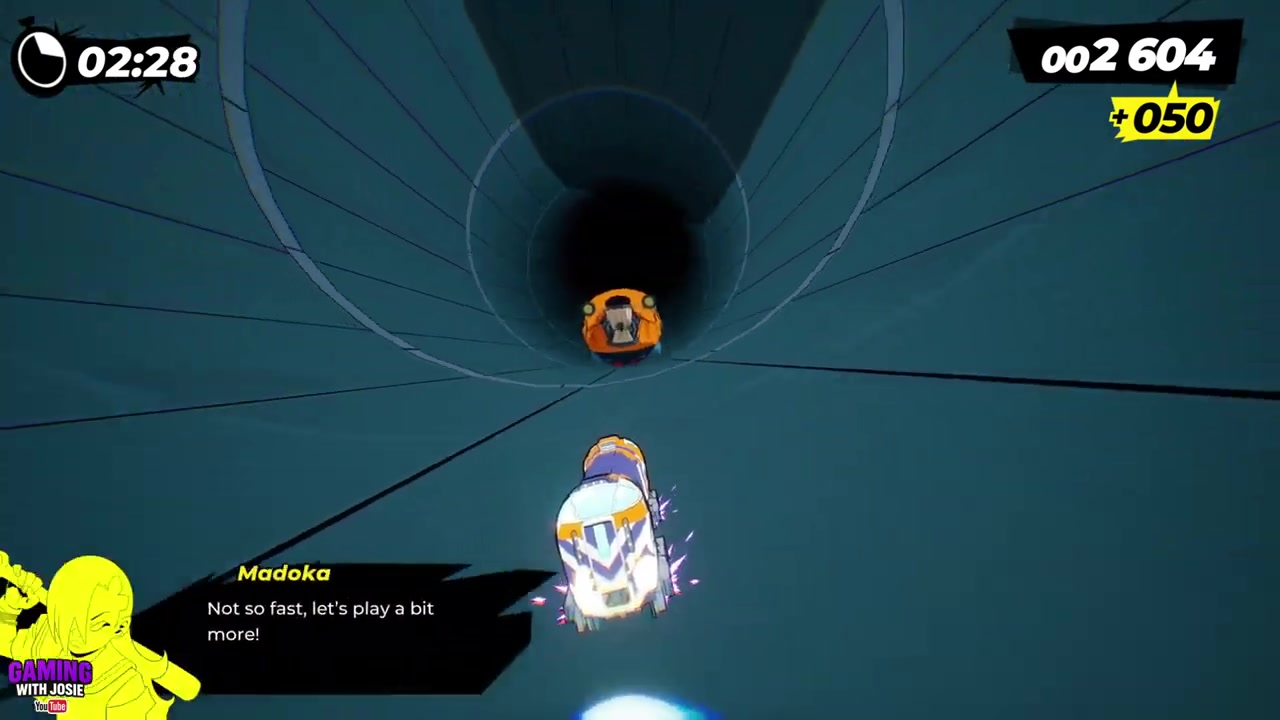
STEP 14/23
Rotate with Madoka’s movement
Move right and left with her path so the flame trail never catches your lane.
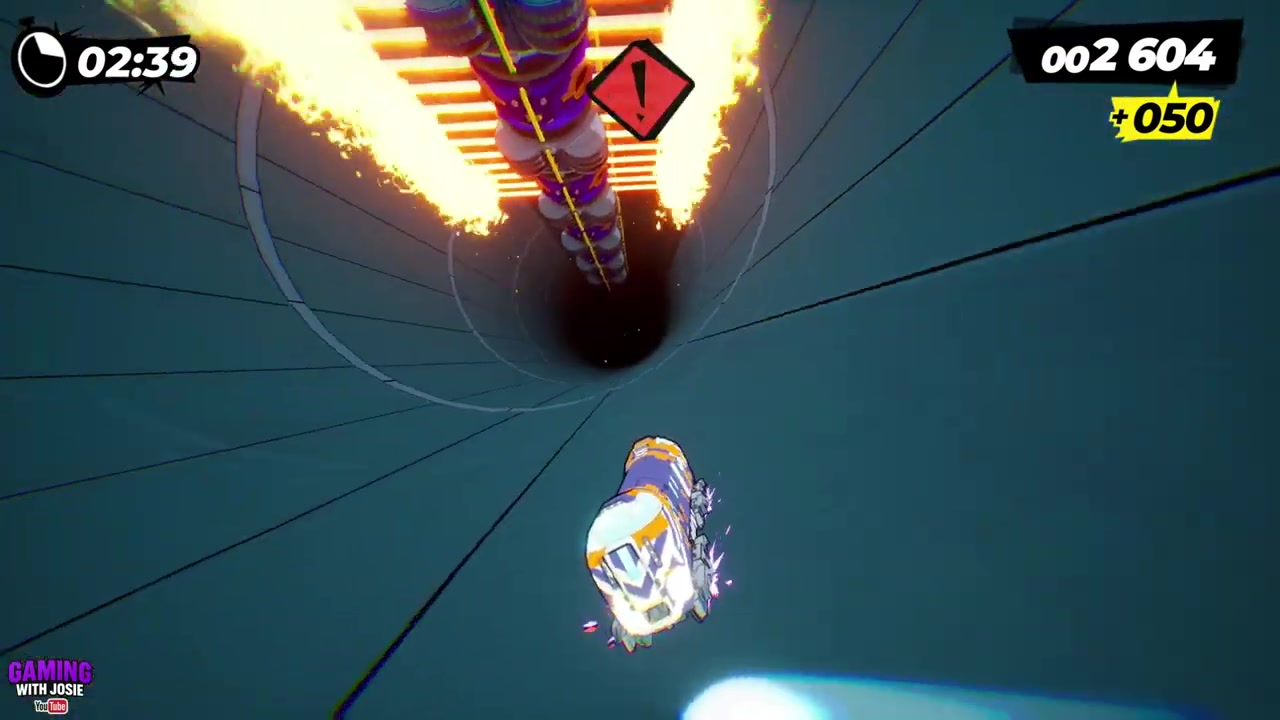
STEP 15/23
Circle around the red orbs
Keep circling the tunnel and zip away as each red orb appears.
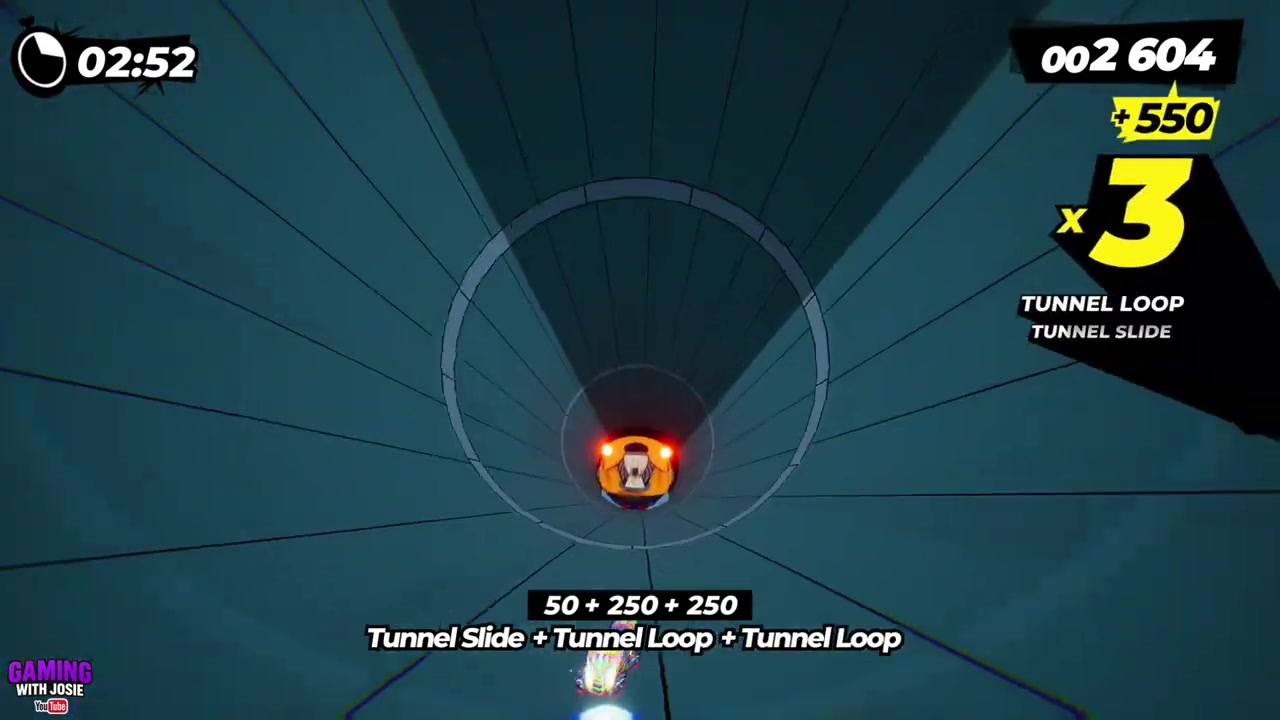
STEP 16/23
Enter the halfpipe section
Ride the back-and-forth halfpipe with Madoka on the far side and choose either side rail to begin.
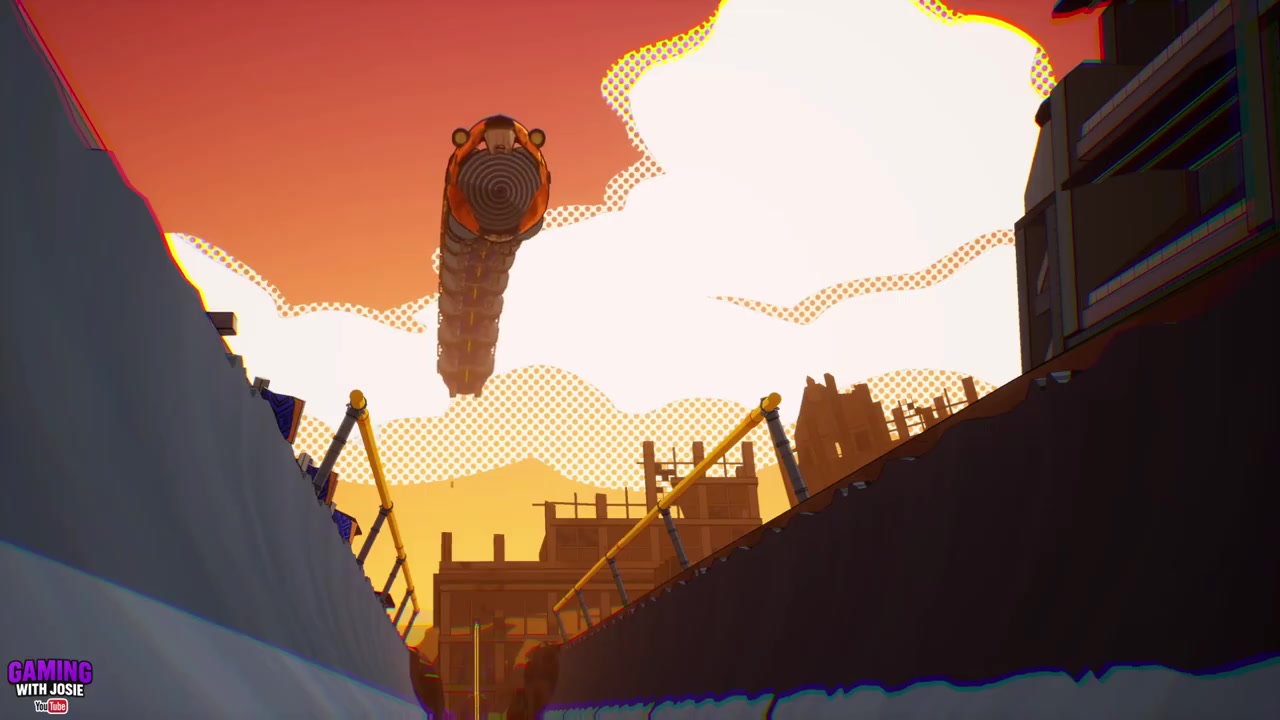
STEP 17/23
Take the side rail for charge
Grind the left or right rail, jump back down, and keep collecting rainbow rails toward the electric bolt.
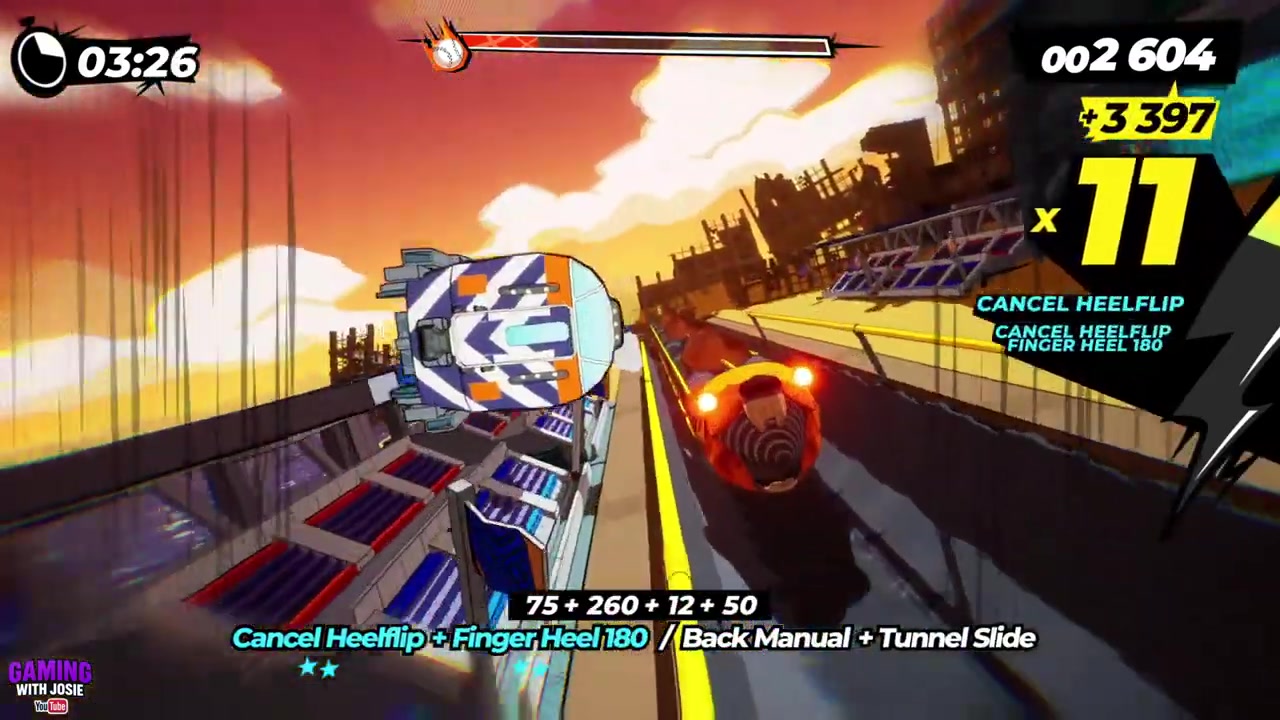
STEP 18/23
Use tricks during the charge
This is the best point to trick aggressively, because the rainbow rail section feeds the electric bolt.
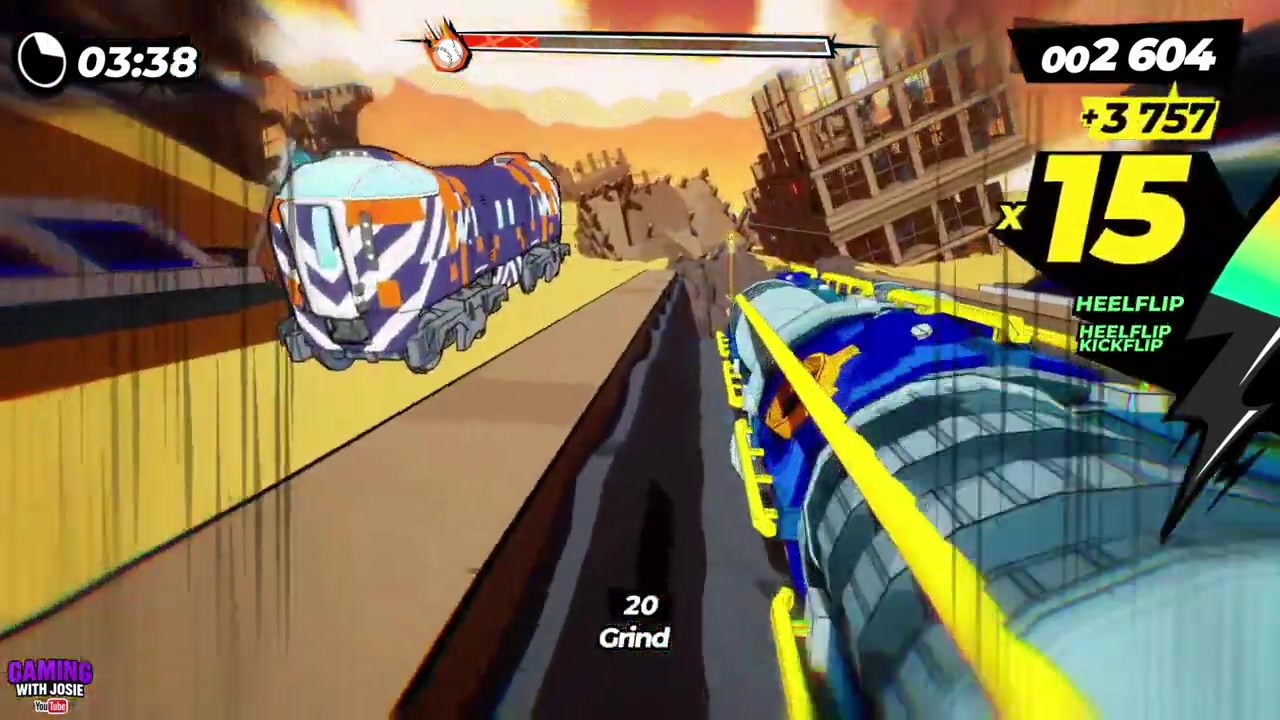
STEP 19/23
Use the top rail if you run out
If the side rail ends sooner than expected, jump to the top rail to keep the charge going.
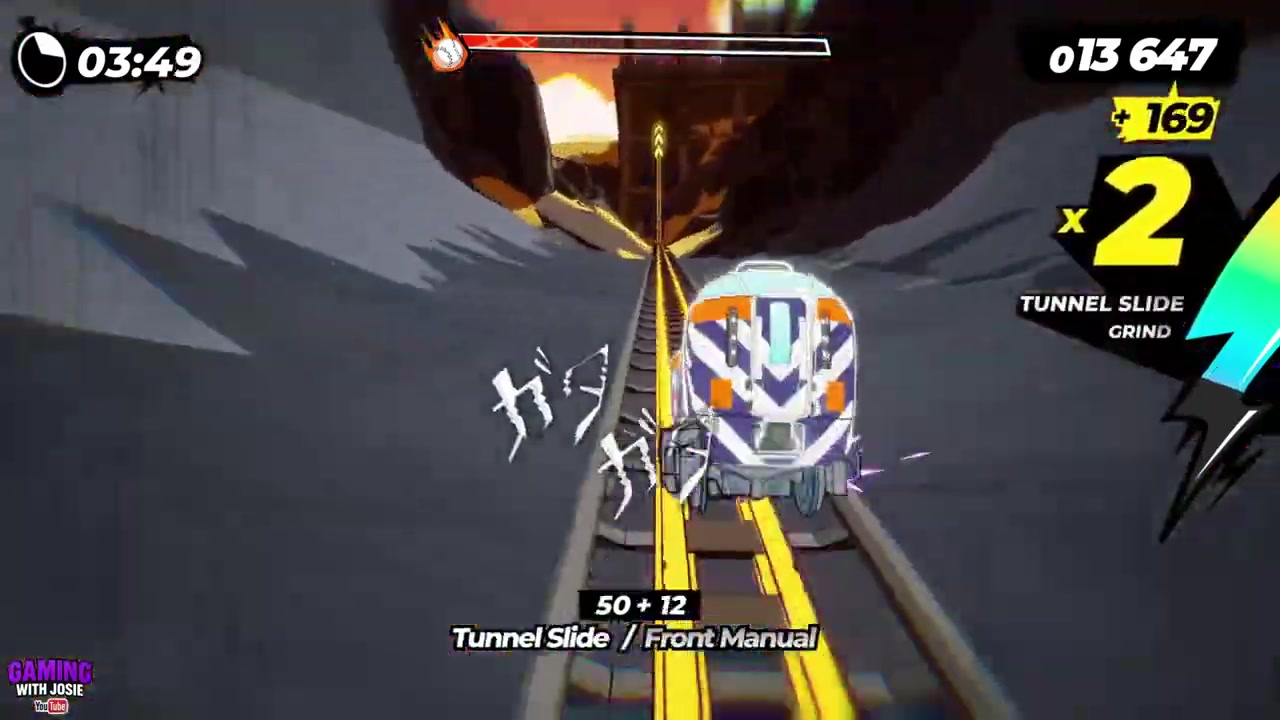
STEP 20/23
Trigger the barrel setup
Once the electric bolt is filled, jump over into position for the barrel slam.
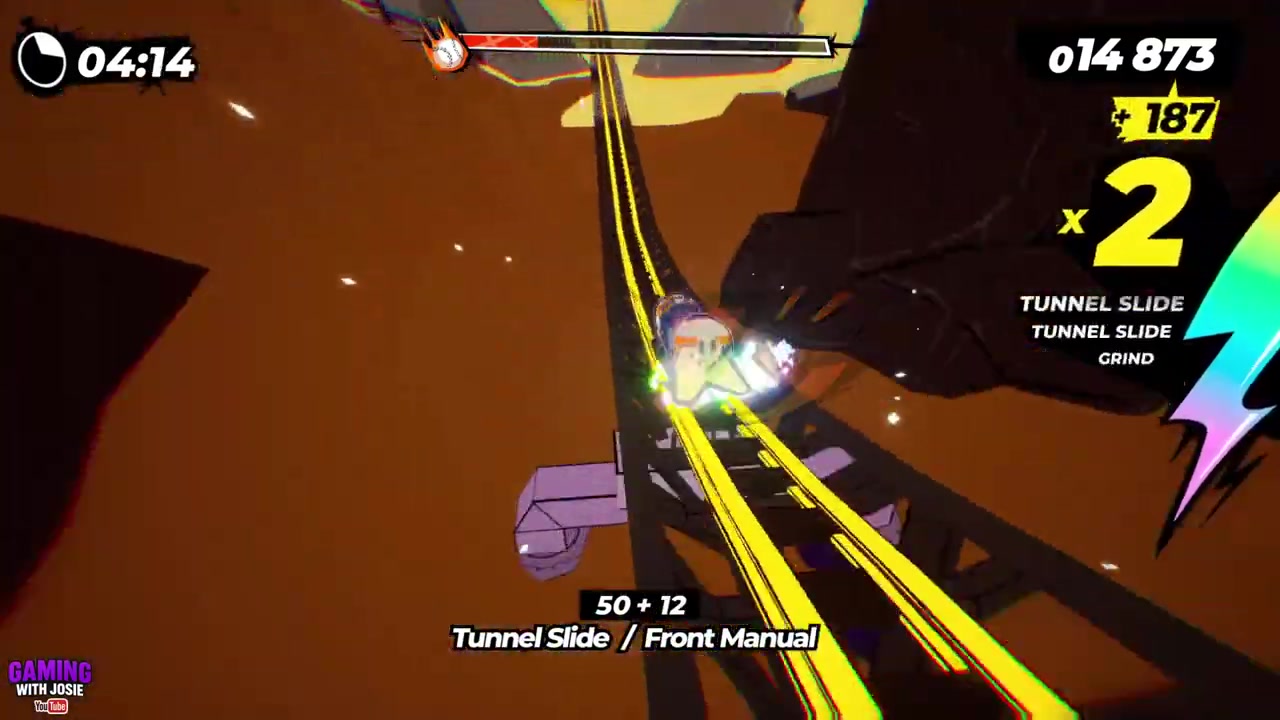
STEP 21/23
Slam all three barrels
Slam down onto the barrels one after another so all three crash onto Madoka.
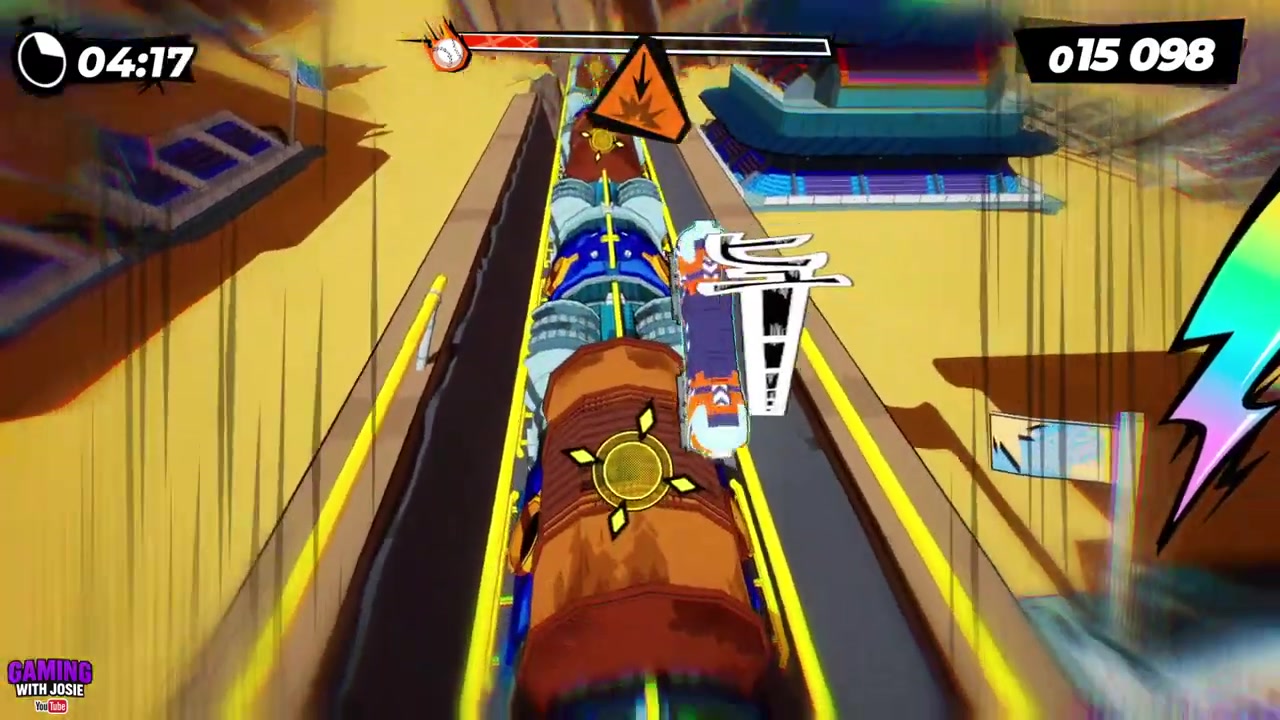
STEP 22/23
Start the sky phase
After the barrel hit, stay ready because the fight continues above the arena.
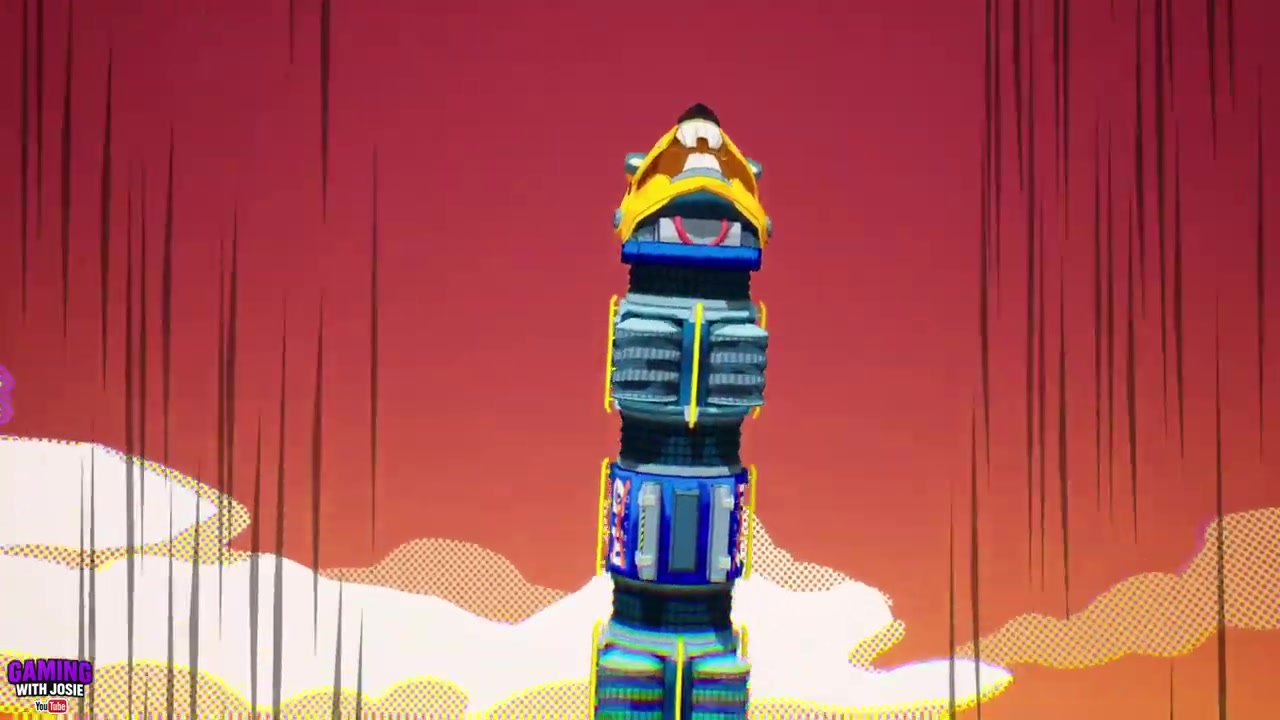
STEP 23/23
Reflect the final baseballs
Trick the baseballs back in the sky phase until the outro cutscene starts.
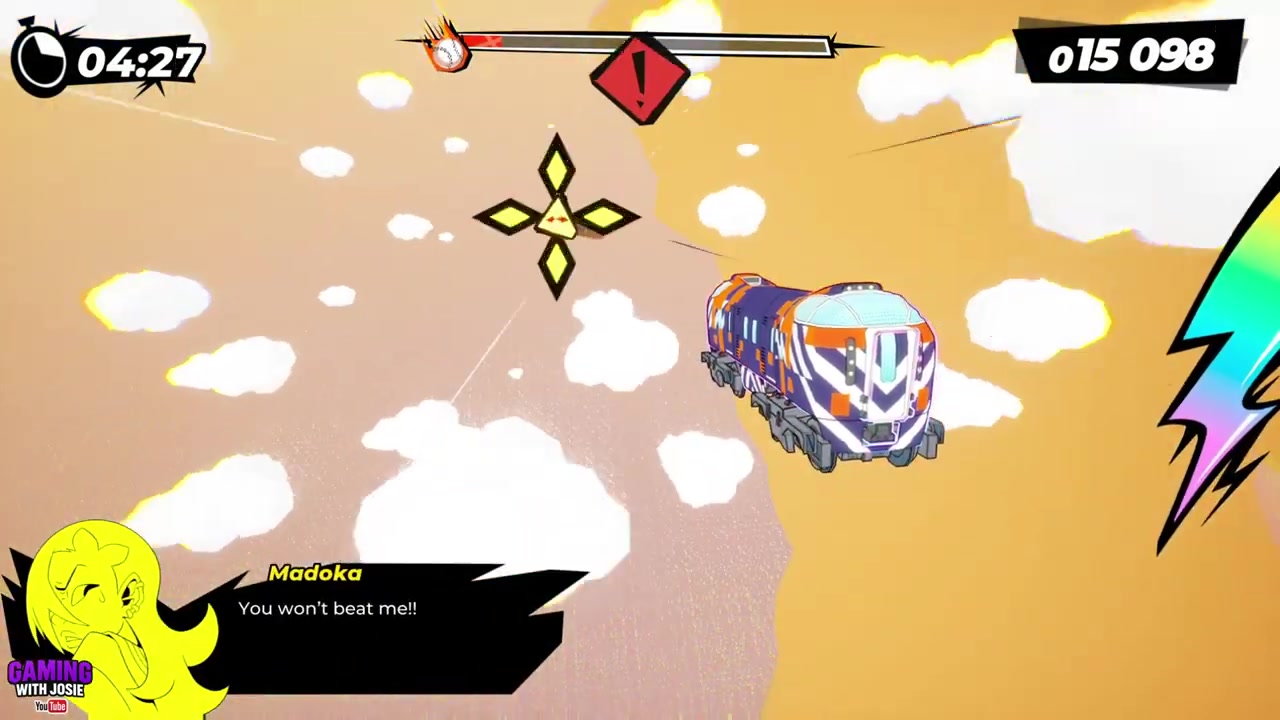
Stay in the red tunnel tell for a beat before moving aside; the fight wants a bait, not an instant dodge.
Video help
Hard attacks and clean counters
| Attack | Counter |
|---|---|
| Fast baseballs | Jump early, watch the ball’s lane, then trick when it reaches your height. |
| Rail charge | Hold your line until Madoka commits, then slam down to the rail below. |
| Tunnel red zones | Let the red warning sit briefly, dodge sideways, and repeat the bait before contact. |
| Tunnel chase fire | Mirror her movement from the opposite side of the tunnel. |
| Red orbs | Circle continuously so each orb appears behind or beside your current lane. |
| Halfpipe rail shortage | Switch to the top rail when the side rail runs out. |
Most damage comes from reacting before the attack has finished telegraphing. Use this as a timing sheet when one pattern keeps clipping you.
KEY!The important read is commitment. Baseballs and rail swaps reward early setup, while the tunnel red zones and rail charge reward waiting a moment longer than feels comfortable.
When to trick and when to stay clean
You do not need constant trick chaining to win this rematch. During the rail chase, wall rides, tunnel attacks, and red-orb pattern, clean positioning matters more than extra style points.
Save the aggressive tricking for the rainbow rail section. That is where points and rail contact build the electric bolt, which opens the barrel slam sequence.
What ends the Madoka Sato fight
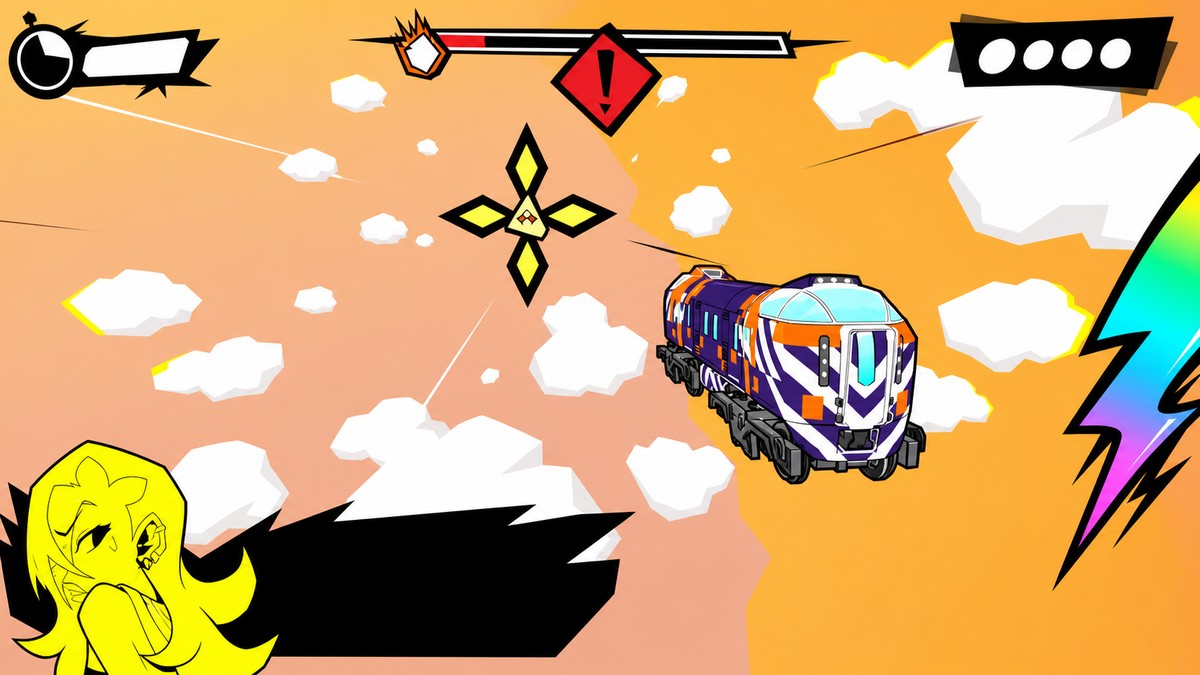
The three-barrel slam is not the last input. It only pushes the fight into the short sky phase, where the mechanic goes back to reflecting baseballs with tricks.
Once the last sky baseballs are sent back, the outro cutscene starts and the encounter is finished.
Frequently Asked Questions
How do you send Madoka’s baseballs back?
Use a high jump first so the ball is easy to track, then trigger a trick as it comes in. Simply being airborne is not the return; the trick is.
What should you do when Madoka charges toward you on the rails?
Do not jump into her lane. Keep rolling until the charge is committed, then use slam-down to drop to the lower rail underneath the attack.
How do you avoid the tunnel fire and red orbs?
For the fire chase, keep Madoka on the opposite side of the tunnel. For the red orbs, a full circular route gives more room than tiny left-right taps, though both can work if your timing is sharp.
How do you charge the electric bolt in the halfpipe section?
Ride the rainbow rails in the halfpipe and add tricks there. If the left or right rail runs out, use the top rail to keep the charge from stalling.
Is the fight over after the barrel slam?
No. After all three barrels land, you still need to return the final sky baseballs; the cutscene begins after those last reflects.




Leave a Reply