
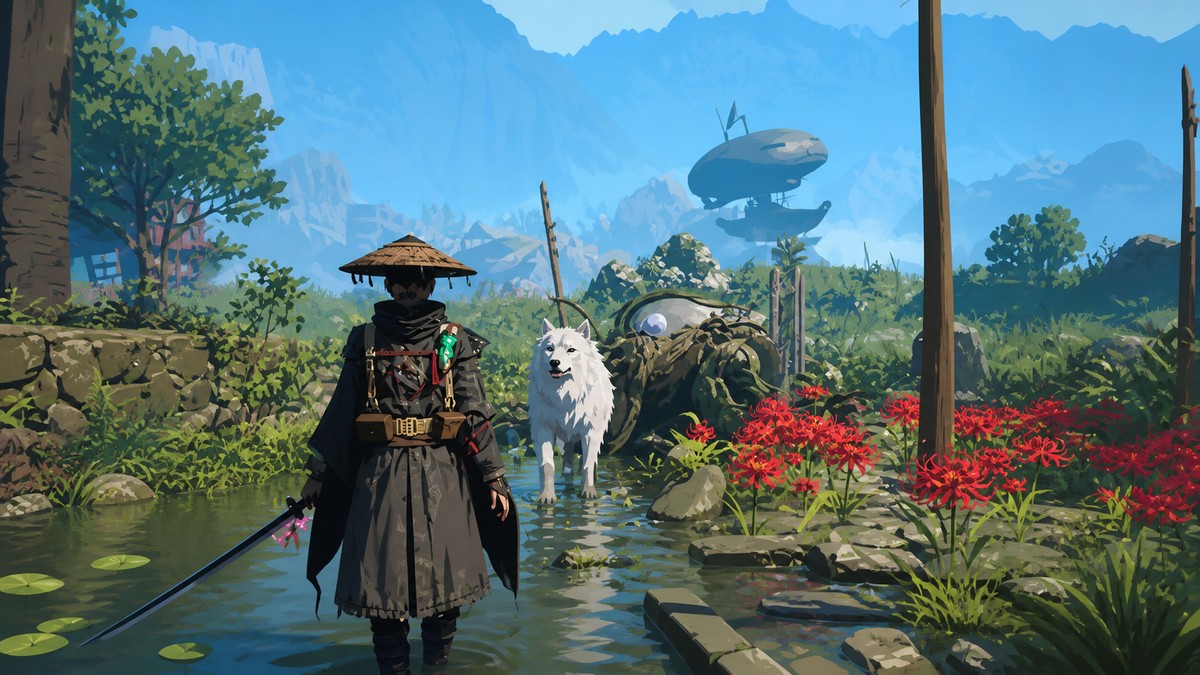
For the best early start in Beast of Reincarnation, route west and north from the opening area to secure Fire Arrows, Acid Bolts, Chain Mail, Helm Spliter, Koo support upgrades, and the Mechblade (Light) before pushing deeper into the first region.
Beast of Reincarnation rewards players who treat the first region as a gear sweep instead of a straight boss rush. The route below is built around fast, nearby pickups that immediately improve Emma’s ranged options, Koo’s support value, survivability, and parry-based damage.
- How to obtain all items in first region of Beast of Reincarnation
- Combat habits before the gear sweep
- How to take the early power route in Beast of Reincarnation
- Early pickup payoffs
- Walker base upgrades and meals
- Key cleanup after the third subcity
- Early mistakes that slow the first region
- Frequently Asked Questions
How to obtain all items in first region of Beast of Reincarnation
The clean route is a west-to-north sweep: grab the western ammo manual first, use camps to decode and reset, then cross the river for the second facility before spending story progress to reach the lake tower and riverside building. This is a practical early power route, not a full-game walkthrough.
| Goal | Where/how |
|---|---|
| Fire Arrows | West of the starting location, inside the first facility after the tent pickup. |
| Koo charm | Small tent west of the start; rest at a camp to decode it. |
| Koo support items and Walker materials | Strongbox near the secondary facility after defeating the Heavy Golem. |
| Acid Bolts | North across the river, inside the second facility after the guard fight. |
| Helm Spliter | Spend early Emma points into Vitality to reach it on the skill tree. |
| Chain Mail | Strongbox at the second tower campsite near the lake path. |
| Mechblade (Light) | Top of the tall riverside building after the rooftop encounter. |
Combat habits before the gear sweep
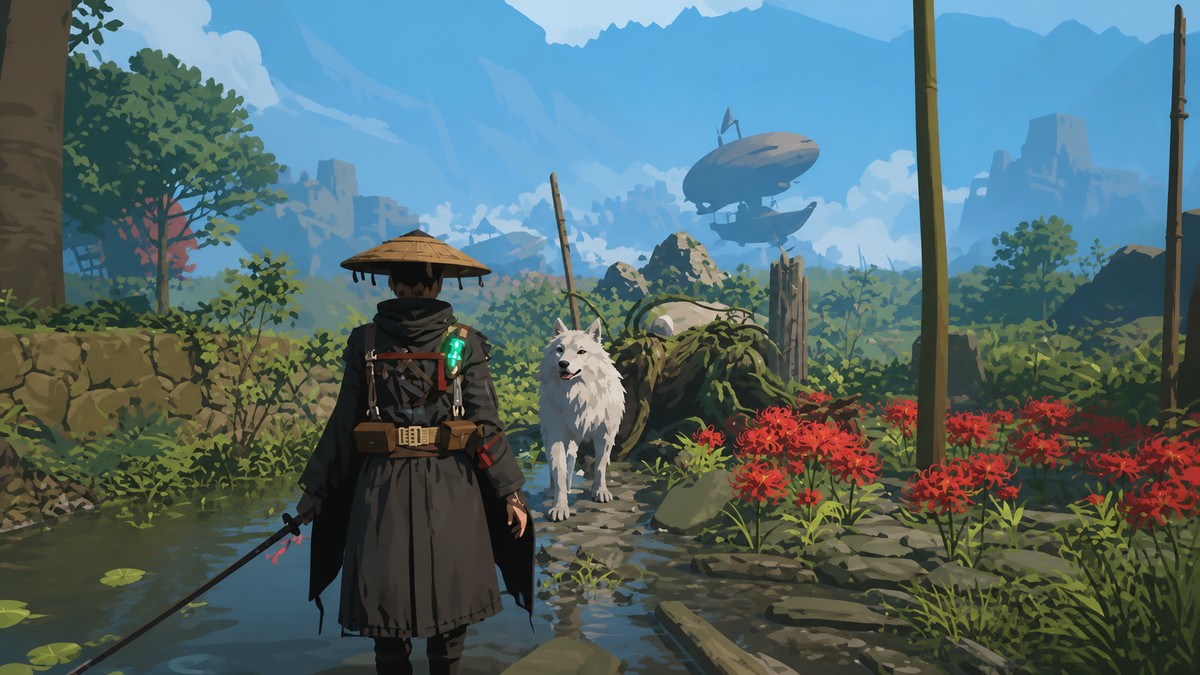
Use vines as part of combat, not just travel. Holding the jump from vines gives Emma enough height to cross gaps, reset spacing, and line up drop attacks before enemies have time to settle into their attack patterns.
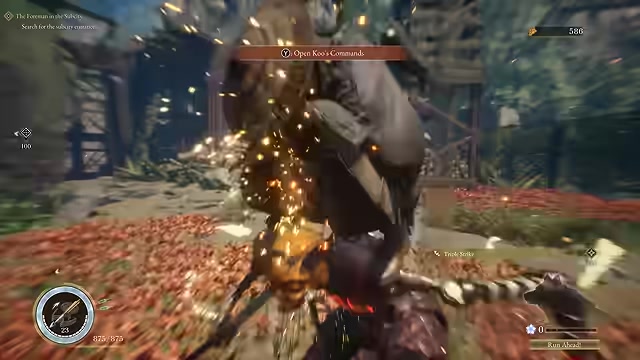
Start hard fights from above whenever the arena allows it. A stealth drop assassination can remove a large chunk of health from early shield users and Heavy Golem enemies, which turns long trades into short stagger windows.
Once the fight is active, parry instead of only dodging away. Parries build stagger, trigger weapon effects, and give Koo time to land shield-break or stagger support against tougher enemies.
How to take the early power route in Beast of Reincarnation
Start from the opening area, sweep west for arrows and a charm, then climb north through the river route for armor, skills, and the Mechblade (Light).
STEP 1/23
Check the west-and-north route
From the starting map, set your path toward the western Fire Arrows facility, the northern river facility, the lake tower, and the riverside building.
STEP 2/23
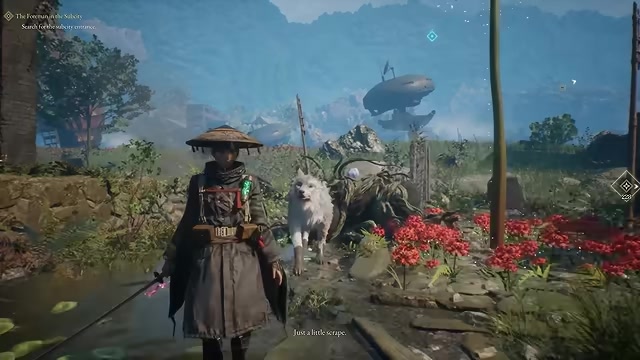
Loot the Unidentified Charm
Enter the small tent west of the start and grab the charm before pushing into the nearby facility.
STEP 3/23
Pick up nine Fire Arrows
Open the chest inside the western facility so Emma has Fire Arrows before crafting support comes online.
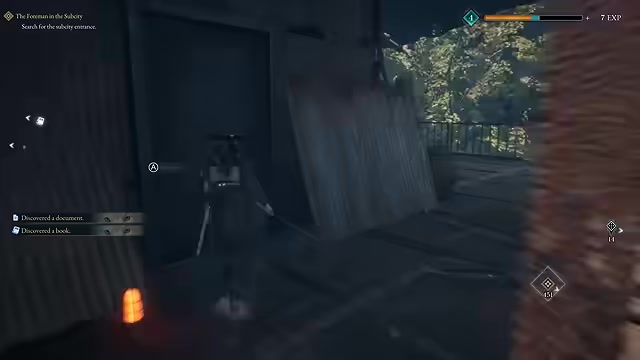
STEP 4/23
Learn Manual: Fire Arrows
Take Manual: Fire Arrows from the facility table after looting the arrows.
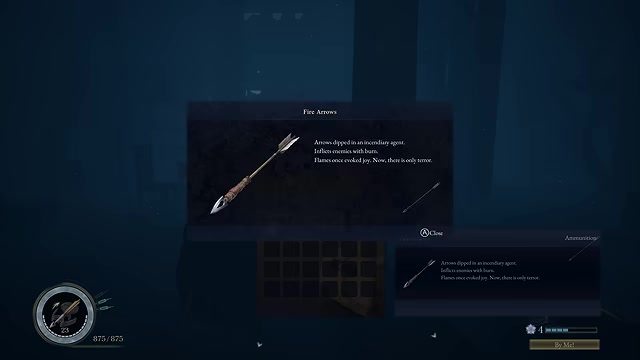
STEP 5/23
Decode the charm at camp
Rest at a camp altar to decode the charm into a Koo charm, then equip the result.
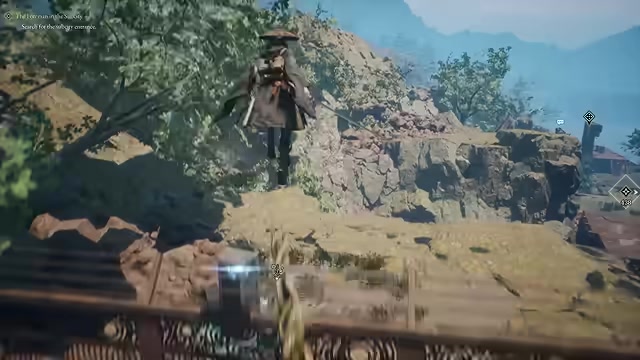
STEP 6/23
Ask the Keeper Golem for locations
Choose its weapon or recipe dialogue to mark the Mechblade (Light) or Acid Bolts location on the map.
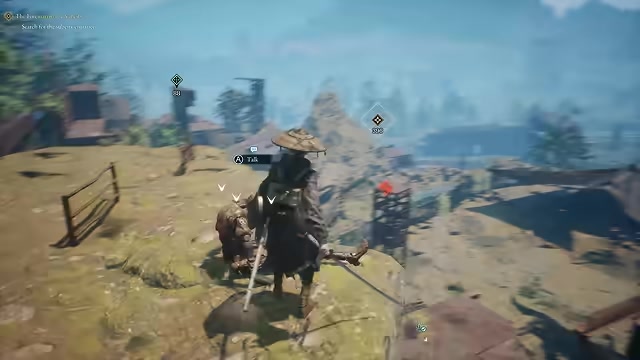
STEP 7/23
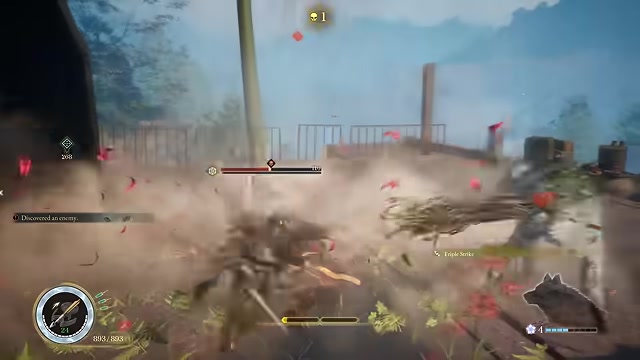
Ambush the Heavy Golem by the second facility
Open with a drop assassination, then parry through the fight while Koo helps build stagger.
STEP 8/23
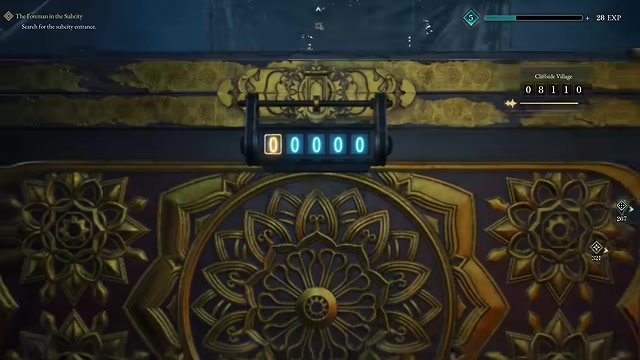
Open the nearby strongbox
Use code 08110 and take the consumables, Walker upgrade items, and Koo support loot inside.
STEP 9/23
Equip Recovery Tonic (S) on Koo
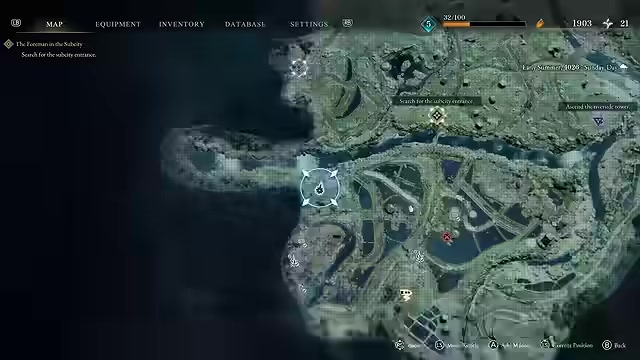
Put Recovery Tonic (S) in Koo’s slot so he can add healing during the next fights.
STEP 10/23
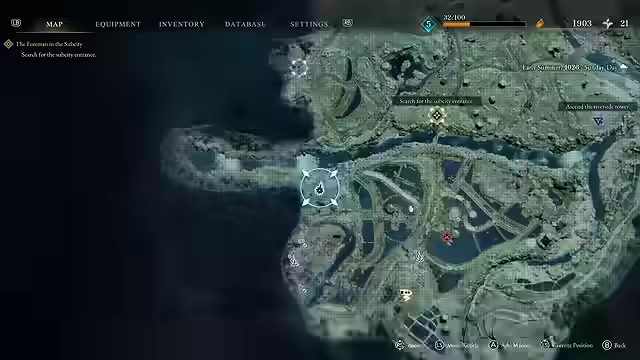
Cross north over the river
Use vines and rooftops to reach the second facility without taking the slower direct approach.
STEP 11/23
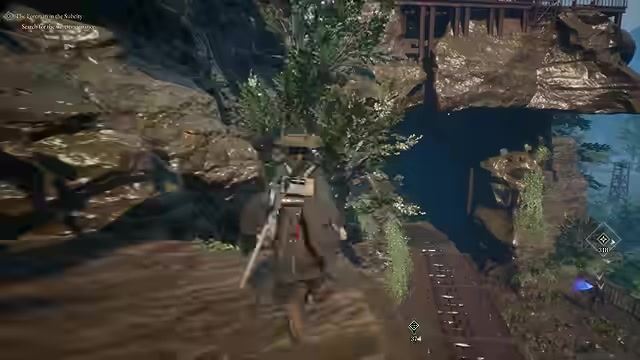
Drop onto the facility guard
Avoid the elevator approach, take the cliff above the enemy, and begin with another assassination.
STEP 12/23
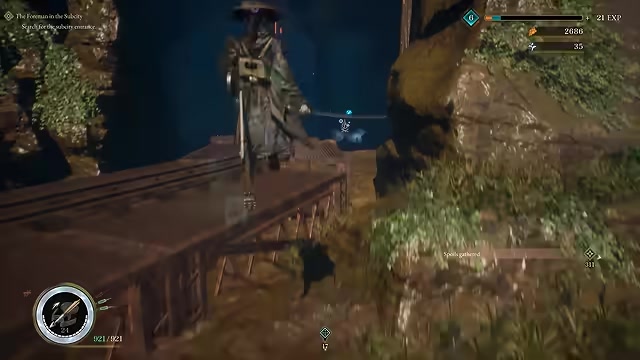
Collect Acid Bolts and the manual
Pick up the loose Acid Bolts, then take Manual: Acid Bolts from the nearby table.
STEP 13/23
Activate the lower camp
Use the camp below the boss arena as your close respawn point before repeating the encounter or pushing upward.
STEP 14/23
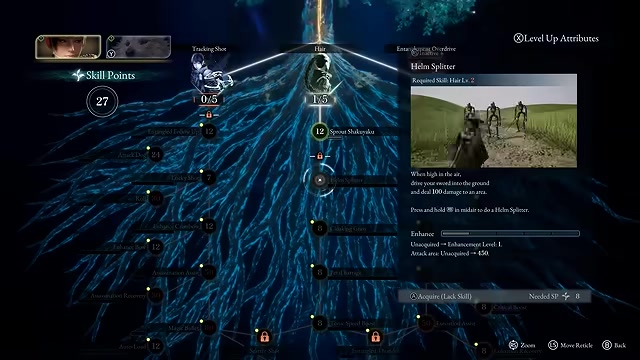
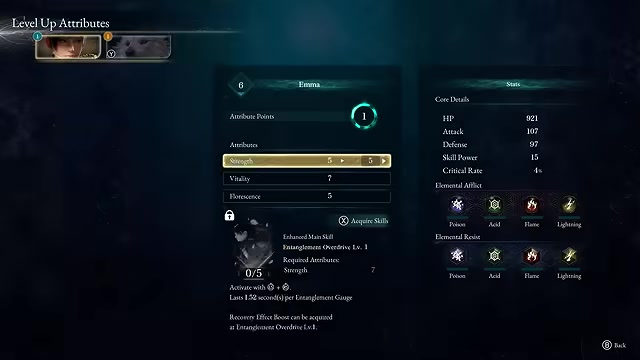
Spend points toward Helm Spliter
Put early Emma points into Vitality and unlock Helm Spliter for a heavy aerial stagger attack.
STEP 15/23
Follow story progress to the first subcity
Resume the main objective until the route opens toward the lake tower and riverside building.
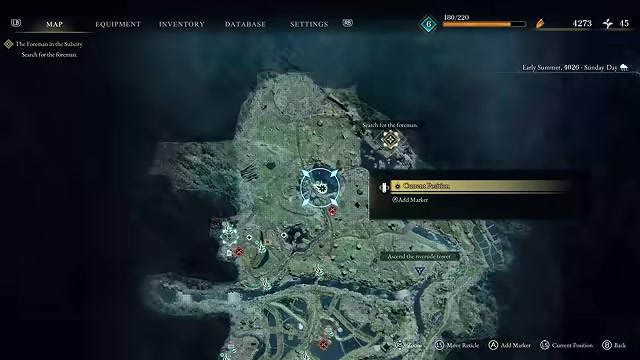
STEP 16/23
Climb to the second tower campsite
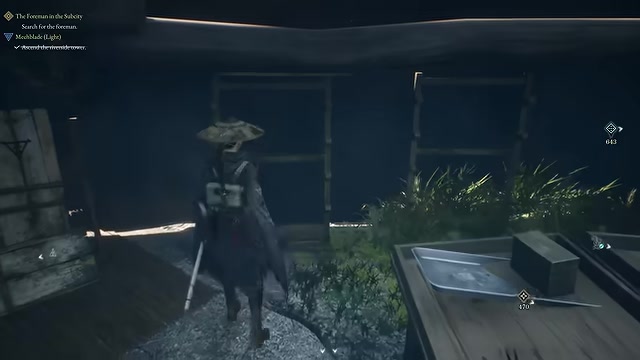
Cross the nearby gap and reach the campsite and strongbox above the lake path.
STEP 17/23
Take Chain Mail from the strongbox
Loot Chain Mail from the tower strongbox and equip it before the next climb.

STEP 18/23
Scale the riverside building
Use grappling points and vines to climb the tallest building in the area.
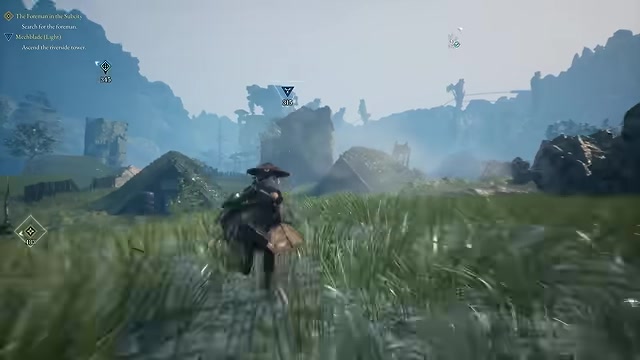
STEP 19/23
Activate the camp below the top fight
Rest at the camp just under the encounter so a failed attempt restarts close by.
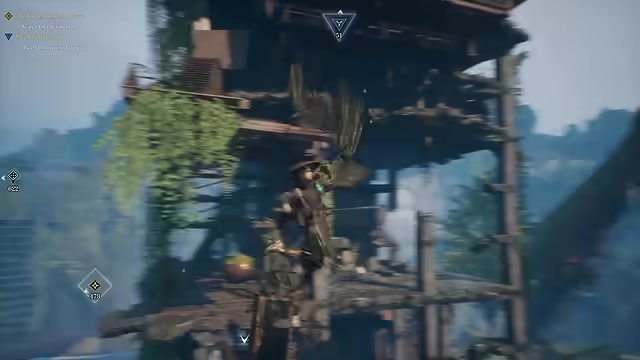
STEP 20/23
Equip boss tools before the climb
Slot Acid Bolts, unlock Helm Spliter, and equip the armor and Koo support you found.
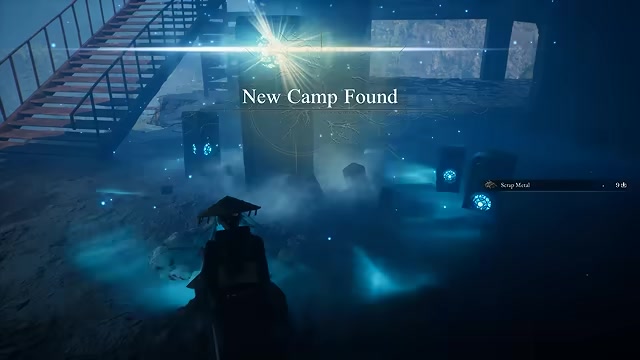
STEP 21/23
Approach from behind the boss
Skip the stairs, jump behind the target, and begin the fight with a drop assassination.
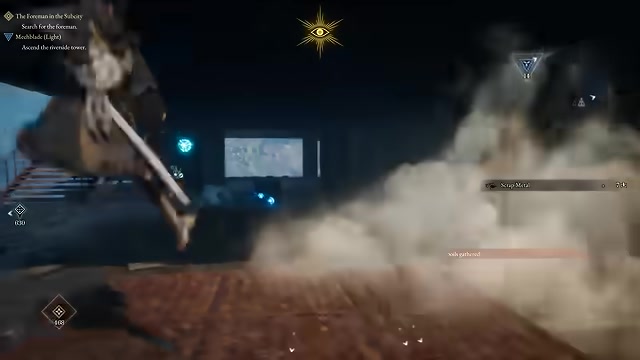
STEP 22/23
Burn the boss with Acid Bolts
Use Acid Bolts to apply damage over time and weaken its armor while parries and Koo pressure keep stagger moving.
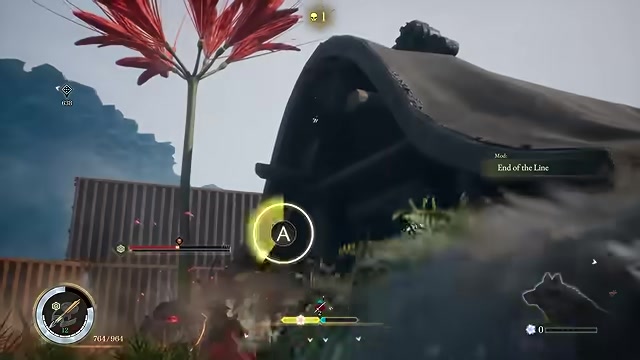
STEP 23/23
Claim Mechblade (Light)
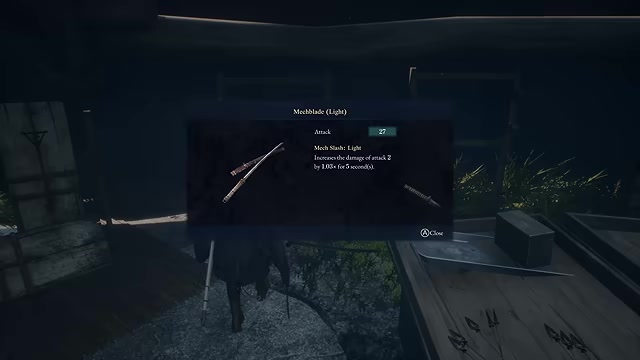
Open the chest inside the upper structure and equip Mechblade (Light) as your early parry-focused weapon.
Video help
Early pickup payoffs
This route works because it changes several early fights at once. Ammo manuals make camps stronger, armor raises your mistake tolerance, and the Mechblade (Light) makes clean parries pay off with more damage.
Charms add a small RNG layer after decoding, but the containers themselves stay fixed. Loot them every run, then let the result shape Koo’s support setup until stronger options open.
| Pickup | Use |
|---|---|
| Fire Arrows | Manual: Fire Arrows causes Fire Arrows to replenish on rest; the western facility also gives nine Fire Arrows upfront. |
| Acid Bolts | Manual: Acid Bolts causes Acid Bolts to replenish on rest; they are strong against robotic and armored enemies. |
| Chain Mail | Defense 25, Spirit Stone Slots 4, Flame Resistance 50, and Enemy awareness Extreme. |
| Helm Spliter | A Vitality-line aerial slam that adds heavy stagger to jump-heavy combat and boss pressure. |
| Mechblade (Light) | Attack 27; Mech Slash: Light increases the damage of attack 2 by 1.03x for 5 seconds after parries. |
| DEF Charm I | Can give Koo Boost Defense +20%, Shock 1, and Shock buildup +5 on normal attacks. |
| Recovery Tonic (S) | Lets Koo add healing support on top of Emma’s own healing. |
Walker base upgrades and meals
After the route, keep checking the tops of circular metal structures that look like mushrooms on the map. These can hold Walker modules such as a Facility Module, which expands what your moving base can support.
Koo also helps exploration between fights. When you enter a new area, he can mark items on the map, and later upgrades expand that tracking to hidden items; missed strongboxes and loot markers remain visible for cleanup.
Koo’s bond rises naturally through combat, but base interactions speed it along. Higher bond ranks unlock more slots and automatic combat options for healing, damage, debuffs, taunts, and other support skills.
Do not leave the Walker hungry. Gather fish, eggs, rice, plants, seeds, and recipes, then have Kagura prepare meals that give long-lasting buffs to HP, defense, attack, and skill power; better reputation with Kagura opens stronger recipes over time.
Key cleanup after the third subcity
The Red Key and Blue Key cleanup comes later in the early game, after you reach the third subcity near the route to the second main boss. Do the main power route first, progress the story, then loop back through these locked areas before committing to the next major fight.
On that same story stretch, watch for the Citrus Sword. It has Attack 27, and Clear Skies increases Emma’s damage by x1.02 and Koo’s damage by x1.02 for 5 seconds.
| Key | Use |
|---|---|
| Red Key | Given by a Keeper Golem near the third subcity route; opens an eastern objective-side cavern with extra chest rewards. |
| Blue Key | Found on the eastern cliffs near a campsite; opens the secret door back near the starting location for amber and sellable booklets. |
Early mistakes that slow the first region
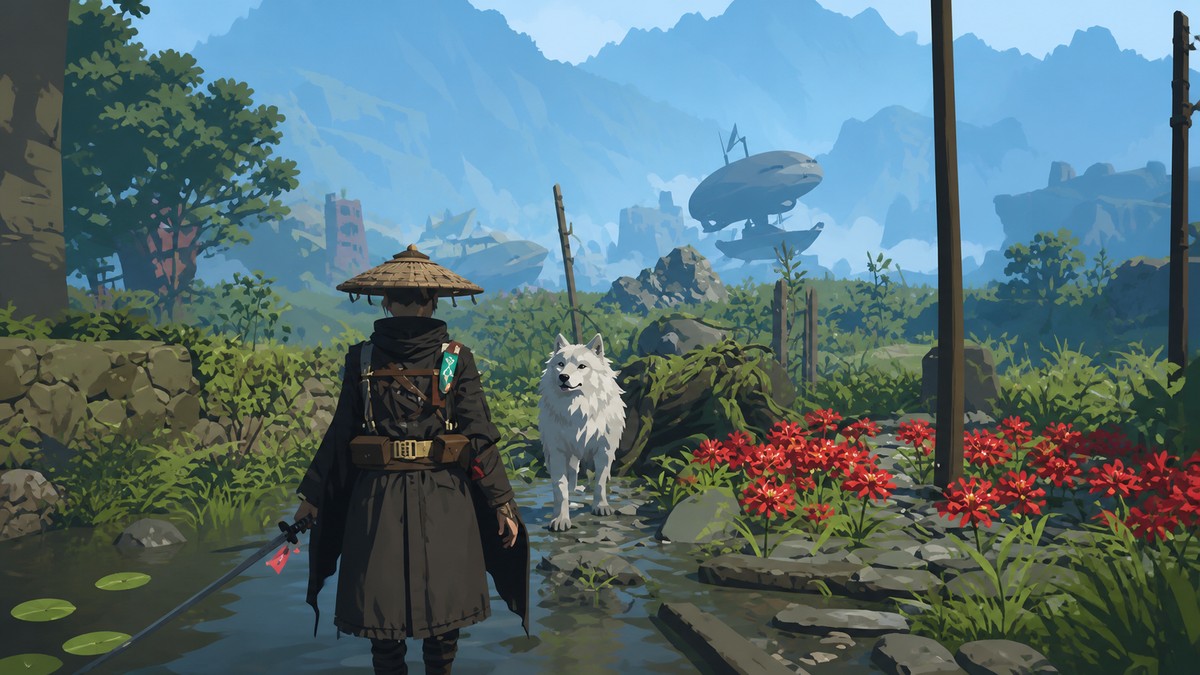
Do not rush region bosses while the Fire Arrows manual, Acid Bolts manual, Chain Mail, and early Koo items are still sitting behind short side routes. Forcing progress with starter gear mostly spends healing and time.
Keeper Golems are not background NPCs; their chat options point to weapons and recipe locations, and one later hands over the Red Key. Bring Koo into fights, use camps near boss arenas before attempts, and treat support slots as part of the build.
Open the equipment menu after every major pickup; armor, charms, tonics, and Spirit Stone-style bonuses only help after you equip them.
Related Beast of Reincarnation guides
Frequently Asked Questions
Should I choose a lower difficulty for a stronger first run?
Yes, if your priority is a cleaner first clear rather than bragging rights. Beast of Reincarnation asks you to pick a difficulty before the story begins, and difficulty changes after the campaign starts are unclear, so make that choice before the opening route.
Is Mechblade (Light) worth using over the starting sword early?
Yes, if you are already parrying often. The upgrade is not just raw attack; it rewards parry timing with a short attack 2 damage boost, so it gets better as your defensive rhythm improves.
Should I do the Red and Blue Key detours before the next main boss?
Once you have reached the third subcity and picked up the keys, yes. Before that point, leave the locked doors alone and spend your time on the west-and-north power route.




Leave a Reply