

For the best start in Beast of Reincarnation, set a comfortable difficulty, learn parries immediately, build around stagger and Koo, then keep exploring so your skills, stones, and Cleanse Walker upgrades do not fall behind.
Beast of Reincarnation is harshest when you treat it like a straight sword-action game. Your first session should be about setting up the habits that make Emma and Koo work as one unit: parries for FP, stagger for finishers, and exploration for the upgrades that keep your weapons moving.
This checklist stays spoiler-free and focuses on the first things worth doing before you start pushing too far into the story.
- First-session priorities in Beast of Reincarnation
- Choose the difficulty that lets you learn
- Make parrying your first combat habit
- Break the Down Gauge before chasing health
- Spend points for Emma and Koo together
- Equip Koo Bloom Arts mods early
- Use Spirit Stones to shape your playstyle
- Learn Koo’s command wheel before status effects snowball
- Search side paths for camps and upgrade materials
- Upgrade the Cleanse Walker before weapons stall
- Experiment freely in the first 10 hours
- Frequently Asked Questions
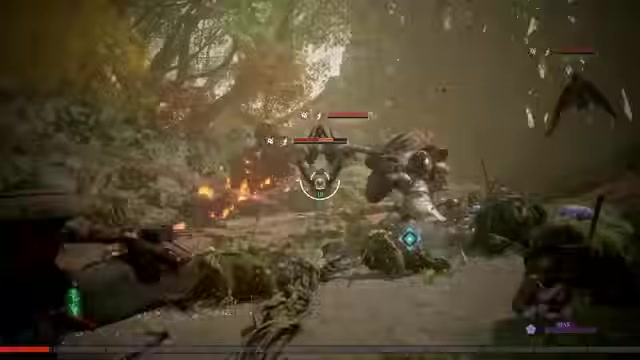
First-session priorities in Beast of Reincarnation
| First action | What it helps with |
|---|---|
| Pick Story, Normal, or Hard honestly | Sets a fair parry window and damage curve |
| Practice clean parries on weak enemies | Prevents damage and fills FP for Koo |
| Watch the Down Gauge | Creates stagger openings and takedown finishers |
| Use Lift and Extend for air assassinations | Turns height and patrol routes into free openings |
| Spend points with Emma and Koo in mind | Avoids a lopsided build and locked nodes |
| Attach Koo’s Bloom Arts mods | Adds status support or stronger Emma backing |
| Fill Spirit Stone slots deliberately | Shapes aiming, stealth, and ranged tempo |
| Learn Koo’s command wheel | Gives quick access to emergency status cures |
| Explore side paths before rushing story beats | Finds materials, gear, stones, and camps |
| Upgrade the Cleanse Walker | Keeps weapon upgrade caps from stalling |
Do these in roughly this order. The early game becomes much smoother when your combat habits, build choices, and base upgrades grow together instead of competing for attention.
Choose the difficulty that lets you learn

Story, Normal, and Hard are available from the start. Story mode is not a throwaway option: it widens parry timing and lowers incoming damage, so you are still learning the real combat rhythm without getting flattened for every early mistake.
KEY!You can change difficulty at any point with no penalty and nothing locked off. Start where the parry feels learnable, then move up once your timing starts to click.
Make parrying your first combat habit
Parrying is the most important early skill because it solves two problems at once. A clean parry means zero damage taken, but it also fills your FP gauge, and FP is what fuels Koo’s abilities.
That changes how you should think about defense. Rolling away from everything can look safer, but if you never parry, Koo sits starved of resources and your strongest support options stay quiet. Beast of Reincarnation rewards you for standing your ground at the right moment.
Spend your first hour testing the timing against weaker enemies. Once the rhythm settles in, you are not just surviving longer; you are actively feeding the companion system that gives your build its bite.
Practice parries before chasing damage: every clean parry keeps Emma safe and builds the FP that lets Koo turn defense into pressure.
Break the Down Gauge before chasing health
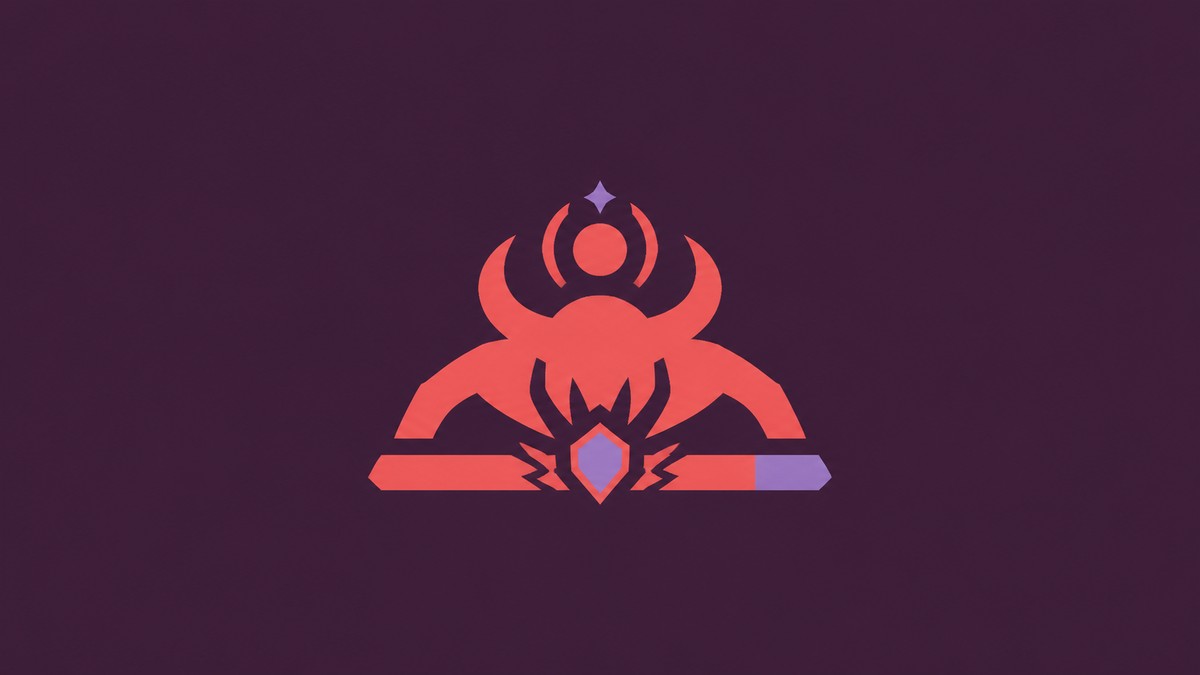
Enemies have a Down Gauge as well as a health bar. Filling that gauge staggers them, and a staggered enemy can be hit with a takedown finisher that does far more work than slowly shaving health with ordinary attacks.
This is the mindset shift that makes bosses feel manageable. In a hard fight, ask how close the enemy is to breaking, not just how much health remains. Attacks that push stagger forward are often more valuable than attacks that only chip damage.
Enemy level also affects how much damage you deal and take, while type weaknesses matter too. Plant-type and golem-type foes both take extra damage from the right damage type, so read the enemy before committing to a pattern.
Spend points for Emma and Koo together
Emma and Koo have separate skill trees, but they pull from shared point pressure. If you invest as though Emma is the only character that matters, Koo falls behind; if you overcorrect the other way, Emma can end up missing the tools she needs to stay alive.
The bigger trap is attributes. Strength, Vitality, and Fluorescence do more than raise numbers. They gate which skill nodes you can unlock, so a blocked node usually means you are short on an attribute requirement, not just a skill point.
Do not spread attributes evenly just to keep the sheet tidy. Pick a direction early, then feed the attribute that opens the skills your build actually wants.
Equip Koo Bloom Arts mods early
| Mod family | Use |
|---|---|
| Incantation | Leans into building status effects through Koo’s support |
| Guard | Supports Emma’s combat effectiveness and survivability |
Koo’s Bloom Arts can be modified with bought skill mods that add passive bonuses to his abilities. These are not something to save forever for a perfect late-game setup; an equipped mod is useful now, while a hoarded mod does nothing.
You can mix mods across families, and respecs become available later, so early experimentation is low-risk. Keep some currency aside for mods instead of spending everything on gear upgrades.
Use Spirit Stones to shape your playstyle
| Stone effect | Best for |
|---|---|
| Shots that automatically track enemy heads | Players who want aiming help in ranged pressure |
| Bonus damage against enemies that have not spotted you | Stealth openings and ambush-heavy routes |
| Increased rate of fire | Faster ranged tempo and sustained pressure |
Spirit Stones sit alongside your weapon, ammo type, and armor, with up to six slots available. Treat them as build tools, not simple stat bumps, because their effects can change the way you approach fights.
Those effects point toward different builds: aiming support, stealth reward, and ranged aggression. When you find a new stone, check whether it supports the way you are actually fighting.
Learn Koo’s command wheel before status effects snowball

Open Koo’s command wheel with the left trigger, or L2 on PlayStation. The early command to know is emergency medicine, because it clears status effects quickly before a controlled fight turns messy.
Use it as an emergency answer, not a routine heal button. Field uses are finite, so burning them casually can leave you exposed later.
There is also a mod option called Healing Energy, which lets Koo cure status effects through the matching Bloom Art. Just remember that Koo can be downed in combat; when he goes down, that layer of support disappears with him.
Search side paths for camps and upgrade materials
Side routes and hidden corners are where the early growth materials live: generator devices, electronic brains, and memory chips. They are not vendor trash. They feed your base progression, so detouring before pushing the story keeps your long-term upgrades healthy.
Emma’s hair abilities help here too. Lift works like a double jump, and holding jump sends her higher; Extend sends her hair forward to bridge a gap. The exact traversal wording may vary around glide and platform movement, but the early lesson is simple: if a ledge or route looks just out of reach, check it from above before walking away.
Keep camps separate from the home base in your head. Camps are the field stops where you heal, level up, acquire skills, spend upgrade points, and enhance equipment. The base is its own system.
Upgrade the Cleanse Walker before weapons stall

Your home base is the Cleanse Walker, a machine that functions as both house and vehicle between regions. It is also directly tied to weapon progression, which makes it one of the most important early upgrade sinks in the game.
If the Cleanse Walker is underleveled, your weapons can hit an upgrade cap even when you are ready to improve them. That wall becomes painful later because your damage curve starts falling behind enemy pressure.
Spend generator devices, electronic brains, and memory chips on Cleanse Walker levels, then check the equipment enhancement screen to see what Cleanse Walker level each weapon upgrade needs. Exploring early pays off here: the materials you collect now keep your weapons from getting stuck later.
Experiment freely in the first 10 hours
Dying costs no materials and no experience. Enemies you already cleared also stay cleared after death, so the cost of testing a strange build, a new Spirit Stone setup, or a riskier parry route is low.
Use that freedom while the game is still teaching you. Try the Koo mods you bought, swap stones when your approach changes, and learn which enemies are worth staggering before you worry about perfecting a final build.
Frequently Asked Questions
Can you change difficulty after starting Beast of Reincarnation?
Yes. Difficulty can be changed after you start, with no penalty and no content locked off for adjusting it.
Why is parrying so important in Beast of Reincarnation?
Parrying is the main link between survival and Koo’s support. A successful parry blocks the hit completely and gives you the FP needed to keep Koo active.
Should beginners spend points on Emma or Koo first?
Spend with both trees in mind. Emma needs core survival and combat tools, while Koo needs enough investment to make your FP generation matter.
What is the difference between camps and the Cleanse Walker?
Camps are field stops for healing, leveling, skills, upgrade points, and equipment enhancement. The Cleanse Walker is your home base and controls weapon upgrade progression through its level.
Do you lose materials or experience when you die?
No. Death does not take materials or experience from you, which makes early build testing much less punishing.
Video help




Leave a Reply