
Before leaving the Ancient Civilization Zone, collect the key Chapter 2 gear and Spirit Stones, unlock the zone’s travel and healing infrastructure, clear the reservoir path, and pray at all three Dragon Vein Shrines.
The Ancient Civilization Zone is the second main area in Beast of Reincarnation, and Chapter 2 gives you a lot worth grabbing before you move on. Treat this as a route-order checklist: secure healing, open the major path blockers, unlock travel points, then sweep the reservoir-side pickups before committing to the next chapter.
- Ancient Civilization Zone checklist before leaving
- Use the Dragon Vein Shrines for healing prep
- Open the first massive gate from above
- Secure Campsites before the reservoir push
- Get Binding Fang Skill Amber at Ruins Path
- Pick up Garb of Tranquility from Ruins Slope Approach
- Receive Thunder Wave during Chapter 2 progression
- Find Mac Blade Heavy near the reservoir mural
- Buy Lightning Arrows near Raging Rivers
- Open the Thick Cuirass strongbox in Tunnel Ruins Interior
- Collect Momentum Spirit Stone at Raging Rivers
- Meet the Ancient Golem and power the reservoir gate
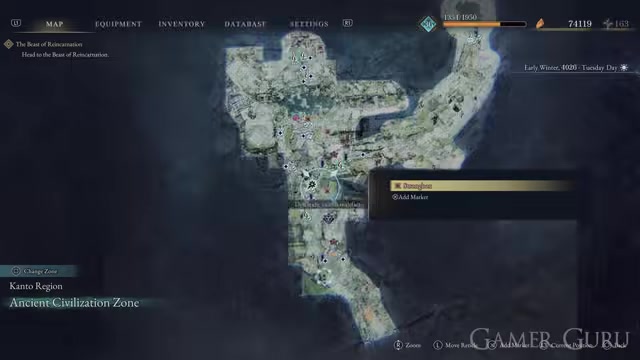
- Switch zones from the map when backtracking
- Frequently Asked Questions
Ancient Civilization Zone checklist before leaving
| Task | Where / how |
|---|---|
| Pray at all three Dragon Vein Shrines | One is near the first large broken wall; find the remaining two before leaving the zone |
| Collect the Homing Shots Spirit Stone | Near the start of the zone, on the tower |
| Open the massive first gate | Climb the broken wall route, follow the upper ruins, then use the control panel |
| Unlock Campsites | Use them as rest and fast-travel anchors while sweeping the mid-zone |
| Clear the mid-zone elevator arena | Ride down after the first control panel, clear the Malefacts, then continue via grapple points |
| Get Binding Fang Skill Amber | Defeat the elite enemy opposite the Ruins Path campfire |
| Pick up Garb of Tranquility | Follow the route from the Ruins Slope Approach campfire |
| Receive Thunder Wave | Dropped automatically by a required enemy around the middle of Chapter 2 |
| Pick up Mac Blade Heavy | From Reservoir Interior, go past the boss lake and find it in front of the mural |
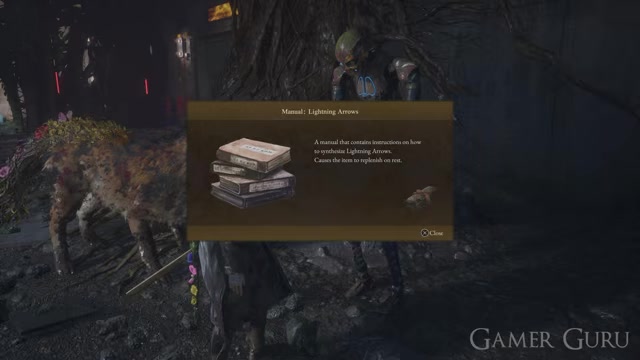
| Buy Lightning Arrows | Purchase the manual from the Wandering Merchant near Raging Rivers |
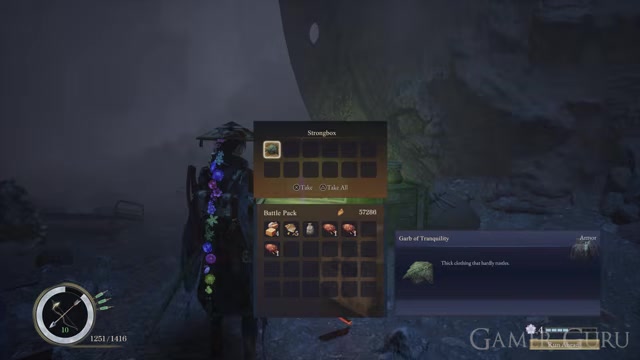
| Collect Thick Cuirass | Open the strongbox deeper in the cave from Tunnel Ruins Interior |
| Pick up Momentum Spirit Stone | Swing across the river from Raging Rivers and grab it from the ground |
| Start Toward the Reservoir | Speak to the friendly Ancient Golem in the underground station area |
| Activate both generators | Power the reservoir route so the reservoir gate rises |
Do the checklist in this general order so you are not repeatedly crossing the same ruined layers. The biggest misses are the early Shrine, the upper path to the first gate switch, and the optional gear clustered around Ruins Path, Raging Rivers, and Reservoir Interior.
Use the Dragon Vein Shrines for healing prep
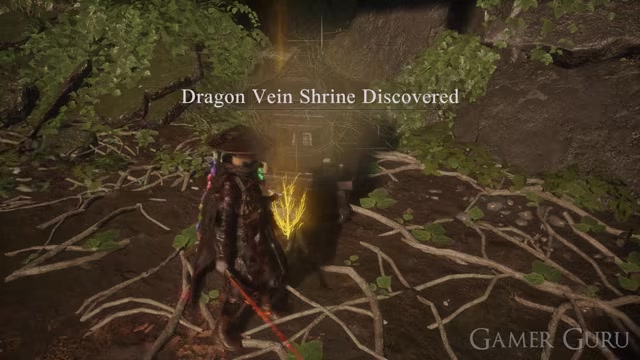
Make the Dragon Vein Shrines a priority, not a cleanup chore. The Ancient Civilization Zone has three Dragon Vein Shrines, and praying at them builds toward more available stimpack heals.
The early Shrine near the first large broken wall is especially easy to walk past because the route starts pulling you left and upward. Grab it before pushing deeper; the early healing vial increase is one of the best advantages you can secure before the zone starts stacking bigger fights.
There is one nuance: Shrine rewards work on a rising set-count requirement, so every Shrine interaction matters even though not every single Shrine gives an immediate extra stimpack. Pray whenever you find one and finish the zone with all three marked off.
Open the first massive gate from above
Climb the broken wall section
Look for the broken part of the wall near the early blocked route and start climbing upward.
Follow the ruined stairs
Stay on the upper path instead of dropping back to the ground.
Use Emma’s hair grapples
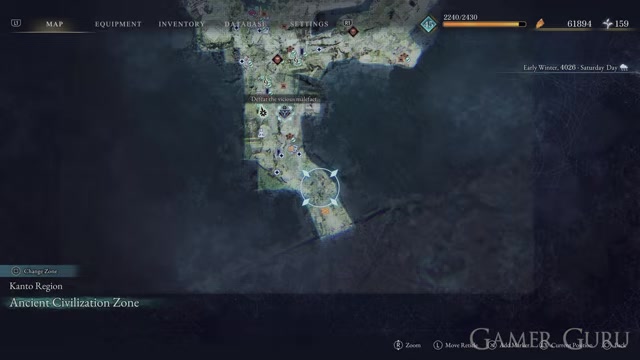
Cross the gaps using the grapple points, with the amber butterflies guiding the route.
Enter the structure
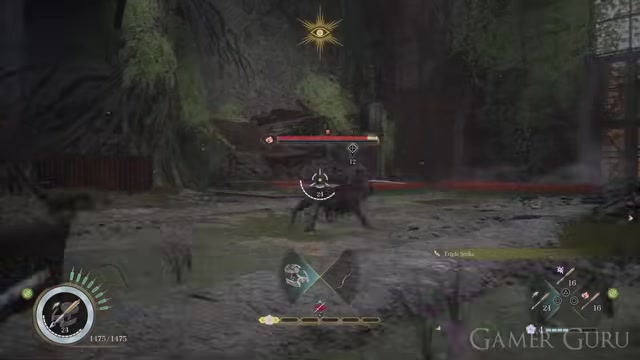
Follow the elevated path into the building connected to the gate mechanism.
Use the control panel
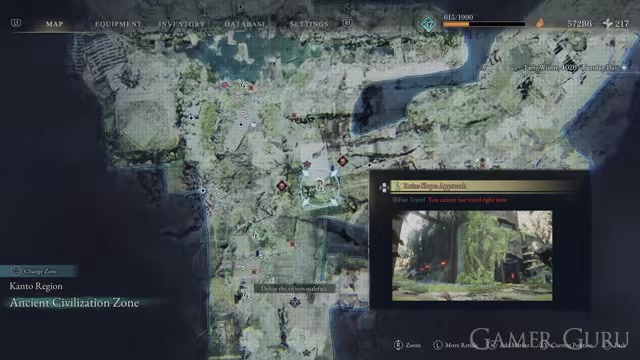
Activate the panel inside to open the massive gate and continue through Chapter 2.
Secure Campsites before the reservoir push
KEY!
Campsites are your rest and fast-travel anchors in the Ancient Civilization Zone, so activate every one you can reach while the area is still open for exploration. They make item cleanup and later traversal much less painful, especially once your route starts dipping through elevators, caves, and river crossings.
After the first control panel, the route takes you down by elevator into a combat arena with Malefacts. Clear it, then keep following the grapple route near the giant golem carcass and crane toward the next elevator. Use that mid-zone stretch to gather materials and earn XP instead of sprinting straight for the reservoir trigger.
Unlock Campsites as soon as you pass them, then use them to sweep nearby pickups before the reservoir route starts pulling you forward.
Get Binding Fang Skill Amber at Ruins Path
Start at Ruins Path
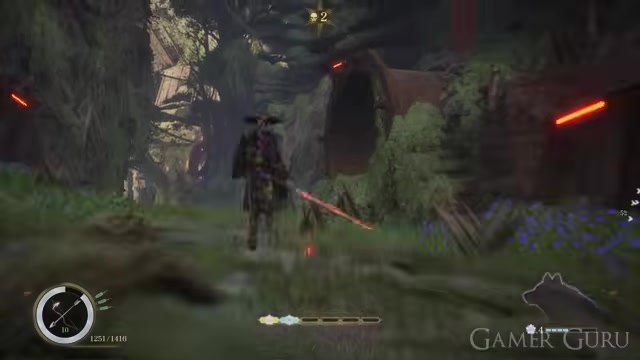
Rest or travel to the Ruins Path campfire.
Find the elite enemy opposite the campfire
Look directly across from the campfire area for the elite target.
Defeat the elite enemy
Kill it to receive the Binding Fang Skill Amber drop for Koo.
Pick up Garb of Tranquility from Ruins Slope Approach
Start at Ruins Slope Approach
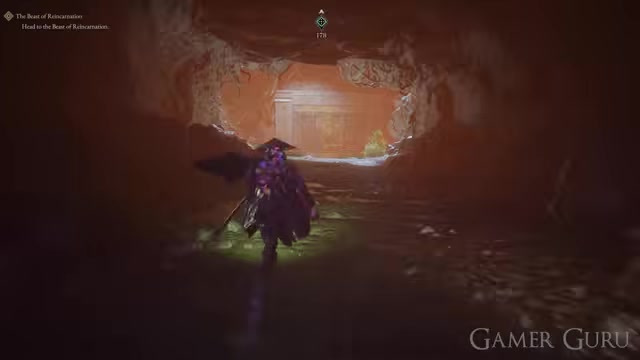
Travel to the Ruins Slope Approach campfire.
Follow the slope route forward
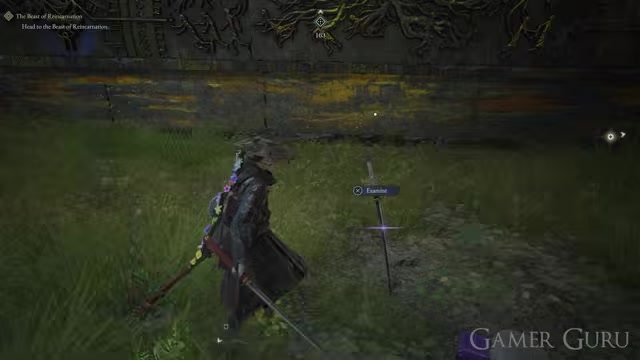
Take the same forward path out from the campfire into the ruins.
Collect Garb of Tranquility
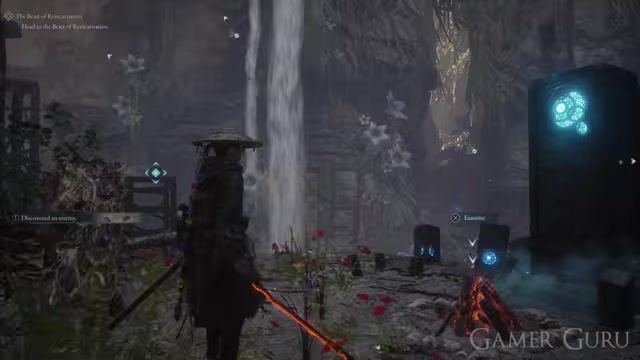
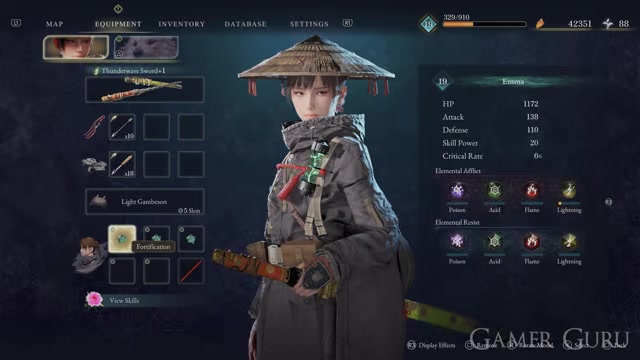
Equip it when you want low enemy awareness; enemies can still spot Emma, but the detection gauge fills much more slowly than it does with bulky armor.
Receive Thunder Wave during Chapter 2 progression
Thunder Wave is the Chapter 2 sword you get through required story progression. Around the middle of the chapter, a mandatory enemy drops it automatically after you defeat it.
There is no extra side route or merchant stop attached to this one. Just check your weapon list after that story fight so you know the drop landed before you leave the Ancient Civilization Zone.
Find Mac Blade Heavy near the reservoir mural
Start at Reservoir Interior
Travel to the Reservoir Interior campsite.
Go past the big lake
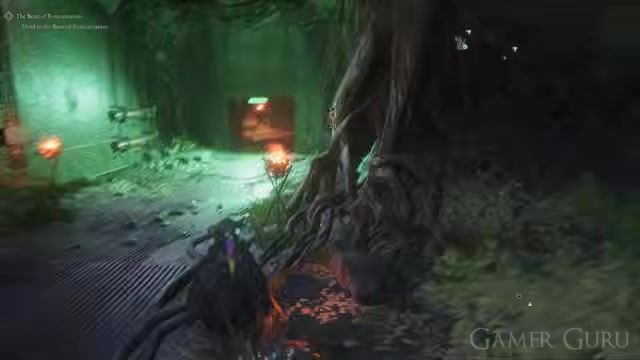
Move through the cave lake area where the Chapter 2 boss fight took place.
Enter the next room
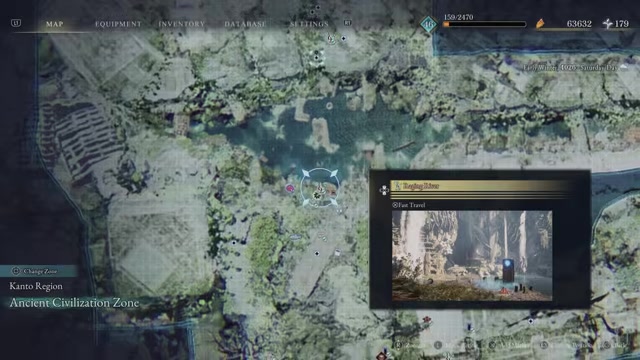
Continue forward until you reach the room with the large mural.
Pick up Mac Blade Heavy
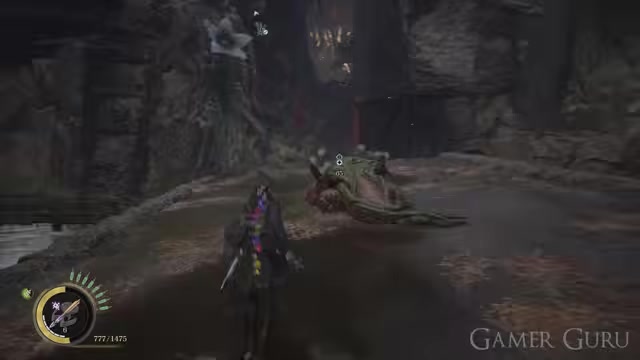
Grab Mac Blade Heavy from the ground in front of the mural.
Buy Lightning Arrows near Raging Rivers
Before leaving the Ancient Civilization Zone, stop by the Wandering Merchant near the Raging Rivers campfire. This merchant sells the manual for Lightning Arrows, so make it a quick shop check while you are already in the area for the river-side pickups.
Open the Thick Cuirass strongbox in Tunnel Ruins Interior
Start at Tunnel Ruins Interior
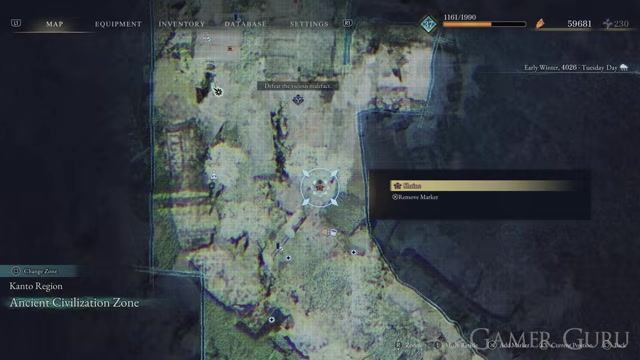
Travel to the Tunnel Ruins Interior campfire.
Follow the cave path deeper
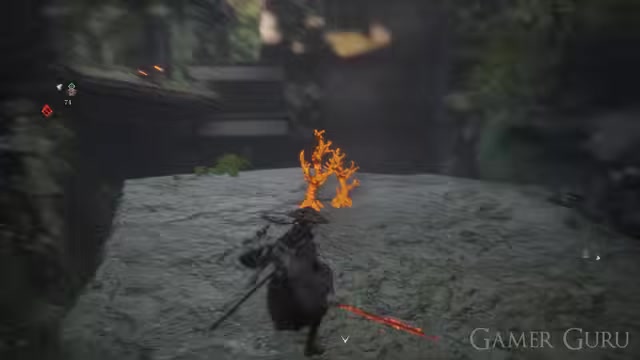
Continue farther down the path into the cave from the campfire.
Open the strongbox
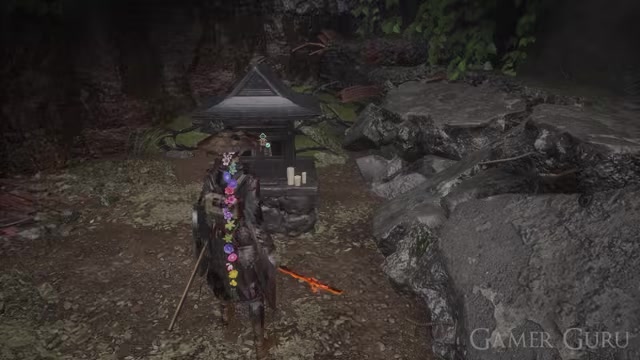
Loot the strongbox to collect Thick Cuirass, an armor piece with high poison resistance.
Collect Momentum Spirit Stone at Raging Rivers
Start at Raging Rivers
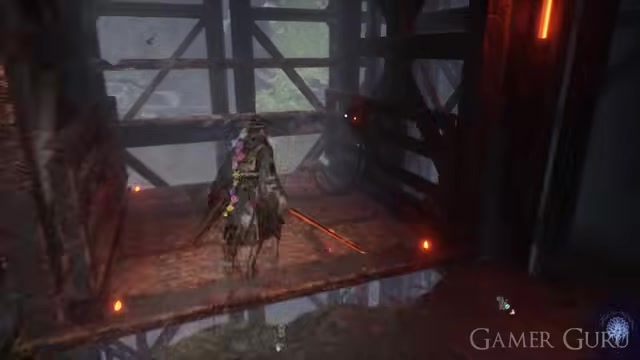
Travel to the Raging Rivers campfire.
Swing across the river
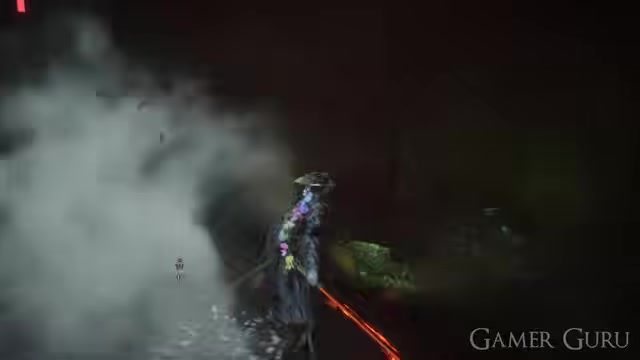
Use the crossing point to reach the other side of the river.
Pick up Momentum
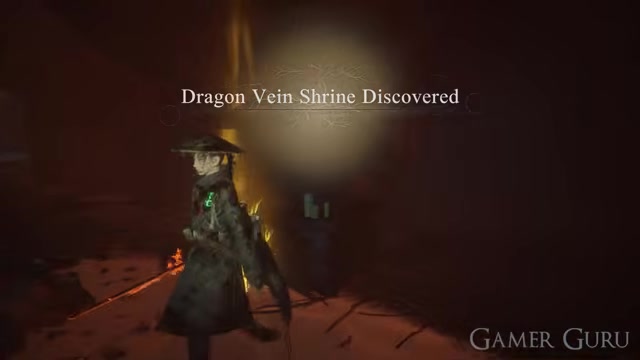
Collect the Momentum Spirit Stone from the ground; it boosts Emma and Koo’s attack by 6% when Emma’s HP is full.
Meet the Ancient Golem and power the reservoir gate
Reach the underground station area
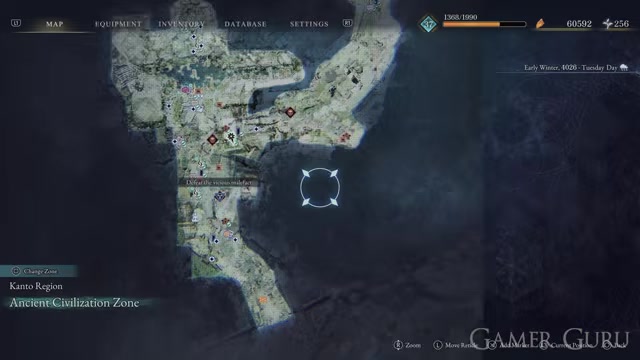
Follow the Chapter 2 route into the underground station section.
Speak to the Ancient Golem
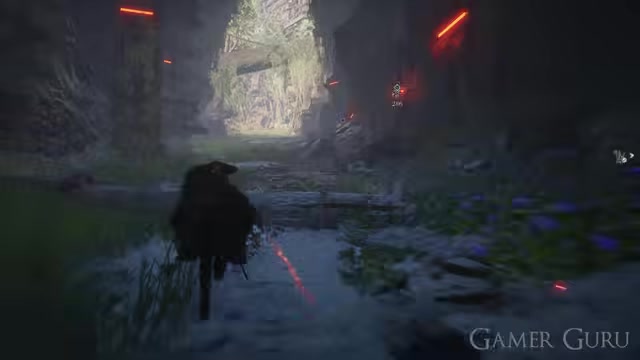
Talk to the friendly Ancient Golem to start Toward the Reservoir.
Find the first generator
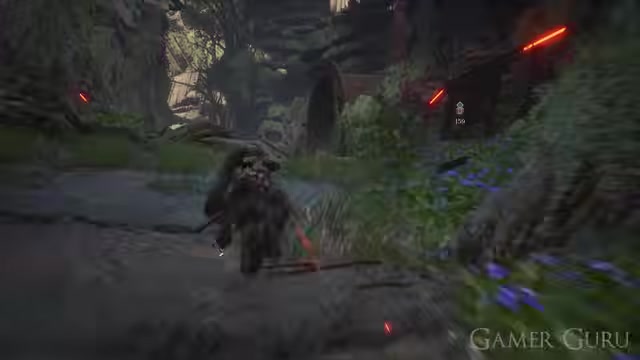
Activate one generator tied to the reservoir gate.
Find the second generator
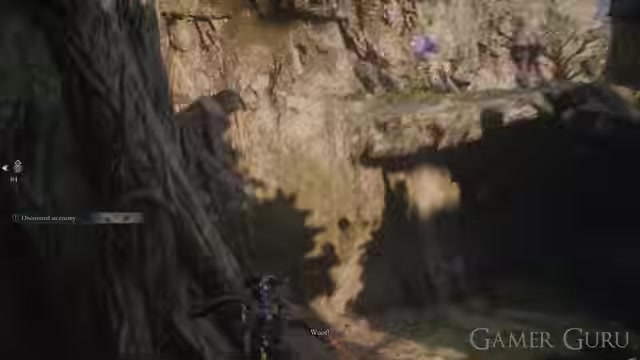
Activate the other generator so the reservoir gate rises.
Continue toward the reservoir
With the gate raised, the main path to the reservoir is open.
Switch zones from the map when backtracking
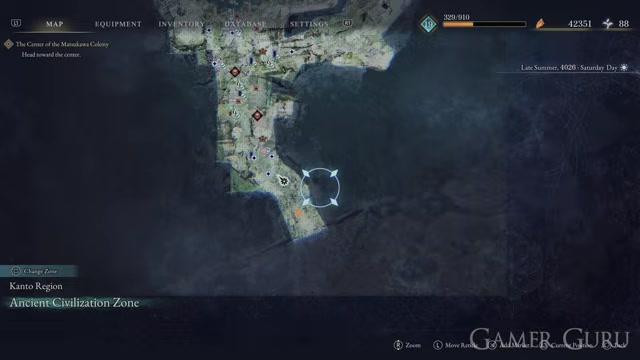
Chapter 2 does not mean older areas are gone for good. Once zone switching is available, open the map and press Square/X on controller or F on keyboard to switch zones and revisit earlier unlocked regions.
Use that before assuming you are trapped in the Ancient Civilization Zone. It is especially handy if you want to clean up early materials or missed route checks before pushing deeper through the reservoir objective.
Related Beast of Reincarnation guides
Frequently Asked Questions
Can you return to earlier zones after reaching Chapter 2?
Yes. After zone switching becomes available on the map, use Square/X on controller or F on keyboard to swap zones and go back to earlier unlocked regions.
Does Garb of Tranquility stop enemies from detecting Emma?
No. Garb of Tranquility slows the detection gauge buildup because of its low enemy awareness, but enemies can still spot Emma if you stay exposed.
Video help






Leave a Reply