What to know
- Text Effects is an Adobe Firefly tool that uses AI and human imagination to create logos with texts.
- The tool is available for free on the Adobe Firefly web app for all Adobe users, without needing to subscribe to any paid plans.
- You can design your logos with different effects by describing what you want to see in them inside the input prompt.
- Logos that you generate inside Adobe Firefly can be downloaded with a transparent background but the saved images would carry content credentials watermark to let others know that AI was used to create them.
In this age of rapid technological advancement, it is essential for artists and designers to embrace AI as a tool to enhance their creativity. By now, you may have seen AI used to create any form of art including images, pictures, videos, and even music. Now, you can also leverage its power to generate logos with texts by describing what you want your design to look like.
Thanks to Adobe’s Firefly AI, you can now create unique and eye-catching logo designs effortlessly using text descriptions as your input. In this post, we’ll guide you with step-by-step instructions to leverage Adobe Firefly for creating stunning logos with ease. ]
Related: How to use AI Generative Fill on Adobe Firefly
What is the Text Effects tool on Adobe Firefly?
Adding more power to its creative suite, Adobe now offers a bunch of AI-enabled tools as part of Adobe Firefly. One of the standout features that are available for everyone to use is the Text Effects tool which lets users create logos with stylized texts.
Text Effects uses Adobe’s AI capabilities to create a bunch of designs for characters in your logo by allowing you to describe what your design should look like. Just like image generation, you’ll be able to characterize how letters appear inside your logo using your own imagination. Your logo can include both letters and numbers in a single line but may not exceed the 20-character limit.
Since Firefly allows you to create these stylized texts in a transparent background, you can use your creations as logos for your company or brand. You can generate any number of logo designs using the Text Effects tool as you’re signed into your Adobe account.
How to access the Text Effects tool on Adobe Firefly
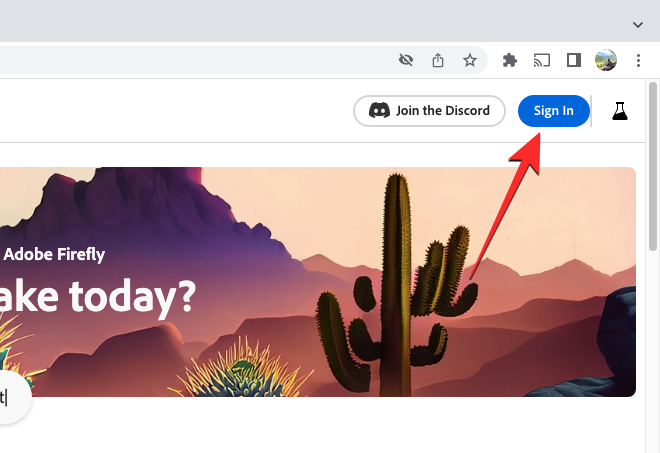
Adobe’s Text Effects tool is part of the Adobe Firefly web app that’s available for free for anyone who has an existing Adobe account. So, to start using Adobe’s AI Text Effects tool, you need to access the Adobe Firefly web app by going to firefly.adobe.com on a web browser (works on Google Chrome, Safari, Microsoft Edge, and Firefox). When the Adobe Firefly homepage opens, click on Sign In at the top right corner.
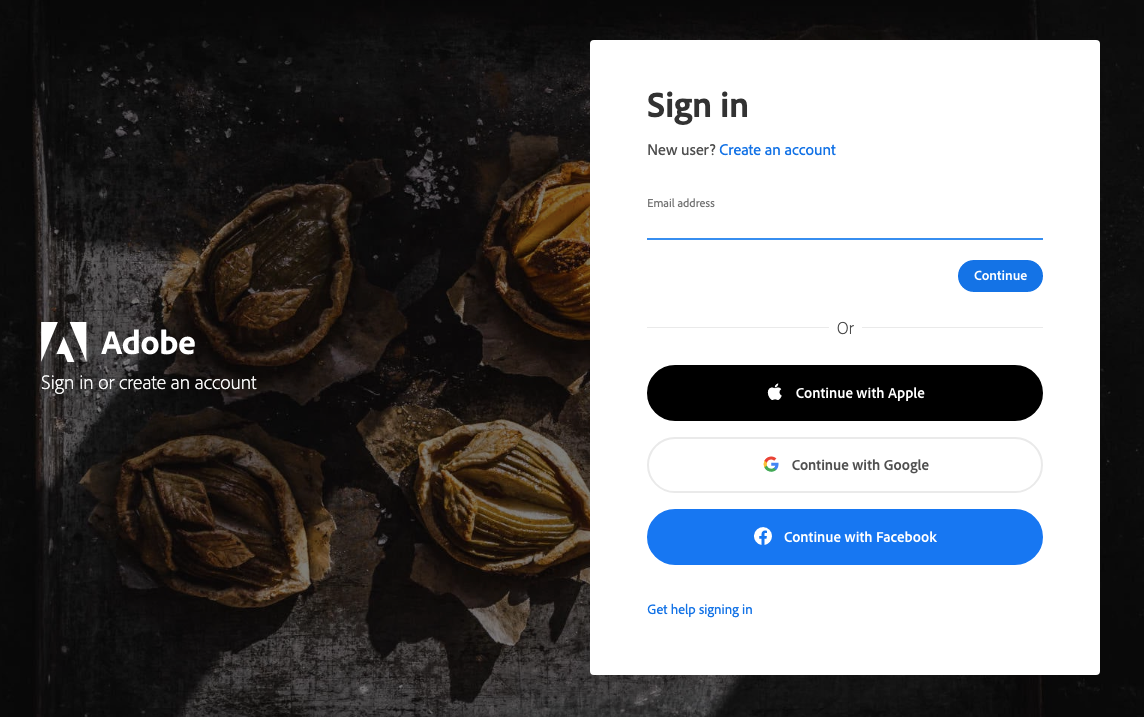
In the Sign In page that loads up, you can use an email address for your existing Adobe account to sign in or click on Create an account link to set up an Adobe account from scratch. You can also sign in to Adobe using your Apple, Google, or Facebook account as well.
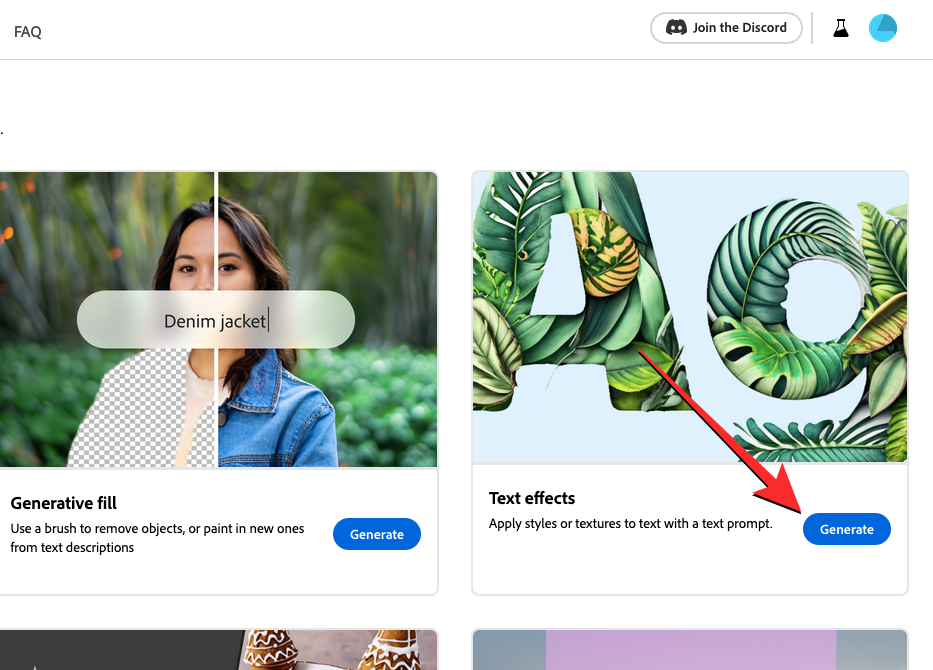
You’ll return to the Adobe Firefly homepage once you’re signed into your Adobe account. Here, scroll down and click on Generate inside the “Text Effects” box.
You’ll now arrive at the Text Effects page inside Adobe Firefly from where you can start using Adobe’s AI to create creative logos with text prompts.
How to create AI logos with text using Adobe Firefly
Once you’ve signed up on Adobe, you can start creating text logos by going to Firefly’s Text Effects page on a web browser. From here, you can generate text-based logos, using text prompts and make modifications to them using Adobe’s AI tool.
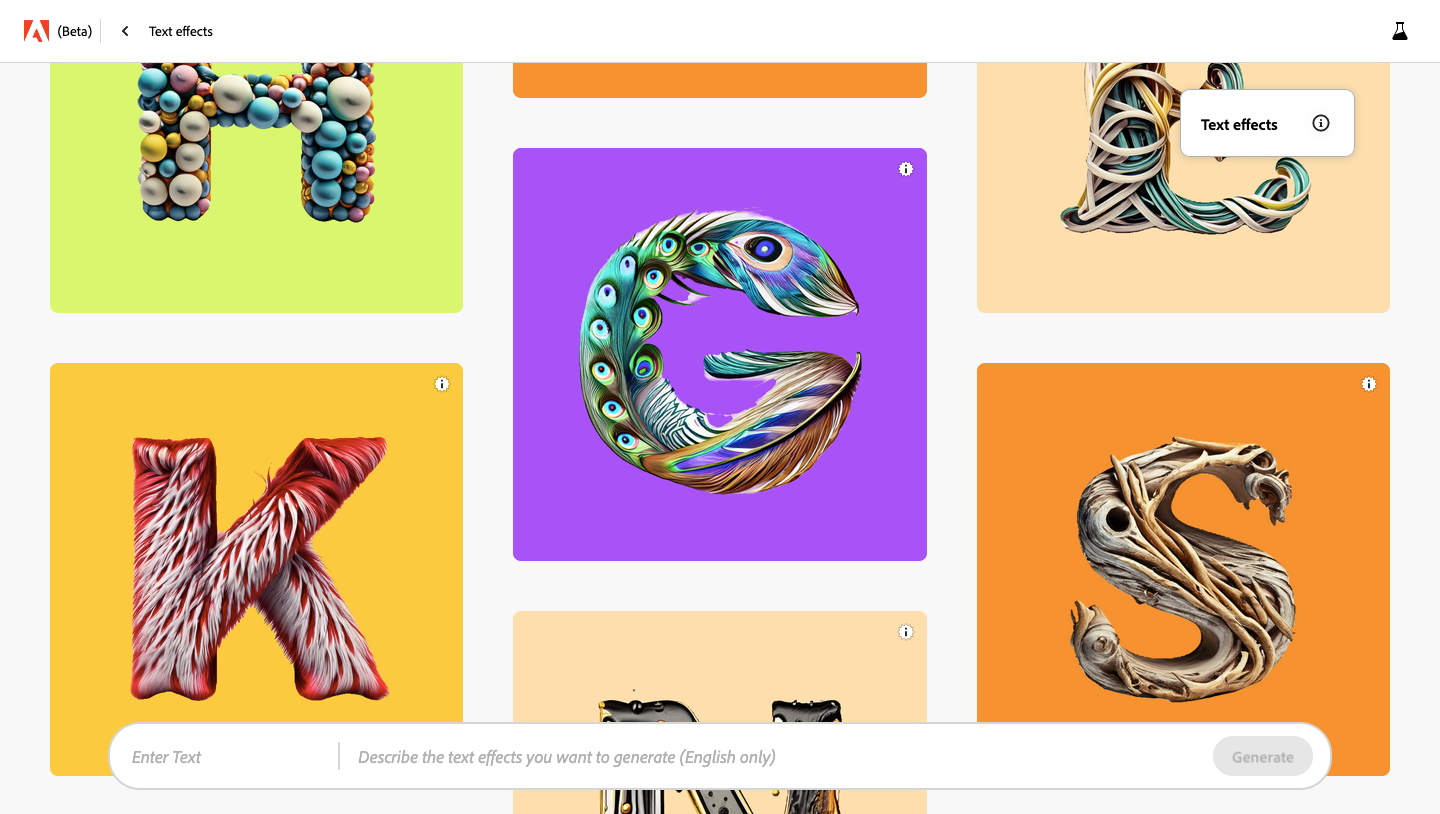
When you arrive at the Text Effects page, you should see a library of AI-made text logo creations by others who submitted their work to Adobe Firefly. You can hover over any of these images to look at the prompt used to create the selected logo. This will help you get some inspiration before you start generating logos using Adobe’s Text Effects tool yourself.
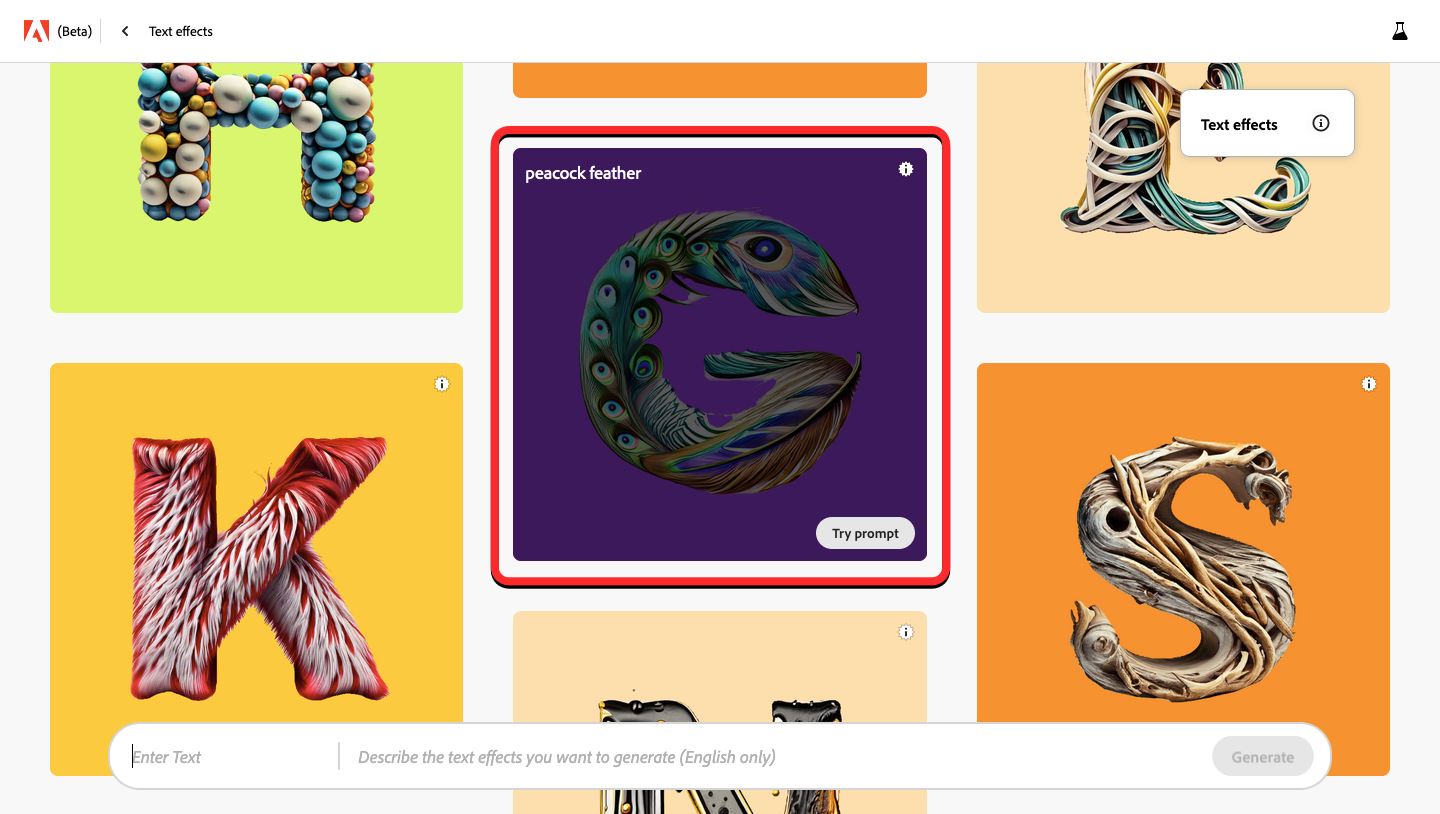
At the bottom of this page, you’ll see a large text box with two separate sections. The one on the left is where you enter the actual text for the logo you want to make and the one on the right is where you enter the description of how you want the logo to look.
You can start by entering the text for your logo. This text can consist of numbers and alphabets and you can enter up to 20 characters when generating a logo using Adobe’s AI tool. You must note that the tool can only create a single line of text; so pressing Enter won’t create a new line to write text on. In this instance, we’ll simply create a logo for “Nerdschalk”.
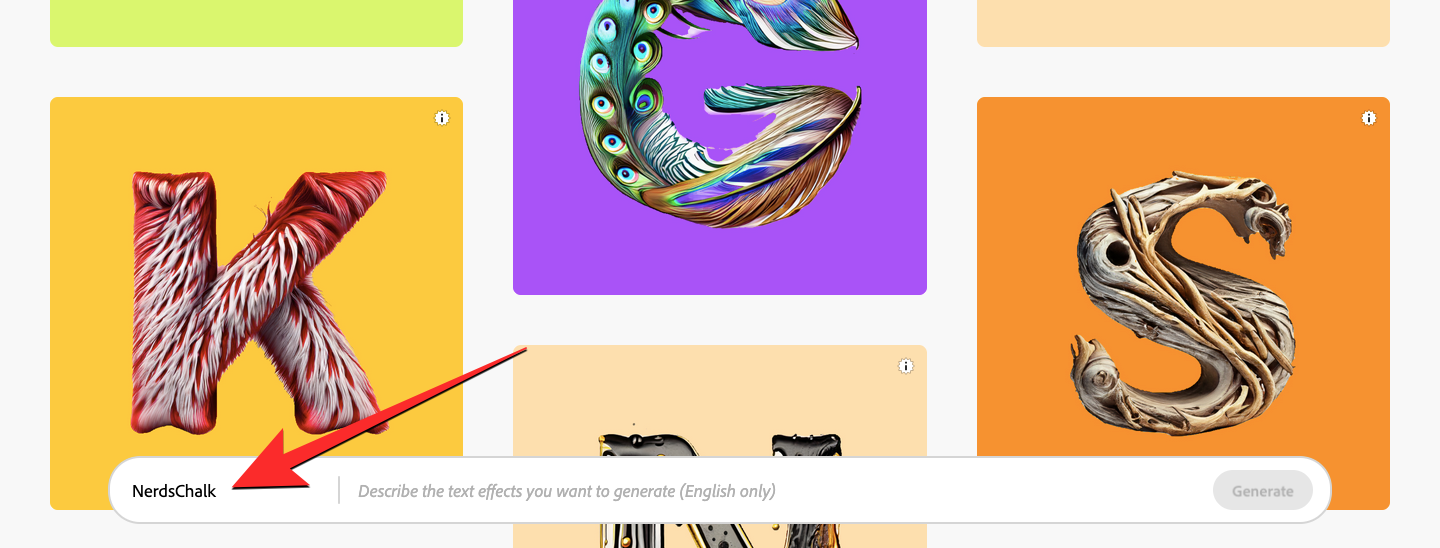
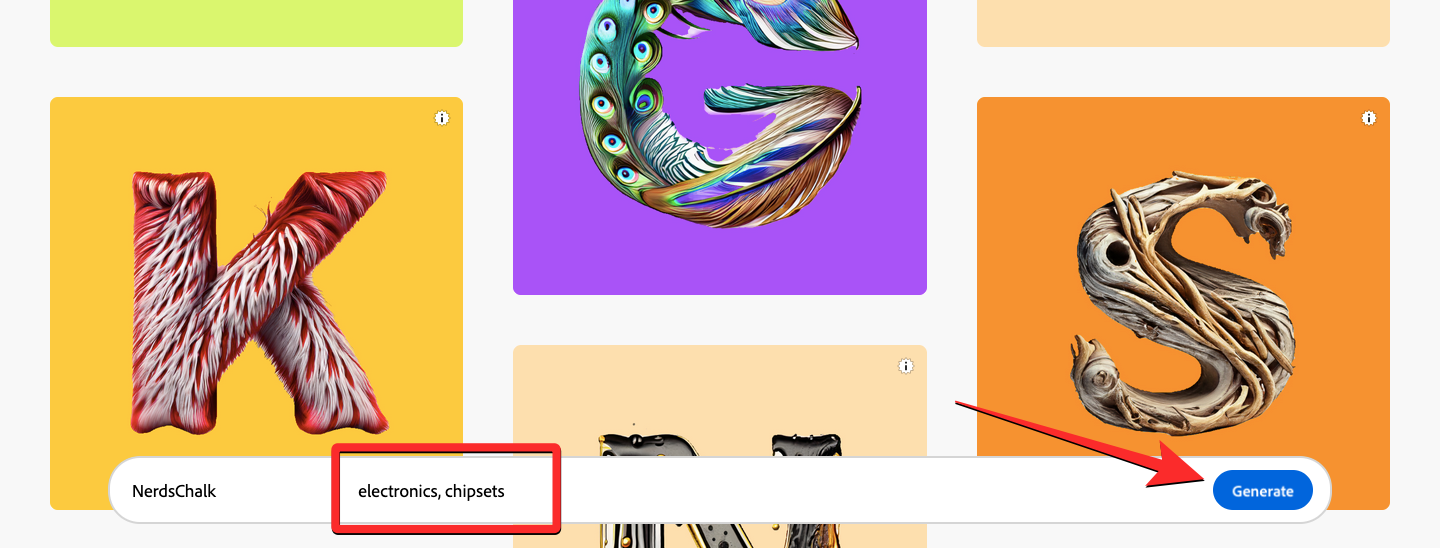
The second section of the text box is where you may want to enter the description for the logo you’re generating. To go with “Nerdschalk”, we entered “electronics, chipsets” as its description. When you’re done filling up both of these sections, click on Generate at the bottom right corner.
Adobe will now generate a set of 4 logos based on the text and description you entered on the previous page. By default, you’ll see a preview of the first design at the top half of the screen.
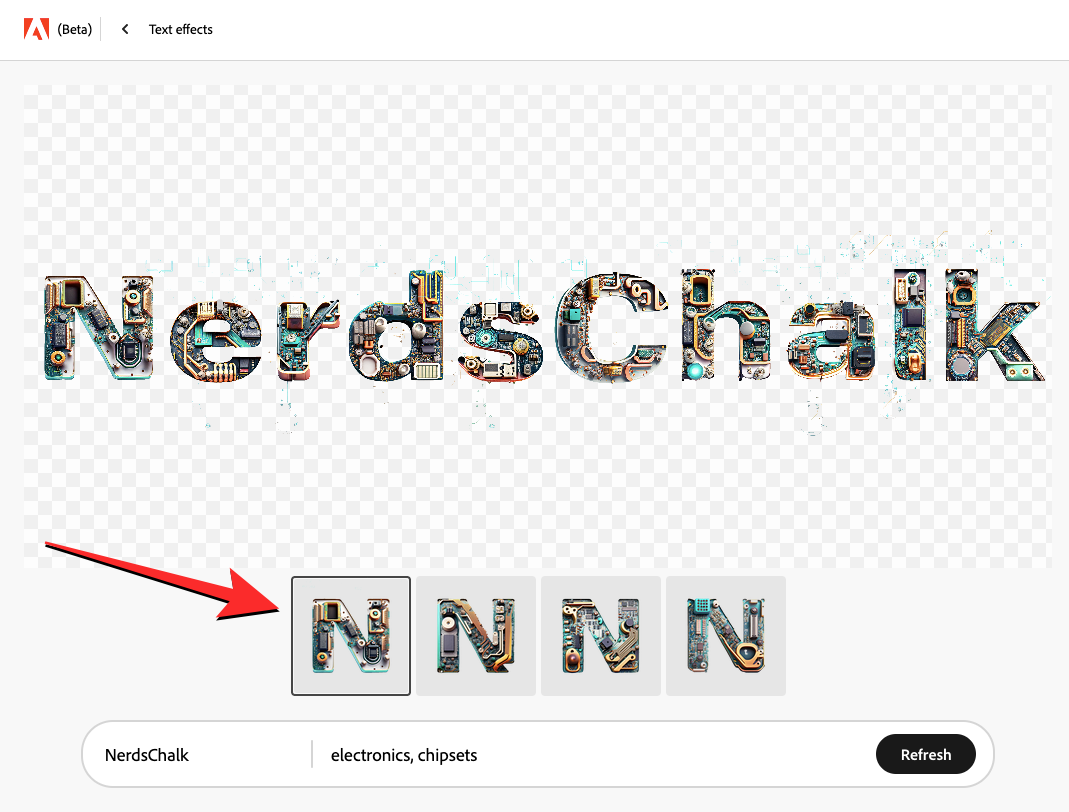
To preview the rest of the generated designs, click on their respective thumbnails from the bottom.
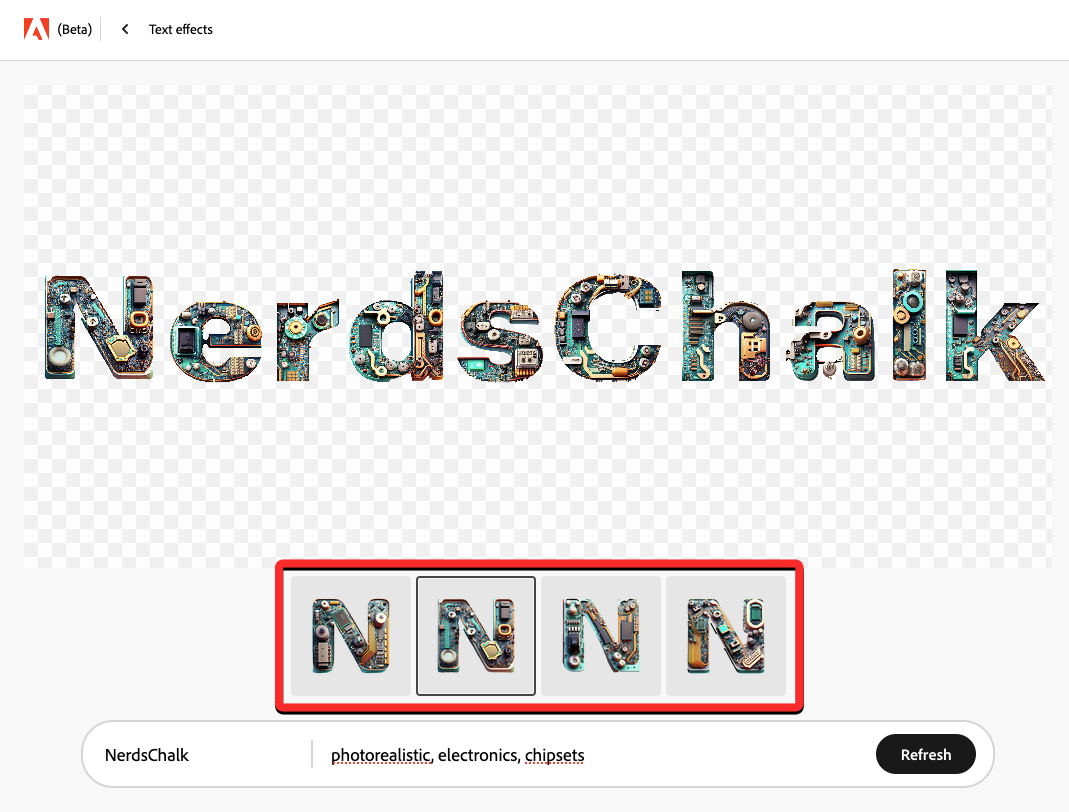
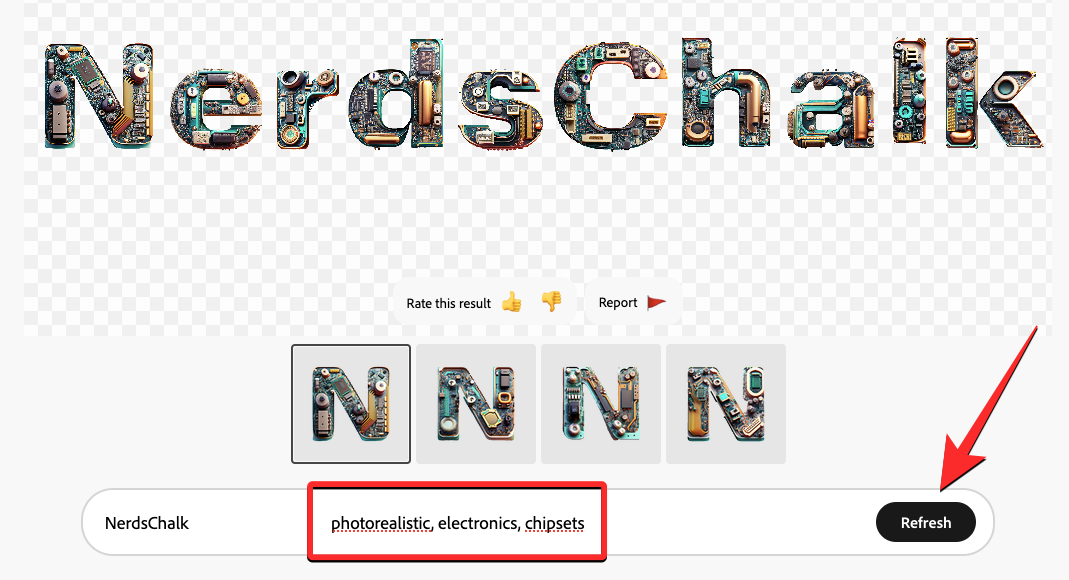
If you have previewed all four of your generated logos and you’re still not satisfied with the creations, you can add more details in the “Descriptions” section of the text box or simply click on Refresh to see a new set of logos.
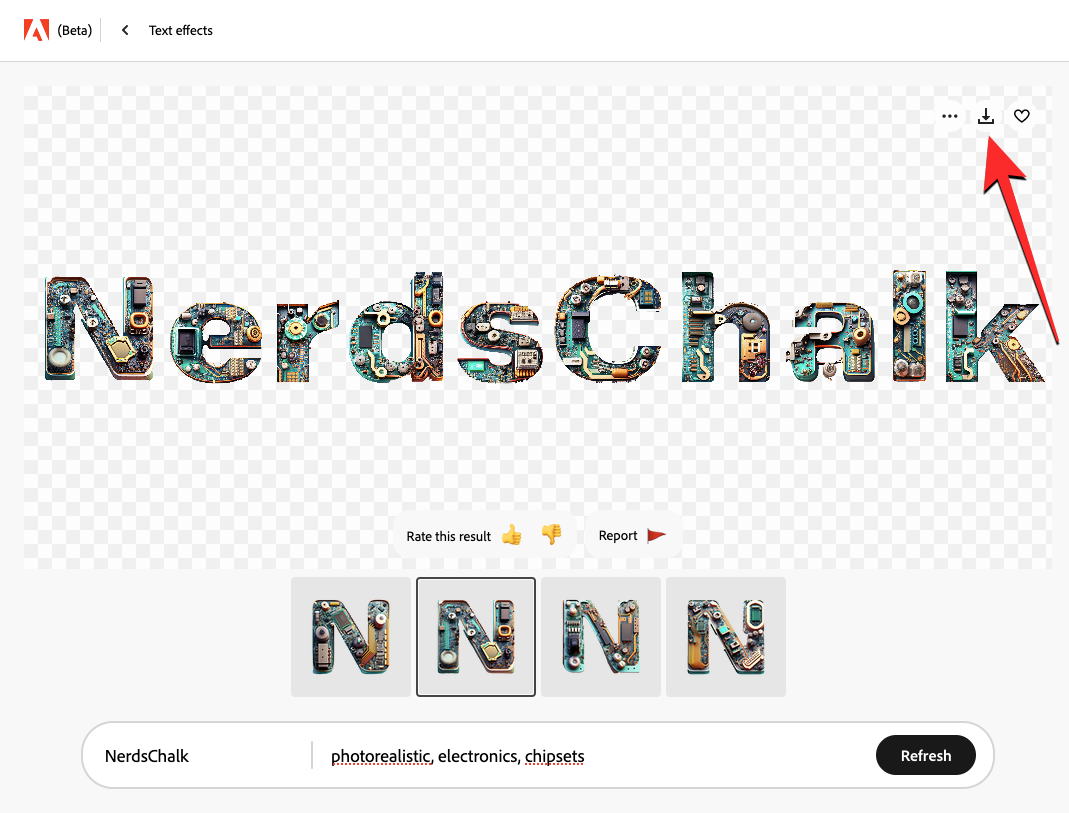
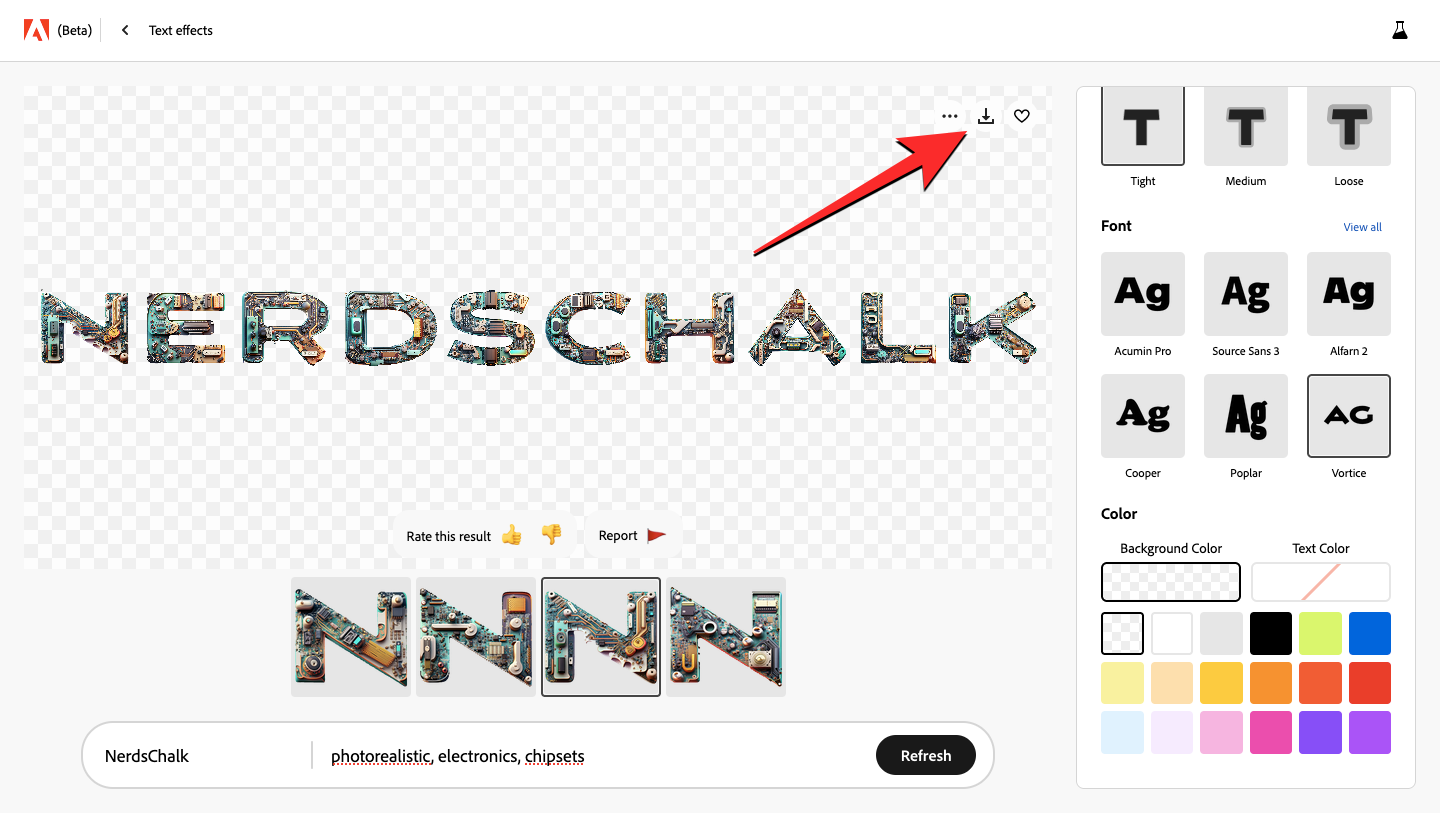
In case you like one of the created logos on Firefly, you can click on its thumbnail to preview it and then click on the Download icon at the top right corner of the logo to save it on your computer.
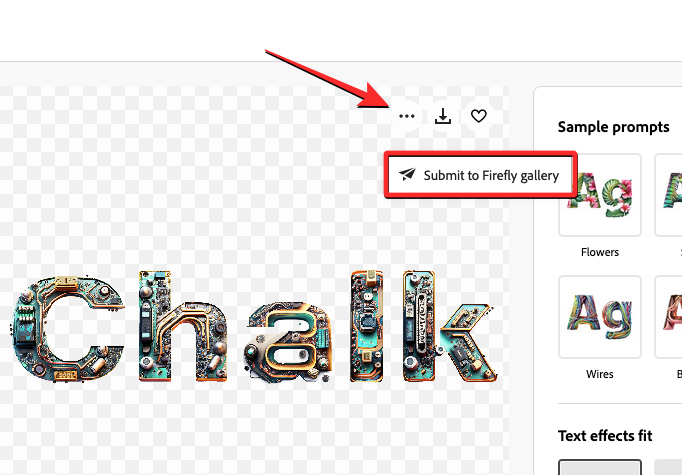
If you wish to share your creation with others on Adobe Firefly, you can click on the 3-dots icon at the top right corner of a logo and select Submit to Firefly gallery.
How to modify your AI logos inside Adobe Firefly
When you generate AI logos using Adobe Firefly’s Text effect tool, you will see a set of 4 logo creations on the screen along with options to modify the way the logo looks. These additional options will be accessible on the right sidebar and we’ll explain how to apply each of them to your logo design one by one.
Try sample prompts
The first option you get on the right sidebar is the Sample prompts section. If you’re having a hard time deciding on a description or were unable to create a logo using your current one, you can use the different options available under “Sample prompt” to apply the desired effect on your text. By default, you’ll see a set of 6 prompts under this section but there’s more you can access by clicking on View all at the top right corner.
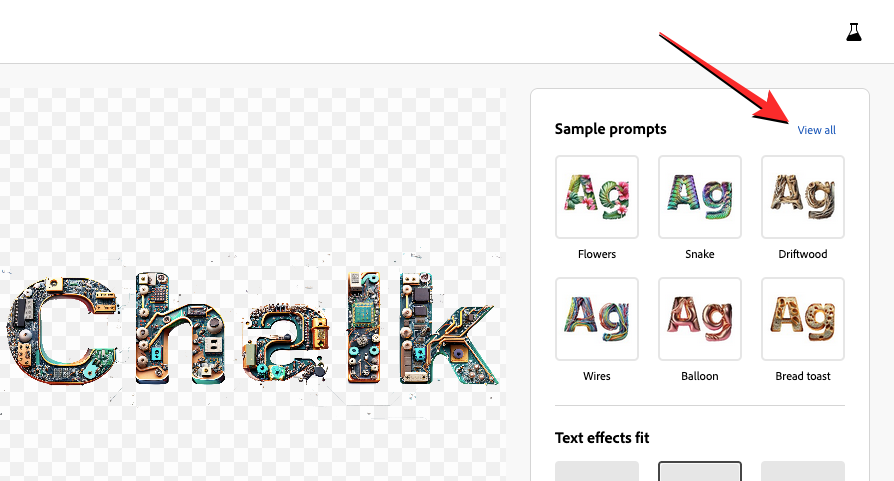
When the Sample prompts section expands, you’ll see a bunch of prompts under different categories like Nature, Material and texture, and Food and drink. You can click on any of the prompts to choose under your desired category.
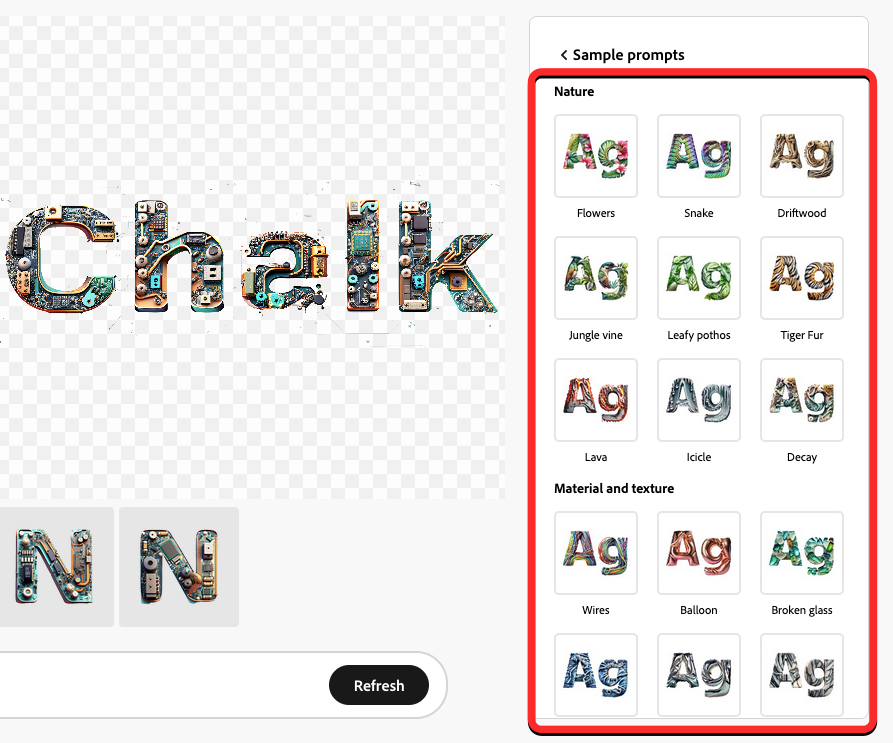
As soon as you click on your preferred prompt, Adobe will apply the chosen effect to your text automatically. You should also see the prompt that was used to create the generated logo inside the text box at the bottom.
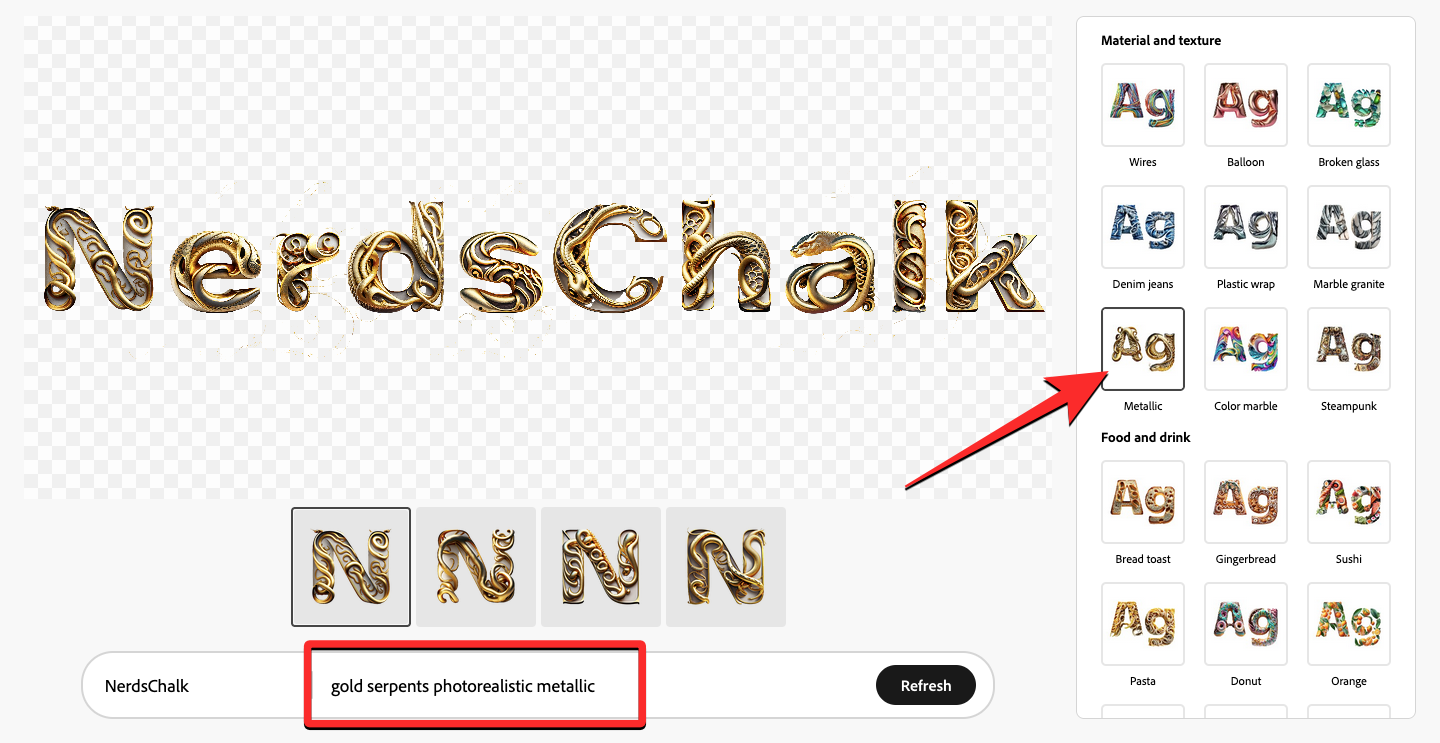
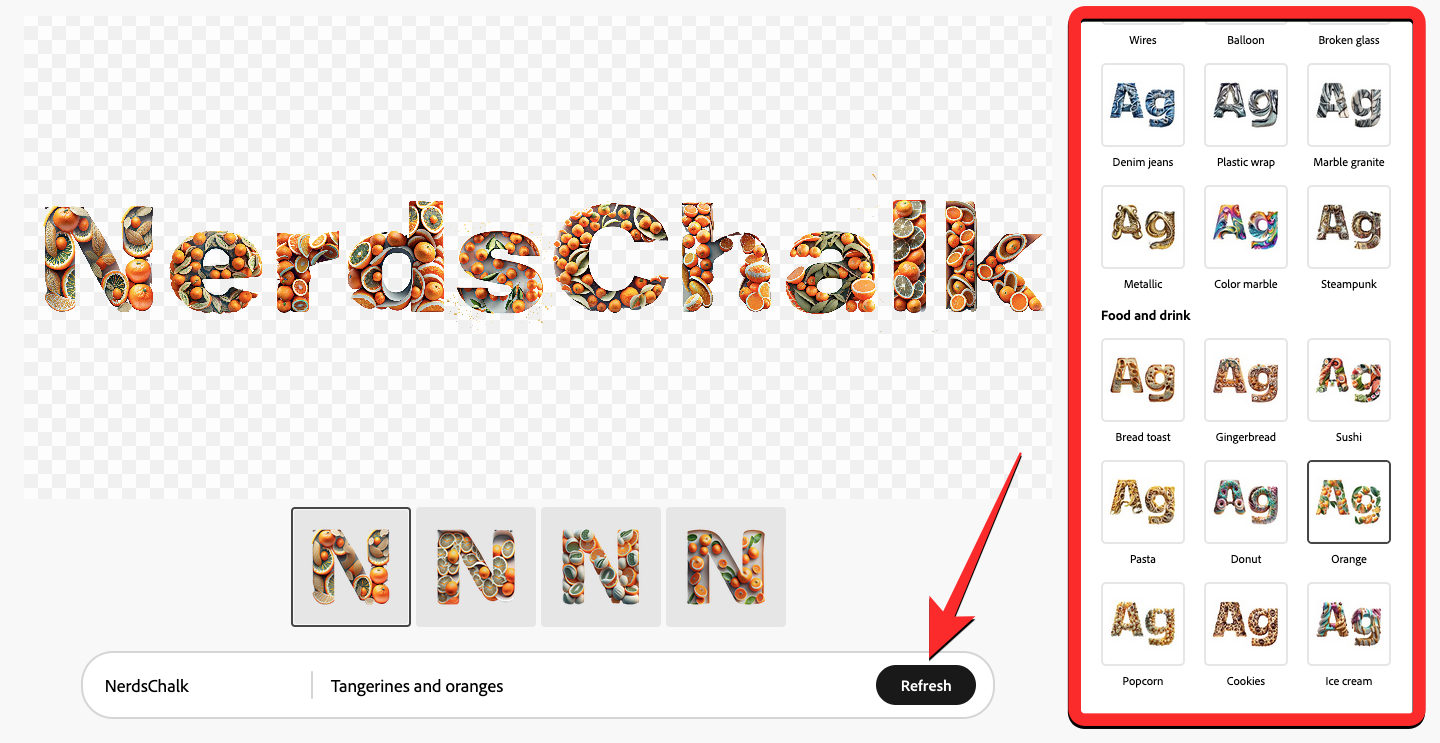
Now, you can click on the rest of the thumbnails to preview other creations or you can click on Refresh at the bottom to generate more versions of your logo. You can also try out other options listed under the “Sample prompts” section to get more results.
Choose how the effects fit your logo
Once you’ve made up your mind on a description and you like the way your logo looks with the selected prompt, you can modify how the chosen effect wraps around the letters and numbers on your logo. This is where the “Text Effects fill” section comes in handy.
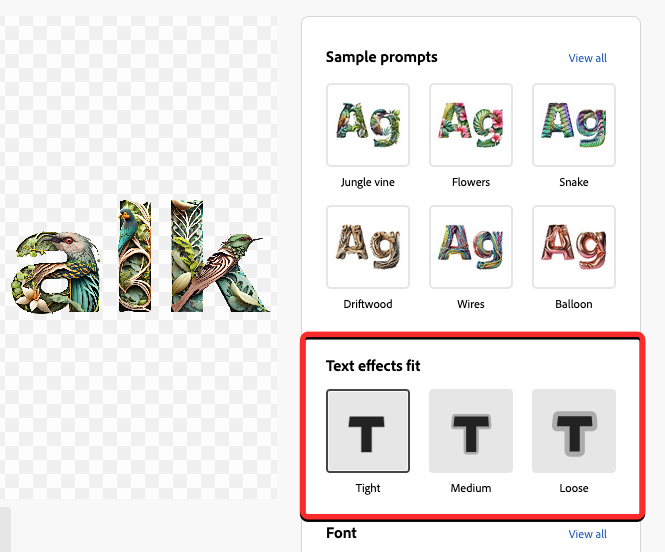
You can pick any of the following options inside the “Text Effects fill” section from the right sidebar:
Tight: When you select this option, the design for your logo will fit the outline of your character more accurately, so you won’t see any part of the design outside the boundaries of characters in your logo.
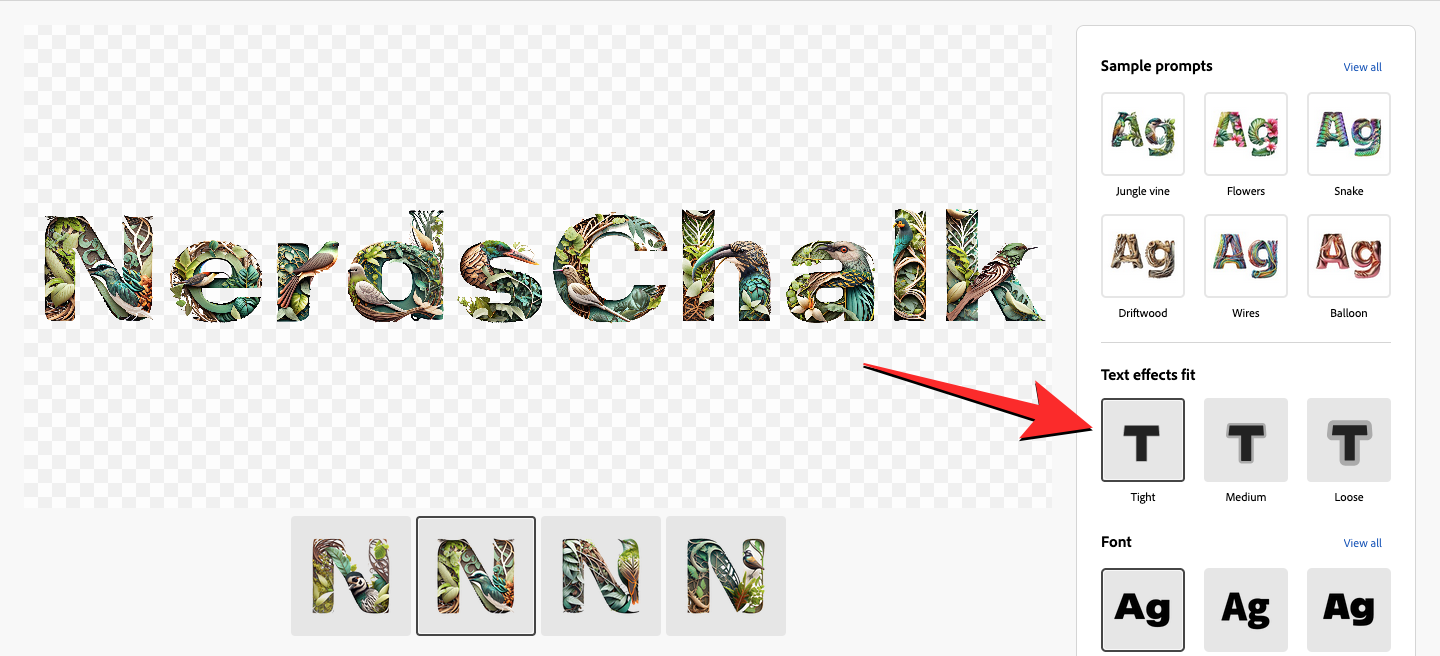
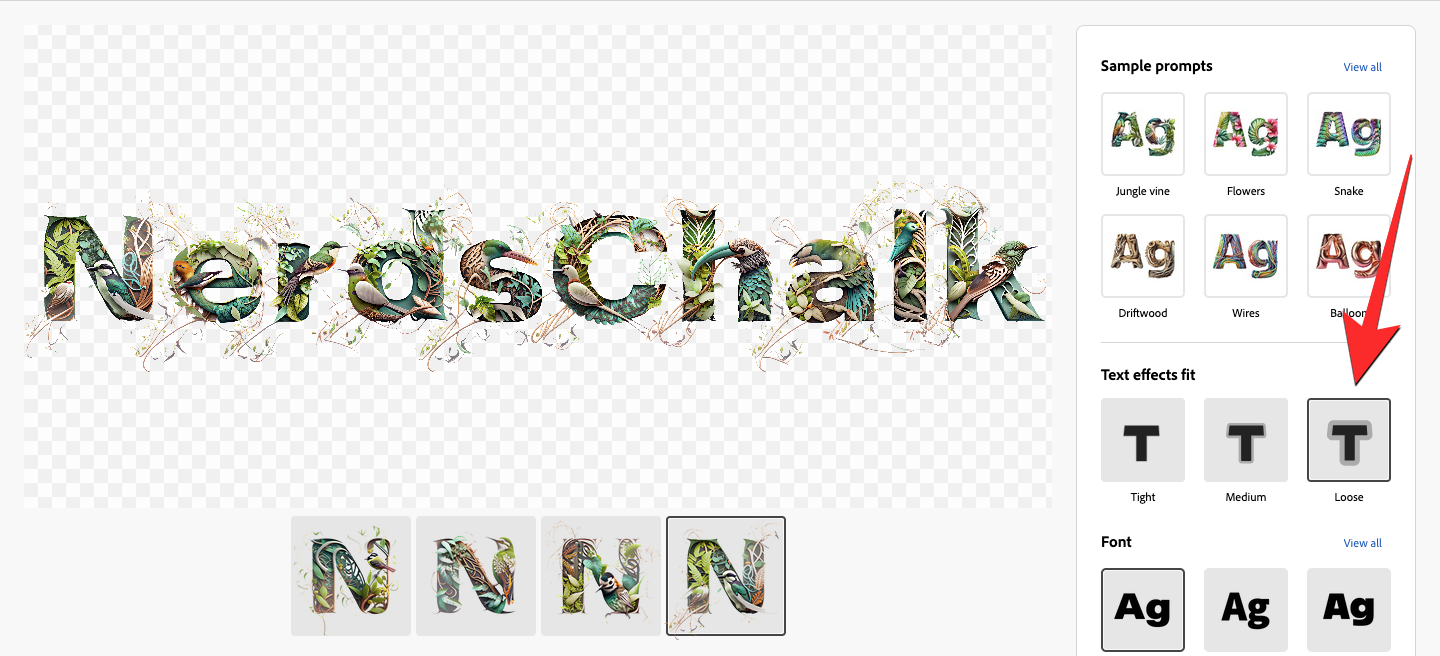
Loose: With this option, the text effect will be more creatively applied to your logo with some elements of the design extending outside the boundaries of letters and numbers in your logo.
Medium: This is the middle ground between Tight and Loose; some of the Text Effects may show up outside the outline of characters but won’t be as dramatic as the “Loose” setting.
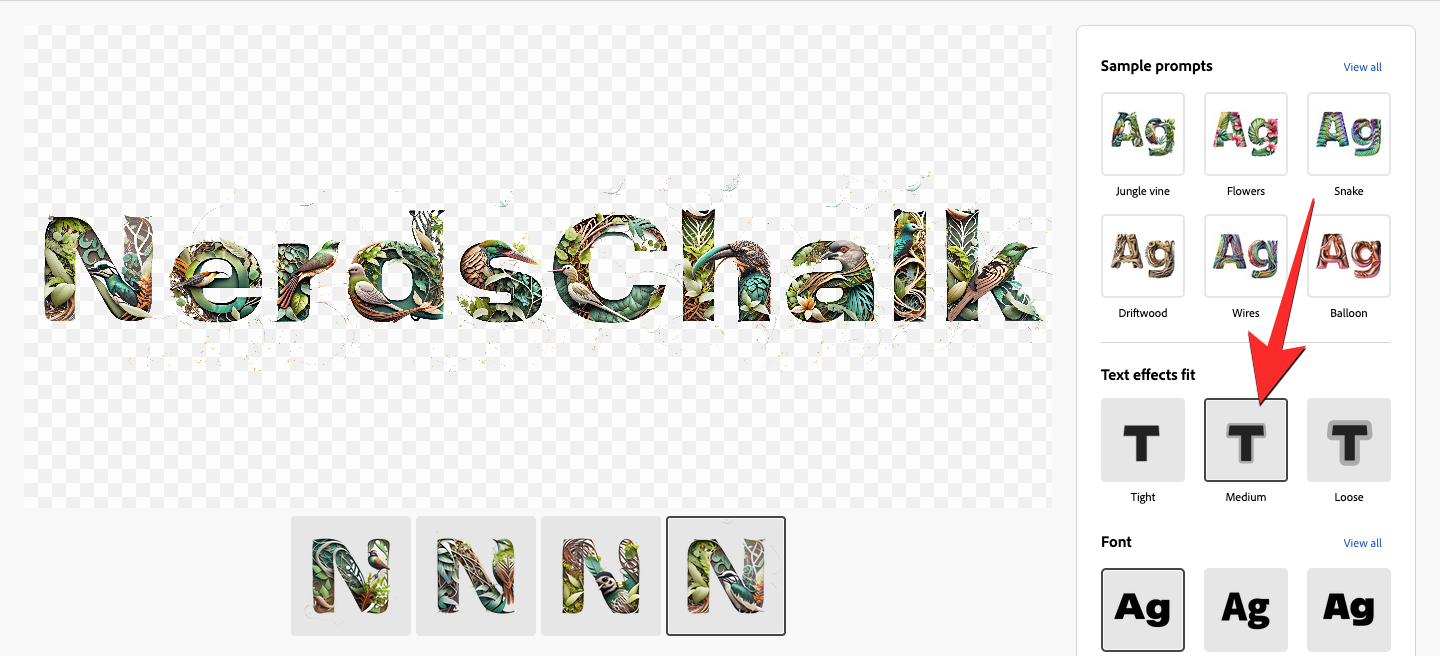
Depending on the text effect you applied and your own personal preference, you can select the Text Effects fill option that’s right for your logo.
Select a desired font
One of the crucial aspects of creating a logo is choosing the right font to use that makes way for clear branding. Adobe Firefly lets you choose from a bunch of different fonts that you can apply to your logo while generating it using its AI tool. By default, the logo that’s applied by Firefly is Acumin Pro but you can choose from more options under “Font” by first clicking on View all.
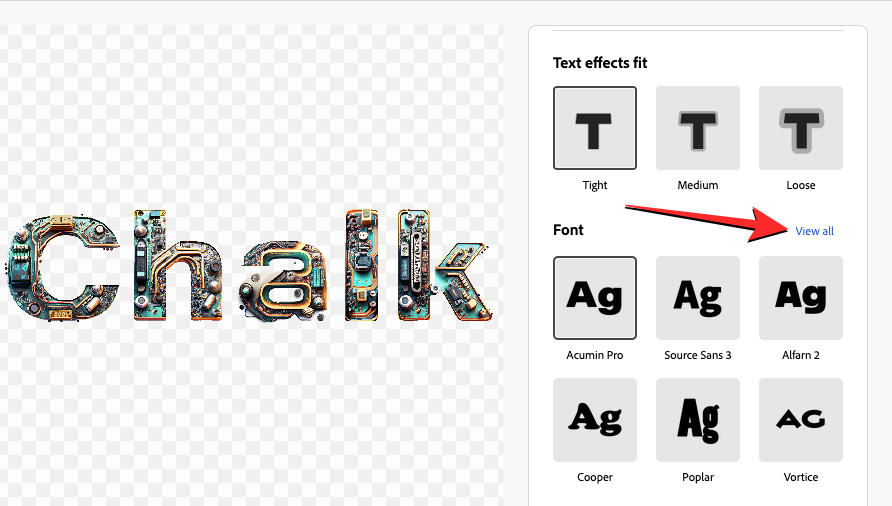
When you do that, you should see the Font section expand to show a total of 12 options. You can click on a font style you like and Firefly will apply it automatically to your logo as soon as you select it.
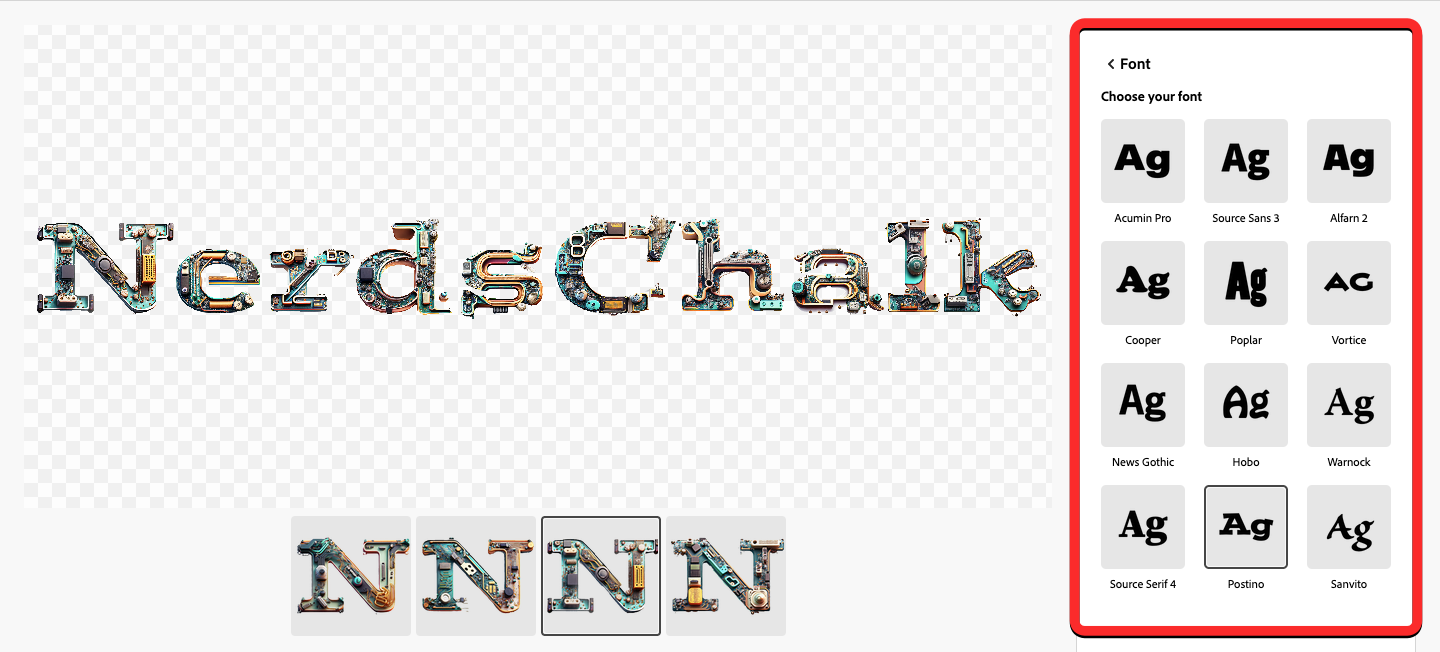
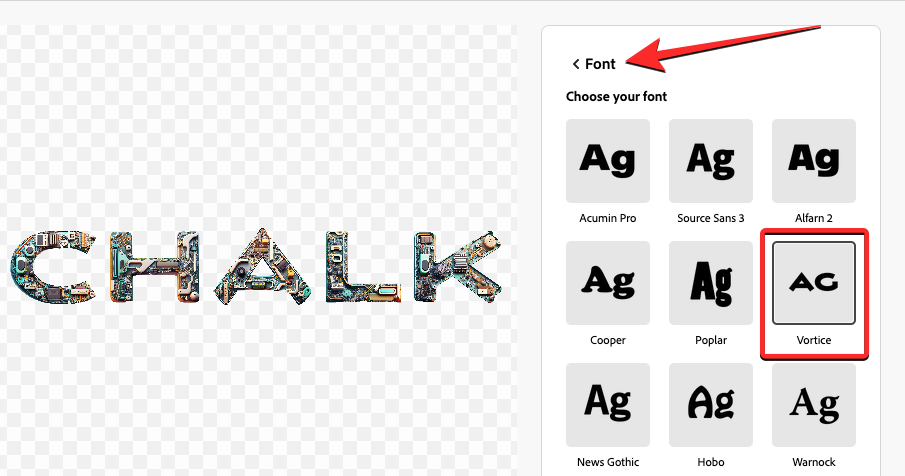
You can try out each and every font style in this section and once you’re done choosing a desired font, you can go back to the main tools sidebar by clicking on < Font at the top of the current sidebar on the right.
Change your logo’s background
By default, when you start creating a logo inside Adobe Firefly by adding a description, all of your creations are generated with a transparent background. Transparent logos are best suited for adding your logo to any document or website without distorting the destination. However, if you wish to modify the background Firefly lets you switch it to a different color when generating a logo.
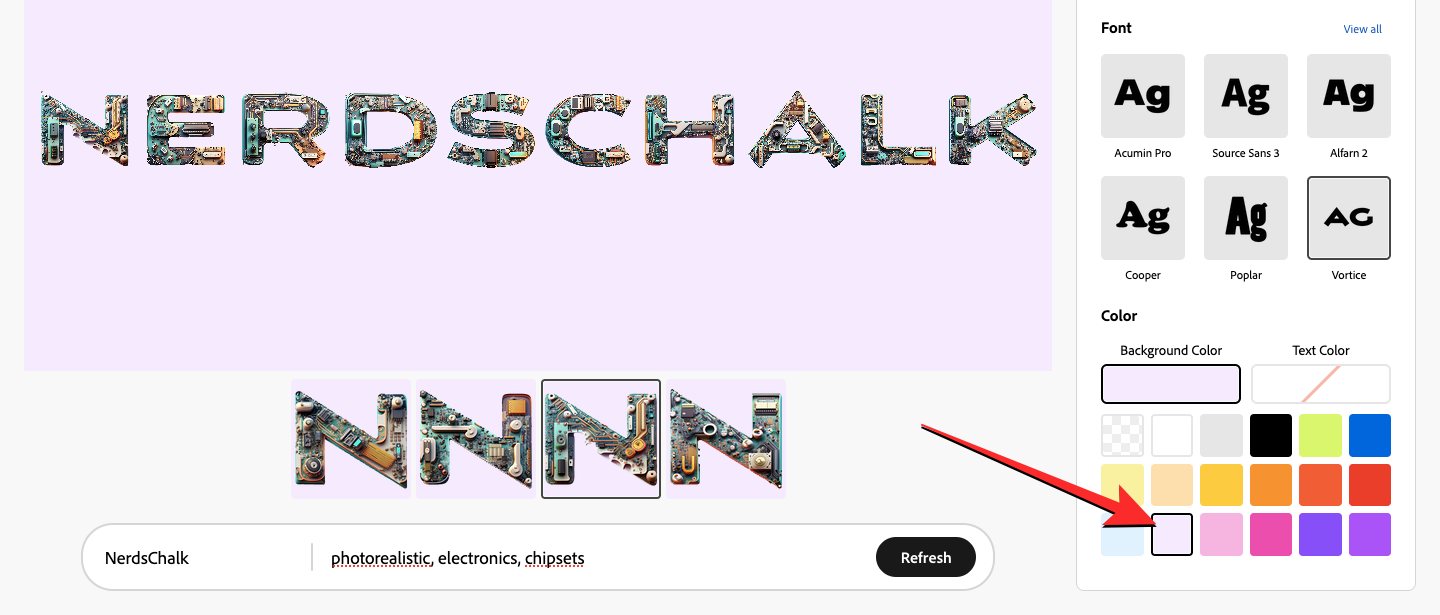
To change your logo’s background, scroll down to the bottom on the right sidebar until you see the “Color” section. In this section, click on the Background Color tab to change the color of your logo’s background.
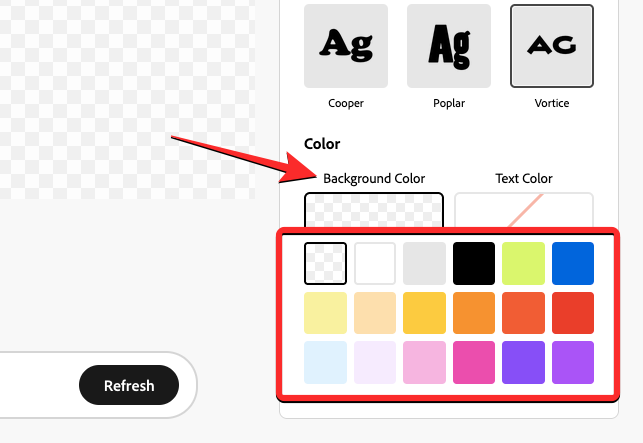
Note: Do not click on Text Color as that will change the Text Effects you may have applied until now with solid colors.
From here, you can click on the color tile you want to apply as your background. The selected color will then be applied to your logo on the screen.
When you’re done modifying your logo with your desired options, you can save your creation by clicking on the Download icon at the top right corner of the generated logo.
That’s all you need to know about creating AI logos with text using Adobe Firefly.
RELATED








Discussion