ChatGPT has come a long way since it was first released to the public and GPT-4 has now introduced support for third-party plug-ins which helps introduce tons of new creative ways to use the AI. However, this isn’t the only way to make the most of ChatGPT, there are tons of community-developed open-source tools out there that can help you do much more with ChatGPT if you’re looking to use its free version.
One way to do this is by using Vlog, a tool that helps you convert documents to videos which you can then chat and discuss with ChatGPT. So if you’re looking to transcript, articulate, or discuss videos with an AI then this is the perfect tool for you. Here’s how you can use Vlog to convert a video to a document and chat with ChatGPT about the same.
Why convert a video to a document to use with ChatGPT?
Converting a video to a document has a few benefits. You can create a detailed description of the provided video using Vlog, which can then be analyzed by ChatGPT for various outcomes. You can generate summaries, speculations, and descriptions about various parts of the video, analyze hidden details, and much more. Vlog is a community-developed tool hosted on GitHub that uses pre-trained models, including BLIP2, GRIT, and Whisper.
BLIP2 is used to analyze images in the video, while GRIT is used to analyze the environment. On the other hand, Whisper is used to check and analyze the audio in the video and create your document accordingly. These models are pre-trained and the entire project is available for download on GitHub. The developer also has a HuggingFace demo which you can use to test and analyze the capabilities of Vlog.
How to convert a video to a document using ChatGPT (2 methods)
There are mainly two ways to use Vlog, you can either try the demo hosted on HugggingFace or install it locally on your PC. Installing it locally on your PC has a few requirements; however, we will guide you through the entire process. Once installed locally, Vlog can help convert your video into a comprehensive document that you can then feed to ChatGPT so you can help analyze and discuss it. Follow the preferred method below to help you use Vlog on your PC.
Method 1: Try the HuggingFace demo
If you just wish to test out the capabilities of Vlog before installing it locally on your PC, then you can try the HuggingFace Demo, which can help you try out a set of pre-uploaded videos. Follow the steps below to help you along with this process. Let’s get started.
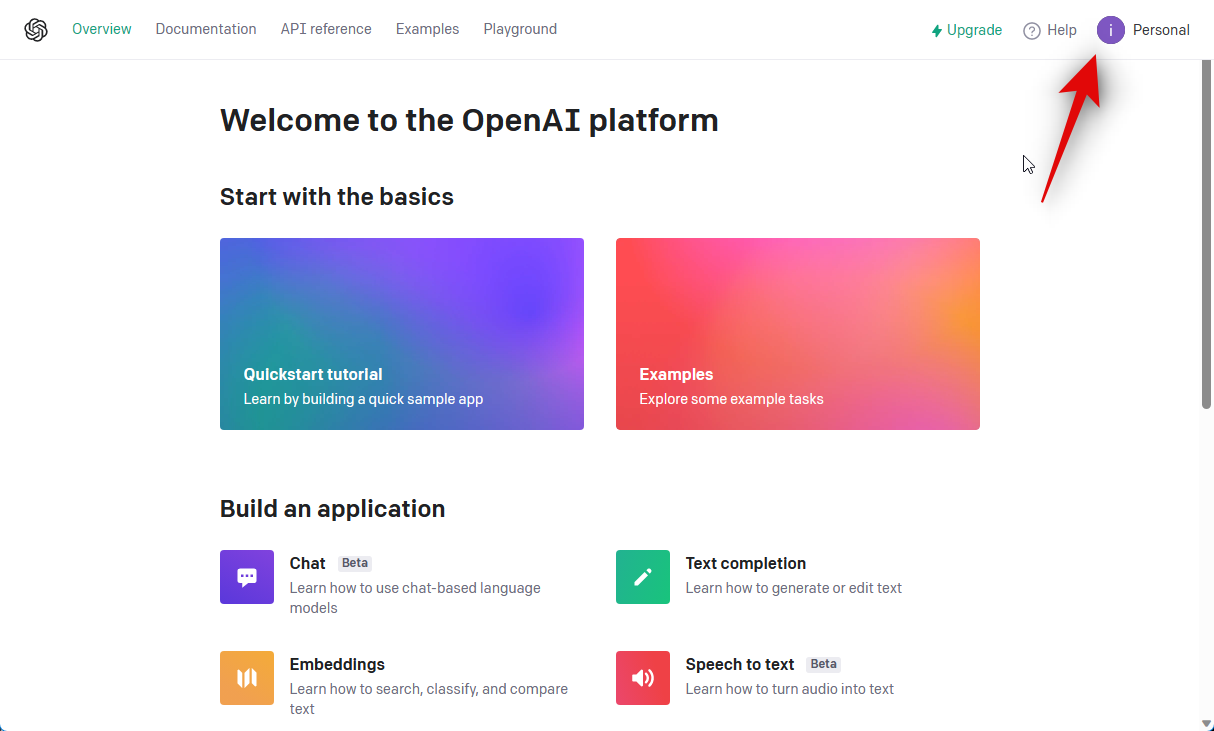
Visit platform.openai.com. Now log into your OpenAI account using one of the options presented on your screen.

Once you’re logged in, click your profile avatar in the top right corner of your screen.
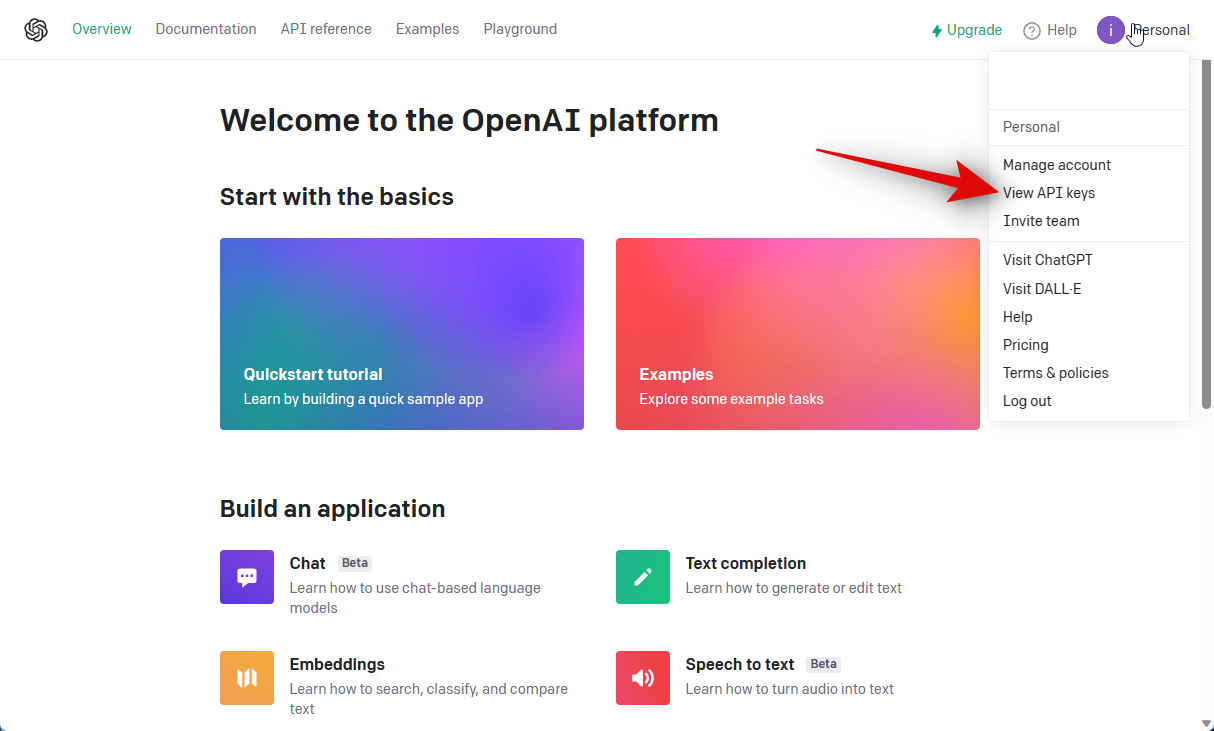
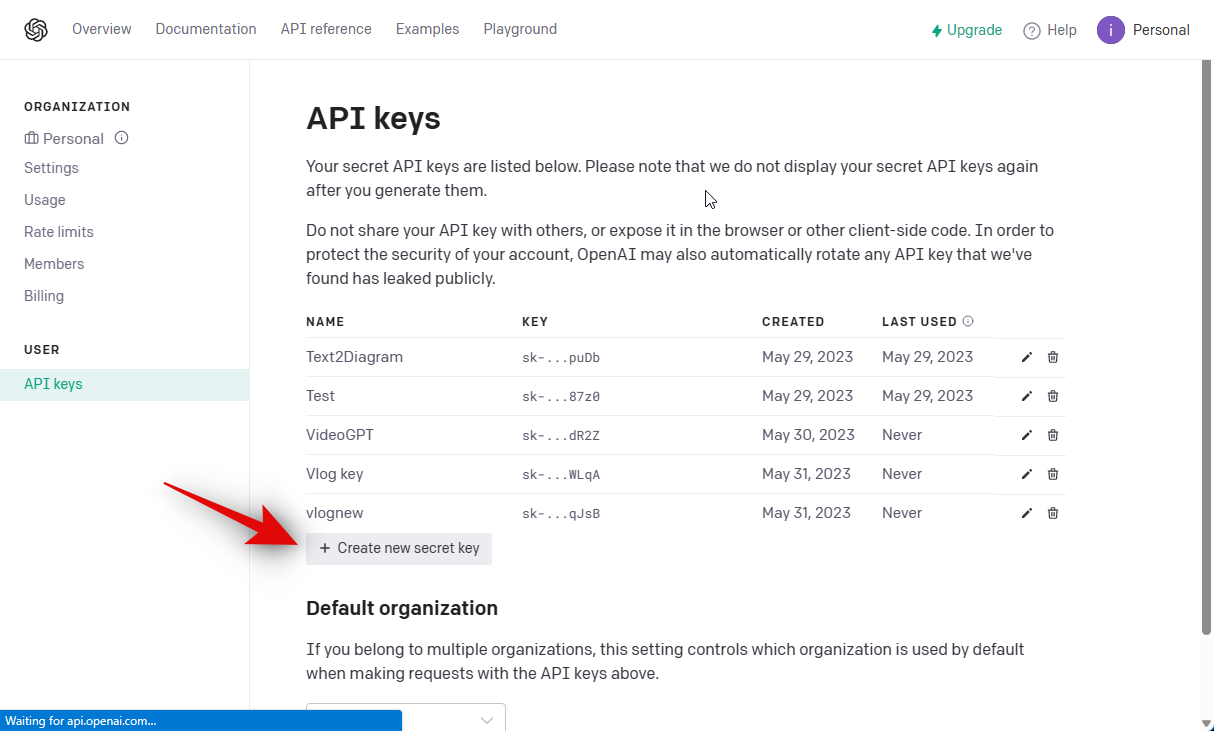
Click on View API keys.
Now click + Create new secret key.
Name your API key as preferred. We recommend you choose a name that helps you identify the key in the future easily. For this guide, we will be naming the key Vlog key test.
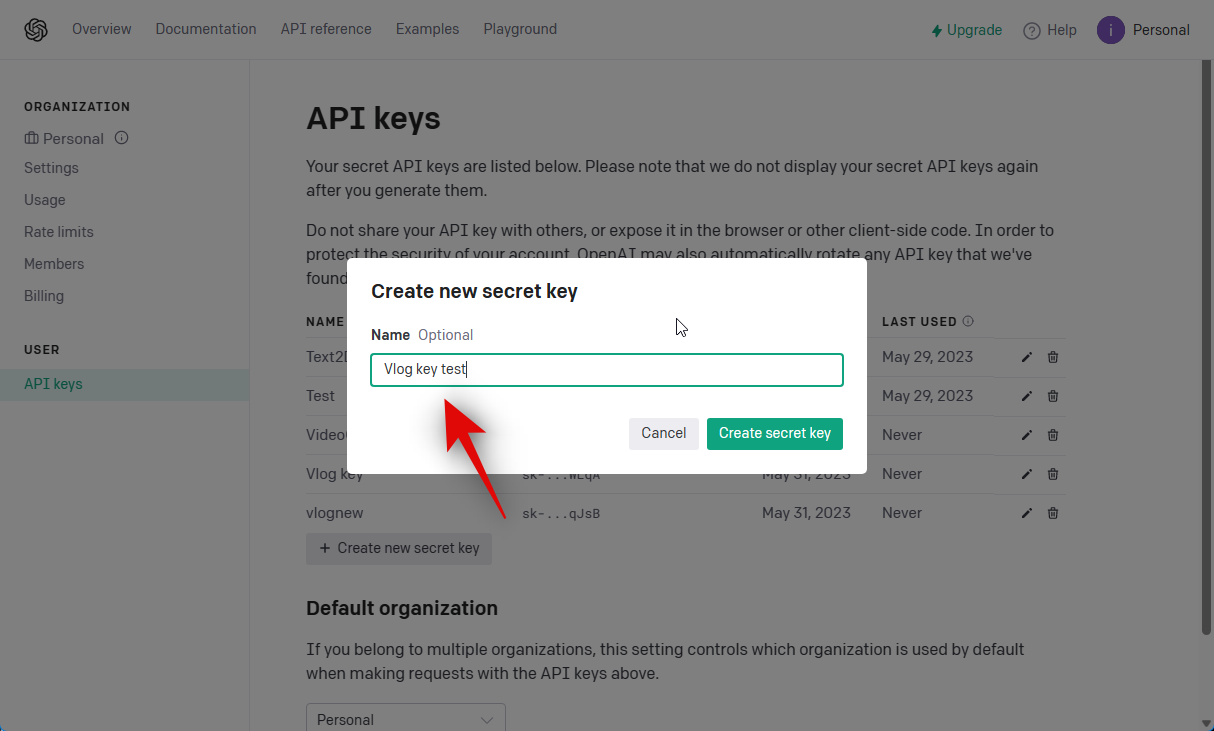
Once named, click Create secret key.

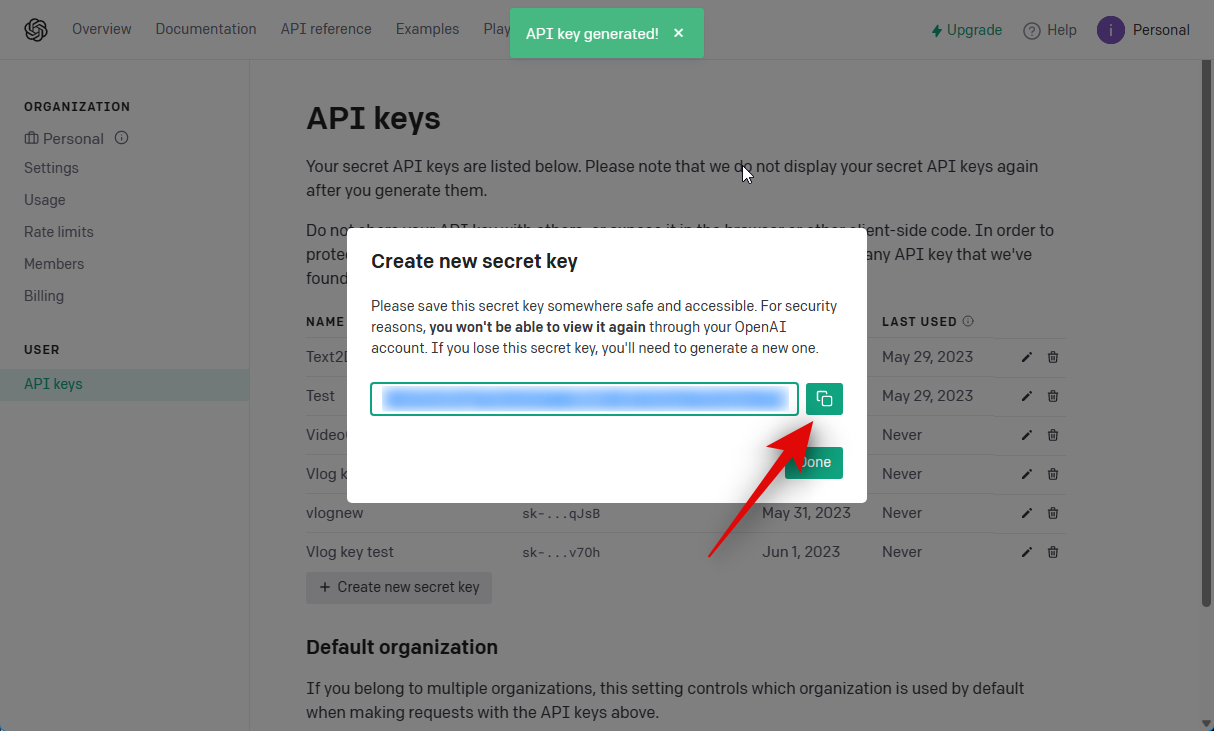
A new API key will now be generated for your account. Click the Copy icon beside it to copy the key to your clipboard.
Once copied, visit huggingface.co/spaces/TencentARC/VLog in your browser. This is the HuggingFace demo for Vlog. Now paste the copied key in the top right corner in the text box titled Input OpenAI API key and press Enter.
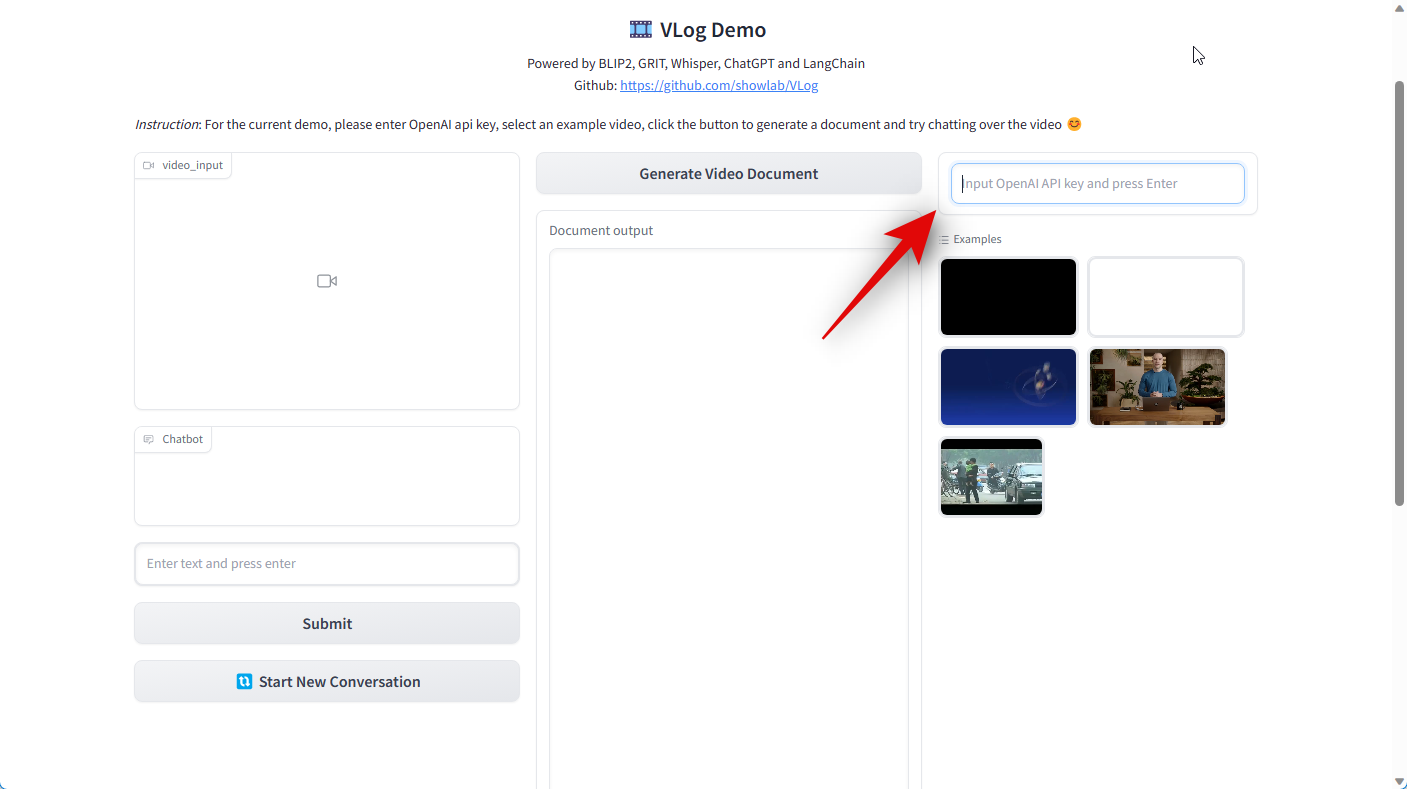
As suggested, press Enter once you have pasted the key.

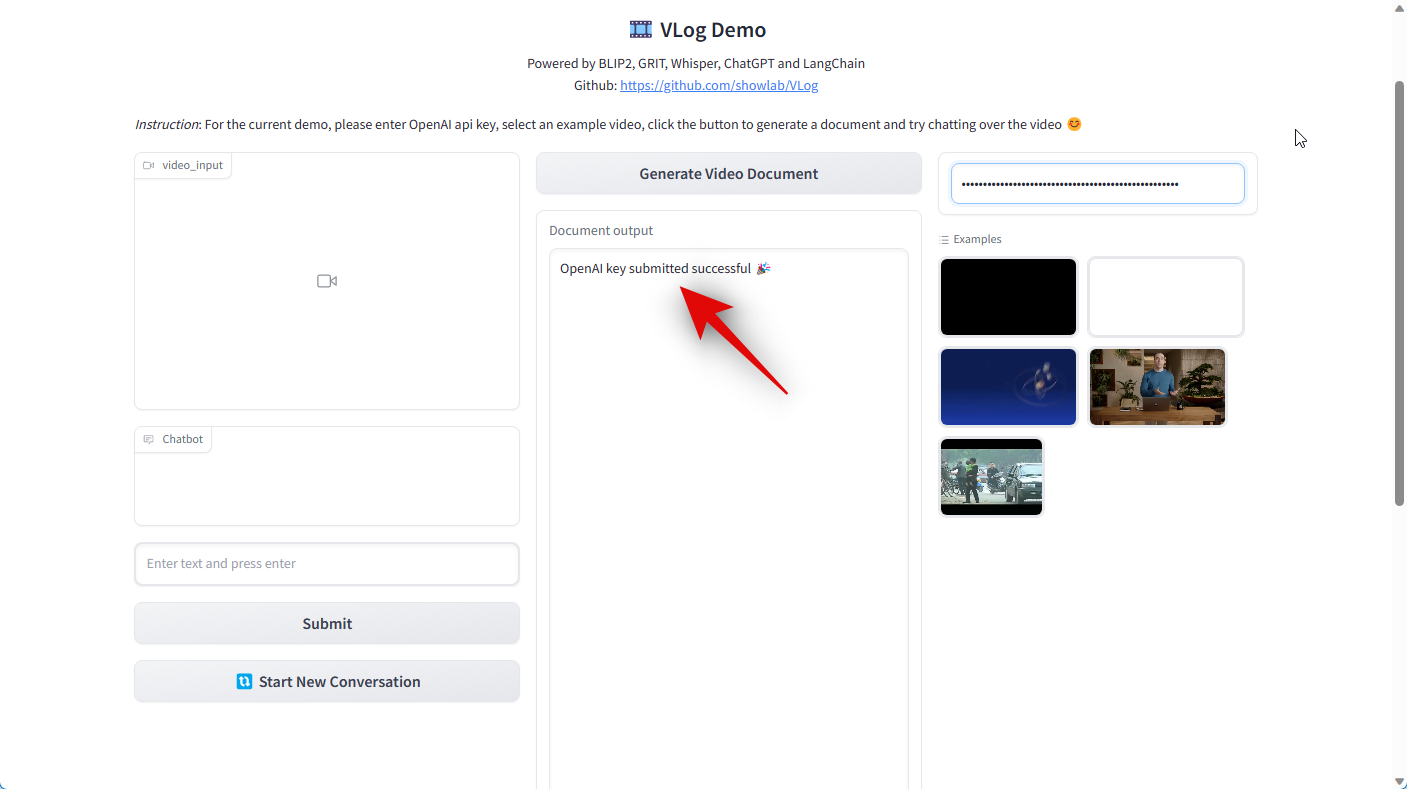
The key will now be submitted and if all goes well, you should see a message for OpenAI key submitted successful(y).
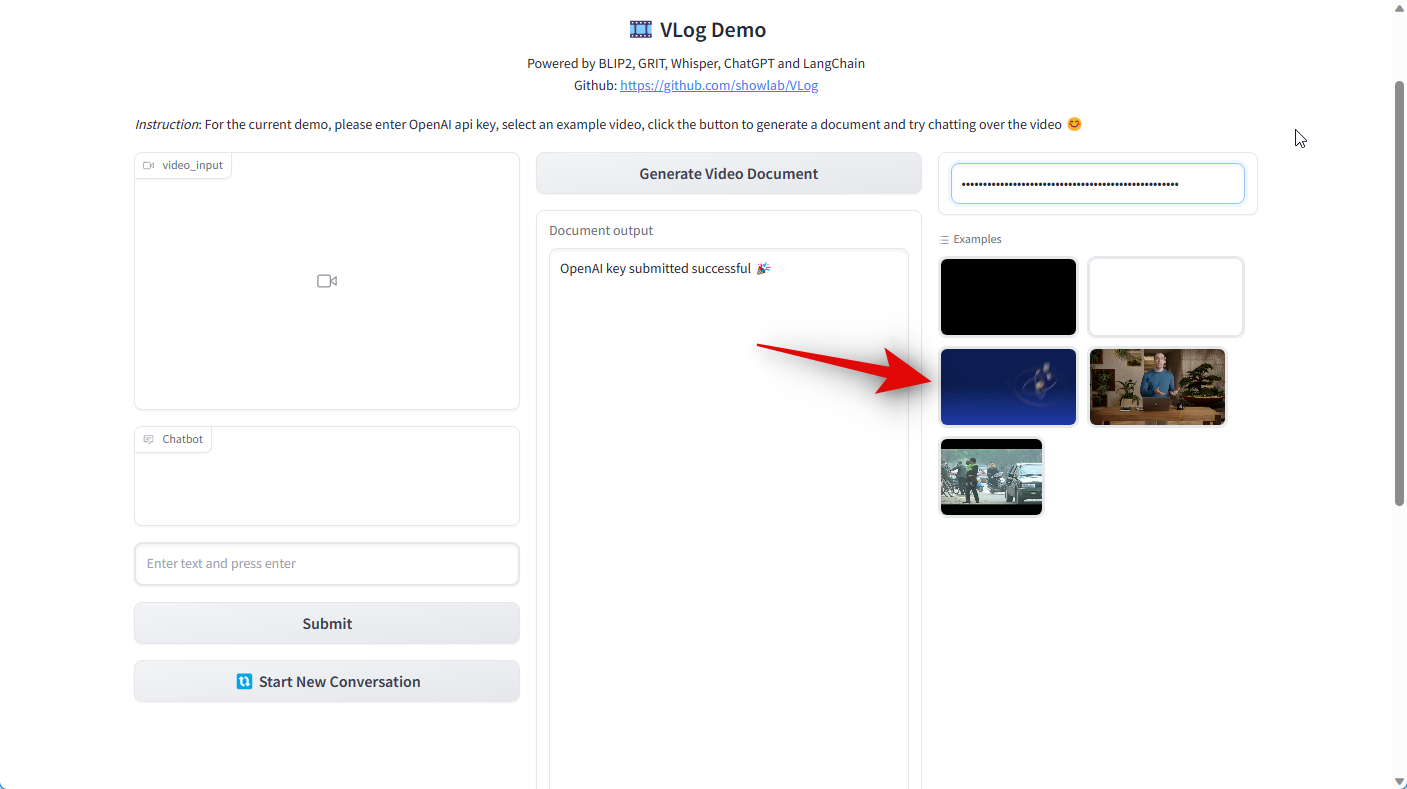
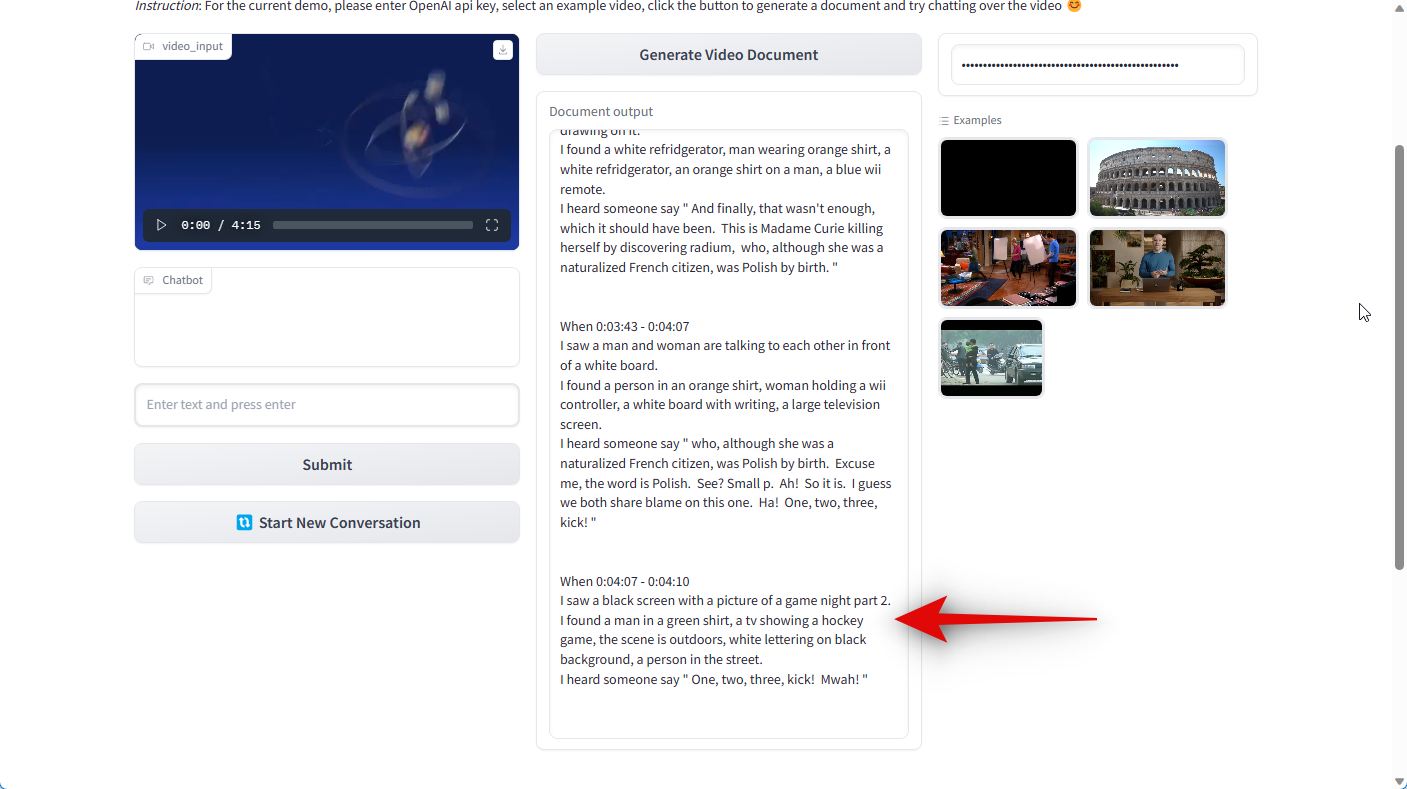
Next start by choosing an example video you wish to convert under Examples on your right.
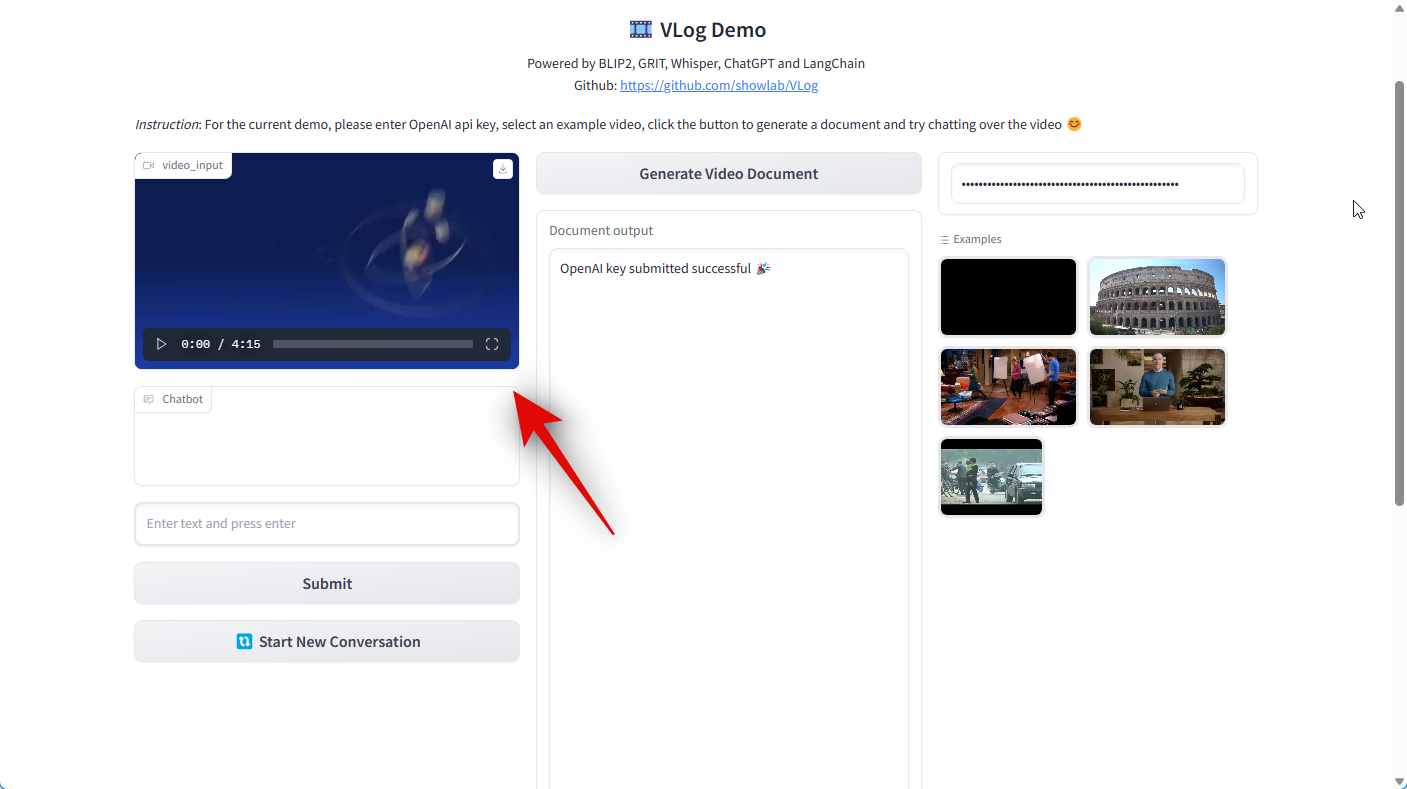
The video will now show under video_input on your left.
Click Generate Video Document to convert the video to a document.
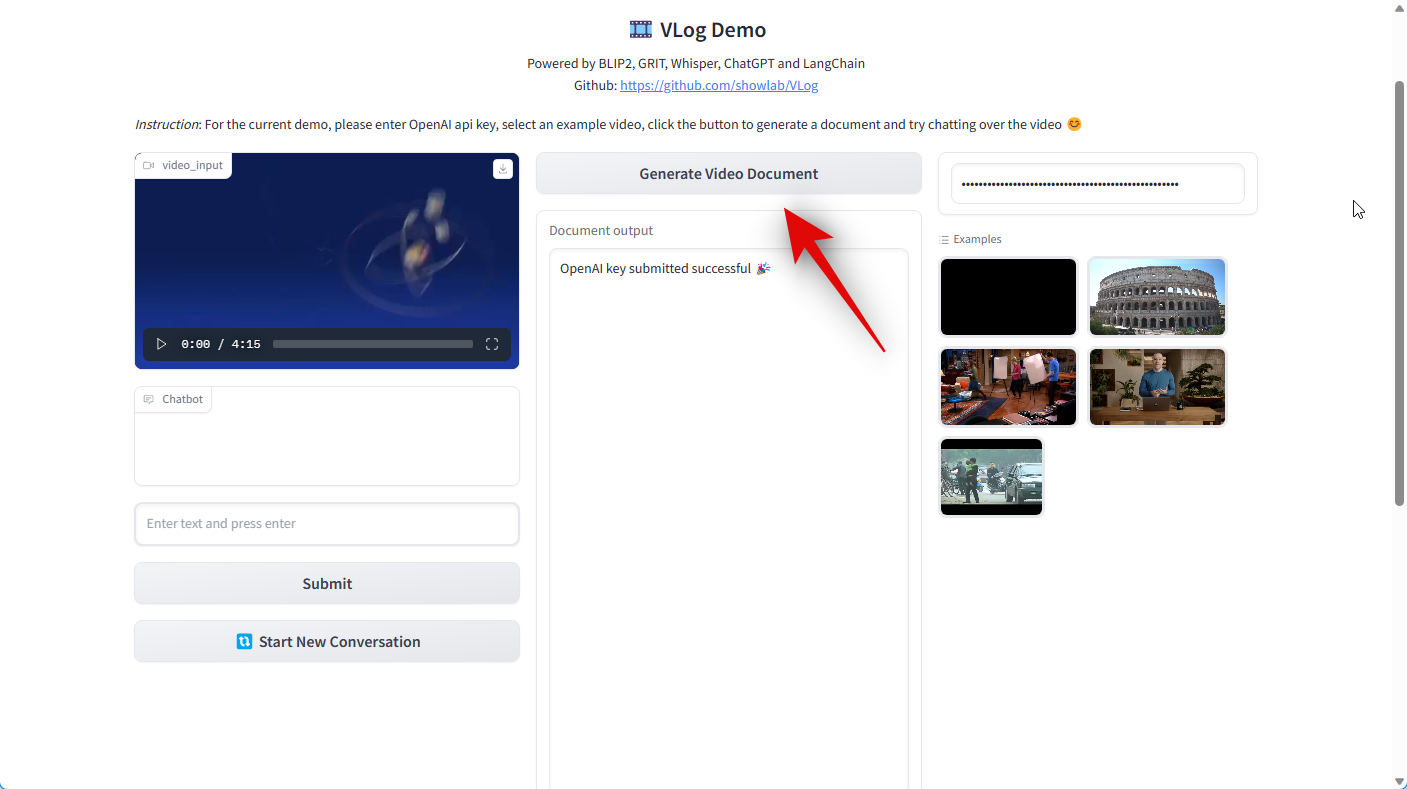
A document will now be generated for your video and automatically fed to ChatGPT.
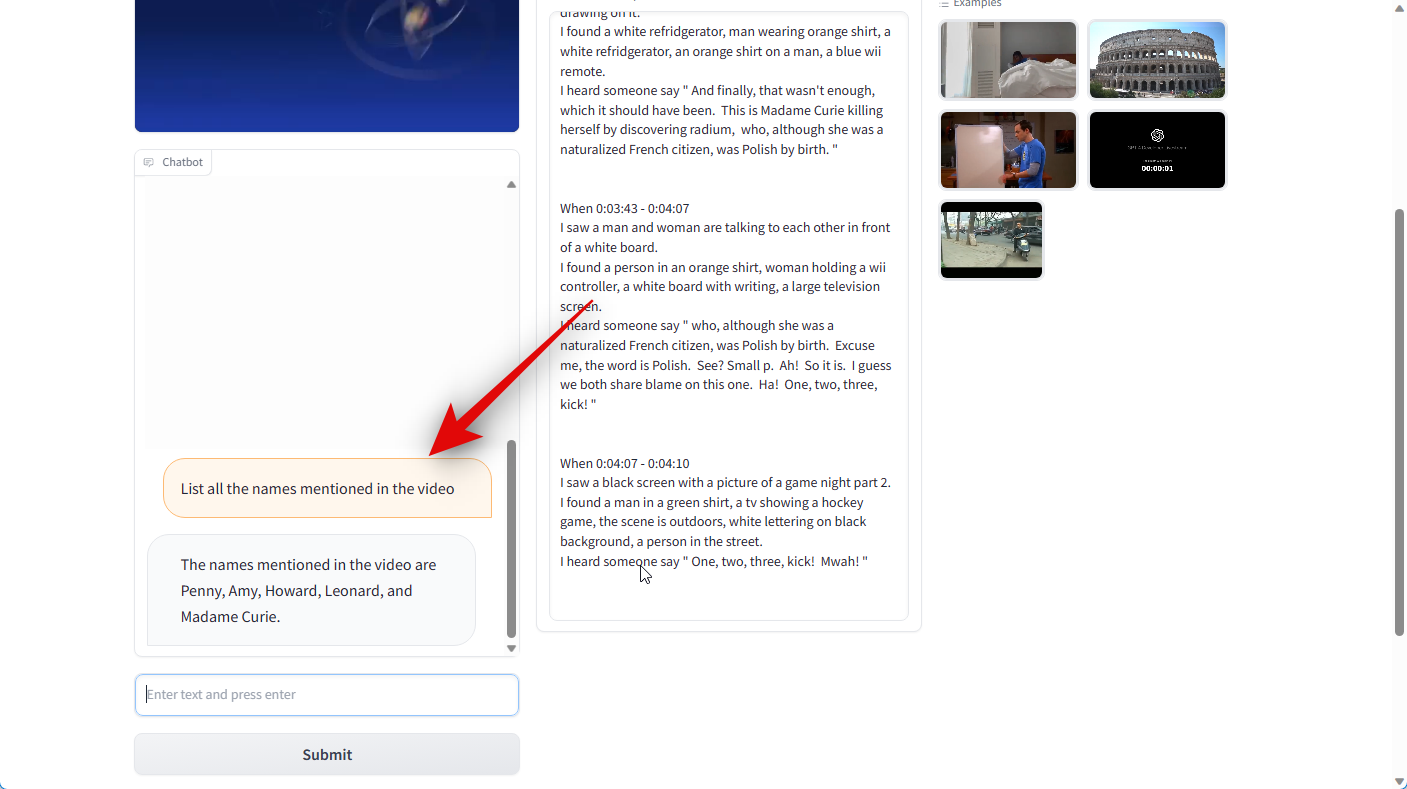
Once done, type your query under Chatbot and press Enter. As we used the Big Bang Theory video for this guide, let’s see if ChatGPT can help us identify the names mentioned in this video. So we ask the following question.
“List all the names mentioned in the video”
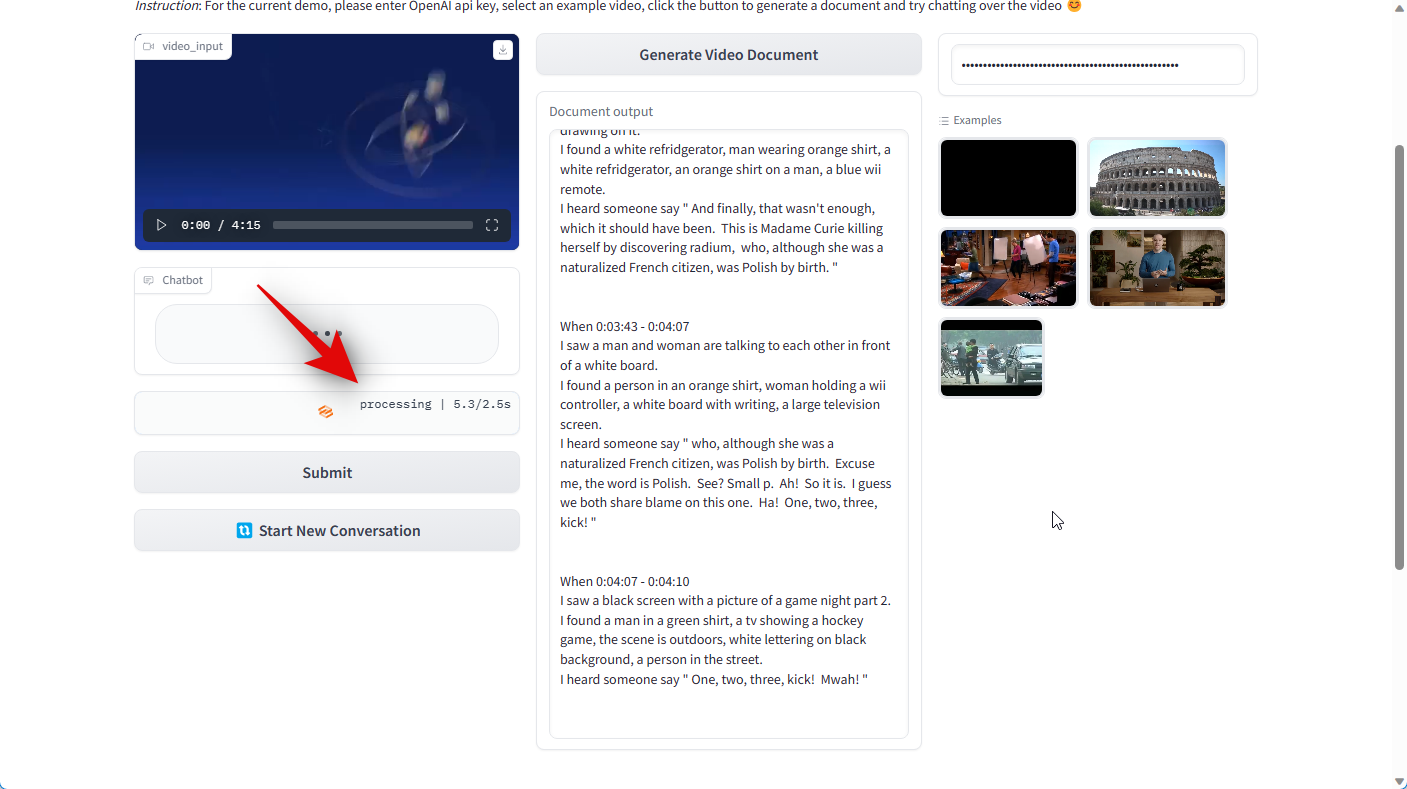
Once you enter your query, ChatGPT will process the request with an estimated time shown in the top right corner. When the process is complete, you will be shown a valid response, which in our case is the following.
And that’s how you can test and try out the Vlog demo hosted on HuggingFace to get a sense of the tool’s capabilities.
Method 2: Install Vlog locally and analyze your video
If you’re looking to use Vlog on your PC, then here’s how you can install and set it up. We’re using Ubuntu for this guide but the process should be similar on other platforms as well. Follow the steps below to help you along with the process.
Note: We recommend you avoid using Vlog on Windows for now unless you’re ready to troubleshoot the installation of delectron2. This is an image recognition tool from Facebook used by Vlog to identify elements in your video which is currently unsupported on Windows officially.
Requirements
- An Nvidia GPU with the latest drivers
- Linux (highly recommended)
Once you are able to meet these requirements, you can use the steps below to setup and use Vlog.
Step 1: Install Git
We first need to install Git on your PC. Follow the steps below to help you install Git on your Windows PC.
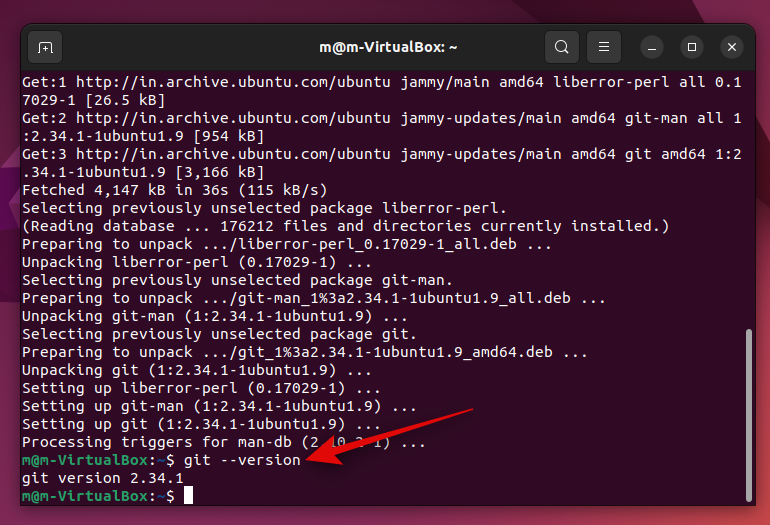
In some cases, Git might already be installed on your Linux PC. Launch the Terminal by pressing Ctrl + Alt + T on Ubuntu and use the following command to check if Git is installed.
git --version
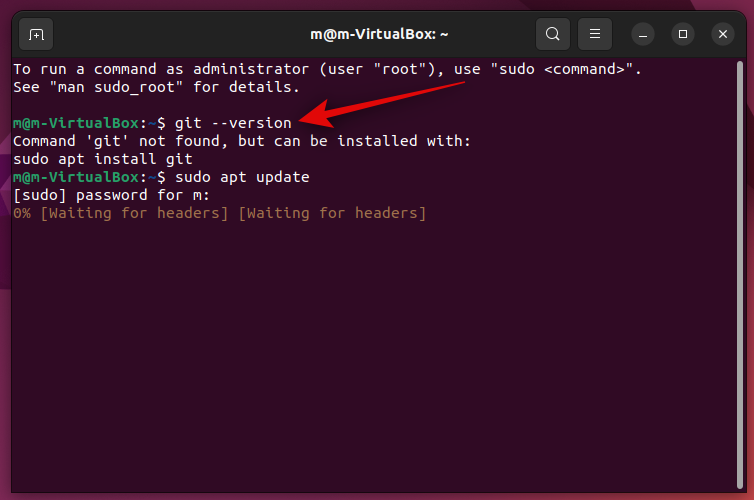
If you’re informed of the relevant version number then Git is already installed. However, if you get a similar message to the one below, then you can use the following command to first install updates.
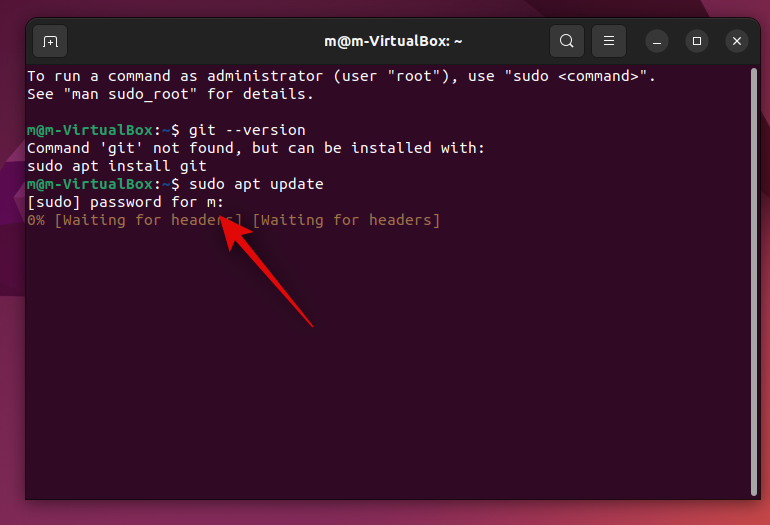
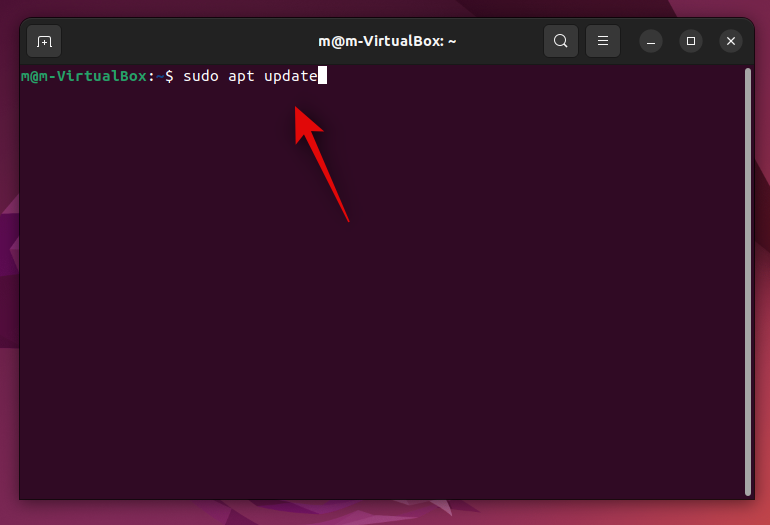
sudo apt update
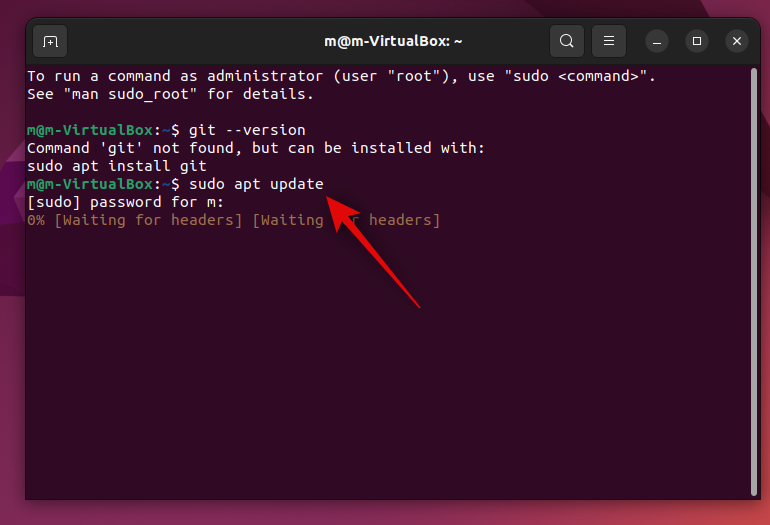
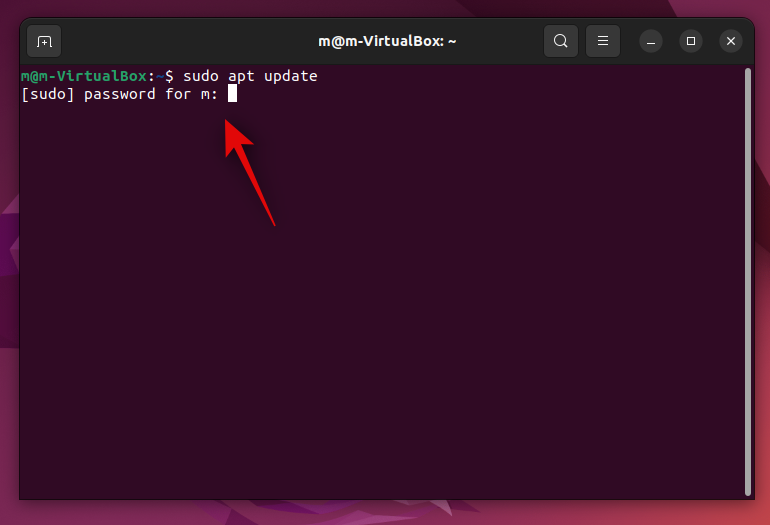
Type in your password once you’re prompted.
Now use the following command to get and install Git.
sudo apt install git
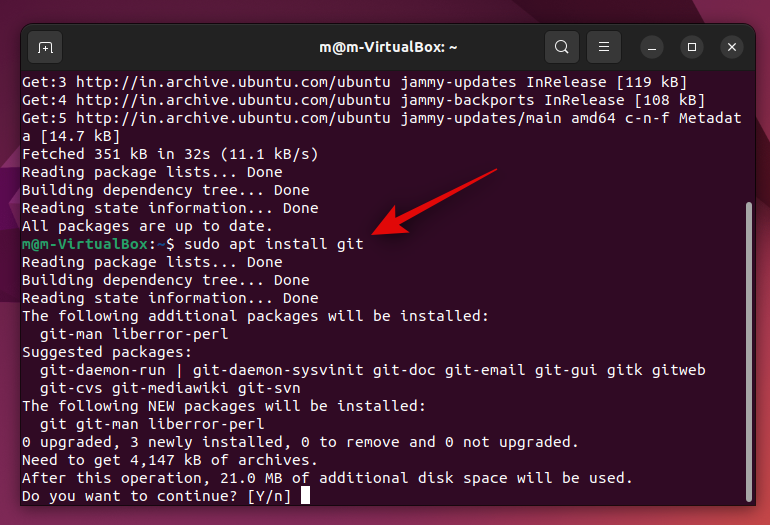
Your OS will now ask for permission to install the necessary dependencies. Type y and press Enter.
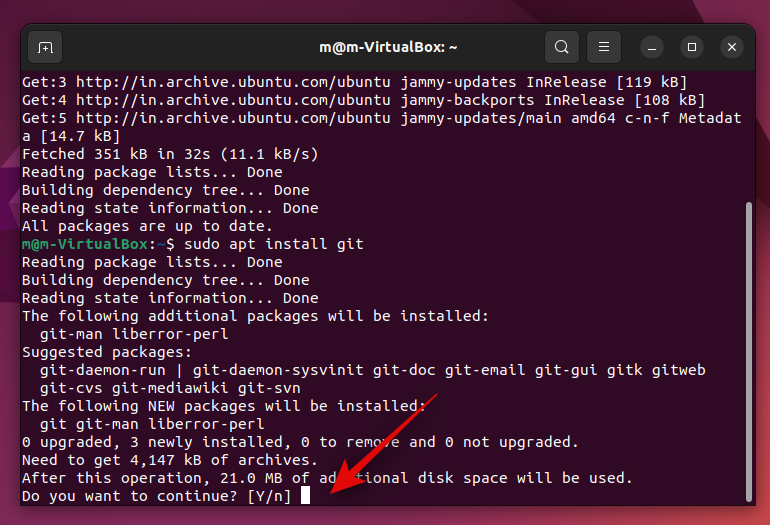
Git will now be downloaded and installed on your PC. This can take some time depending on the available network bandwidth. Once completed, use the command below to check if everything has been set up correctly. You should get the currently installed Git version number in return if everything is working as intended.
git --version
And that’s it! We can now download and set up the other necessary dependencies on your PC.
Step 2: Install Wget
We now need to install Wget. This will help us install Python 3.8 as well as the pre-trained model required by Vlog. Follow the steps below to help you along with the process.
Open Terminal on your PC. If you’re on Ubuntu, you can do so by pressing Ctrl + Alt + T on your keyboard. Once open, use the following command to check if Wget is already installed on your PC.
wget --version
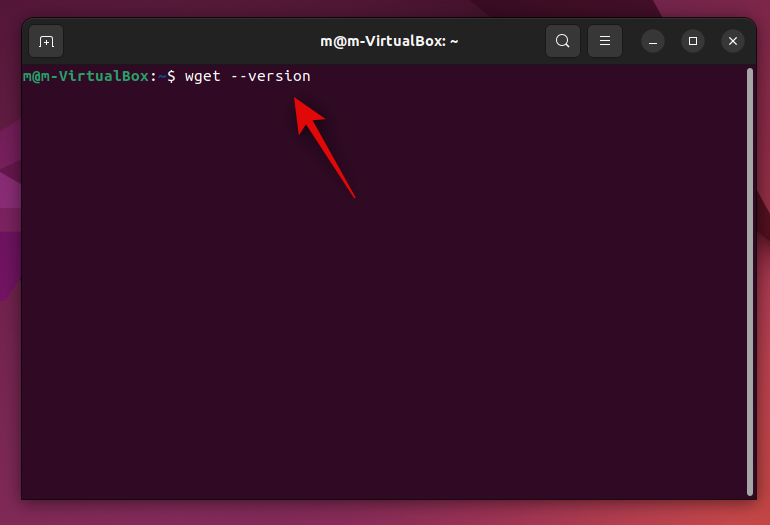
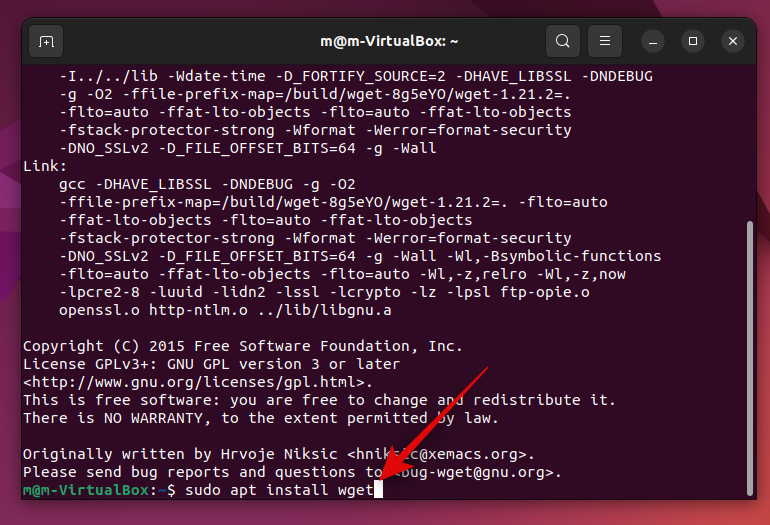
If Wget is already installed then you will be shown information about it, else you can use the command below to install it on your PC.
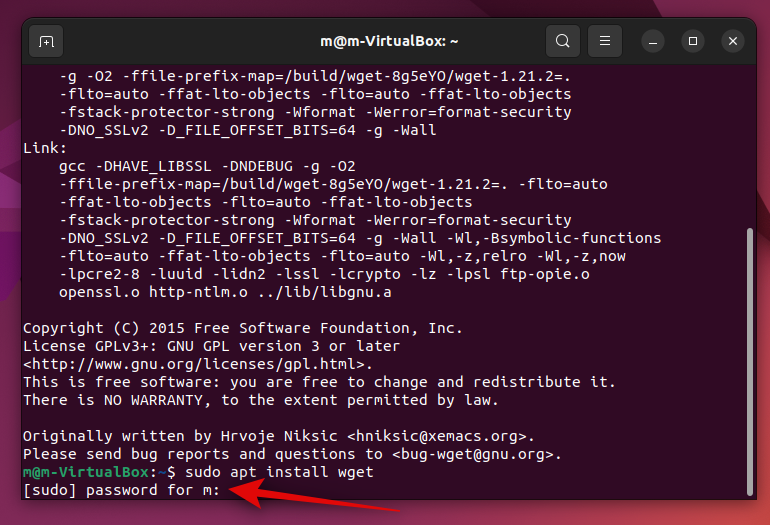
sudo apt install wget
Type in your password when you’re prompted.
Wget will now be installed on your PC. As you can see it was already present at my end which is why nothing new has been installed.

And that’s it! We can now install Python 3.8 using the next step on your PC.
Step 3: Install Python 3.8
We now need to install Python 3.8. Wget will help us with this process. Follow these steps to install Python 3.8.
Open Terminal on your PC. If you’re on Ubuntu, you can use the Ctrl + Alt + T keyboard shortcut. Once launched, use the following command to check and update all packages.
sudo apt update
Type in your password when you’re prompted.
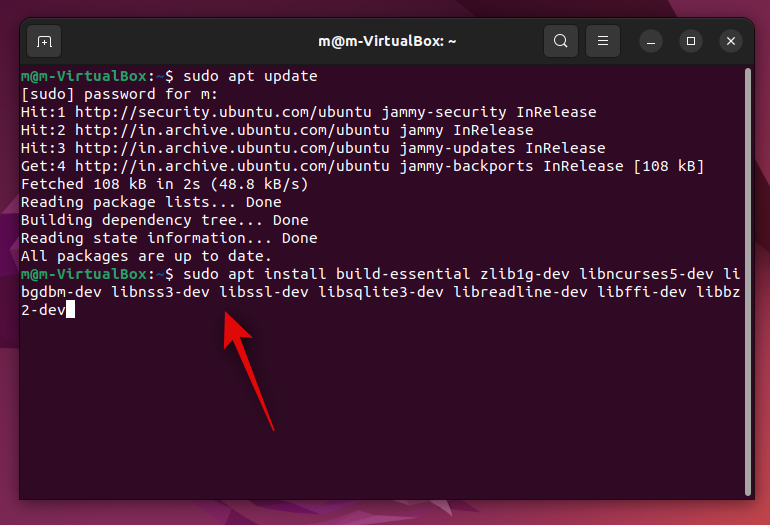
Now use the following command to install the necessary dependencies.
sudo apt install build-essential zlib1g-dev libncurses5-dev libgdbm-dev libnss3-dev libssl-dev libsqlite3-dev libreadline-dev libffi-dev libbz2-dev
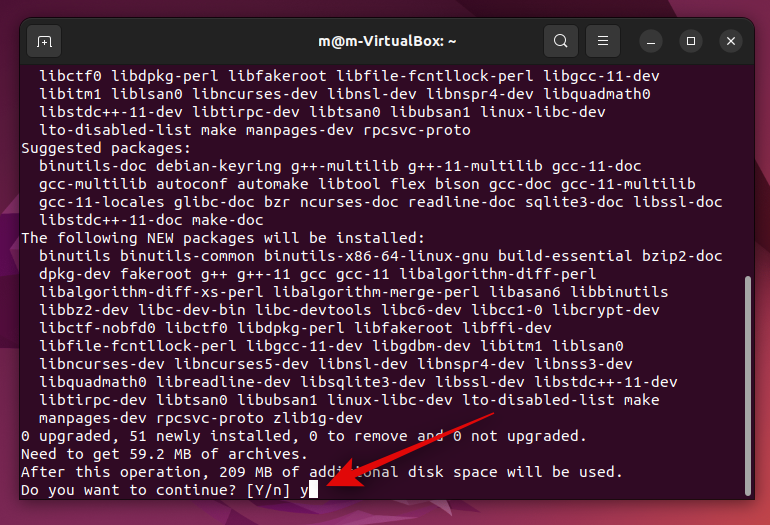
The necessary dependencies will now be installed. Press y and then Enter once you’re prompted.

This process will take some time depending on the available network bandwidth.
Once everything is installed, use this command to download the Python 3.8 package.
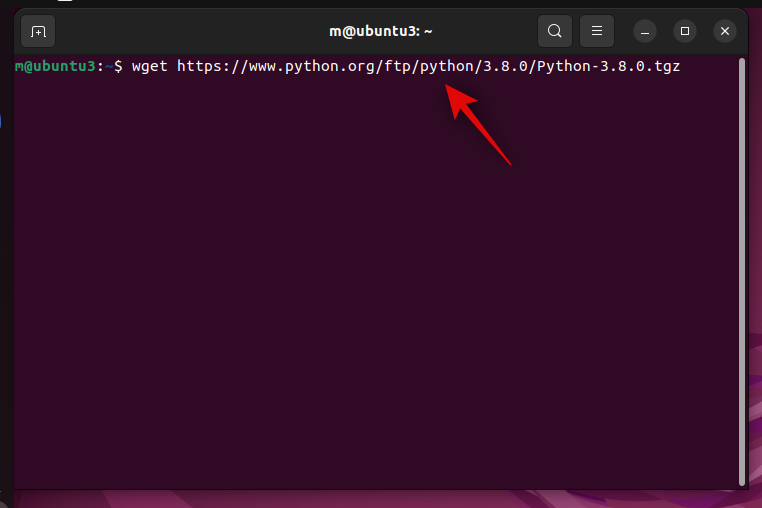
wget https://www.python.org/ftp/python/3.8.0/Python-3.8.0.tgz
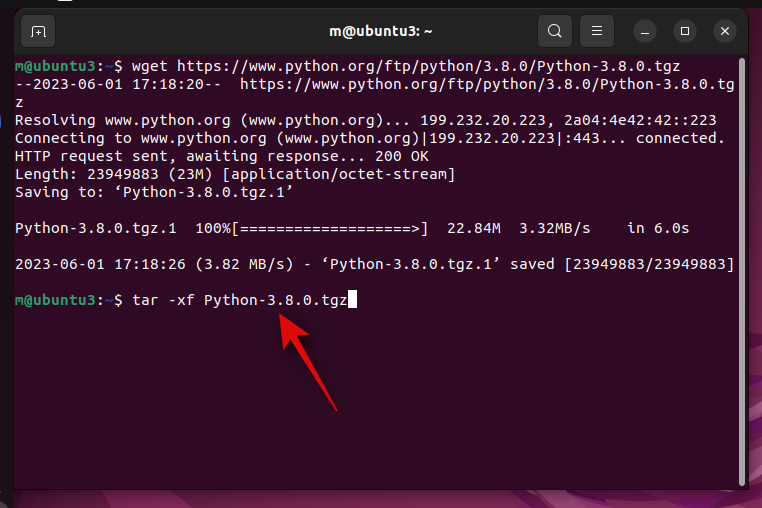
The Python release will now be downloaded on your PC. Once done, use the following command to extract the package.
tar -xf Python-3.8.0.tgz
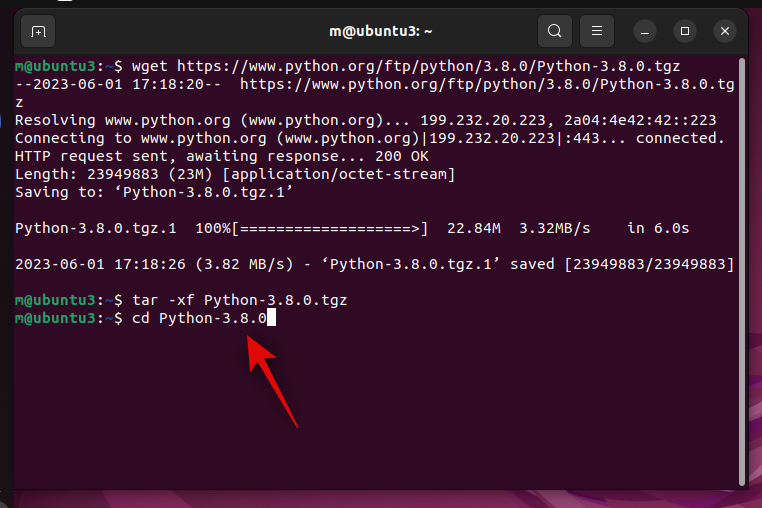
Now navigate to the extracted directory using the following command.
cd Python-3.8.0
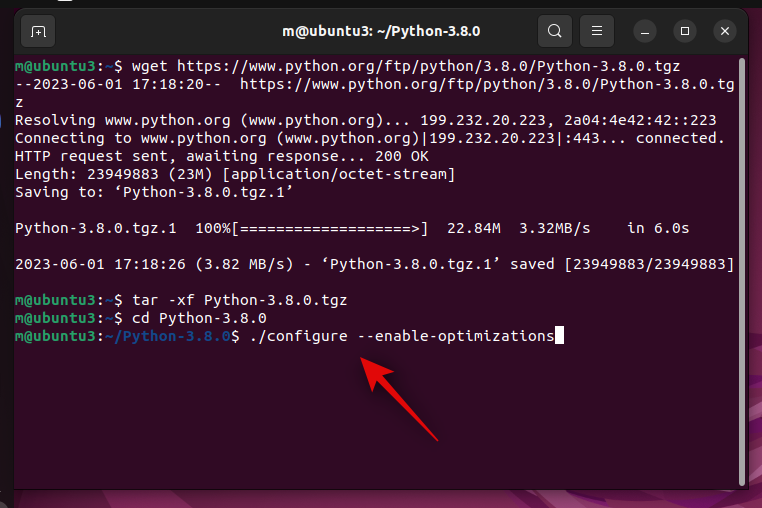
Once done, use the following command to check and verify whether everything is set up as intended on your PC.
./configure --enable-optimizations
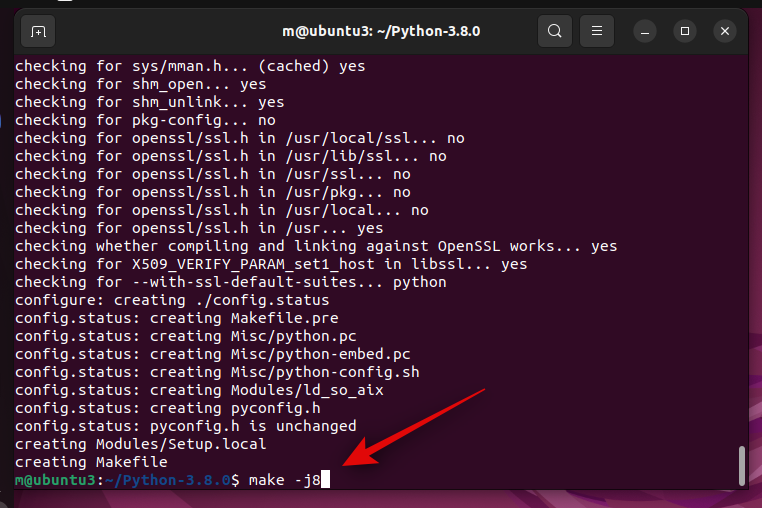
Once the process is completed, use the following command to initiate the build process. Replace [Count] with the number of CPU cores available on your PC.
make -j [Count]
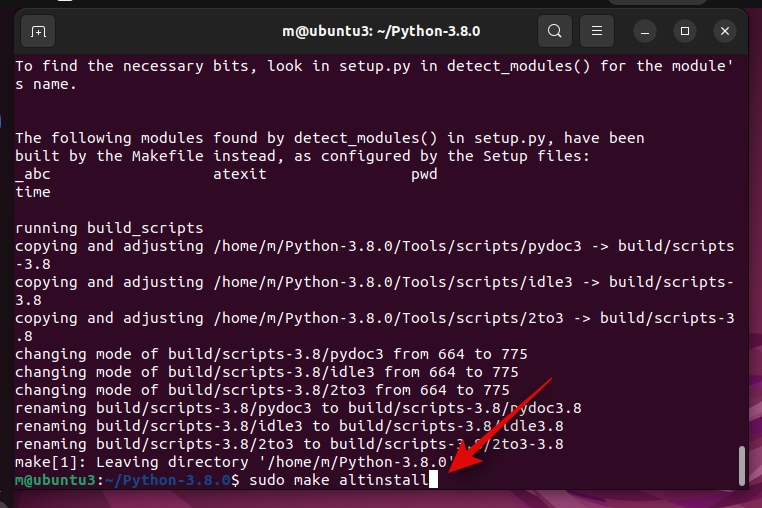
The build process will also take some time depending on the available resources on your PC. Once the build is done, use the following command to install it on your PC.
sudo make altinstall
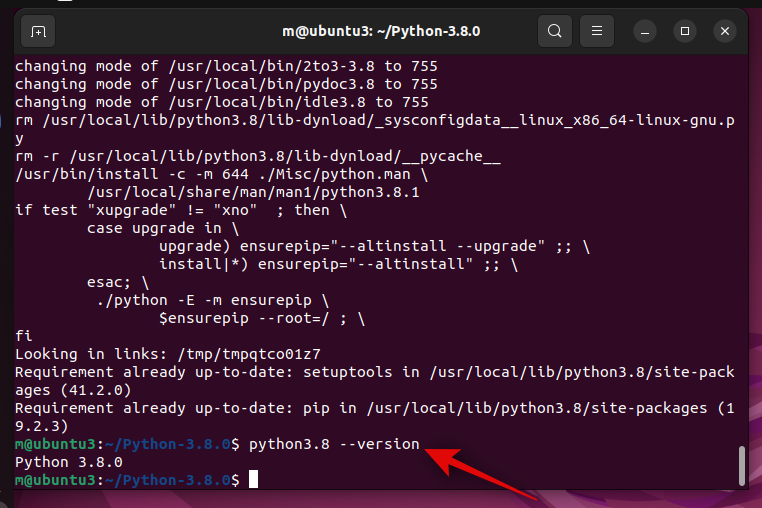
Once the process has been completed, use the following command to check if everything is working as intended.
python3.8 --version
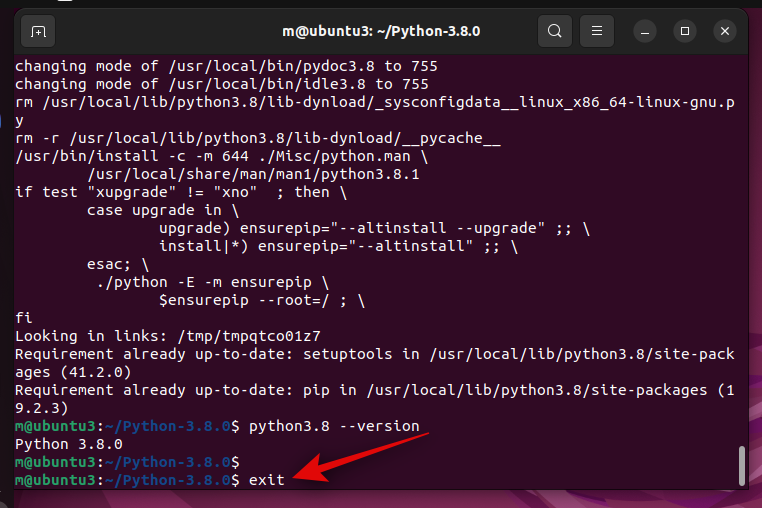
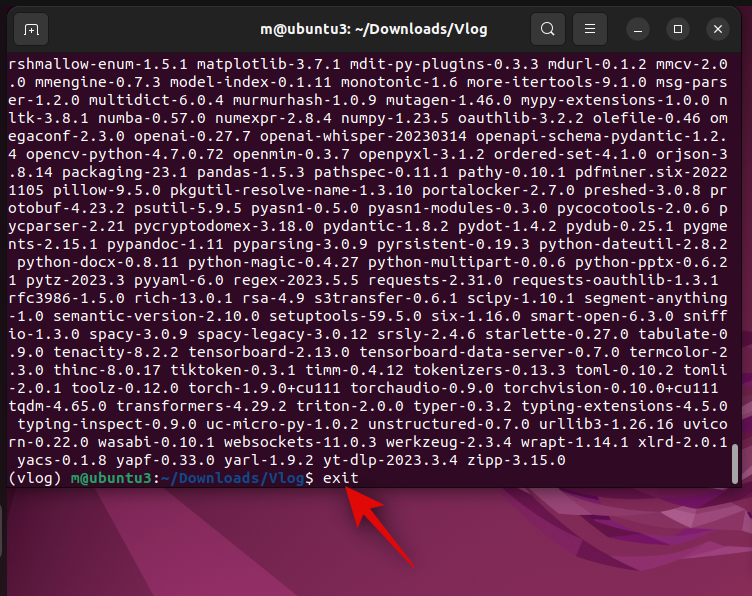
You can now use the following command to close the Terminal on your PC.
exit
And that’s it! We can now proceed with the next step of installing and setting up Anaconda on your PC.
Step 4: Install Anaconda
Here’s how you can install Anaconda on your PC. Follow these steps to help you along with the process.
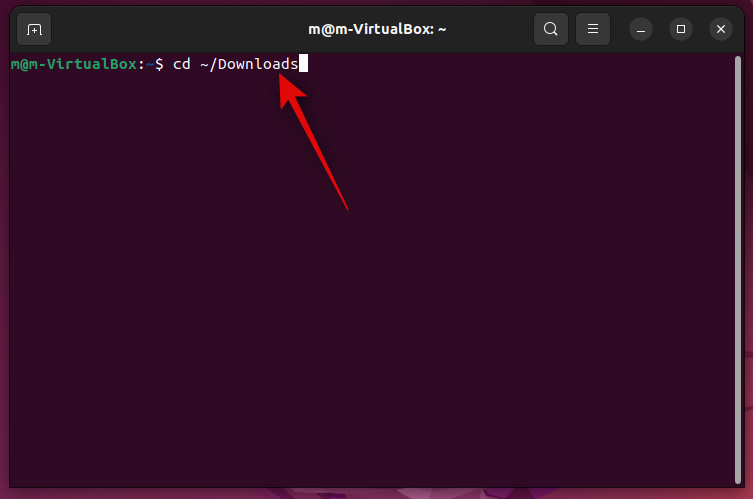
First, navigate to your Downloads folder using the following command.
cd ~/Downloads
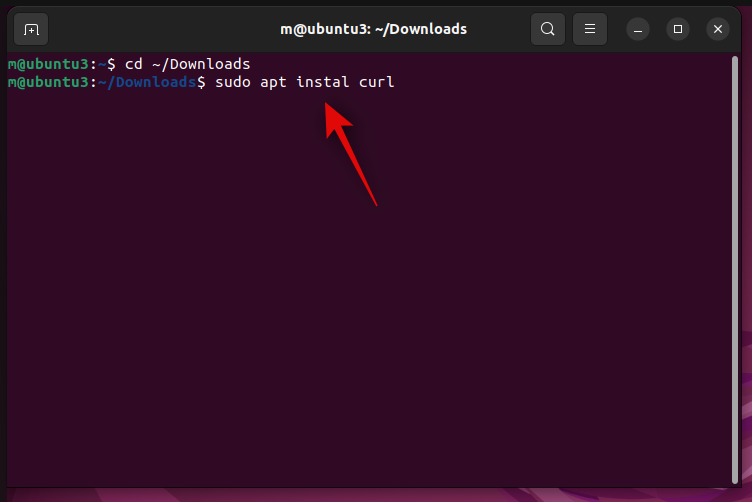
Open Terminal on your PC using the Ctrl + Alt + T keyboard shortcut. Now download curl using the following command. Type in your password when prompted.
sudo apt install curl
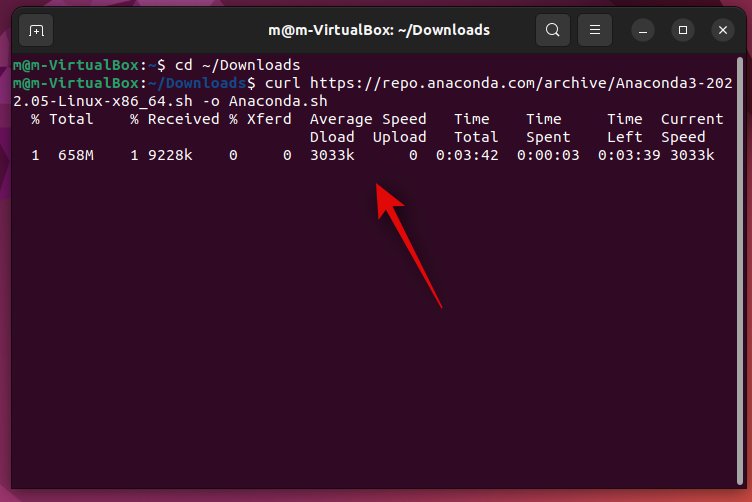
Next, use the following command to download the Anaconda installation script.
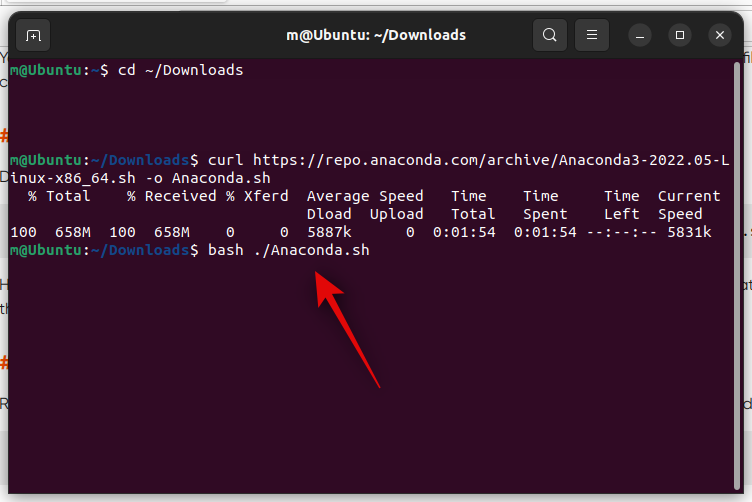
curl https://repo.anaconda.com/archive/Anaconda3-2022.05-Linux-x86_64.sh -o Anaconda.sh
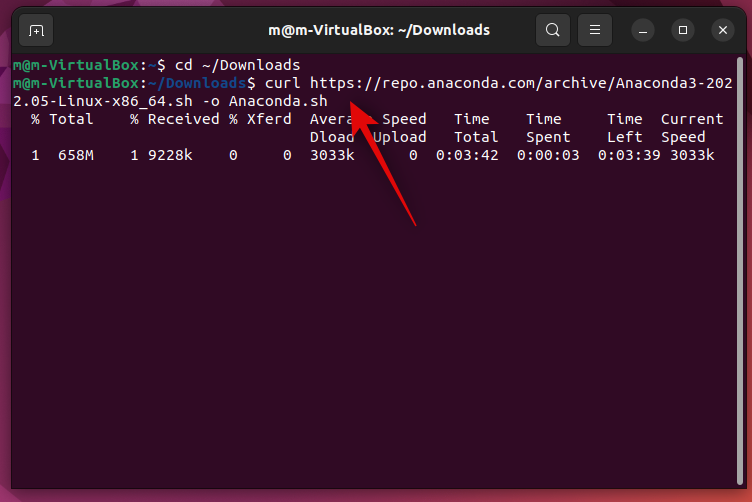
The script will now be downloaded in the Downloads folder. This can take some time depending on your network speed.
Once the process has been completed, use the following command to run the installation script.
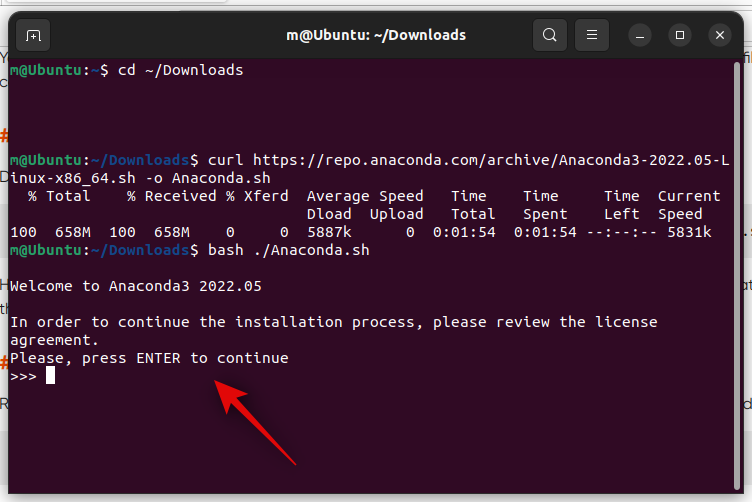
bash ./Anaconda.sh
Now press Enter to continue as requested.
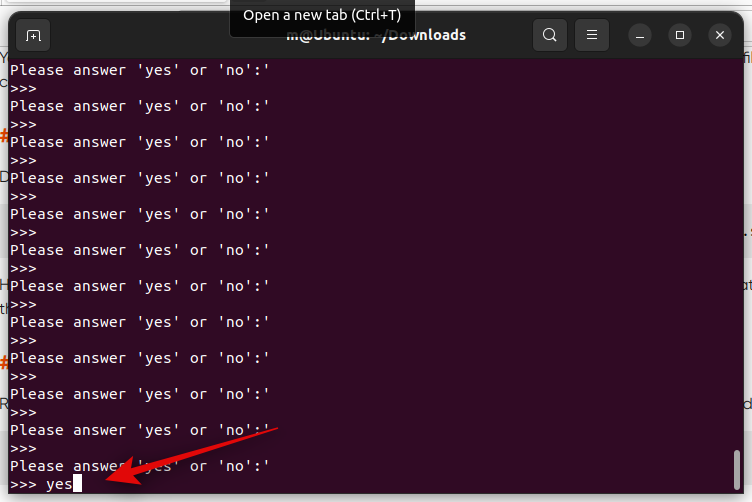
Press Enter multiple times till you’re asked to type yes. Type the same and press Enter.
To install Anaconda in the default location, press Enter. You can also choose to specify a different location if needed. Once the installation has been completed, type yes and press Enter to initialize Anaconda.

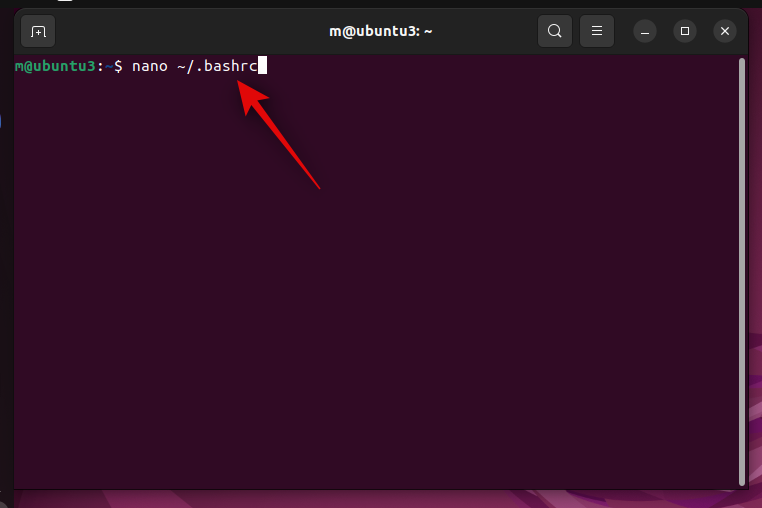
Anaconda will now be initialized. We now need to add Anaconda to your path variables. Use the command below to do the same.
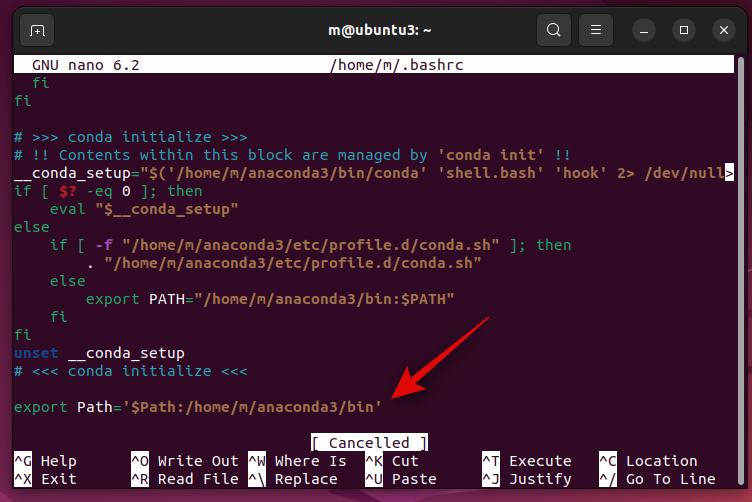
nano ~/.bashrc
Now use the following command to add Anaconda to path variables. Replace [Path] with the location where you installed Anaconda. If you installed it in the same location, you can use this path “/home/[username]/anaconda3″. Ensure you replace [username] with your username on your PC.
export PATH='$PATH:[Path]/bin'
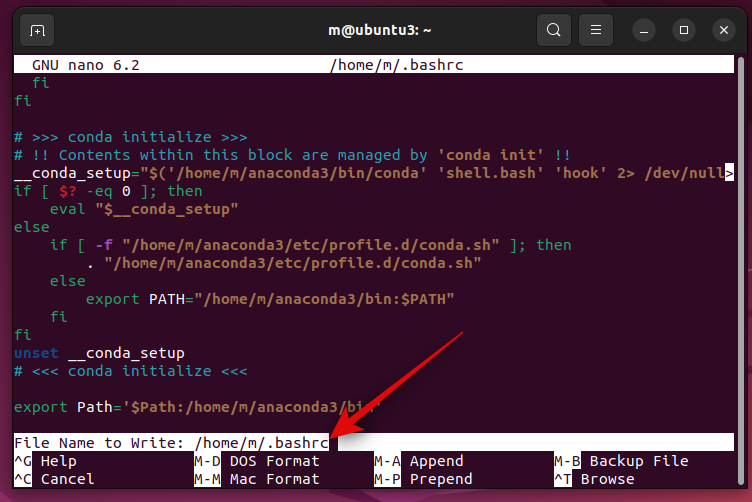
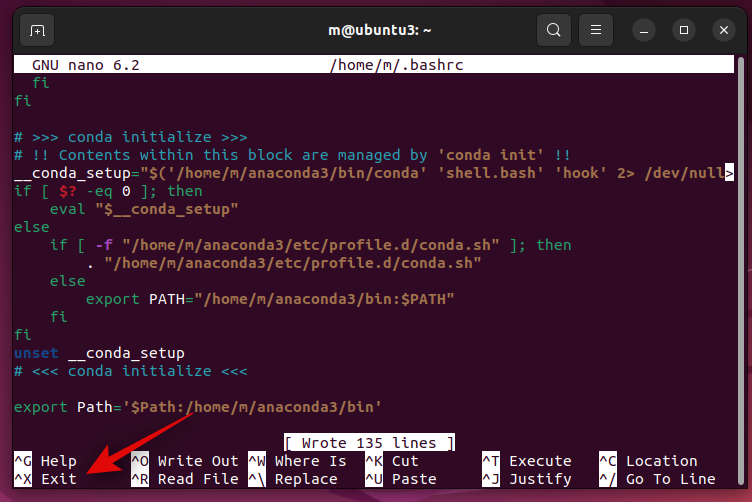
Once you’re done, press Ctrl + O on your keyboard. Press Enter once the default file path shows up.
Now press Ctrl + X.
And that’s it! We’re now ready to set up and use Vlog on your PC.
Step 5: Setup Vlog
Now that everything has been installed and set up, we can finally set up and use Vlog on your PC. Follow the steps below to help you along with the process.
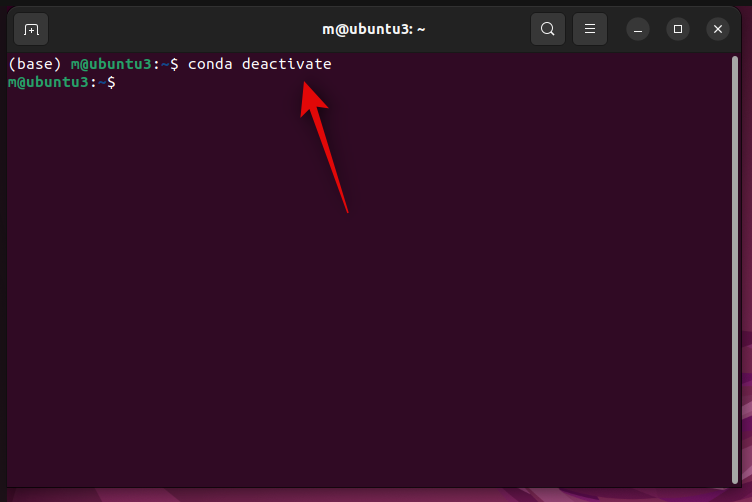
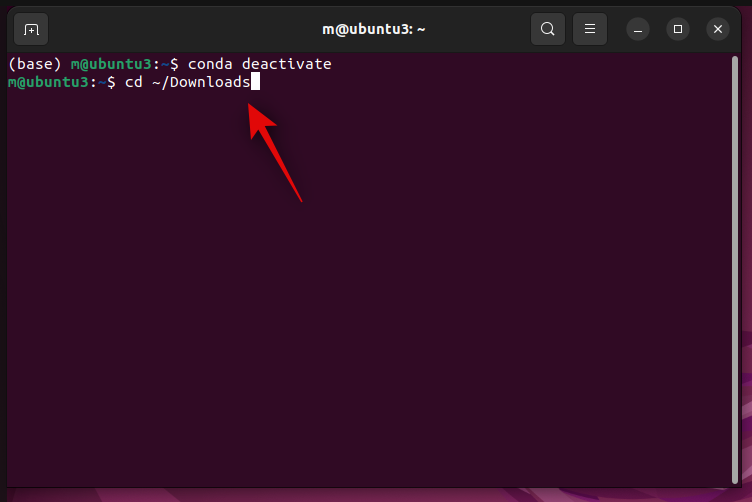
Open Terminal on your PC using the Ctrl + Alt + T keyboard shortcut. Once open, use the following command to deactivate Anaconda temporarily.
conda deactivate
Now navigate to your downloads directory using the following command.
cd ~/Downloads
Next, use the command to clone Vlog in your Downloads.
git clone https://github.com/showlab/VLog
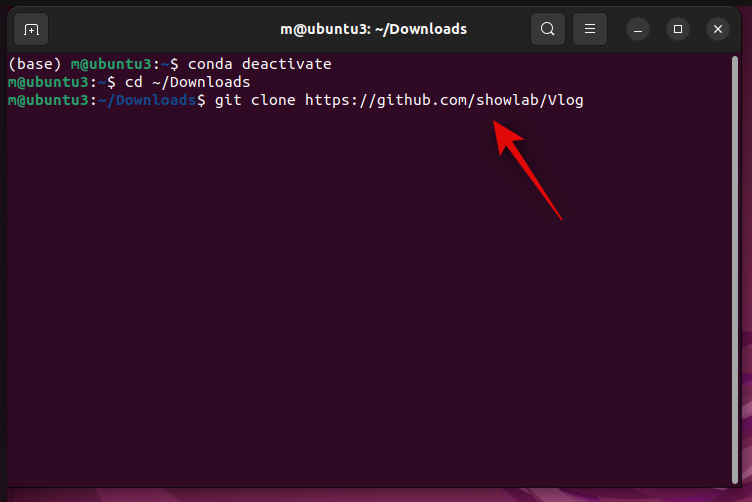
Once the project is cloned, use the following command to navigate to its directory.
cd Vlog
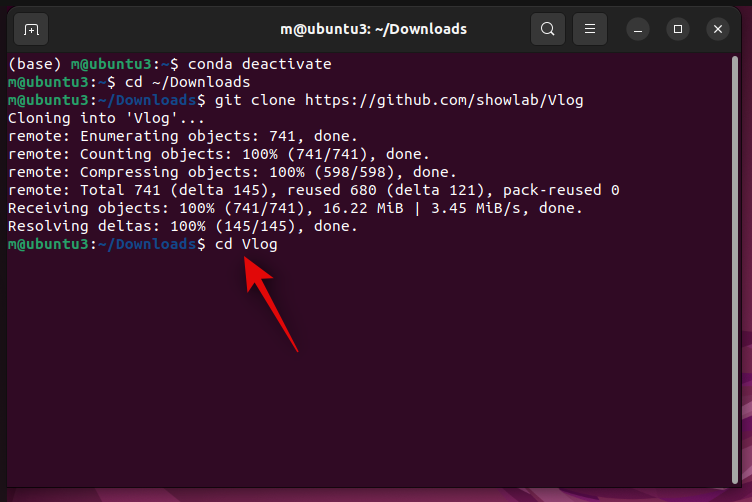
Next, use this command to create a new directory named checkpoints.
mkdir checkpoints

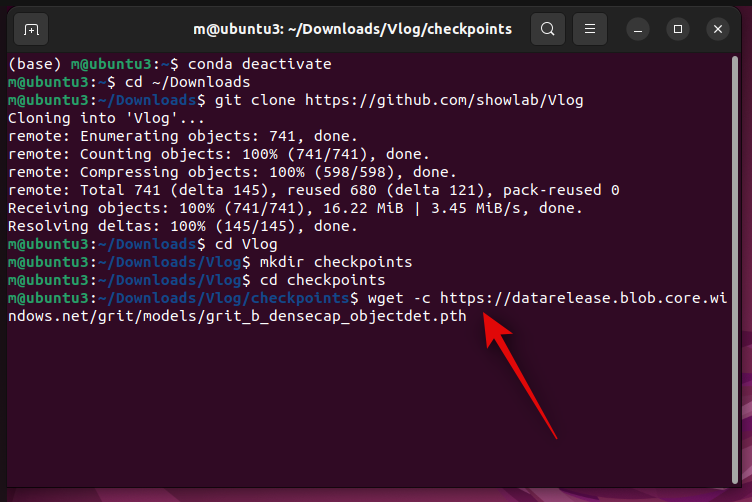
Now navigate to the same directory using the following command.
cd checkpoints

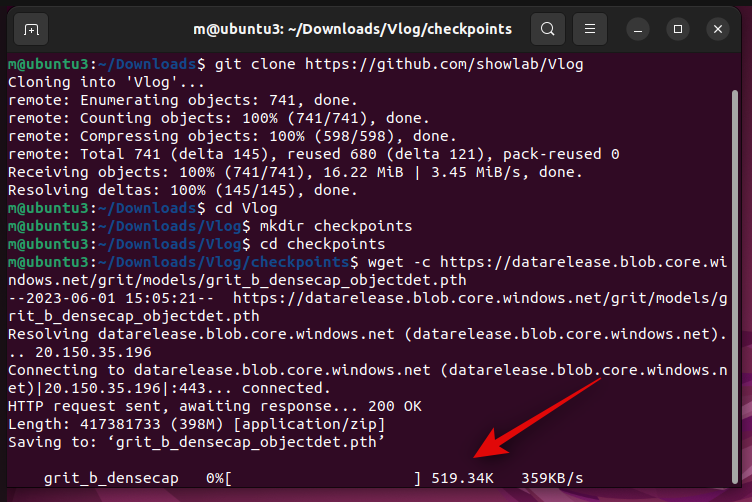
We can finally download the pre-trained model. Use this command to download the pre-trained model.
wget -c https://datarelease.blob.core.windows.net/grit/models/grit_b_densecap_objectdet.pth
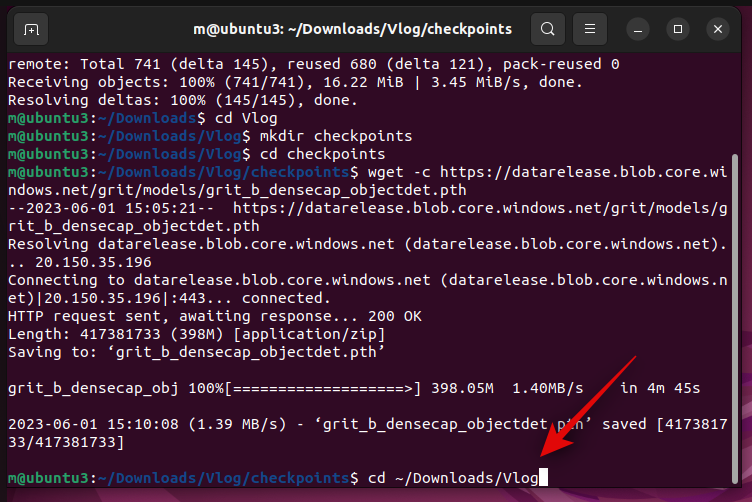
Wait for the model to download. This process can take some time depending on your current network speed and available bandwidth.
Once the process has been completed, use the following command to go to the Vlog directory in your Downloads folder again.
cd ~/Downloads/Vlog
We now need to activate Anaconda again. Use the following command to do the same on your PC.
conda activate
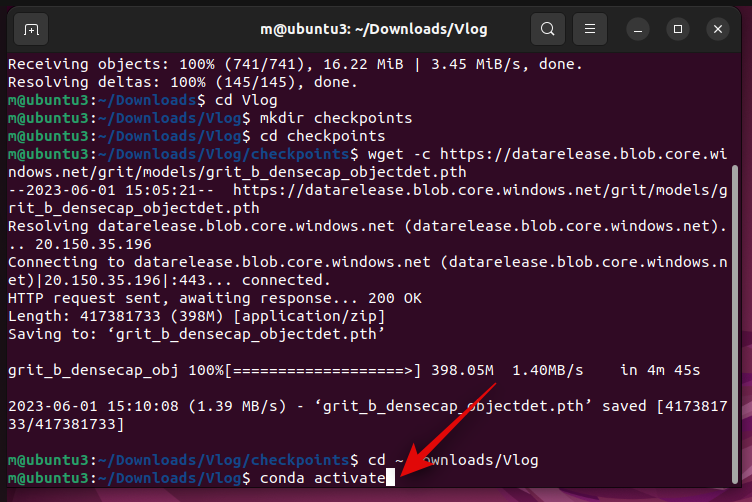
Once activated, you will see (base) in the next line. You should still be in the Vlog directory. Now use this command to create a new environment.
conda create -n vlog python=3.8
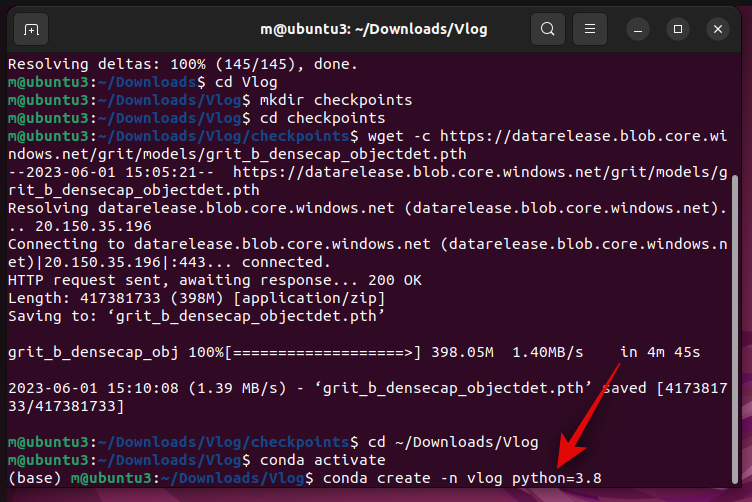
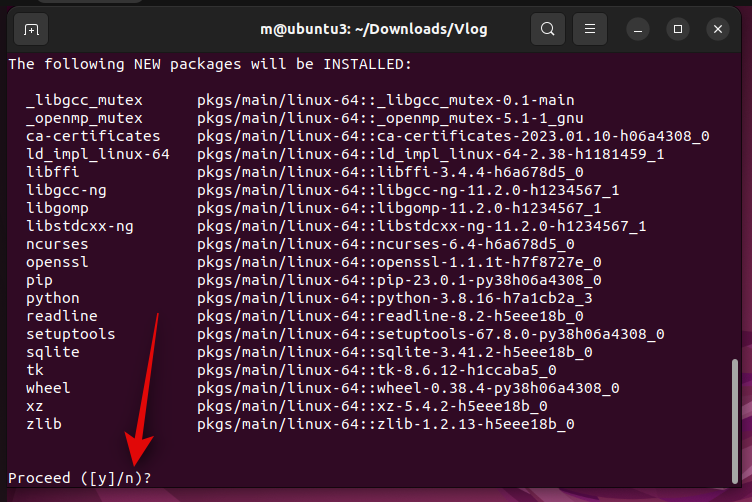
Now press y when you’re prompted to confirm your choice.
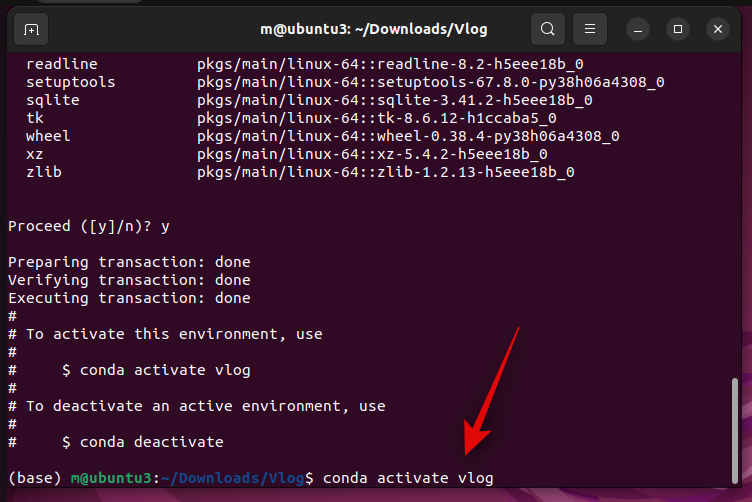
A new environment will now be created. Activate the newly created environment using the following command.
conda activate vlog
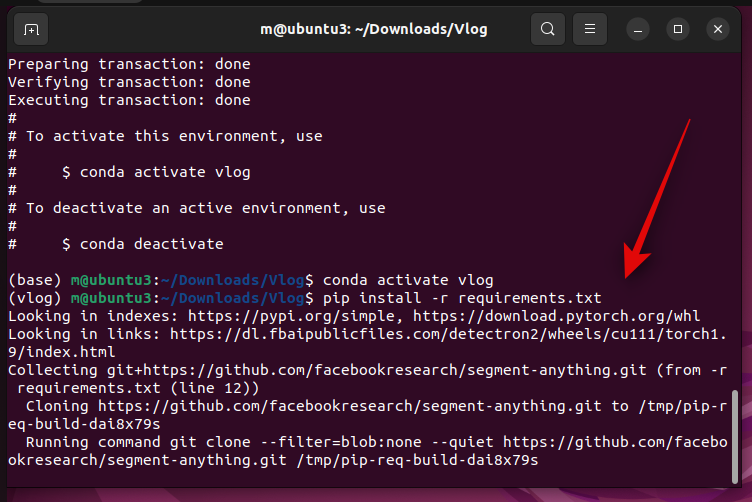
Once activated, the same will show up in the next line. Now use the following command to install the necessary dependencies.
pip install -r requirements.txt

All the requirements will now be installed. This can take some time as delectron2 is one of the dependencies which is quite a large file as well as other dependencies like pytorch and more.
Note: If you experience extremely slow download speeds, use this command “conda update -n base conda-package-handling” and try again. This will help fix download speed issues, especially with Pytorch. Additionally, pip might download multiple versions of various tools to find the ones that match other requirements. This is normal and you should not interrupt this process.
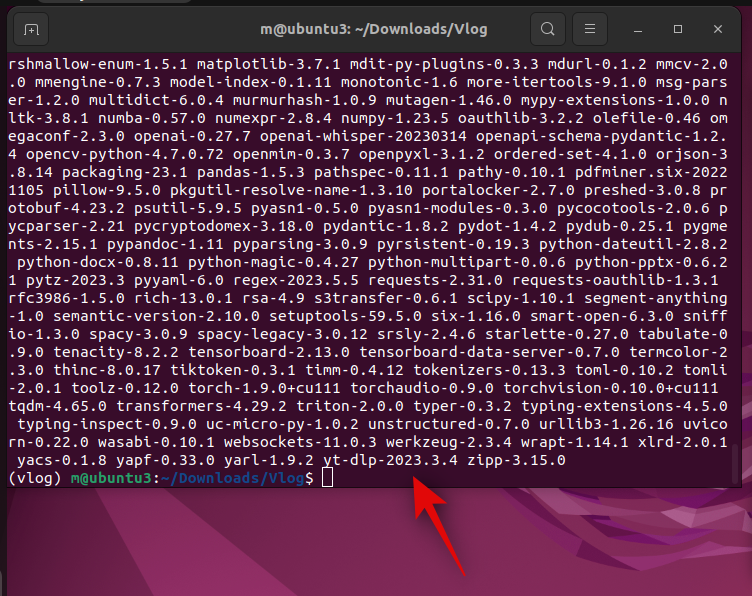
Once the process has been completed, you should see something like this.
You can now use this command to close the terminal.
exit
And that’s it! We’re now ready to convert our video to a document so it can be used with ChatGPT.
Step 6: Use Vlog to generate the document
We first need to source your Open API key so we can use it with Vlog. Follow the steps below to help you along with the process.
Open your browser and visit platform.openai.com. Log into your account using your preferred method.
Now click your profile avatar in the top right corner.
Click on View API keys.
Now click + Create new secret key.
Give your API key an easily identifiable name. For this guide, we’ll simply name it the Vlog key test.
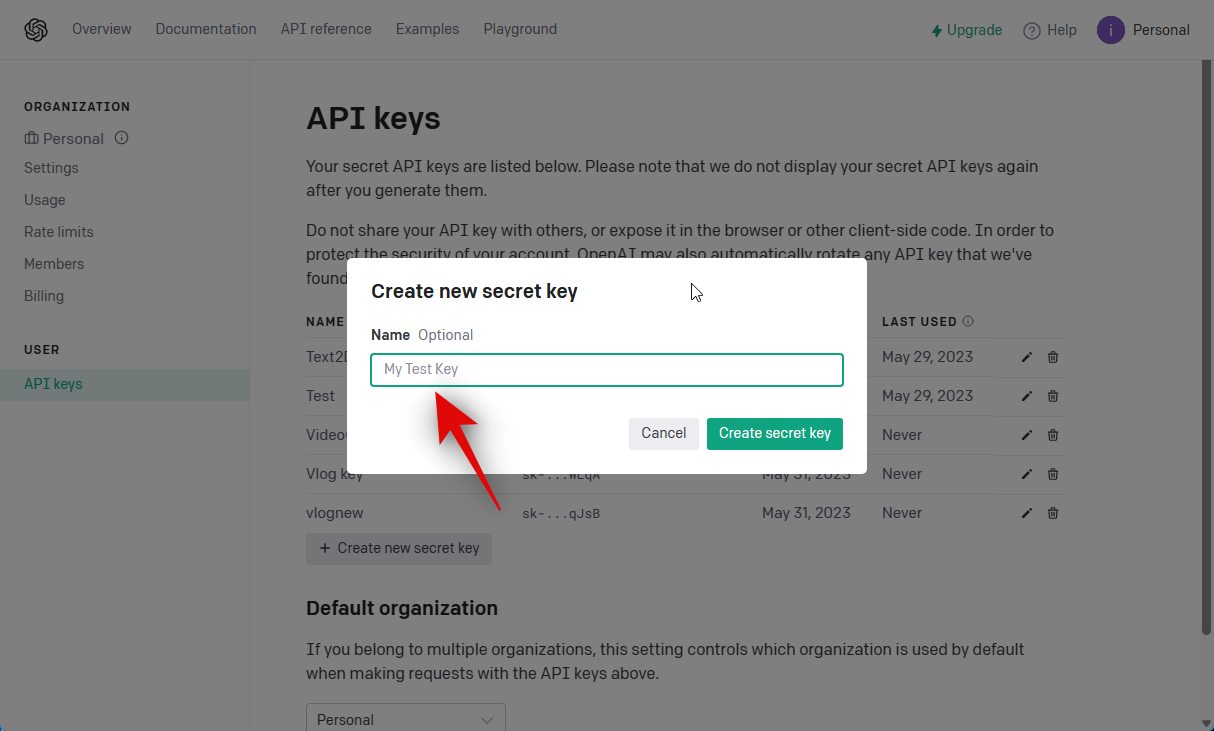
Click Create secret key once done.
Now click the copy icon beside the key once it has been generated. Do not close the tab or the dialog box as the key won’t be visible again. Alternatively, you can note down the key in an easily accessible location.
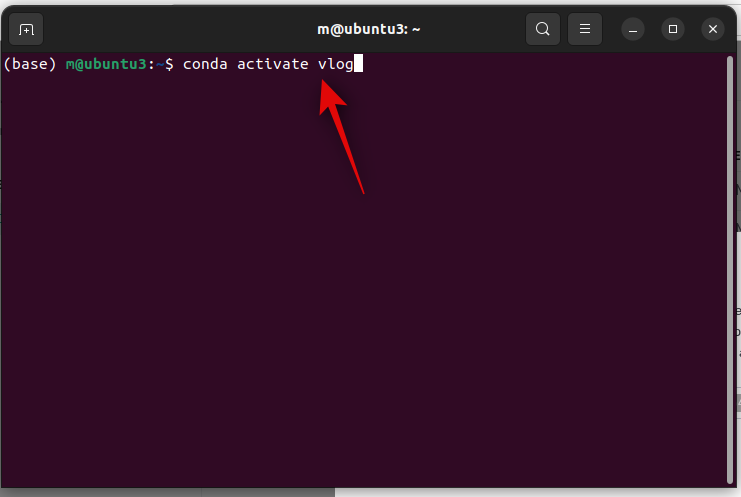
Once copied, open the Terminal by pressing Ctrl + Alt + T on your keyboard. Once open, use the following command to activate the Vlog environment we created in the previous step.
conda activate vlog
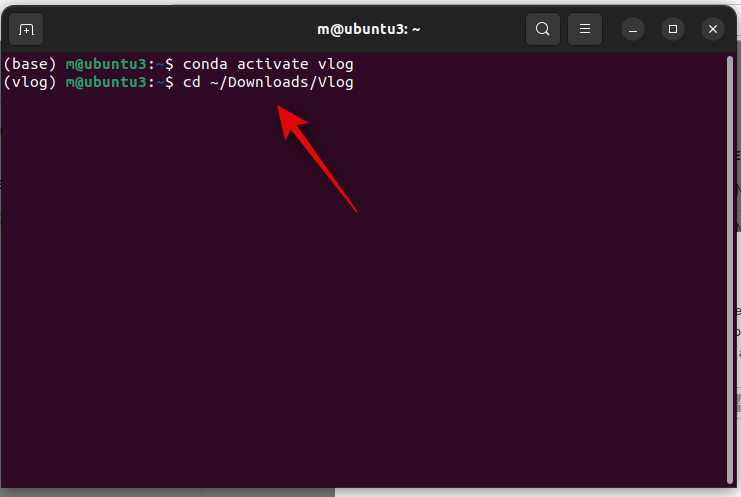
Once activated, navigate to your Vlog directory we created in the Downloads folder earlier using the following command.
cd ~/Downloads/Vlog
Now type in the following. Replace [Key] with the OpenAI key we generated earlier and [Path] with the path to the video you wish to convert. Vlog comes with an example video in the examples folder, so we’ll simply use that for this example.
python main.py --video_path [Path] --openai_api_key [key]
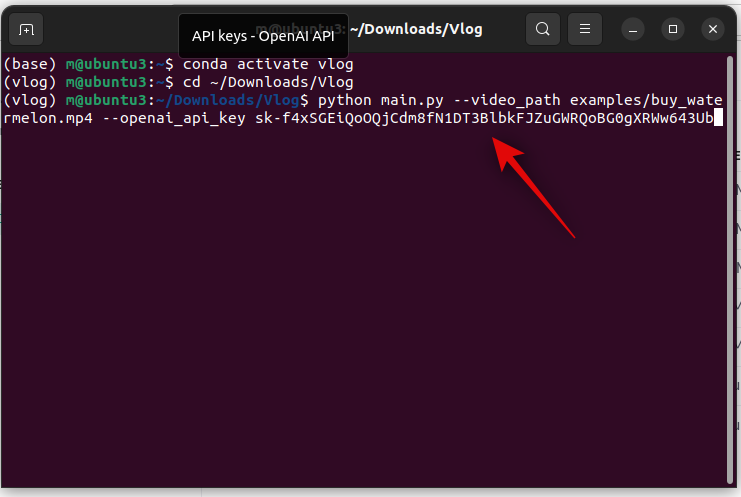
Once you’re done, press Enter.
Note: Ensure your video name does not have any spaces in it. If it does, we recommend renaming the same before attempting to run the command above.
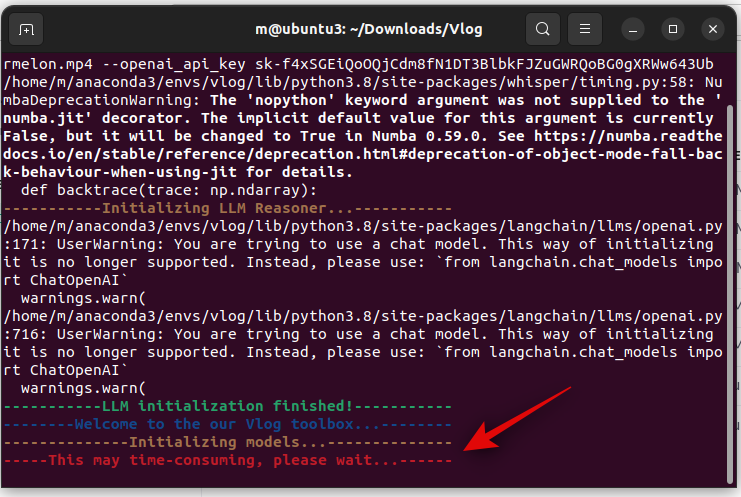
Your video will now be processed and converted to a document. This can take some time depending on your network speed and available resources.
Once the process is completed, your converted document will be saved in the same location as your video. And that’s how you can convert a video to a document using Vlog.
Step 7: Use the document with ChatGPT
As discussed above the converted document will now be available in the same directory as your video. If you tinker with Vlog a bit, you should also be able to chat with ChatGPT directly in the terminal. For now, let’s take a look at how you can use this converted document to feed to ChatGPT in the future so you can continue discussing the video.
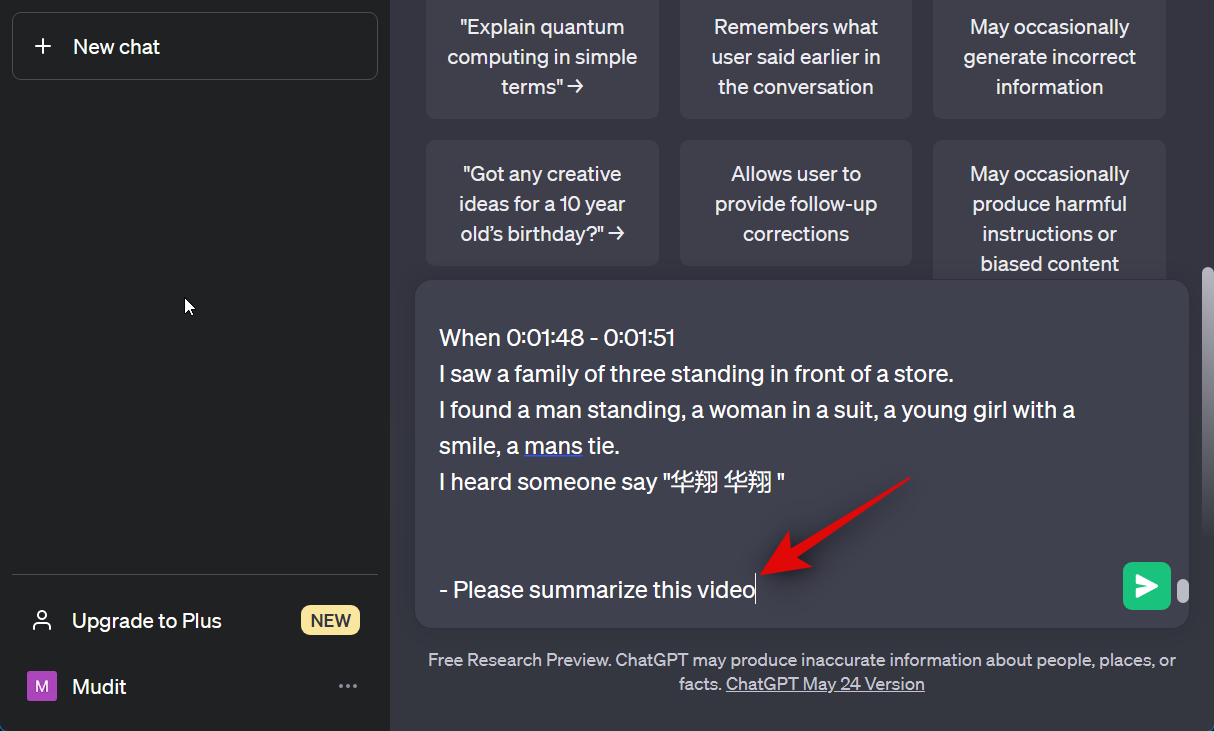
Open chat.openai.com in your browser and log into your account if needed.
Once logged in, copy and paste the contents of the converted video document followed by your query and press Enter. Let’s ask ChatGPT to summarize the video for this example.
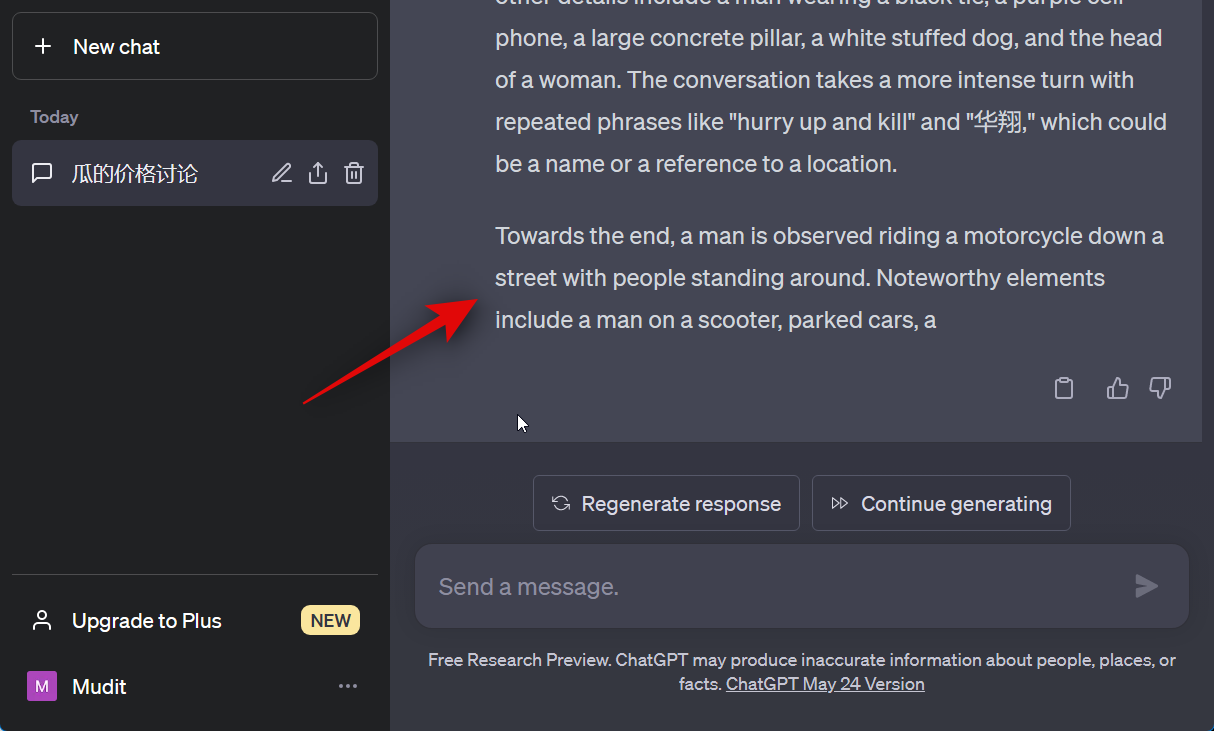
As you can see ChatGPT has summarized the video along with dialog translations.
And that’s it! Every time you need information from the video in the future, you can simply feed ChatGPT this document instead of having to convert it over and over again on your PC locally.
We hope this post helped you easily convert a video to a document to use with ChatGPT. If you face any issues or have any more questions, feel free to reach out to us using the comments below.