
What to know
- You can get ChatGPT to provide you real-time updates and search results using ChatGPT search, which is a paid feature.
- ChatGPT Plus and Team subscribers can simply type in a query and get up-to-date results from the chatbot itself.
- You can also get the ChatGPT Search Chrome extension to make ChatGPT your default search engine.
- Free ChatGPT users get a limited web browsing functionality that isn’t as sophisticated or real-time as the paid feature, though it can get the job done in a pinch.
ChatGPT can answer most of your queries within seconds but it has got one major drawback. Its models are only trained up to December 2023. This means that the AI tool may not be able to provide you with relevant information on events that occurred after 2023 including current affairs unless you’re using its browsing feature or ChatGPT Search.
In this post, we’ll explain how you can access the internet on ChatGPT, for both paid and free users.
Can ChatGPT connect to the internet?
Although you need to stay connected to the internet to use ChatGPT, the responses provided by the AI tool will still be based on its trained data that was cut off in December 2023. If you’ve been meaning to use ChatGPT to get up-to-date information on certain topics, the only official way to do it is by opting for the ChatGPT Plus membership on the platform. This will give you access to ChatGPT Search – a recently launched feature that lets you use ChatGPT as a search engine and get real-time updates.
For free users, there is an in-built browsing tool that can be used to connect to the internet and get fairly recent results.
How to connect ChatGPT to the internet
Depending on your plan, you can connect ChatGPT to the internet and browse the web in slightly different ways. Here’s how to do so for…
For Free users
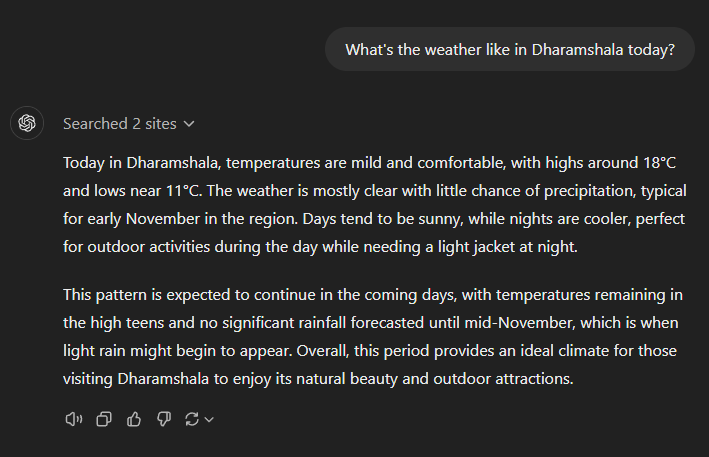
Free ChatGPT users can use the web browsing feature but in a very limited way. Simply prompt ChatGPT for a relatively recent occurrence and hit Enter. You will see the ‘Searching the web’ message. This means that ChatGPT is using Bing search to look up relevant answers before summarizing it in its answer.

You can click on the ‘Searched # sites’ option to check where ChatGPT has sourced its information from.

Do note that this does not mean that the information is up to date. But you can update ChatGPT’s memory and get it to provide you slightly more updated results.
For Plus and Team users
To get real-time, up to the minute results (as you would on Google) you will need a paid membership to access ChatGPT Search.
To do so, click on the ‘Upgrade plan’ option in the bottom left corner and select Upgrade to Plus.

On the next page, you can now fill up your payment credentials and click on the Subscribe button at the bottom right corner.

You can now go back to your ChatGPT homepage, start a new chat and ask questions based on current events as a prompt.
Note: ChatGPT will only browse for content on the web when it’s necessary. If your query involves topics already available on OpenAI’s training data, the AI tool won’t access the internet for it and will respond to your query almost immediately.
Using the ChatGPT Search Chrome extension
With the release of ChatGPT Search, OpenAI has also released its official Chrome extension for ChatGPT Search. If you are a subscriber, you can install this extension and replace Google with ChatGPT as your default search engine. Here’s how to go about this:
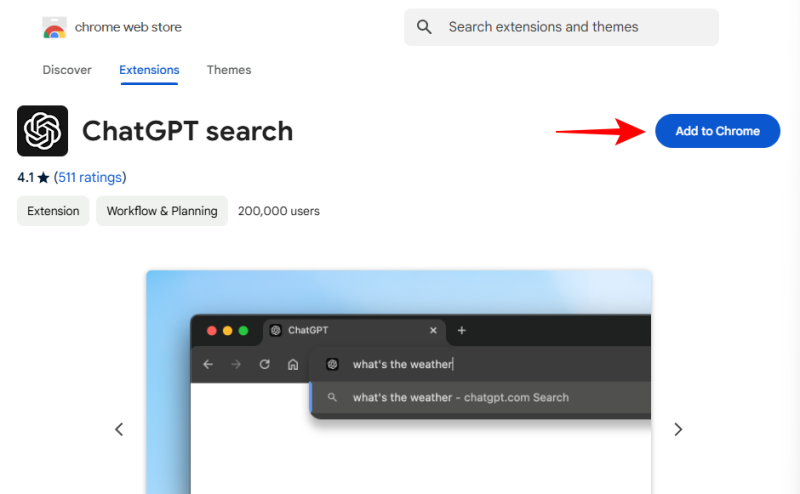
- ChatGPT Search | Chrome Extension
- Click on the link above and select Add to Chrome.
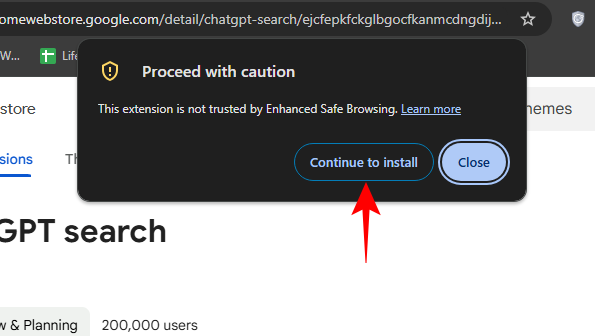
- Select Continue to install.
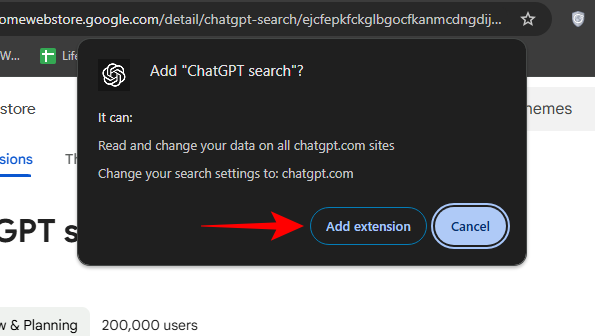
- Select Add extension.
- Once ChatGPT search is added as a Chrome extension, simply open a new tab and type your query.
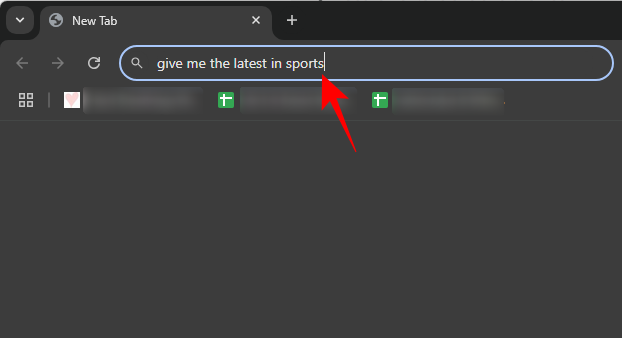
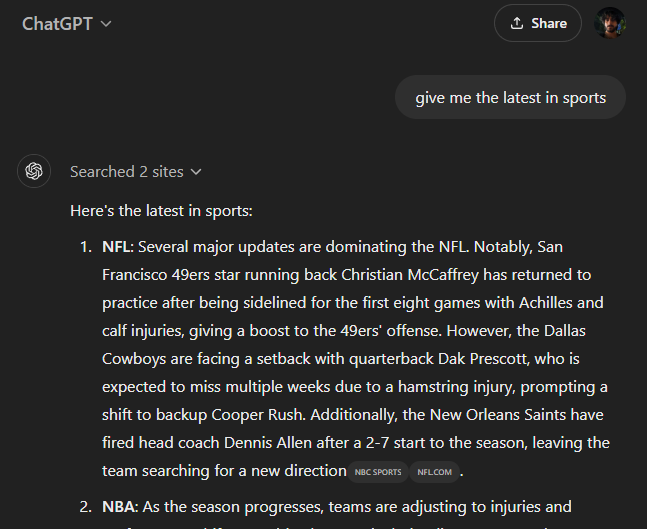
- Once you hit Enter, you’ll be redirected to ChatGPT instead of Google where the AI will answer your query and provide you the latest, most up-to-date results.
This way, you won’t have to open the ChatGPT website every time you need to search the web. Simply type in your query in the address bar and hit Enter.
These are all the official ways that you can access the internet via ChatGPT. Although there are a few alternatives as well, such as using Microsoft Copilot or Gemini, or other free third-party AI browsing extensions, they’re not as sophisticated as the official means.