Adventures of Elliot Part 2: Unexplored Ruins to Mist Ruins guides Elliot through early dungeons, key upgrades, magicite basics, and the rescue mission that shapes the adventure ahead.
Here is the full HTML. The body prose was already in definitive form, with the genuine source-stated uncertainties (the inferred four-shard ratio, the unconfirmed Brid identity, the game’s own conditional shop warning) correctly preserved as information. I removed only the stray meta-commentary paragraph that had leaked in above the article, since it is not part of the guide.
Part 2 leads Elliot west across the fields to the Elder Tree and the Unexplored Ruins, where you clear the game’s first dungeon and beat the Greatsword Guardian, then turns north to the Mist Ruins to rescue the stranded adventurers.
Part 2 of The Adventures of Elliot: The Millennium Tales is the stretch where the game stops being a tour of town and starts feeling like a proper action-RPG. You head out past the western bridge, sit through a quiet story beat at the Elder Tree, and then tackle two ruins back to back — the Unexplored Ruins with its Greatsword Guardian, and the Mist Ruins rescue to the north. Along the way you pick up permanent upgrades and learn the magicite-forming system, so this part carries a lot of the early-game scaffolding.
- Where Part 1 left Elliot
- Crossing the fields to the Elder Tree
- Clearing the Unexplored Ruins and the Greatsword Guardian
- New pickups: Shards of Life, travel, and the chain bonus
- Forming magicite with the traveling stone merchant
- North into the Mist Ruins and Oliver’s last stand
- Smart habits for this stretch of the game
- Frequently Asked Questions
Where Part 1 left Elliot
If you’re coming back after the first episode, here’s where things stand. Part 1 covered the opening town and walked through the basic mechanics, and it ended with two things worth remembering: you picked up a boomerang, and you visited the Shrine of Life and walked away with a key item that the game hasn’t explained yet. Neither of those gets fully paid off here, so don’t expect a big reveal — just keep them in your back pocket.
Part 2 itself is straightforward in shape: head west out of town and over the bridge to the ruins, then later swing north to the Mist Ruins. The on-screen prompt at the start spells out the western route, so that’s your first heading.
Crossing the fields to the Elder Tree
Before you commit to the bridge, it’s worth poking around the eastern and western fields. The early enemies out here are the same one-shot fodder you’ve already met — they charge, they die, they drop a little money — and there’s not much to grab yet. You’ll also notice an entrance covered by a tree that the game simply won’t let you enter; it looks like a doorway but it’s blocked off for now, so leave it and move on. It’s clearly meant for a return trip once you have whatever clears it.
On the way west, Elliot stops to rest under a huge tree, and this is the story heart of the episode. The tree is the Elder Tree, which has stood for a thousand years, and beside it sits a gravestone.
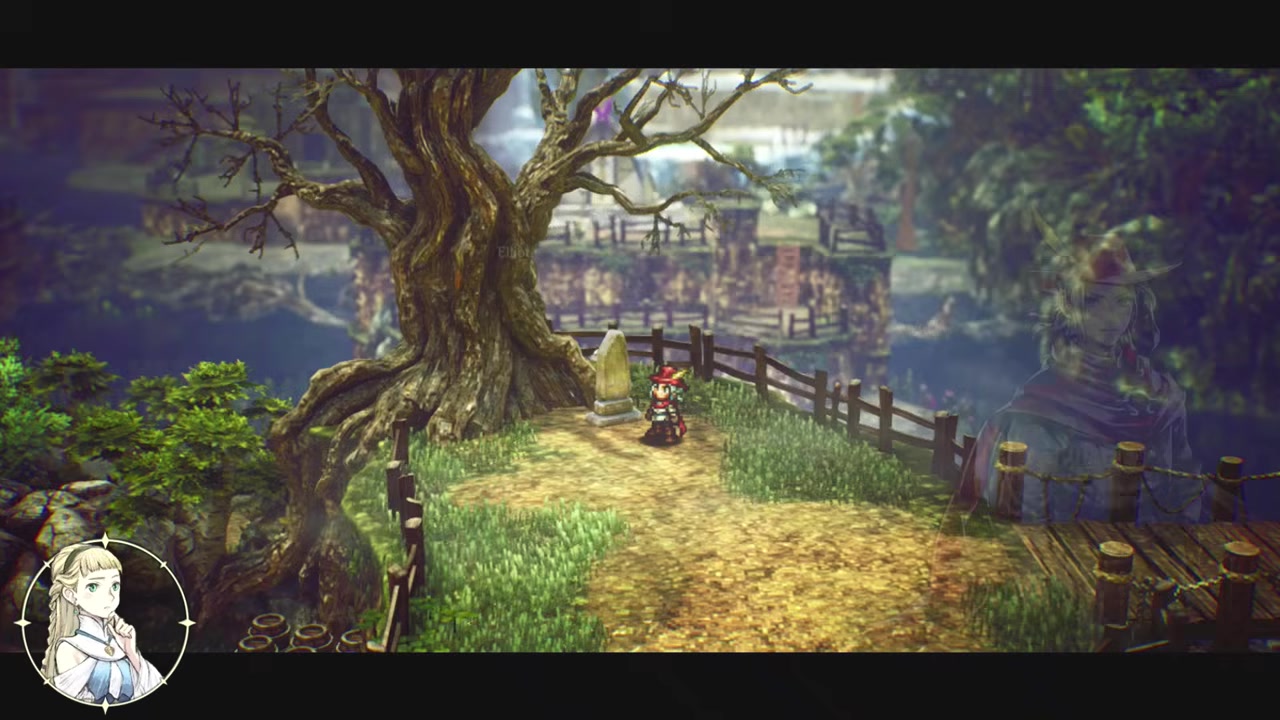
This is where Elliot was found as a baby 20 years ago — an adventurer discovered him under the tree, already cradled in the arms of a man who had passed away, and that man’s grave is the one you’re looking at. There was no way to identify him, so Elliot has no record of his real name or birthday; the adventurer named him Elliot simply because he was found beneath the elder tree.
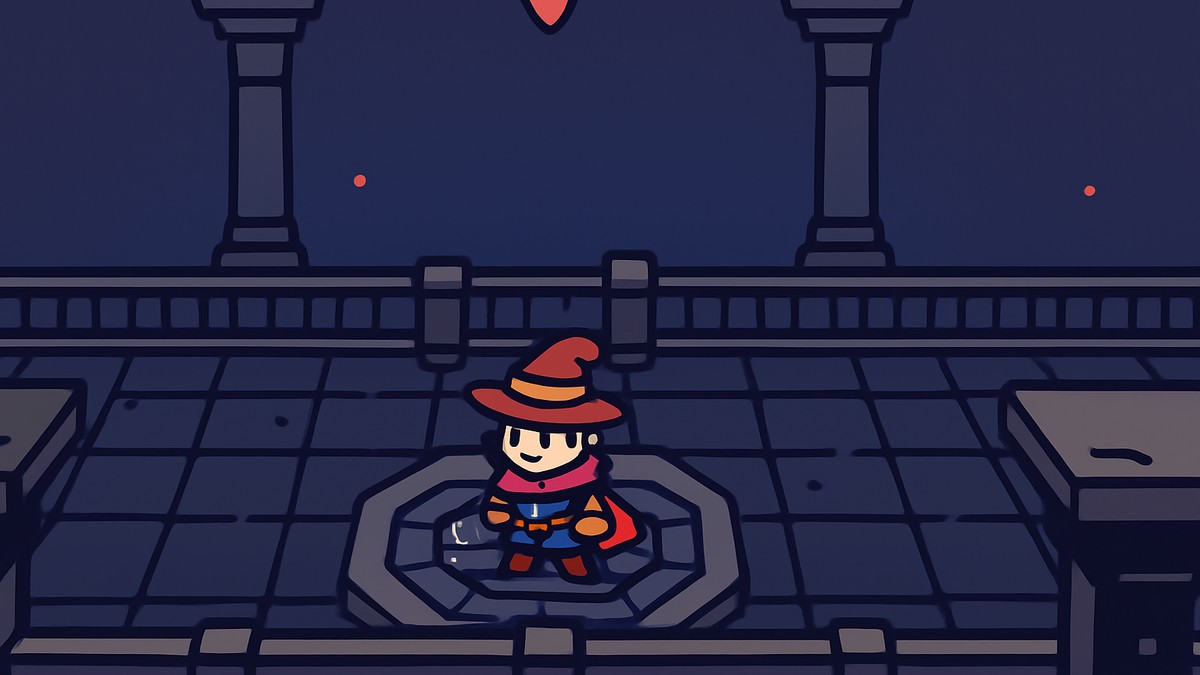
The scene also fleshes out the bond between Elliot and his magic partner, Cyuria. She’s living out a long-held dream of seeing the world, he’s quietly modest about the orphans he supports, and the writing lets the two of them get to know each other without rushing it. It’s a calm, character-driven moment rather than anything you play through — handle it as the breather it is before the dungeon.
Clearing the Unexplored Ruins and the Greatsword Guardian
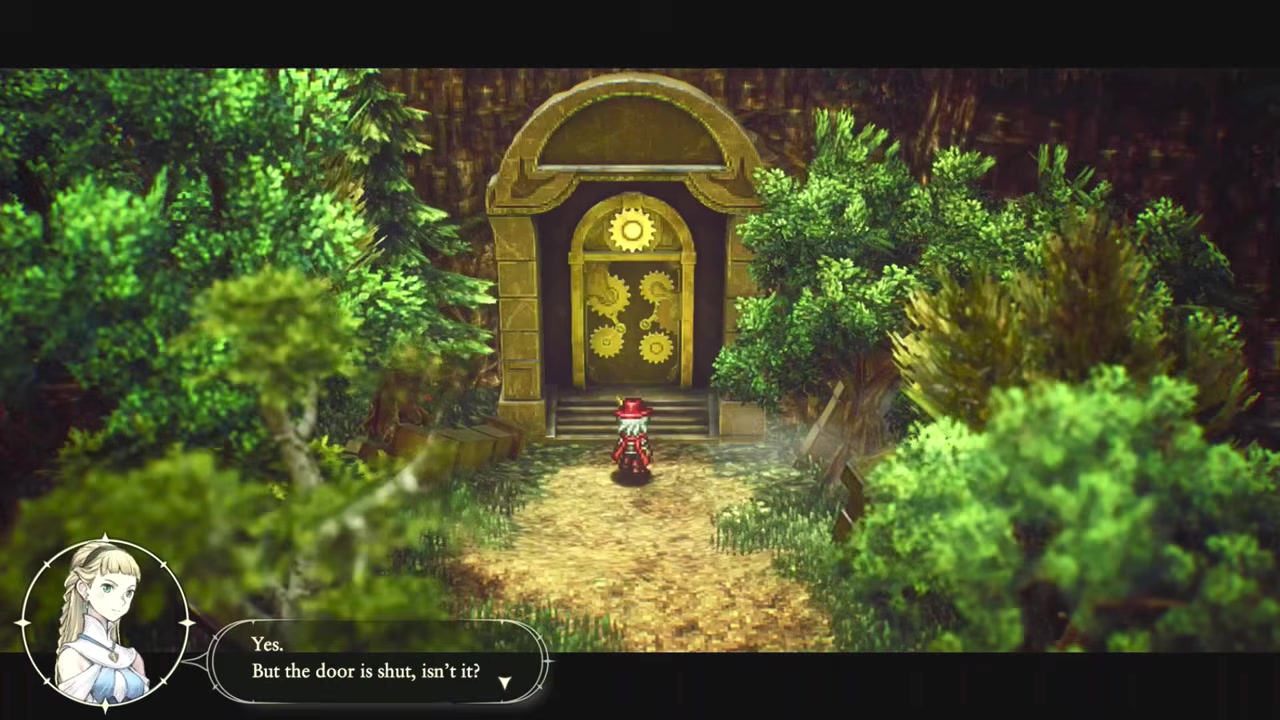
The ruins greet you with a sealed gear-door that glows and won’t budge. As Cyuria points out, doors like this usually have a way to open them nearby, and she’s right: there’s a switch off to the left that opens it.
It’s a good habit to sweep the surrounding paths before you walk in, because the area around the entrance hides chests, including a Shard of Life and a bit of money.
Inside, this is the game’s first official dungeon, and it knows it. The puzzles are deliberately gentle — a movable column of stone you shove onto a switch, a ladder you fix to open a shortcut, and a couple of battle rooms that lock the exits until you’ve cleared every enemy. You’ll collect a blue Unexplored Ruins key and a red Unexplored Ruins key for the matching locked doors, and one of the late switches conveniently links the boss area straight back to the start, so you don’t have to backtrack the whole way.
The route funnels you fairly linearly toward the Greatsword Guardian, a one-star boss with a big sword and a few counter-attacks. The trick is patience — it punishes greedy swings, so wait for openings and don’t overcommit at the end of a combo. Beat it and the dungeon’s essentially done; it’s a short one. Just past the arena you’ll find a strange giant door Elliot suspects he can open, but a report reaches Cyuria about adventurers trapped in the Mist Ruins north of town, and Elliot drops everything to go help. The ancient door waits.
New pickups: Shards of Life, travel, and the chain bonus
| Item / system | What it does | Where in Part 2 |
|---|---|---|
| Shard of Life | Permanent pickup that fills a gauge toward an extra heart container | Chests in the western fields, desert and caves |
| Heart container | Extra maximum health, earned by gathering Shards of Life | Gauge fills as you collect shards this episode |
| Chain bonus | No XP in this game — chained kills build money and a combo; damage, cactus or pit-falls reset it | Active in all combat |
| Instantaneous travel | Warp between discovered points, including inside ruins and caves | Unlocks within the ruins/caves |
| Coloured ruins keys | Blue and red keys open their matching locked doors in a dungeon | Unexplored Ruins and Mist Ruins |
This episode is also where a few permanent systems click into place, and a facts table makes them easier to scan.
The Shard of Life is the upgrade to chase. The gauge at the top of the screen reads as a “two out of four” counter, and the working theory is that four shards earn one extra heart container, Zelda-style — but treat that as an assumption rather than a confirmed ratio, since it’s inferred from how the meter fills rather than spelled out. Either way, grabbing every shard you can find is never wasted. They’re tucked into chests across the western caves, the desert exit south of the ruins, and other side rooms, so the optional exploration pays off directly in survivability before the dungeon proper.
Combat works on a chain bonus rather than experience — there is no XP system at all. You kill enemies to build a chain and to pile up money, and that’s it. The catch is that taking a hit drops the chain, and so does running into a cactus or falling into a pit, both of which count as taking damage. It’s easy to lose a five-chain to a cactus in the desert, so watch your footing while you’re farming. The other handy unlock is instantaneous travel, which works inside caves and ruins too — the game flags it as a quick way to nip back to town for last-minute shopping, though within the Unexplored Ruins it only returns you to the first level.
Forming magicite with the traveling stone merchant
Back at the western gate, a man’s purse gets snatched by a cat, and chasing it down leads you to a traveling stone merchant — the cat’s owner, who happens to deal in mysterious stones. He returns the stolen money and hands Elliot a magacite fragment, then walks you through the forming system.
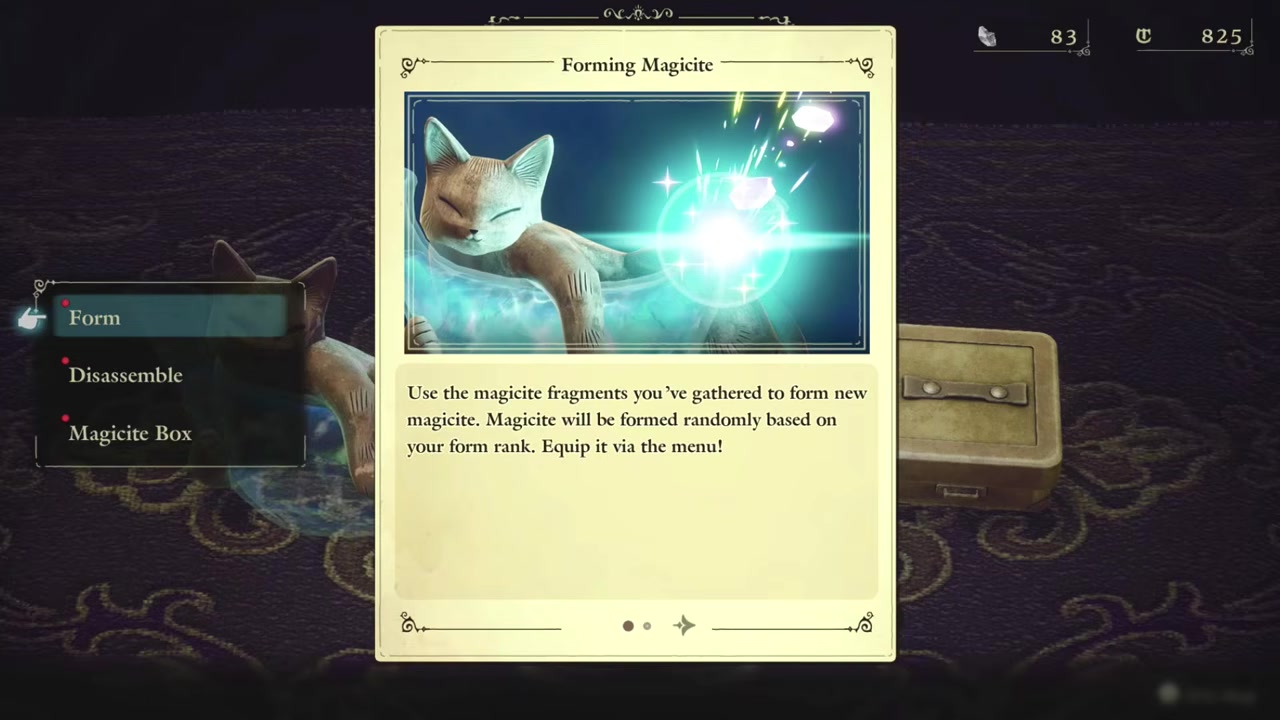
Here’s how it settles out once you’ve played with it. You spend fragments to form magicite, and what you get is random, weighted by your form rank — the higher the rank, the better your odds at rarer magicite, and you raise that rank simply by forming more. Each piece is a passive perk, like raising critical or stun rates, or boosting a weapon’s damage. You equip magicite through the menu, slotting it per weapon (your boomerang and sword have their own sets).
North into the Mist Ruins and Oliver’s last stand
From town you take the northern gate into a forest. The woods are home to a beast tribe called the Brid — burly, good jumpers, and skilled with bows — though it’s genuinely unclear whether the enemies you actually fight here are the Brid, since the early bow-less foes look like the same basic enemies from before, and only later do clearly bow-wielding versions show up. Stay on the path through the trees and you’ll reach the Mist Ruins; some enemies hide behind foliage, so expect the odd ambush.
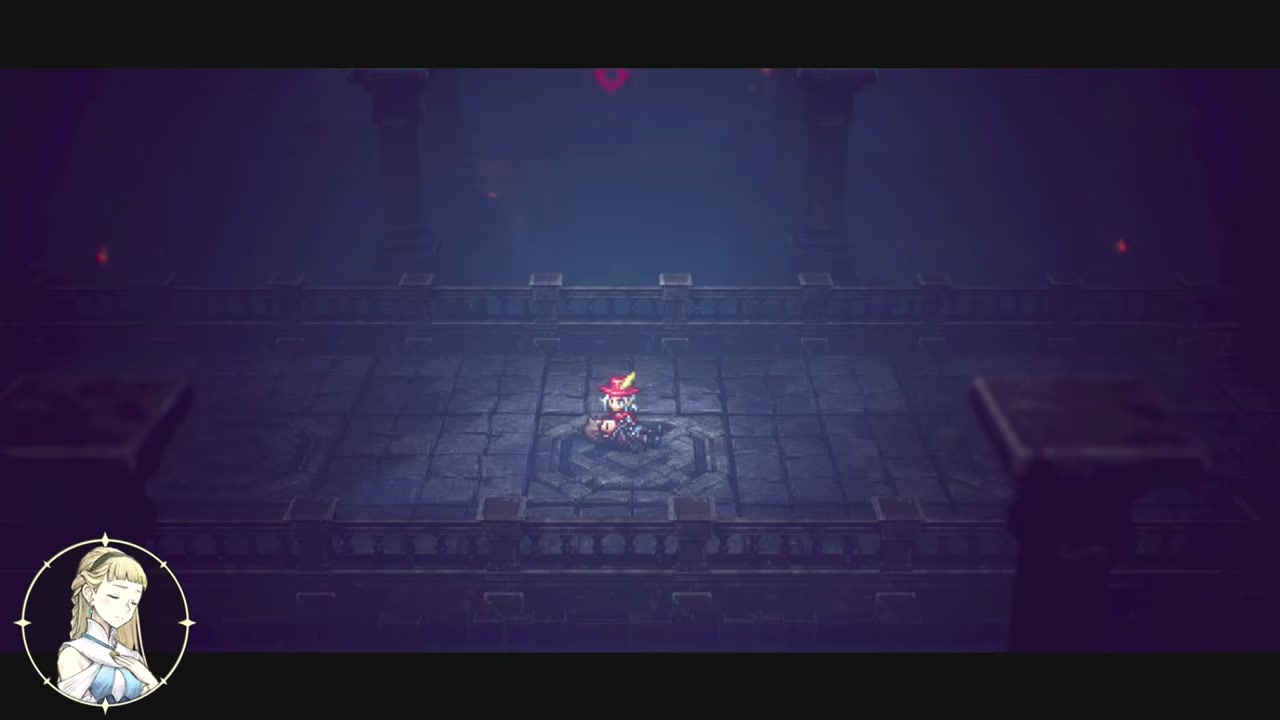
Inside, the goal is a rescue. You work through the ruins freeing stranded adventurers one at a time, each grateful and each pointing you toward more survivors still trapped deeper in. The layout runs on the same logic as the first dungeon — locked doors opened by a blue Mist Ruins key and a red Mist Ruins key, plus switch-and-block puzzles where you drag a stone onto a pressure plate or use it as a foothold, and a battle room or two that seal until cleared.
The rescue takes a hard turn when you reach Oliver — Elliot’s friend — too late. Cyuria tries to heal him, but no magic can restore a life already gone, and he dies after admitting he got greedy because he only wanted to give someone a better life.
He was about to be married. It’s the emotional low point of the episode, and the game lets it land plainly. Elliot presses on to find anyone else still alive, and Part 2 ends on the approach to a boss — the episode stops just before that fight begins.
Smart habits for this stretch of the game
Before you take the northern gate to the Mist Ruins, use instantaneous travel back to town and shop — the game warns you may not get another chance to buy goods, so stock potions first.
Related The Adventures of Elliot guides
Frequently Asked Questions
How do you open the Unexplored Ruins door?
What do Shards of Life do, and how many make a heart container?
How do you beat the Greatsword Guardian boss?
What is magicite and how do you form and equip it?
Where do you go after the Unexplored Ruins?
Video help