

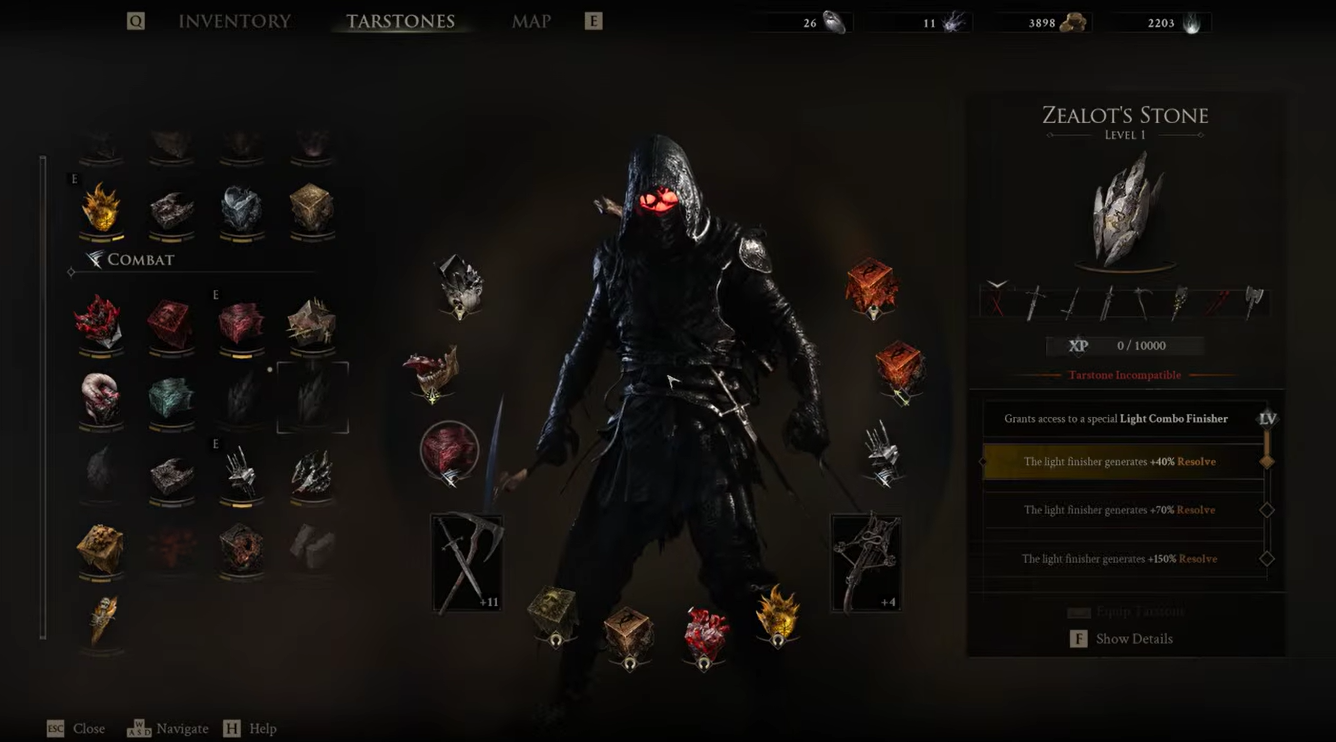
Zealot’s Stone is a Combat Tarstone found by clearing the Besieged Ruins dungeon east of the High Lord’s Courtyard Beacon, and it gives your Primary Weapon a special Light Combo Finisher that improves Resolve generation as you upgrade it.
Zealot’s Stone is one of the more build-defining Tarstones in Mortal Shell 2 if you like leaning on light attacks. It sits at the bottom of a hidden dungeon rather than in a chest you stumble across, and the payoff is a fresh ending to your light combo that feeds your Resolve bar. Here’s exactly where it lives, how to pull it out of the Besieged Ruins, and what it actually changes about your weapon.
Quick facts for Zealot’s Stone
| Detail | Answer |
|---|---|
| Item type | Combat Tarstone |
| Compatible equipment | Primary Weapon |
| Location | Besieged Ruins, east of the High Lord’s Courtyard Beacon |
| How to get it | Clear the dungeon and finish the knight flashback |
| Main use | Adds a special Light Combo Finisher that builds Resolve |
If you only need the short version, that table covers it: drop down from the beacon, work through the ruins, and the stone attaches to your Primary Weapon to reshape the tail end of your light strings.
Where to find Zealot’s Stone in the Besieged Ruins
Start from the High Lord’s Courtyard Beacon and head east. From there you want to go down, not across — drop through two vertical levels until you land on the lowest section of the area.
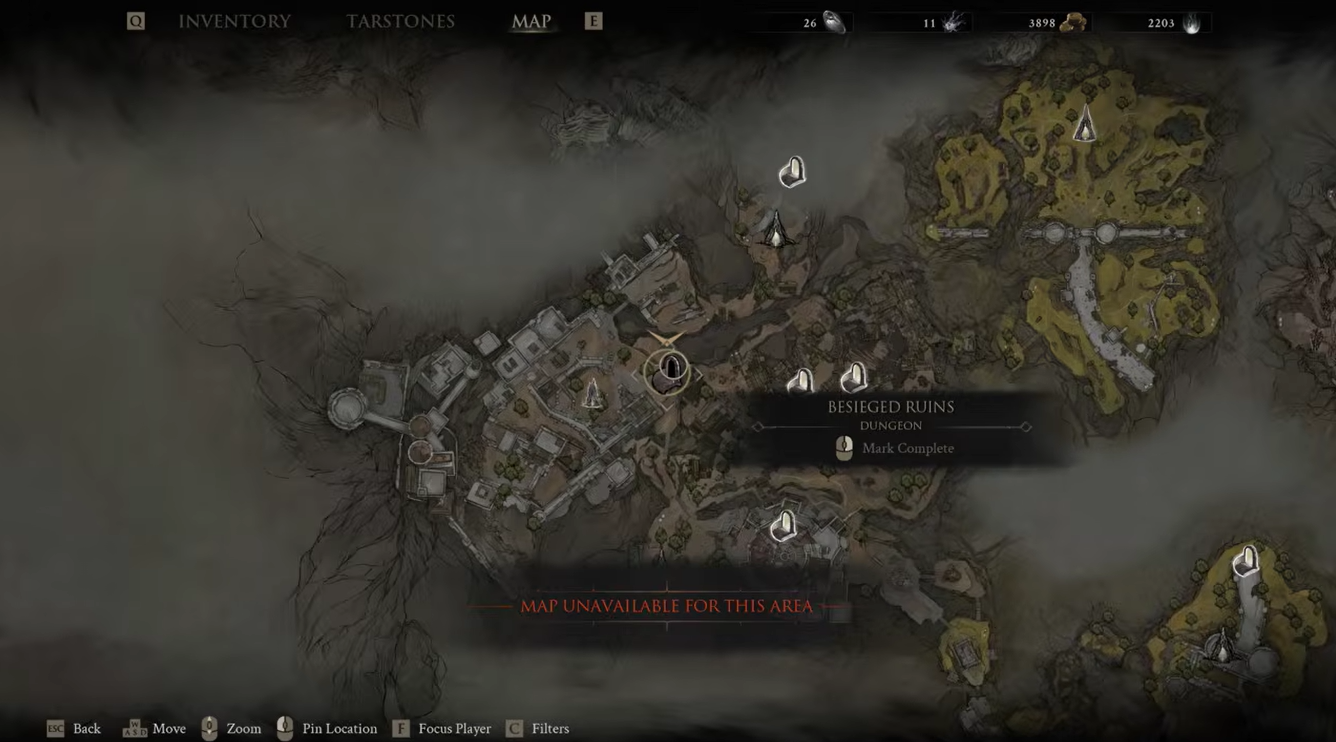
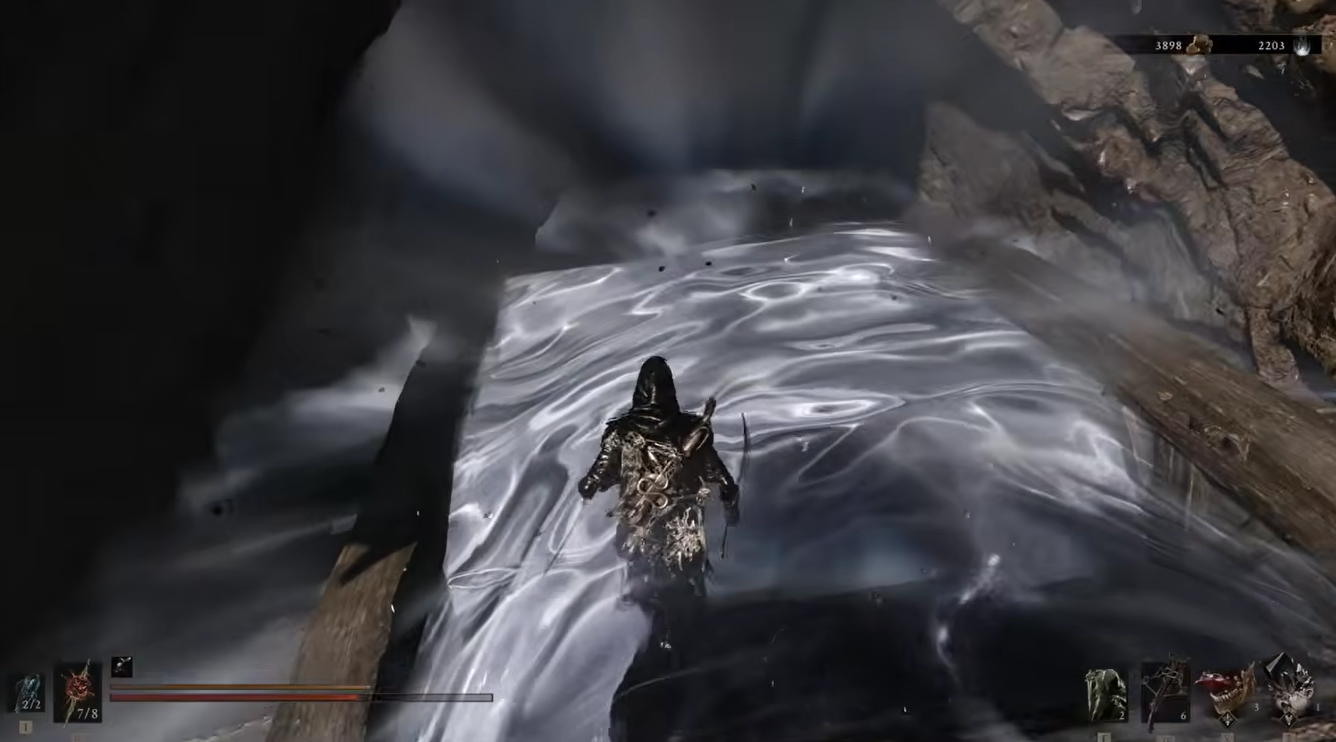
That bottom level is the one with a cluster of enemies gathered around a jump pad. It’s easy to treat this as a dead end and turn back, but the entrance you’re after is right there with you at the base of the cliff. Sweep along the nearby wall and you’ll spot the opening into the Besieged Ruins dungeon, which blends into the rock face and is simple to walk straight past.
Travel to the High Lord’s Courtyard Beacon
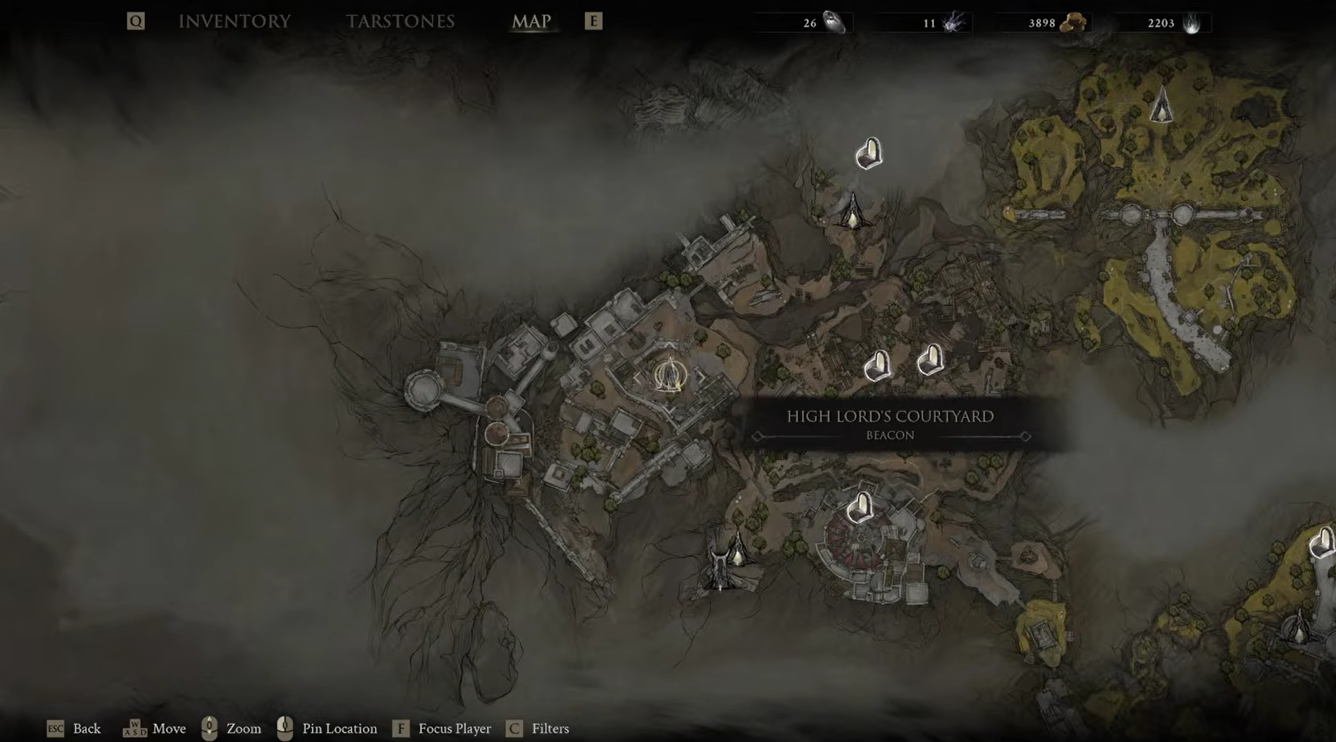 Travel to the High Lord’s Courtyard Beacon | ZaFrostPet/YouTube
Fast travel here and orient yourself facing east into the open area.
Drop down two levels
Descend to the lowest section where enemies gather near the jump pad.
Enter the Besieged Ruins
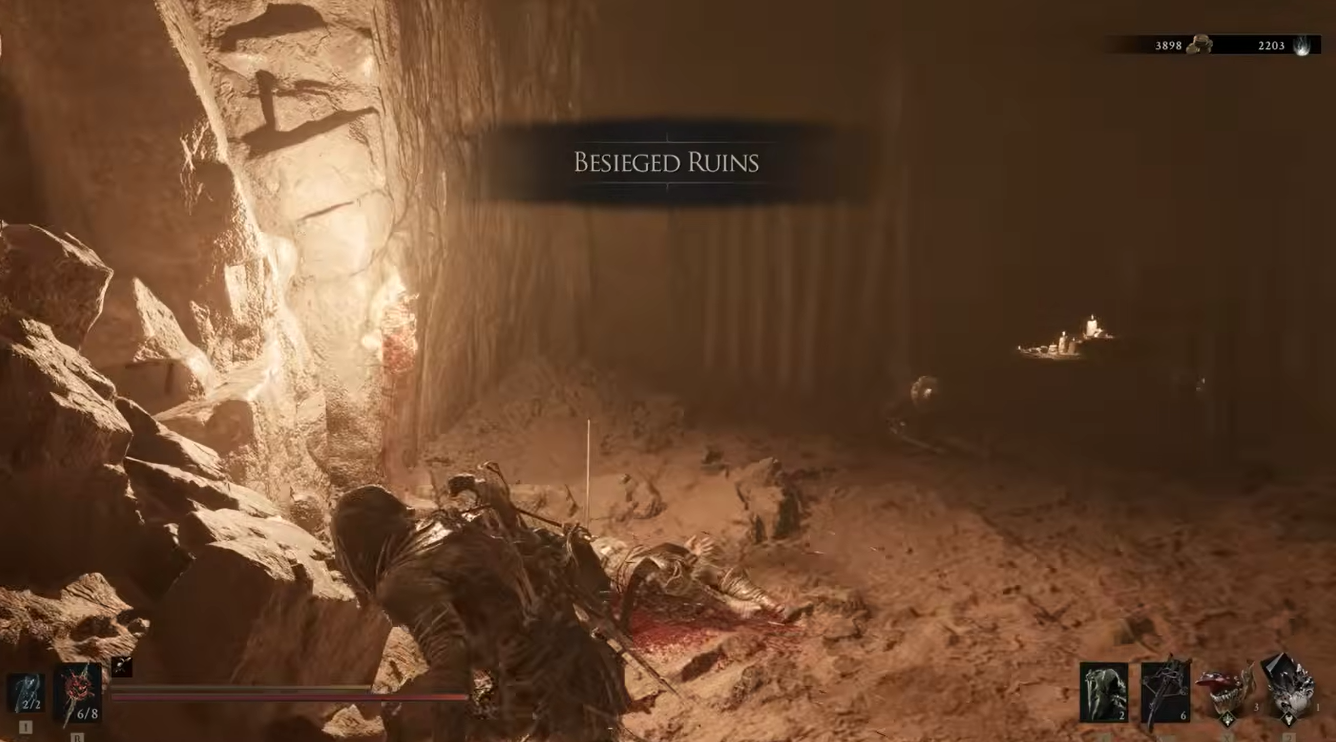 Enter the Besieged Ruins | ZaFrostPet/YouTube
Follow the wall at the base of the cliff to the dungeon opening tucked into the rock.
Reach the back room
Push through the ruins until the corridors open into a room at the rear.
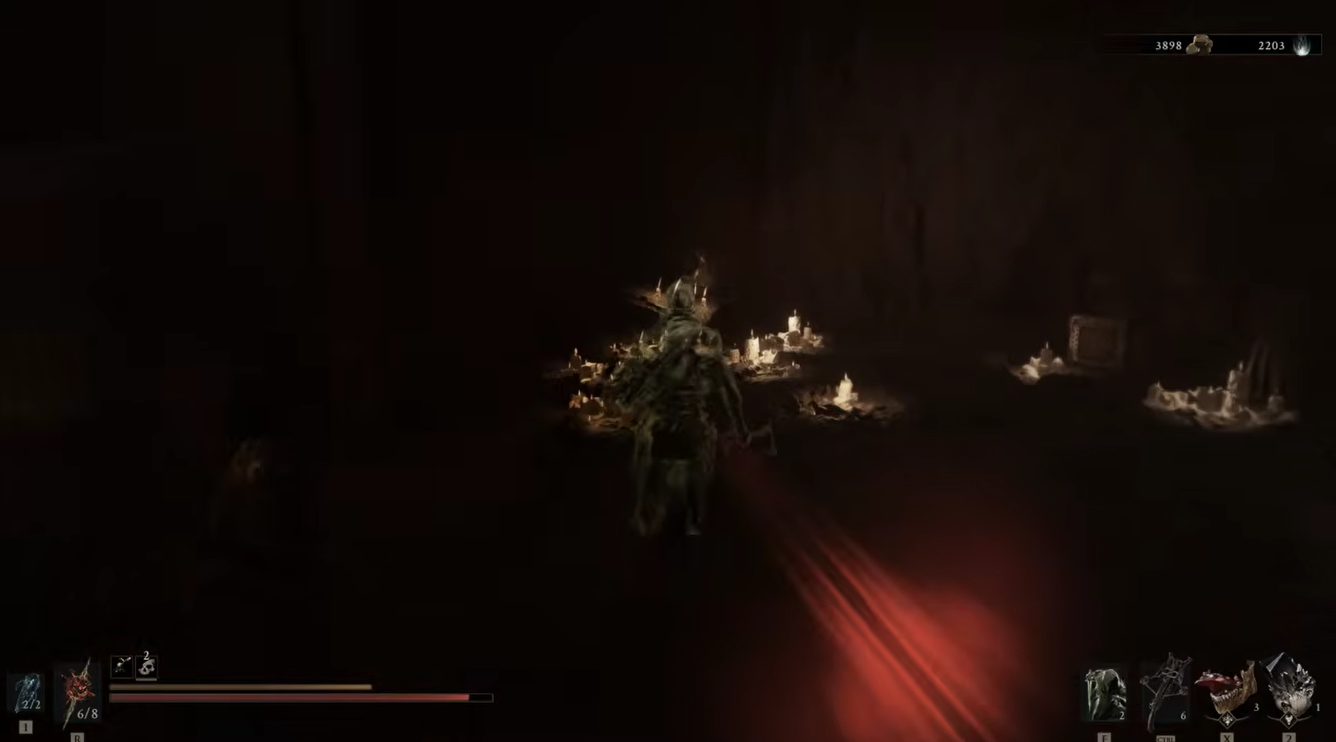
Interact with the helmet
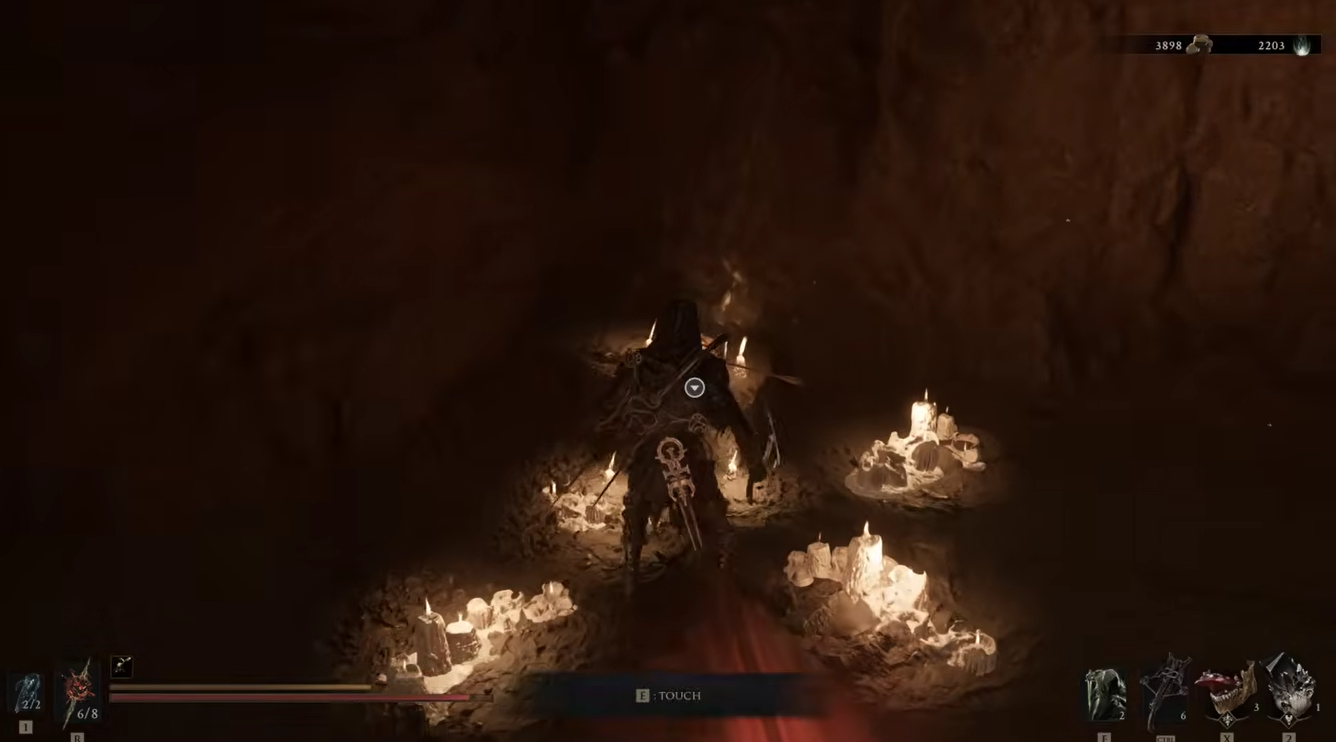 Interact with the helmet | ZaFrostPet/YouTube
Approach the helmet marked with an arrow to trigger a flashback where you play as a knight.
Complete the knight flashback
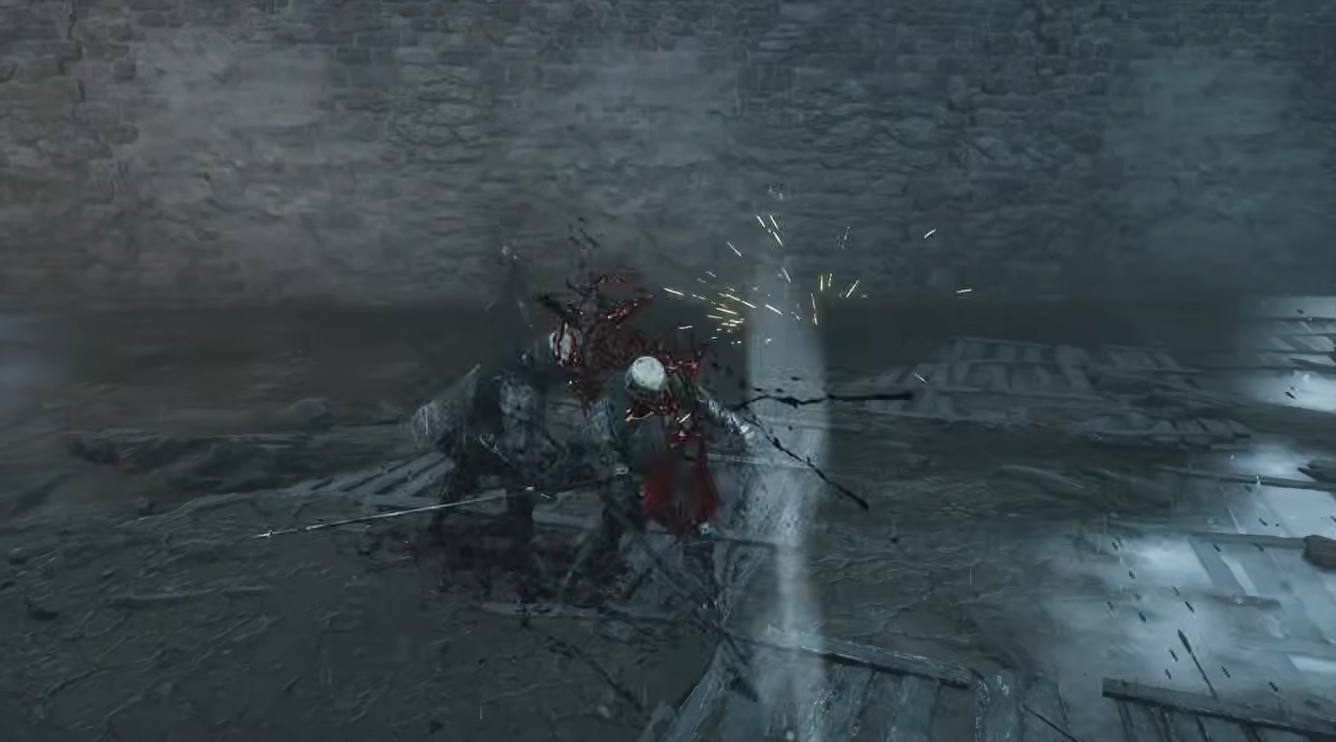 Complete the knight flashback | ZaFrostPet/YouTube
Advance through the memory, clearing the enemies along the way to the end of the sequence.
Claim Zealot’s Stone
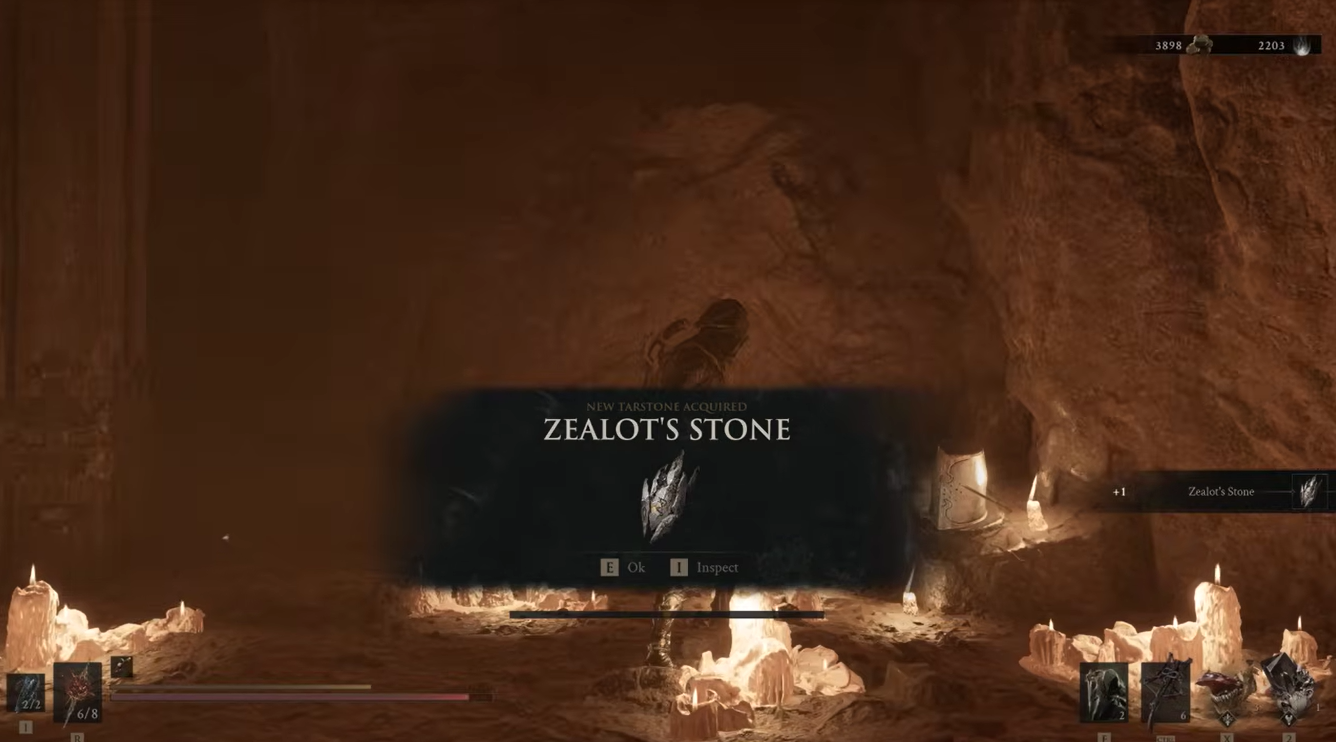 Claim Zealot’s Stone | ZaFrostPet/YouTube
Finishing the flashback awards the Tarstone as the dungeon’s reward.
If you can’t find the door, stop looking on the surface route and drop toward the jump pad — the Besieged Ruins entrance is two levels down, flush against the cliff wall.
Zealot’s Stone uses and effects on your weapon
| Upgrade | Effect |
|---|---|
| Level 1 | Unlocks a special Light Combo Finisher at the end of light chains |
| Level 2 | Finisher generates +40% Resolve |
| Level 3 | Finisher Resolve gain rises to +70% |
| Level 4 | Finisher Resolve gain rises to +150% |
Zealot’s Stone equips to your Primary Weapon, and rather than handing you a flat stat boost it rewrites the end of your light combo. Finish a light-attack chain and the stone tacks on a unique Light Combo Finisher, an extra attack that only exists because the Tarstone is slotted in.
Where it gets genuinely strong is with upgrades. You raise a Tarstone’s rank at the Tarforge in Marrow Keep, and every level pours more Resolve into that finisher. A recent balance update tuned Resolve generation across Tarstones, so at higher ranks this becomes one of the fastest ways to fill your Resolve bar off nothing but light strings.
Best way to build around Zealot’s Stone
This is a Tarstone for players who live on light attacks. If your rhythm is fast chains that keep the enemy in hitstun, the added finisher turns that same string into a steady Resolve engine — which matters most if you want to spend Resolve often instead of hoarding it for one big moment.
Key It also slots neatly into aggressive builds around the Iconoclast weapon paired with a Curse infusion, though that pairing is a bonus on top of the real reason to run it. The core value is the Resolve output from the finisher, so prioritize upgrading the stone before you worry about the surrounding setup.
Common mistakes while hunting Zealot’s Stone
The biggest one is searching the wrong elevation. The Besieged Ruins entrance is below the High Lord’s Courtyard Beacon, not along the surface path, so players who stay up top and look for a chest or a vendor come away empty-handed.
The other trap is expecting the Resolve boost to apply to everything. Zealot’s Stone doesn’t quietly pump Resolve on every hit — the bonus is tied specifically to the special Light Combo Finisher it grants, so you only see the payoff when you actually land that finishing attack at the end of a light chain.
Video help:
More Mortal Shell 2 guides:






Leave a Reply