Windows 11 brings along numerous changes to the new UI and among these is the new right-click context menu. The context menu has been a long-standing controversial addition of Windows 11, especially during the early days due to the missing ‘Refresh’ option. The option has now been restored, though you are still missing essential options, including compression shortcuts that were available in the traditional context menu. So can you add these options back to the context menu in Windows 11? Let’s find out!
Well, you can. Finally! It was about time, anyway. As of October 13, 2021, Winrar Beta v6.10 gives you the ability to access the app right from the context menu was you used to on the good old Windows 10. Not WinRAR, but 7-Zip is also available via the context menu, but things are not that simple here. Another open source software called NanaZip — a fork of the 7-Zip’s code — is now available that gets you 7-Zip in a new form and adds support for the context menu too.
Check out the guides below to get WinRAR and NanaZip (thus, 7-Zip) into the context menu on your Windows 11.
We recommend using NanaZip to get context menu compression shortcuts in Windows 11. NanaZip is a fork of 7-Zip which ensures maximum compatibility and stability when using it on Windows 11. If however, you aren’t happy with NanaZip, you can opt for the latest WinRAR beta instead. The beta version adds context menu compression shortcuts in Windows 11 however it might include some bugs.
Install NanaZip on your Windows 11 PC using the link below.
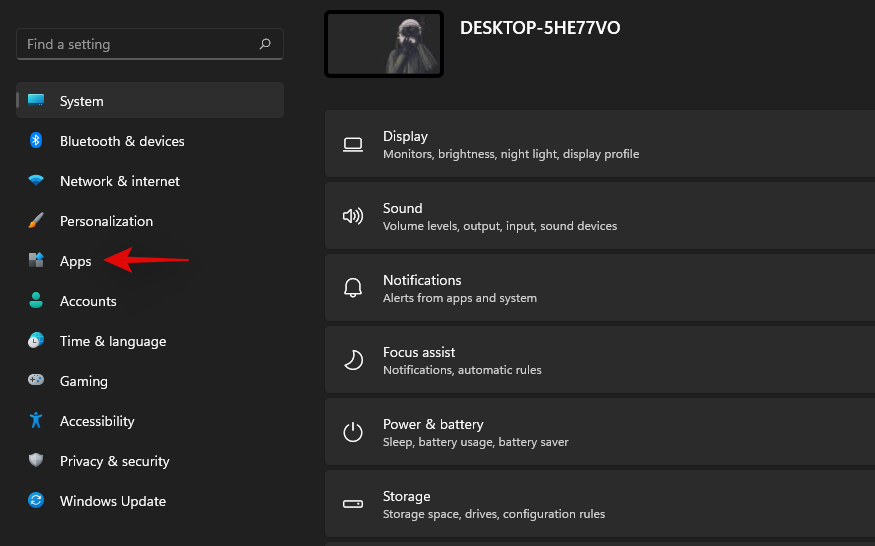
Press Windows + I on your keyboard to open the Settings app instead. Click on ‘Apps’ on your left.
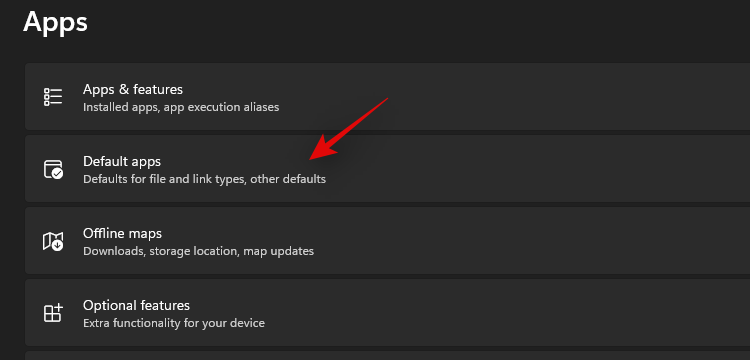
Click on ‘Default Apps’ now.
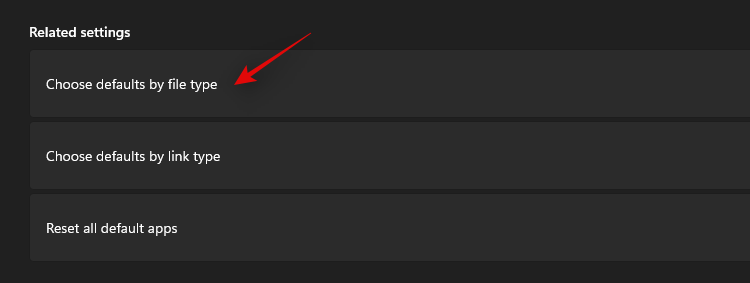
Scroll down and click on ‘Choose defaults by file type’.
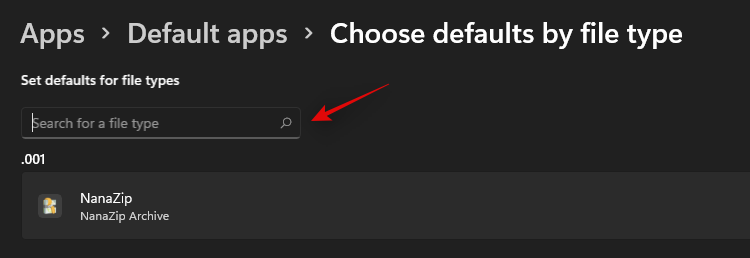
Use the search box at the top and search for ‘zip’.
Click on the listing under .zip.
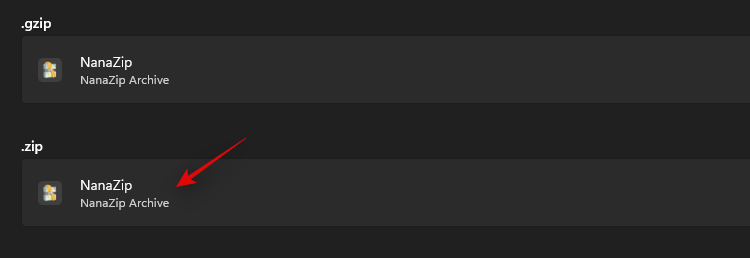
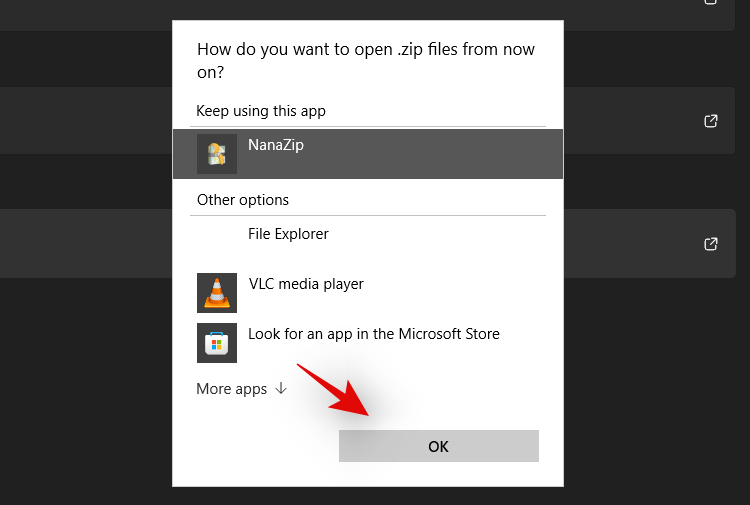
Select ‘NanaZip’.

Click on ‘Ok’.
Right-click on any random file in the file explorer now and you should now have a listing for NanaZip which can be used to create a zip archive or unzip them.

NanaZip will now be set up and ready to use on your system.
You can also use the latest WinRAR Beta to get context menu compression shortcuts in Windows 11. Use the guide below to get you started.
Download the setup file from the link given below.
- Required version: WinRAR Beta v6.10 | Download Link
Double-click the setup file to run Setup and install WinRAR on your PC.

Once installed, it will give apop-up windows for setting up integrations with the common files types it supports. Be sure to select zip, rar and other file types you want WinRAR to handle on your PC.

Click OK after selecting the file types.
(If you miss the integration part during setup, then you can do so by opening WinRAR app and then heading to Options (in the menu bar at the top) > Settings. In the pop-up, click Integration, and then select the file as shown above.)
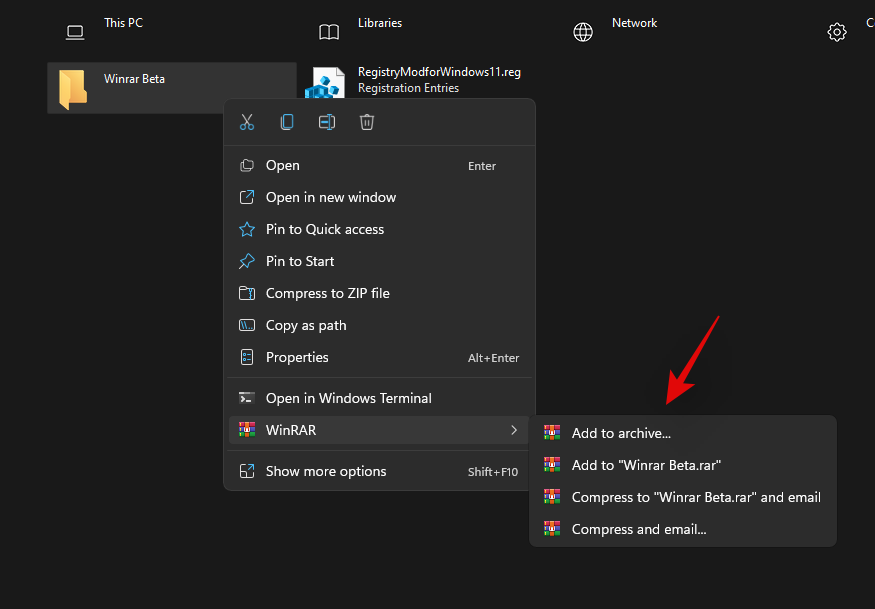
Now, right-click on a random file and you should now have WinRAR compression shortcuts in your right-click context menu.
FAQs
Here are some common queries around the new context menu additions that should help you get up to date with the latest information.
Why can’t you add options to the context menu manually?
Windows 11 comes with a new minimalistic frosted glass aesthetic which calls for a minimized context menu. The traditional all option context menu can always be accessed by clicking on ‘Show more options’. The new context menu requires third-party apps to update their upcoming apps accordingly while there seems to be no way to access the native compression utility directly from the current context menu for now.
Can you get the old Windows 10 right-click context menu?
Yes, you can easily restore the old context menu in Windows 11 by following the steps in this guide. You can also use updated versions of third-party utilities like WinAero Tweaker, OpenShell, or more.
What is the ‘Show More Options’ shortcut?
You can use Shift + F10 on your keyboard to directly get the old context menu in Windows 11.
How to install NanaZip without Microsoft Store
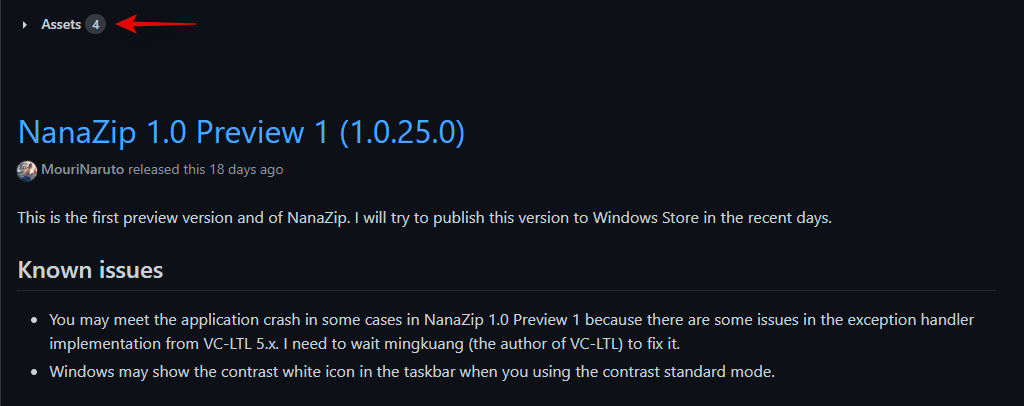
Visit the Github download page given below and click and expand ‘Assets for the latest release.
- NanaZip | Download Link
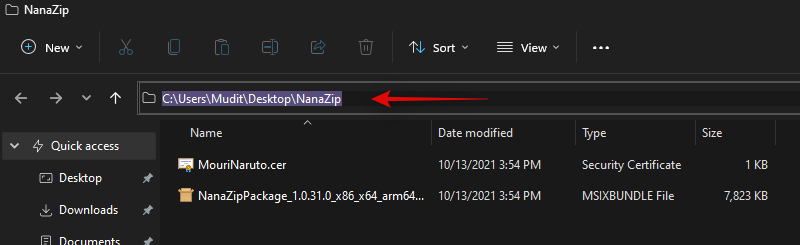
Download the following files by clicking on them. Save both the files in a folder on your desktop to ensure you don’t encounter any bugs when installing the certificate.

- MouriNaruto.cer
- NanaZipPackage_1.0.31.0_x86_x64_arm64.msixbundle
Now open the location where you saved your files, click in the address bar, and copy the address to your clipboard.
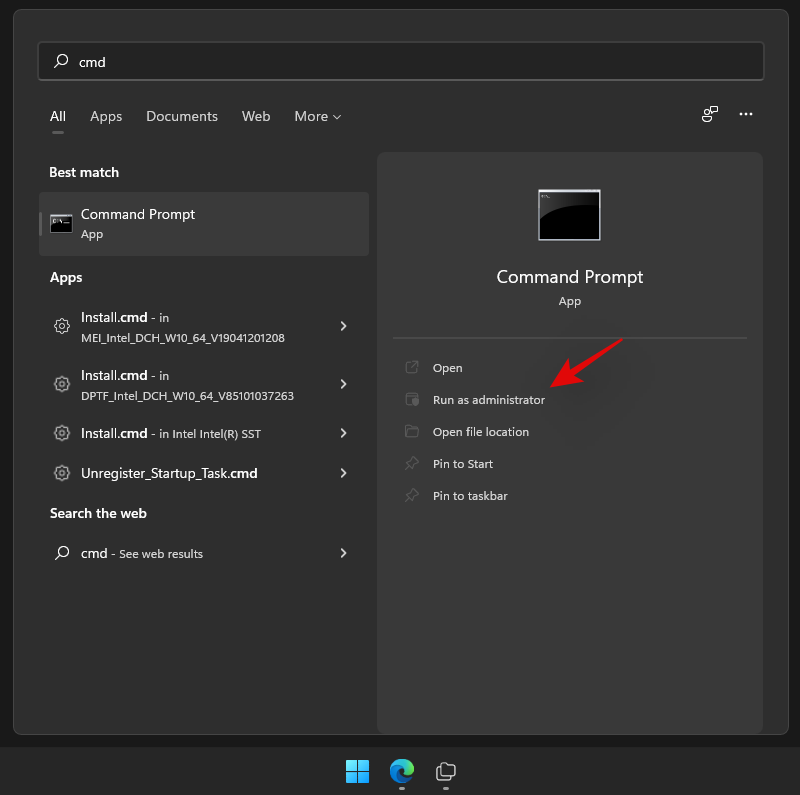
Press Windows + S on your keyboard and search for CMD. Click on ‘Run as administrator’ once the app shows up in your search results.
Type in the following command and replace PATH with the path copied to your clipboard.
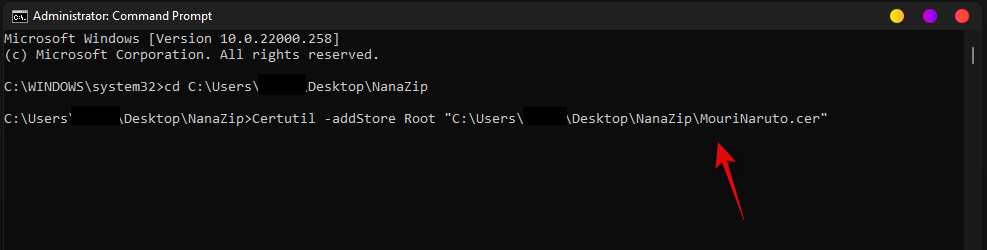
cd PATH

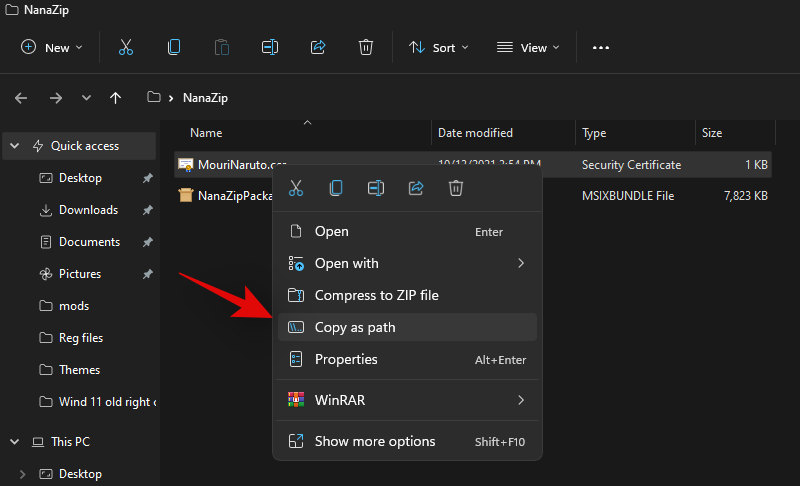
Now head back to the folder, right-click on ‘MouriNaruto.cer’ and select ‘Copy as path’.
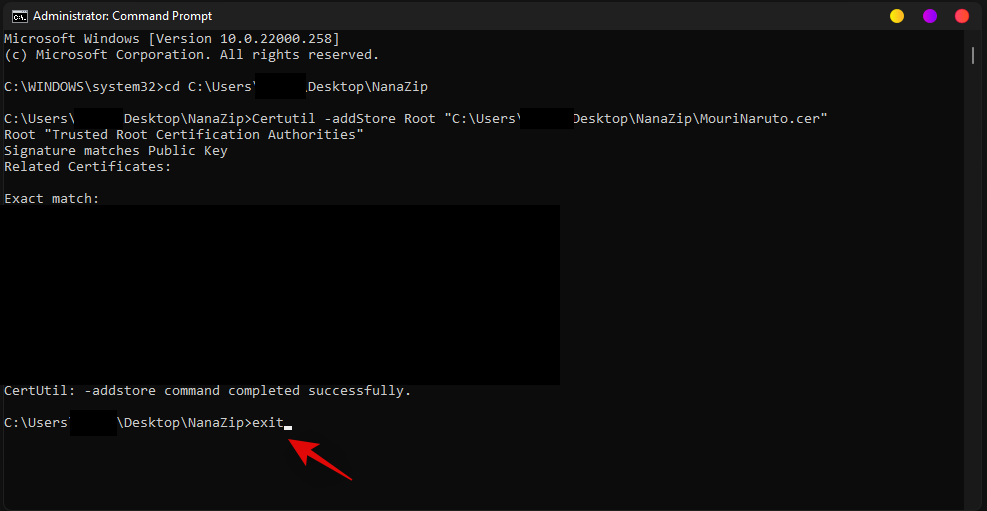
Switch to CMD and execute the following command. Replace PATH with the path for the certificate copied to your clipboard in the last step.
Certutil -addStore Root "PATH"
The certificate will now be installed on your PC. Type in ‘Exit’ to close the command prompt.
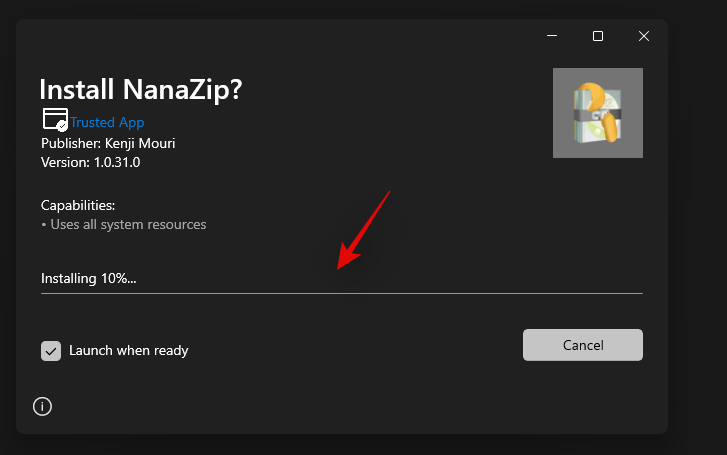
Now double click and run the other package file downloaded along with the certificate. Click on ‘Install’.

NanaZip will be be installed on your PC in no time.
We hope you were able to easily get new compression shortcuts in the right-click in context menu using the guide above. If you need help with anything, feel free to drop a comment below.
Related:


