
Elden Ring: Tarnished Edition launches August 28, 2026, bundling the base game, Shadow of the Erdtree, two new starting classes (Heavy Knight and Idus Knight), new armor and Torrent skins — and the smartest fresh start means picking the right class, over-leveling Vigor and Endurance early, and grabbing a few standout weapons and buffs before you push into tough content.
A new edition is the perfect excuse to roll a fresh character, and the 2026 version hands you real decisions to make before you even clear the tutorial’s first boss. Whether you’re brand new on Switch 2 or a veteran bolting the Tarnished Pack onto an existing platform, the early game rewards a plan: the right starting class, a survivable stat spread, and a short shopping list of weapons, buffs, and farms that carry you into the game’s hardest content. Here’s how to set up a fresh run so the tough fights ahead feel fair.
- Tarnished Edition versus the Tarnished Pack
- Heavy Knight and Idus Knight compared
- Which class to pick for a fresh run
- Leveling priorities: Vigor, Endurance, and soft caps
- Standout early weapons and the one talisman to grab
- Fast early rune farms when you hit a wall
- Upgrading weapons and the two buffs that stack
- Reaching the Shadow of the Erdtree DLC and beating Mohg
- Frequently Asked Questions
Tarnished Edition versus the Tarnished Pack
The single biggest source of confusion around this launch is that there are two different things with almost the same name. Elden Ring: Tarnished Edition is a full Nintendo Switch 2 bundle — it packs the base game, the Shadow of the Erdtree expansion, and all the new extras into one release, landing on August 28, 2026. The Tarnished Pack is that same new content — two new starting classes, four armor sets, and three swappable Torrent skins — sold as a small add-on on PlayStation, Xbox, and PC, unlocked by installing Patch 1.17, which went live on August 27. The Pack does not include the base game or the DLC; you need to already own those.
So the new classes and cosmetics are not Switch-exclusive — every platform gets them, just through different packaging. They also don’t replace the original 10 classes; they sit alongside them as extra picks on the character-creation screen. One thing to keep in mind: Patch 1.17 slightly shifts early-game weapon scaling and item availability, so a few older pre-patch build numbers may read a little off now.
Heavy Knight and Idus Knight compared
| Stat / Trait | Heavy Knight | Idus Knight |
|---|---|---|
| Starting level | 10 | 7 |
| Vigor | 14 | 10 |
| Mind | 8 | 12 |
| Endurance | 17 | 11 |
| Strength | 15 | 13 |
| Dexterity | 11 | 15 |
| Intelligence | 7 | 8 |
| Faith | 8 | 11 |
| Arcane | 9 | 6 |
| Starting weapon | Dismounter | Milady |
| Best for | Pure-Strength tank, heavy weapons | Flexible Dex/Faith, quality builds |
The Heavy Knight is the straightforward one. You start in heavy armor with high physical protection and the Dismounter, a big scimitar built for a heavy-weapon playstyle from the very first minute. It carries the higher starting Endurance of the two, so it’s the closest thing to a “ride to Caelid, grab a colossal slab, and start swinging” starter — a pure-Strength tank that lets you hyperfocus Vigor, Strength, and equip load and largely ignore the rest.
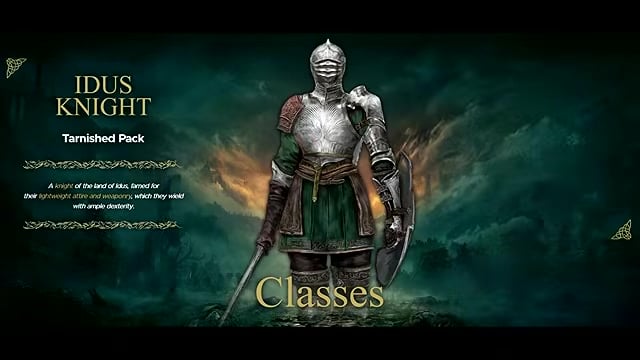
The Idus Knight is the more flexible pick, and it genuinely rivals the Vagabond when you’re unsure what you’ll build long-term. Its headline feature is that it begins with Milady, a light greatsword normally found early in the DLC — fast, Ash of War-friendly, and excellent against bosses. Dexterity leads its spread, but a solid Strength stat right behind it and a notably high Faith open the door to quality builds, early Faith casts, or a lightning setup. If you’re dead set on a pure-Dex run and don’t care about Milady, the Samurai is a cleaner start — but as an “alternative Vagabond” that hands you a top-tier weapon on turn one, the Idus Knight is superb.
Which class to pick for a fresh run
If you’re completely new to Elden Ring, treat the new classes as options, not requirements — the old advice still holds. The Vagabond remains the top pick: high Vigor and solid Strength make early mistakes far less punishing while you learn the game. The Samurai is a strong second, handing you an Uchigatana with bleed buildup plus a bow for ranged pokes and pulls.
Whichever body you choose, take the Golden Seed keepsake. It adds one extra flask charge to your total pool right away — you can assign it to your Flask of Crimson Tears for more healing or to the Flask of Cerulean Tears for FP — which softens those first brutal boss attempts. Think of the Heavy Knight and Idus Knight as flavor on top of a proven foundation, not a reason to skip the classics.
Leveling priorities: Vigor, Endurance, and soft caps
Key If you take one rule into a fresh run, make it this: when in doubt, level Vigor. The goal is enough health to survive two or three hits from a boss so you have a window to heal and respond instead of dying in one shot. Modern guidance is to push Vigor to at least 20 early, then toward 30–40 before you pour points into offense.
Next, min-max Endurance so you can always keep at least a medium roll — a fat roll is miserable regardless of whether you’re in light, medium, or heavy armor, unless you’re fully committed to guarding with a big shield. Beyond that, pick one main damage direction — Strength, Dexterity, Intelligence, Faith, or Arcane — and don’t spread points across all of them.
Keep the soft cap system in mind, too. Past certain levels, each extra point returns less than it used to: Vigor starts falling off around 14 and again near 60, while Strength has break points near 20, 55, and 80. You don’t need a spreadsheet — just watch the per-level gain. When leveling up stops giving you the health or damage jump it did a few levels back, you’ve hit the cap and your points are better spent elsewhere.
Grab the Mimic Tear spirit summon as soon as you can — it costs no FP, so you never have to level Mind just to use it, and it copies your current gear to fight alongside you, making almost every hard boss dramatically more manageable.
Standout early weapons and the one talisman to grab
| Weapon | Where to get it | Best for |
|---|---|---|
| Bloodhound’s Fang | Forlorn Hound Evergaol, Limgrave (beat Bloodhound Knight Armor) | Dex/Strength curved-sword builds |
| Milady | Free with the Idus Knight class | Fast Dex builds, Ash of War spam |
| Uchigatana | Deathtouch Catacombs, N. Limgrave (or Samurai start) | Dex or Arcane bleed |
| Greatsword | Wagon chest, NW Caelid | Strength / colossal-weapon builds |
A great weapon early makes an enormous difference, and four stand out. Bloodhound’s Fang is the timeless pick — a curved sword with a slight Dexterity lean and a higher Strength requirement, brutal when two-handed with easy jump attacks and an Ash of War that packs damage, stagger, and evasion into one move. If you rolled the Idus Knight you already own Milady, whose Wing Stance thrust-and-charge heavies rack up huge damage and poise break against bosses. The Uchigatana is the reliable all-rounder — it works one-handed with a shield, two-handed, or as an Arcane bleed weapon, and Samurai players start with it. And if you’re going heavy, the Greatsword (a colossal sword) has an outstanding moveset for both single targets and crowds once you factor in jump attacks, heavies, and a strong Ash of War.
One talisman belongs on every build: the Green Turtle Talisman, tucked in the cellar beneath Summonwater Village in Limgrave — you’ll need a Stonesword Key to open it, but the faster stamina regen it grants helps whether you’re swinging colossal weapons or dancing around with a katana. The table below has the weapon pickup spots; match your pick to your main stat and grab the talisman while you’re in Limgrave.
Fast early rune farms when you hit a wall
| Rune farm | Location / how |
|---|---|
| Lenne’s Rise ball farm | NE Caelid; take the portal in the water behind the Third Church of Marika, then bait the giant steel ball off the cliff from the Lenne’s Rise grace |
| Greyoll | Fort Faroth, Caelid; hit the sleeping dragon’s tail with a bleed weapon for one huge one-time payout |
| Mohgwyn Palace Albinaurics | Palace Approach Ledge-Road grace; clear the sleeping Albinaurics with a wide attack (best once the DLC route is open) |
If a boss is stonewalling you, leave and come back stronger — Elden Ring is built around exploring sideways for levels, upgrades, and better talismans rather than throwing yourself at one wall. When you specifically want runes, a few methods stand out at different points: a no-fight ball trap you can reach absurdly early, a giant sleeping dragon that pays out over 100,000 runes in a single kill, and the base game’s best repeatable farm once the DLC route opens up.
Whatever you run, multiply the payout first. The Gold Scarab talisman boosts runes from every kill — it’s in the Abandoned Cave on the west side of Caelid, behind two Cleanrot Knights — and gold pickled fowl feet add a temporary rune buff you’ll want active before a big one-time kill like the dragon.
Upgrading weapons and the two buffs that stack
Upgrading a weapon raises both its damage and its stat scaling, so it often adds more early power than raw levels do — but there are two separate tracks. Regular weapons use Smithing Stones and cap at +25, which takes a lot of stones across a run. Special and somber weapons — most boss weapons — use Somber Smithing Stones and cap at +10, so they’re far cheaper to max out. You’ll gather what you need naturally as you explore, so don’t overthink it.
For fast damage, grab the two stacking buffs every build should carry. Flame, Grant Me Strength boosts attack power (and fire damage if you’re using it) and sits right on the ground at Fort Gael in Caelid. Golden Vow adds attack power plus some defense; there’s an Ash of War version that needs no Faith, but the full incantation is stronger and waits on a body inside the Corpse-Stench Shack on Mt. Gelmir. Pop both before a tough fight and the combined boost is substantial.
Reaching the Shadow of the Erdtree DLC and beating Mohg
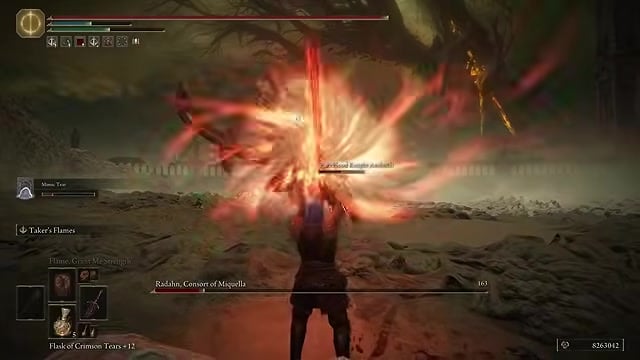
Beat Radahn in Caelid
He’s one of the two required kills; you’ll find him out in the desert region of Caelid.
Grab the right medallion half at the Village of the Albinaurics
In southwest Liurnia, head slightly uphill from the first grace before the bridge and hit the lit false jar on the right to reveal Albus, who gives you the Haligtree Secret Medallion (Right).
Take the left half atop Castle Sol
In the Mountaintops of the Giants, beat Commander Niall, then ride the elevator behind his arena up to the roof to grab the Haligtree Secret Medallion (Left).
Hoist the medallion at the Grand Lift of Rold
Present the completed medallion there and it carries you to the Consecrated Snowfield instead of the usual destination.
Take the red portal to Mohgwyn Palace
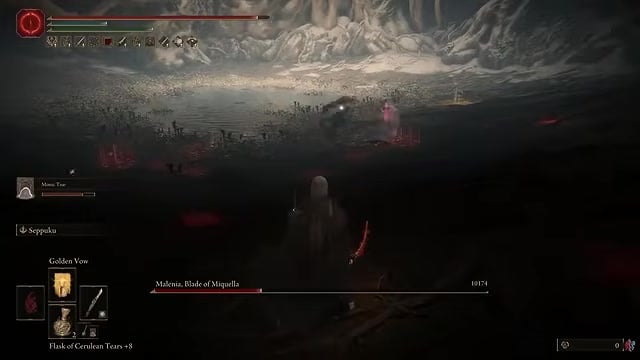
On the west side of the Consecrated Snowfield, by the large trees, step into the blood-soaked portal to warp straight into Mohgwyn Palace.
Get the Purifying Crystal Tear first
Beat the invader Eleonora at the Second Church of Marika on the Altus Plateau, then mix the tear she drops into your Flask of Wondrous Physick.
Beat Mohg and touch the cocoon
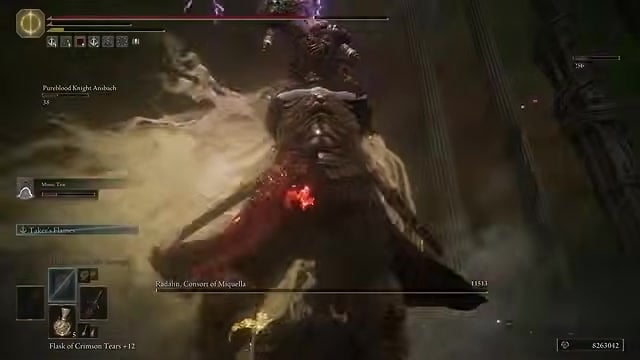
Climb to the top of the palace; when Mohg shouts “Nihil,” drink the Physick to cancel the curse that would otherwise wipe your health, finish him, then interact with the cocoon behind him to enter the DLC.
If you’d rather reach Mohgwyn Palace much earlier — in a far weaker state — you can instead run all of Varre’s questline for a faster shortcut to the same spot. A fresh character can technically head to the DLC early, but power up first: those final bosses are the toughest fights in the game.
Related Elden Ring guides
Frequently Asked Questions
Should I buy the full Tarnished Edition or just the Tarnished Pack if I already own Elden Ring?
If you already own Elden Ring and Shadow of the Erdtree on PlayStation, Xbox, or PC, buy the Tarnished Pack — it adds the two new classes, the armor sets, and the Torrent skins without making you repurchase anything you already have. The full Tarnished Edition only makes sense if you want to play on Switch 2, or you’re new and want the base game, the DLC, and the extras bundled together in one buy.
Can I get the Heavy Knight and Idus Knight classes on PS5, Xbox, and PC, or only Switch 2?
There’s nothing gameplay-exclusive to Switch 2 here. Both new classes play identically on PS5, Xbox, PC, and Switch 2 — the only Switch 2-specific thing is the Tarnished Edition bundle itself, while the classes and cosmetics reach every other platform through the Tarnished Pack. So if you were holding off a PC or console run thinking these were Nintendo-only, you don’t have to.
Do I need a brand-new character to use the new classes, or can my existing save get the new gear?
The classes themselves are chosen at character creation, so playing as Heavy Knight or Idus Knight means starting a fresh character. Your existing save isn’t shut out, though — veterans on older characters can track down the matching armor, weapons, and Torrent skins through NPC quests mid-playthrough, so you don’t have to restart just to unlock the new gear.
Video help



Leave a Reply