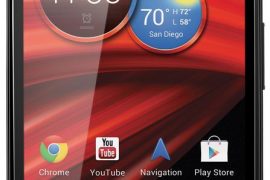
For those who have purchased a developer edition RAZR HD, installing custom ROMs and other hacks is probably on the top of the agenda. To do all that, however, one needs a custom recovery, and both the popular custom recoveries – ClockworkMod (CWM) and TWRP – are now available for the RAZR HD Developer Edition (XT926), thanks to XDA Senior Member GoClifGo05.
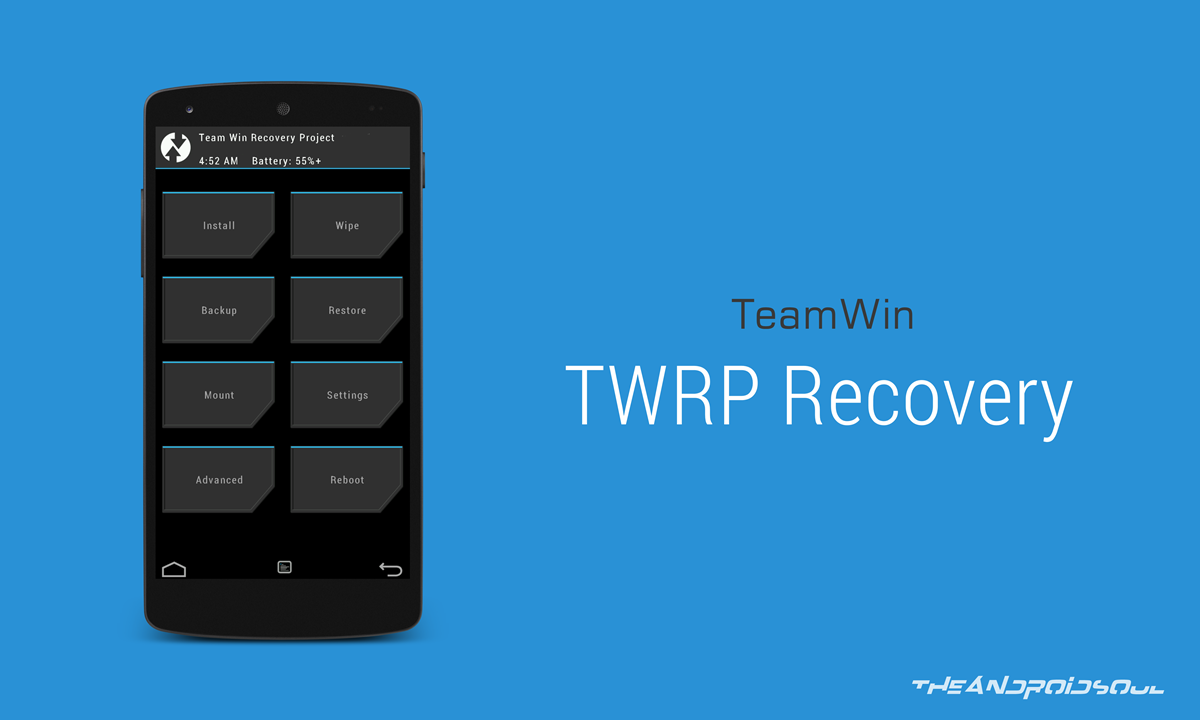
Both CWM and TWRP recovery work well, though I’d say that TWRP takes the crown thanks to its more intuitive touch interface. But both recoveries allow you to flash custom ROMs, make ROM backups, etc, so it’s entirely up to you which of those you want to try out, and the guide below will help you flash either of those on your RAZR HD.
However, neither of these recoveries should be tried on the normal RAZR HD (XT925). These are only for the RAZR HD Developer Edition (XT926) for Verizon. Owners of the non-developer edition RAZR HD can find CWM recovery → here.
Now, let’s take a look at how CWM/TWRP recovery can be installed on the Verizon RAZR HD Developer Edition.
Compatibility
This guide is applicable only for the Motorola RAZR HD Developer Edition for Verizon, model number XT926. Do not try this on the non-Verizon RAZR HD or on any other device.
Warning!
The methods and procedures discussed here are considered risky and you should not attempt anything if you don’t know completely what it is. If any damage occurs to your device, we won’t be held liable.
How to Install CWM/TWRP Recovery on Droid RAZR HD (XT926)
- Backup everything on your phone, including the data on the internal storage, as flashing CWM requires unlocking the bootloader, which erases all data on the phone. To backup contacts, SMS, apps, etc, take the help of this Android backup guide. If you already have an unlocked bootloader on your phone, you can skip the backup.
- [Important] Make sure the bootloader on your RAZR HD is unlocked. You can unlock the bootloader by following the official procedure at the Motorola website → here.
- Root your RAZR HD by following the guide → here.
- After rooting, follow steps 4.1 to 4.6 to rename the stock recovery file, otherwise it will always replace CWM/TWRP recovery after a reboot.
- Install ES File Explorer from the Play Store, then open it from the apps menu.
- Go into its Settings, then scroll down and click on the Root settings option.
- Enable the “Root Explorer” option, then click Yes when prompted. Then, click the Allow/Grant button on the next popup to grant root access to ES File Explorer.
- Also enable the options “Up to Root” and “Mount File System”. Then, close the settings and go back to the main app.
- Then, press the “Up” button on the top till you can see folders such as “acct”, “cache” etc.
- Go into the /system/etc folder, then rename the RECOVERY.SH file to something else (doesn’t matter what you name it).
- Download and install the Android SDK → from here. This will install the necessary drivers for the phone on your computer. Skip this if you have already installed Android SDK/drivers while unlocking the bootloader in step 2.
- Download Fastboot, which will be used for flashing CWM recovery.
Download Fastboot | Filename: Fastboot.zip - Download CWM or TWRP recovery. Keep in mind that you only need one of the two recoveries, not both.
- Download CWM | Filename: cw-recovery-vanquish.img
- Download TWRP | Filename: twrp-recovery-vanquish.img
- Extract the Fastboot.zip file on your computer to get a folder named Fastboot with four files inside it. To keep things easy, extract the Fastboot folder to drive C.
- Turn off your RAZR HD. Then, boot into the Boot Mode Selection Menu mode by holding down the Vol Up + Vol Down + Power buttons together. Then, using the volume buttons, scroll down and highlight AP Fastboot, and select it using the power button.

- Then, connect your RAZR HD to the computer with your USB cable, then wait for Windows to finish installing the drivers (drivers will be installed only the first time). For reliability, ensure that you use a USB port at the back if you are using a desktop computer, as the front panel ports can be loose and cause problems.
- Click on Start menu » All Programs » Accessories » right-click on Command Prompt and click on Run as administrator. If you are using Windows 8, this can be done by right-clicking on the extreme bottom left corner of the taskbar, then selecting “Command Prompt (admin)”
- Now, perform the following steps in the command prompt to flash CWM recovery:
- Navigate to the Fastboot folder which you obtained in step 8. For example, if the Fastboot folder is in drive C on your computer, enter cd C:Fastboot in command prompt (and press Enter) to navigate to the folder.
- Then, enter fastboot devices. If your RAZR HD has been detected properly, you will see a device ID show up in command prompt. If nothing comes up, make sure you have installed the drivers (step 5).
- Finally, to flash CWM/TWRP recovery on the phone, enter the following command:
- For CWM: fastboot flash recovery cw-recovery-vanquish.img
- For TWRP: fastboot flash recovery twrp-recovery-vanquish.img
- After the recovery is flashed, type fastboot reboot-bootloader. This will reboot your device into the Boot Mode Selection Menu again. Here, highlight and select Recovery to reboot into ClockworkMod or TWRP recovery and try them out.
- Your phone now has ClockworkMod/TWRP recovery installed. Recovery can be entered by booting into the Boot Mode Selection Menu and selecting Recovery, just like we did in step 12.4.
CWM/TWRP recovery is now installed on your RAZR HD Developer Edition, and will allow you to install custom ROMs and the like. Have fun!

2 responses to “TWRP and ClocworkMod (CWM) Recovery for Motorola Droid Razr HD (XT926)”
Wait wait wait.. This is GoClifGo05 from XDA.. This is NOT my work… This is all dhacker29 and hashcode’s work. I simply posted it to XDA. Please don’t give me any credit for this!!!!
Wait wait wait.. This is GoClifGo05 from XDA.. This is NOT my work… This is all dhacker29 and hashcode’s work. I simply posted it to XDA. Please don’t give me any credit for this!!!!